Week 3 - 2D meshing for sheet metal
Title: - 2D meshing for sheet metal
Aim: - To understand and perform 2D meshing on sheet metal using ANSA
Objective: - To learn and practice geometry clean-up
To perform meshing
To remove most of possible off elements according to quality criteria
Body of the content: -
Hood model
Steps to perform 2D meshing.
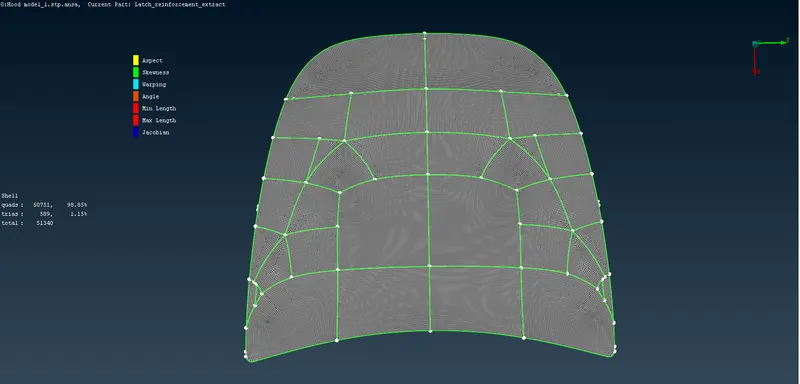
Step 1: -
Importing model
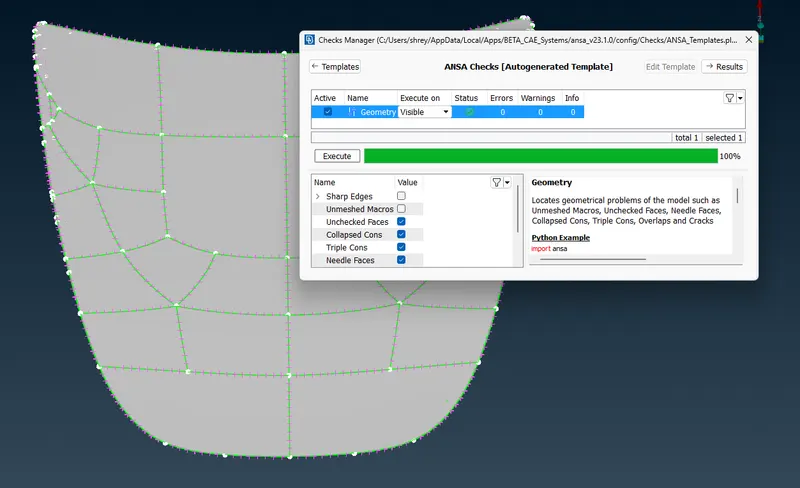
- Geometry check (Checks>Geometry): - Checking geometry with ANSA feature for triple cons and other issues.
- Geometry clean-up for triple cons: - Releasing triple con and performing Topo feature on it mostly resolve issue.
- (In Checks>Geometry we can fix errors automatically)
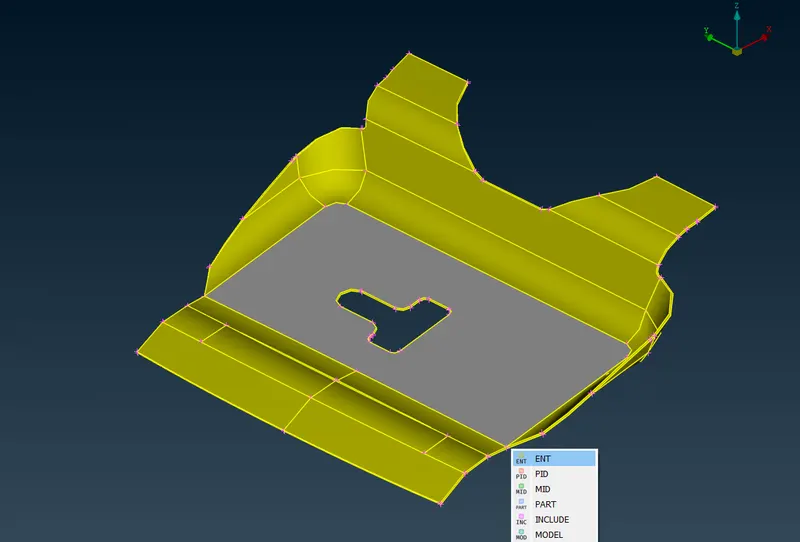
- Orient faces: - Before going for mid surface orienting all the surfaces to same direction is important.
Step 2: -
Mid Surface
Mid-surfacing can be carried out by 2 methods- manual as well as automatic.
Manual mid surfacing: -
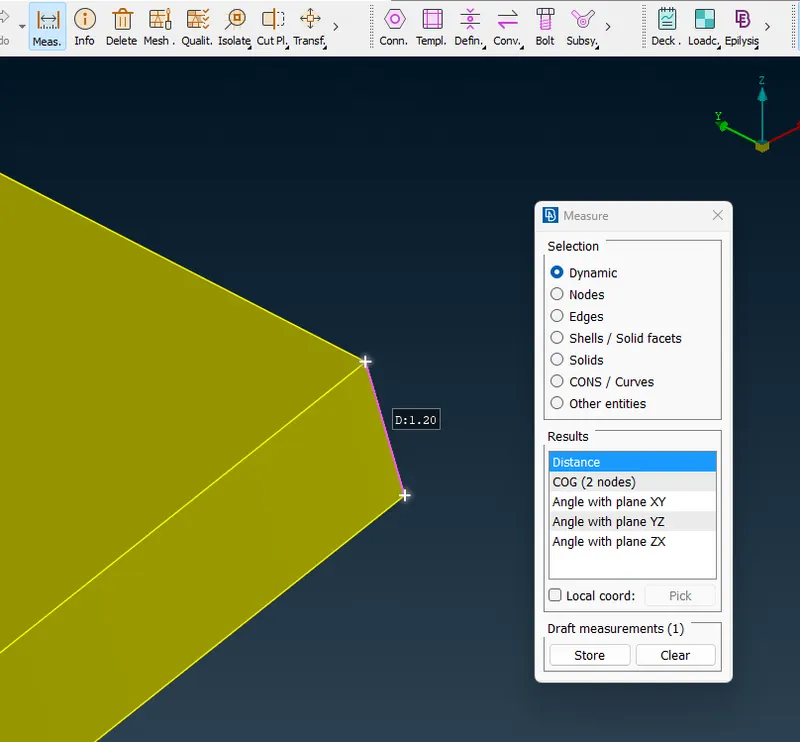
- Check thickness: - In manual mid surfacing first we must measure thickness of sheet metal.
- Offset the surfaces to half the earlier measurement, positive negative according to orientation of the surface.
- We must ensure to enable auto property generation for automatically create separate property from parent assigning thickness to it.
Automatic mid surfacing: -
- Before performing automatic mid surfacing, we must ensure sheet metal is completely enclosed from all sides and have thickness to it.
- Mid surface>skin and then select the components who need to be mid surfaced.
- Ensure Disabling delete original faces option before completing previous step in case we need parent geometry.
Step: - 3
Preparation for meshing
- Assigning element length whichever is provided in our case its 5
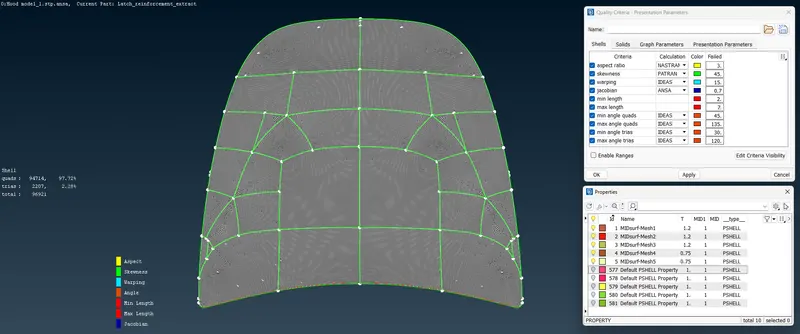
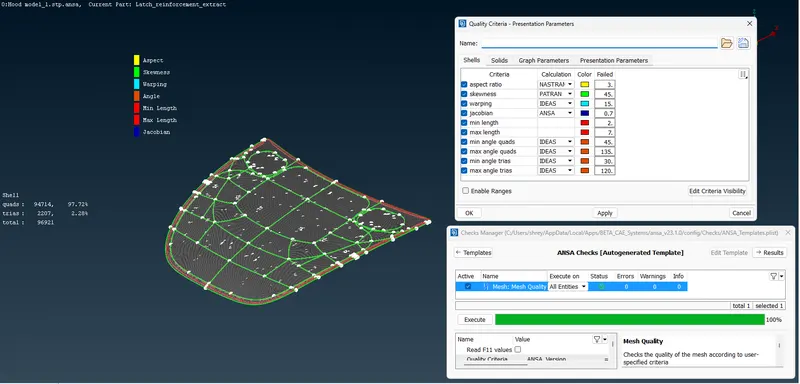
- Feeding provided quality criteria. - we have provided quality criteria for respective model according to accuracy requirements quality criteria provided in this case are
- Deleting perfectly similar mirror faces is the best practice to reduce meshing time for similar faces, instead we can just mesh half and mirror that meshed part. We must delete half surface because the feature we use to mirror the mesh also copy geometry with it which will lead to overlap the faces and create an error.
Step: -4
Meshing
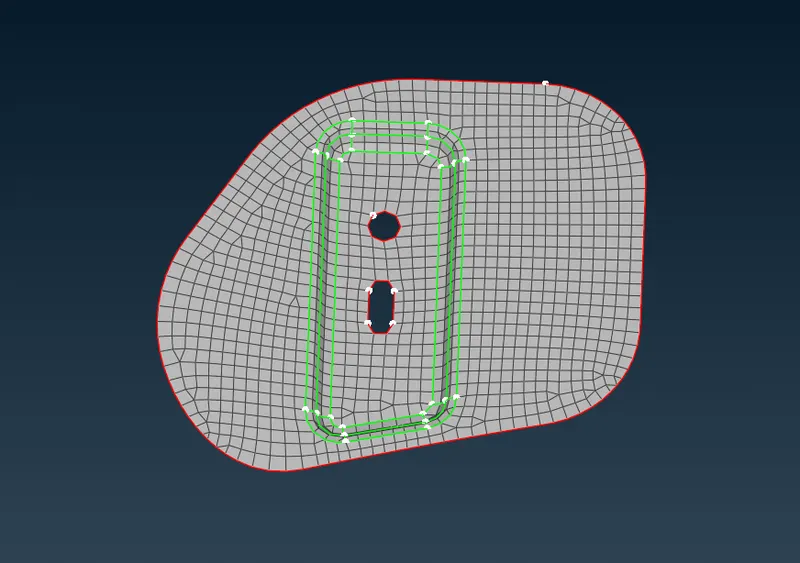
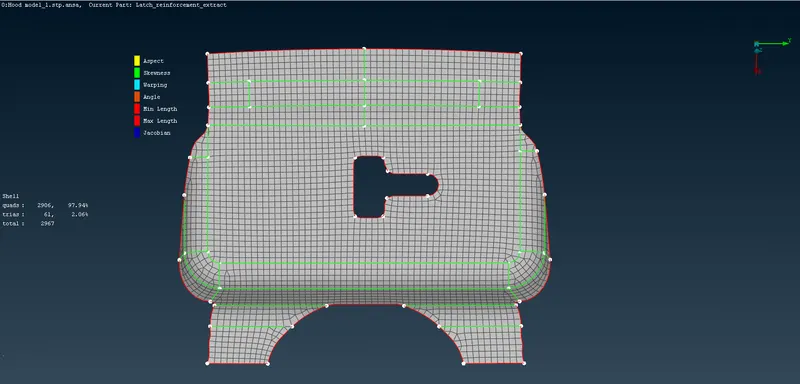
- As a beginner using ‘Best’ meshing feature and then reconstruct feature on the areas where mesh flow can be improved is used.
- To Removing error occurring elements (off elements) according to quality criteria we can try to reconstruct them.
- To improve mesh flow, it is important to neglect trias (at free edge/ at circle perimeter/opposite trias) this can be removed or improved using split, swap, collapse and join independently or together
- In the end we Copy/mirror faces with mesh using transform>copy.
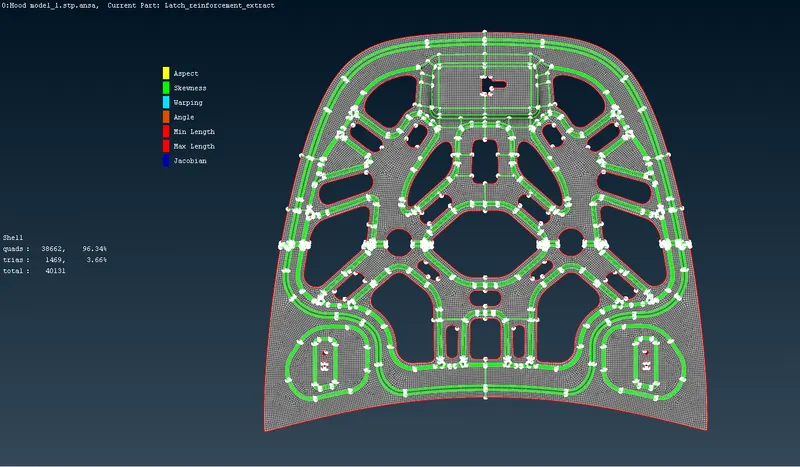
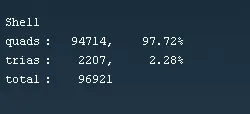
Results:- Quads: 94714
Quad percentage: 97.72%
Trias: 2207
Trias Percentage: 2.28%
Total: 96921
Off elements: 0
Conclusion: -
From this challange I have learned about 2D sheet metal meshing in detail, which includes geometry cleanup, fine meshing and error free results.