Week 3 - 2D meshing for sheet metal
The Objective of this project is to perform Preprocessing i.e. Geometry cleanup, mid surface extraction
and 2D Shell meshing for the hood component of a car. After meshing, component thickness and material
need to be assigned to the mesh. And the mesh should follow the following quality criteria,
|
S.No |
Quality Criteria |
Value |
|
1 |
Target/Average length |
5 |
|
2 |
Minimum Length |
2 |
|
3 |
Maximum Length |
7 |
|
4 |
Aspect |
3 |
|
5 |
Warpage |
15 |
|
6 |
Skewness |
45 |
|
7 |
Jacobian |
0.7 |
|
8 |
Minimum Quad Angle |
45 |
|
9 |
Maximum Quad Angle |
135 |
|
10 |
Minimum Tria Angle |
30 |
|
11 |
Maximum Tria Angle |
120 |
|
10 |
Tria Percentage |
15 |
Procedure:-
First, the hood model is imported into the Ansa.Then
open this file using File>Open>Hood Model.
Then after opening this file we will got five individual
components.
This five components shown in below,
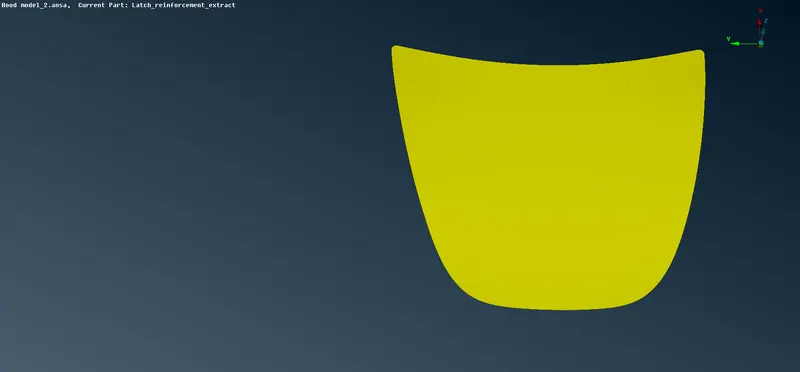
1. Outer Panel
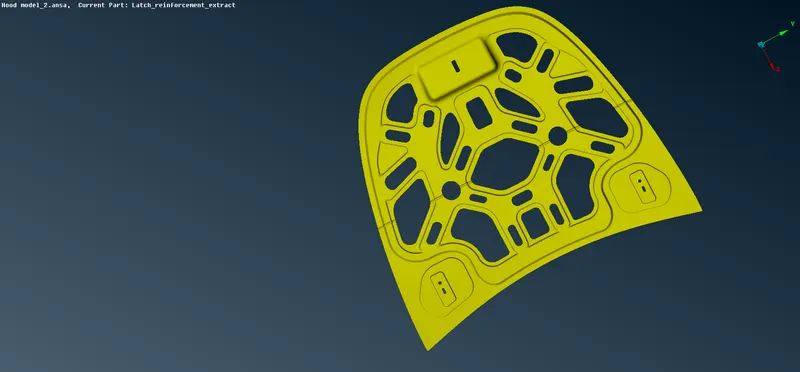
2. Inner Panel
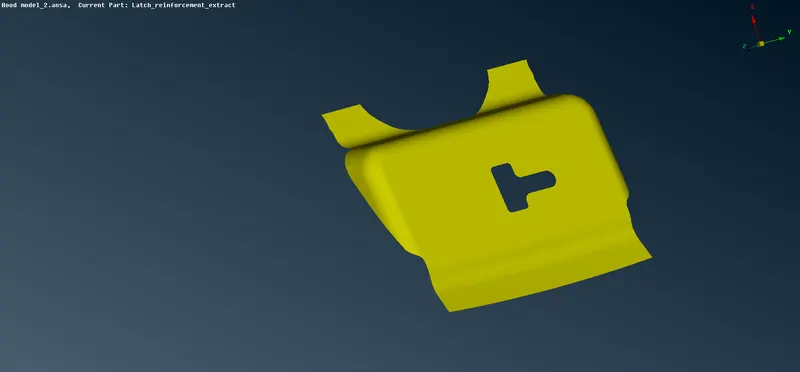
3. Latch Reinforcement
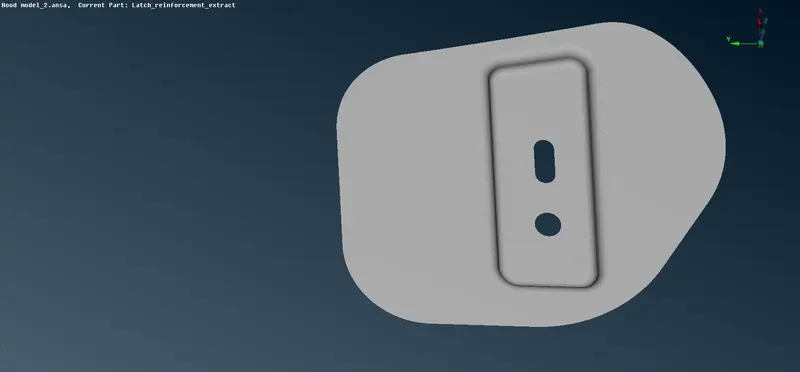
4 & 5. Hinge Reinforcement
After the importing model is to properly analyze and understand the geometry.
When CAD model is imported into the Ansa, there might be several geometrical
errors like missing/distorted surfaces, intersecting surfaces, etc. due to the format conversion
process bad model.
Then Take one part at one time then do firstly cons resolution.This is used for we got proper image
shape.Using this steps
Mesh>Perimeter>Length
Then give value of perimeter length 1.
After cons Resolution we gave Orient tool. This orientation using because colour formed at particular at one
direction.
Topo>Faces>Orient
After Orientation we go to Geometry checkup tool. Here we checked our geometry good or bad like something
error are present or not. This errors like tripple cons, Single cons, needle faces, Collapsed faces, unchecked faces
cracks.
Then we select the error if present the error then this error to do autofix.
Then we got Our geometry check 100 percent ok in green colour.
Checks>Geometry>Execute.
After that we measure the thickness of model.
Utility>Measure
This thicknes we can measure using nodes, cons.
After Measure the dimension we used midsurface tool . We using this because models midsurface extracting.
Topo>Faces>Midsurface.
After Midsurface extracting we switch off the parent geometry.
After that we gave quality criteria for the models and meshing size also.
After that we go to meshing.
Before meshing using cut and join tool. Because this is used for good mesh flow.
Cut used for split two surfaces and join used to convert the two faces into one face.
Mesh>Macros>cut
Mesh>Macros>Join.
After that mesh generation tool of the model. we used Best mesh for the model.
This tool generates the mesh using the best algorithm applicable.
Mesh>Mesh Generation>Best
Then , the created mesh is refined using Shell
We dont want trias and avoid the trias condition the used Reconstruction tool and Smooth tool.
Mesh>Shell Mesh>Reconstrucion.
We meshed the all components this figures shown below,
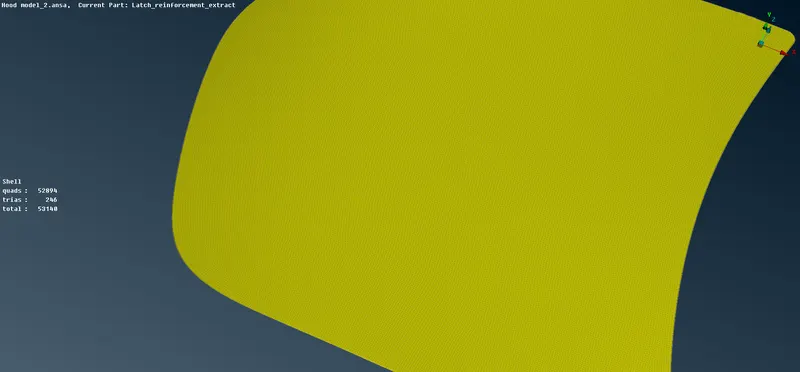
1. Outer Panel
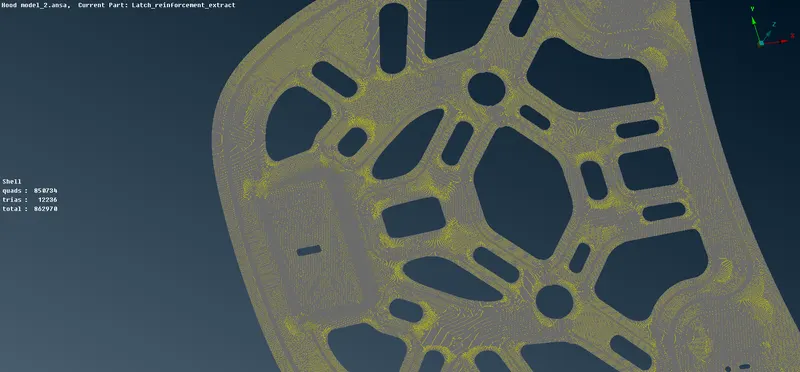
2. Inner Panel
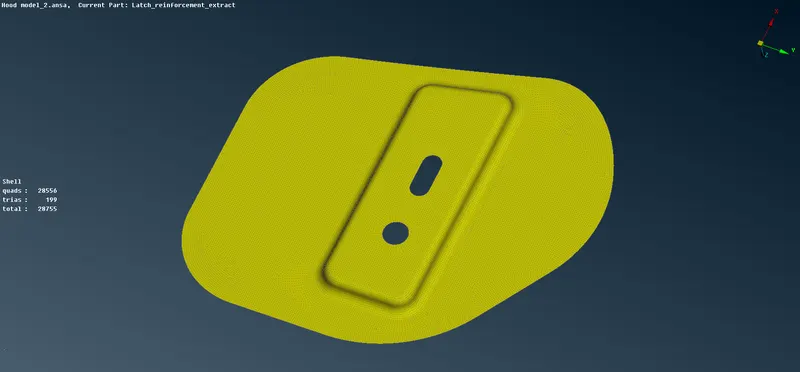
3. Hinge Reinforcement
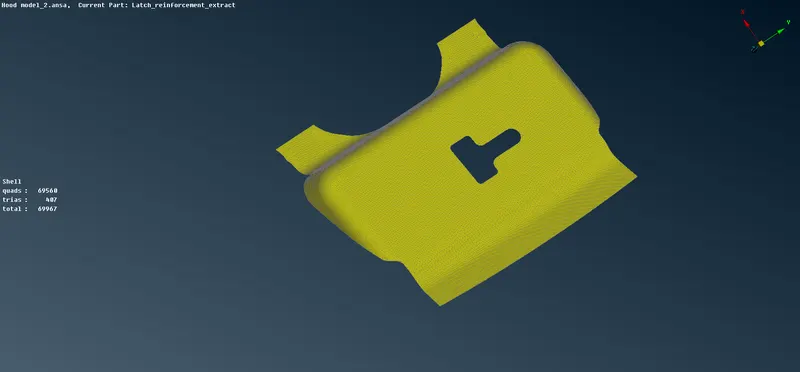
4. Latch Reinforcement
The deals with trias, the following tools are used,
Mesh>Grid>Paste, to paste the nodes and move tria backward.
Mesh>Elements>Split, to split an element and move tria forward.
Mesh>Elements>Swap, to move the tria left or right.
Mesh>Elements>Join, to join two trias to make a quad.
Conclusion:-
Geometry cleanup, mid surface extraction and 2D meshing of hood model done successfully.
And all the features in the model are captured properly with good mesh flow. Tria concentration
is kept low.