Week 3 - 2D meshing for sheet metal
Week 3 - 2D meshing for sheet metal
AIM
Take the mid surface for all the components after checking the geometrical errors and mesh the mid surface with the given element Quality criteria.
PROCEDURE
- To insert the component in the working area
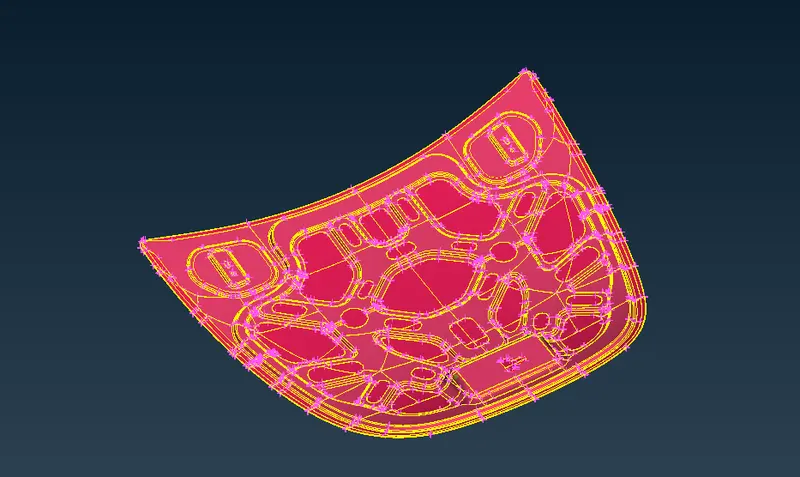
- and we have 4 different parts latch, hinge,outer and inner
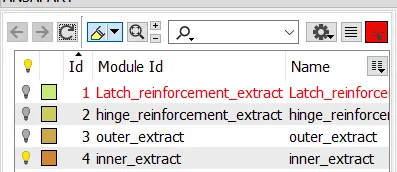
- first we have to take the outer surface
- in the outer surface we have symmetric part so we can dlt the exact half of the part and
- we can transform them
- its also take time consumption to solve them easily
- so we dlt the half of the outer surface and
- we take a offset
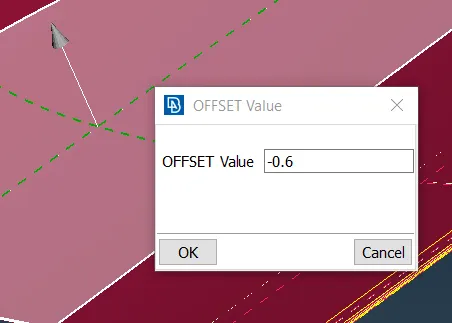
- by this method we can slowly move the surface one by one
- and after taking all the surface we have complete half of the mid surface
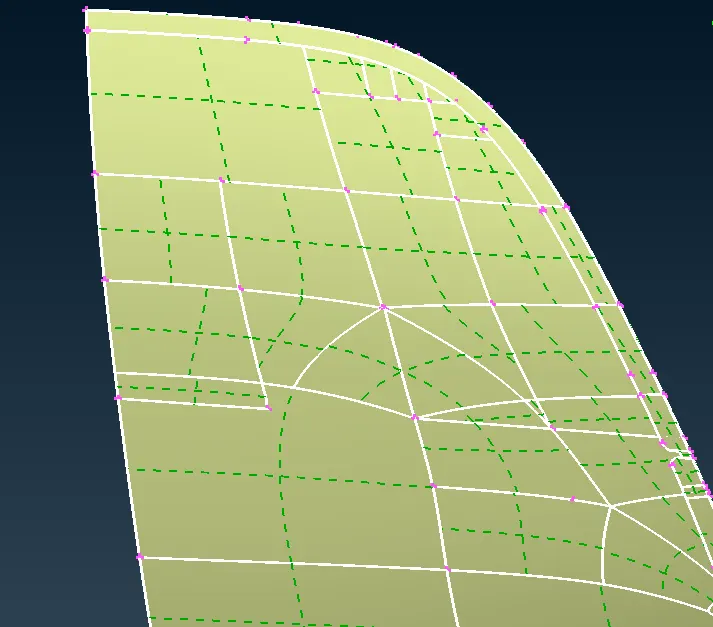
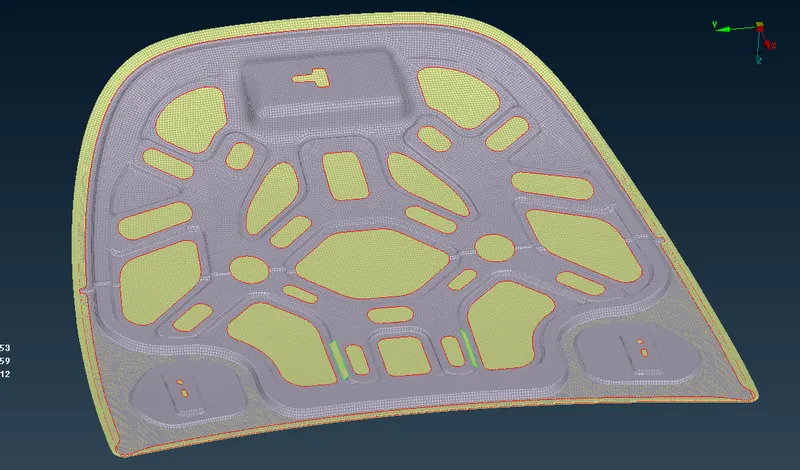
- before we transform we have to mesh the component
- in order to mesh
- the first step is to assign the meshing value
- and quality criteria to be assigned
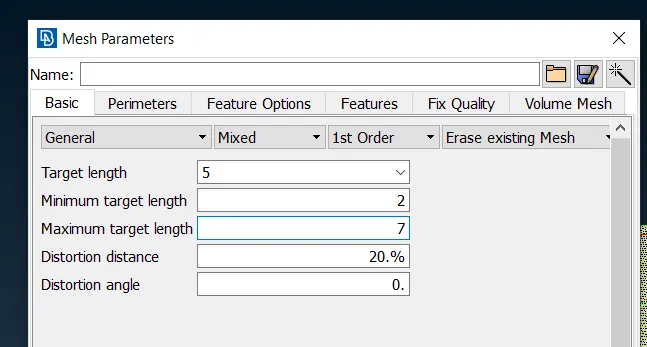
- we have to enroll the meshing value
- max target length and minimum target length
- after we enroll the meshing component we have to enroll the quality criteria
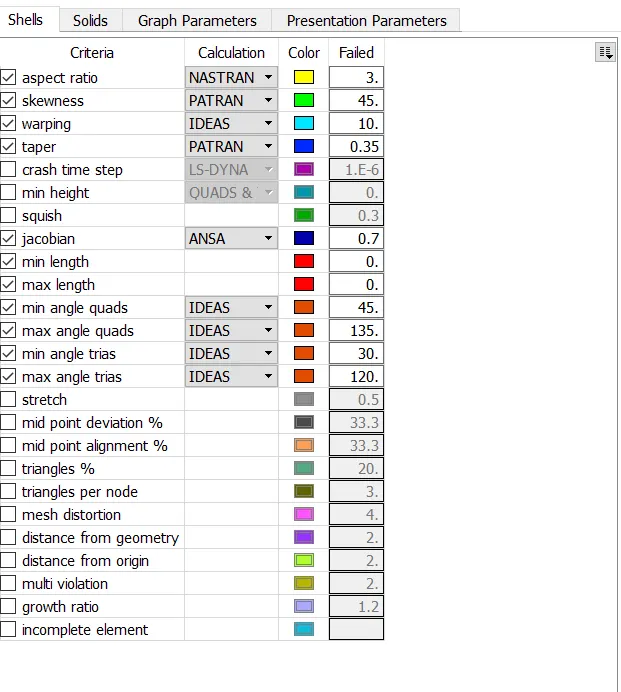
- after we enroll the details we can mesh the half of the component
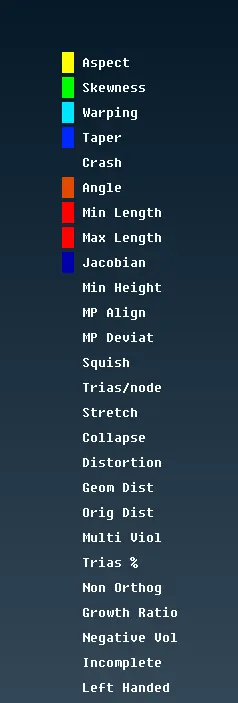
- after meshing we have to check the element failures
- each colour represents different kind of failure
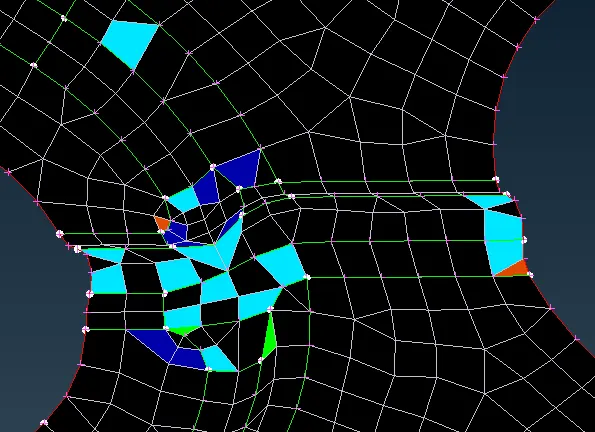
- we can recontruct and smooth options to rectify this failure
- after clear all the failure we can transform the component
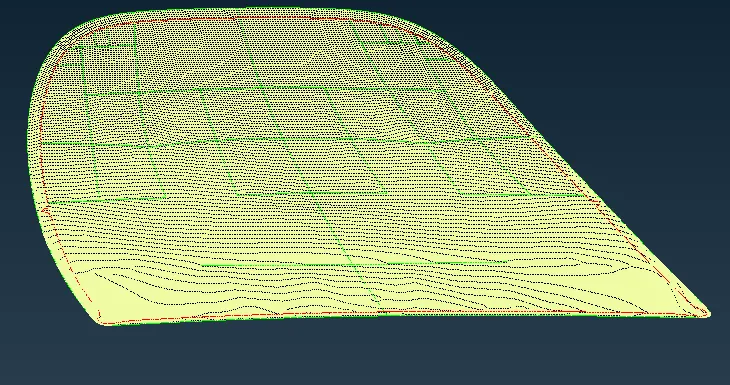
- by we can transform the component we have model like this
- by the same way we have to do in inner surface
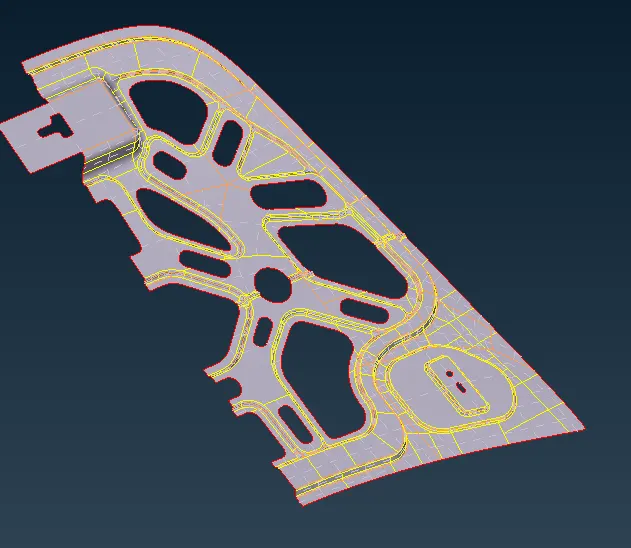
- we mesh the whole surface and then we have to transform the surface
- finally we have a component like this
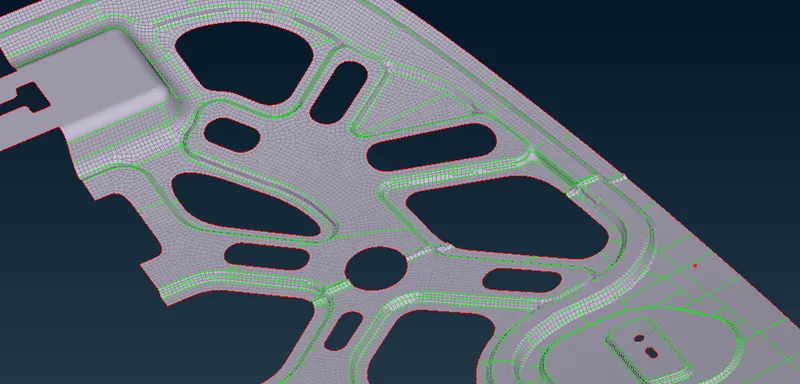
- then we transform it
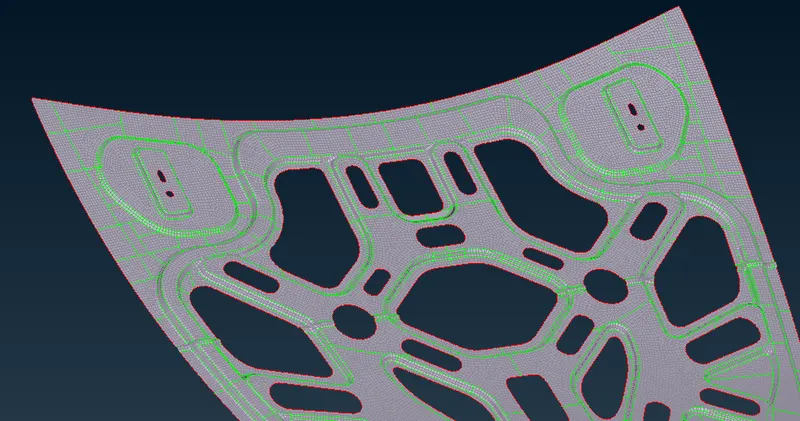
- finally we have component
RESULT
- WE Take the mid surface for all the components after checking the geometrical errors and mesh the mid surface with the given element Quality criteria