Week 2 Challenge : Surface meshing on a Pressure valve
AIM:
To generate surface meshing on a pressure valve with ANSA software for given three different cases.
Procedure:
Step 1: Generate Ansa file which is given along with challenge.
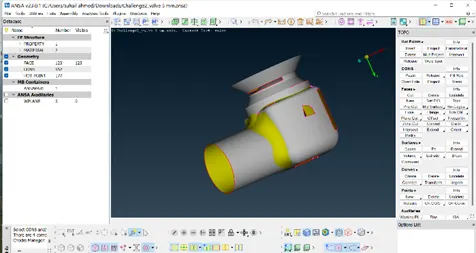
Step 2: Go to checks for detecting geometrical error.
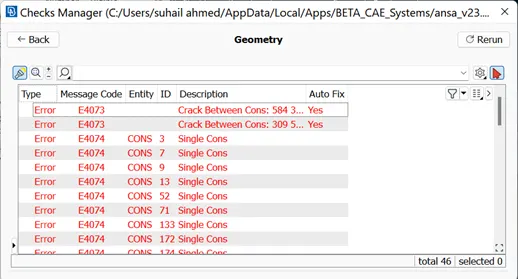
Step 3: Clean the geometrical error with the help of topology tools.
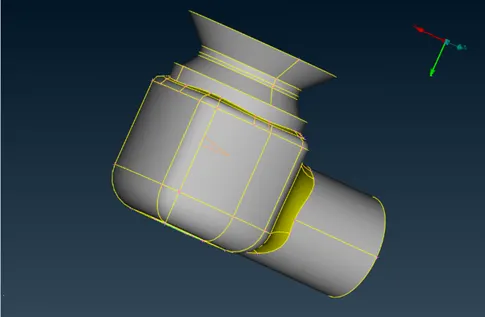
Step 4: Remove the small surfaces from the model using the cut tool.
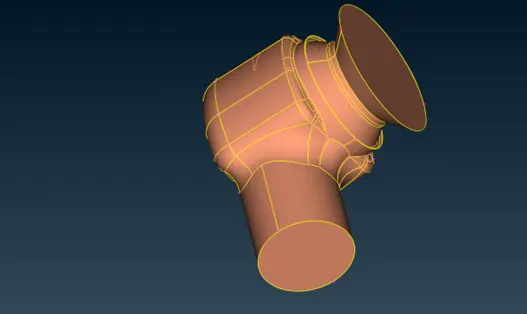
Step 5: Assign PID for all the components separately.
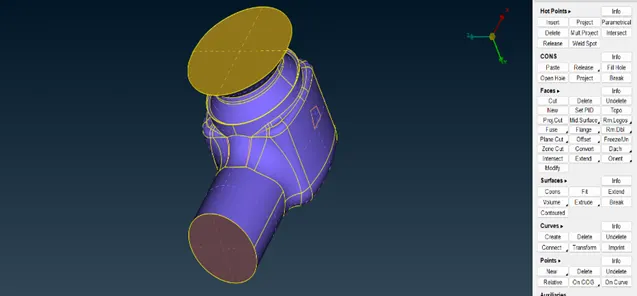
Step 6: After PID assigned. Then go to mesh.
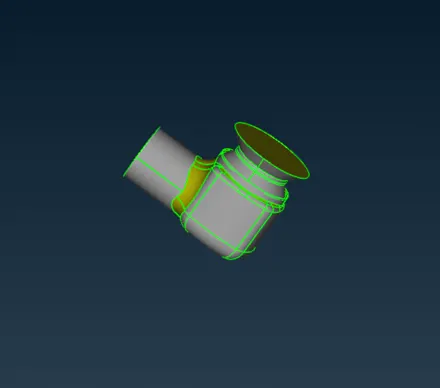
Step 7: Then go to mesh parameters change the target length for three different cases 5mm,3mm,1mm and mesh type as tria.
CASE 1: 5 mm
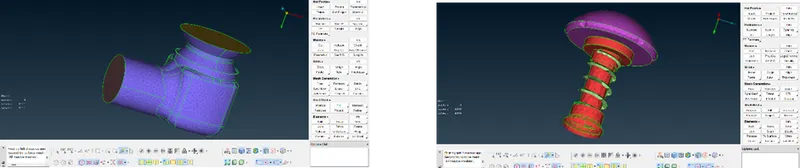
CASE 2: 3 mm
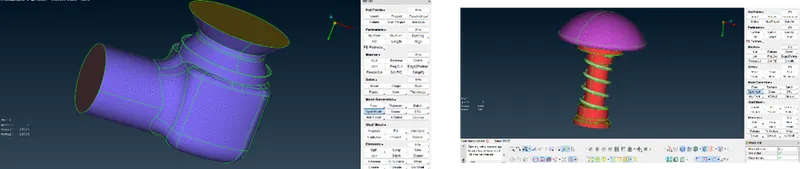
CASE 3: 1 mm
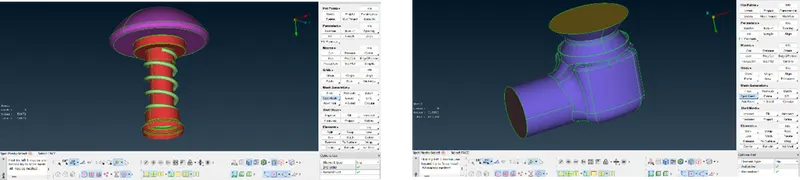
Case comparison:
1mm target length has good result compared to 3mm,5mm. Because 3mm,5mm mesh generation at valve head and spring is not appropriate. But in 1mm the mesh is very finer and round feature at valve head mesh generated properly.
Learning outcomes:
- How to check geometric error.
- How to clean up the error.
- How to create and assign PID.
- In this module, I have learned about different visibility tools.
Result:
Thus, the surface meshing on pressure valve is generated successfully.
Conclusion:
I have studied the different types of tools used in the geometric error clean up and PID creation during the challenge completions of surface meshing on a pressure valve with the three different cases 1mm,3mm,5mm target length and element type as tria.