Week 2 Challenge : Surface meshing on a Pressure valve
Objective: The objective of this challenge is perform a surface meshing on a given geometry model with different meshing target length and compare them.
Section 1 Topology Cleanup:
Before going to meshing, check errors in current model.
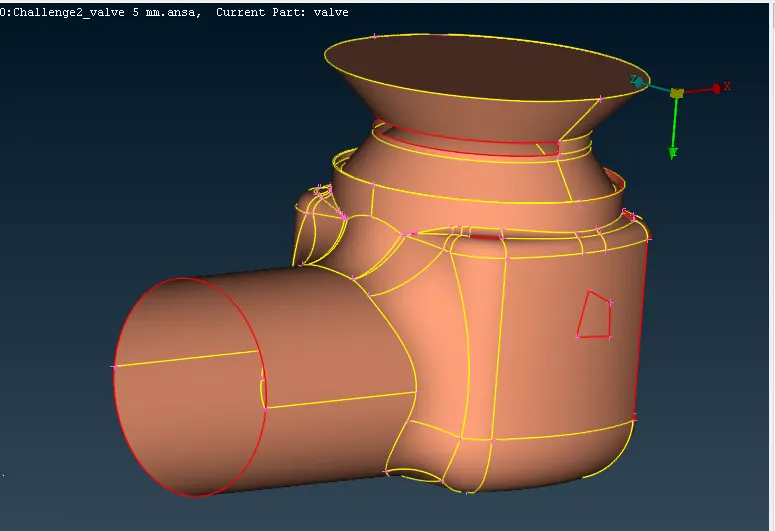
In this model we observed several faults
1.Crack between CONS
2. Single CONS
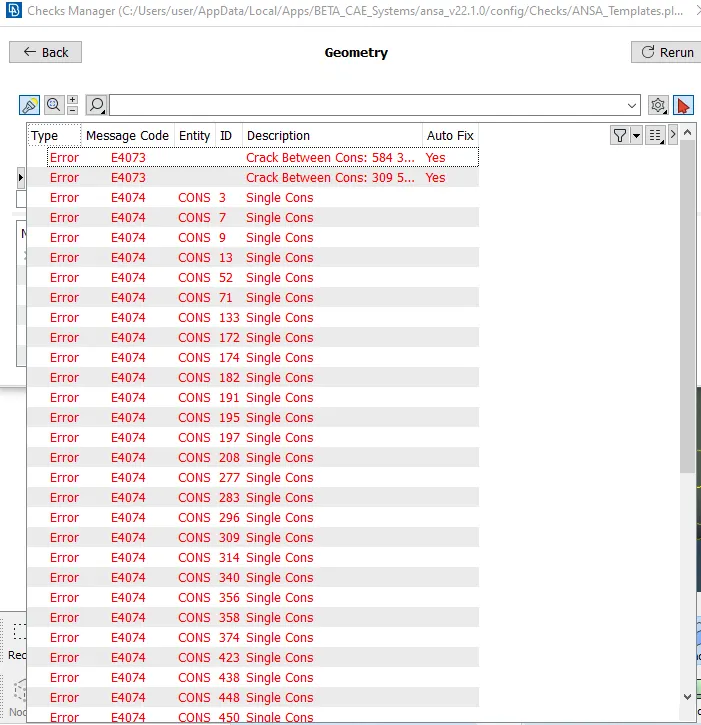
We need solve this error before meshing using topology cleanup. in topology we are using face option patching cad model.
After solving all this errors cad model is look like this
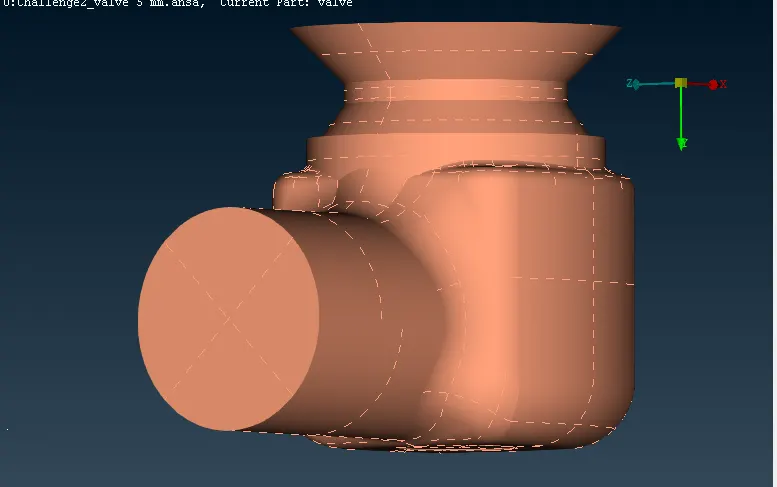
After topo cleanup done meshing is complecated, we need devided surface into several surfaces becuase all surfaces having different geometry and its easy to meshing. This is done by separating surface into different PIDS.
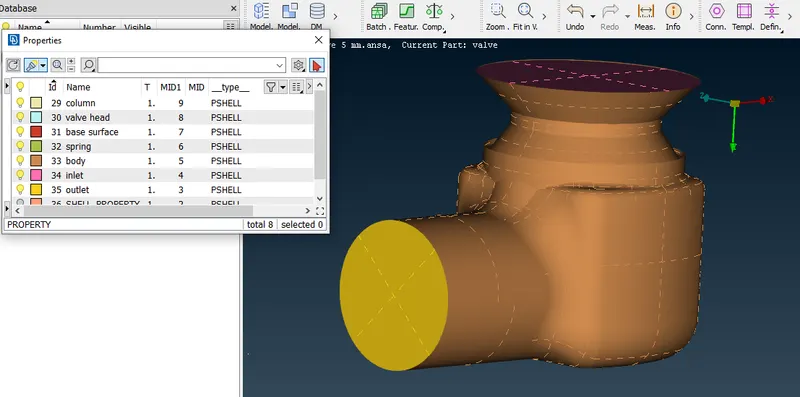
Sectiion 2: meshing 3 models and comparing them
Model 1:
We set the target lenth is 5mm, minimmum length is 3mm, maximum lenth is 7mm and use spot mesh avalable in mesh generation section
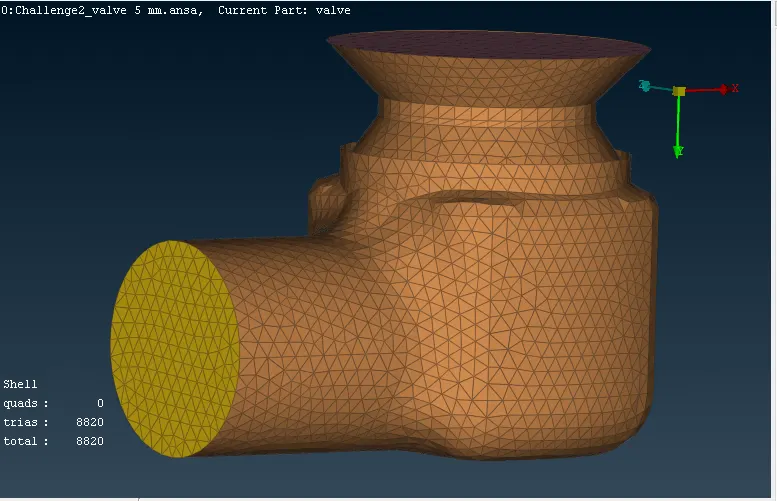
The total number of elemets are 8860,in this meshing only body PID captured, Spring PID as seen following image
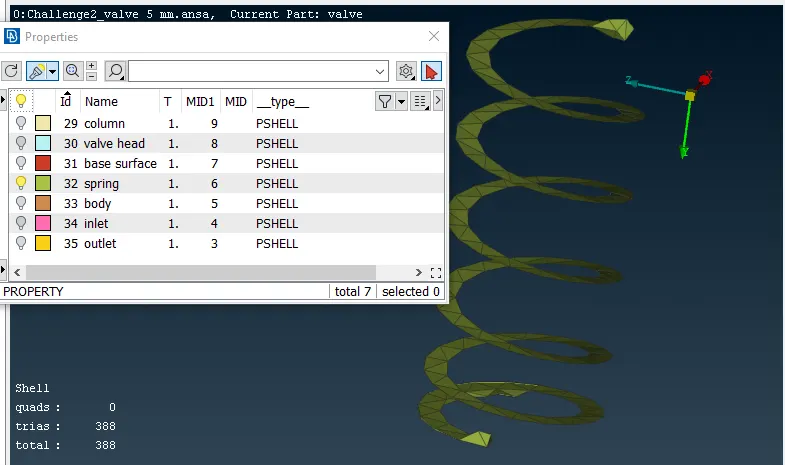
This image shows inaccurate meshing occurs when the mesh element size is larger than the dimensions of the geomtry.
Model 2:
We set the target lenth is 3mm, minimmum length is 1mm, maximum lenth is 5mm and use spot mesh avalable in mesh generation section
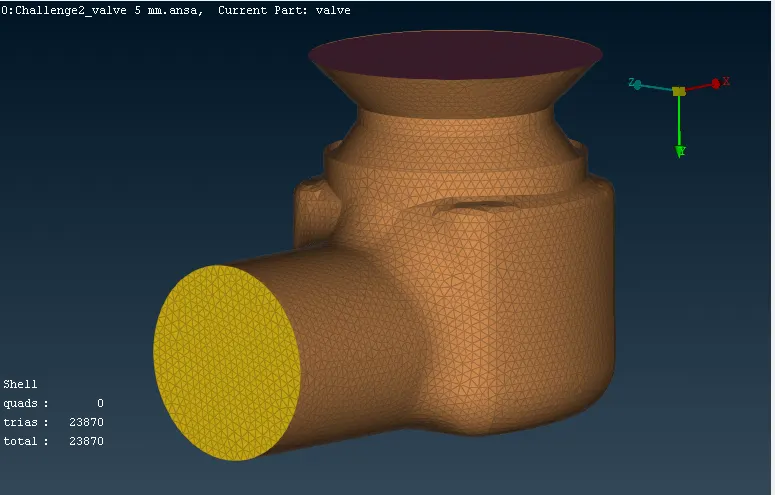
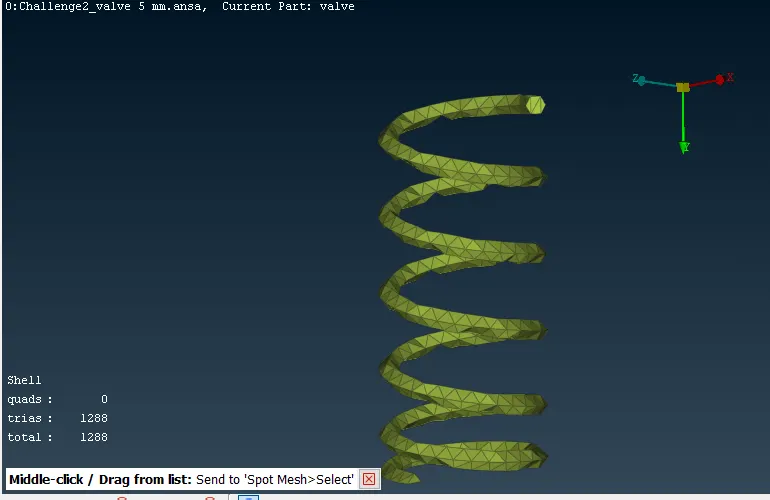
The total number of elements are 23870, We observe that the meshing are finer compared to previous one, in previous one spring mesh captured inaccurately,
when we decrease the target length size get properly following image
Model 3:
We set the target lenth is 1mm, minimmum length is 0.5mm, maximum lenth is 1.5mm and use spot mesh avalable in mesh generation section
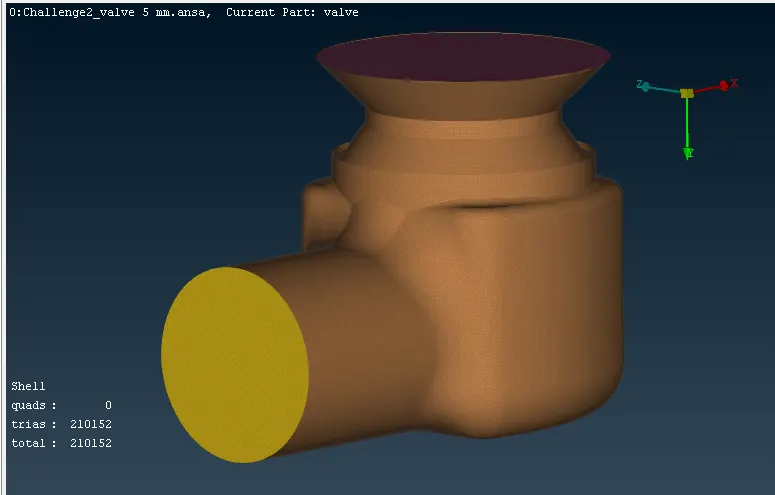
The total number of elements are 210152, We observe the meshing are finer compared to previous one, the following images shows accurate mesh.
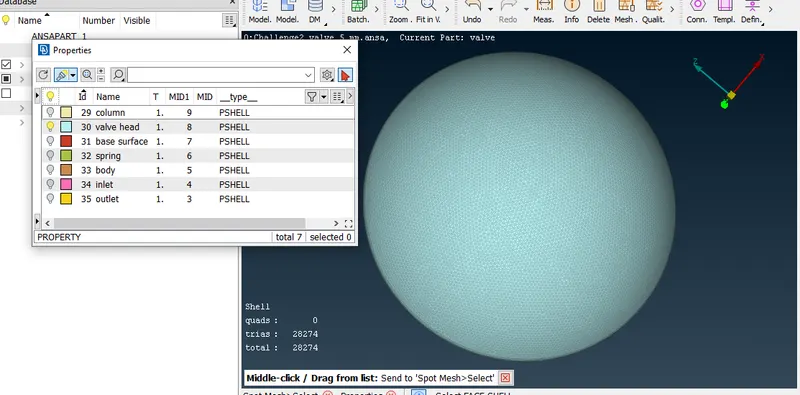
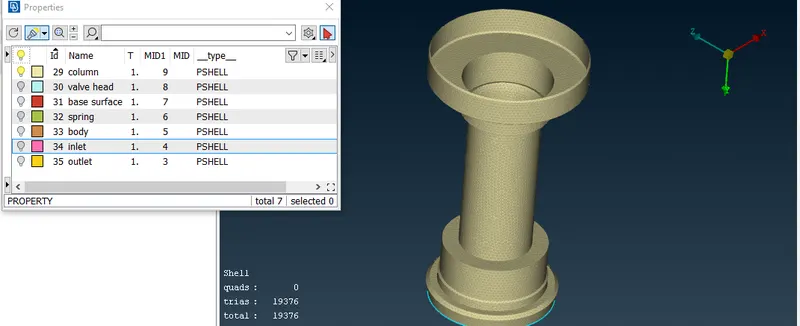
Conclusion:
The mesh size decreases number of elements increases. smaller mesh sizes captured high precision and accuracy, different surfaces having differnt mesh sizes.