Week 2 Challenge : Surface meshing on a Pressure valve
Aim- Set three different target lengths as three different cases and mesh the model.
Procedure-
Step 1- Download the Model
Step 2- Run geometric check that will indicate single cons and hence missing surfaces. Create all the missing surfaces and close the pressure valve from its bottom.
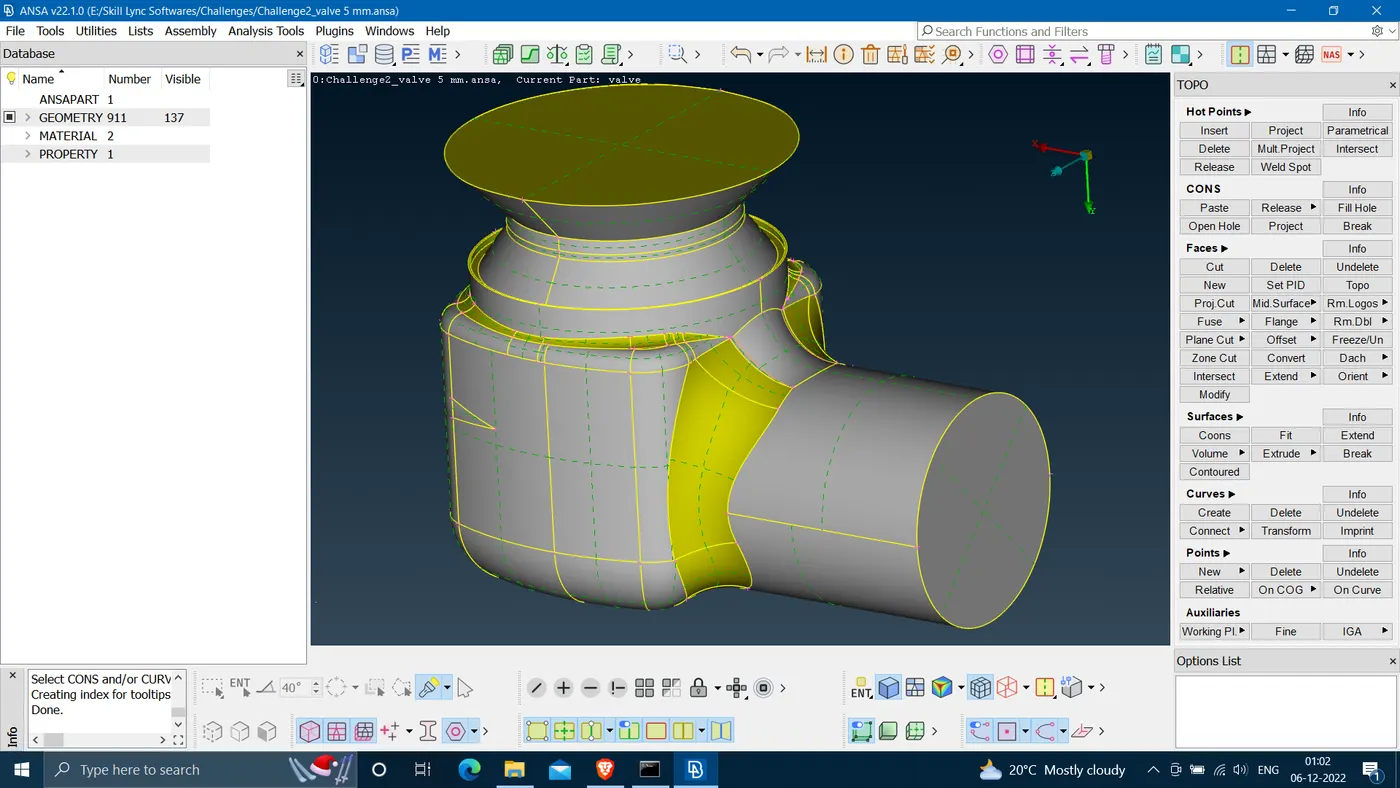
Step 3- Cut all the small double coons that may cause problem during meshing reason being their smaller size than target length.
Step 4- Creating and assigning PIDs.
Step 5- Meshing
Learning Outcomes-
Step 1- Learn to download the model :-)
Step 2- i) In order to create all the missing surfaces first we need to run geometry checks from Checks --> Geometry. Check all the parameters to be checked for and execute. This will show errors present in the model and it is now our task to solve those errors.
ii) To create surfaces- Faces --> New --> a) Existing surface- Used to provide guide of a existing surface for surface in creation.
b) Planar- Used to fill missing surfaces on a flat plane.
c) Fitted- Regular shaped geometrical surface
d) Coons- Creates surface between selected single or double coons.
Step 3- i) To cut small size double coons- Faces --> Cut. Then right click on the respective double coon. This turns its colour to orange indicating the historical existance of that double coon.
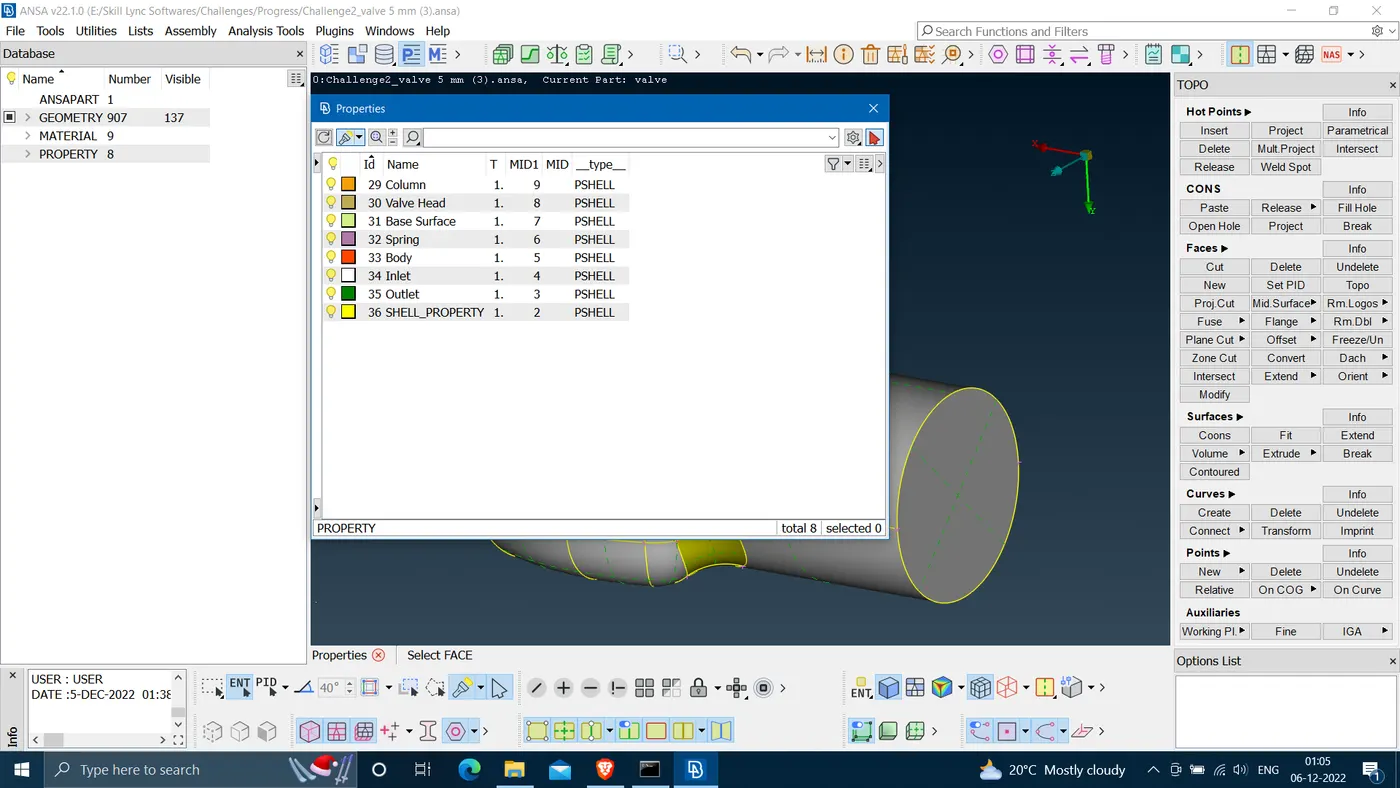
Step 4- i) To create PIDs- Properties --> Right click --> New --> PSHELL --> PSHELL. Pop up box will be visible give name for that particular PID. In this way we can create as much PIDs as we want.
ii) To apply particular section of the model to the respective PID. Right click on the created PID in Properties --> Apply --> left click on the cross hatch of the respective surface.
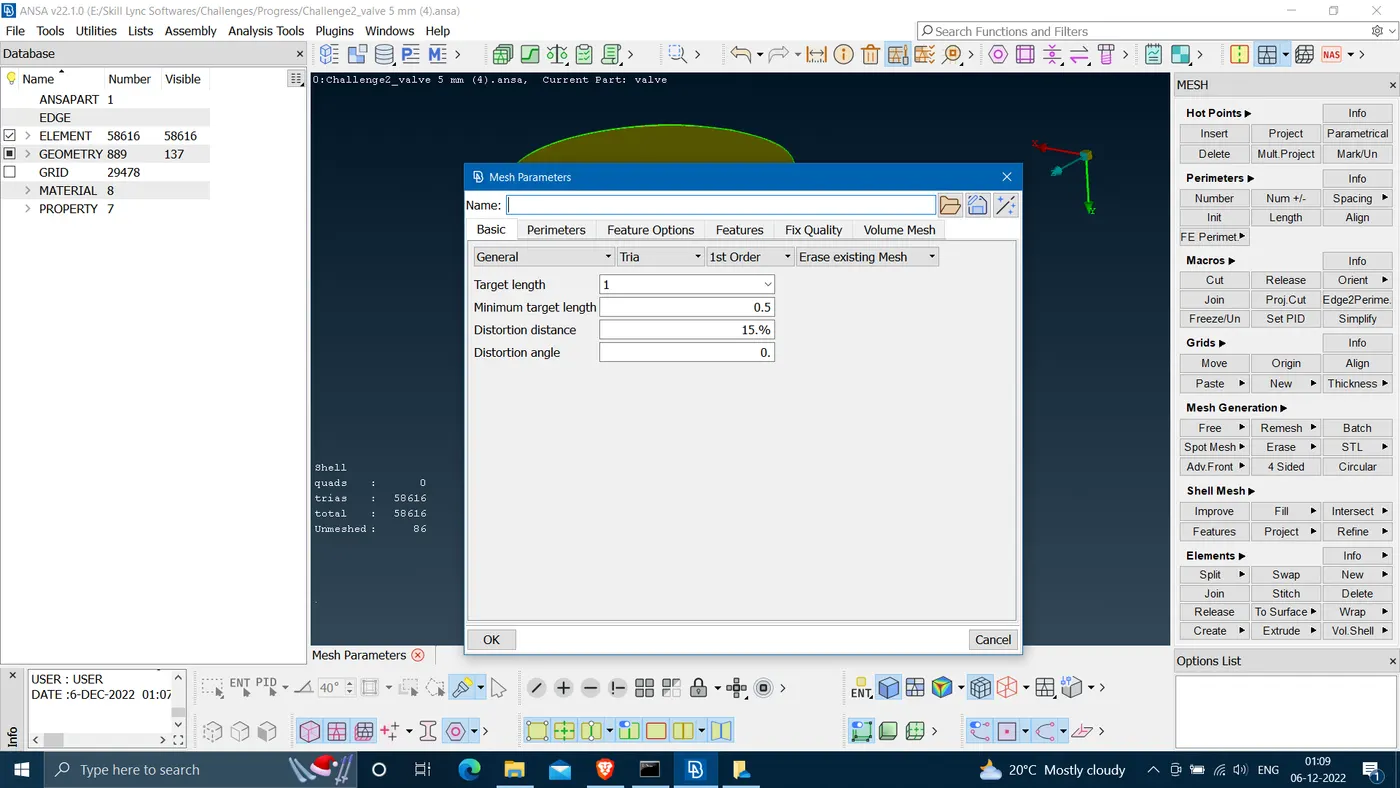
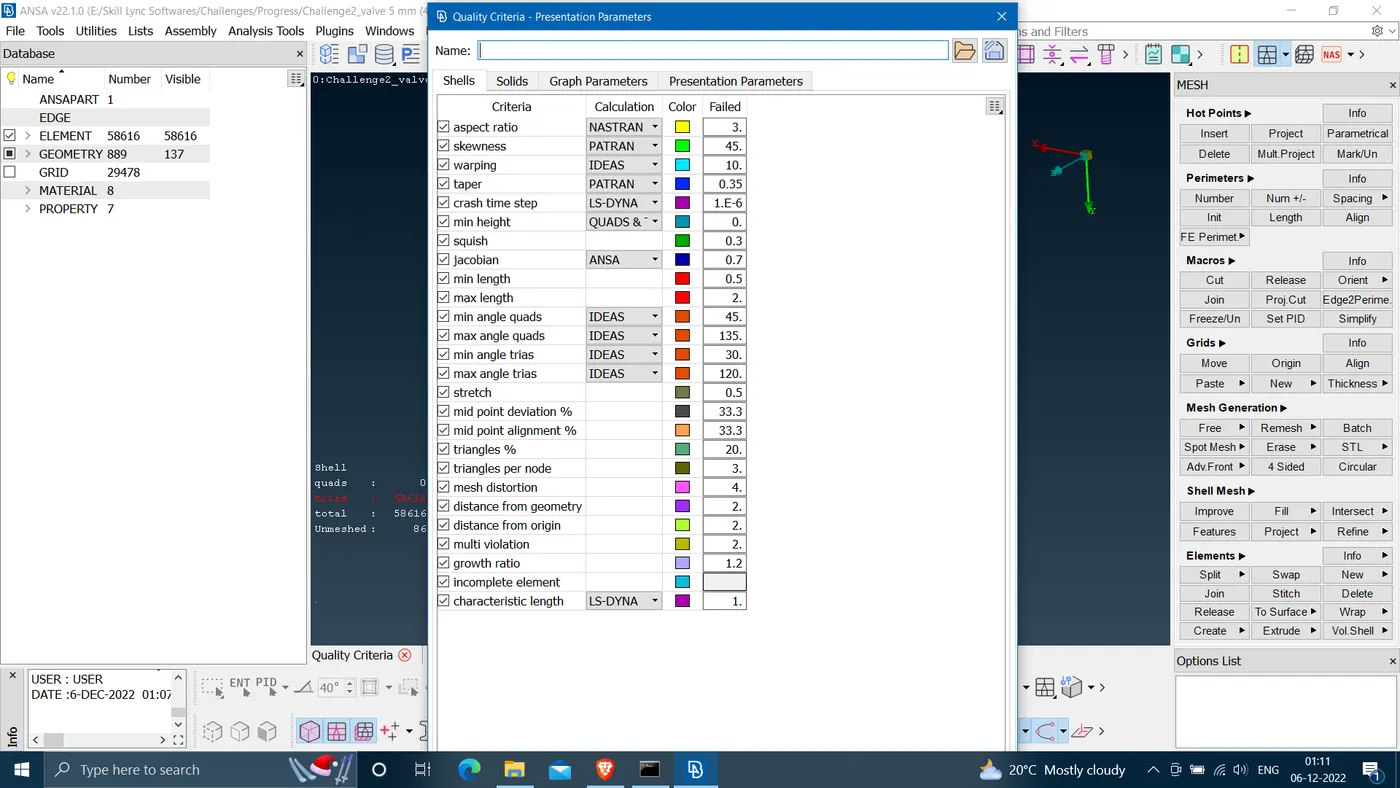
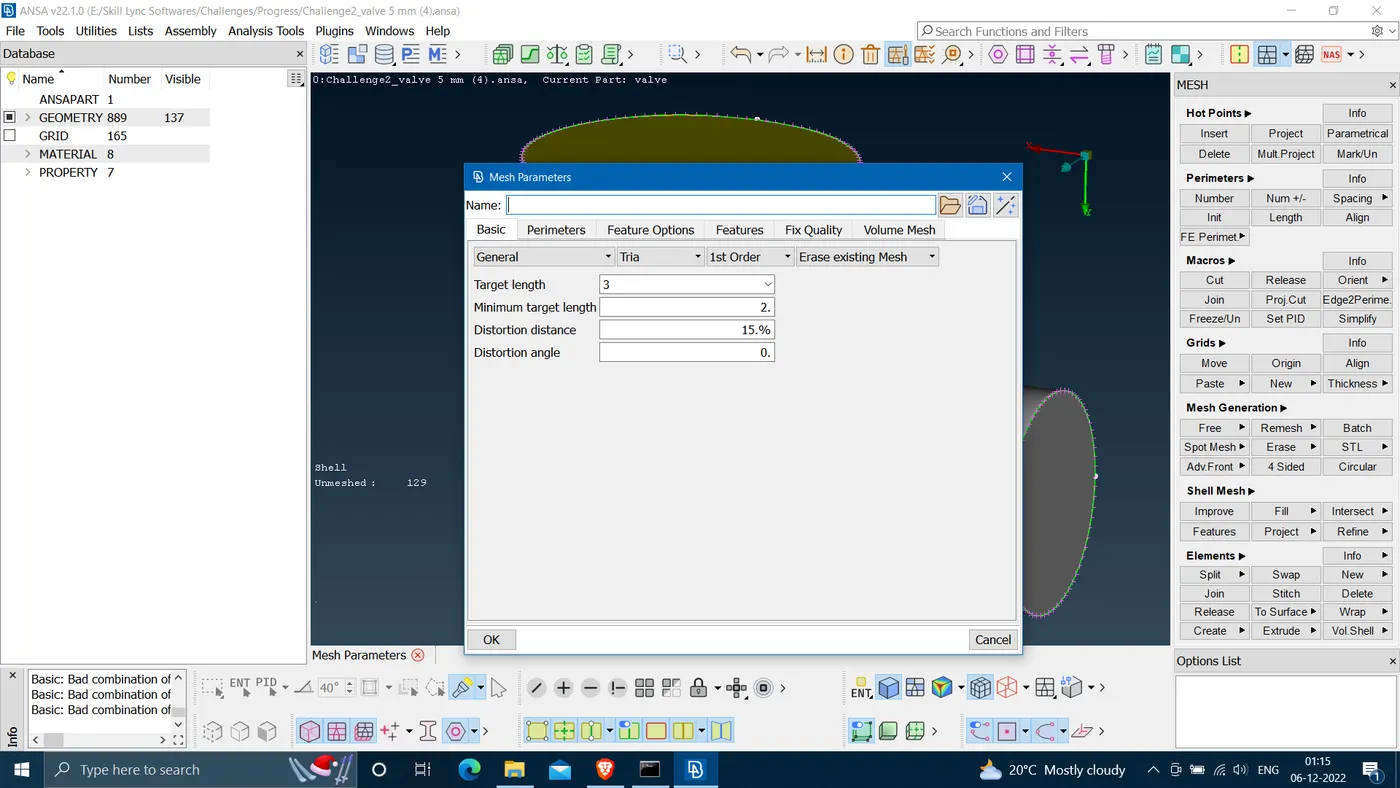
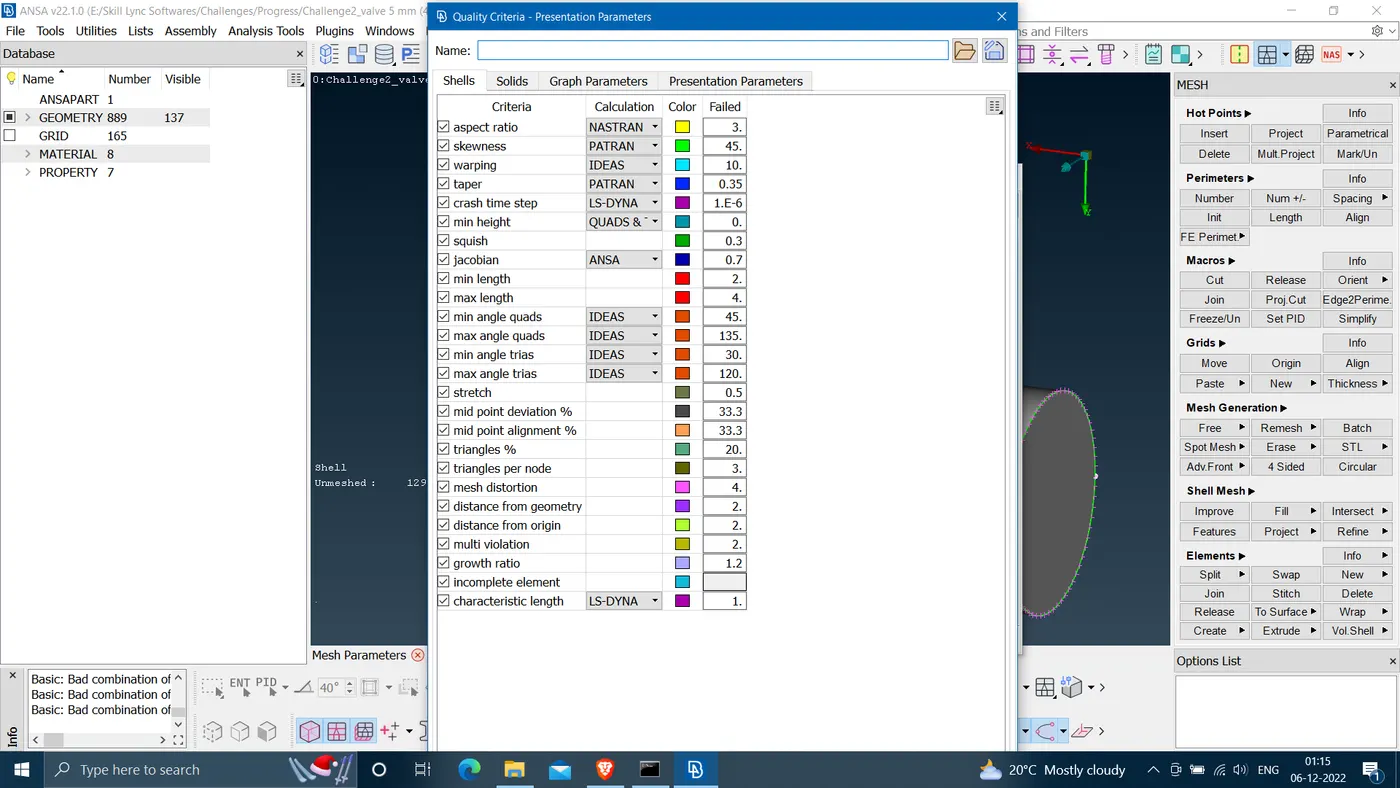
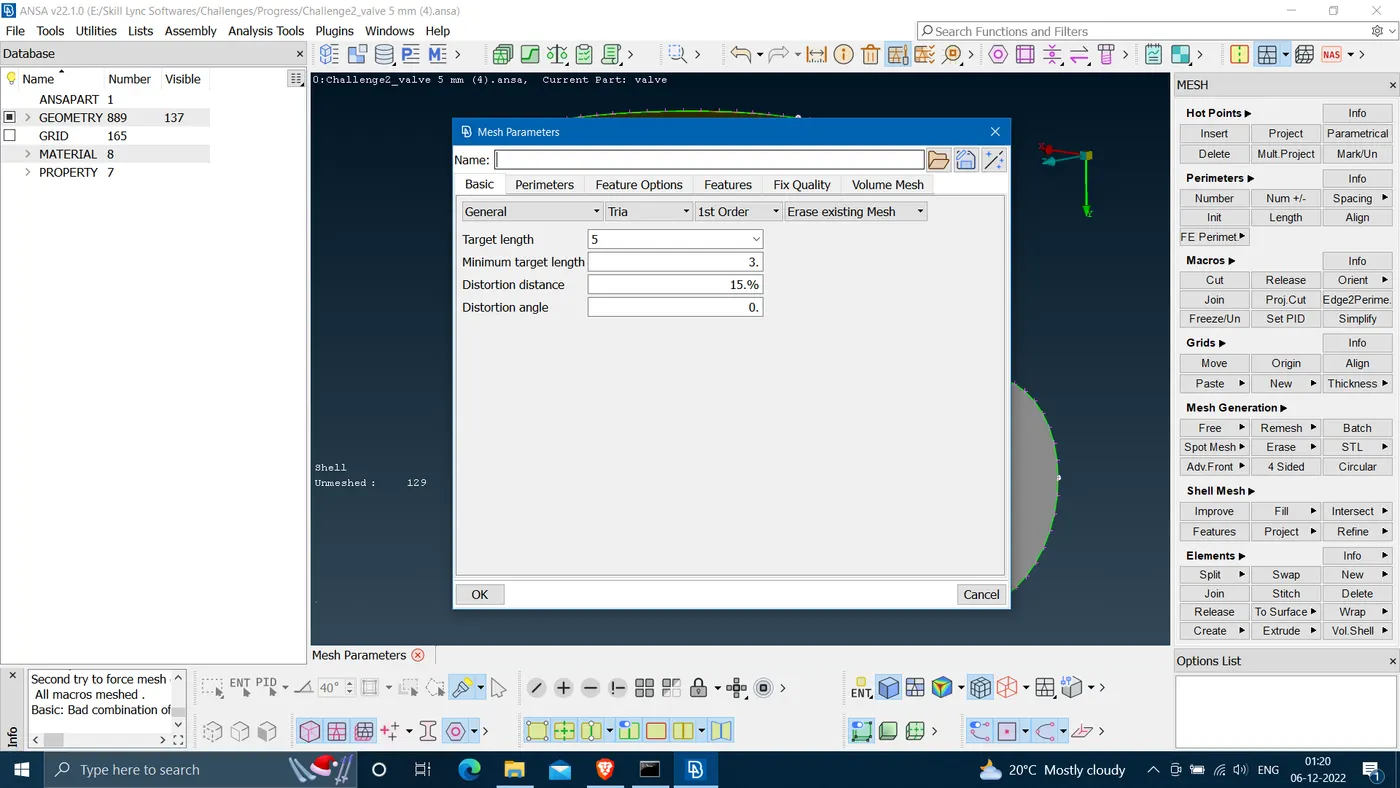
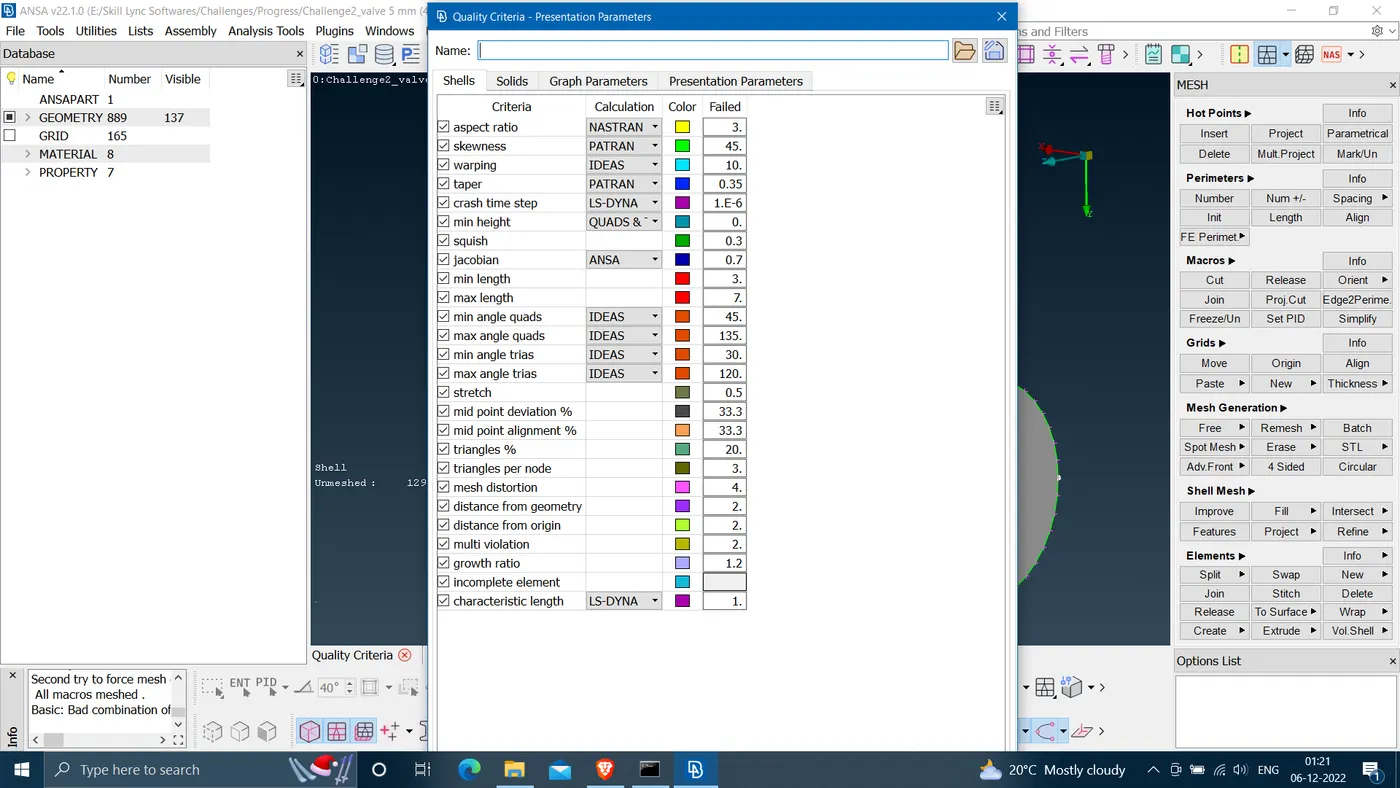
Step 5- i) To begin with meshing- Go to Mesh --> Classic Mesh --> Perimeters --> Length. A dialogue box will open with two option 1- Perimeters 2- Macros. First chose first one chose box selection and give target length and then chose second one and chose box selection and give same target length. Go to Mesh Parameters their give target length and change element type to the desired one. Give minimum target length as well. Then go to Quality Criteria. There Give maximum and minimum target length. Generally Target length should be the average of maximum and minimum avergae length.
ii) To mesh- Go to Mesh Generation --> Spot Mesh --> Long right click and chose visible option but before that isolate the PID to be meshed using any of the Or and Not option.
Result-
Topo Cleanup-
PIDs Creation-
Meshing-
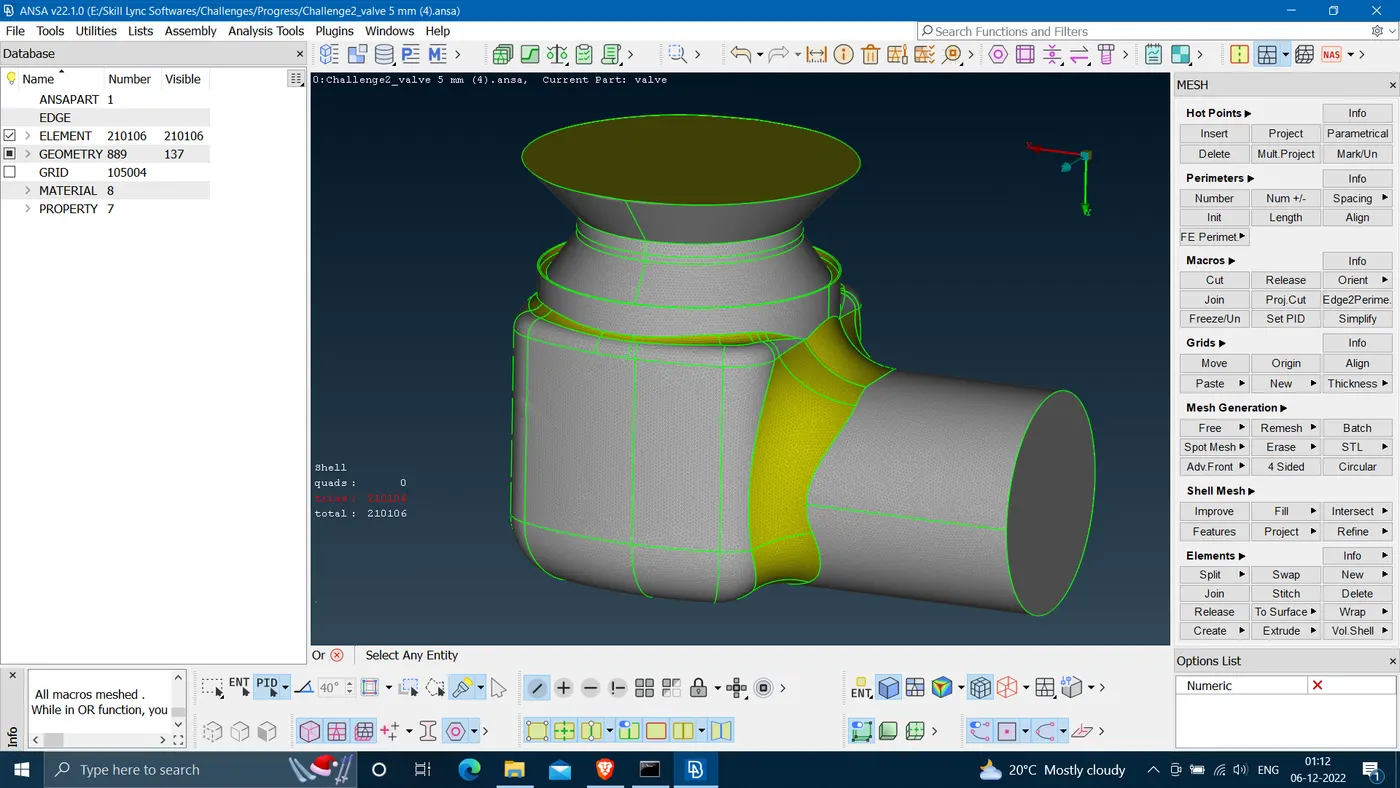
Case 1- Target Length- 1 mm
Mesh Parameters
Quality Criteria
Mesh Result-
Case 2- Target Length- 3 mm
Mesh Parameters
Quality Criteria-
Mesh Result-
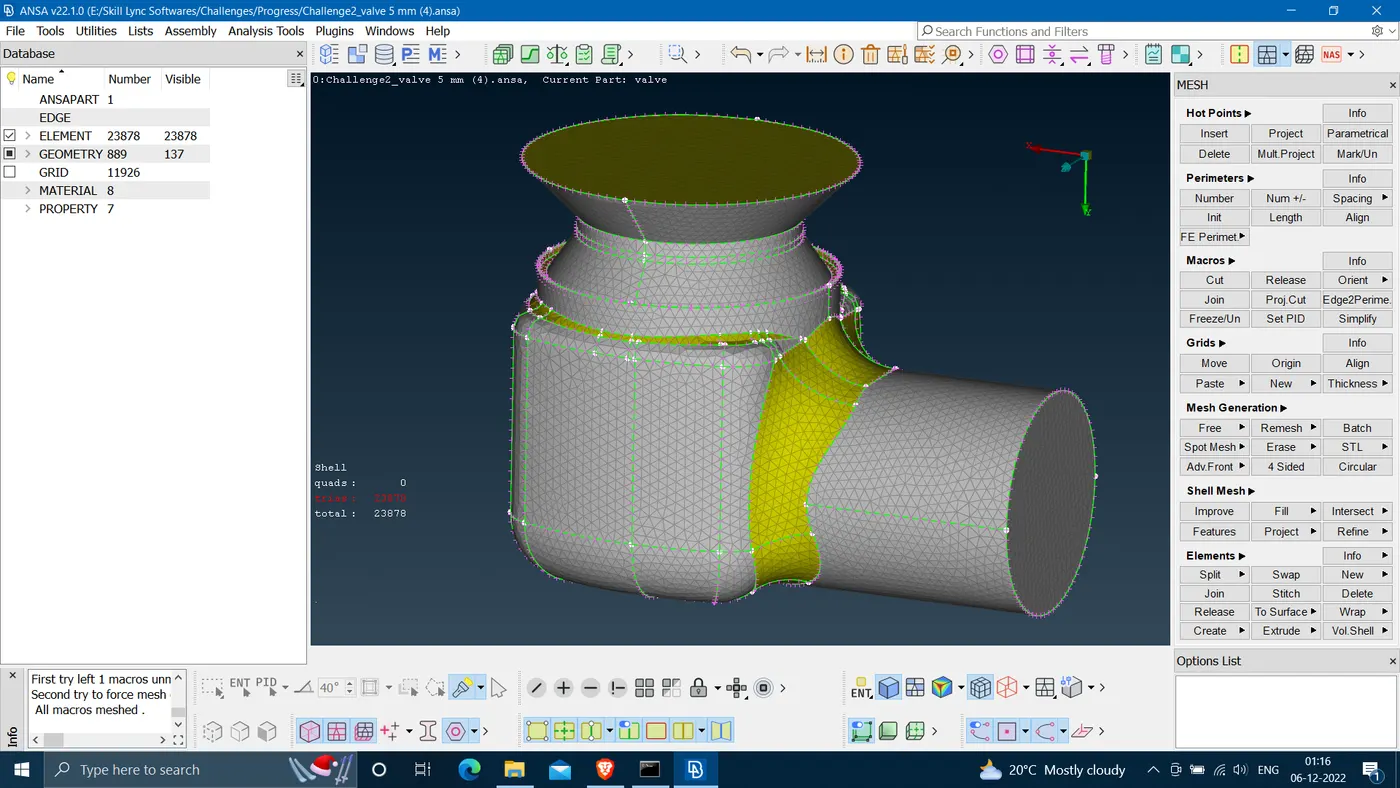
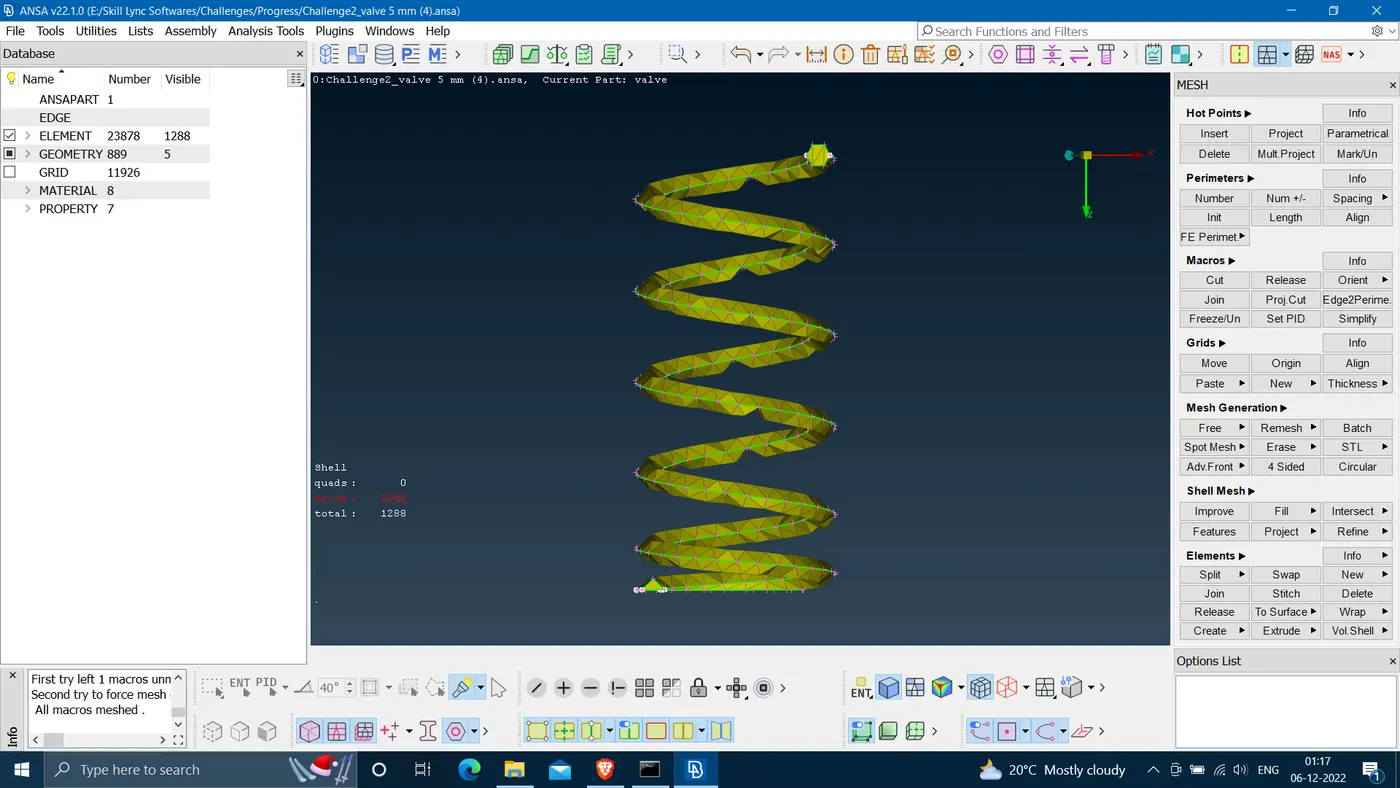 Spring Distorted due to larger target mesh size
Case 3- Target Length- 5 mm
Mesh Parameters-
Quality Criteria-
Mesh Result-
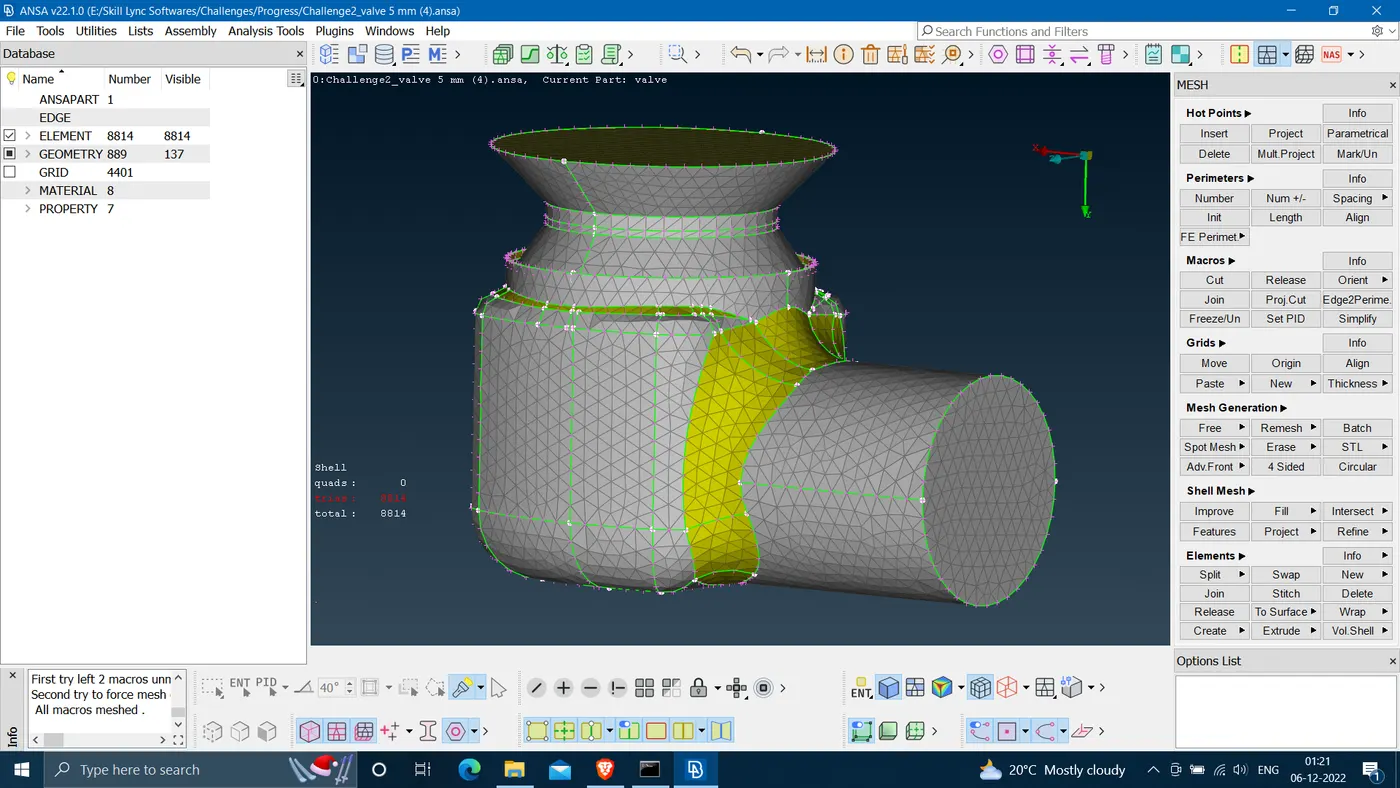
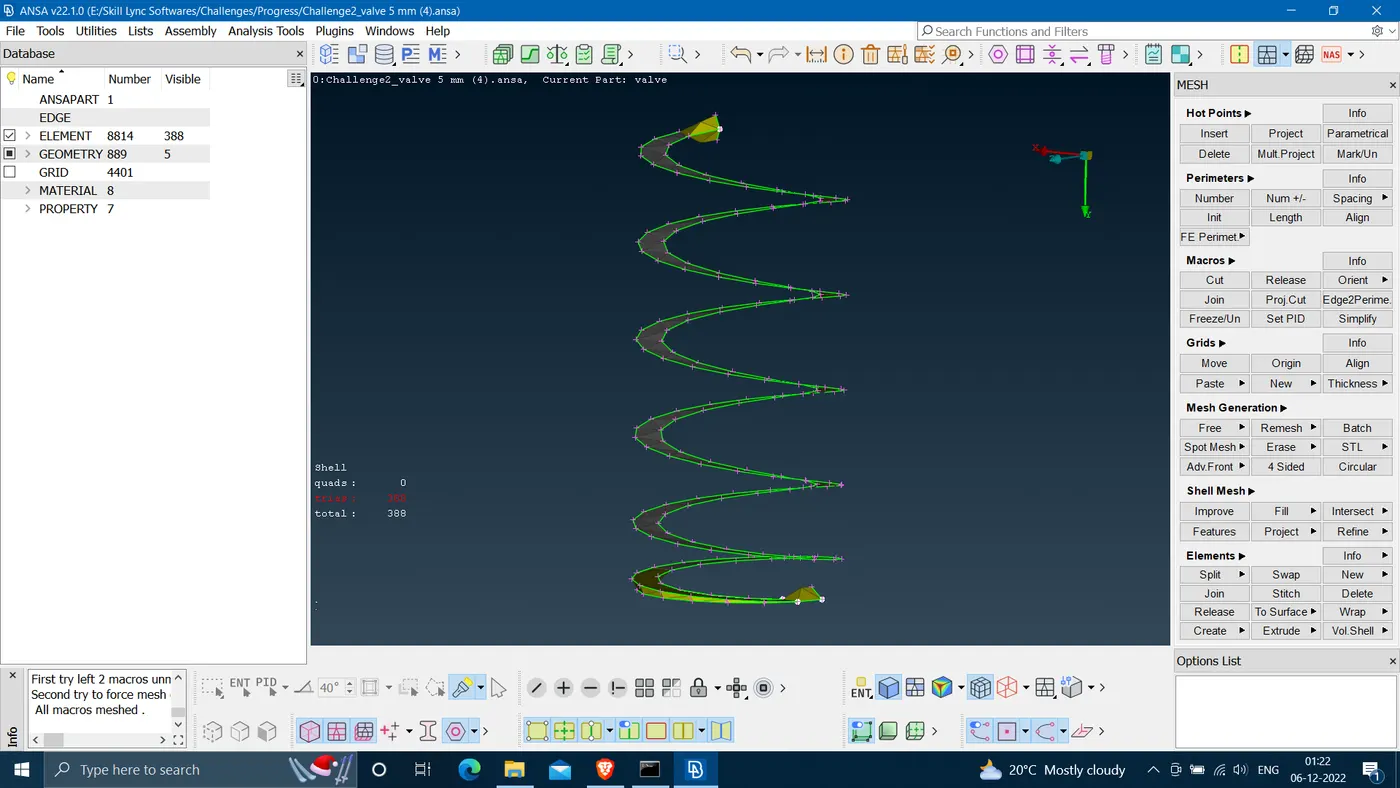 Distortion of spring shape due to even higher target mesh size.
Conclusion-
1. Smaller the target mesh size grater the number of total number of elements in the meshed model and accurate the shape of the smaller parts of the model.
2. One must choose target mesh size depending upon the smallest component of the model.
3. Here 1 mm target mesh size gives finer mesh comparatively to the 3 and 5 mm target mesh size.