Week 2 Challenge : Surface meshing on a Pressure valve
AIM: Perform Topology cleanup and surface Meshing of the Pressure Valve using ANSA
OBJECTIVE:
- Target length = 1mm, 3 mm and 5 mm (i.e. 3 cases)
- Element type = Triangular Mesh
METHODLOGY:-
Step1. Import a Geometry and check the Geometry
First we have to check the Geometry. Go to checks> geometry> check the Templates (i.e, Ansa Checked Geometry)> check the geometry for:
- UnMeshed macros
- unchecked faces
- Collpased cones
- Triple cones
- Needle faces
- Overlap faces
- Cracks
- single cons
After that Click on execute There is some errors Ansa showed up we have to solve them one by one to check our geometry for Topology cleanup.
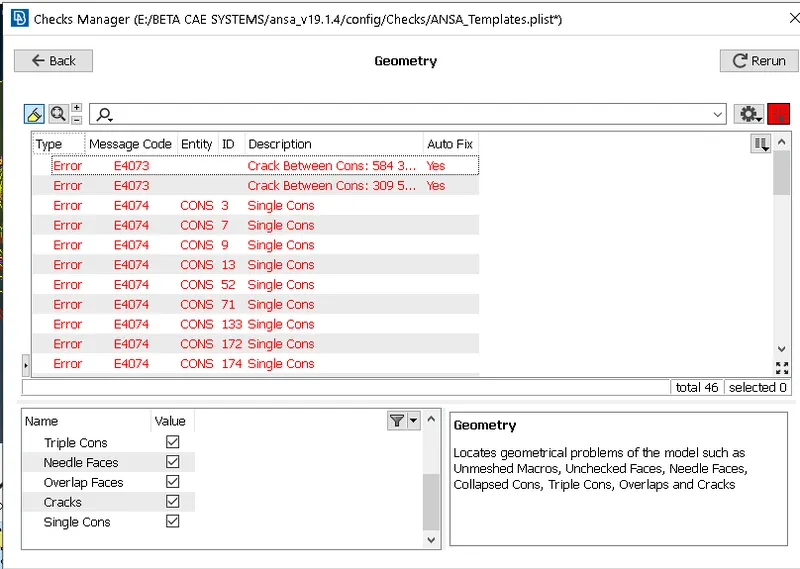
To check out the single cons error Click on all single cons error and then Check the geometry It has showed up all the Single cons error in our geometry.
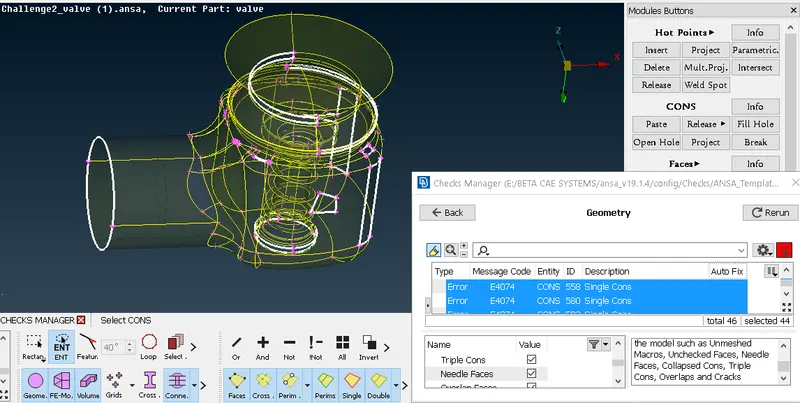
To check In the wireframe Mode Press Ctrl+chift and only active the single cons and deactive the all double and triple cons.
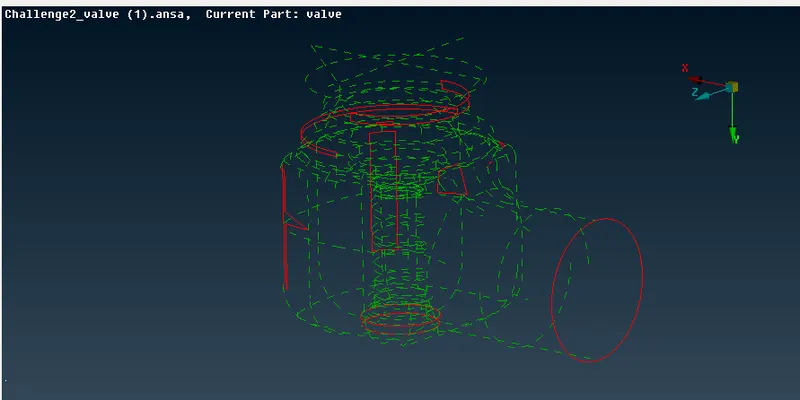
Red lines represents the Single cons. To check for Double cons active only the double cons.
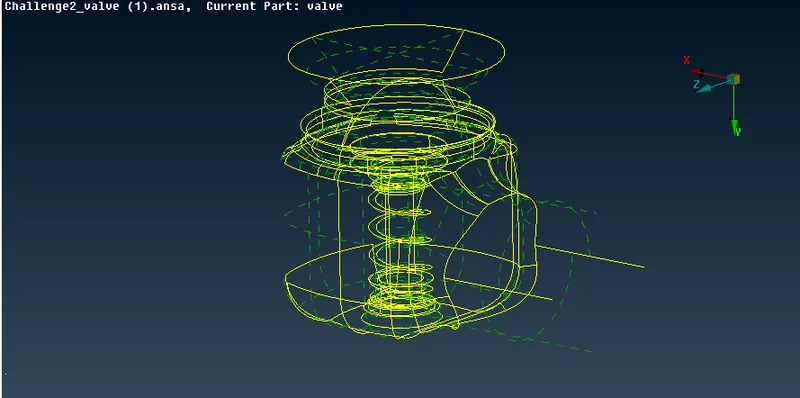
Yellow lines represents the double cons.
To create surface at the face for overcome the errors of single cons. Go to Topology then Faces> New> Existing surface> Click on the cons> Then do middle Click for confirmation> Select the face> Surface created.
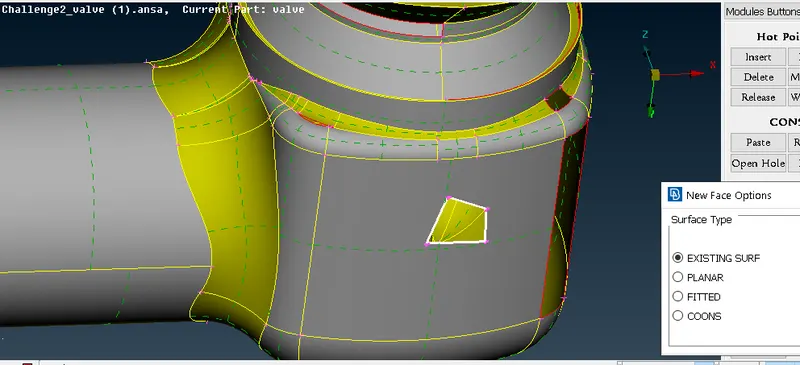
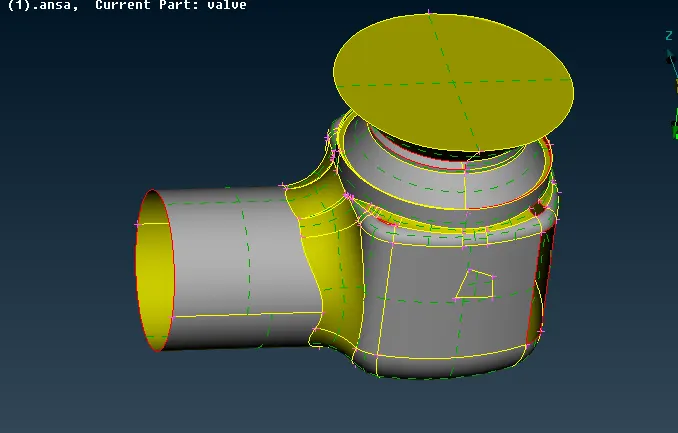
Like this we will ceate all the surfaces one by one by faces commands as per situable surfaces.
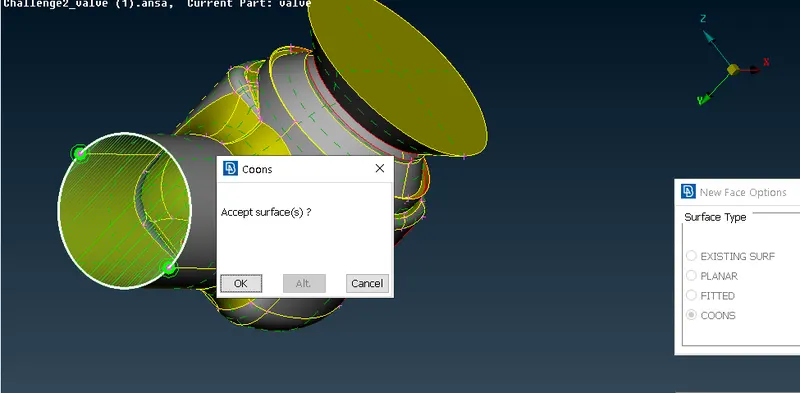
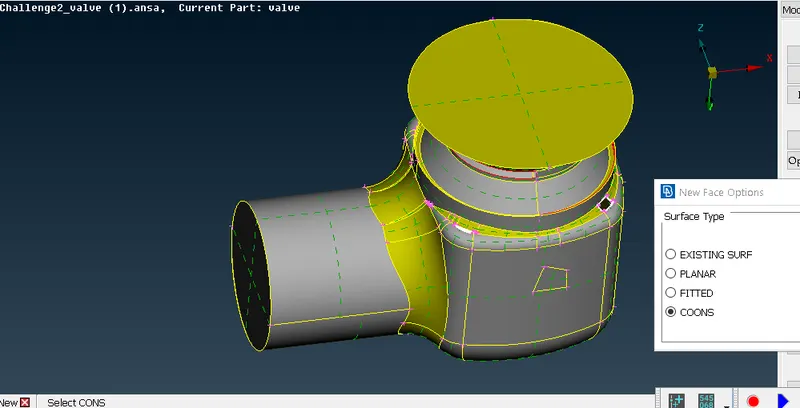
After overcome error for all the single cons surfaces. We only consider the single cons errors not the double or triple cons errors. Now, Our Geometry is ready for Next step.
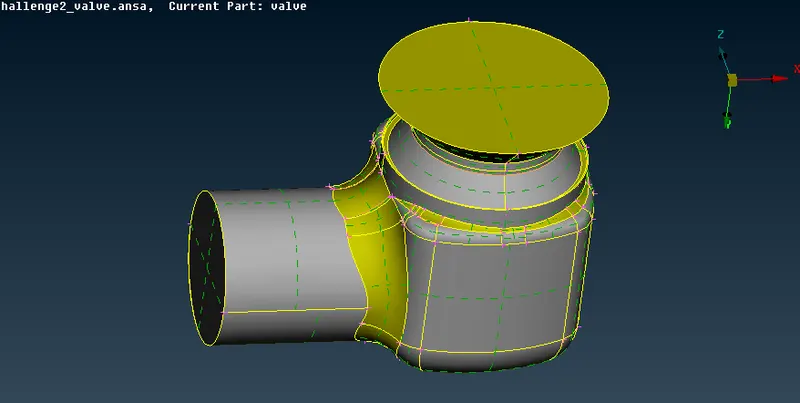
First we delete all the small lines of single cons of the Geometry that will not create an issue on Meshing.
After that we have created the PID's of our geometry as :
- Inlet
- Outlet
- Body
- Valve head
- Column
- Base
- Spring
After created PID's we have to assign them according to our Geometry in Image's shown below:
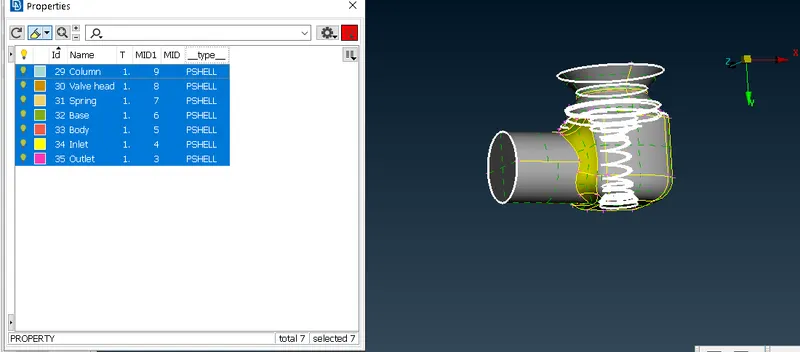
- Inlet and Oulet:
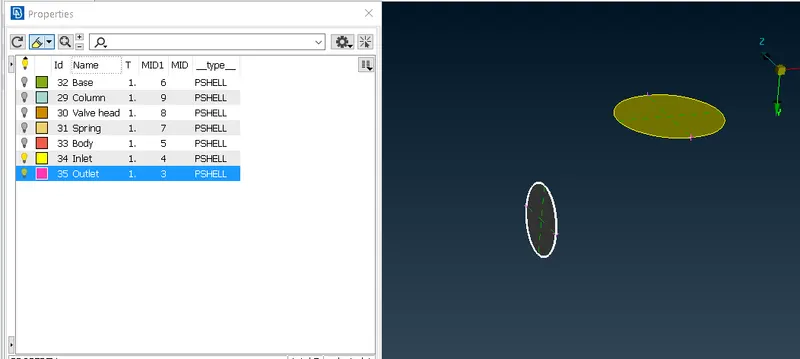
- Body of our geometry
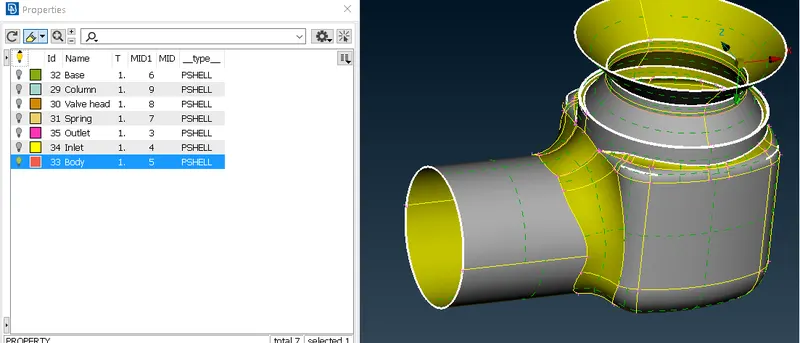
- Inner body
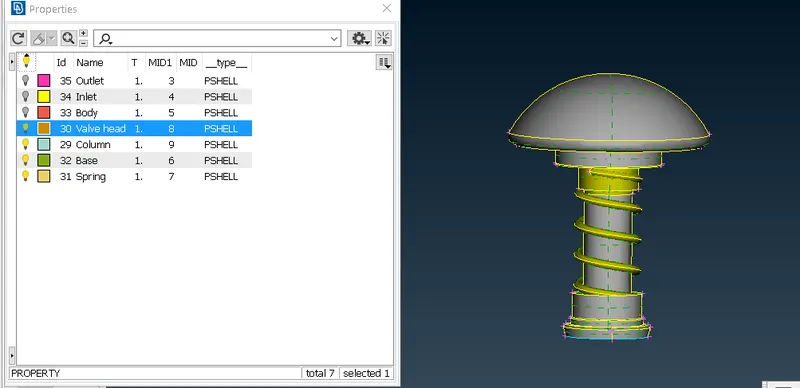
- In inner body we have created Also PID's as
- Valve head
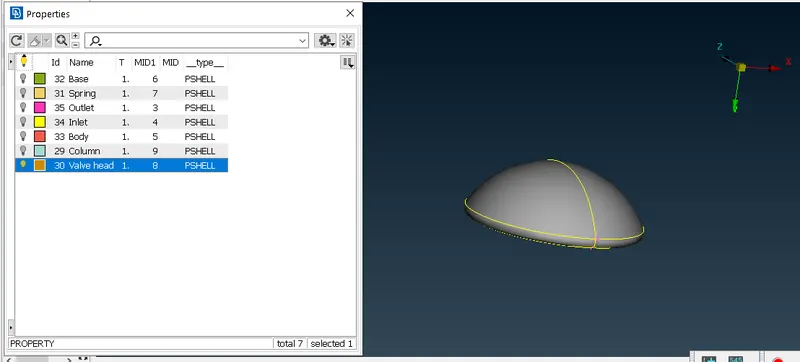
- base
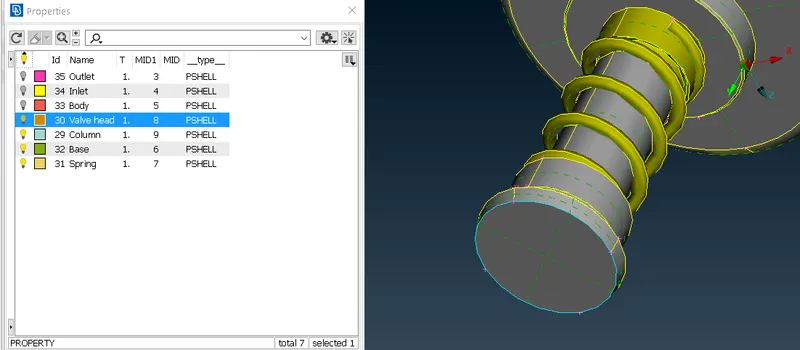
- Column
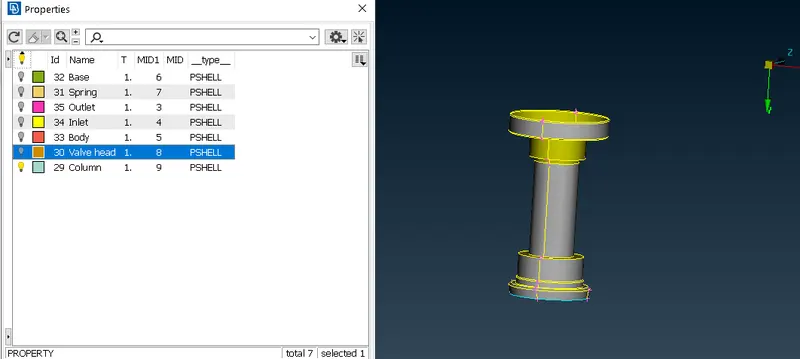
- Spring
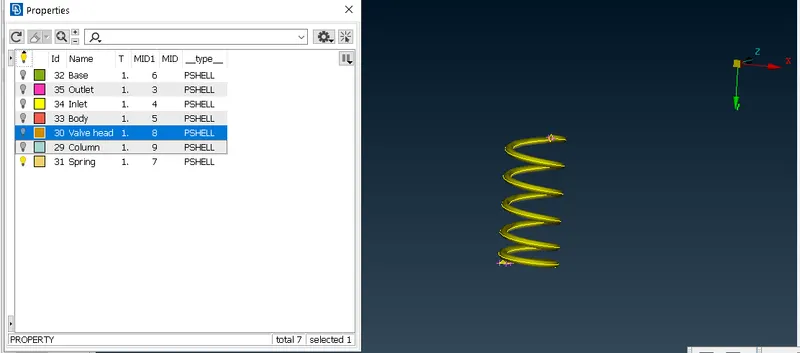
After creating PID's now our Geometry is ready for Meshing. In the Meshing first we created the Mesh Length by 4 parameters:
- Perimeter> Length> first we select the First Parameter> then select the whole body> middle click for confirmation> Input the Mesh length> then press Ok.
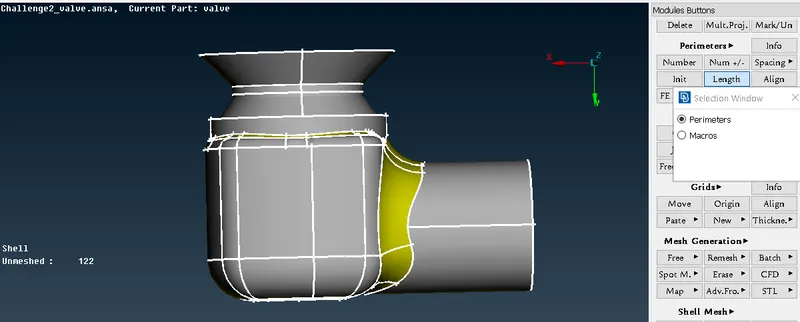
2. Same we have done for Macros.
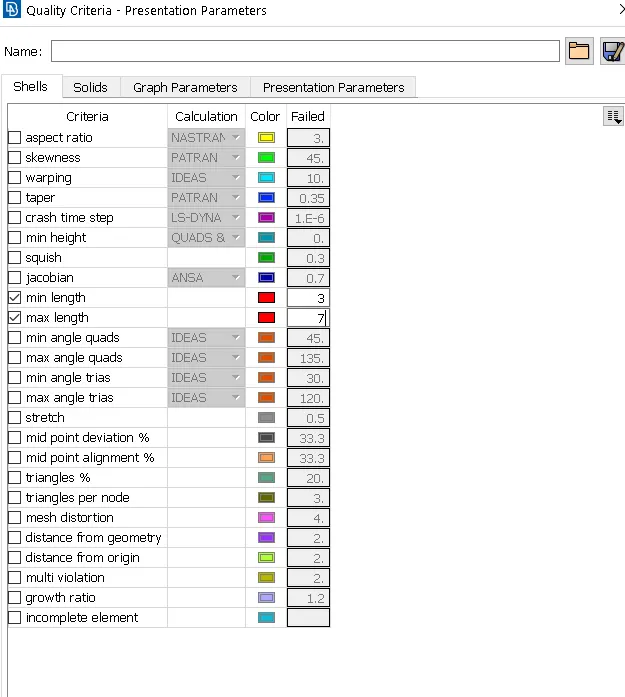
3. Then we set the Quality criteria as Minimum length is 3 and Maximum length is 7.
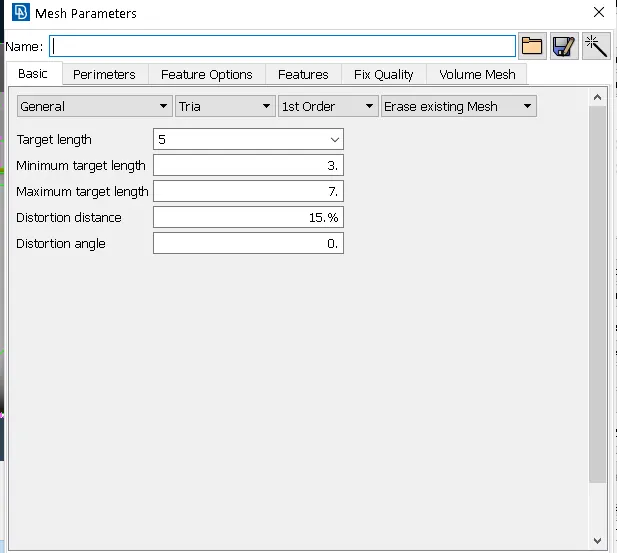
4. Set for Mesh Length for Mesh parameters as target length is 5mm, minimum target length is 3mm and maximum target length is 7mm.
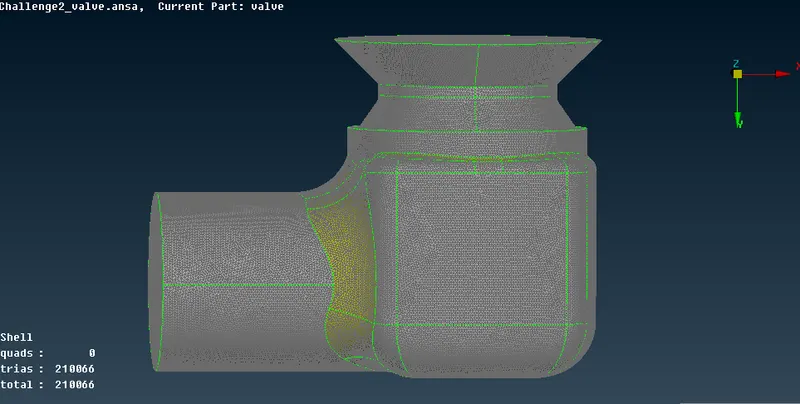
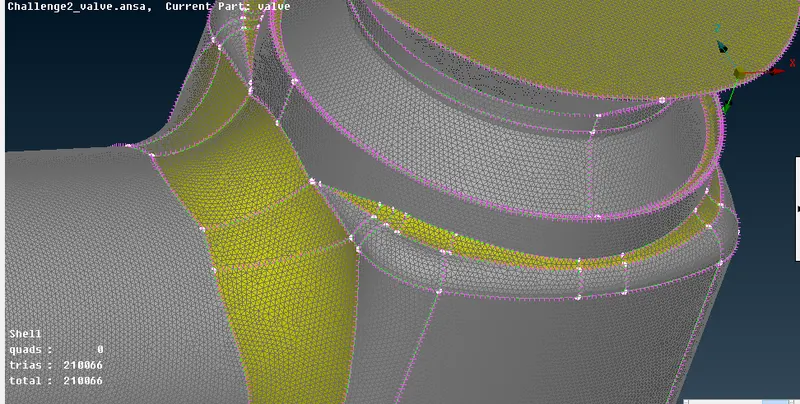
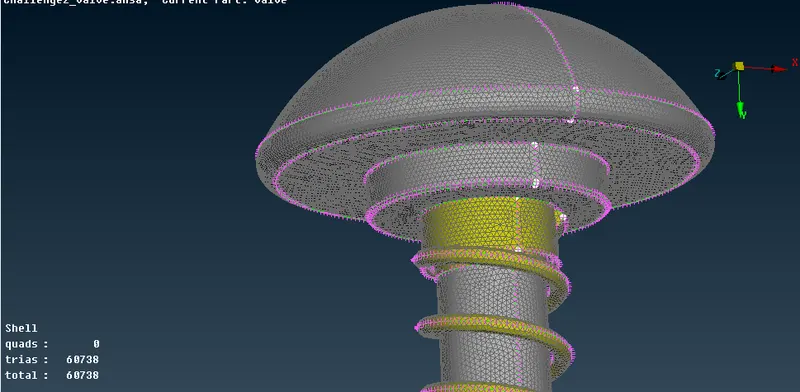
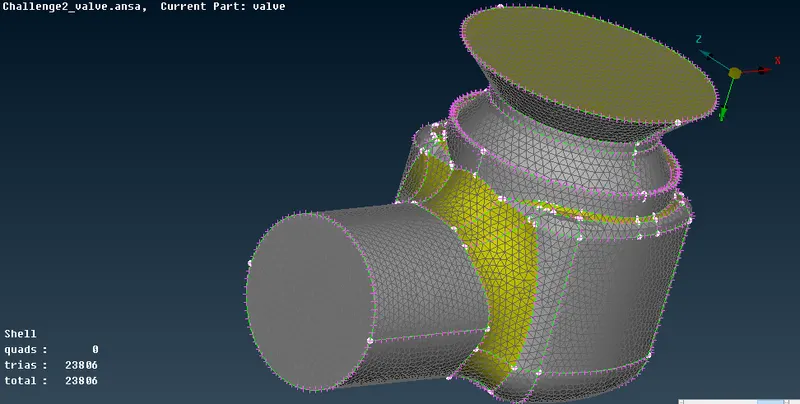
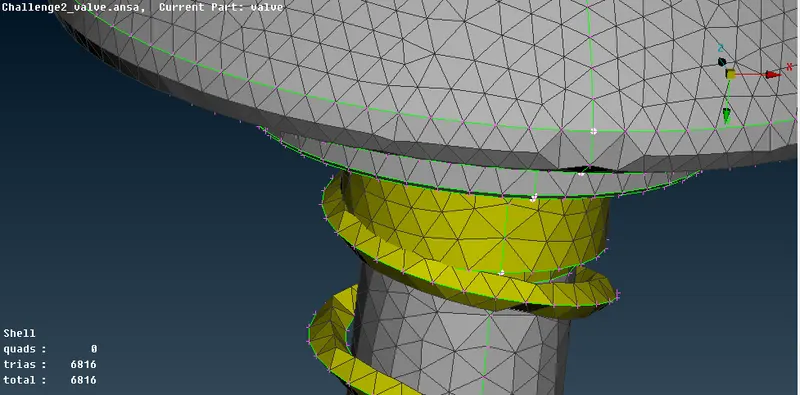
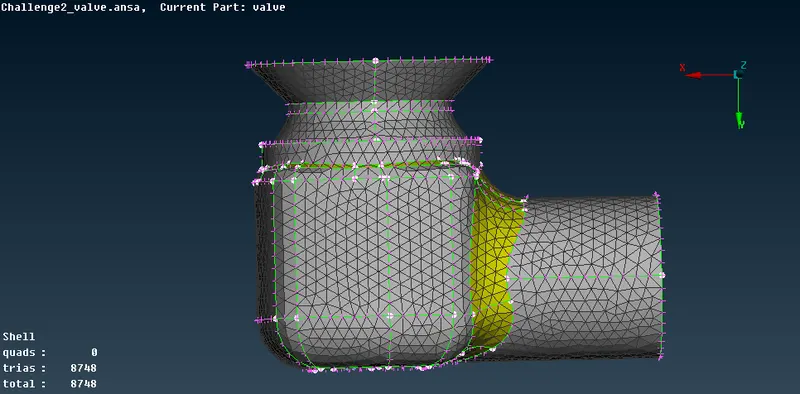
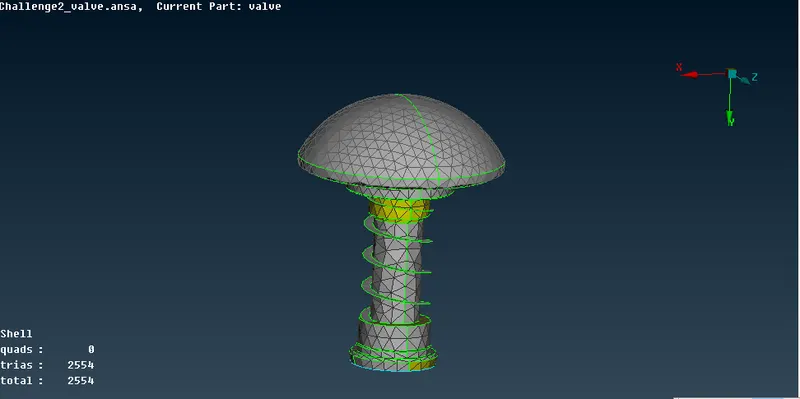
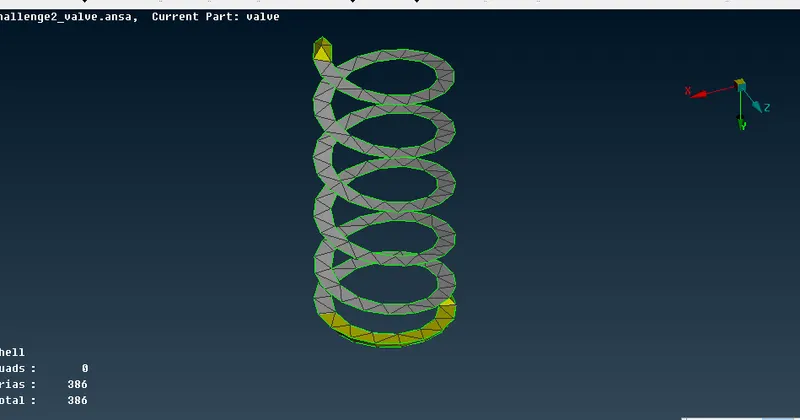
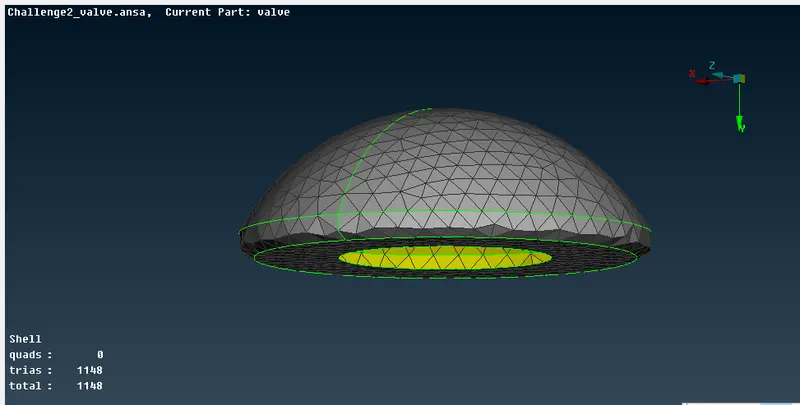
After than We go to Mesh Generation> Spot Mesh> Click the faces of the Geomtery and Mesh it one by one. In this study we have to Generate Mesh for 3 cases the Target length is given as 1mm, 3mm and 5mm. here are the results of Mesh Generation:
For Target length is 1mm
For Target length is 3mm
For Target length is 5mm
Here are the Models of Mesh Generation for all 3 cases:
- For Target length 1mm
https://drive.google.com/file/d/1yLt14F3eTNT0p14m62hJ8z5gwY4Q3Xt1/view?usp=sharing
- For Target length 3mm
https://drive.google.com/file/d/1YoJCeiehmqkvCr6Q5XV-nR9BcigQJSIJ/view?usp=sharing
- For Target length 5mm
https://drive.google.com/file/d/12GDPQCbJ_V0XRHBdnC3eGtRA2imTPnke/view?usp=sharing
Conclusion:
- As we seen in the above Images for the Mesh Length 3mm and 5mm It is not created perfect Mesh for the Spring and Valve head meshes distored gradually and for the Mesh length 1mm Spring and Valve head Mesh are perfect so, we need to choose the Mesh length according to the geometry.
- As you see the Mesh length increases the number of elements decreases that is why for the Case1 the Target length is 1mm less So, the number of Elements increases and size of the Elements is also small to capture the perfect Mesh according to the Geometry.
- So, the Target length should be less for small Geometry components in order to capture the perfect Mesh.