Week 2 Challenge : Surface meshing on a Pressure valve
- For the given model, check for the geometrical errors and perform Topology cleanup accordingly. Set three different target lengths as three different cases and mesh the model.
- Target length = 1mm, 3 mm and 5 mm (i.e. 3 cases)
- Element type = Tria
Apply any one target length from the above at a time for the entire model as One case.
In this challange we learnt to basics of ansa, different types of meshing and creating a properties.
- We have to close all the opening of the valve. So we use new feature under faces or use fill hole under cons.
- But we use a fill hole option in this model because it gives a uniform surface and as compare too new face. In the 1st image we can see new surface is created and its looking odd.
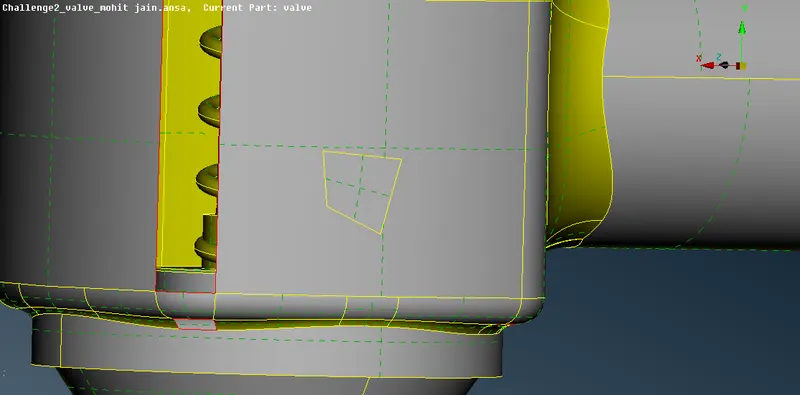
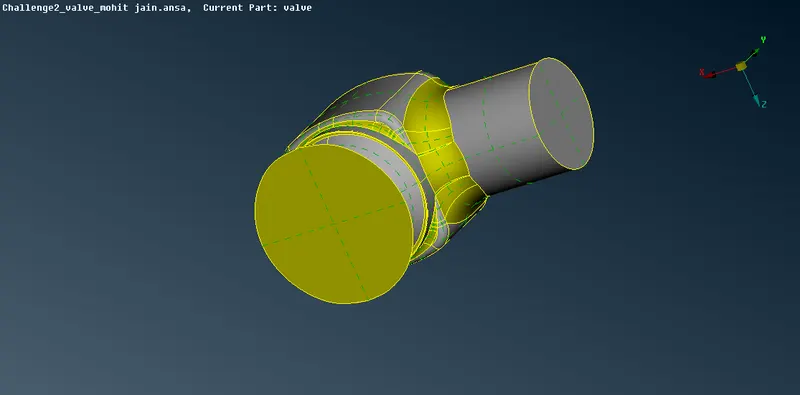
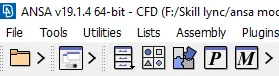
- Now we can create a properties using a properties tool give in the top 2nd bar denoted by P.
- When we open it then dialouge box open which contain option new when we click on it we have a option Shell_property in this we can see a bulb icon in front of the name so using that icon we can hide each and every part individually.
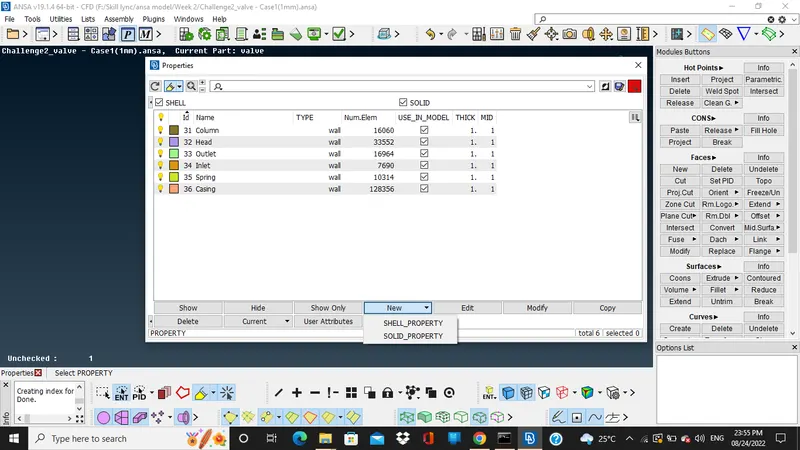
- When click on the shell_property then new window appers to coustmize a part name.
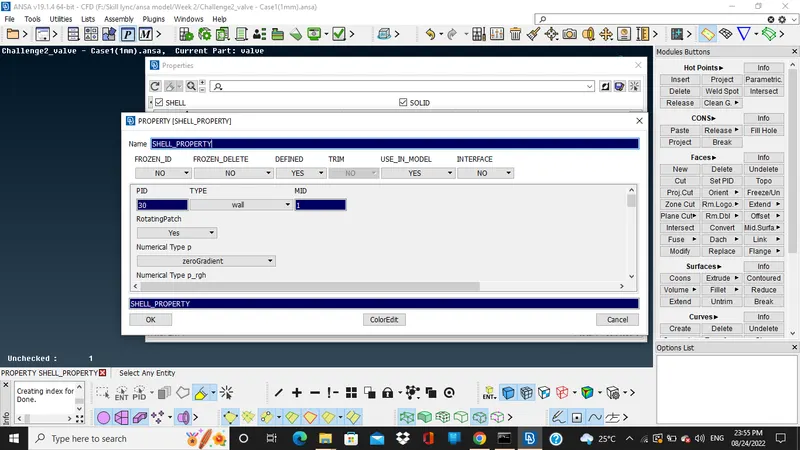
- So from this window we can divide a model in a parts so we can work easily on a model.
- Then after this we can perform a geometry check using a last button in the image below.

- So when we click geometry check button new window appear.
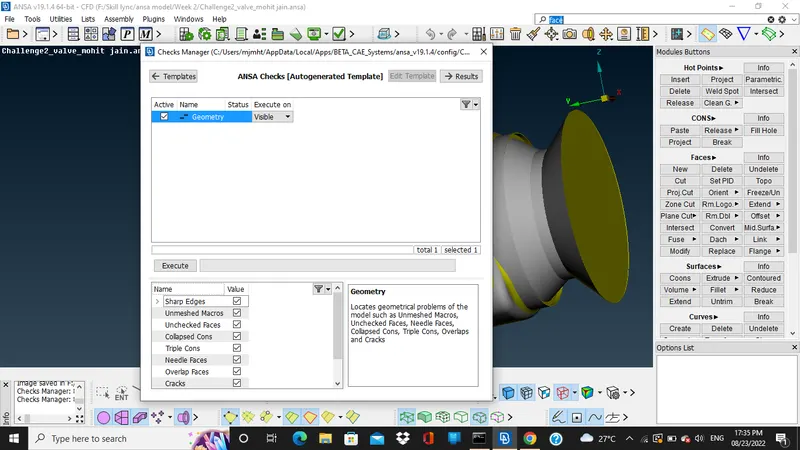
- After clicking a on execute then after it will give status.
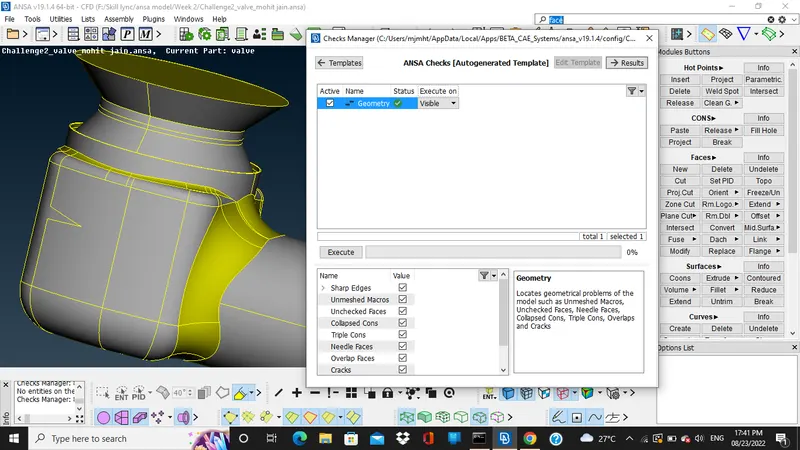
- Then after this we switch the mode from topo to mesh after that we can set a length of the model as per the given parameters in the challange 1mm,3mm and 5mm.
- After that we can go to the mesh parameter in which we can set a minimum and maximum length 0.7 and 5 respectively and same in the quality criteria.
- At last we can perform a meshing as per the requirement.
https://drive.google.com/drive/folders/1bG_CEd6bVID8FviOuLlYQHN04Rag5Ibd?usp=sharing