Week 2 Challenge
Theory Challenge
1.1)
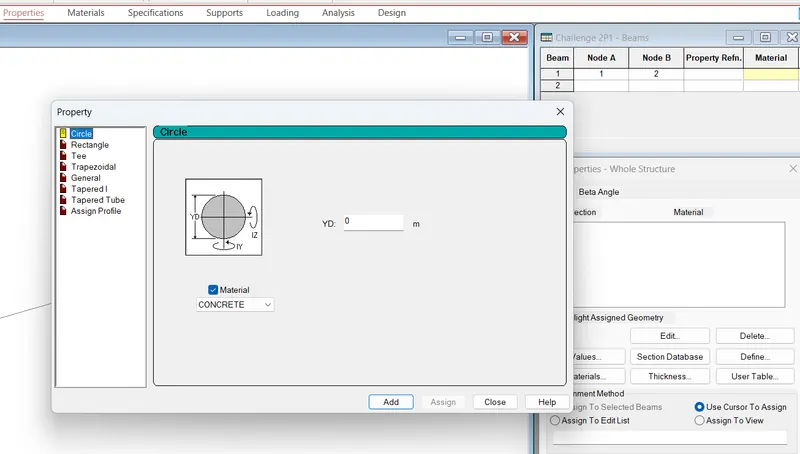
We can assign the circular section to the column by using the Properties Tab>Define>Circle.
1.2)
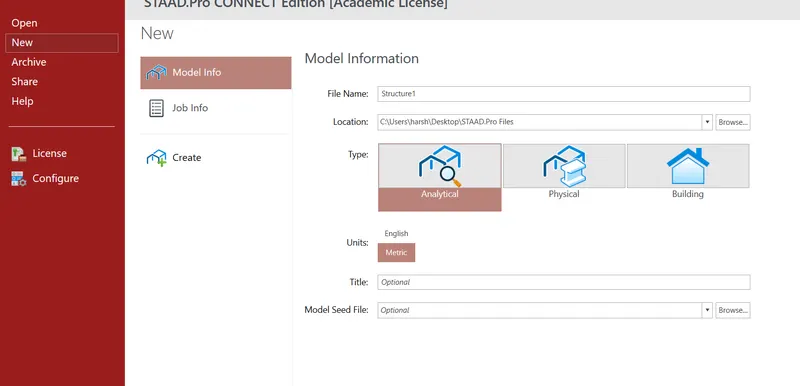
We can assign the desired units to a model before starting the model alone as shown.
1.3)
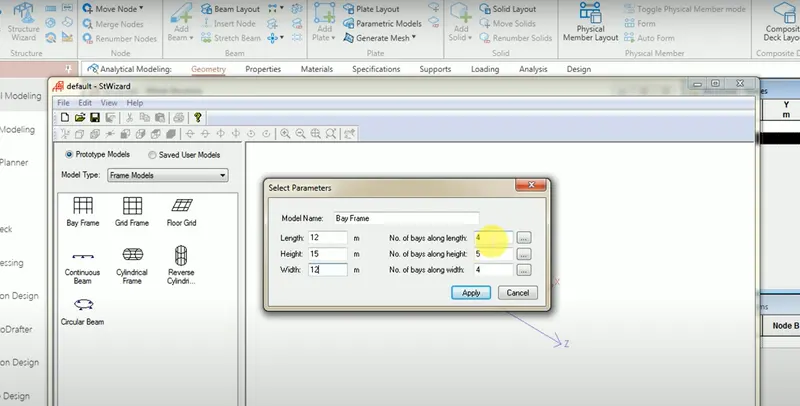
The parameters involved in the bay frame model are:
- Length
- Height
- Width
- No. of bays along length
- No. of bays along width
- No. of bays along height
1.4)
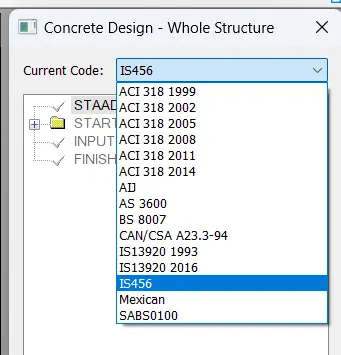
The codes involved in the STAAD.Pro are many as shown.
1.5)
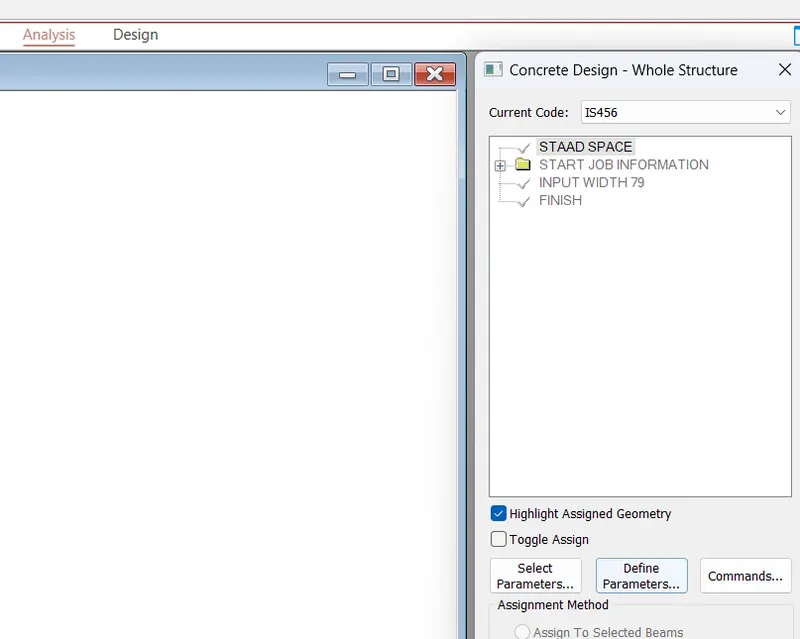
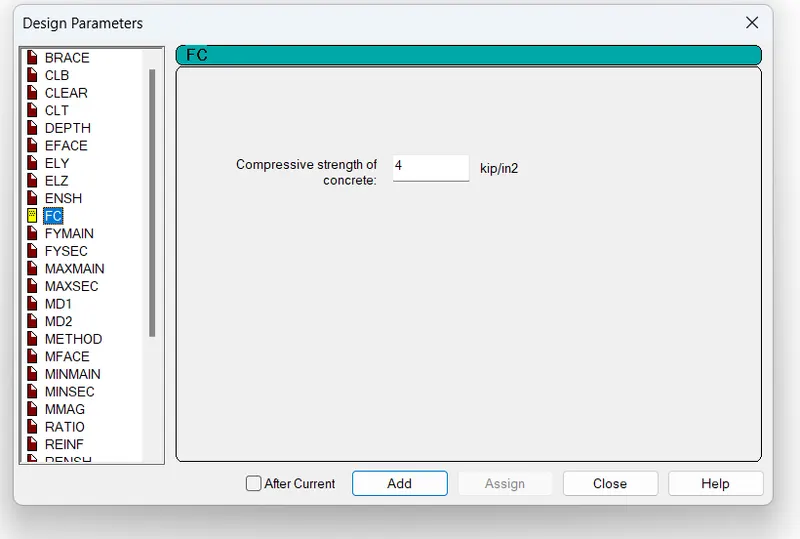
We can assign the design parameters to a RCC section by going to Analysis Tab>Define Parameters...
Where we assign the required parameters.
2.1)
The input steps involved are:
- Geometry:We initially,we create model.
- Properties:We then assign the material properties to the model.
- Supports:We assign the support conditions to the model.
- Loading:We then apply the loading on the model.
- Analysis:Finally,we run the analysis.

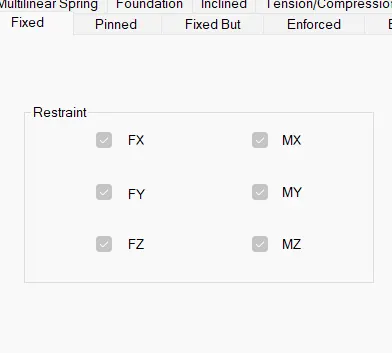
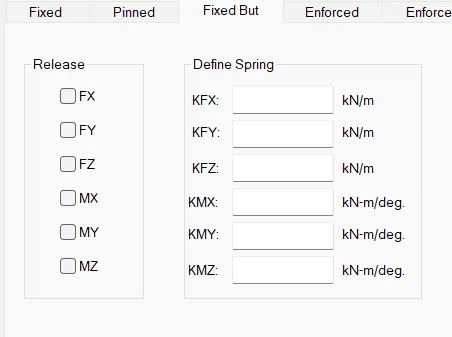
3.5)The Fixed and Fixed But condition in the STAAD.Pro do sound similar but have a minor change in them.
FIXED:As the name suggests,it has a fixed support which means it gets restrained in all the directions.So,it can move in any direction and forces and moments develop in all directions.
FIXED BUT:It is also similar to the Fixed condition but here we can modify the action of forces acting on the member in all directions.So,here the member is in the Fixed condition but due to usage of springs,it could have some displacement in the desired direction.
3.1)
The steps involved in the analysis of a model are:
- Selection of Type:Initially,we select the type of the analysis to be done.
- Run:Where we then run the type of the analysis.
3.2)
The methods in which the model can be created are:
- Geometry:We can create a model by using the geometrical options such by creating the nodes and then by assigning the beams,columns,supports and plates,etc.
- Prototype:We can select the required prototype such as truss,bay frame,etc where we give the required input data thus a model gets automatically be created.
3.3)
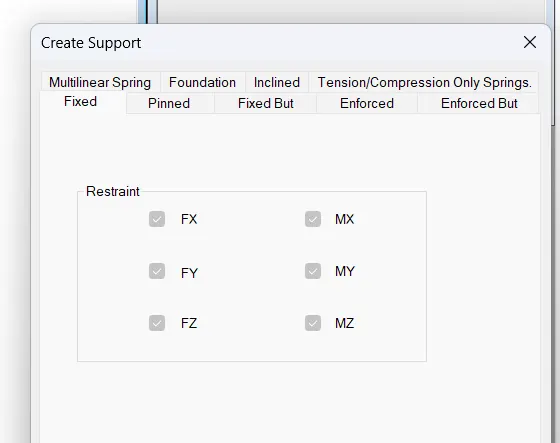
The different supports available in the STAAD.Pro are:
- Multilinear Spring
- Foundation
- Inclined
- Tension/Compression Springs
- Fixed
- Pinned
- FixedBut
- Enforced
- EnforcedBut
3.4)
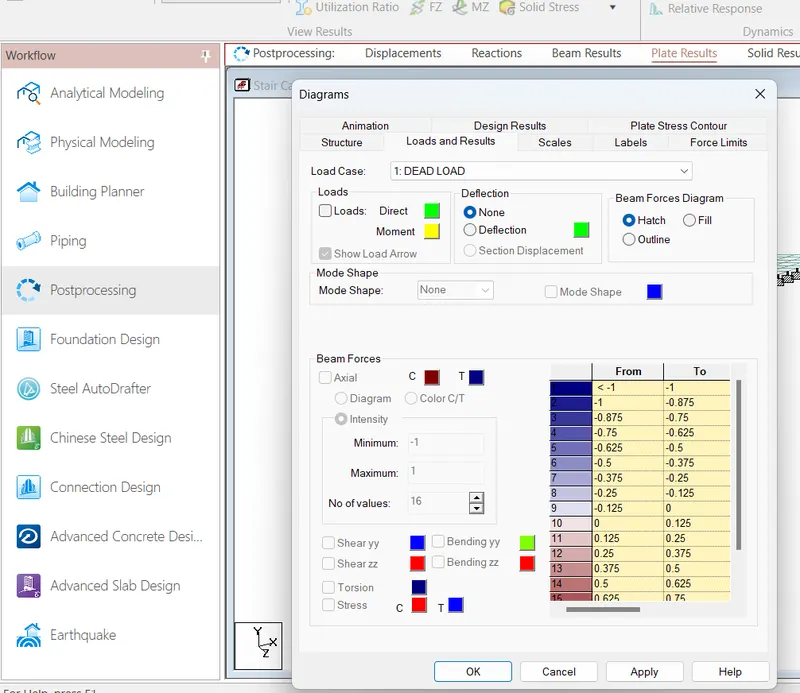
After the analysis of the staircase,we go to Plate Results Tab,where we can see the required stress distribution of the slab.
3.5)
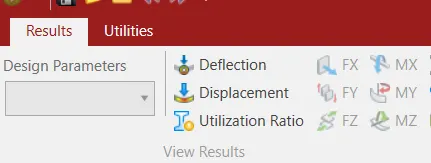
After the analysis of the model,in the Results Tab,we can find the various options to get the BMD and SFD.
Practical Challenge
Fixed Beam
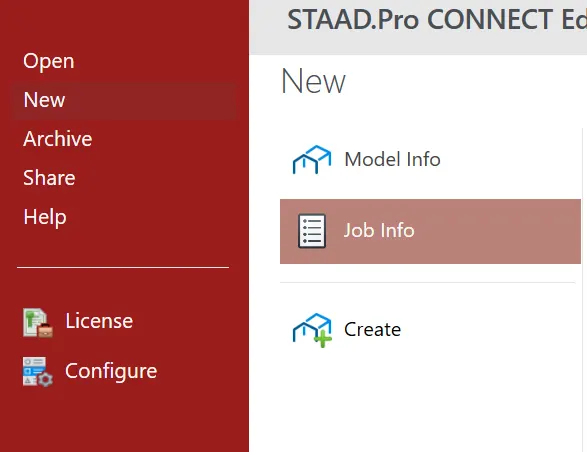
Initially,we go to the New option immediately after opening the software.
Where we then continue with the options of Model Info,Job Info,Create.
We then create the nodes where the distance between them is 16 m.
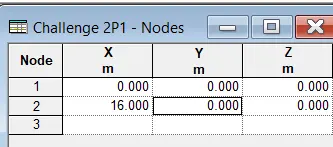

By using the option of Add Beam,we add the beam.
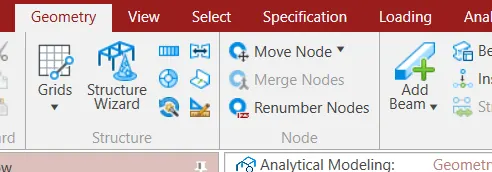
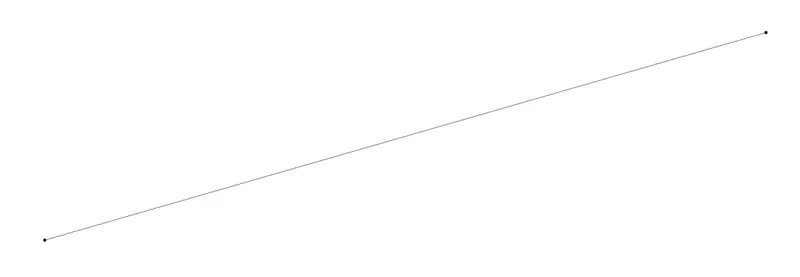
We then add the properties to the beam in the Properties Tab>Define...>Rectangle and give the required dimensions.
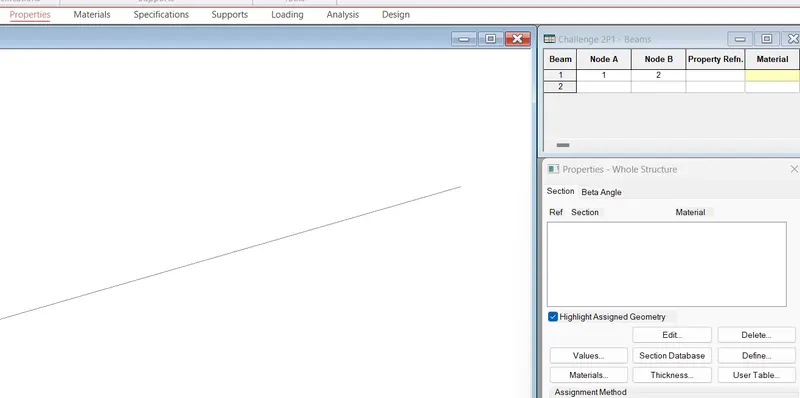
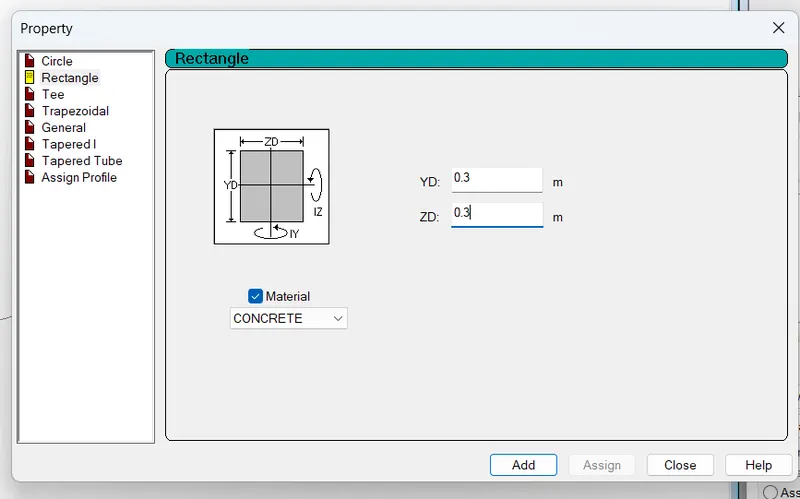
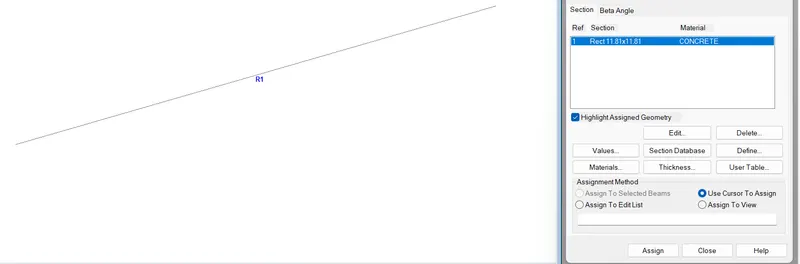
And then assign the properties to the beam.
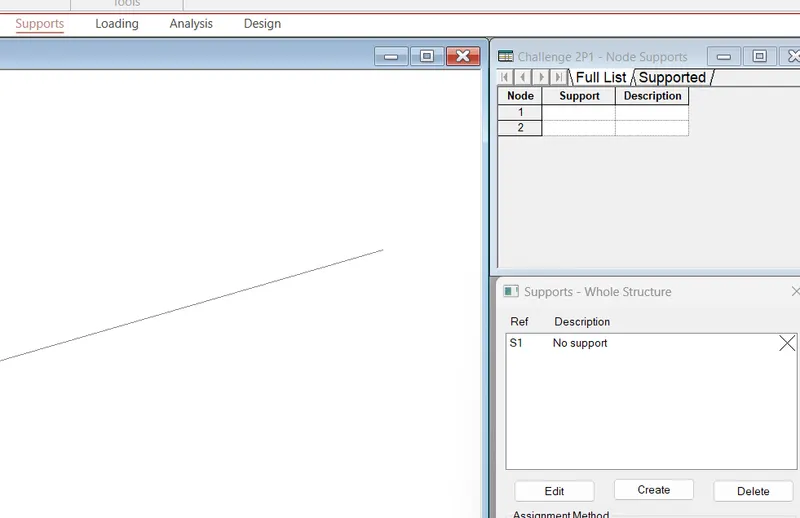
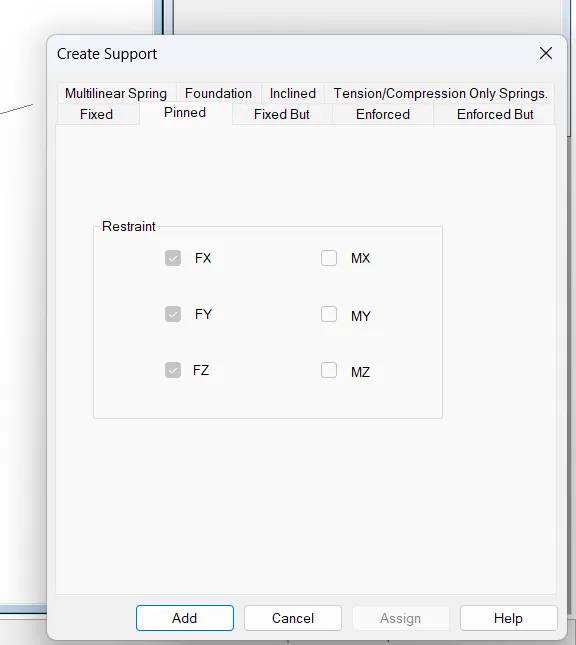
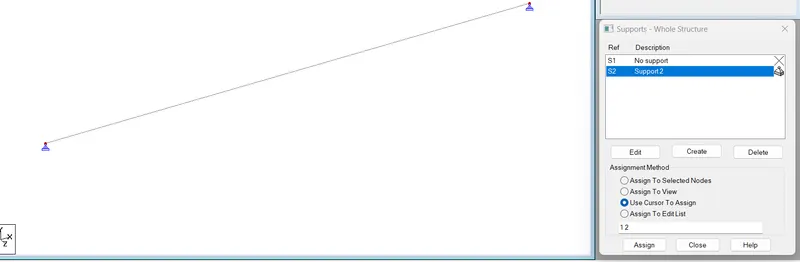
And then,we add the supports too to the beam.
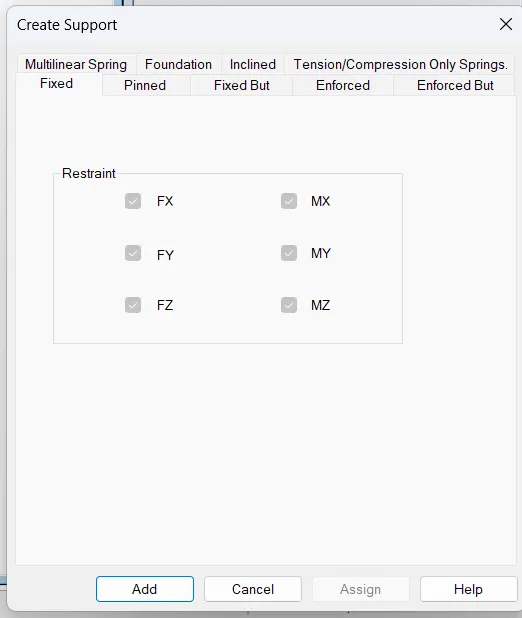
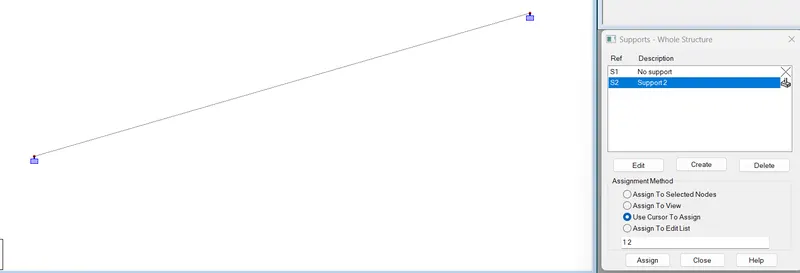
We then add the loads to the beam.
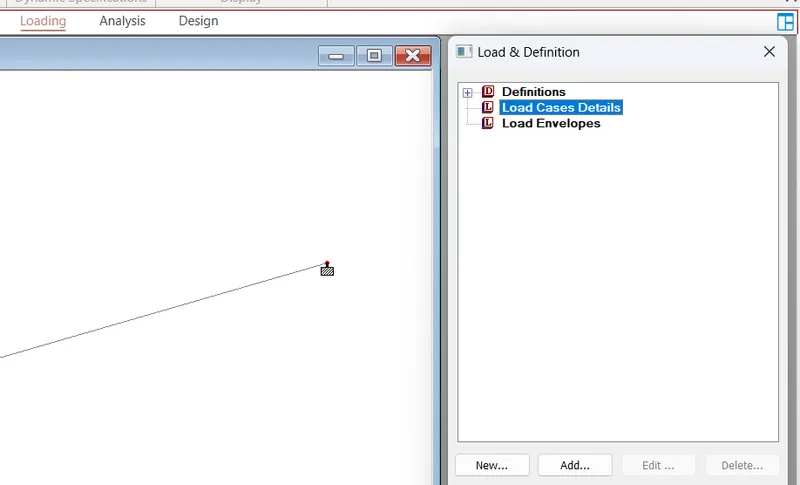
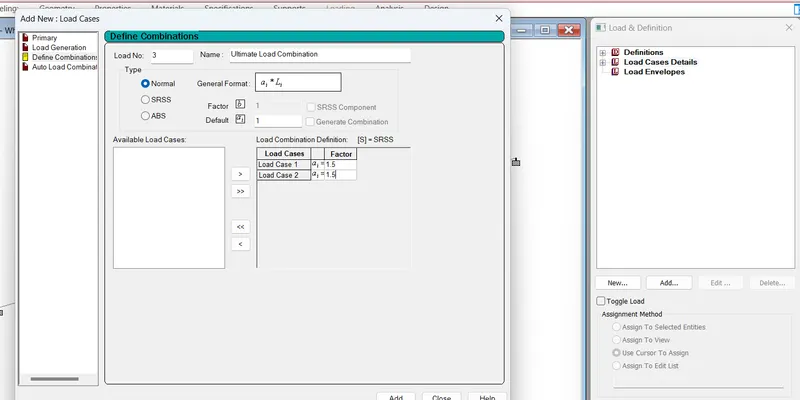
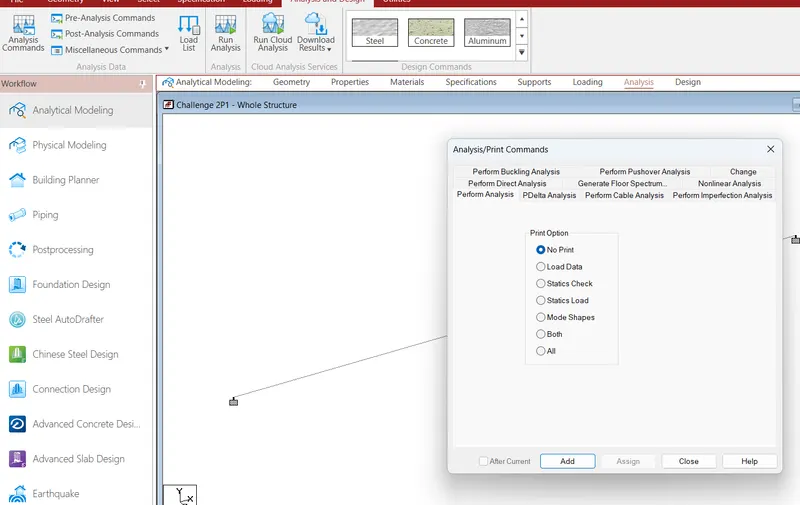
Where we then run the analysis of the beam after the selection of the required type of analysis.
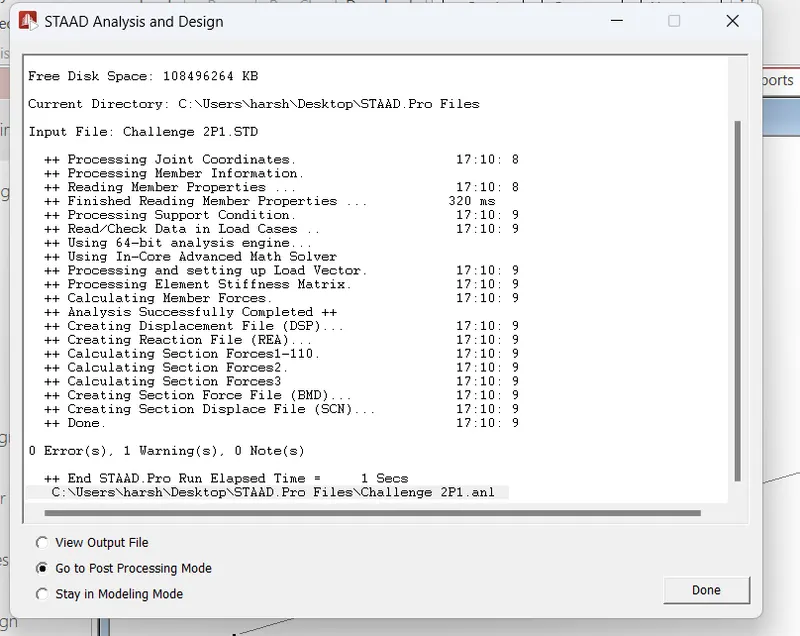
Where we can find the results thereafter.
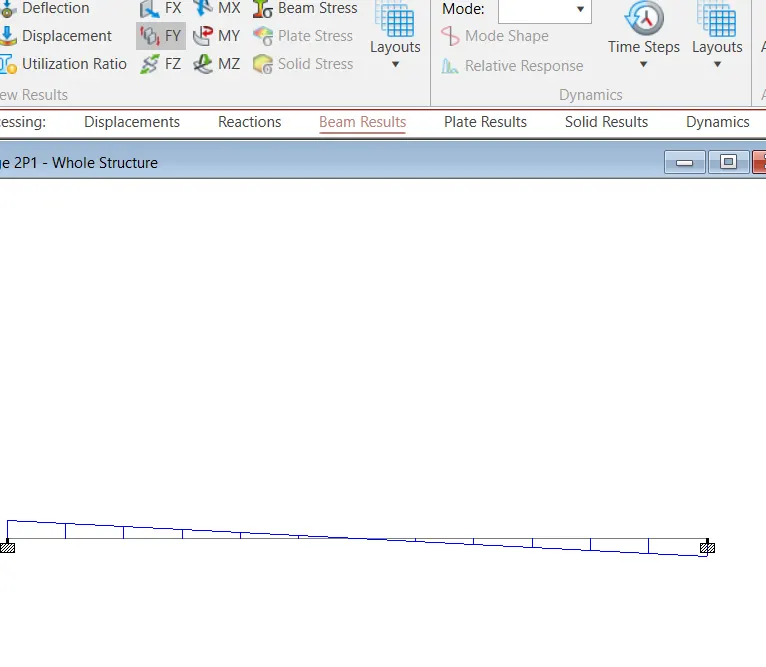
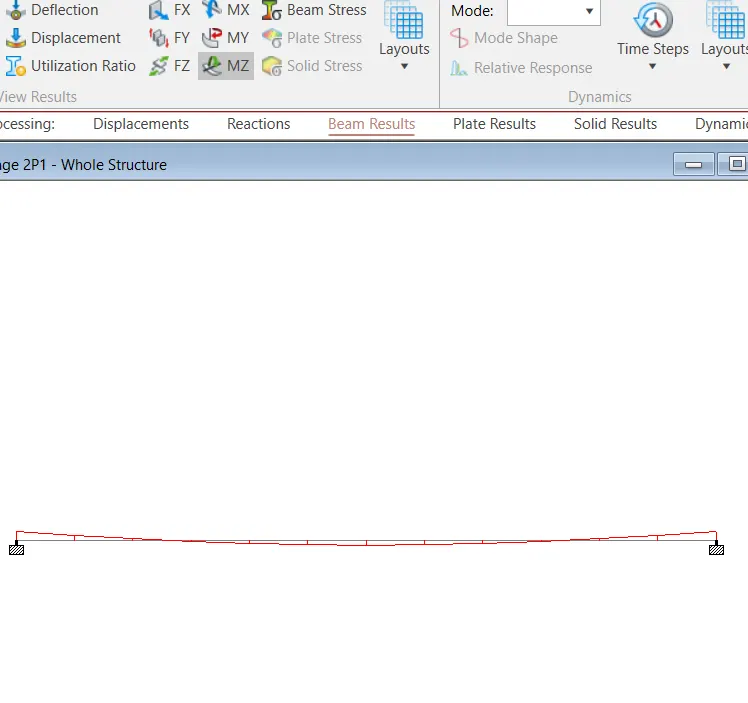
Simply Supported Beam
After the creation of the New Model,we continue with the creation of the nodes.
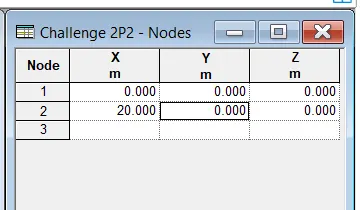
We then assign the required properties to the beam and we continue with adding support conditions and the application of the required load is done.
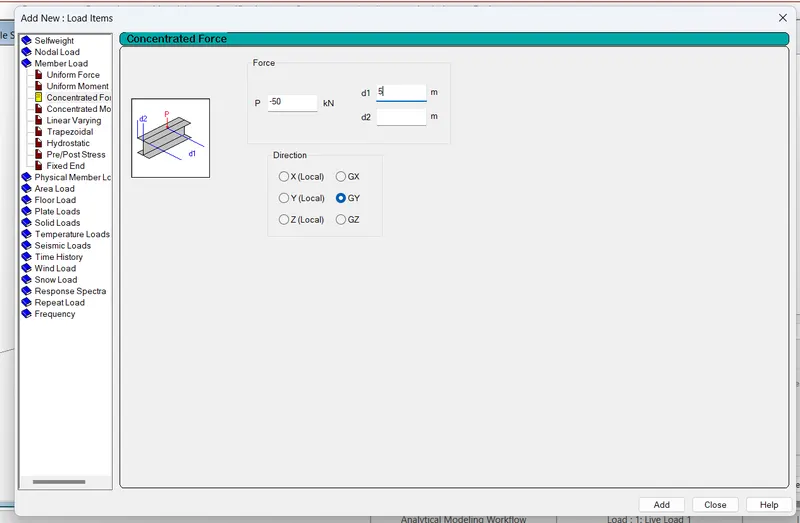
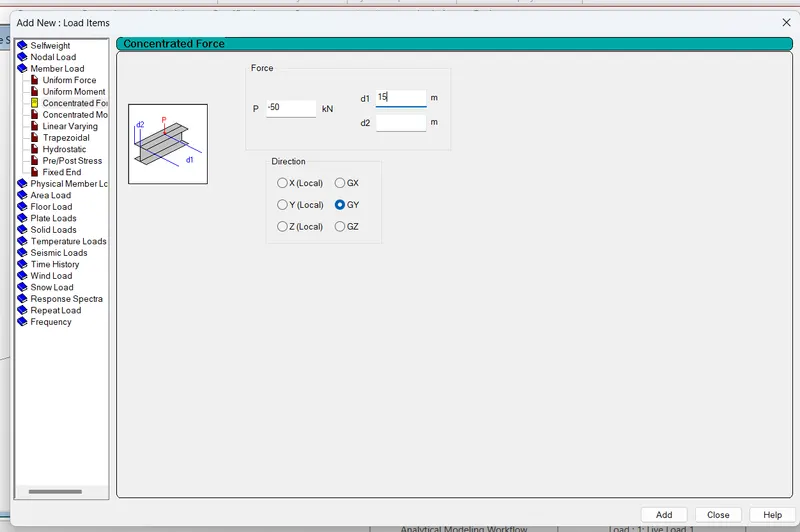
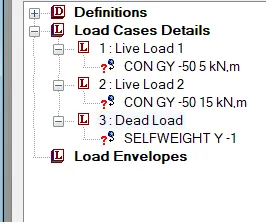
Where we add 2 point loads as mentioned.
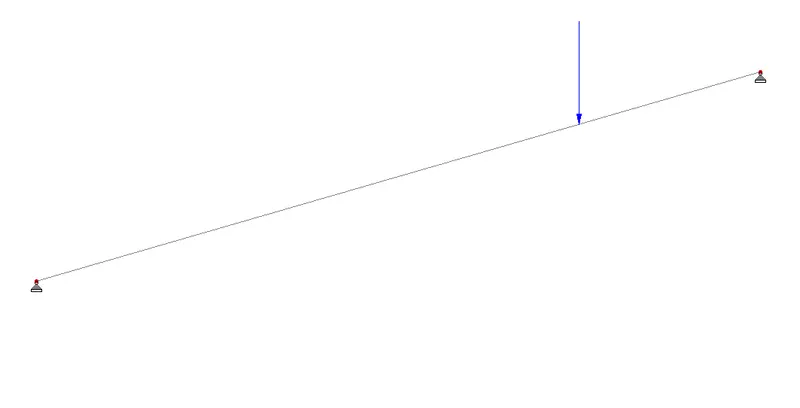
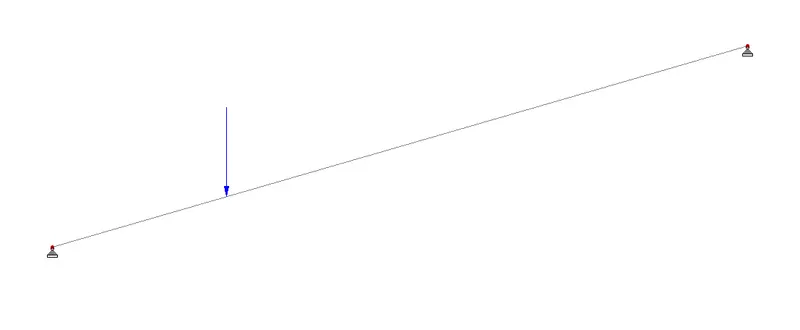
Where ulitmately we run the analysis and get the BMD and SFD of the beam.