Week 2 Challenge
1st Ans) The full form of BIM is building information modelling. It is a methodology by which a team of archietects , engineers can work by collaborating with each other to execute a construction projects by using same computer or laptop. BIM can store more amount of data including part performance characteristics. Today designs of several projects across the world are prepared through BIM only. BIM is better than 2D CAD tools because , BIM has an advanage of producing 3D models with advanced features in a less span of time. BIM is good at its cloud computing nature , by which time can be saved a lot.
2nd Ans) AIM : To understand the concept of Categories, Families, Elements, Instances in Revit.
TOOLS USED :
Insert
load family
instances
PROCEDURE :
a) Go to insert menu.
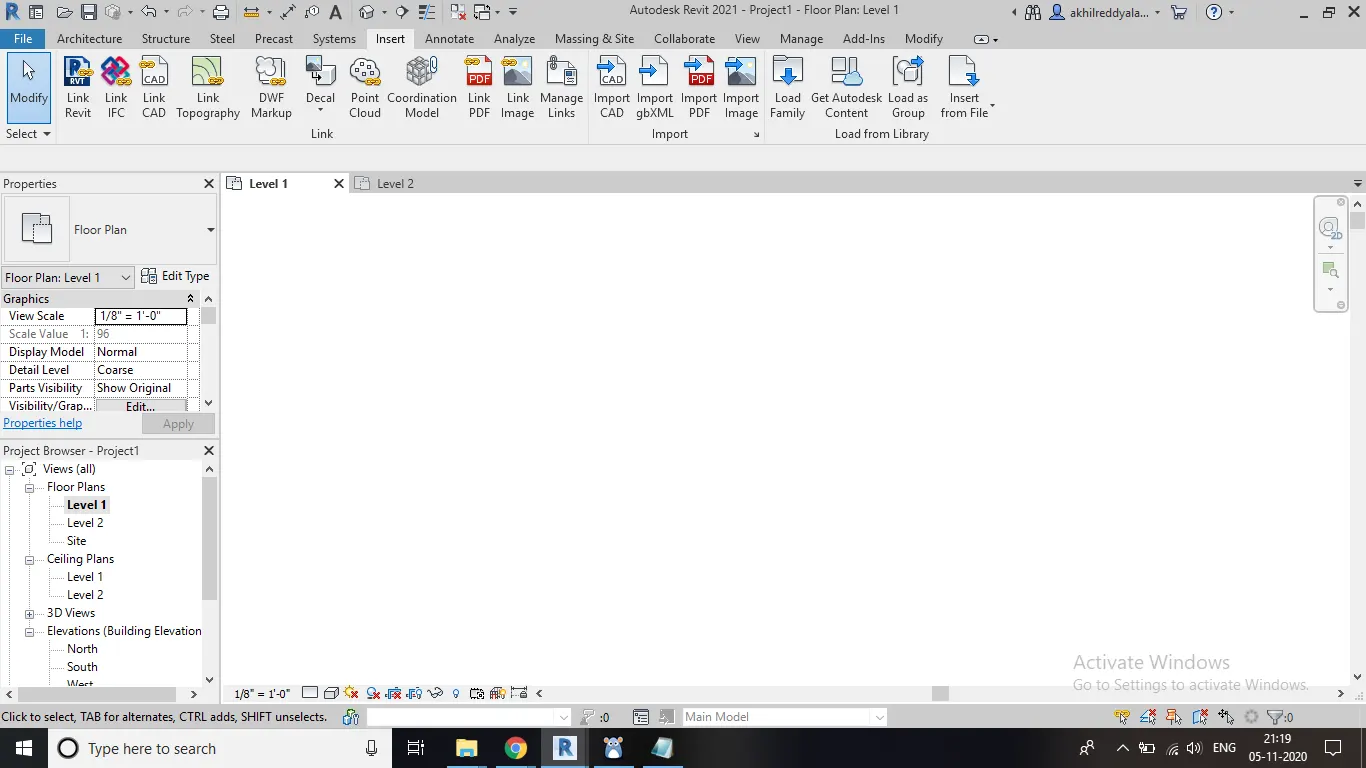
b) Click on load family.
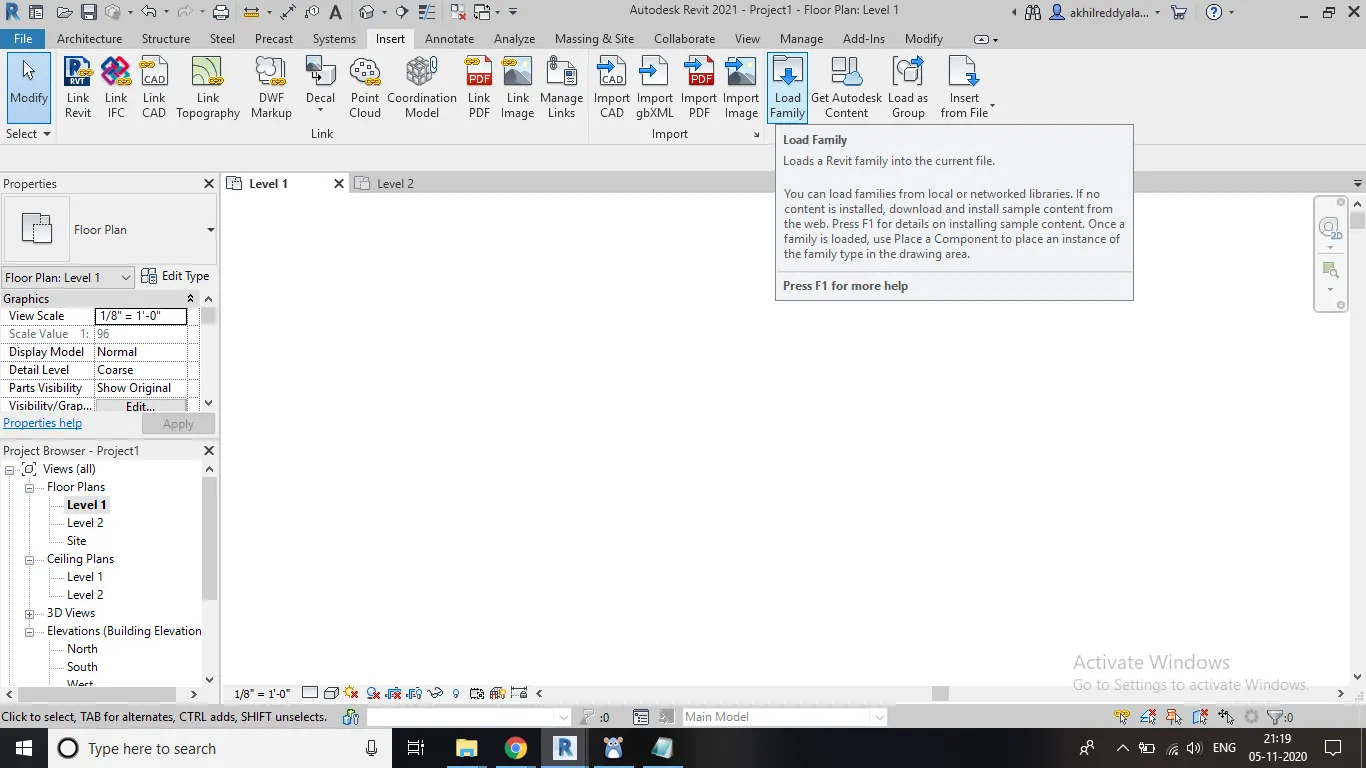
c) Doors and walls will appear now.
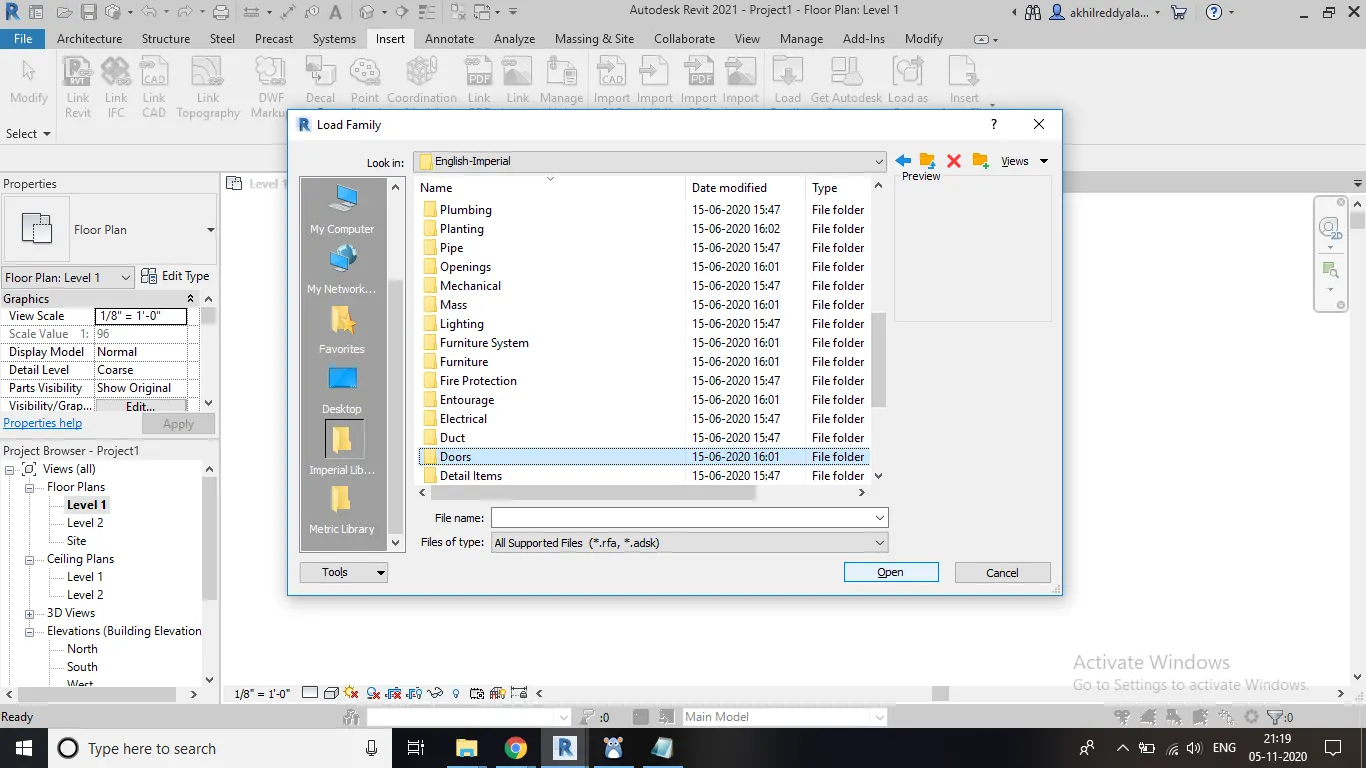
d) They are treated as different categories.
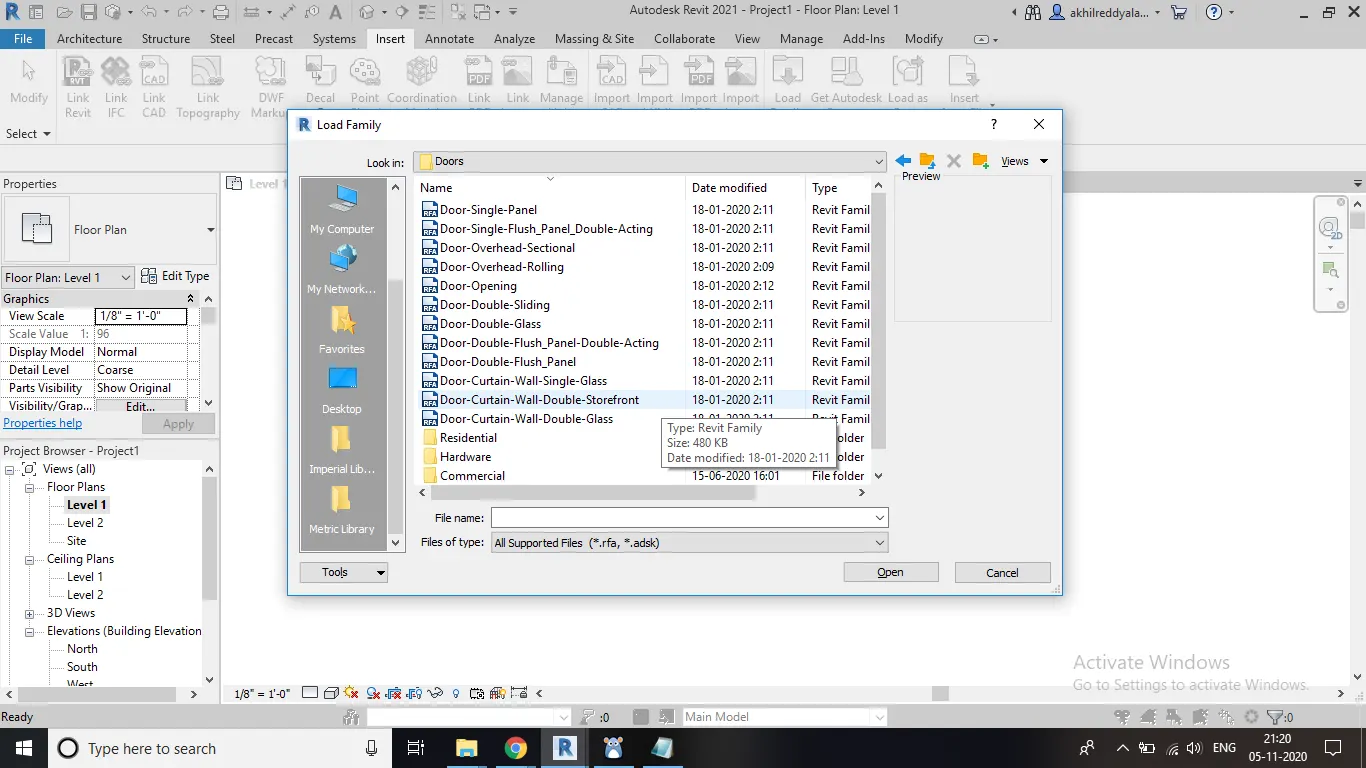
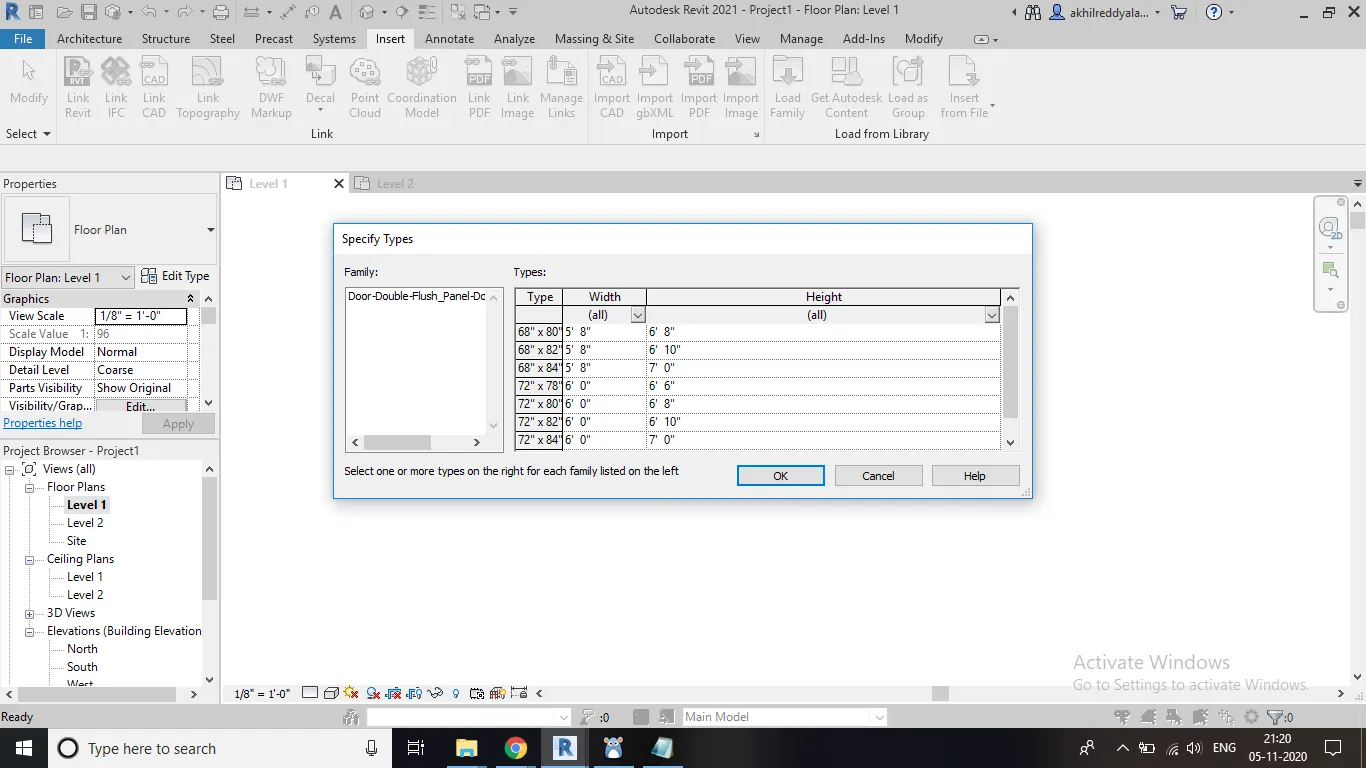
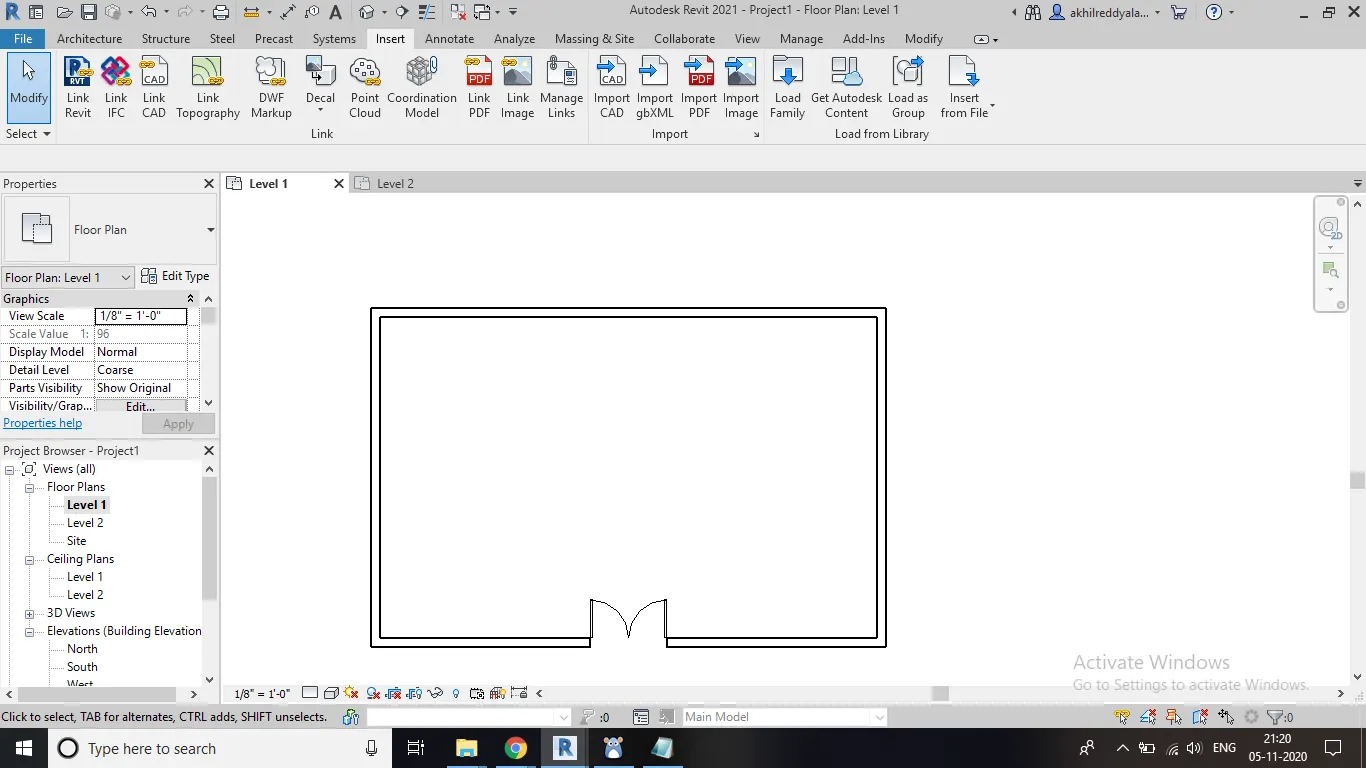
e) Similar types of materials are treated as a family.
RESULT : Elements ,categories and family are inserted into a revit model.
3rd Ans)
AIM : To set up a project.
TOOLS USED :
Architecture template
save as
PROCEDURE :
a) First select imperial architectural template
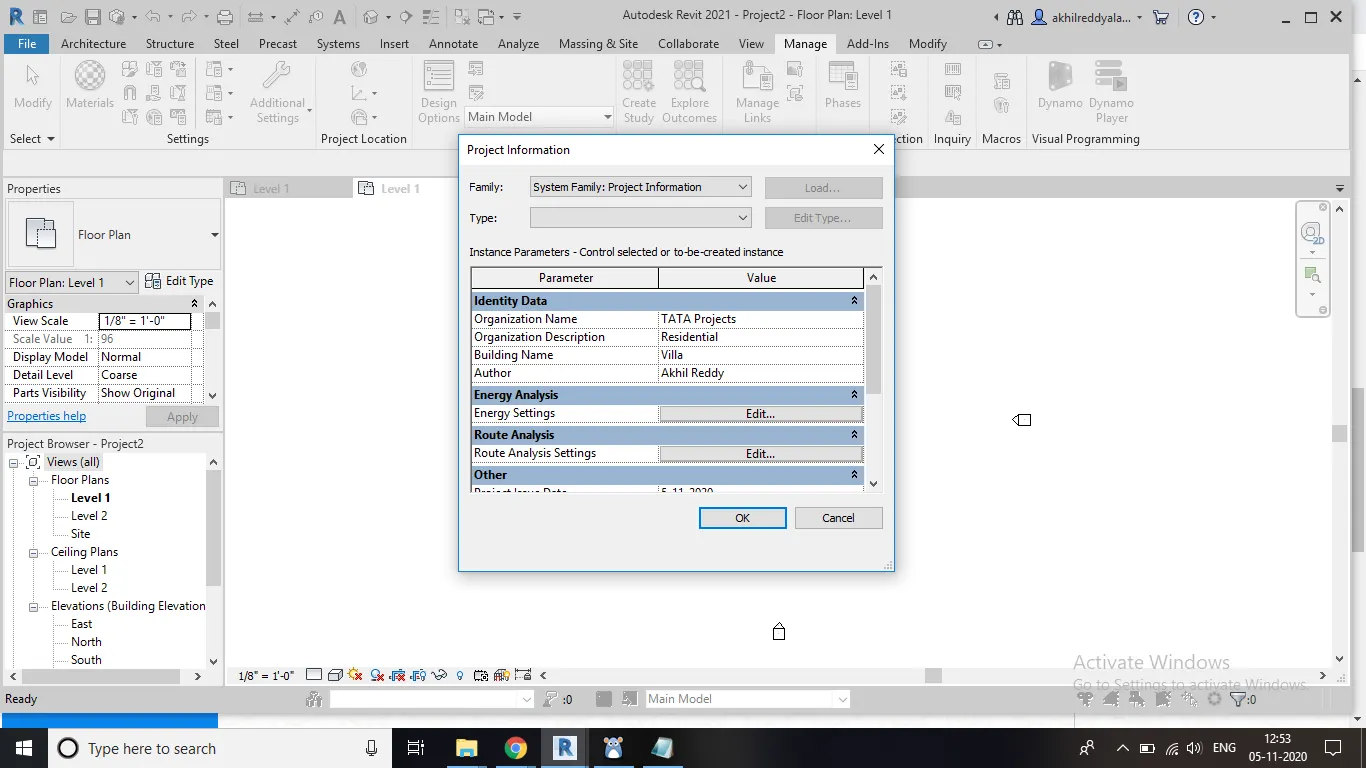
b) Go to manage tool bar.Choose manage option.
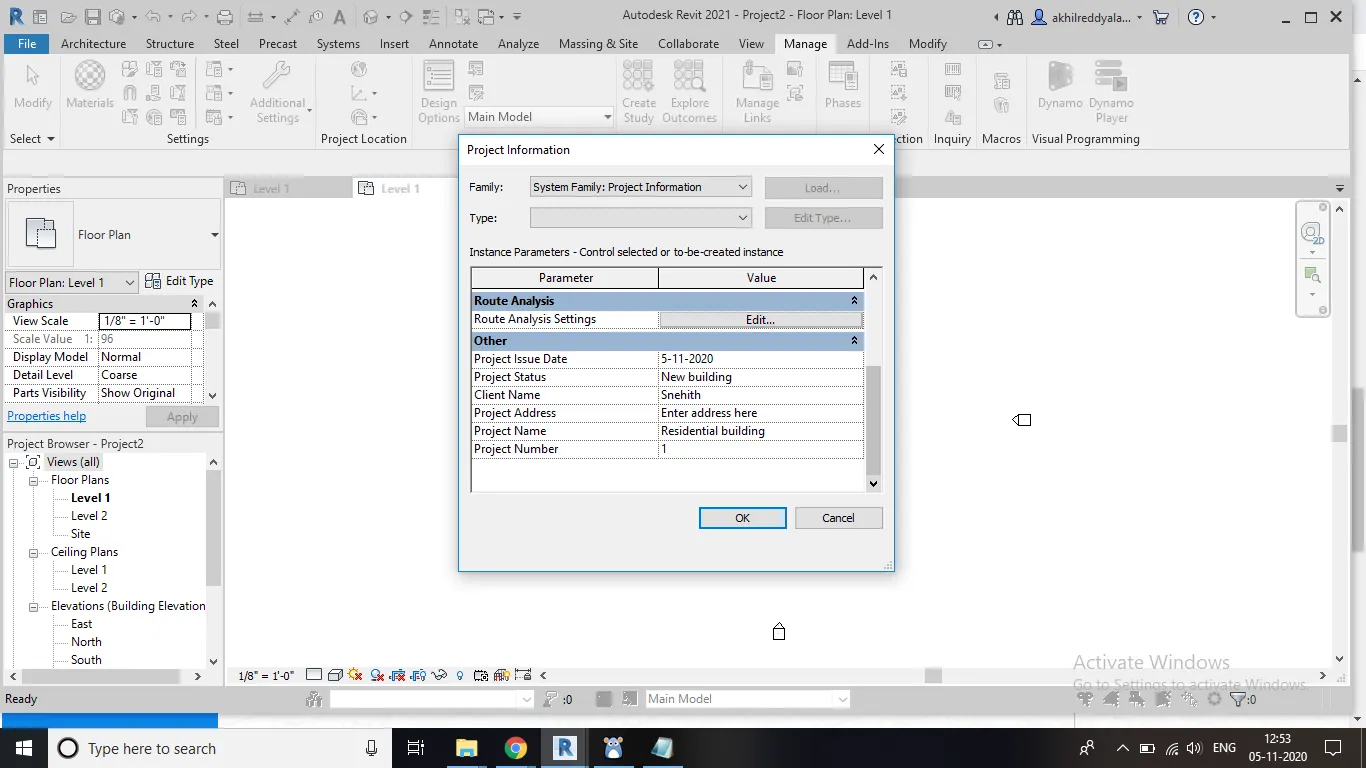
c) Fill up the details like date , organisation.
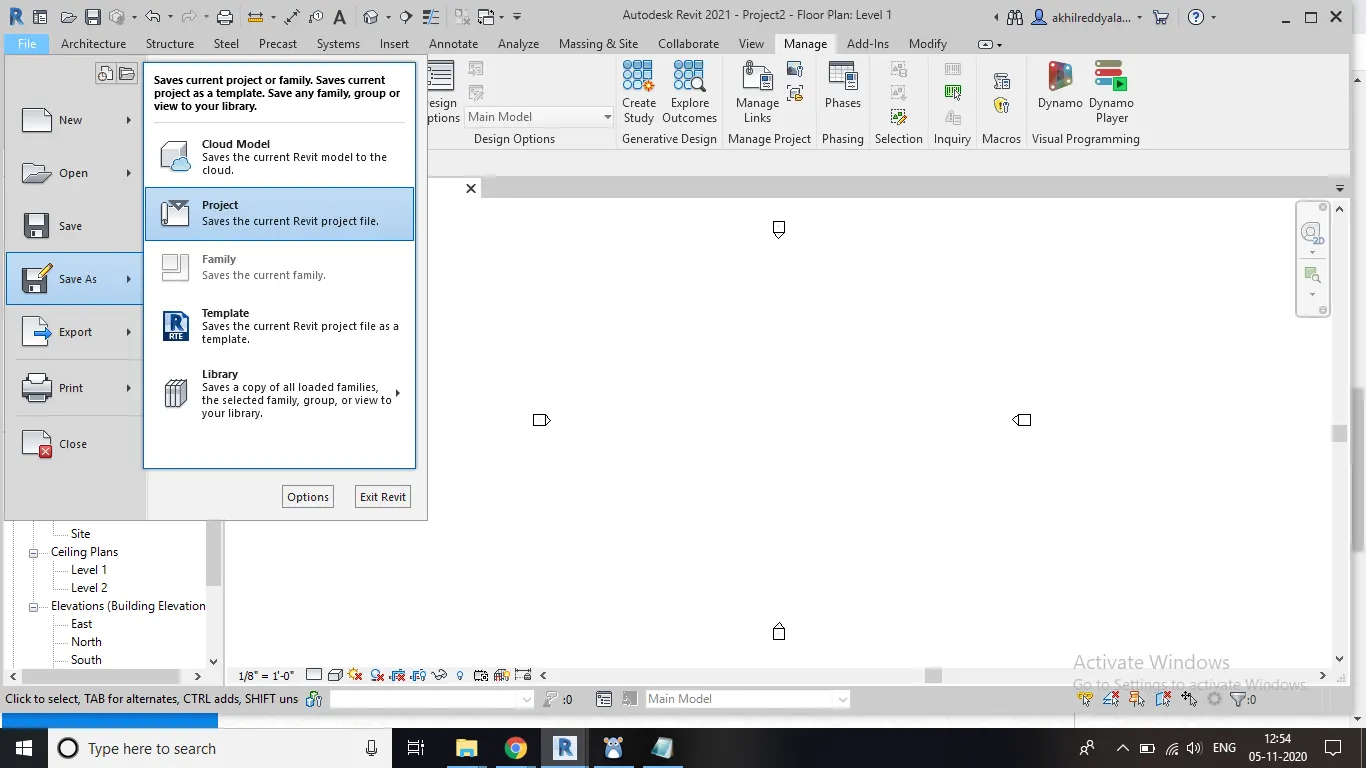
d) Click file on the top menu bar.
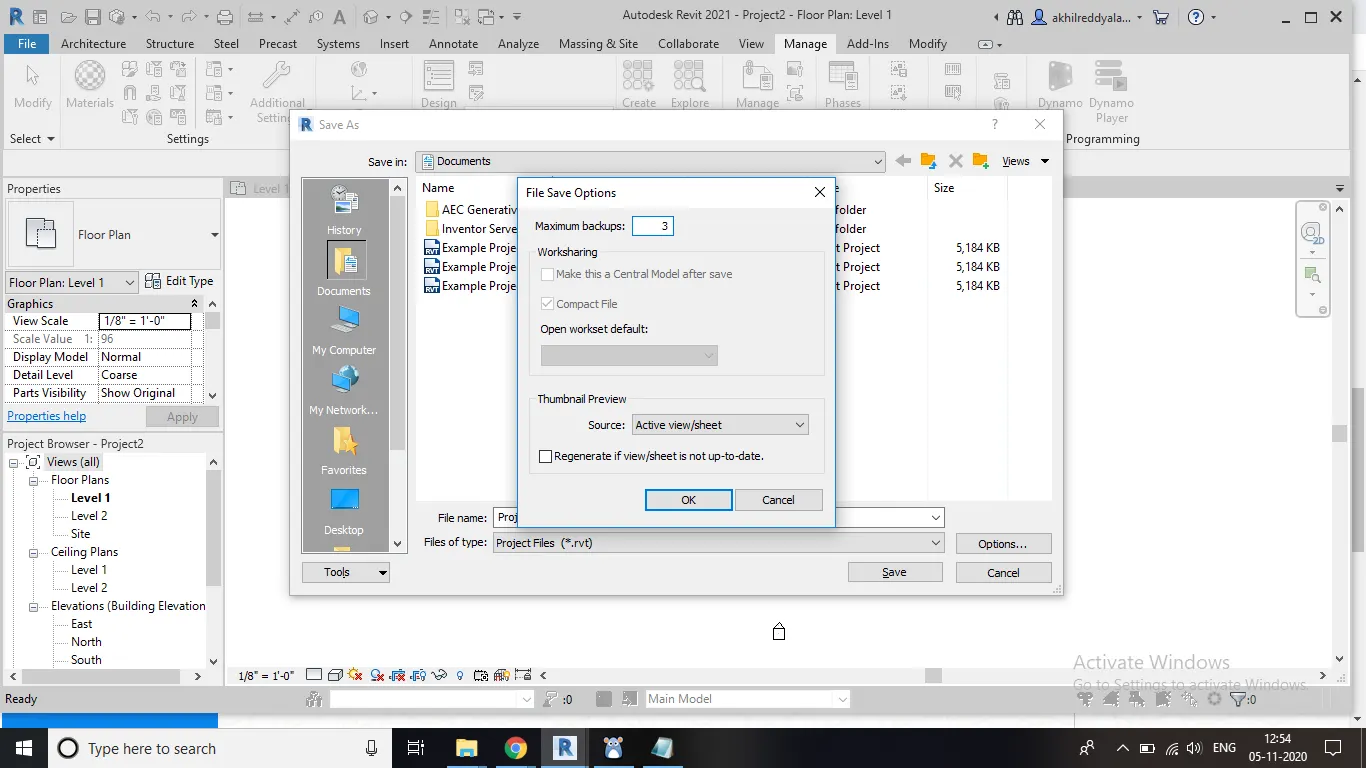
e) Then choose save as . Another window appears by that side.
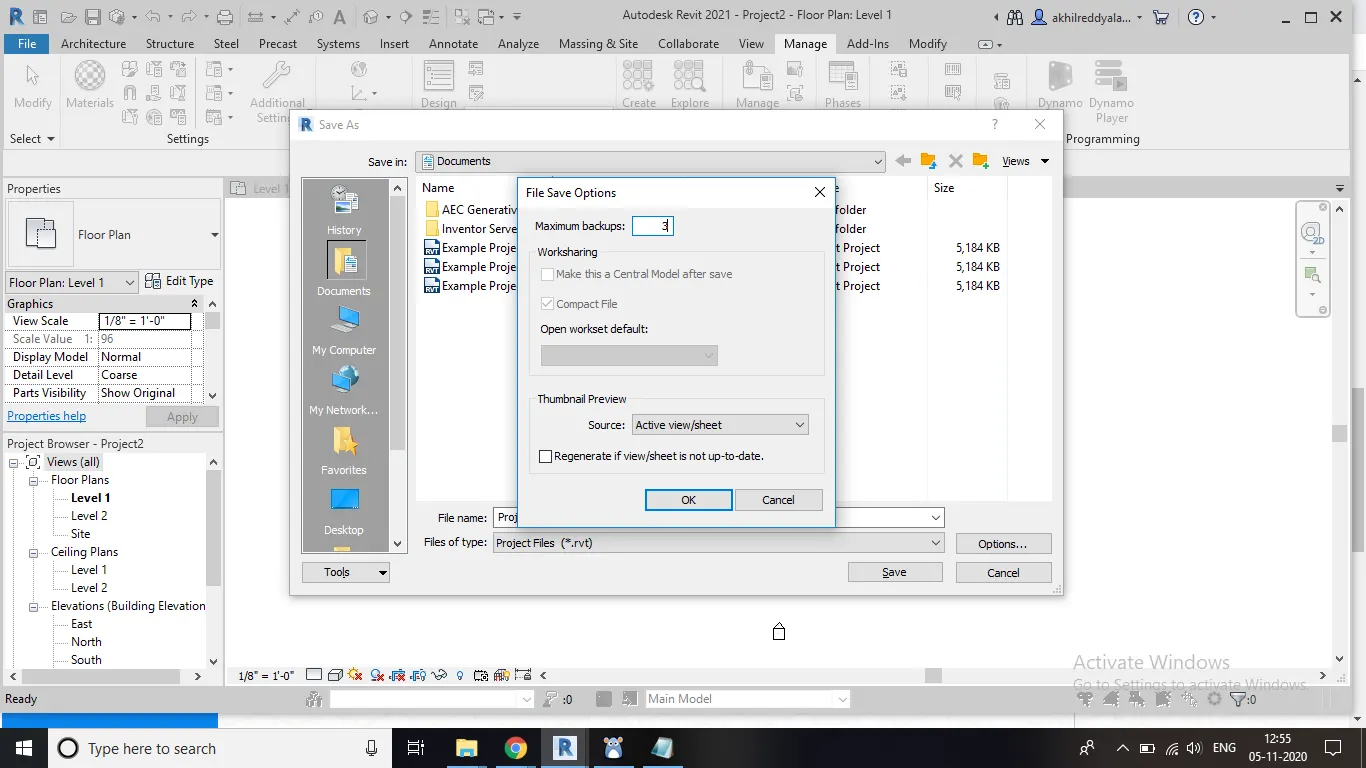
f ) Select project from that.
g) A window appears to create a folder.
h) Click on manage option.
h) Then set the maximum backups as 3.
RESULT : We have learnt how to fill project details , saving it and setting maximum backup.
7th Ans)
AIM: To insert different types of model elements succh as doors windows , chair , couch , bed , lamps etc. to the revit model.
TOOLS USED :
Insert
load family
doors
windows
tables
furniture
PROCEDURE :
a) Create a residential plan.
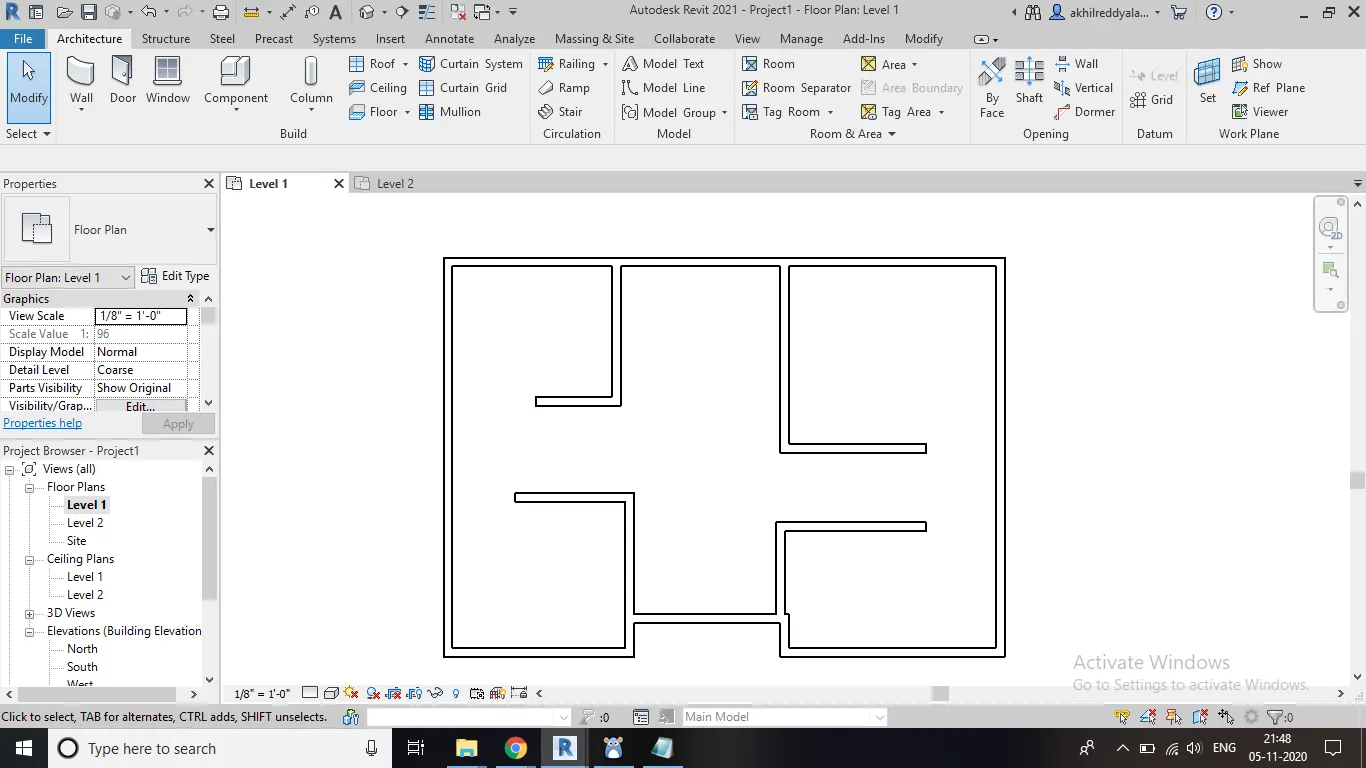
b) Go insert tool bar.
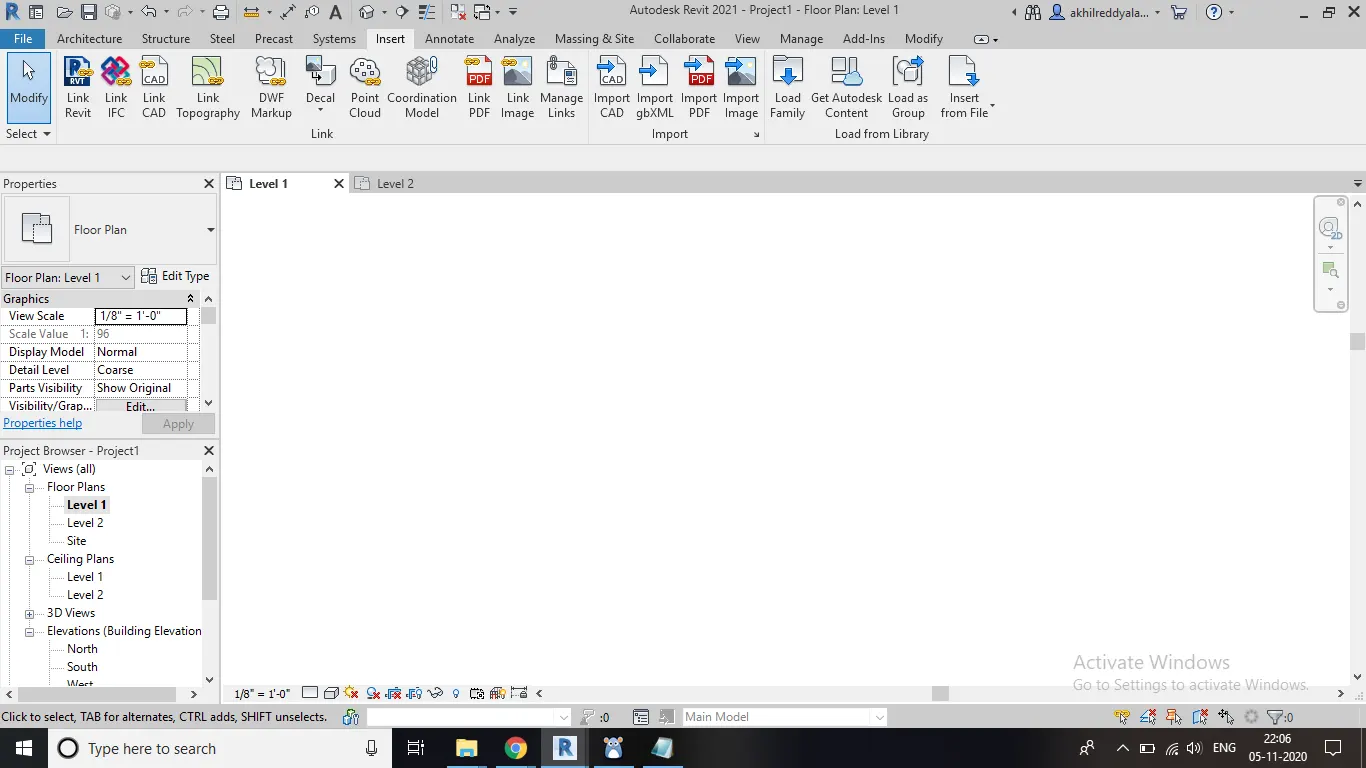
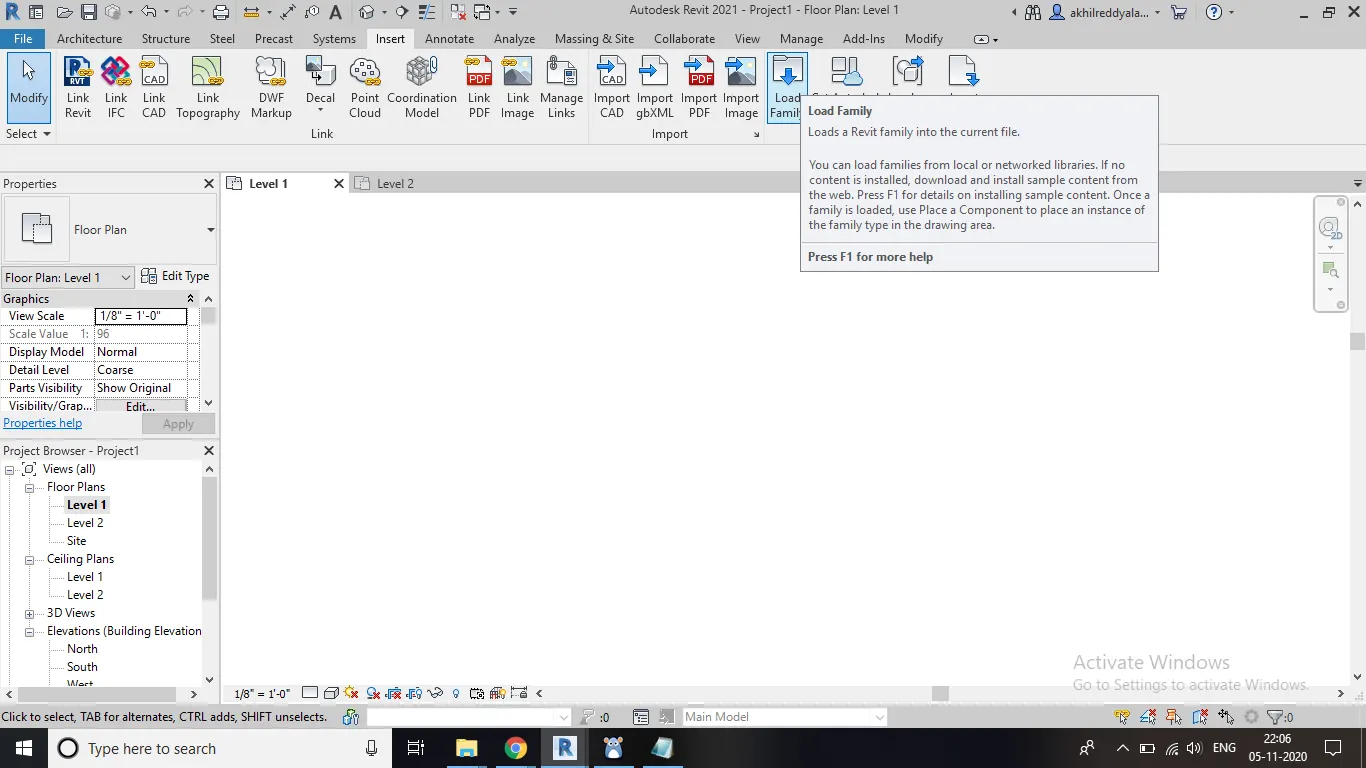
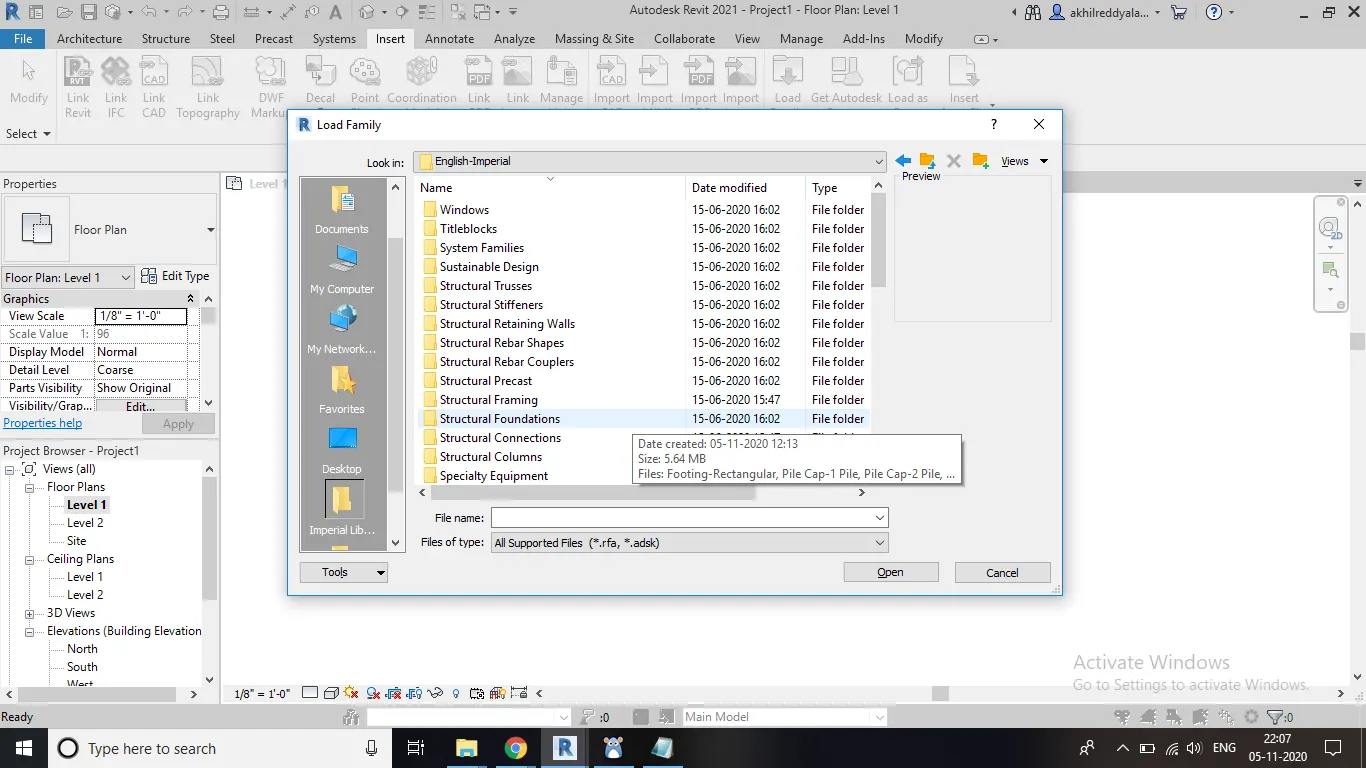
c) Then click on load families.
d) Then choose different tools which ever category you want.
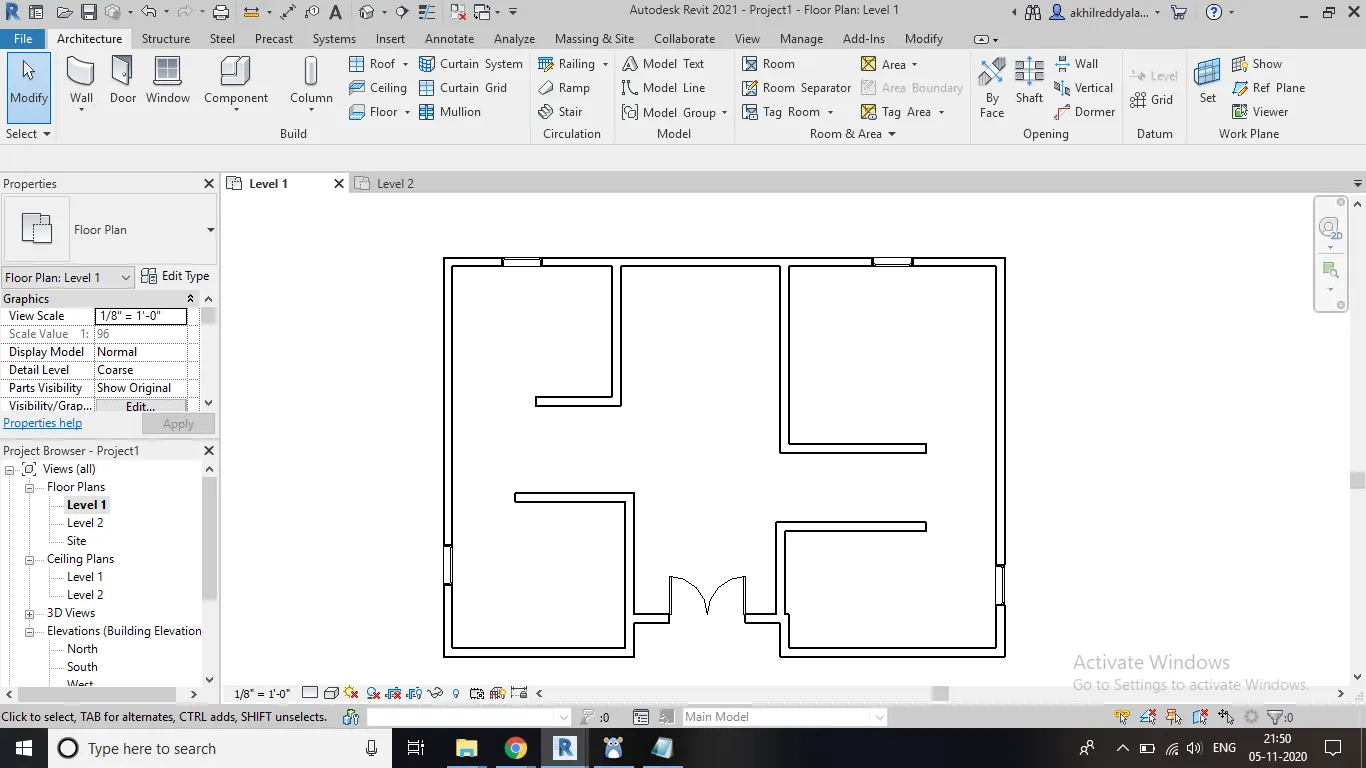
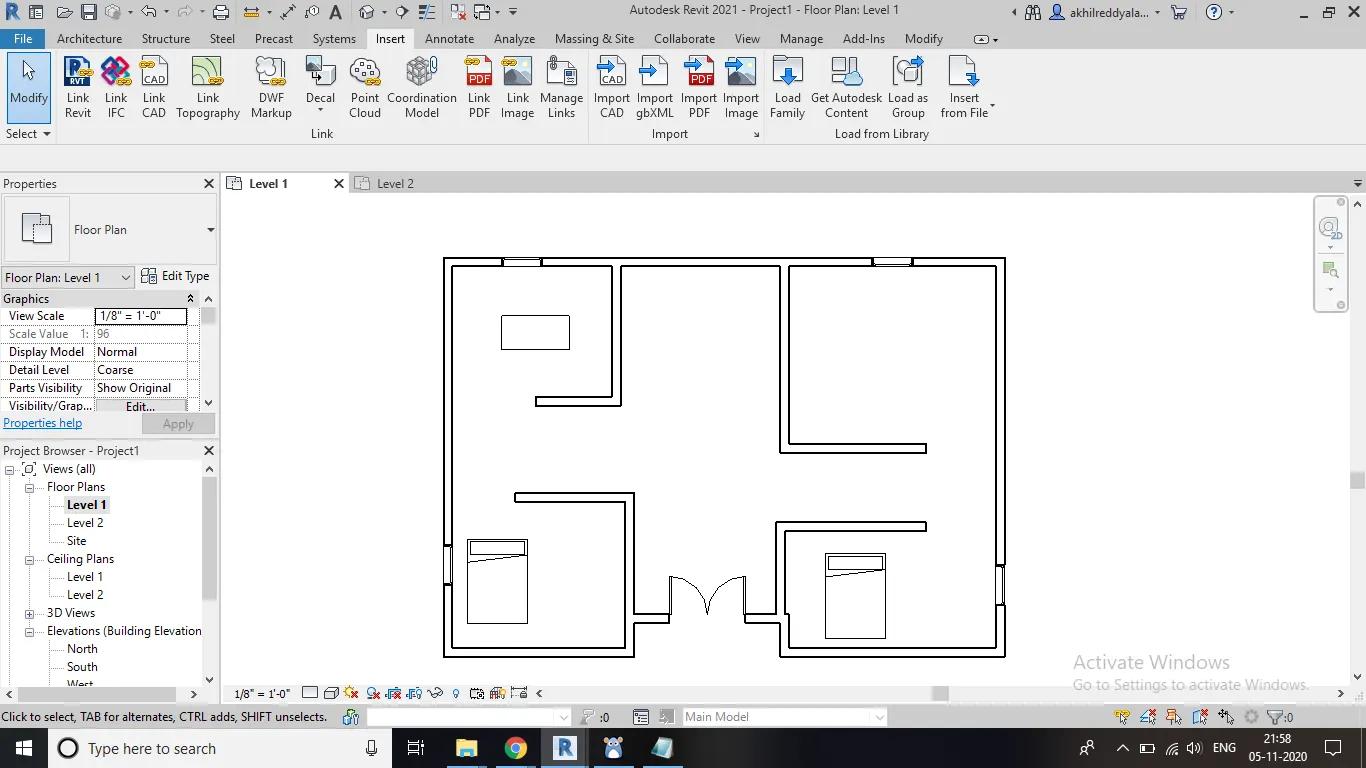
e) There will be elements like doors , windows ,chairs , tables , other household and furniture items.
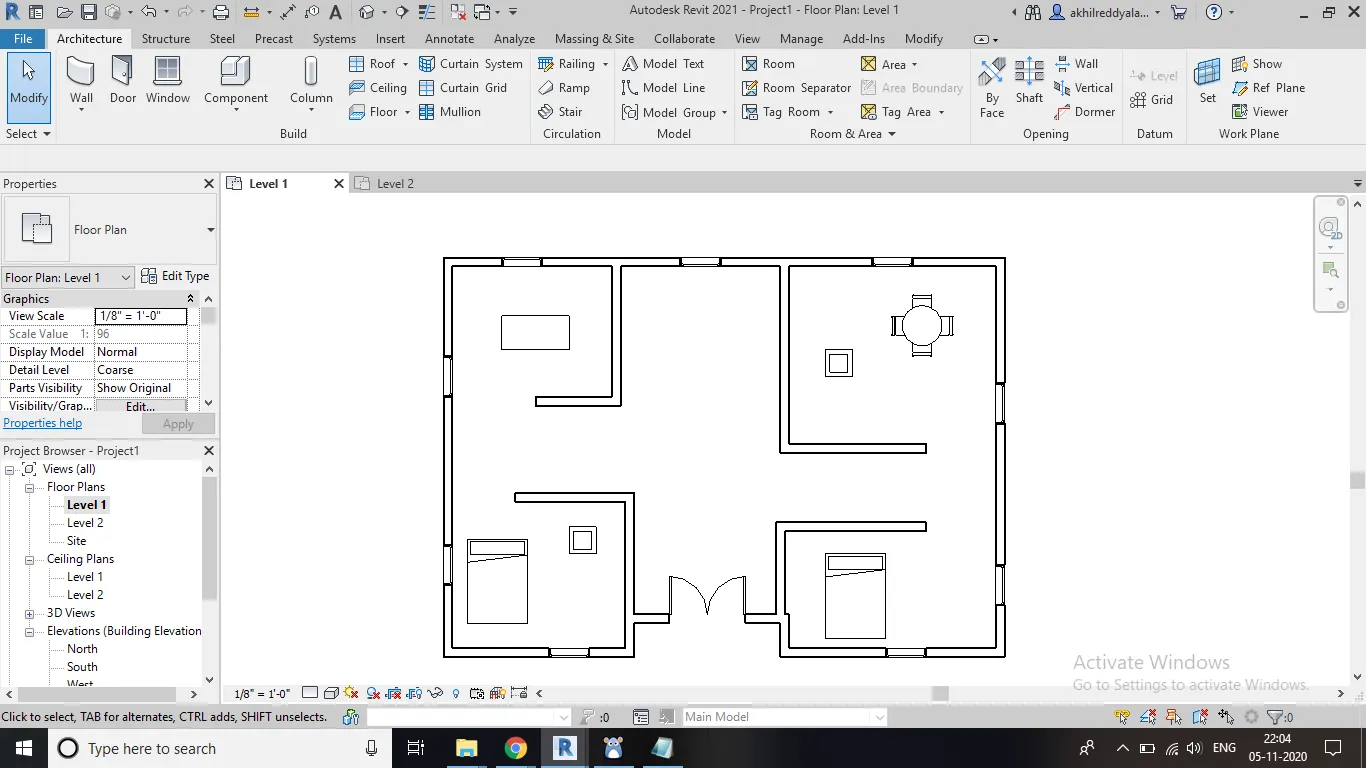
RESULT : Different elements such as doors , walls, chairs, tables and couches are added to the revit model.
5th Ans) AIM : To draw a conceptual layout of residential house.
TOOLS USED :
Architectural template
rectangle command
3D
PROCEDURE :
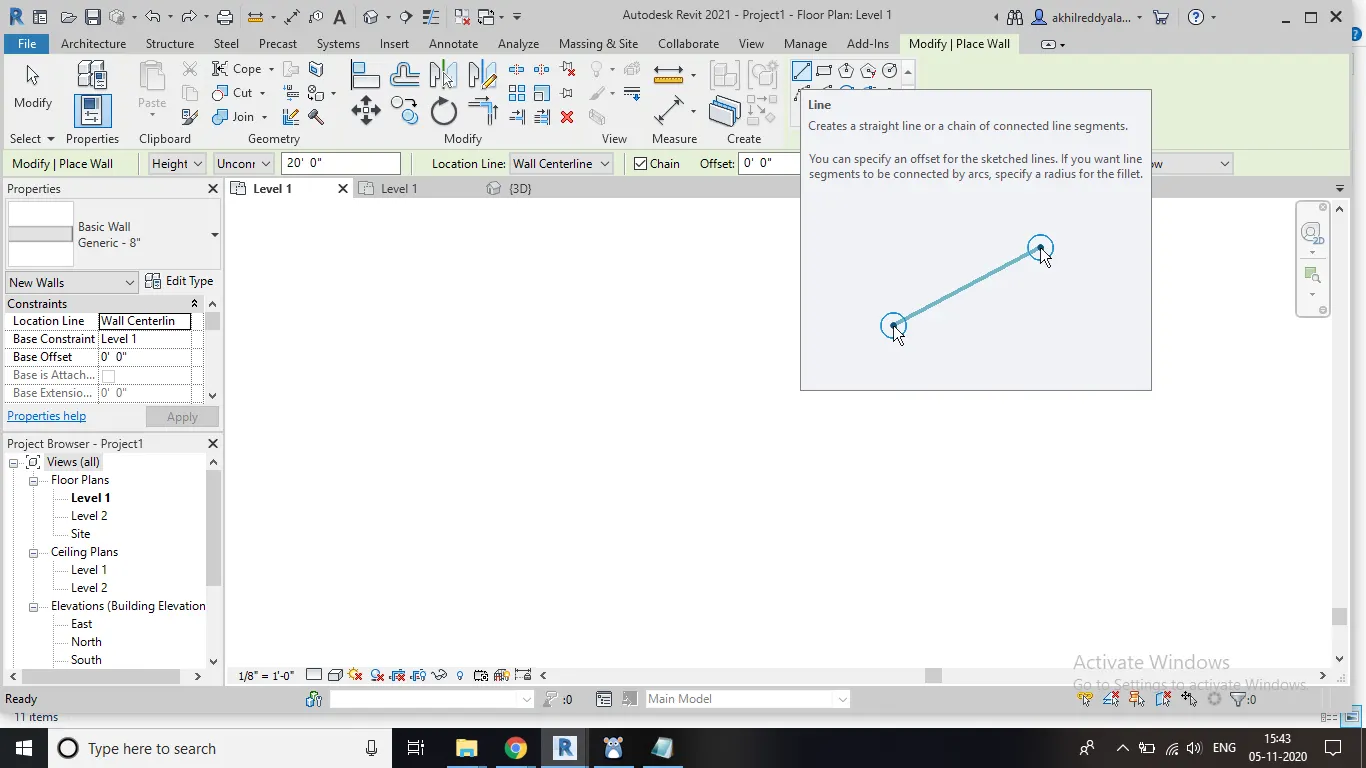
a) Select wall menu to draw a wall in imperial architecture template.
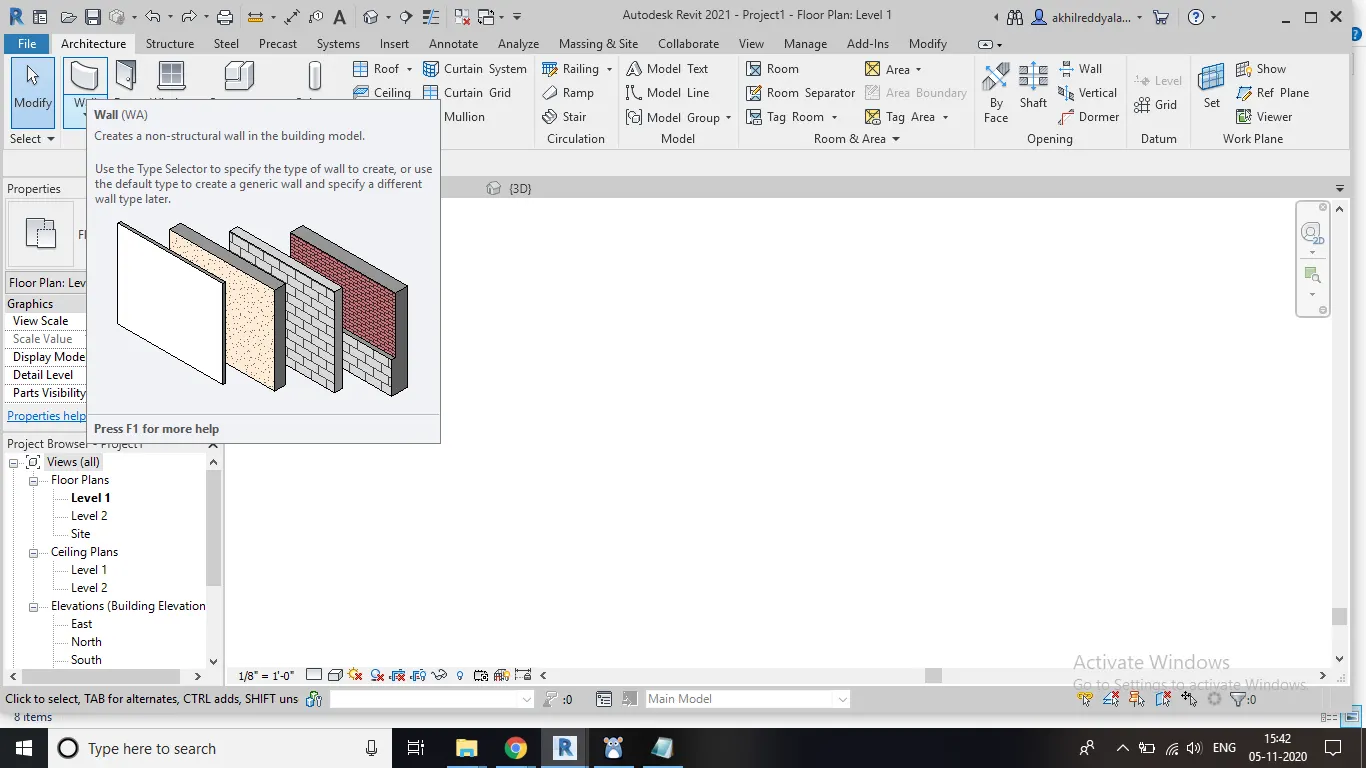
b) Click on architecture type of wall.
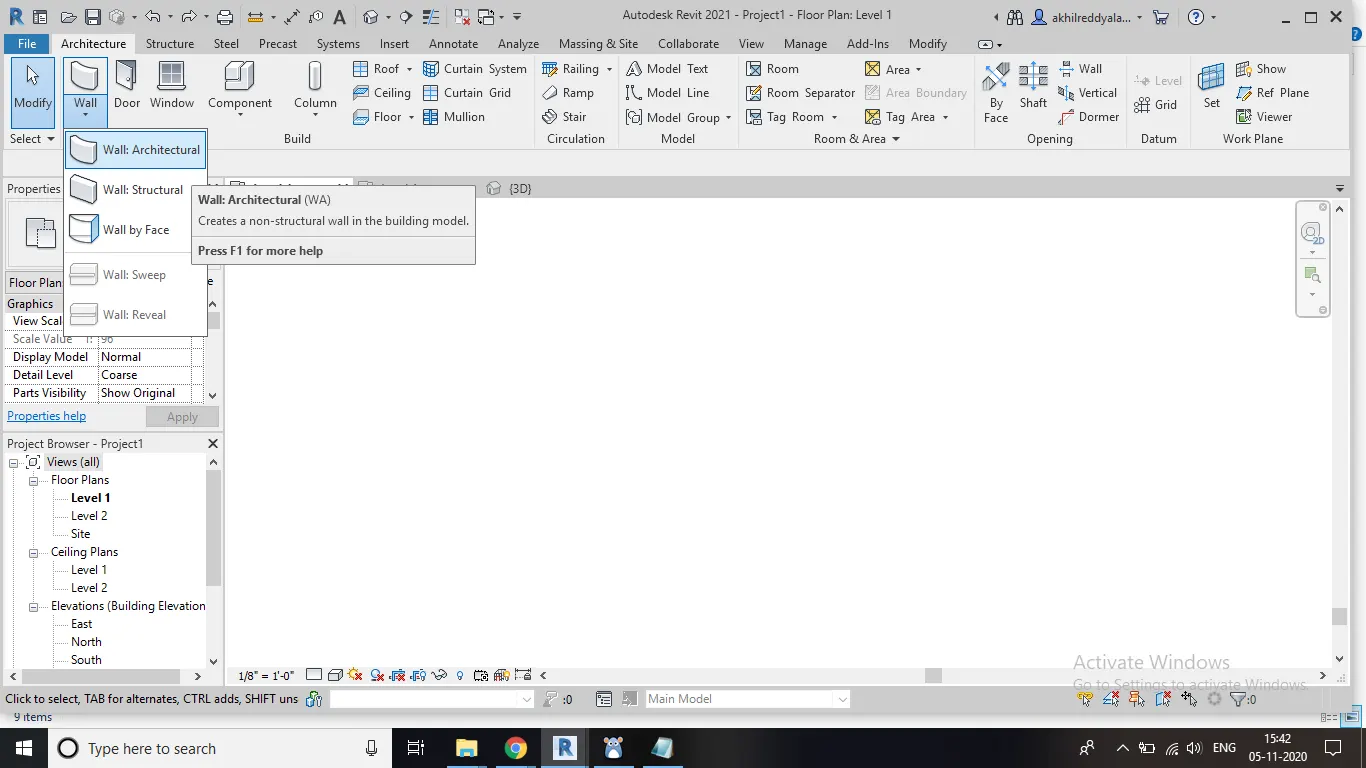
c) Select line command to draw.
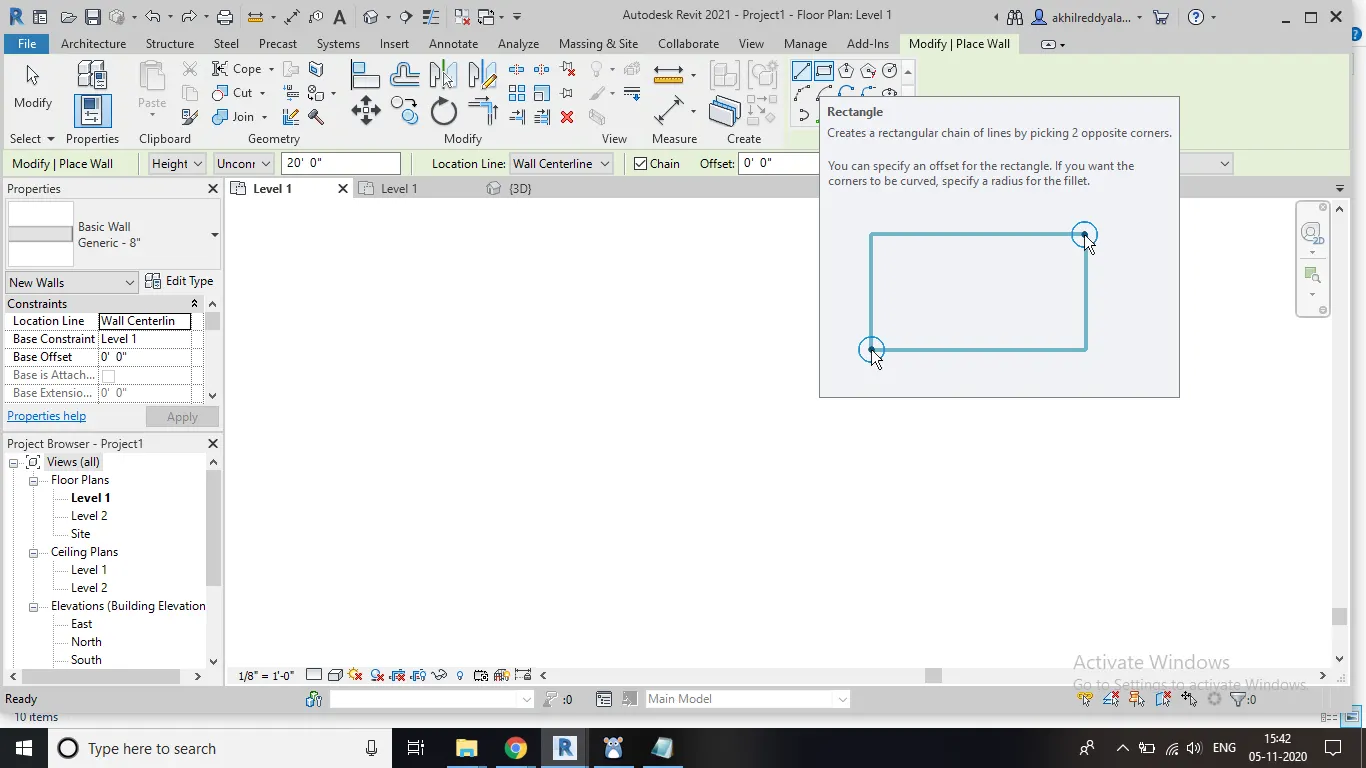
d) Draw a simple house plan which includes only walls.
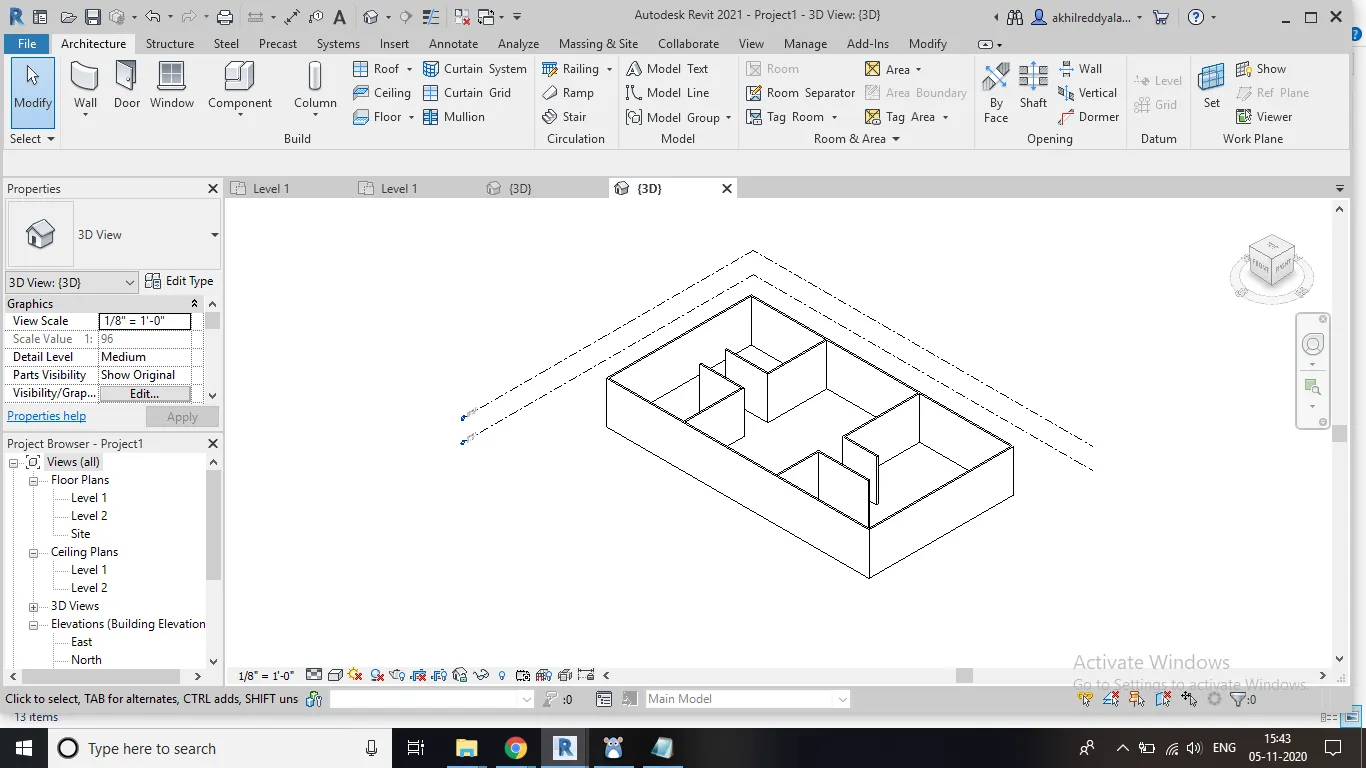
e) After drawing convert your house plan into 3D.
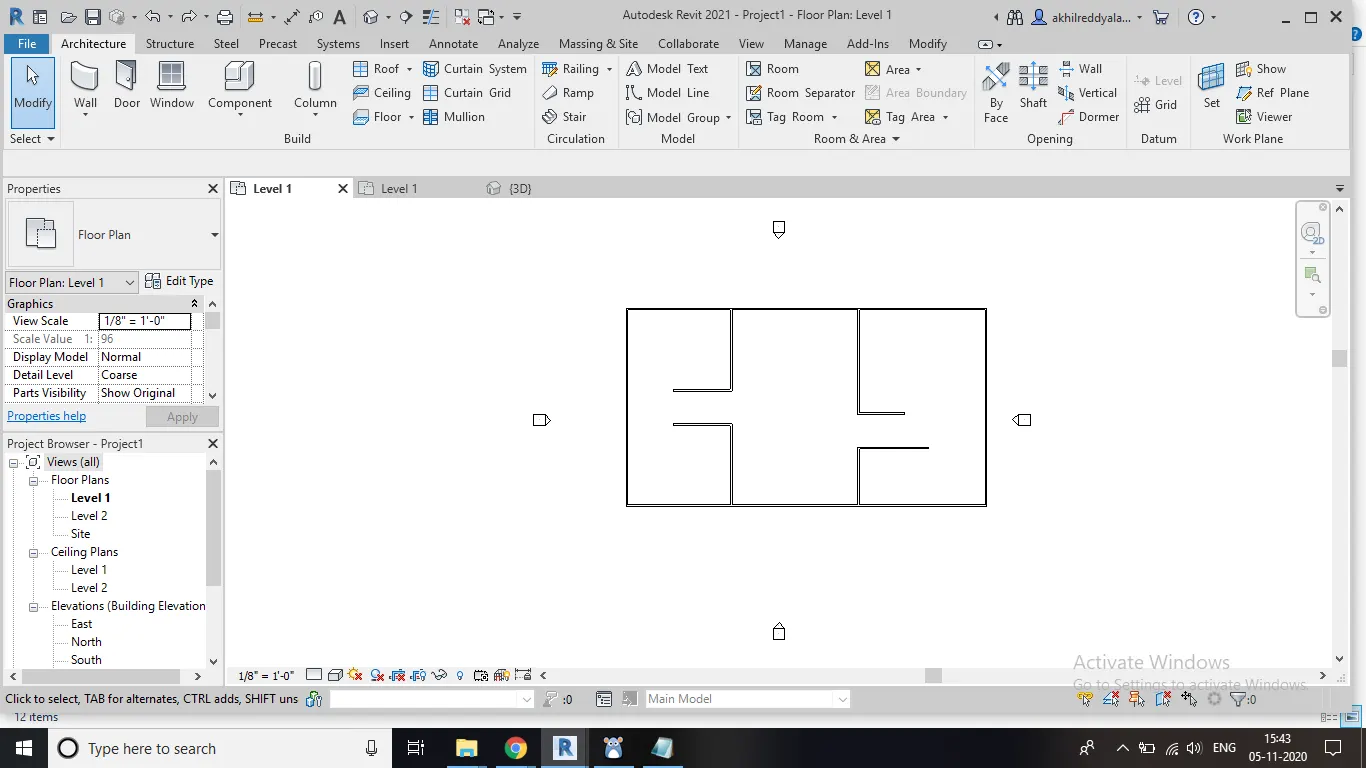
f) The 3D plan from top view will looks like layout.
g) Then click on annotate tool bar and then click aligned option to measure the
dimensions of the model.
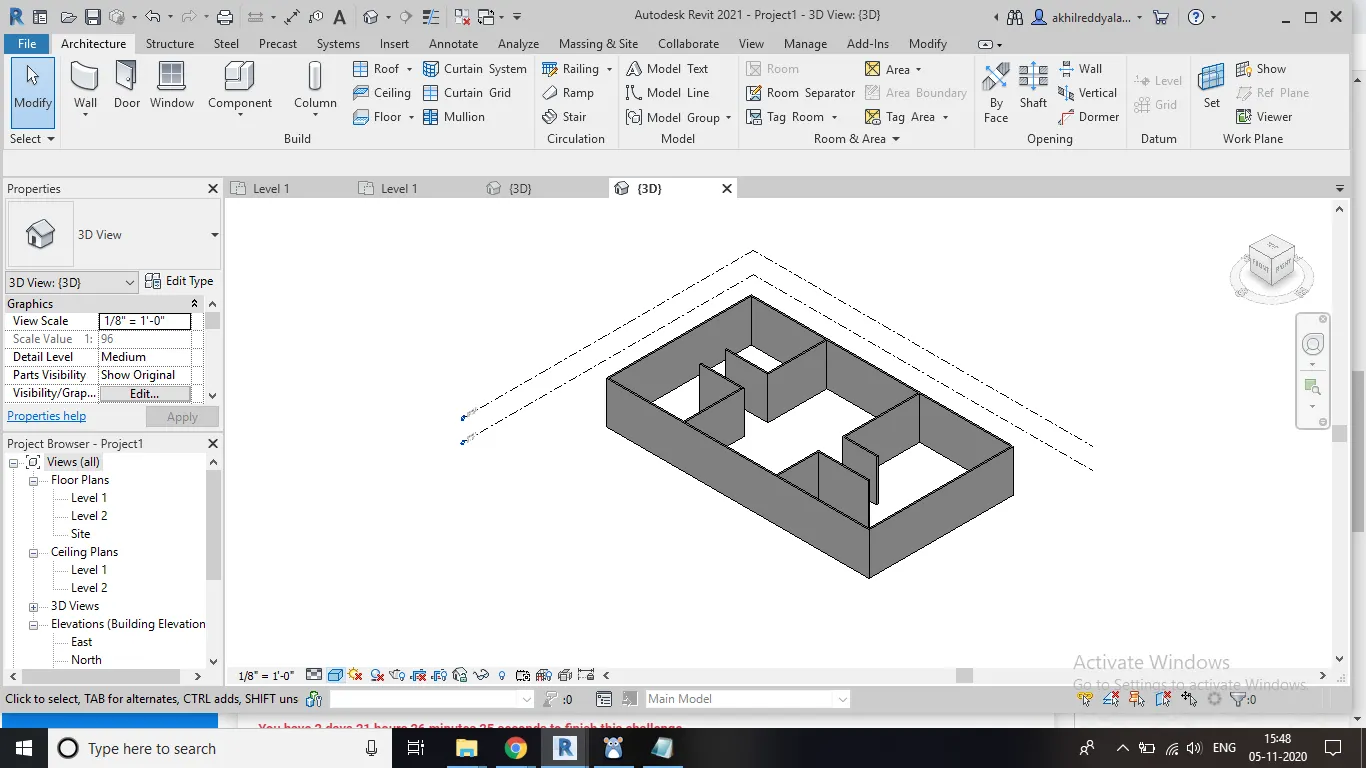
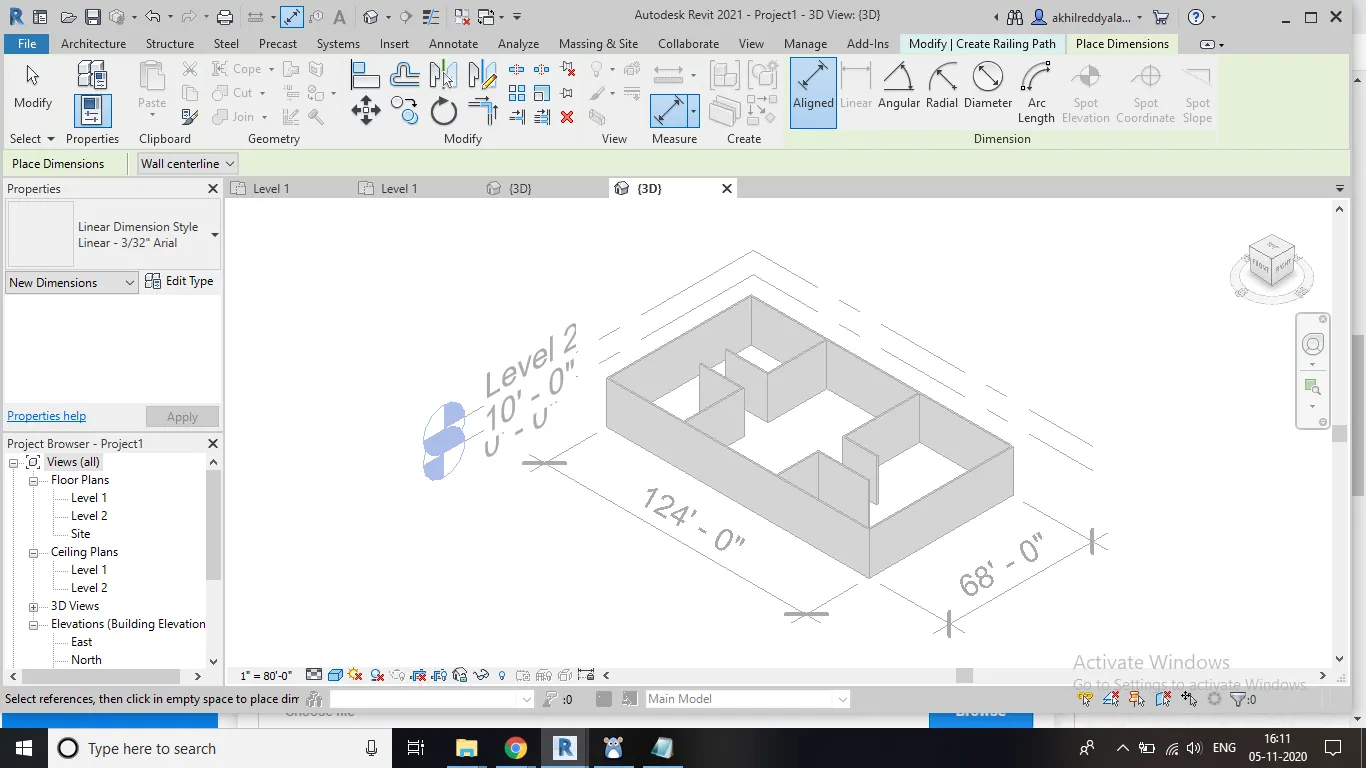
h) Measure the total dimensions.
RESULT : Conceptual 3D layout was prepared.
6th Ans)
AIM : To create a layout and mention dimesions to all components present in it.
TOOLS USED :
Architecture template
3D
recctangular command
annotation
alligne
PROCEDURE :
a) Select wall menu to draw a wall in imperial architecture template.
b) Click on architecture type of wall.
c) Select line command to draw.
d) Draw a simple house plan which includes only walls.
e) Draw lines inside that to indicate rooms.
f) Go to aligned option in annotate tool bar to give dimensions.
g) Mark the dimensions between two walls so that it gives the dimensions of the room.
h) The measurements should be made for all rooms.
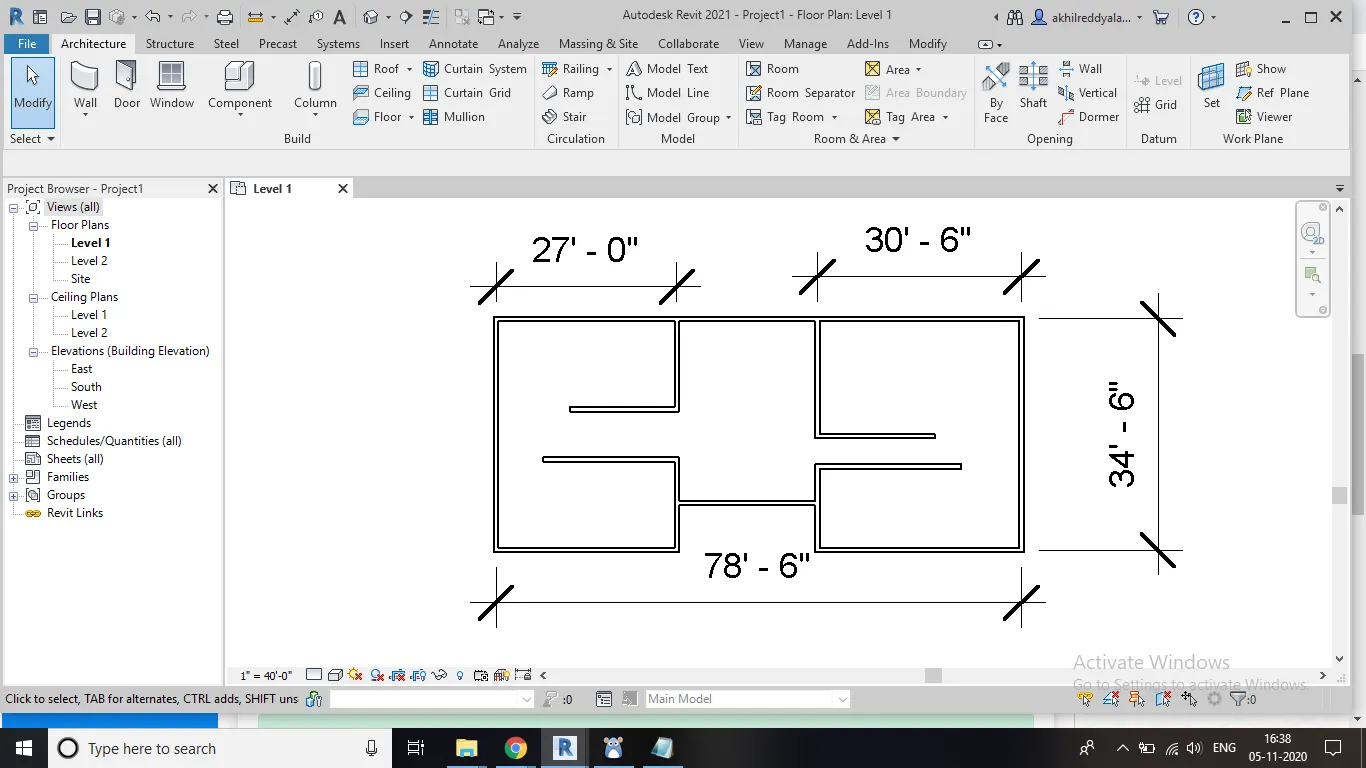
RESULT : The dimensions are made in the created layout
4th Ans) AIM : To create a different levels and naming them according to the
question given.
Ground Floor @ 0’
First Floor @ 10’
Second Floor @ 20’
Roof @ 30’
TOOLS USED : Architecture wall, elevations ,levels.
FOR LEVELS :
PROCEDURE :
a) Open a constrution template.
b) A new drawing page will appear.
c) Go to elevations and east.
d) You will get different levels like ground , footing etc.
e) Delete all those unwanted level lines
f) Rename the ground level as level 1.
g) Create the new level line by clicking level option above grid on the
top tool bar.
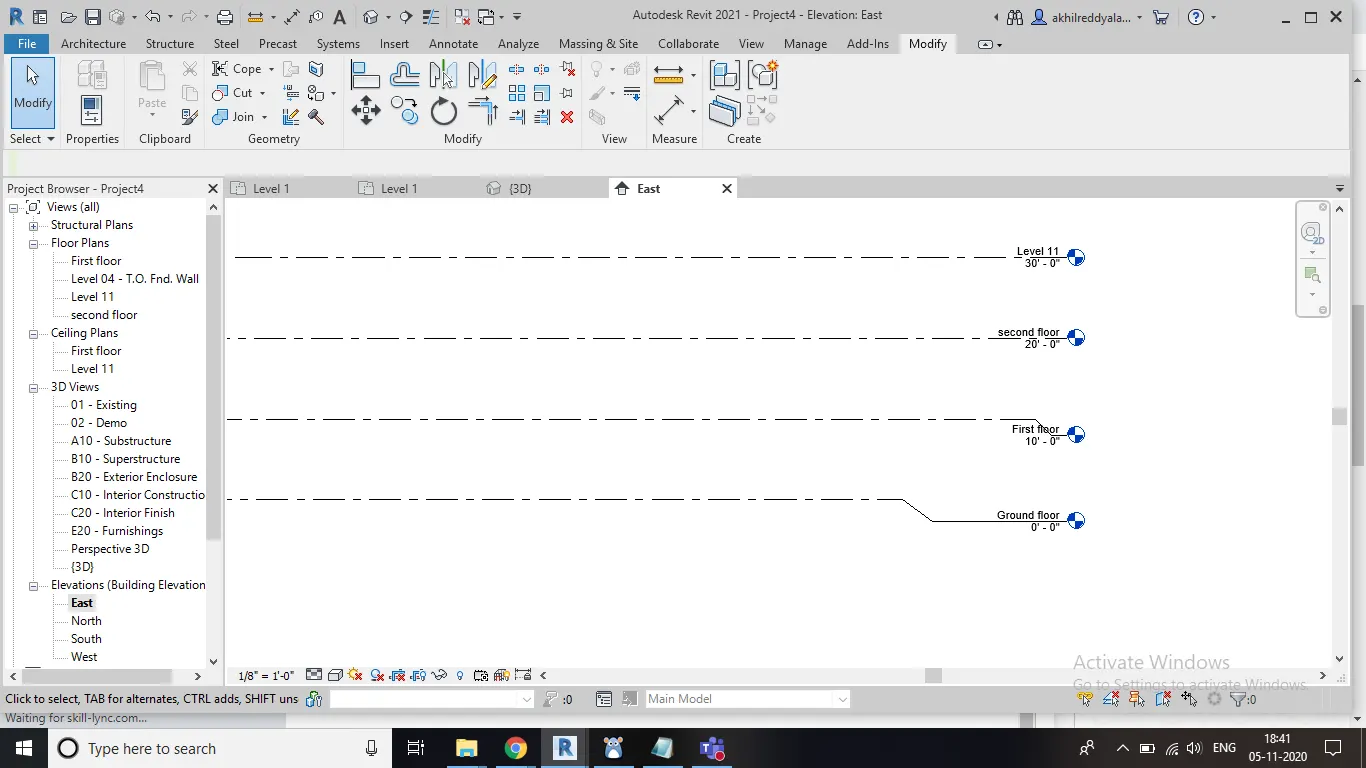
RESULT : Different level lines are created and renamed as level 1, level 2, roof etc.
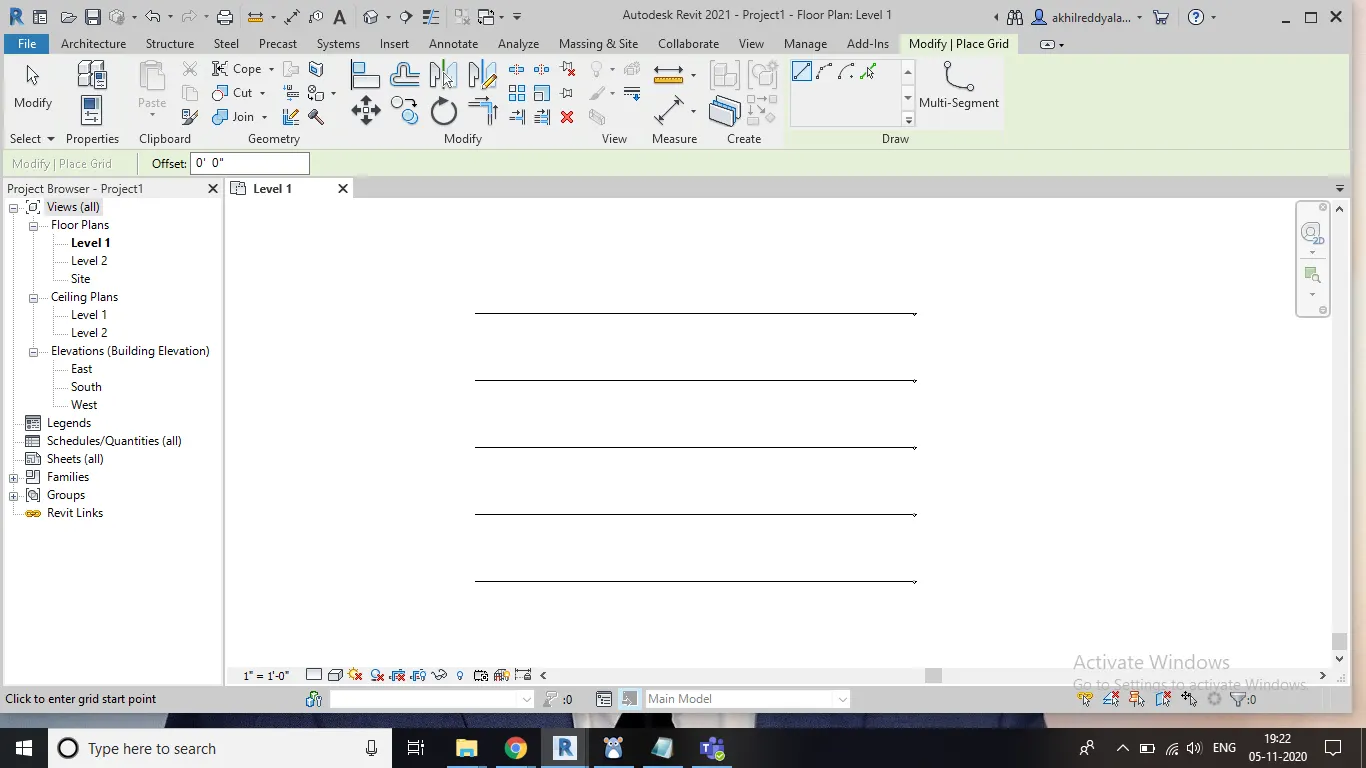
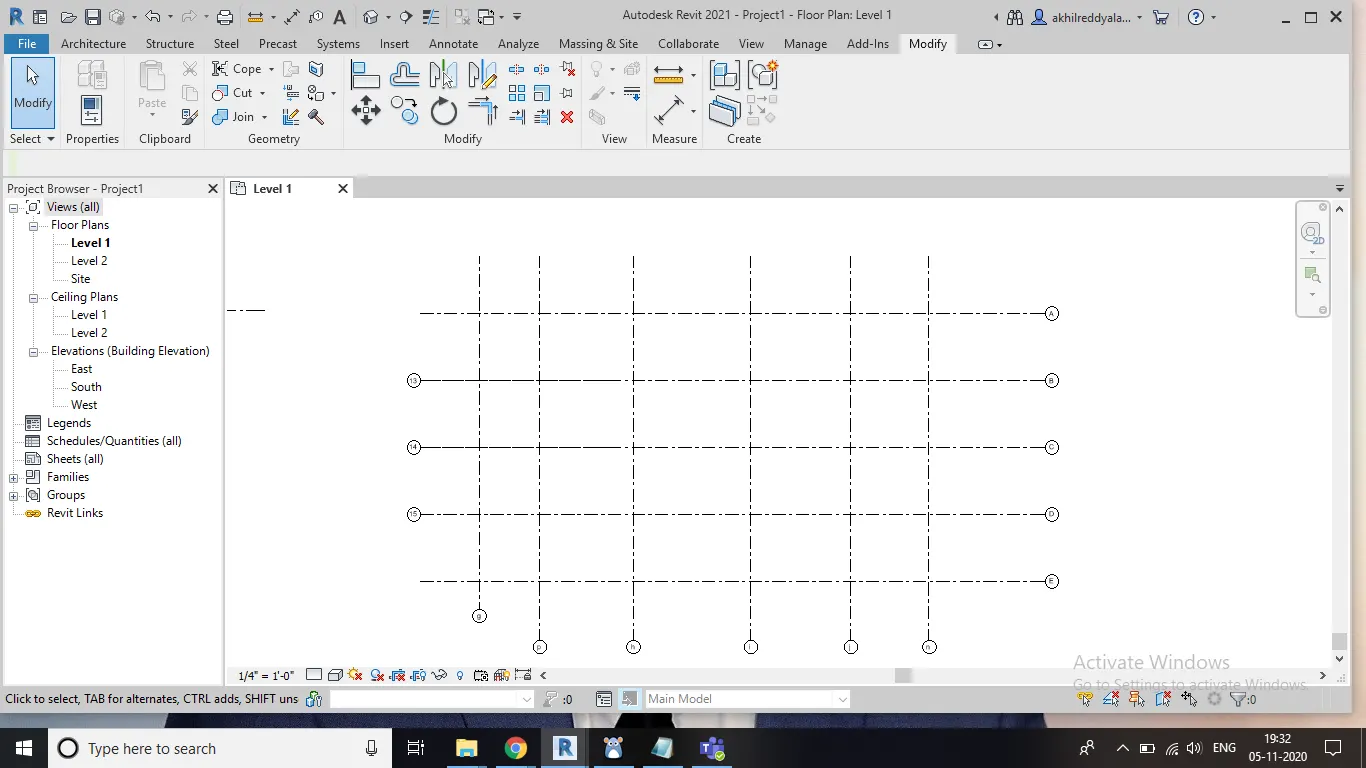
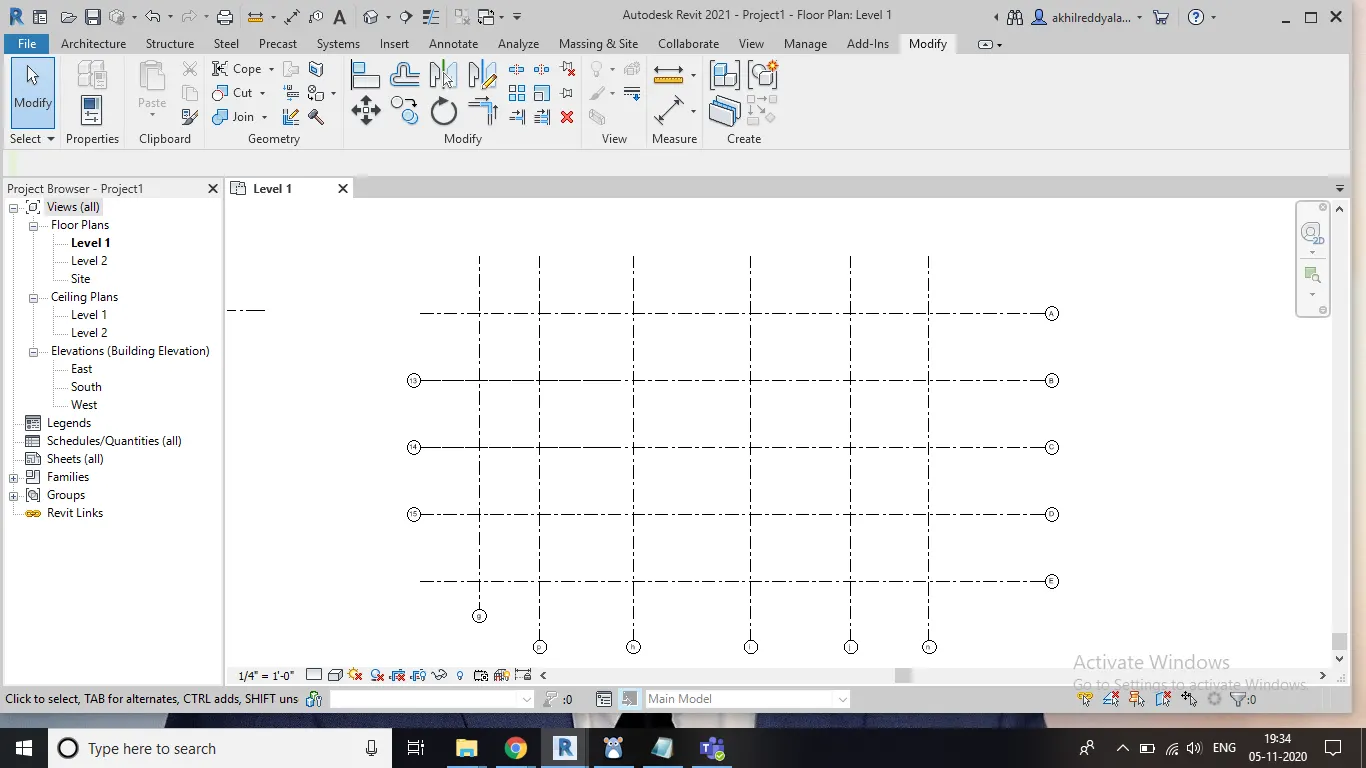
2. AIM : To form different types of grids.
TOOLS USED : construction template , grid , architecture template
PROCEDURE :
a) Select a construction template.
b) You can see 'grid' option on the right most side of the screen.
c) Draw a grid line horiontally.
d) Draw 4 more grid lines parallel to it
e) Now draw grids in a vertical model.
f) Draw few more grids parallel to it.
g) Make sure that the distance between two successive grid lines will be of 20.