REVIT_Usage of Collabrate tool_Week 6
1) Open an architectural template. Using the Manage tab set project base point and project shared coordinates for the project.
Ans) AIM : To set project shared co-ordinates for the project.
COMMANDS USED :
Grid
Manage
Co-ordinates
Specify co-ordinates.
PROCEDURE :
a) Open an architectural template.
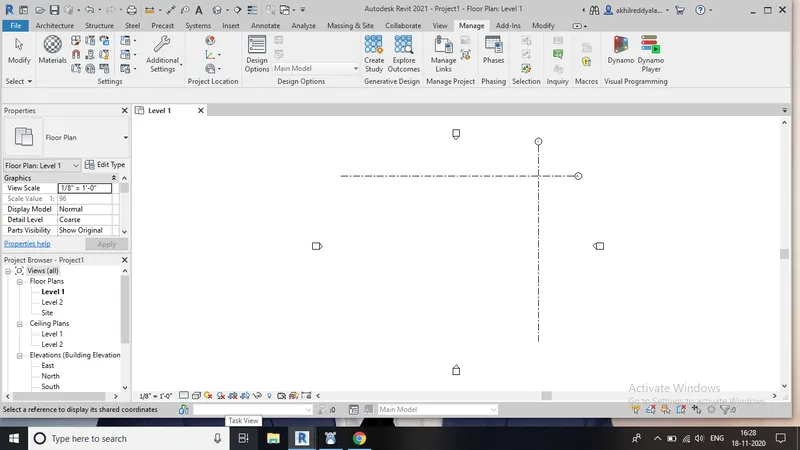
b) Draw a horizontal grid and a vertical grid.
c) Make sure that both grid lines a intersect at a point.
d) After drawing the grids rename them.
e) Rename the horizontal grid as 'A' and the vertical grid as '1'.
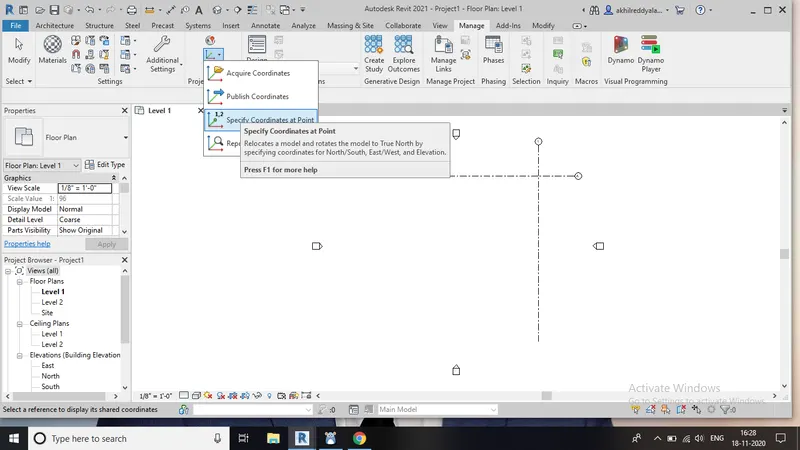
f) Now go to manage tab and click on co-ordinates.
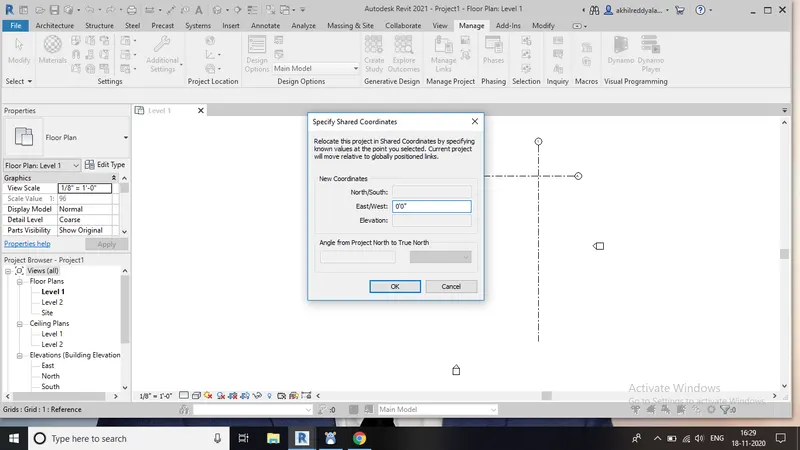
h) Then choose specify co-ordinates option.
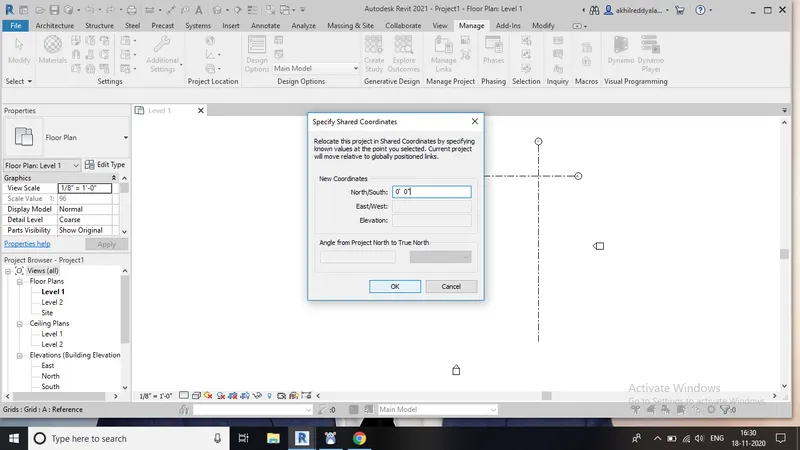
i) Then select the base point as 0'0" for both North-South and East-West.
g) Then finally save the project with a name of your choice.
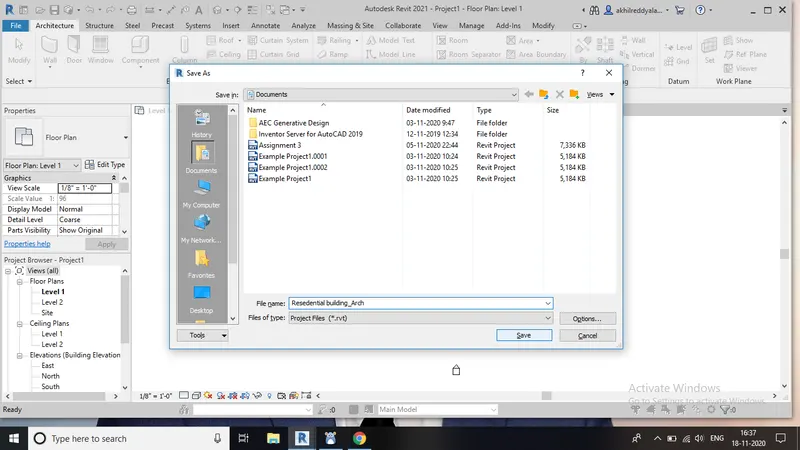
RESULT : Co-ordinates are set to the model(grid lines) successfully.
2) Open another new file but with a structural template. Using manage tab set project parameters the same as the architectural model. Copy the parameters from the architectural model to the structural template or enter the parameters manually into the structural model.
Ans) AIM : To draw grid lines in structural template and set the co-ordinates to that.
COMMANDS USED :
Structural template
Grid lines
Manage
Specify co-ordinates.
PROCEDURE :
a) Select structural template.
b) Draw two grid lines and make sure that both the lines will intersect at a point.
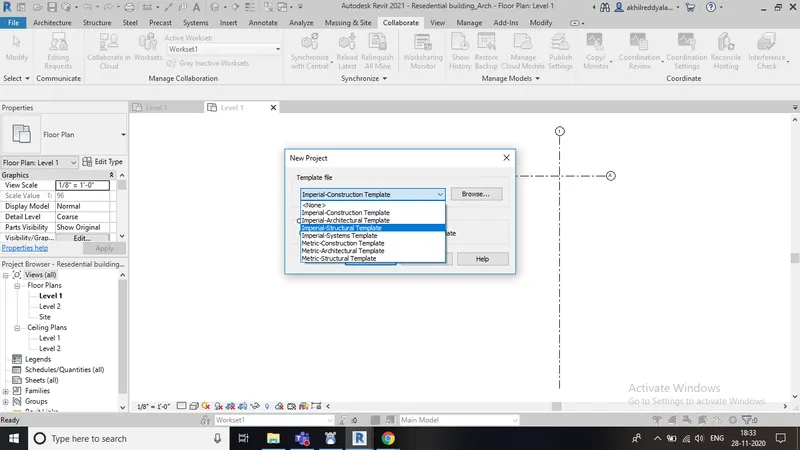
c) Go to manage tab and click on co-cordinates.
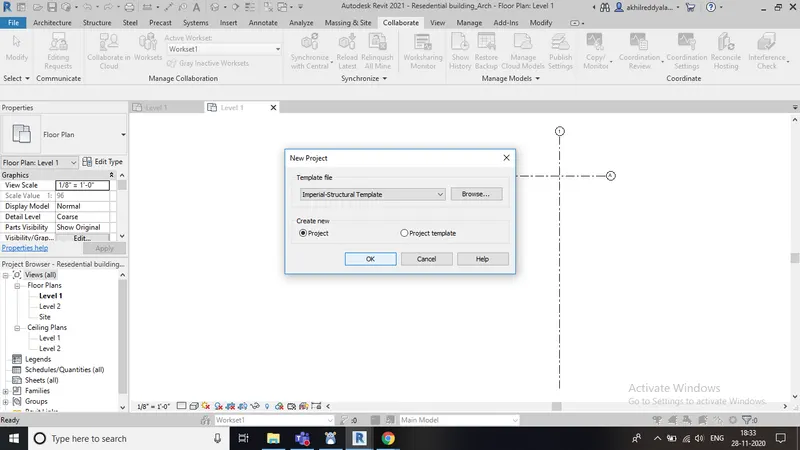
d) Then select specify coordinates.
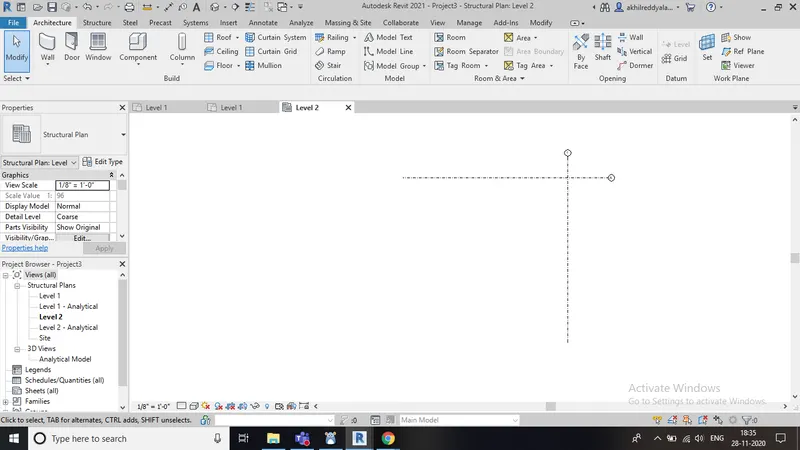
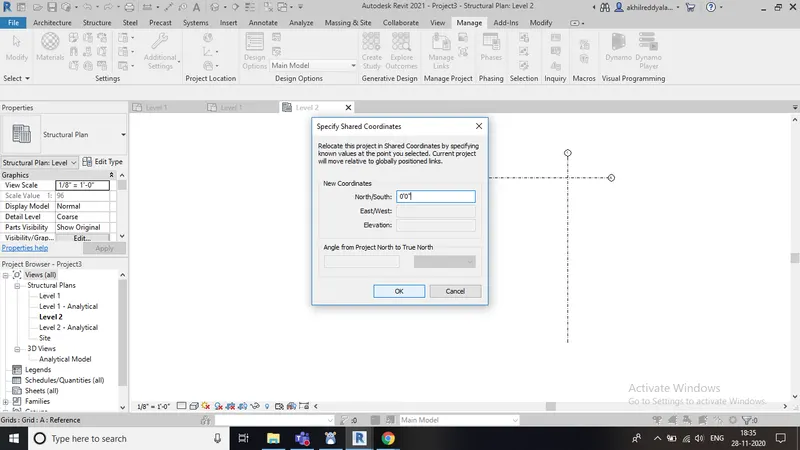
e) Set the co-ordinates of north-south and east-west as 0'0".
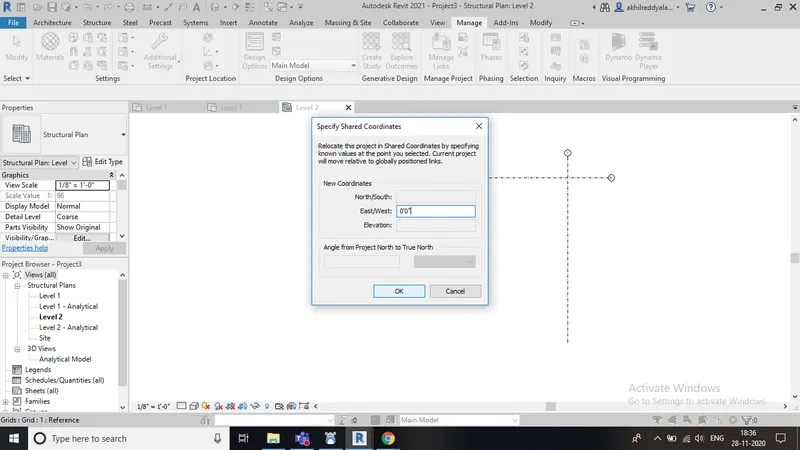
f) Then save the project with a name of your own.
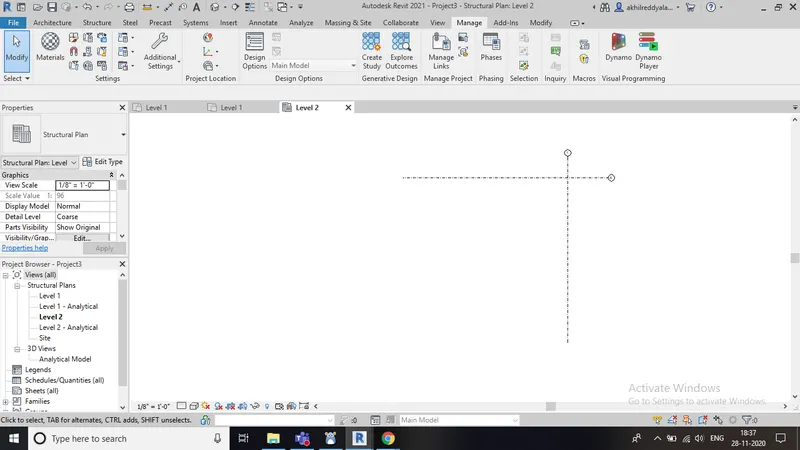
RESULT : Project co-ordinates are set to the model.
3) Re-open the architectural model. Using the tools under the Collaborate tab make the architectural model a central model ( enabling simultaneous working on the model )
AIM : To collaborate the architectural model as a central model.
COMMANDS USED :
Open
Project
Collaborate
PROCEDURE :
a) Re-open the architectural drawing from the first question which was saved already.
b) Now click on collaborate tab on the top.
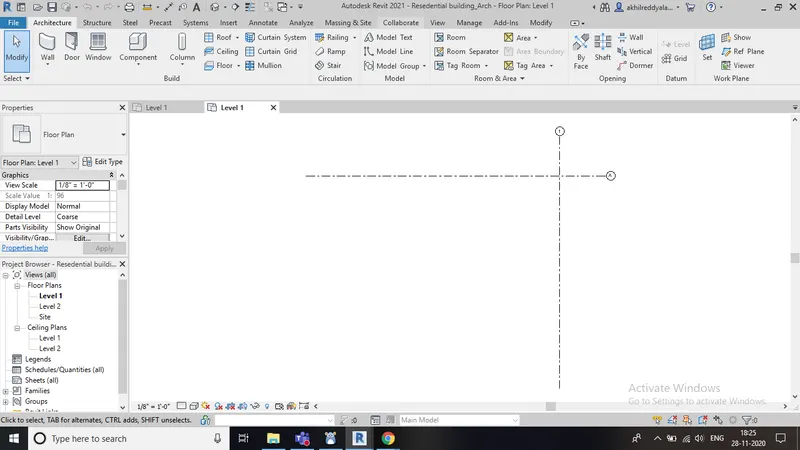
c) Then choose collaborate tool from that.
d) A small window will appear.
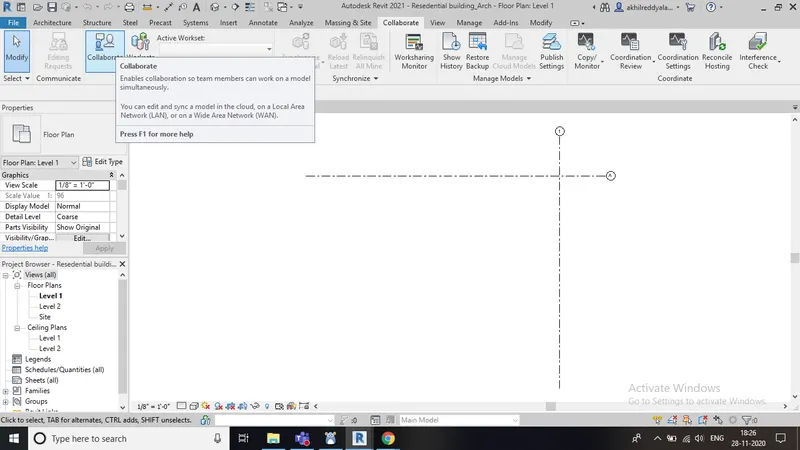
e) It will have two options.
f) Then select 'with in the network option'.
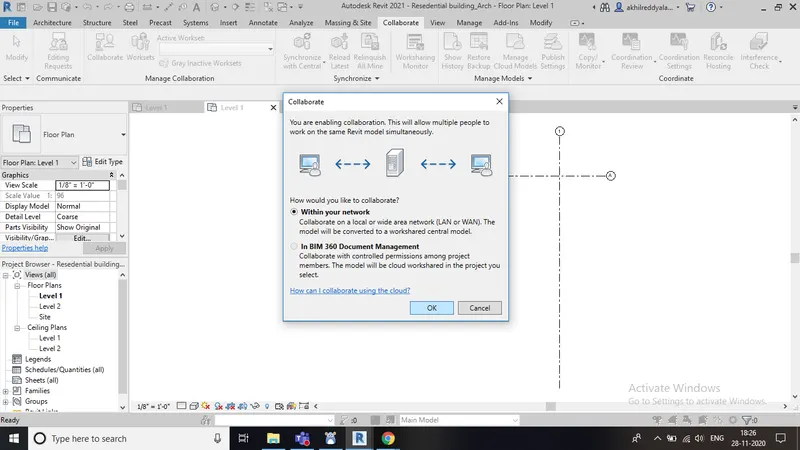
g) Then click OK.
RESULT : Architectural model was collaborated as a central model successfully.
6) Open the structural model and using the collaborate tools to save the model as a central file.
Ans) AIM : To collaborate the structural model which was already saved.
COMMANDS USED :
Collaborate
Open
Project
PROCEDURE :
a) Re-open the structural drawing from the first question which was saved already.
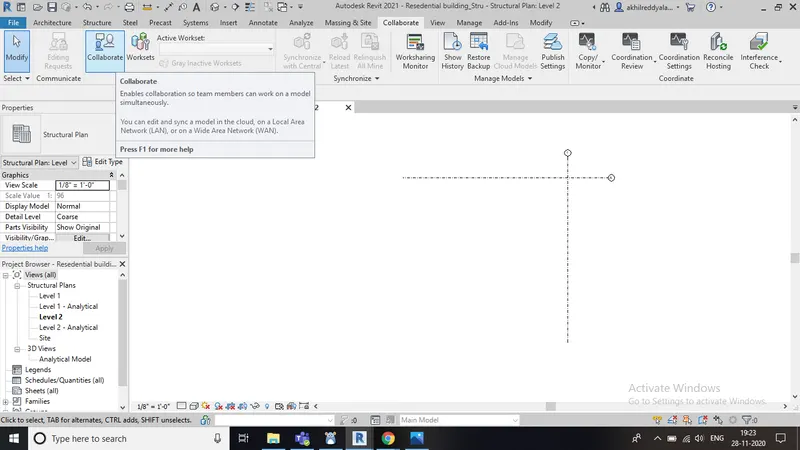
b) Now click on collaborate tab on the top.
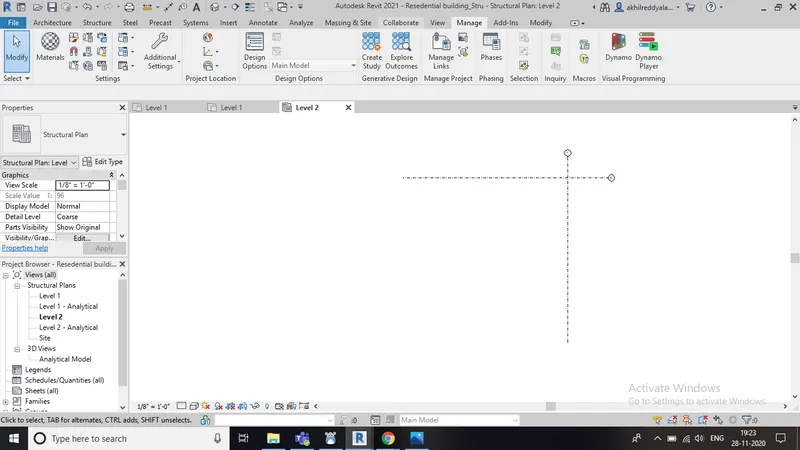
c) Then choose collaborate tool from that.
d) A small window will appear.
e) It will have two options.
f) Then select 'with in the network option'.
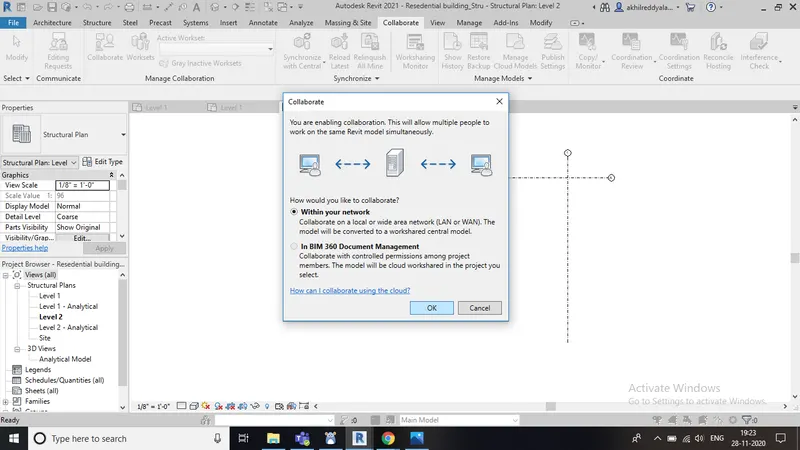
g) Then click OK.
RESULT : The structural model was collaborated successfully as a central model.
7) Under the Collaborate tab, select the grids and levels from the architectural model, and using Copy Monitor try to copy the grids to the structural model. See what happens when the copy monitored grid is moved around in the structural model
Ans) AIM : To copy the grids to structural model from architectural model.
COMMANDS USED :
Copy monitor
Copy link
Copy from click board
Architectural
Structural
Finish
PROCEDURE :
a) Go to architectural tab and draw two grid lines.
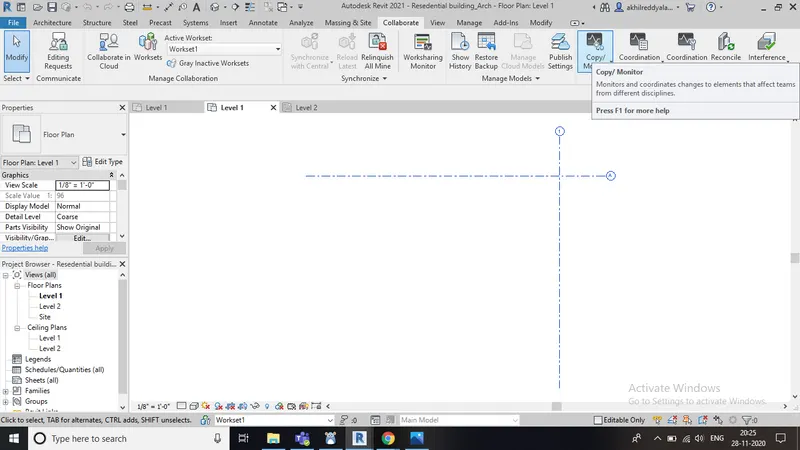
b) Open a new file with structural template and draw two grid lines.
c) Now come back to architectural model.
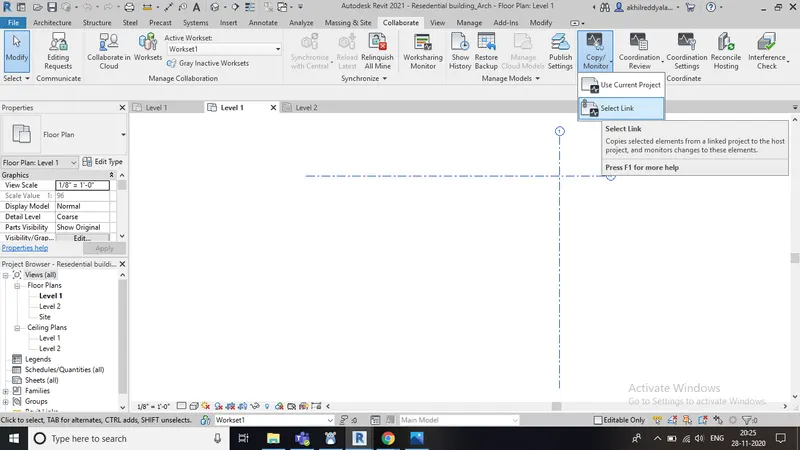
d) Go to collaborate tab and click on copy/monitor.
e) Choose copy link.
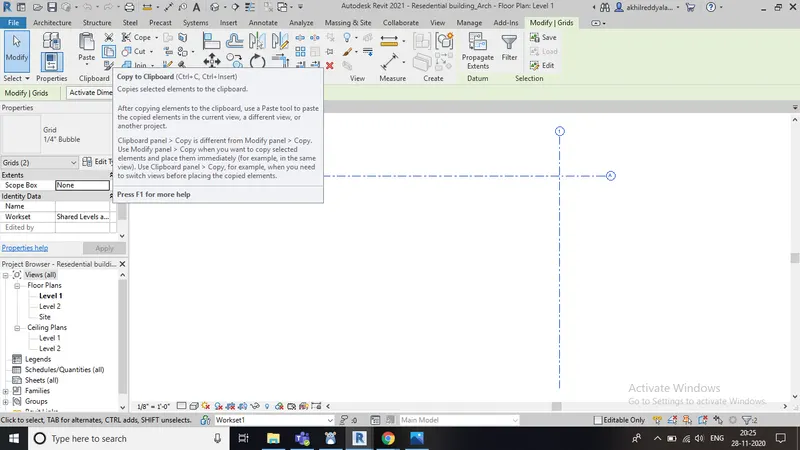
f) Select the grid lines.
g) Now paste those selected grid lines in structural template.
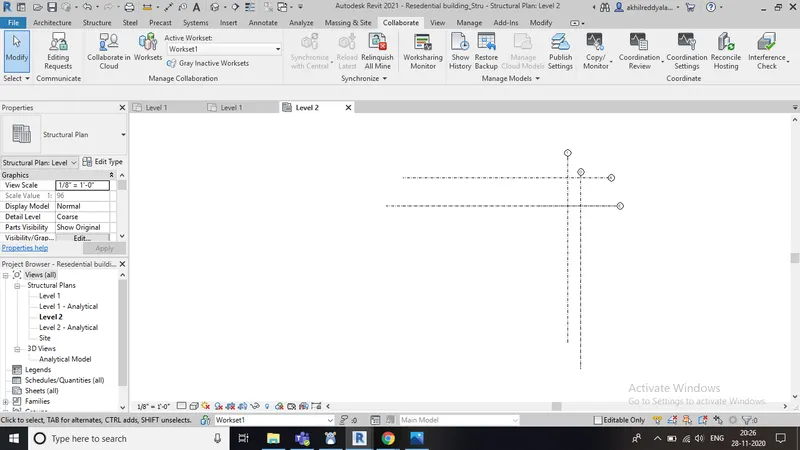
h) You will notice that the grid lines of both the models will intersect each other at different points.
RESULT : Grids of both architectural and structural models are attatched.
8) Create another new file with a construction template. Save the new file as a central model. This file will include both architectural and structural model. Under the manage tab, Click manage links to link both architectural and structural files. Save the file and close all the files.
AIM : To create a construction template and to link architecture and structural files to it.
COMMANDS USED :
Manage
Manage links
Construction
Architecture
Structure
PROCEDURE:
a) Open a new file with construction template.
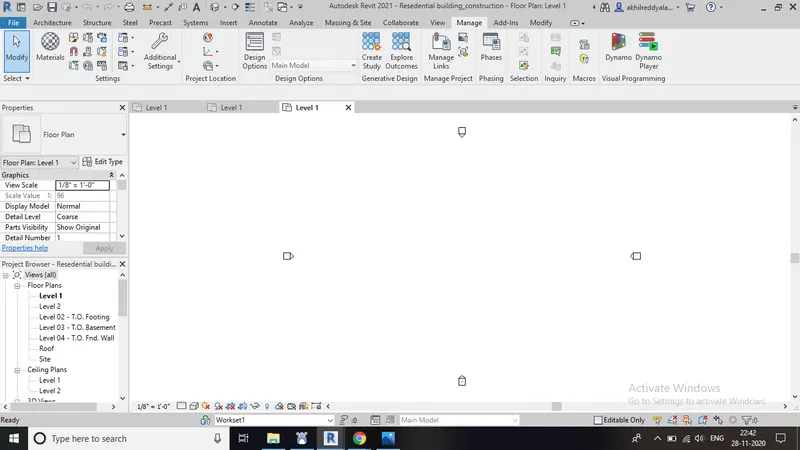
b) Now go to manage tab and click on manage links.
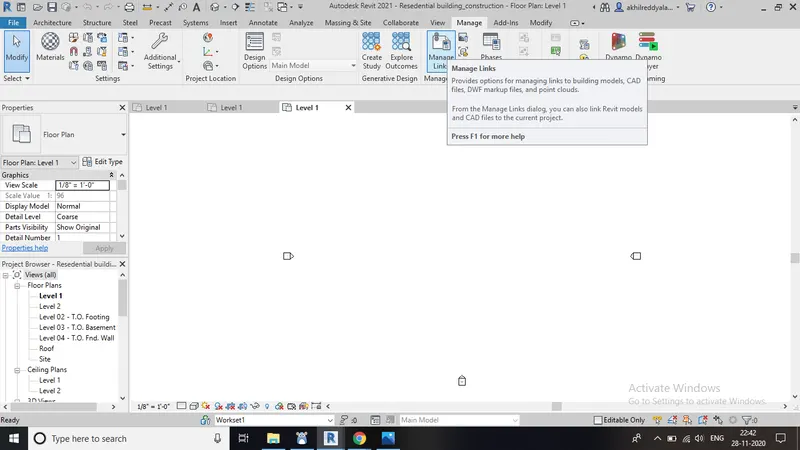
c) Now click on add.
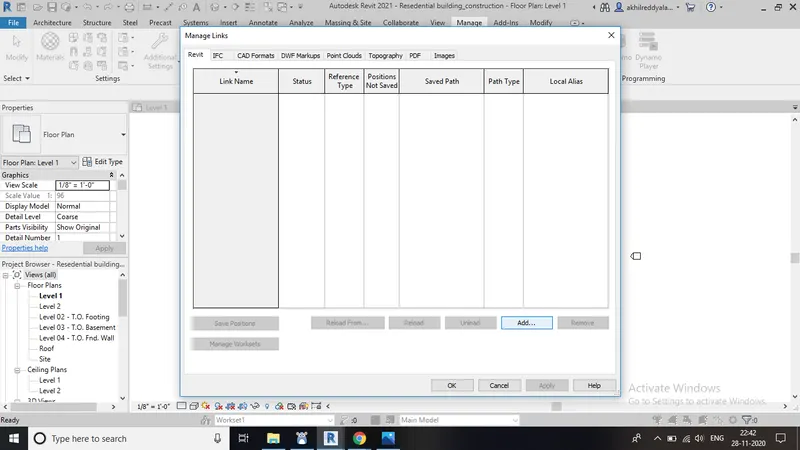
d) Then select architectural model which was already saved.
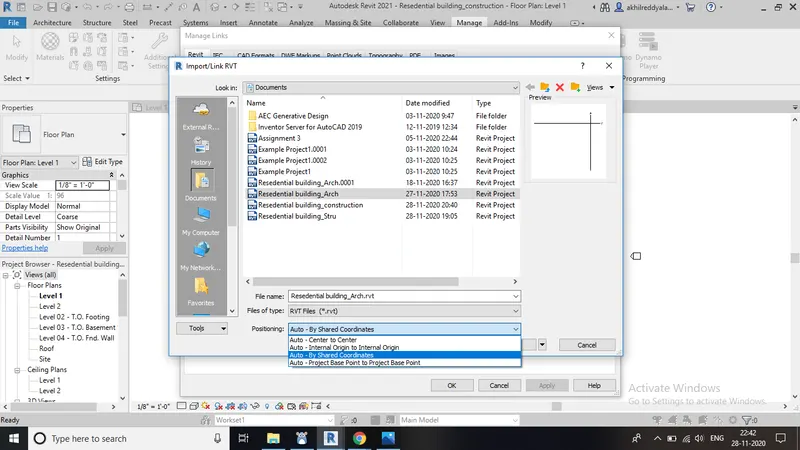
e) Now the selected architectural model will be loaded.
f) Then select structural model which was already saved.
g) Now the selected structural model will be loaded.
h) Then click OK in the bottom of the tool bar.
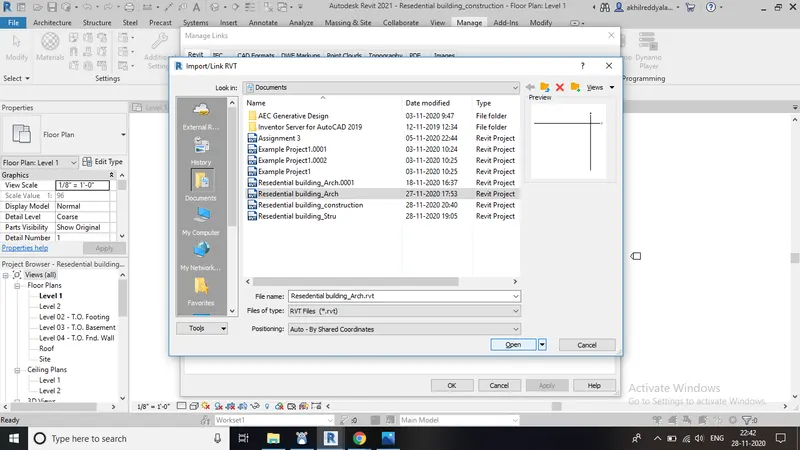
i) Then we can notice that both the models will appear in the same template.
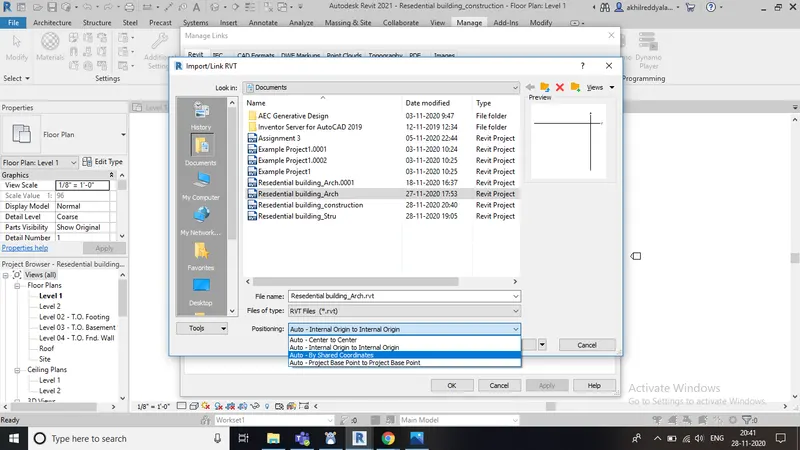
j) Take screenshot of it.
RESULT : Both architectural and structural models are linked to a construction template successfully.
9) Are the grids from structural and architectural model matching in the construction template created? If yes the model is set up for project 2. If not work on the shared parameters and linking options under Manage links.
Ans) AIM : To match the grid lines of both architecture and structural models.
COMMANDS USED :
Manage
Project location
Relocate project
PROCEDURE :
a) Re-open the file which was done for the previous question.
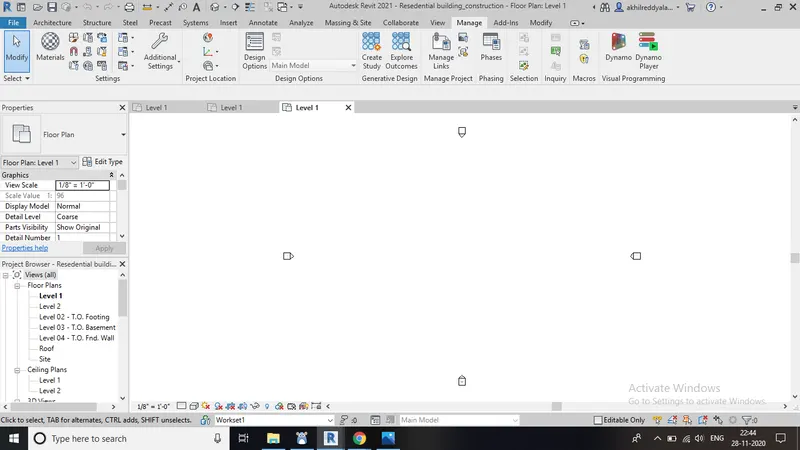
b) Click on manage tool bar.
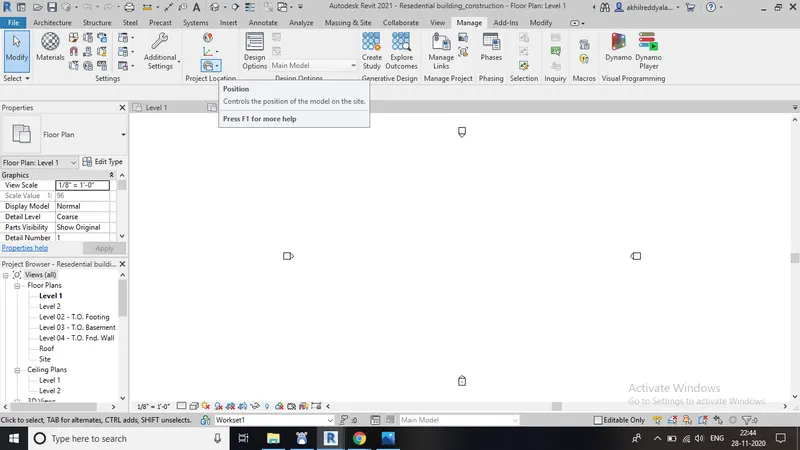
c) Then go for project location which will be present under co-ordinates.
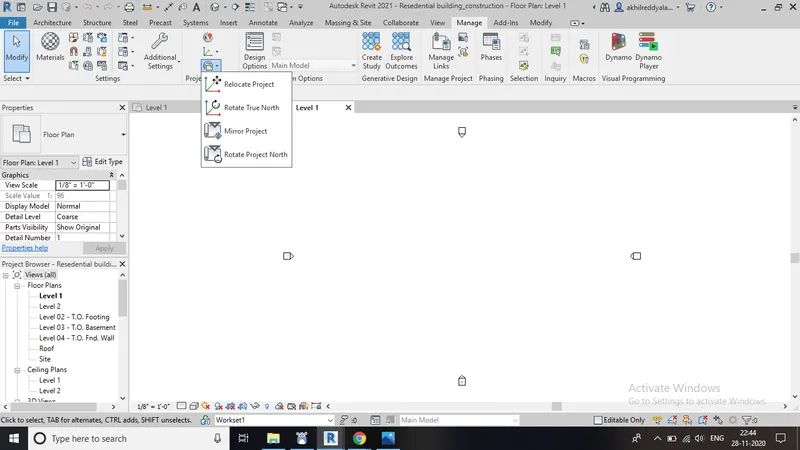
d) Now select relocate project option ( first option in the appeared tool bar).
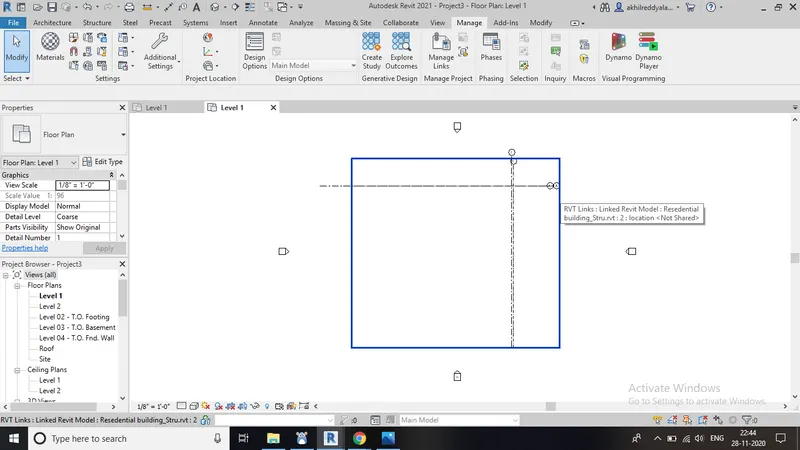
e) Then click on the model and try to adjust the position.
f) Now make sure that both the horizontal and vertical grid lines will co-incide.
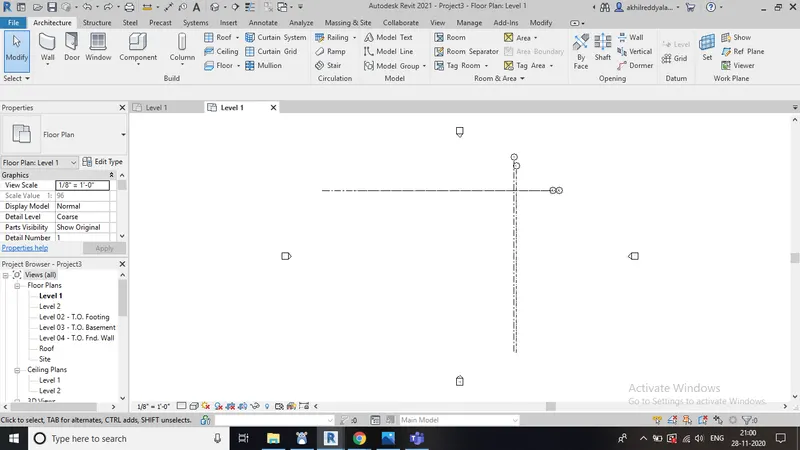
g) Save the file as a project.
h) Take the screenshot of it.
RESULT : Grid lines of both architectural and structural models are matched successfully.
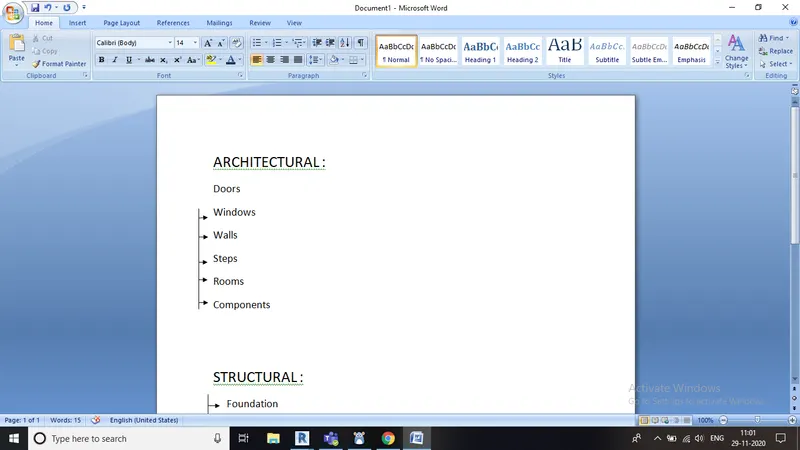
10) List a flow chart of a project tree set up in terms of Construction model, Architecture & Structure model, in this exercise and understand how many people can work on the same project using Revit simultaneously
Ans) In REVIT , a work can be divided into parts and that can be shared by different people. But a single can't be done by multiple people.
There are different components which can be included in the flow chart of architectural and structural models. There will be no specific.
ARCHITECTURE :
:
STRUCTURE :
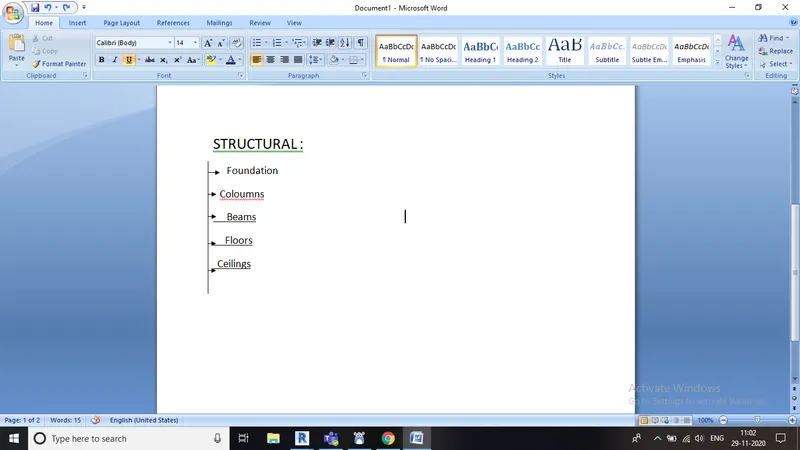
5) Synchronize the changes from the local copy to the central file of the architectural model.
Ans) AIM : To synchronize the changes from the local copy to the central file of the architectural model.
COMMANDS USED:
Architectural
Manage
Synchronise
PROCEDDURE :
a) Open a new file.
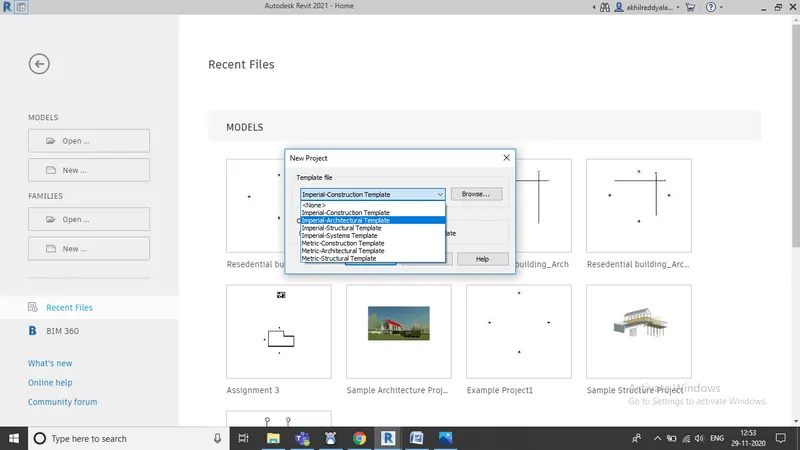
b) Go to collaborate tab.
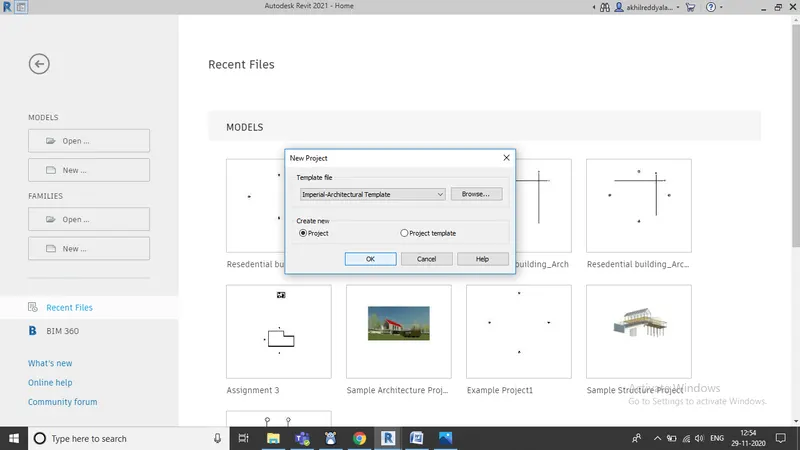
c) Then select synchronise with central model.
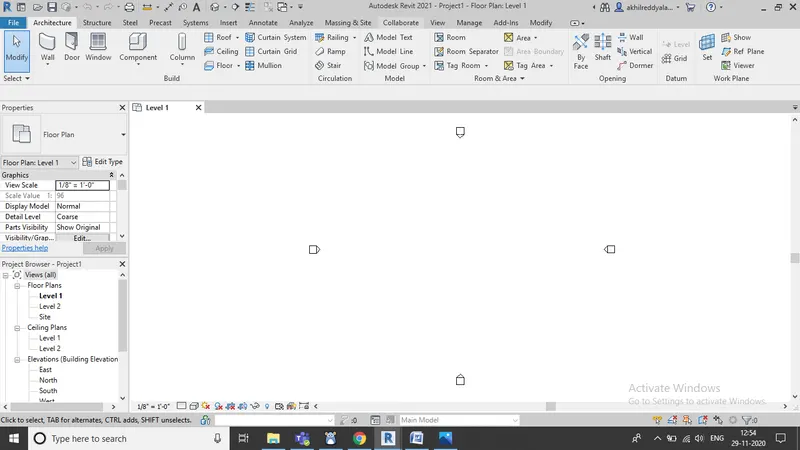
d) Now synchronise and modify.
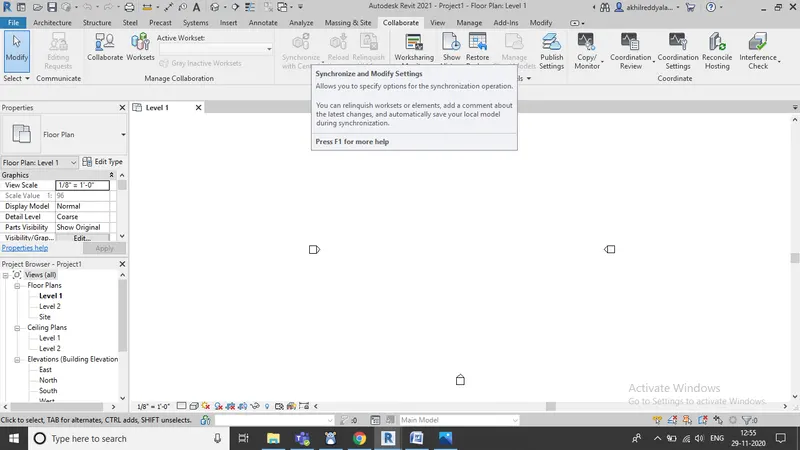
e) Finally click OK.
f) Then take screenshots of all steps.
RESULT : Architectural model was synchronised successfully.
4)Create the Grids Longitudinal and Transverse pattern for the project similar to the task done in Week2
Ans) AIM : To draw longitudnal and transverse grids.
COMMANDS USED :
Architecture
Grid
PROCEDURE :
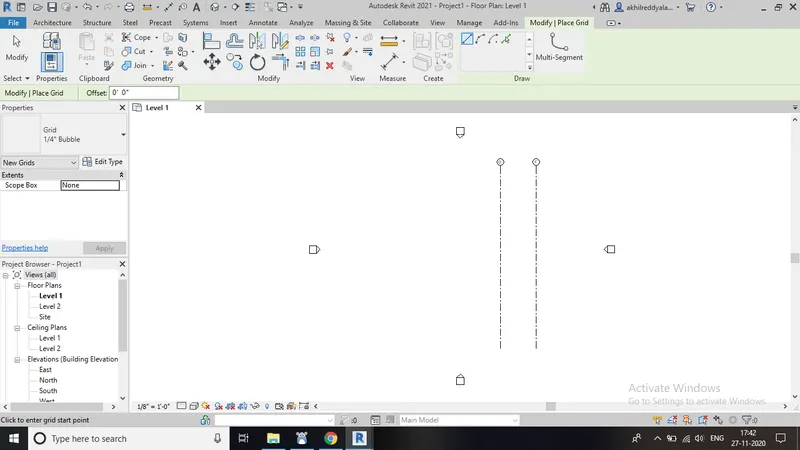
a) Open a new architectural file.
b) Select grid option from the top menu bar.
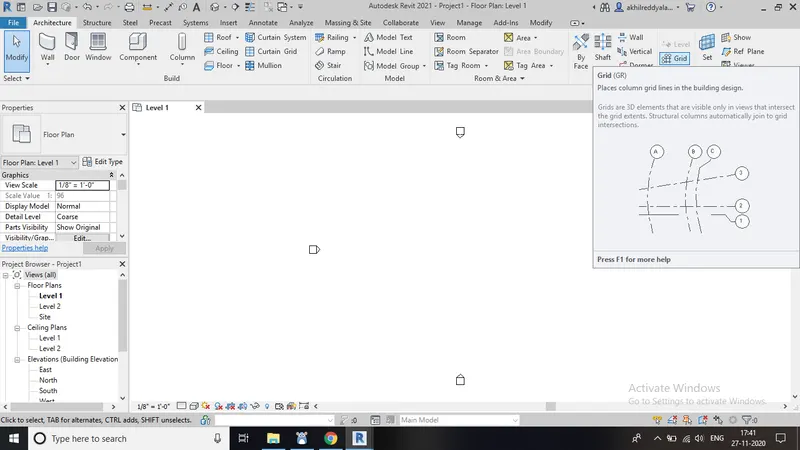
c) Initially draw grid lines horizontally.
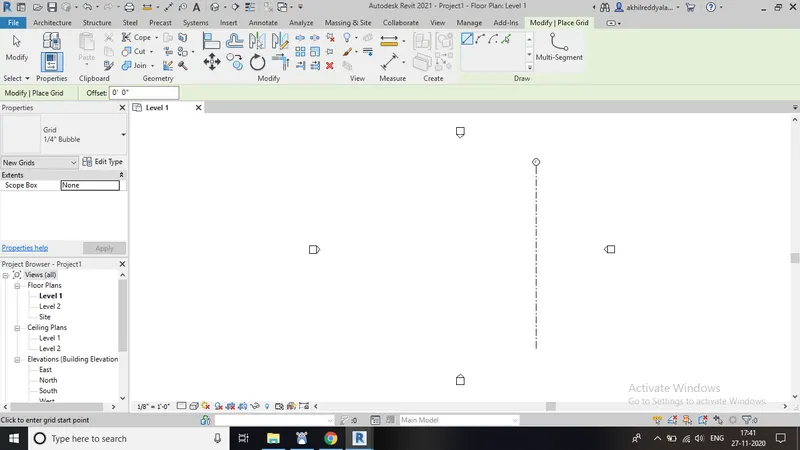
d) Let us draw 4 grid lines.
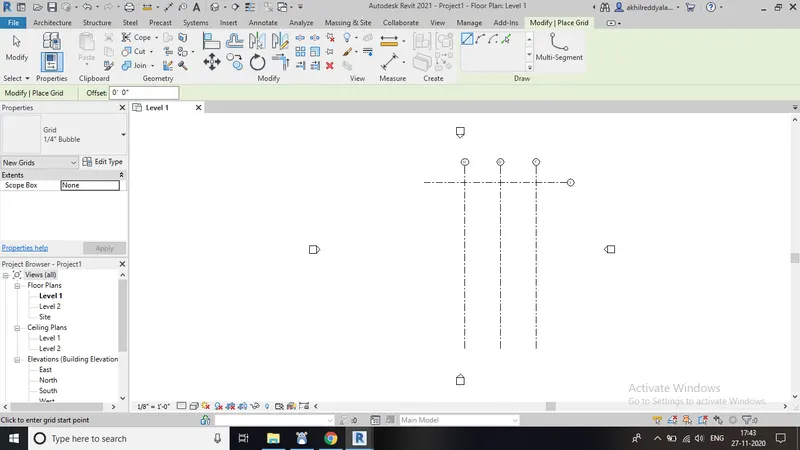
e) Now draw few more grid lines in a similar way but in a vertical model.
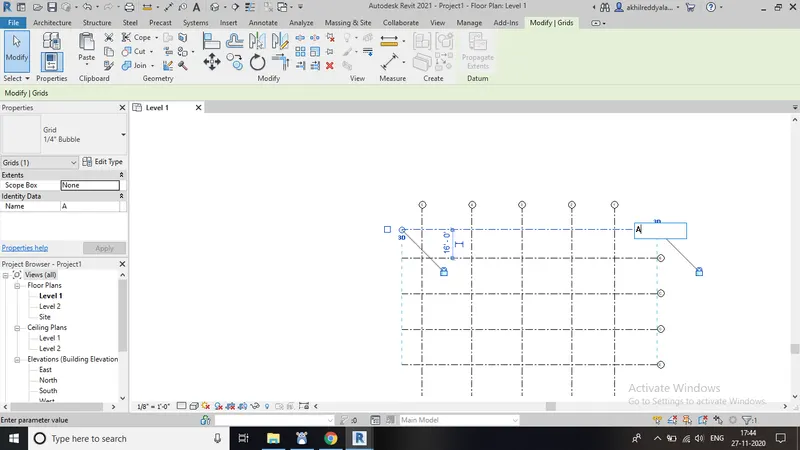
f) Now try to rename all the names of grid lines.
g) Rename horizontal grid lines as 'A, B, C, D' from top to bottom.
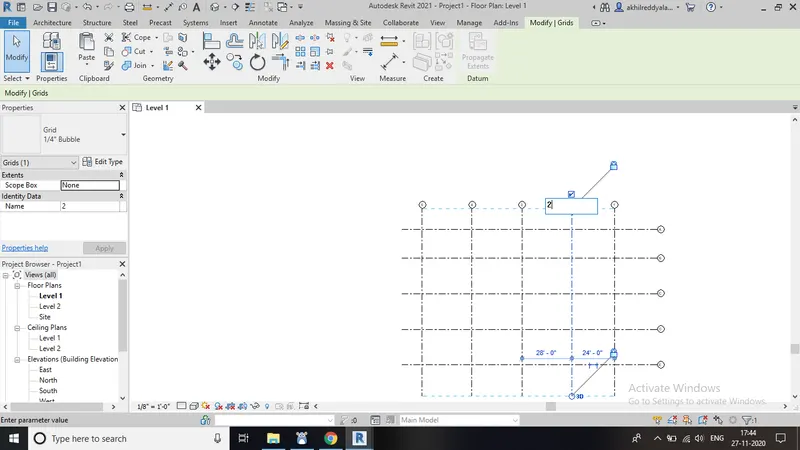
h) Now rename vertical grid lines as '1, 2, 3, 4' from left to right.
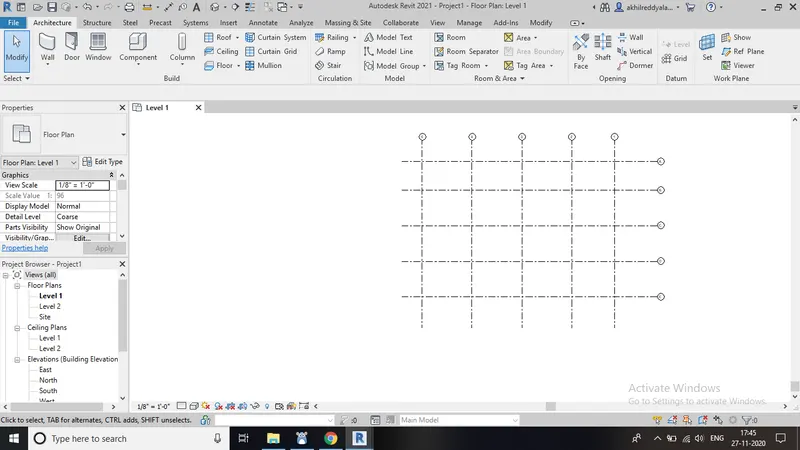
i) Now take the screenshot of that modified work.
RESULT : Both longitudnal and structural grids are drawn successfully.