Week 12:Project 2-Meshing of Rear Wheel Holder challenge
AIM : 2D Mesh of Rear Wheel panel component and assigning thickness.
Abstract : We can see this component often in trunk or rear of a vehicle. Trunk of car is a vehicle's main storage, often a hatch at the rear of a vehicle.
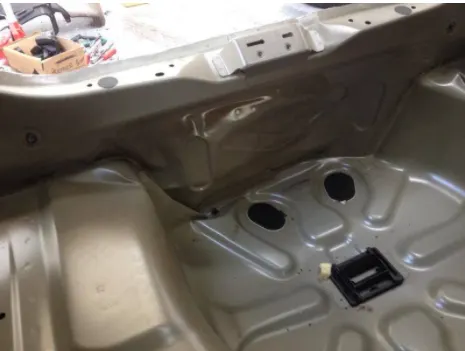
Objective : Here, we will generate auto Mid surface, then Geometry Clean up, 2D mesh on midsurface, corrections in mesh flow, reflection, try keeping no failure elements in the mesh and assigning thickness to the component.
Follow the below-mentioned quality criteria, mesh the component.
Target Element Length = 5 Units
| S.N | Quality Criteria | Value |
| 1 | Aspect Ratio | 5 |
| 2 | Skewness | 45 |
| 3 | Warping | 15 |
| 4 | Taper | 0.5 |
| 5 | Min. Length | 2 Units |
| 6 | Max. Length | 8 Units |
| 7 | Min angle Quad | 45 |
| 8 | Max angle Quad | 135 |
| 9 | Min angle Tria | 20 |
| 10 | Max angle Tria | 120 |
| 10 | Tria % | 10 |
Procedure :
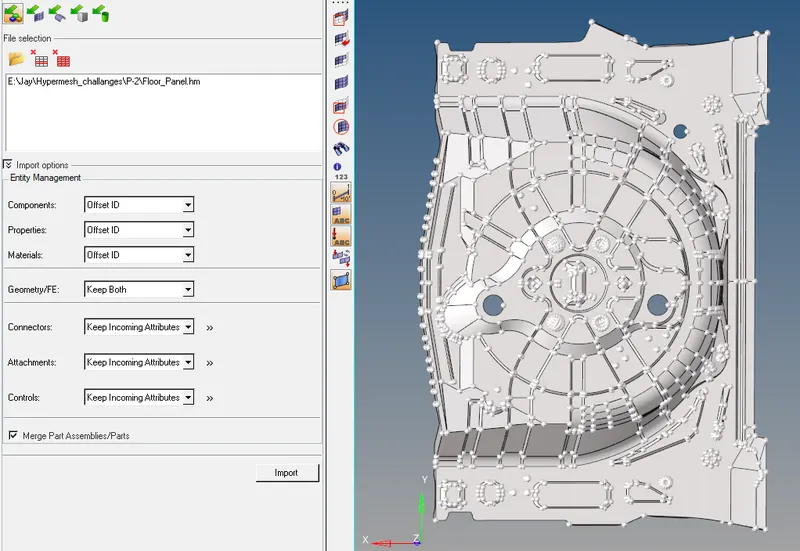
Step 1 : Import the given component.
Step 2 : Generating Midsurface
*Geom--Midsurface--Auto midsurface (Skin offset is suggestion)--Extraction.
- Manual midsurface extraction will be too hard, because the component is large and many uneven surface.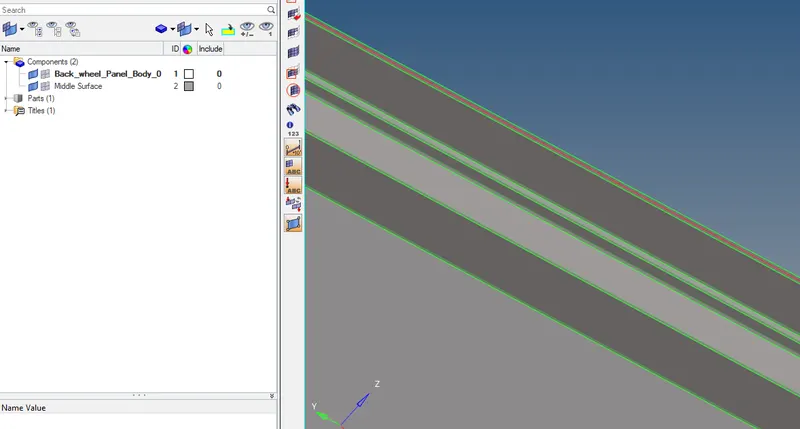
Step 3 : Geometry cleanup
*F11 for Quick edit panel.
- After extraction of midsurface, at many surface connectivity will be improper, we have to fix it manually, so Quick edit command is a very useful command, where we will find all helpful commands at one place.
- Remove the buttons which are shown below because it will be difficult to capture that area as well mesh flow will not be proper. Except this feature, all the other features should be captured with proper element quality
- F2 is a shortcut for the Delete tool. To remove them.
- After removal of those minute circular areas, Use F11 to fill them and toggle those lines.
Step 4 : Generating Mesh
- Here we have to observe the component carefully then we can identify some symmetric areas on it, so in that case we can work on half part and then we can reflect it. In this process we can save time and can complete it a bit earlier.
- F12 is shortcut for 2D Mesh
- We can toggle some lines as per our conveninece, so we can divide large surfaces into small portions, it will help us to keep the mesh proper.
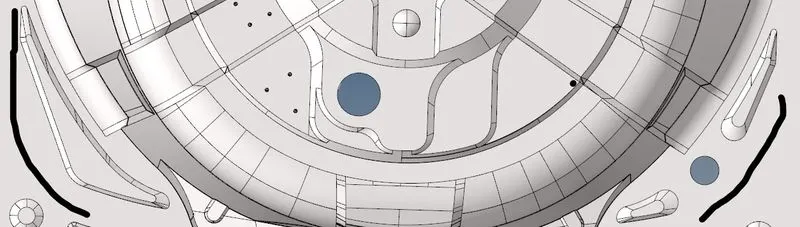
- In the image below we can see Symmetric surfaces (left) and unsymmetric surfaces (right).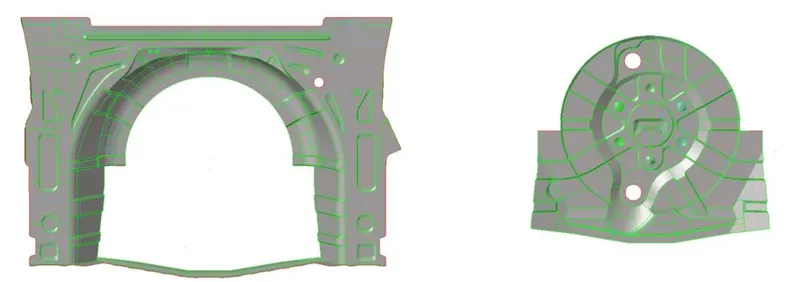
- Apply the mentioned criteria at preference. 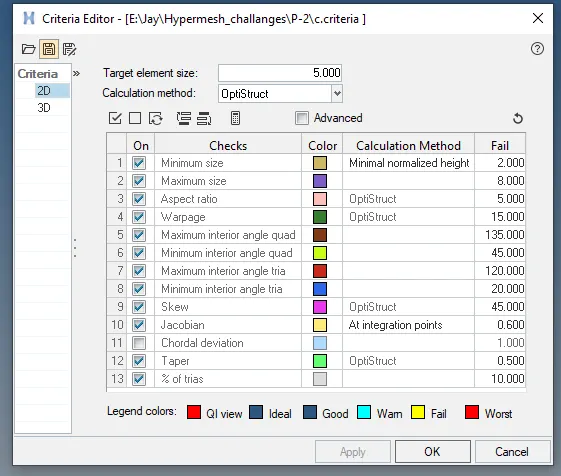
*F12-- Select Surface (Target elem size 5)-- mesh. 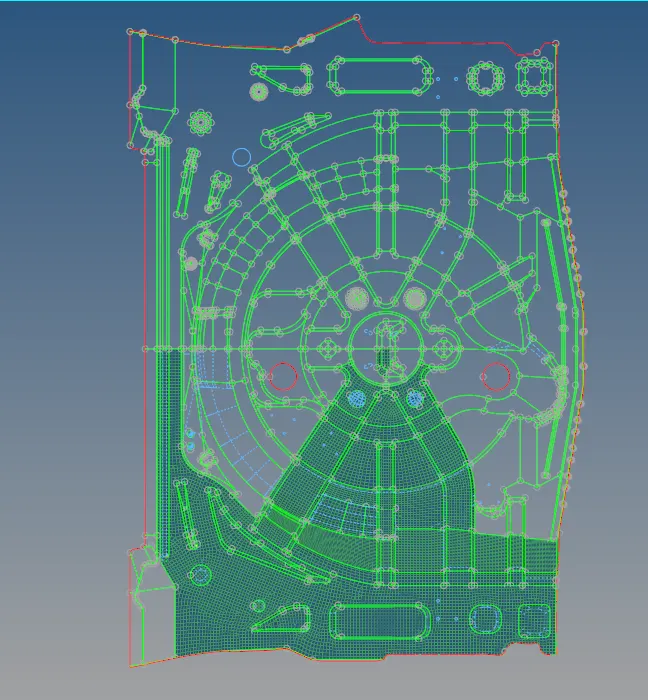
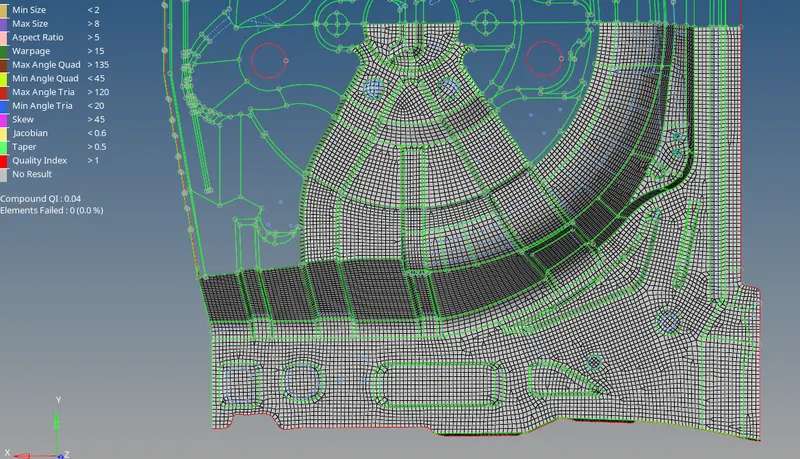
Step 5 : Reflection
- Before reflection, we have to clear the failed elements at each step and also find edges for the mesh.
- in clearing failed elem, there are many tools like F3 for connecting missing nodes, translate nodes for min size. It is not advisable for go for Quality index tool for auto correction.
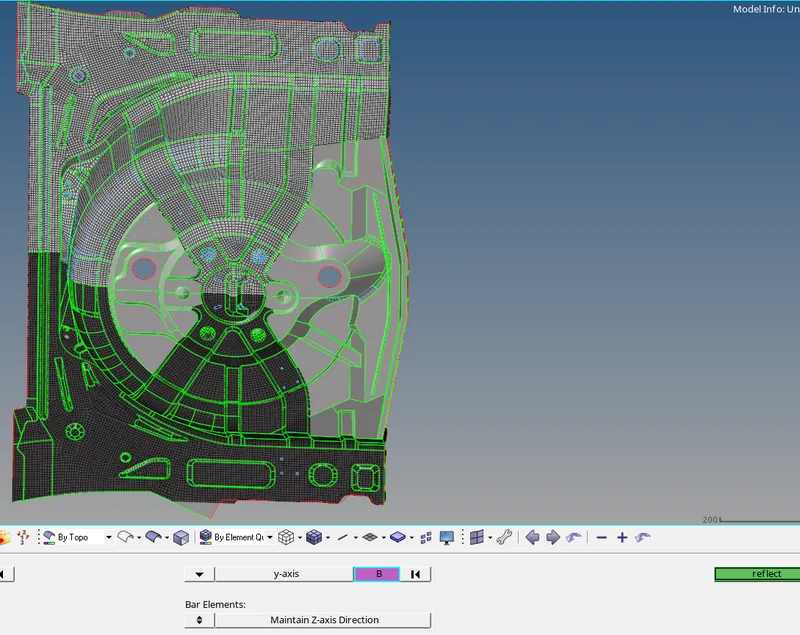
- keen observation is need, in below images we can see some slight change
- in many cases, we reflect without observing it. We can fix it by projecting the elements surrounding it to the surface.
*Tool--Project--Elem to Surface--Project.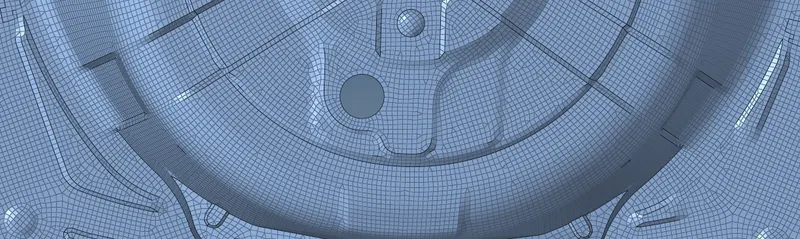
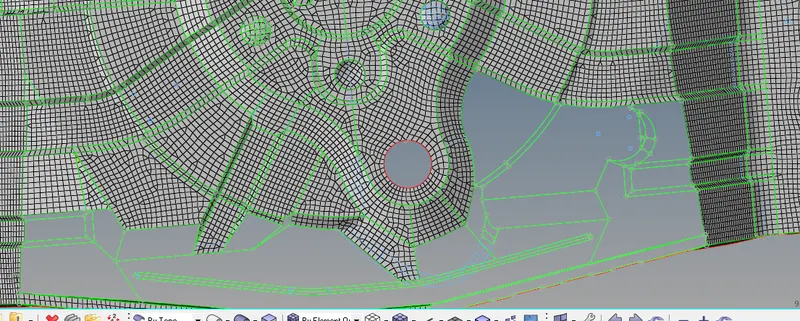
- Here are some areas which are unsymmetrical and we have to mesh them carefully.
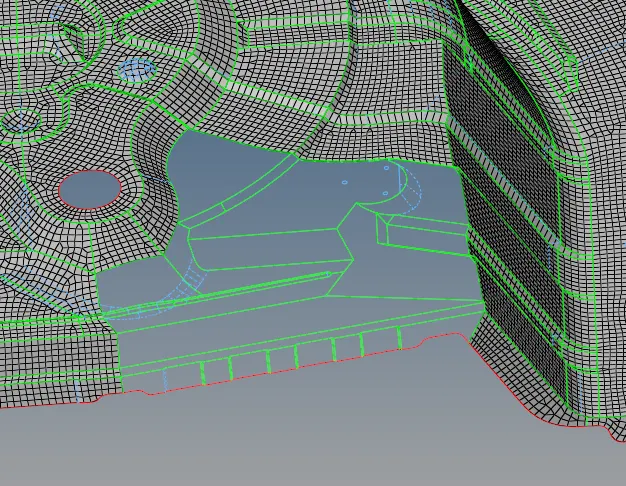
- F10 is an Elem check panel, where we can find duplicates, sometimes they will form under the mesh and sometimes the system won't show them, by using shrink option we can check whole mesh for duplicates. we have to delete them.
Step 6 : Assigning Thickness
- we have to create a property card and we have to measure the thickness of parent geometry, to assign the mesh.
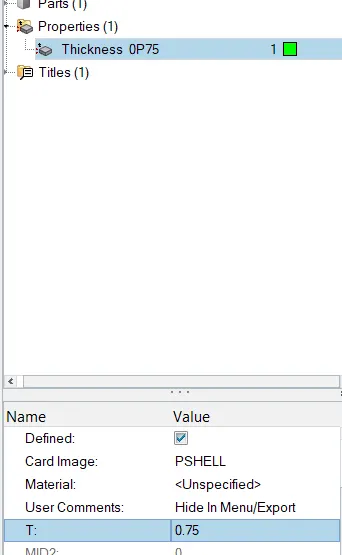
- Assign it to the mesh.
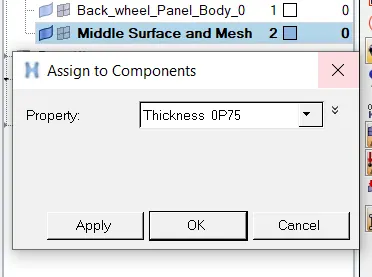
- we can observe that change in thickness by turning into 2D detailed mode.

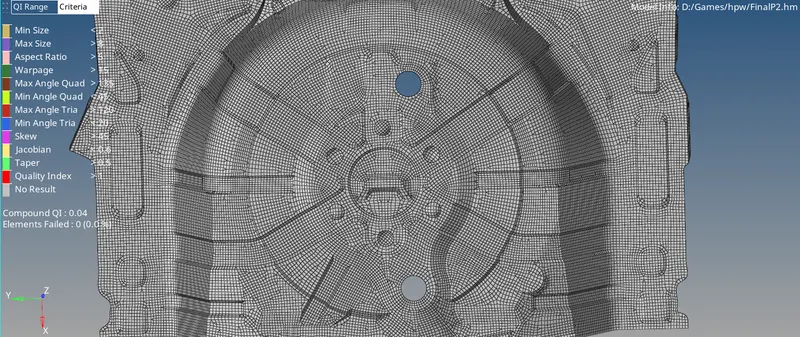
FINAL RESULT IMAGES :
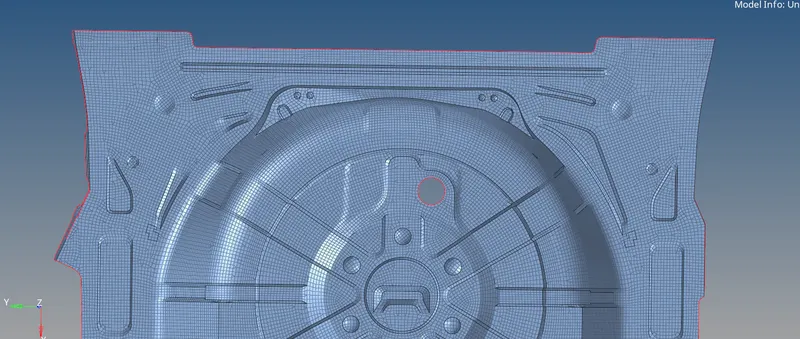
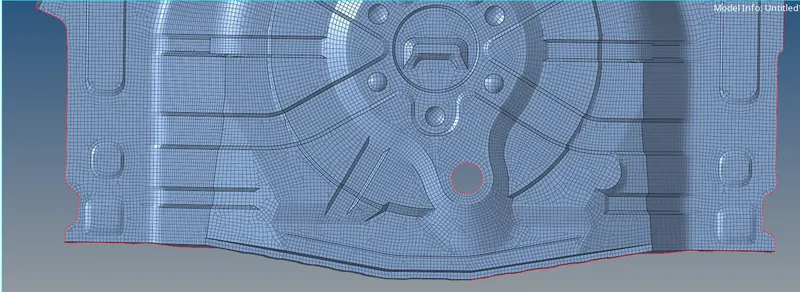
CONCLUSION :
- Mid surface extraction is always important in these kinds of challenges.
- Geom cleanup will help in fine mesh creation.
- Meshing the surface part by part is to be done.
- Reflection tool is a time saver command.
- Removing the failed elements manually, by applying the different tools in that area is important.
- Most of the times ReMesh will correct the surface.
- There exist N number of tools to bring Proper mesh, utilize them.
- Quality index tool have to be used very often.
- Connectivity has to be maintained.