Week 12:Project 2-Meshing of Rear Wheel Holder challenge
Objective:
To Extract the midsurface of the given component and to mesh then assign thickness to it with a target element length of 5 mm and the rest of the quality criteria as follows:
| S.No | Quality Criteria | Value |
| 1 | Aspect Ratio | 5 |
| 2 | Skewness | 45 |
| 3 | Warping | 15 |
| 4 | Taper | 0.5 |
| 5 | Min. Length | 2mm |
| 6 | Max. Length | 8mm |
| 7 | Min angle Quad | 45 |
| 8 | Max angle Quad | 135 |
| 9 | Min angle Tria | 20 |
| 10 | Max angle Tria | 120 |
| 11 | Tria % | 10 |
Procedure:
Case setup and Execution:
1. Import the given model into hypermesh since we need to assign thickness to it Radioss profile is selected.
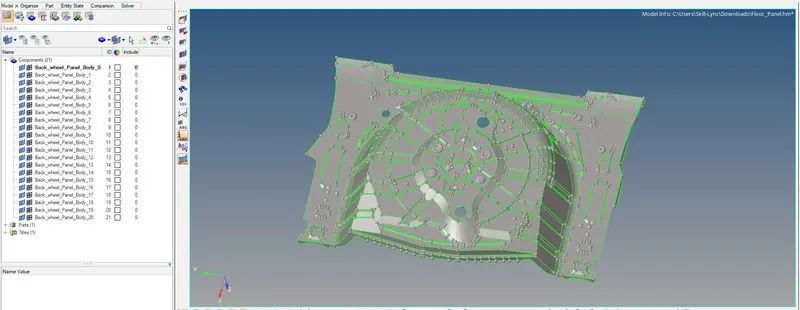
- Here it can be noted that there is about 20 collectors present in the model most of which have some small surfaces present in it , there surfaces are organized in to a single collectors using Tools `rarr`Organize command
- Once all the surfaces are moved into a single collector the empty collectors are deleted by selecting it through mouse selection.
- Now geometric cleanup needed to be done on the surface before extracting the midsurface, Which done with the help of various tools available in the Quick Edit panel ( Keyboard F11) and also the Surface & Surface edit option available in the Geometry panel.
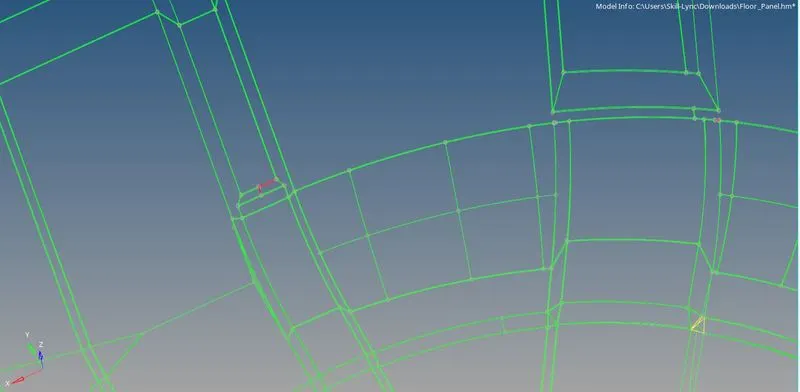
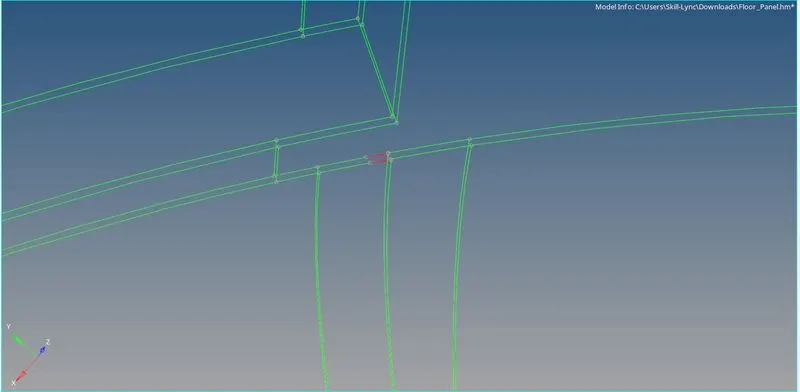
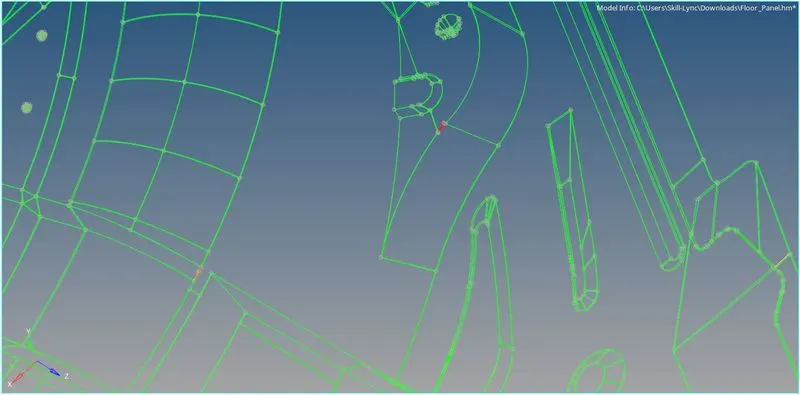
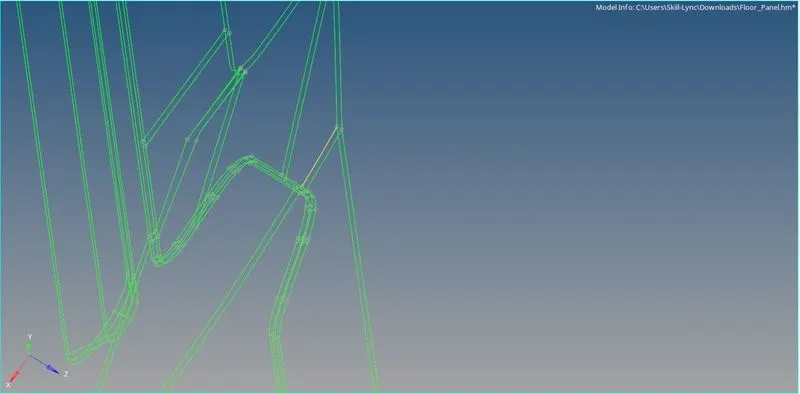
Some Errors present in the model, Since we know that red lines are needed to be present only in the edges it needed to be clreared.
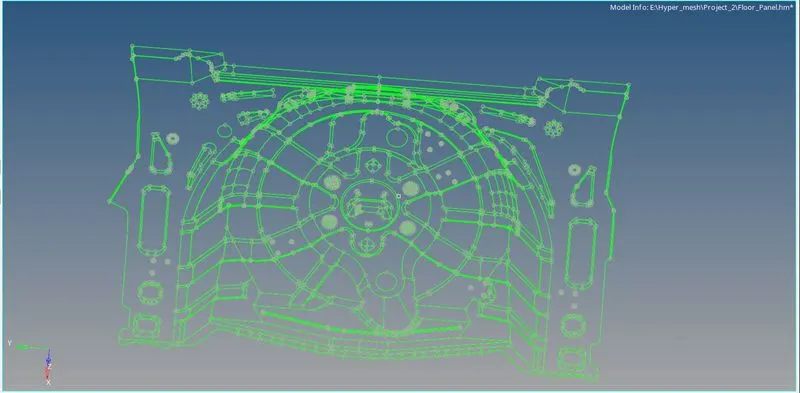
Surface after Geometric cleanup
2. After geometric cleanup, midsurface to is generated using the Midsurface option available in geometry panel with the extracting option being set as skin offset
Geometry `rarr`Midsurface `rarr`Extraction option ( skin offset ) `rarr`Auto extraction `rarr`Surface `rarr`Extract
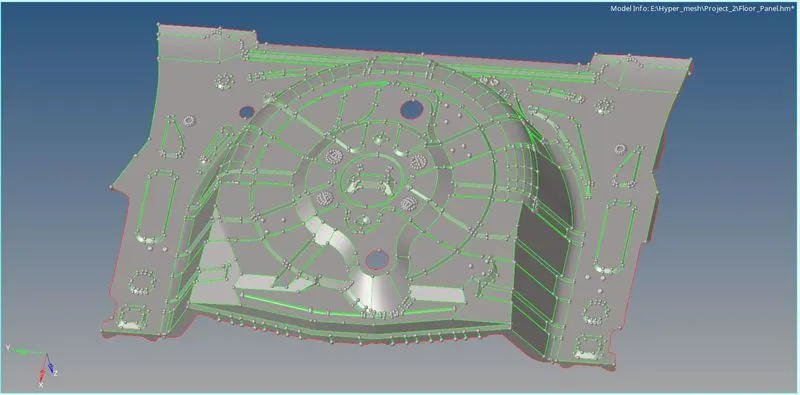
Generated Midsurface
After the midsurface is generated geometric cleanup is needed to be done again in order to achieve proper mesh,
- In this model there are some unnecessary lines present which may affect the quality of the mesh is removed by using toggle option in qucick edit Menu
- Also there are some surface needed to be split in the circular portions by using the Split surface with node/line option in quick edit Menu
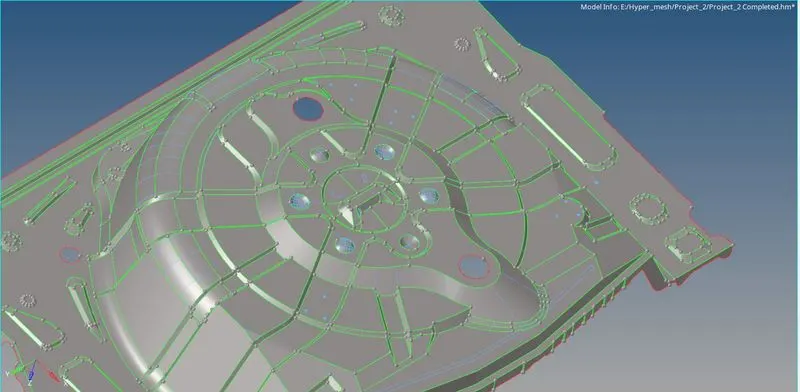
Midsurface after geometric cleanup
3. After the geometric cleanup is done we can proceed to meshing, which is available in the automesh option in 2D panel

In this model meshing is done in two ways first the inner circular portion is meshed Section by section which is created while geometric cleanup
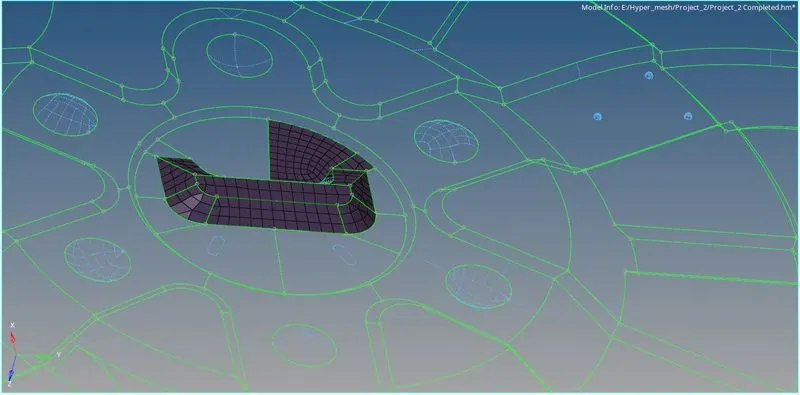
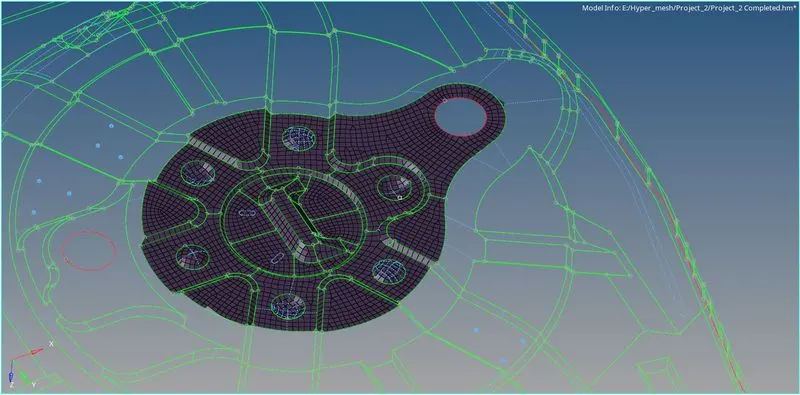
Initially the meshing should be started in the center of the surface then slowly proceeded towards the outer portion, once the circular portion is completed all the surfaces are selected as a whole and meshed using the auto mesh option available in 2D panel with the target element length of 5mm.
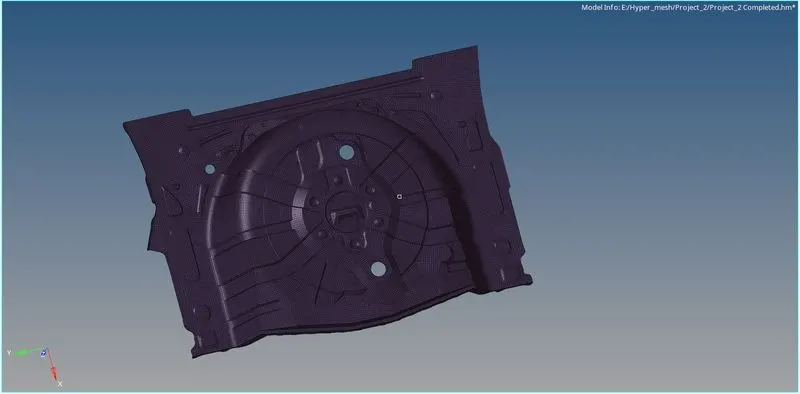
Completed meshed surface as follows:
4. After creating the mesh we can notice that some elements are failing for quality especially in areas around the edges wrapage issues is found which can be cleared with the help of various tools available in the geometry panel and 2D panel.
The quality can be checked by using the check elements option ( Keyboard F10 ) available in tools panel or by using the quality index option available in the 2D panel
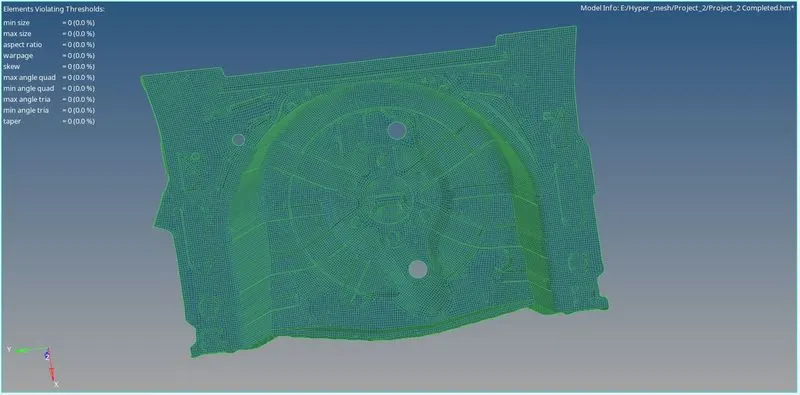
Here we can notice that all elements are clearing for quality and no element is failing in the entire component
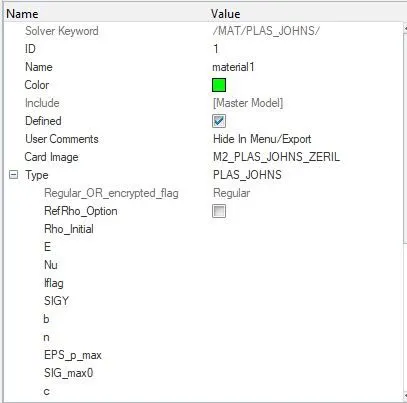
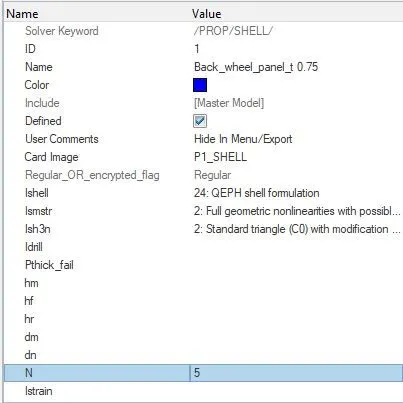
5. To Assign thickness we need to create material and property card in Radioss after which, the created card is assigned to the Component
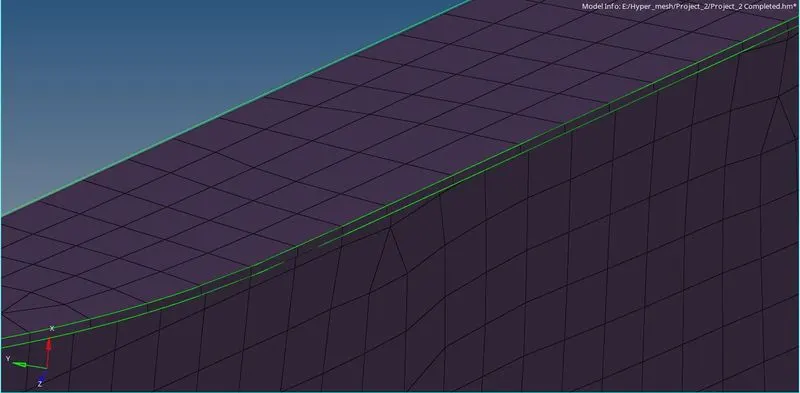
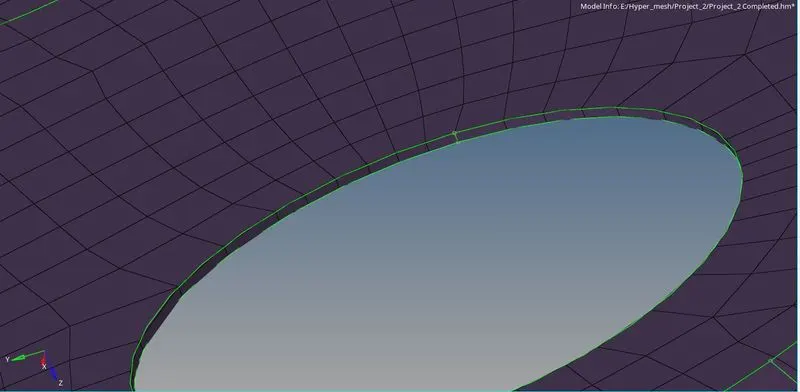
Detailed elemental representation after assiging thickness
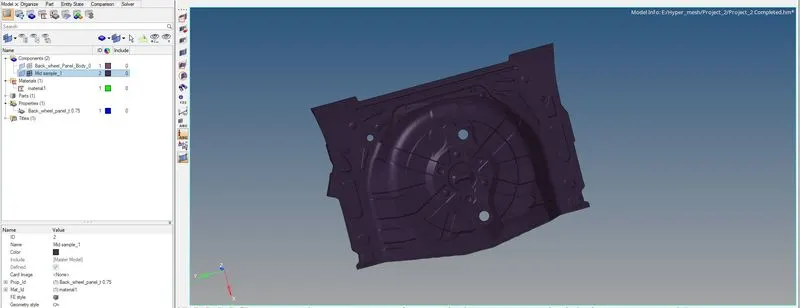
Final Model Image :
Conclusion:
Understood the different process involved in meshing a component by section and also as a whole then clearing the issues present in the mesh by meshing the given floor panel component with all elements clearing the quality and thickness is assigned with smooth mesh flow.