Week 12:Project 2-Meshing of Rear Wheel Holder challenge
AIM:- To extract the mid surface and generate the mesh on the Rear Wheel Holder.
Objective:-
- To extract the mid surface and mesh it with the low trias concentration having proper mesh flow.
- To ensure the mesh should follow all the given Quality Criteria.
- To assign the thickness to the model
Procedure:-
Step 1- Importing and Geometry Cleanup
- Import the Model .igs file as geometry.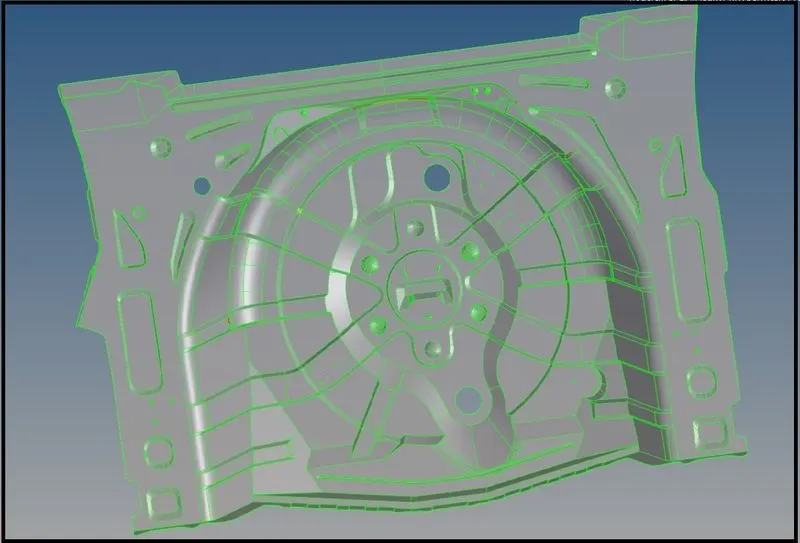
- After importing, If the model consists of solids, which are not required for our further process we will delete it.
- Visualize the model if it has any deformities in its surface or free edges, which can be visualized in wireframe mode & By Topo mode and repaired.
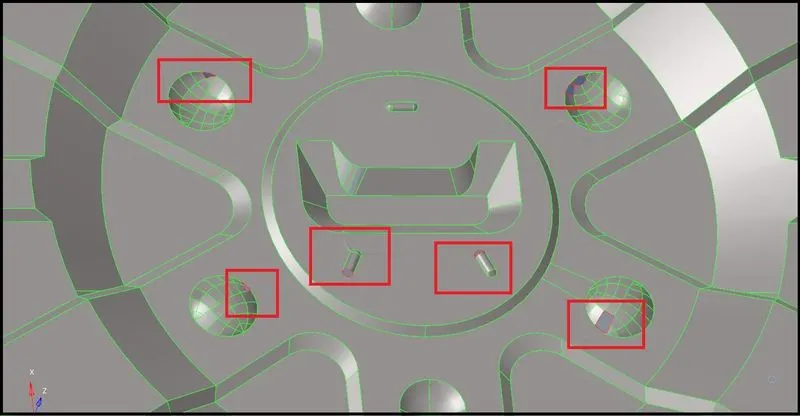
- There are some small features, for which Meshing is not possible, so we can delete those features from the part.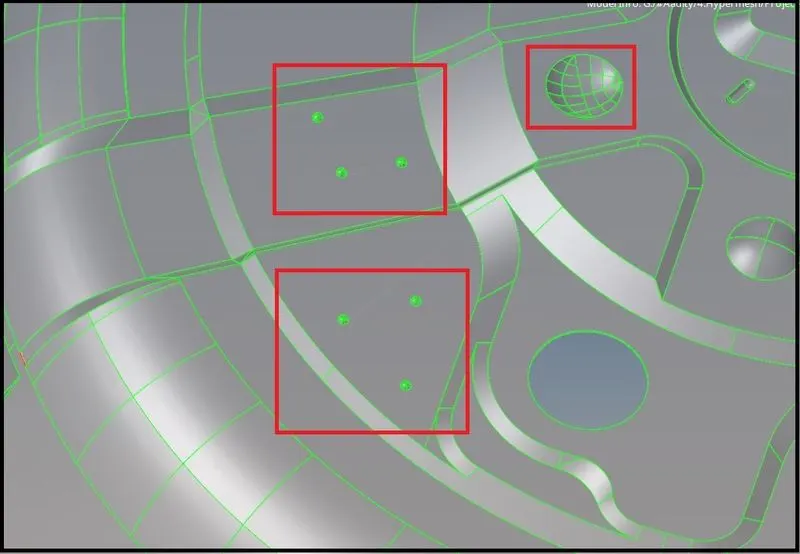
Step 2- Extracting Mid-Surface
- For this, it is a sheet metal component with uniform thickness.
- So, we can directly extract the Mid-Surface.
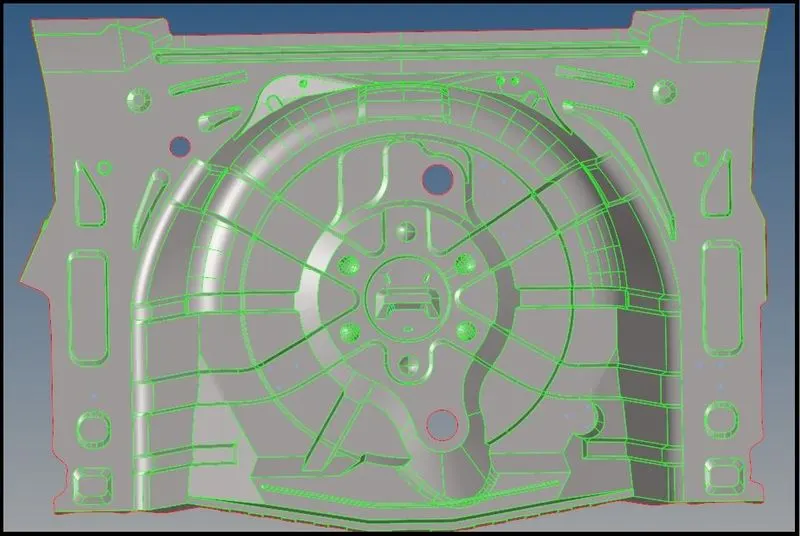
Step 3- Generate Mesh & Optimize the Mesh quality
- After extracting the mid-surface and do all the processes required for the proper mesh, We need to provide all the required criteria for the meshing.
- The meshing will automatically generate according to the criteria provided.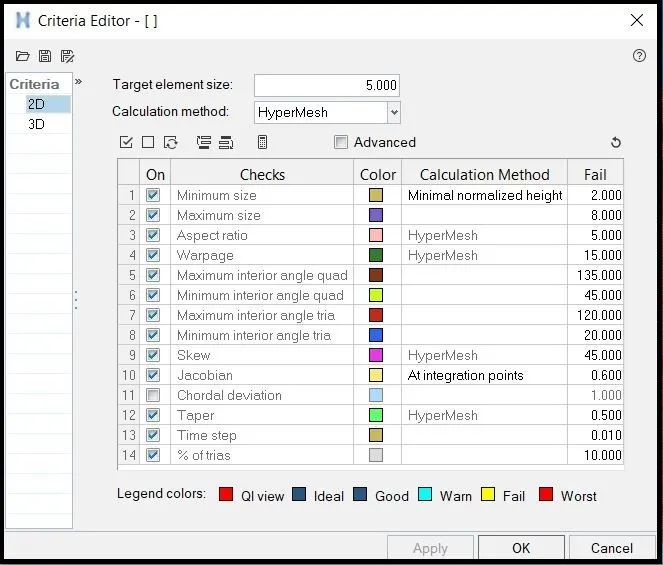
- Now, Automesh is done, keeping the element size to be 5mm and mesh type-mixed in auto mesh option.
- After meshing, there are so many back-to-back trias and quad elements that will be formed, So, we need to improve the quality of the element by removing or minimizing trias and quad elements.
- To optimize the element quality, we can use tools as element optimize, drag tria, smooth, edit-element (split/combine/create).
- To optimize the elements we can use the Rebuild option and also remesh the element of a particular place.
- This will remove all the element failure from the mesh, as it is necessary to have a proper mesh for the analysis, if our mesh flow or mesh element is not properly made, we cannot calculate the accurate analysis
- After the complete meshing and enhancing the mesh quality, we need to check if it is violating the element quality criteria.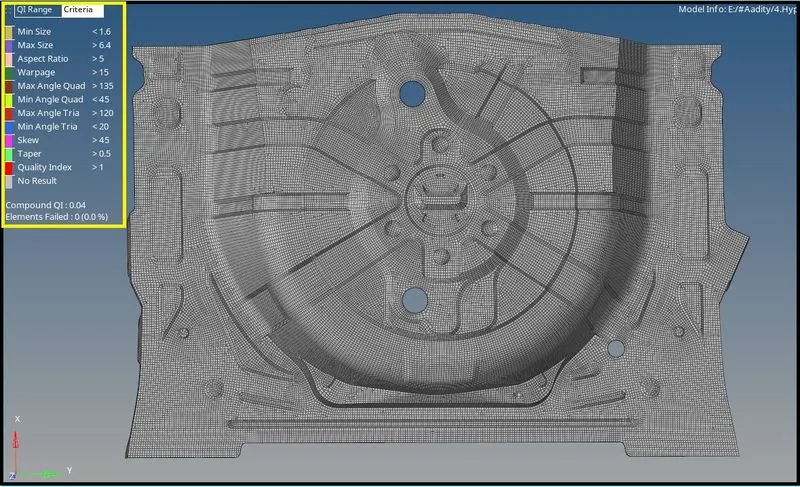
Step 3- Assigning Material And Property
- In This step, we assign property to the Model.
- Uniform thickness of 0.75mm is assigned to the component.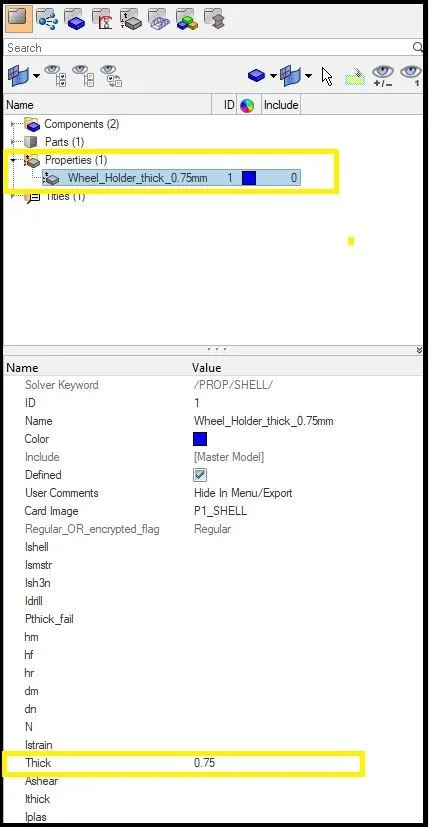
Result:-
- After doing all the processes & creating a proper mesh on all the components of the model, are underneath
- The Element Failed is zero.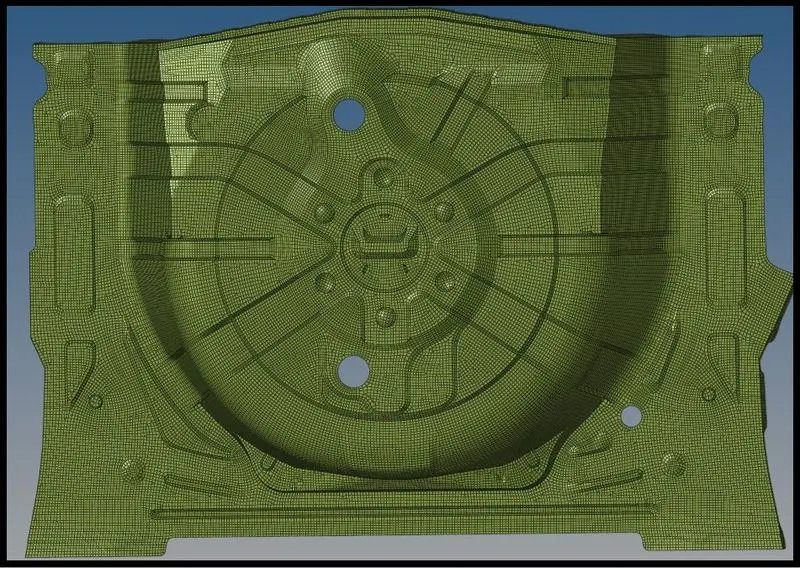
Learning Outcome:-
- Learn how to efficiently use the cleanup tools.
- Understand the importance of proper mesh for further analysis.