Week 12:Project 2-Meshing of Rear Wheel Holder challenge
Objective:
To mesh and assign a thickness to the following components with quality criteria
Procedure: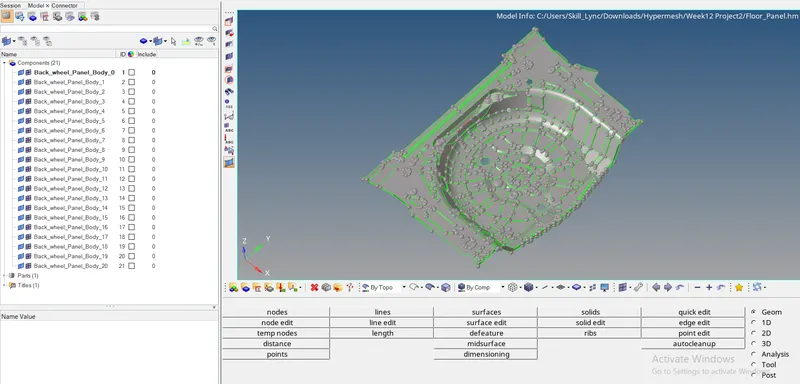
- Import the model from the file location to accomplish meshing, File → Open → Model (existing location)
Geometry clean-up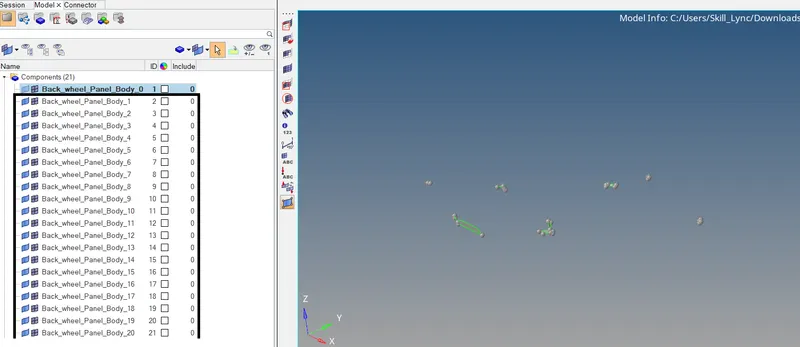
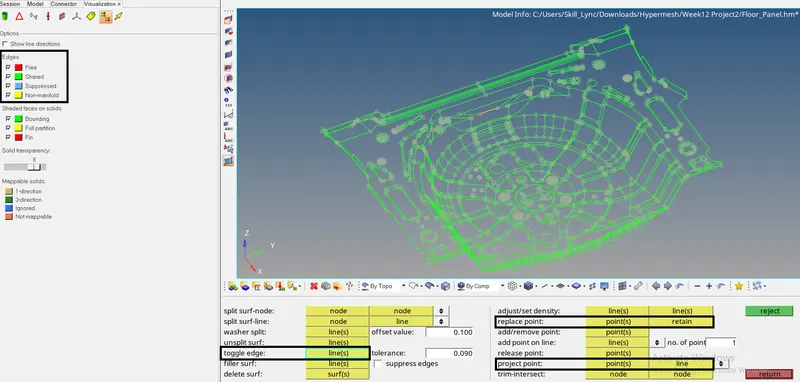
- Using the selector option determine the selective parent component to progress meshing. The above image depicts excluding the first component rest are scattered surfaces
Move the remaining surfaces to the parent component to proceed with geom clean-up - Using visualization toolbar locate the free edges and removed them with quick tools
Mid-surfacing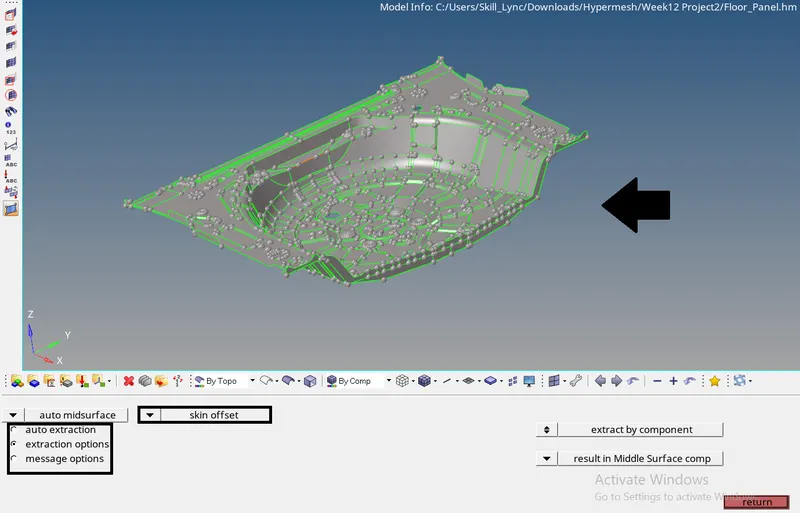
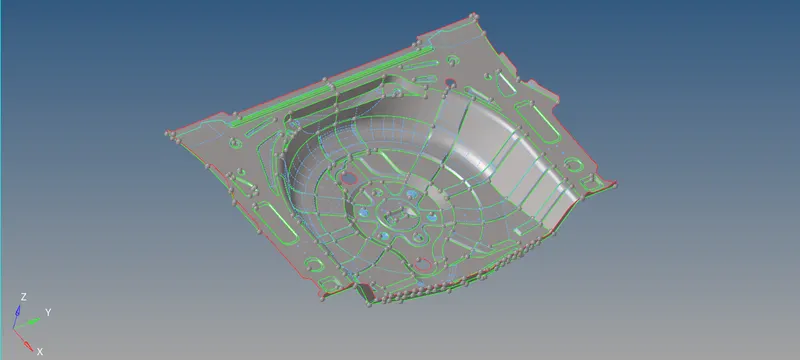
- Instead of manual mid-surface (offset), we tend to auto mid-surfacing to perform quickly
The auto mid-surface here we used, Geom `rarr` Midsurface `rarr` select the displayed surface by skin offset and perform mid-surfacing - The above image portrays mid-surface with dispensing featured lines to get conventional mesh flow and elems without any failures. More amount of toggling featured line results in failure
Meshing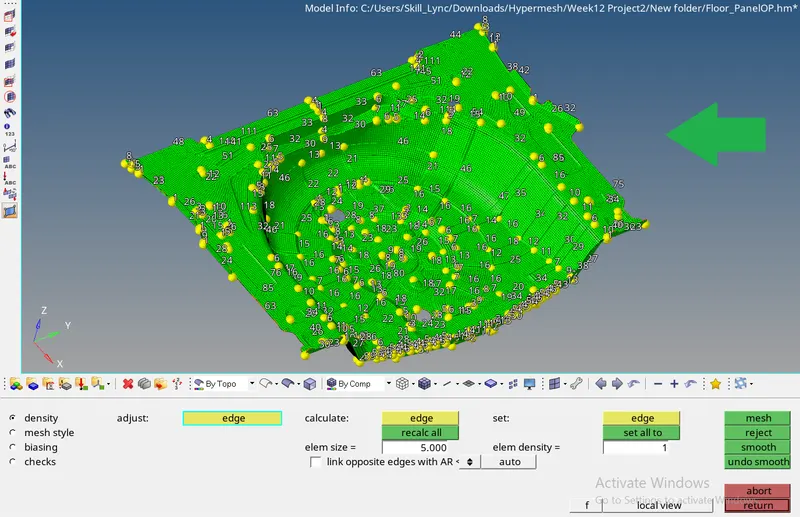

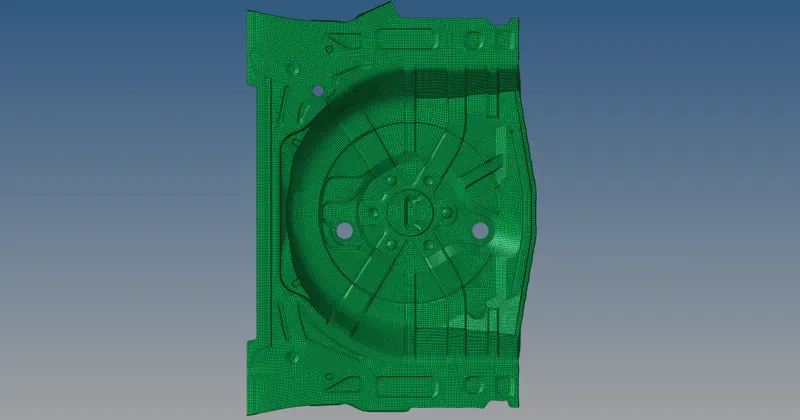
- Using F12 or 2D `rarr` Automesh, execute mixed meshing at 5mm target size. Try to implement Uniform mesh flow with quality criteria
- Analyze to clean the failed mesh elements by switching back to the element quality
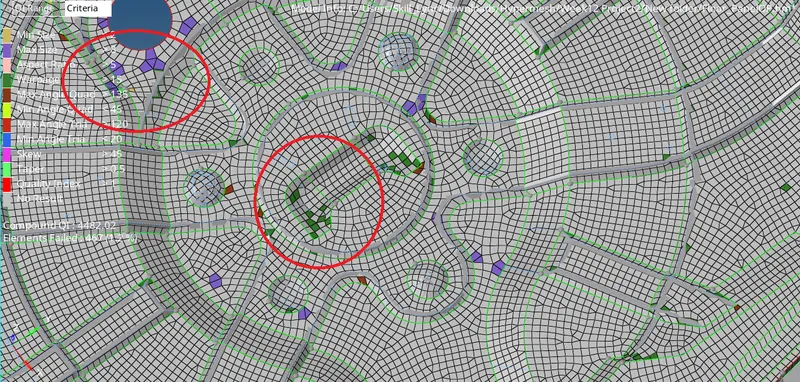
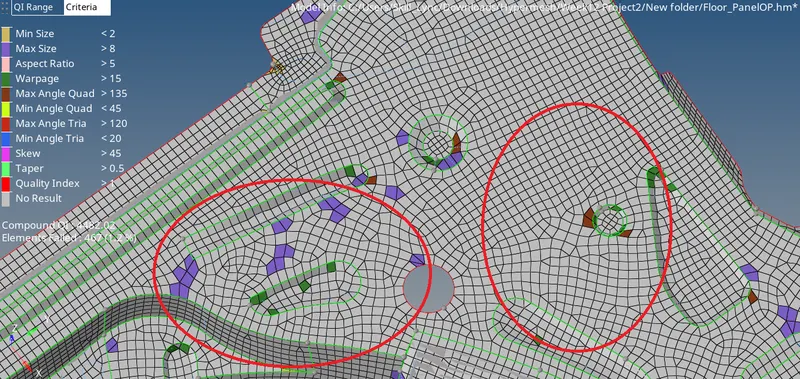
- The above image clearly depicts the failure of the elements by manual mixed meshing
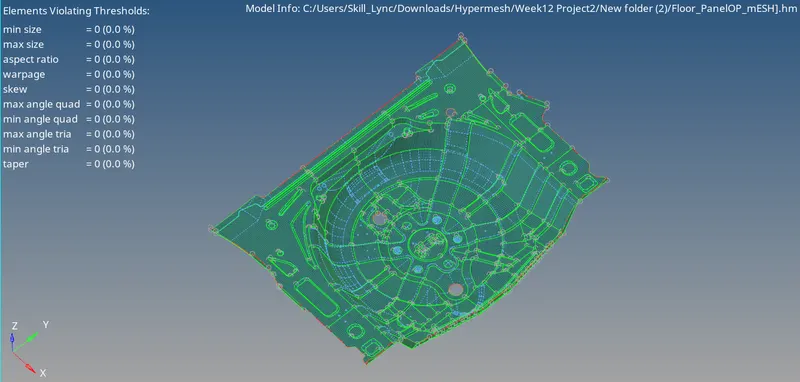
Either Opposite trias or Rotating quads could be eliminated by Rebuild mesh or QI optimize or by Quality index cleanup tools
Before | After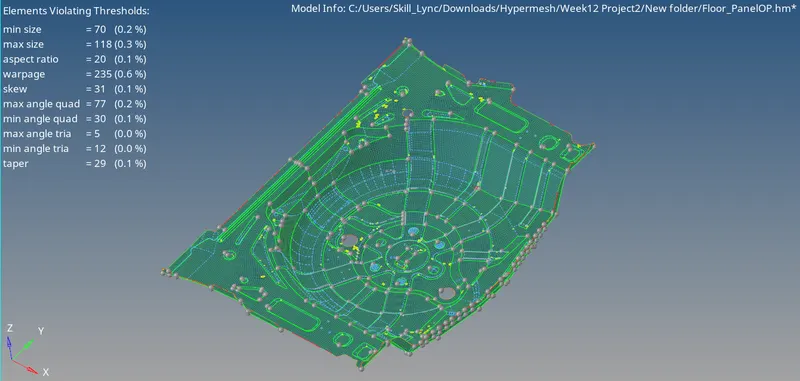
Thickness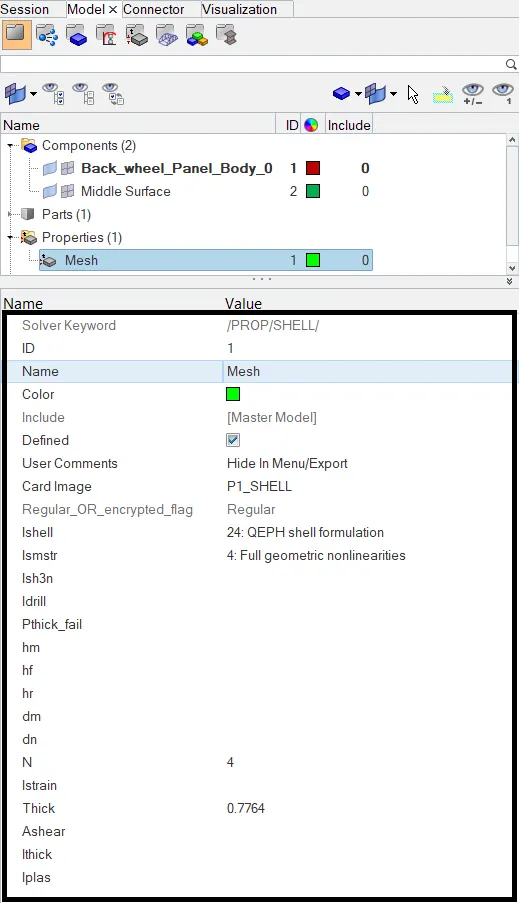
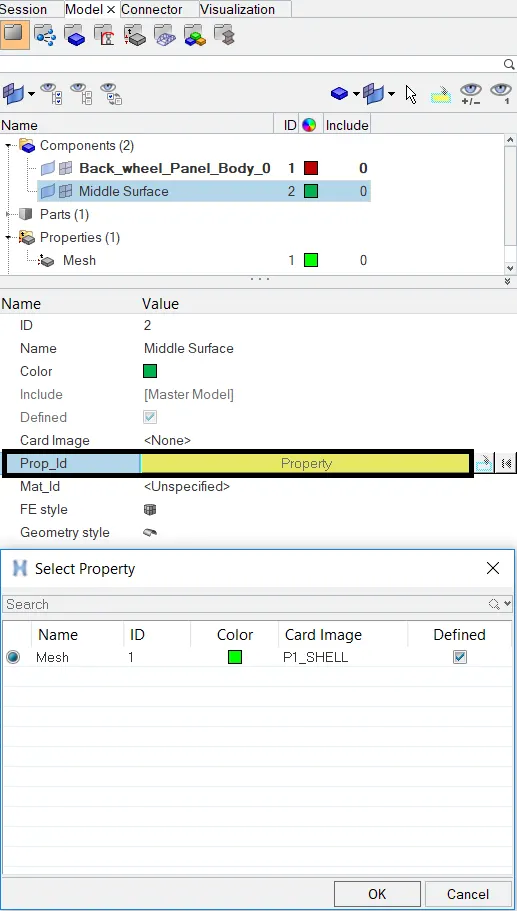
- Designate the property card as P1_SHELL elements as required parameters.
Respectively assign the property cards to the required component
Before | After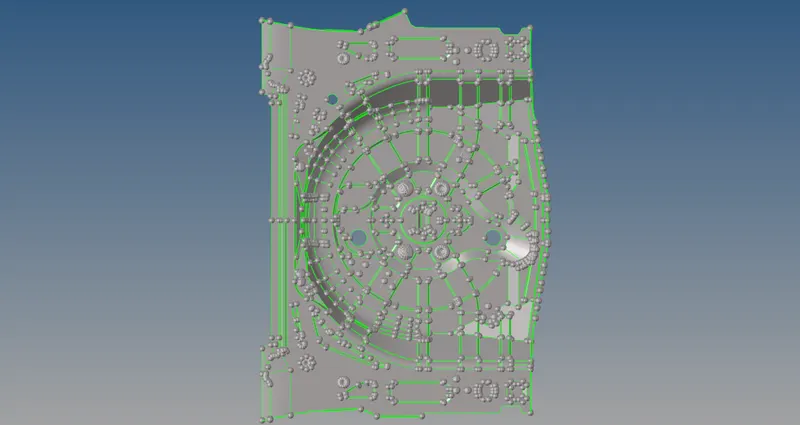
Conclusion:
The given model has meshed with the following quality criteria
The given model has assigned according to the thickness of the component