Week 12:Project-1-Meshing of Door Inner Panel Challenge
Objective: Meshing of inner door panel using hypermesh and assigning suitable thickness to them.
Introduction:
- Learning Mid-surfacing and meshing of complex components like inner door panel is the main aim of this project.
- The input modal is shown below:
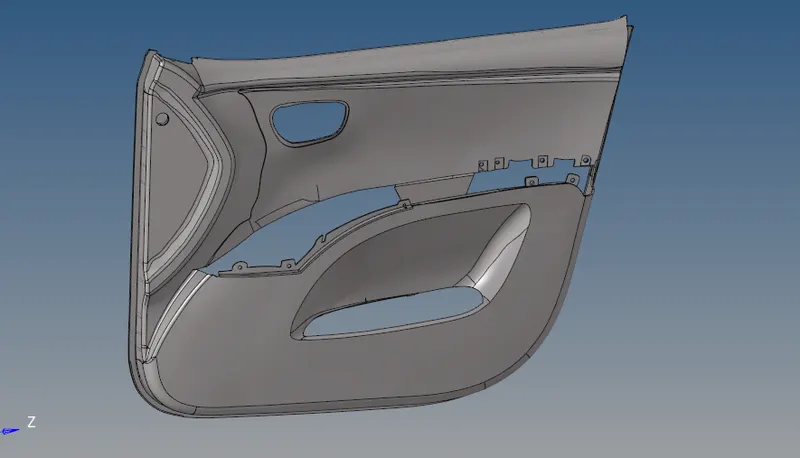
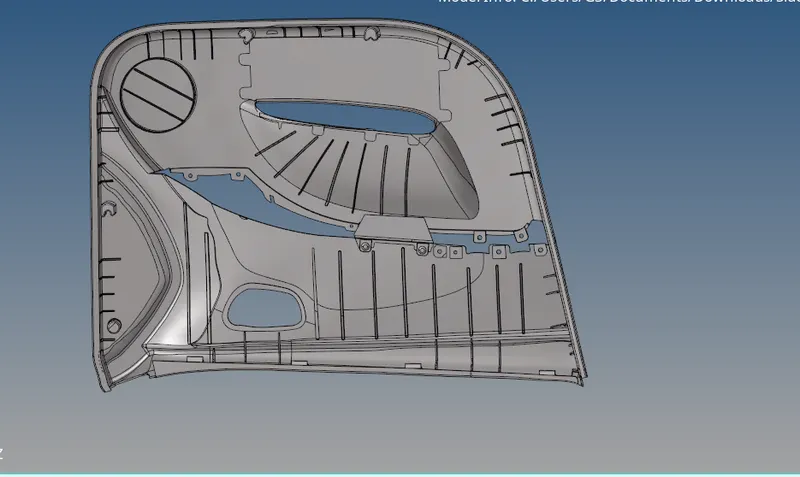
- There are lot of ribs present here whose geometry needs to be carefully studied.
- Low size fillets needs to be removed.
- Connections of components should be proper.
- The thickness of the component is varying between 2-2.6mm.An average value should be taken.
- There are mountings on which speakers are to be fitted.
- As its a pretty big model, division into components would be a better way to move ahead.
- After mid surfacing, meshing is to be done on those mid surfaces and then thickness is to be assigned.
Procedure:
1. Division of component into 4 parts:
- After importing the modal in the software, check for any missing or duplicate surface present.
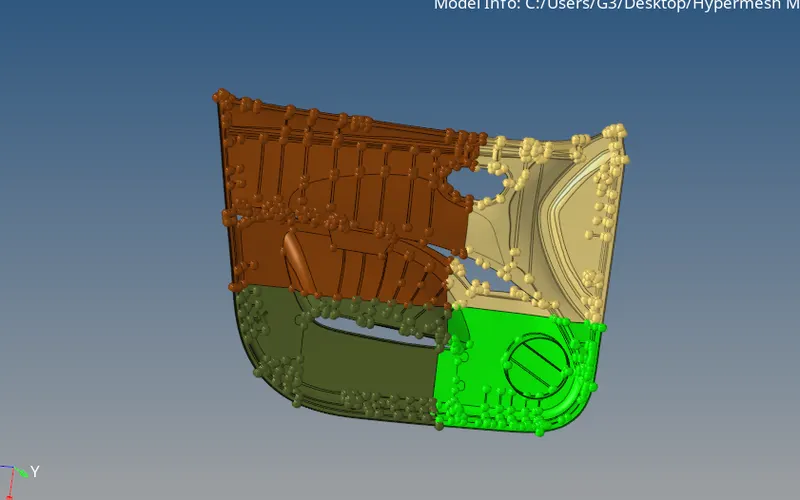
- Go to surface edit panel.Select trim with surf/plane.Select all surfaces .Make a cut vertically as shown with direction as z-axis and base point specified at a place where cut is to be made.Similarly do for horzontal cut.Remember the cut direction is in x-axis.
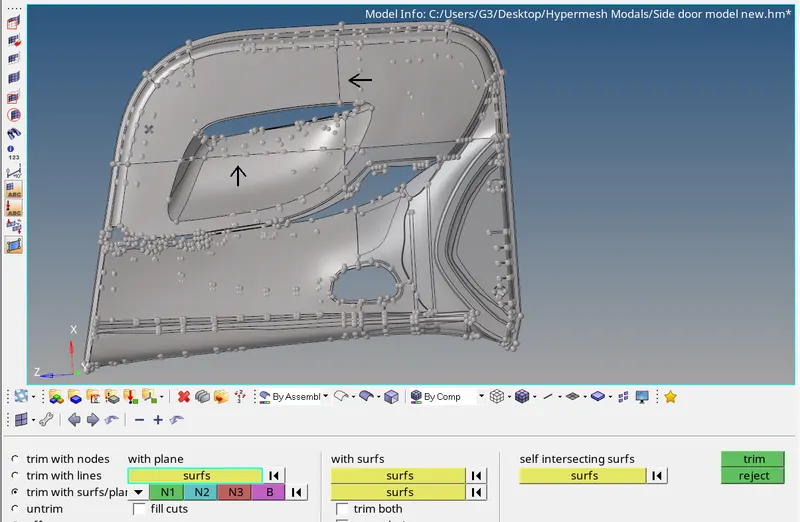
- Create 4 components named 'Comp1', 'Comp2','Comp3', 'Comp4'.
- Go to tool panel and select organize option.Select one split surface and move it to the newly created component and change the colour to green for better differentiation.
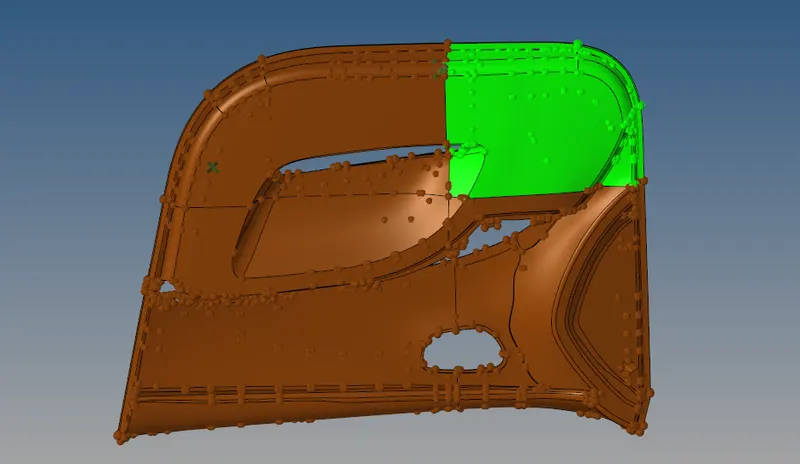
- Similarly, select the other surfaces and move them to the remaining collectors respectively.
2. Autocleanup
- Now make the green surface as the current one and other surfaces hidden.
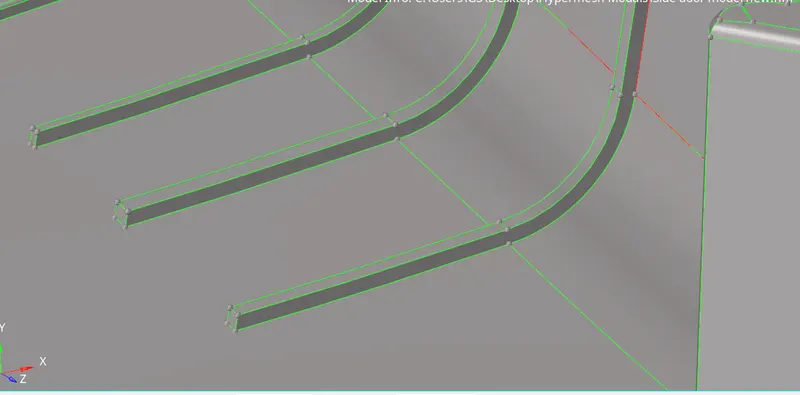
- Defeature the fillets by taking size limit as 0.1-4mm and selecting the green surface.
- All fillets for ribs have been removed and if there any fillet remaining remove it by selecting the corresponding surfaces.
- There are fillets which have free lines.To cure that,manual autocleanup is to be done by going to quick edit panel and use replace point option.
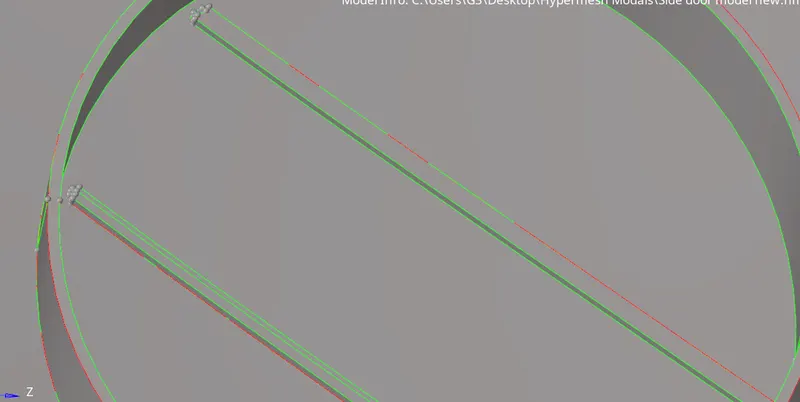
- Similarly, perform the operation for other split surfaces.
3. Mid surface generation and connections
- After manual autocleanup, measure the thickness of the outer surface modal and generate the mid surface manually by going to surface edit panel and using offset option. and select the outer surface(neglecting ribs, circular component).
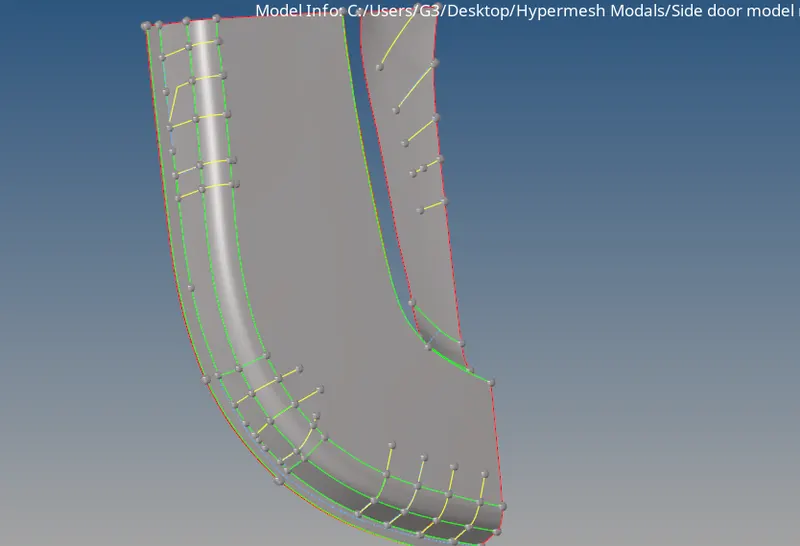
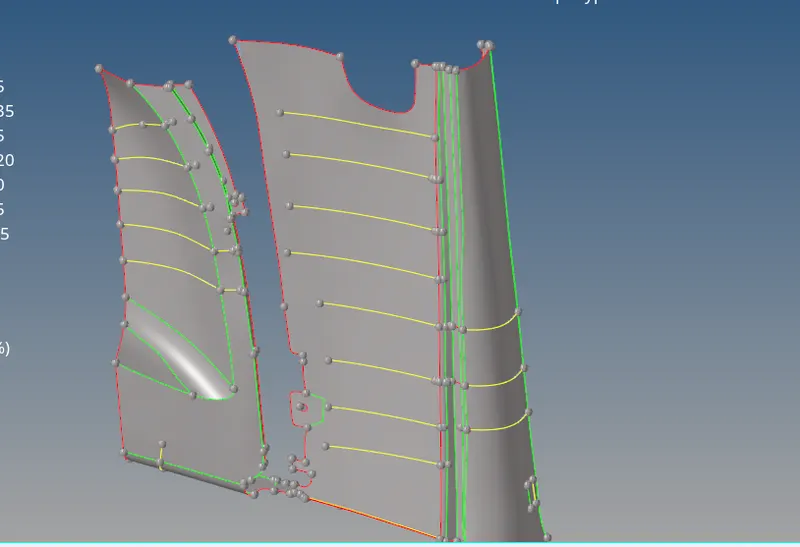
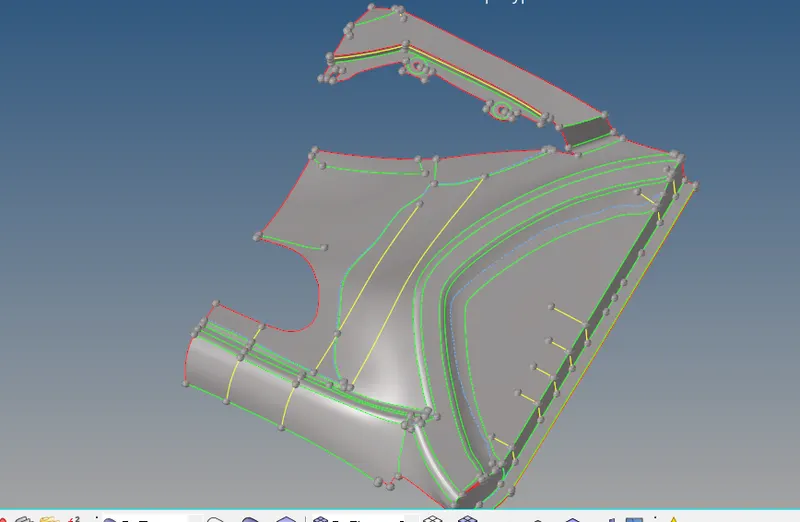
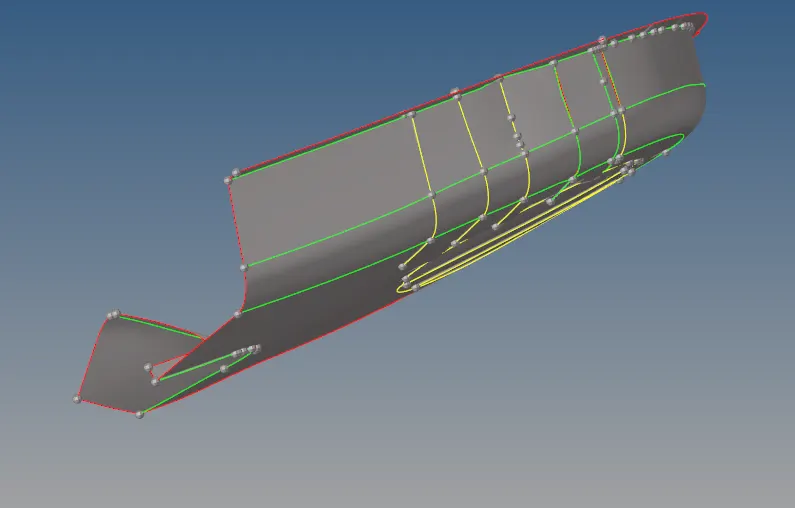
- Now , generate mid surface for all the ribs and circular part manually by measuring the thicknesses.The required mid surfaces are shown below.
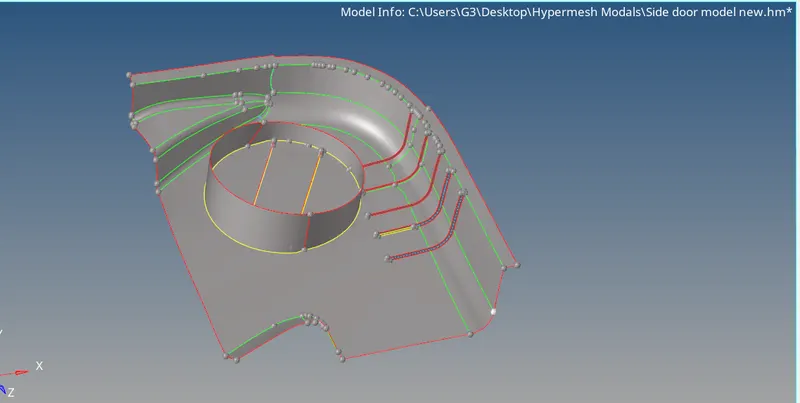
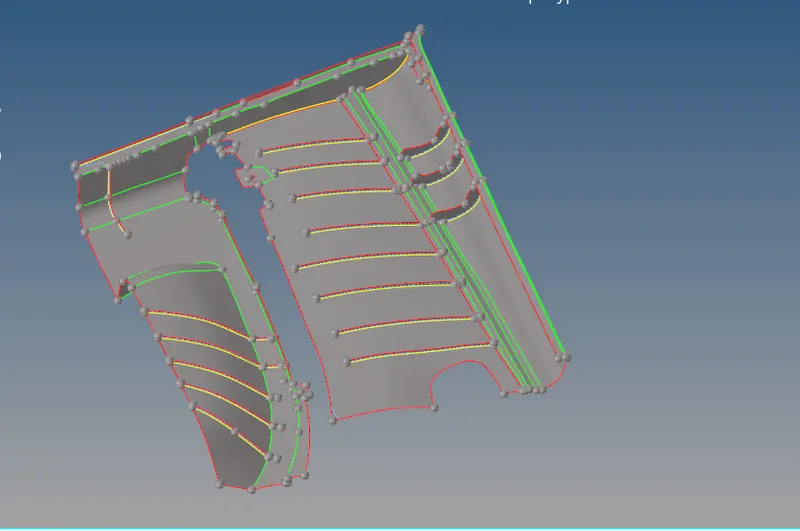
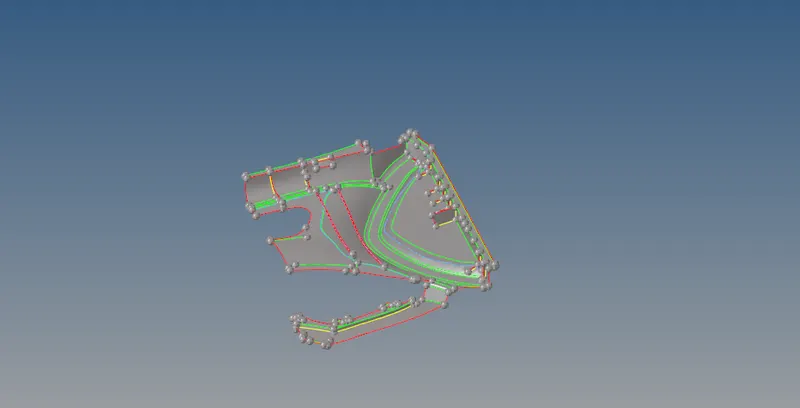
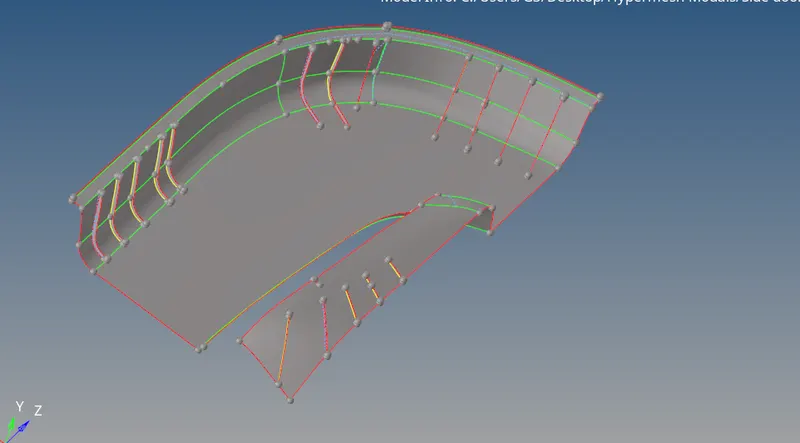
- The ribs and circular part are not connected to the modal.To do that, go to surface opton and select drag line and select the line which has to be connected and in the required direction.Also specify some magnitude.Now select drag.
- Go to surface edit panel and select trim with plane option and split the surfaces.Delete the unnecessary surfaces and hence the connection is made.
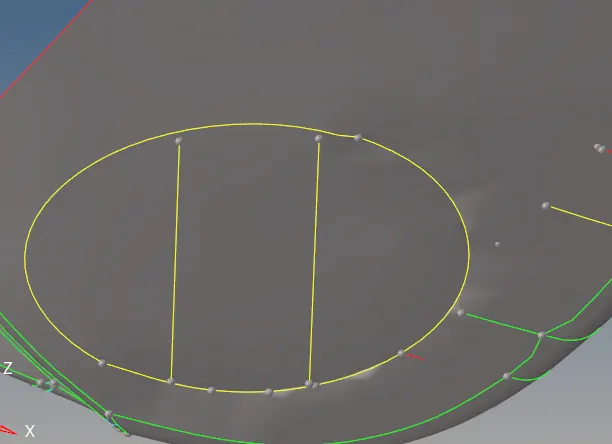
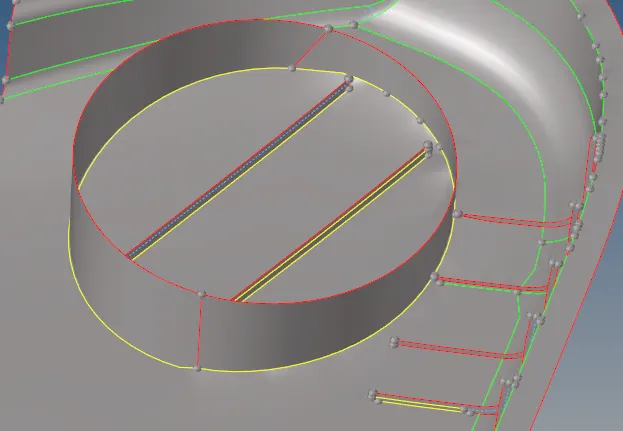
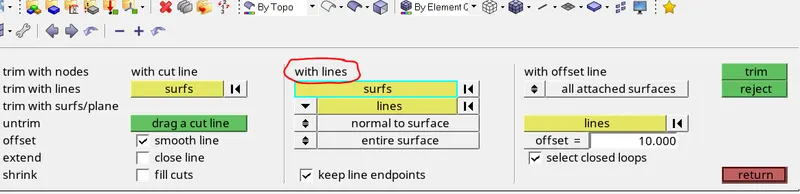
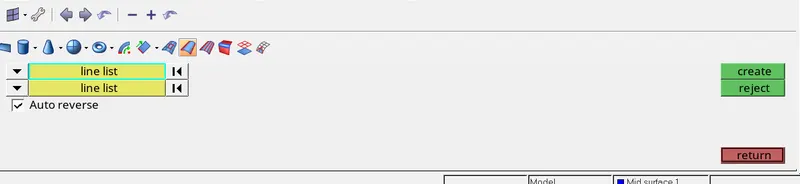
- In most places, this doesnt work, there is 2nd method and that says to trim the line on a particular surface using trim with lines option and then create a surface there.The below surfaces perfectly got connected by using that method.
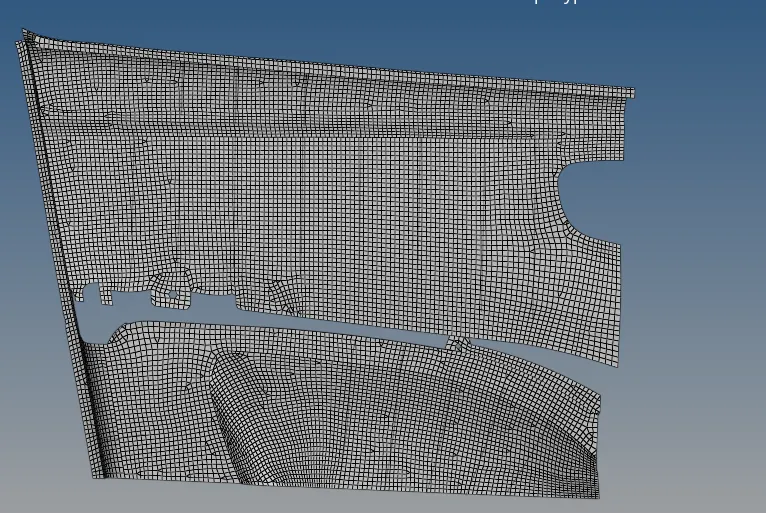
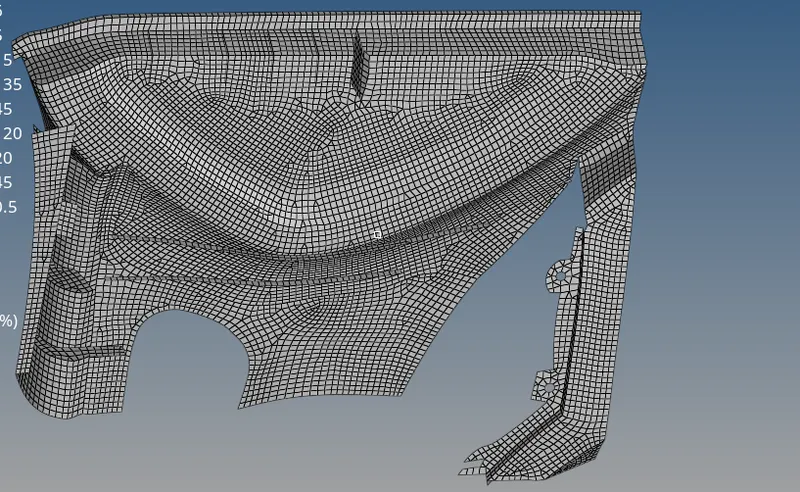
4. Meshing
- Apply the quality criteria for mesh as shown below under criteria file settings.
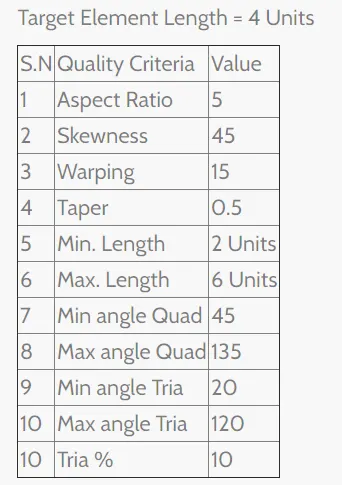
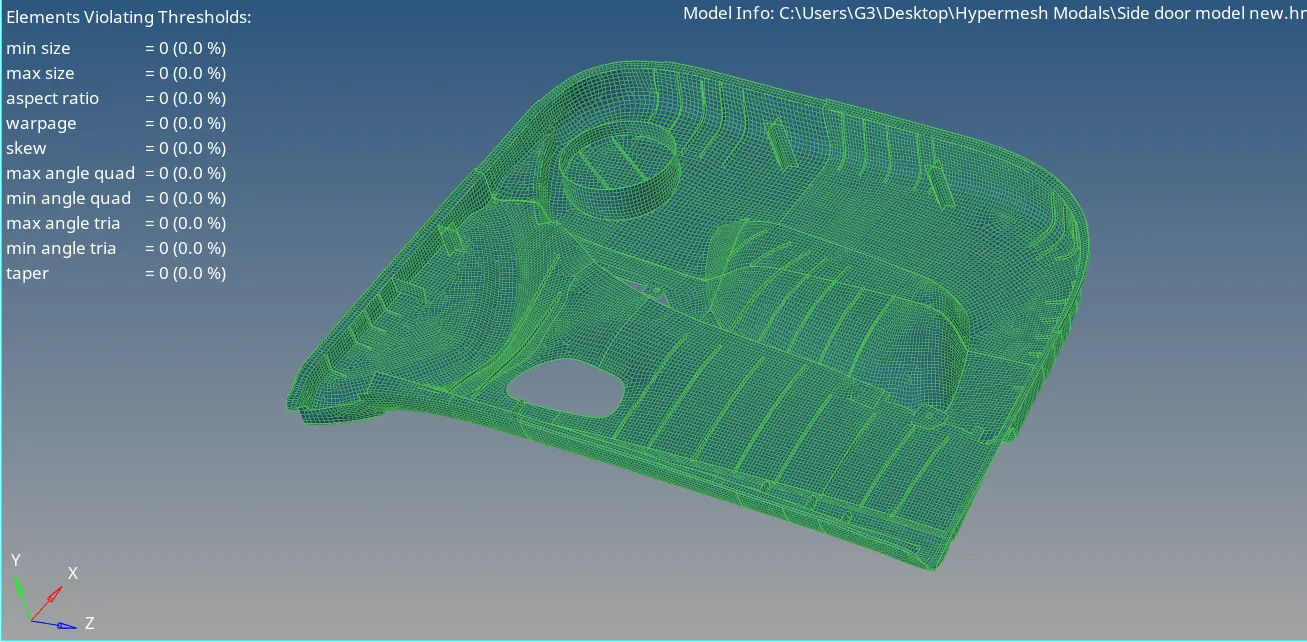
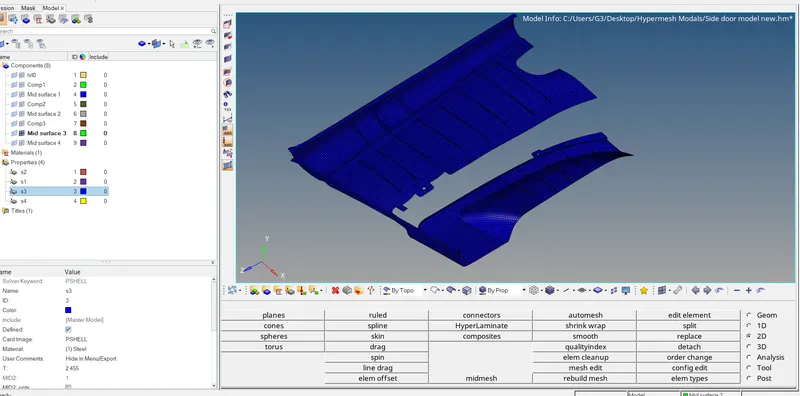
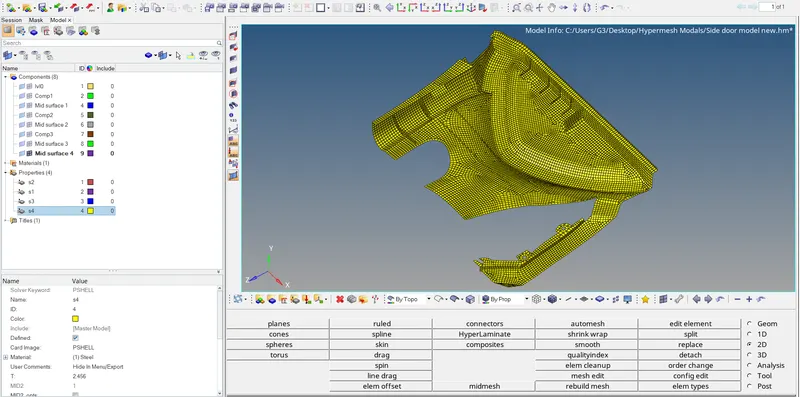
- The meshed bodies are shown below:
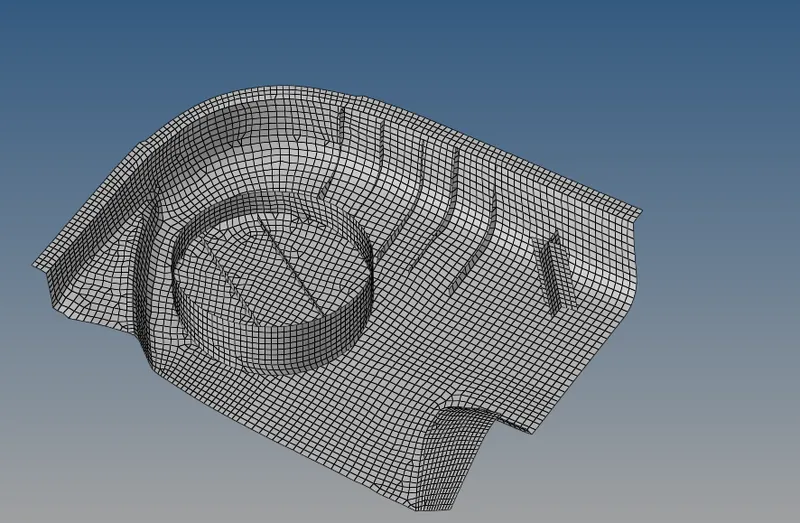
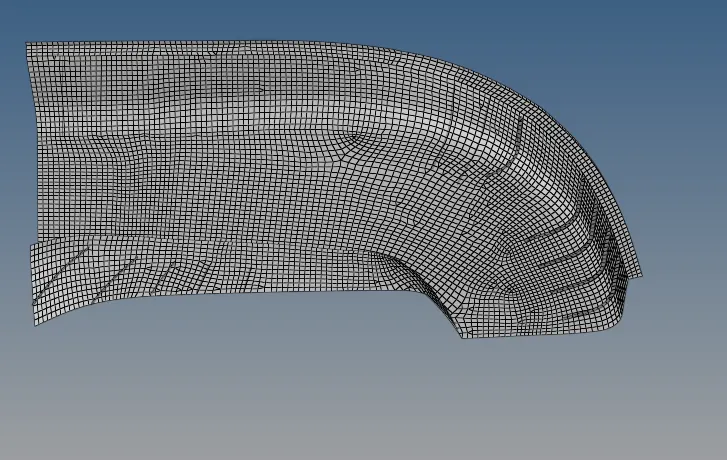
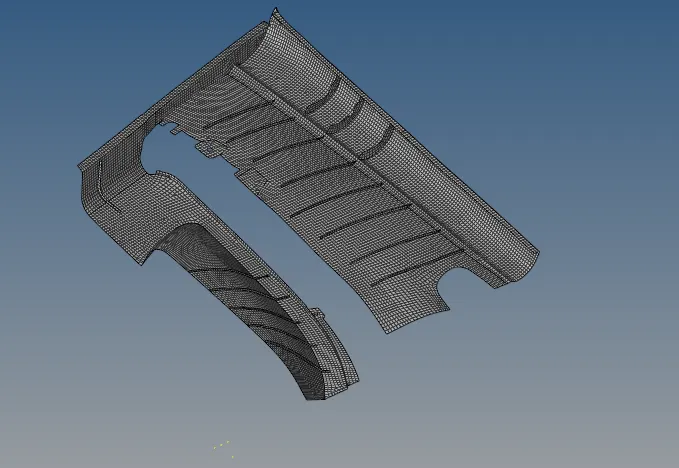
5. Applying thickness
- The value of thickness varies along the geometry so an average value is taken which founds out to be between 2-2.6mm for all the components.
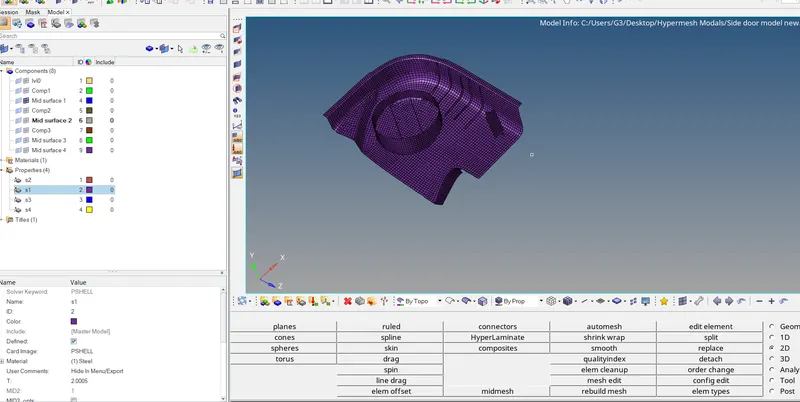
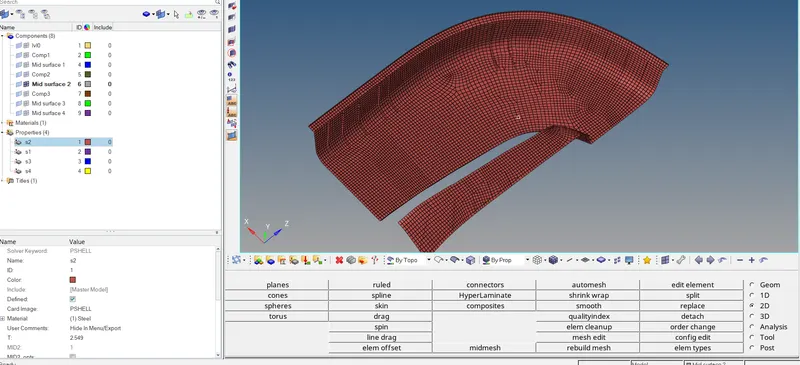
- To create thickness, create a property and specify the thickness there.
- Now assign the thickness values to the midsurfaces.
Final cleanup:
- Check for mesh connections
- Check for any missing surfaces.
- Check mesh quality.
Results:
The fully meshed modal of inner door panel is shown below: