Week 12:Project-1-Meshing of Door Inner Panel Challenge
OBJECTIVE:
Follow the Quality Criteria and mesh the following component and assign thickness:
Target Element Length = 4 Units
| S.N | Quality Criteria | Value |
| 1 | Aspect Ratio | 5 |
| 2 | Skewness | 45 |
| 3 | Warping | 15 |
| 4 | Taper | 0.5 |
| 5 | Min. Length | 2 Units |
| 6 | Max. Length | 6 Units |
| 7 | Min angle Quad | 45 |
| 8 | Max angle Quad | 135 |
| 9 | Min angle Tria | 20 |
| 10 | Max angle Tria | 120 |
| 10 | Tria % | 10 |
Component - Side_Door
Important Points to Remember
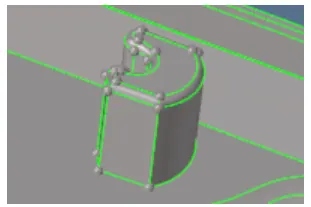
- The area which is having more than 6mm thickness should not model in 2D. You can capture them like in the Below-mentioned picture
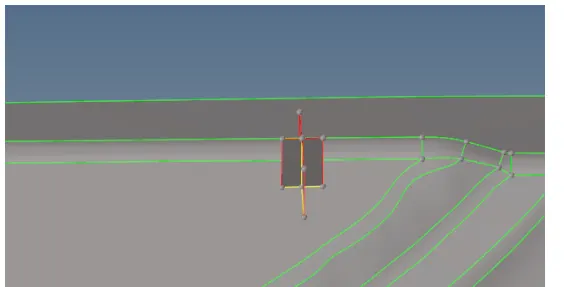
- The below image has some geometrical issue on it so modeling them in the 2D will be difficult.
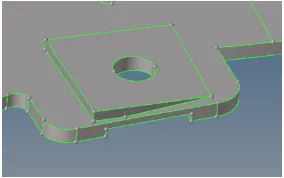
- In those areas, the main objective is to capture the hole so we can take a mid surface by creating a flat surface with a hole like an image below.
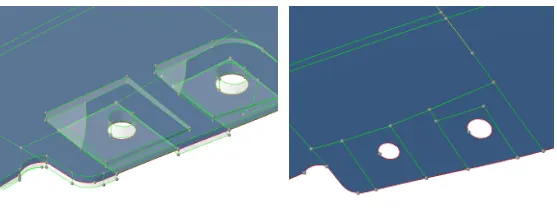
- No need to model the below-mentioned area. The mentioned area does not have a proper attachment to the model.
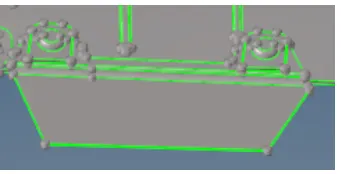
- For variable thickness areas, Assign the thickness taking an average value of the cross-section
DESCRIPTION AND PROCEDURE:
- Open the HYPERWORKS 2020
- Open the file which is given in the challenge.
- Check the thickness of the model the at different-different places.
- Then take the mid surface at the average value.
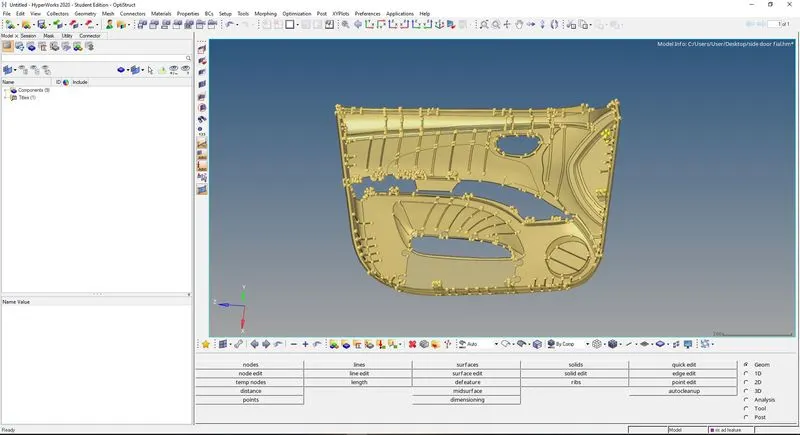
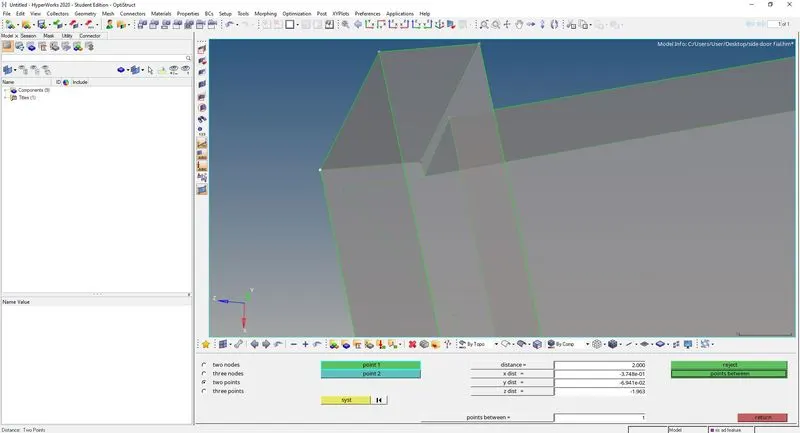
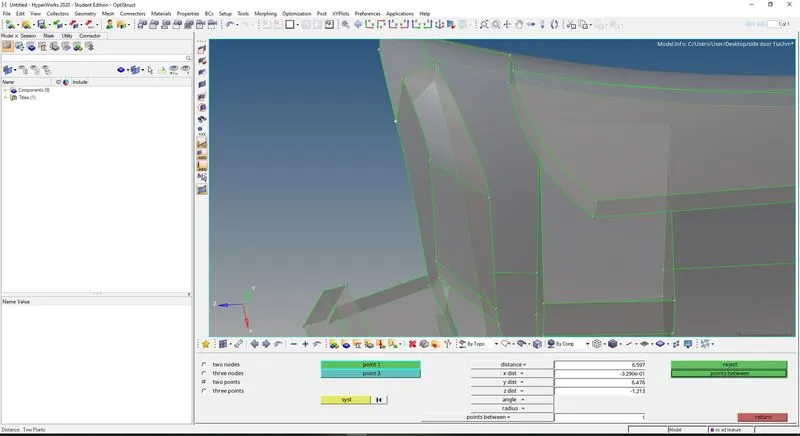
- After taking mid surface check the areas where we need to work then by the use of manual command we can improve those particular areas.
- After checking take the mid surface for the ribs which are present in the model to do that first remove the unnecessary fillets.
- Go to the surface edit command in below tool box and go to geometry then surface edit command then select offset and check the thickness of ribs and offset the surface to the distance required.
- Repeat this step for every ribs which are present except the features which are present as shown in the objective.
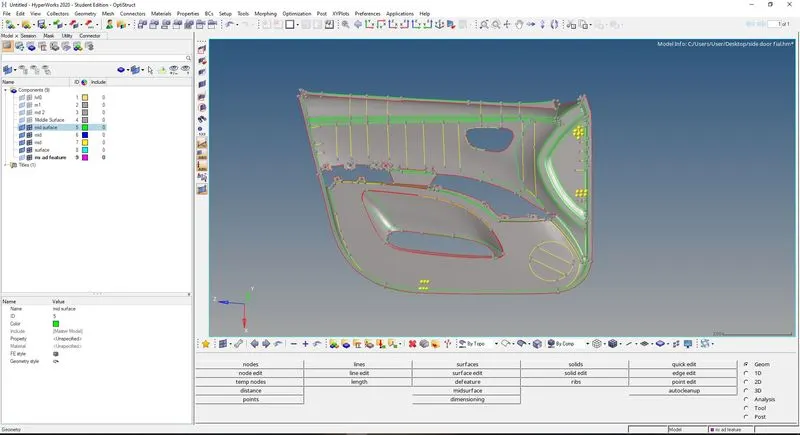
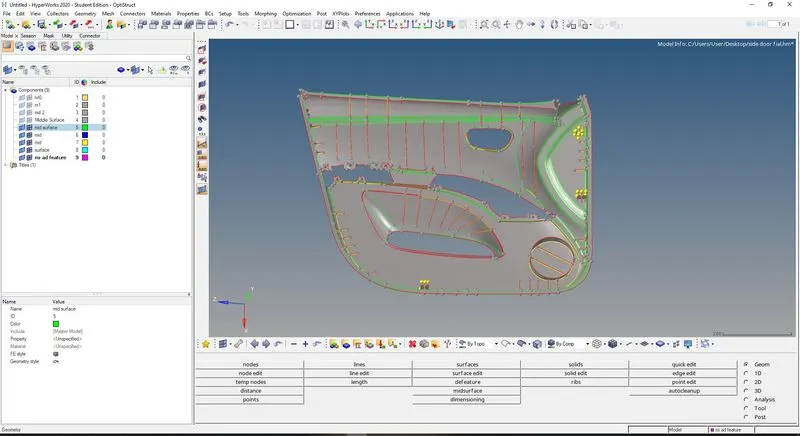
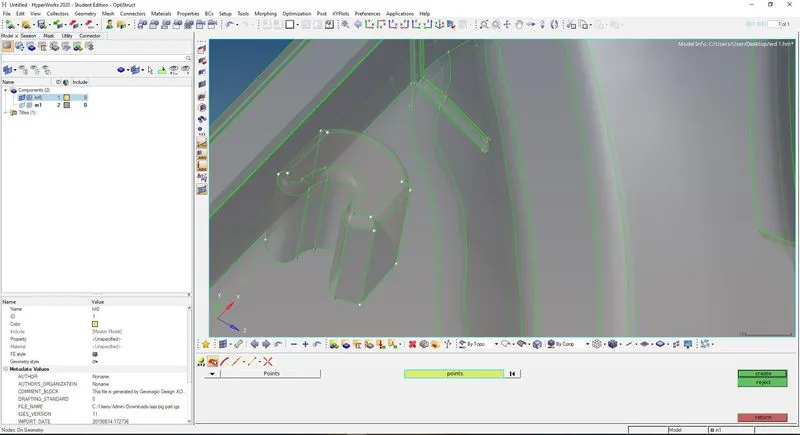
- To take a mid surface or to show that particular feature do the following steps:
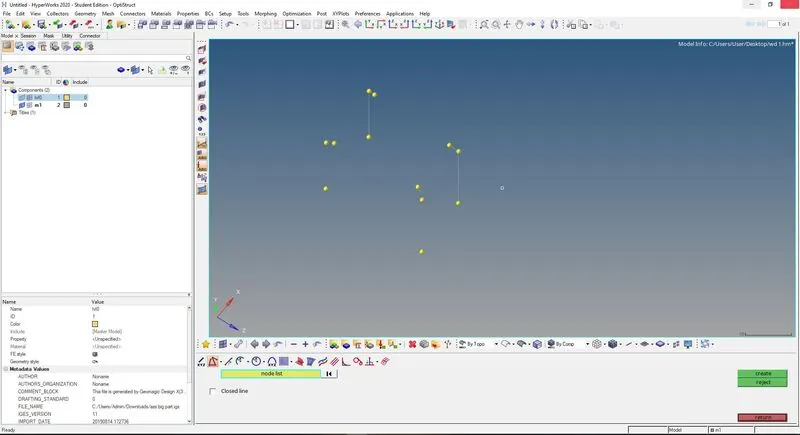
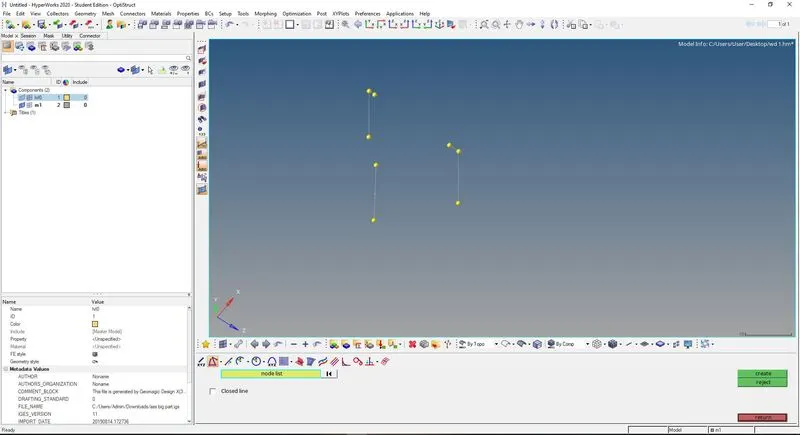
- First create a nodes at the particular points then the use of line command create the lines to generate the surface at that particular location.
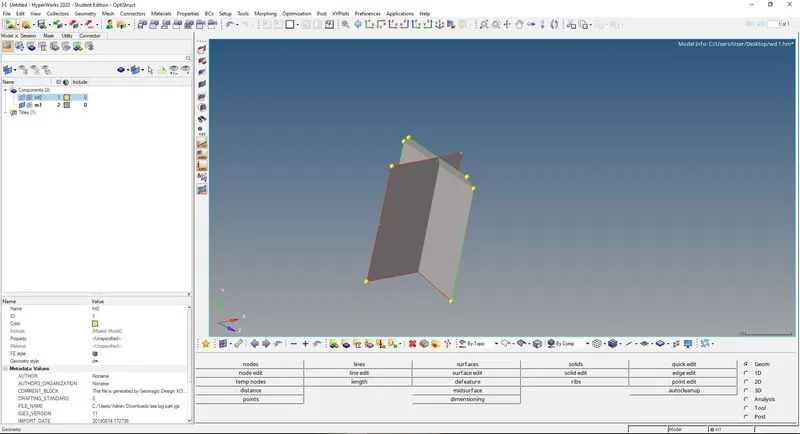
- To create the go to geometry option then select surface.
- In surface command select the ruled surface option to create a surface.
- After that the creating the surface that feature look like below shown picture.
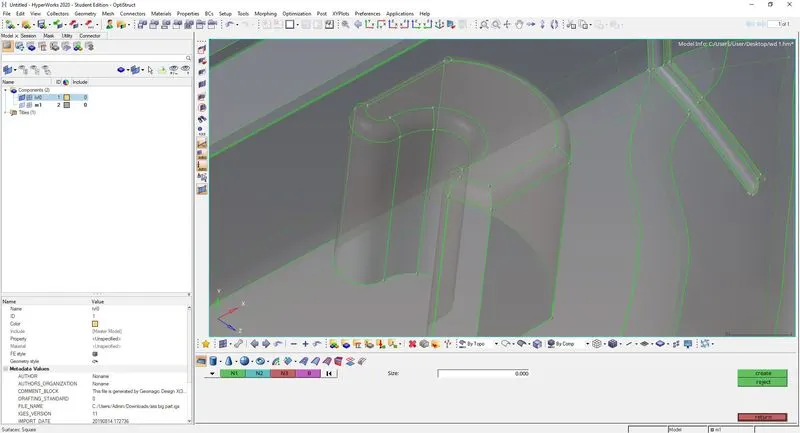
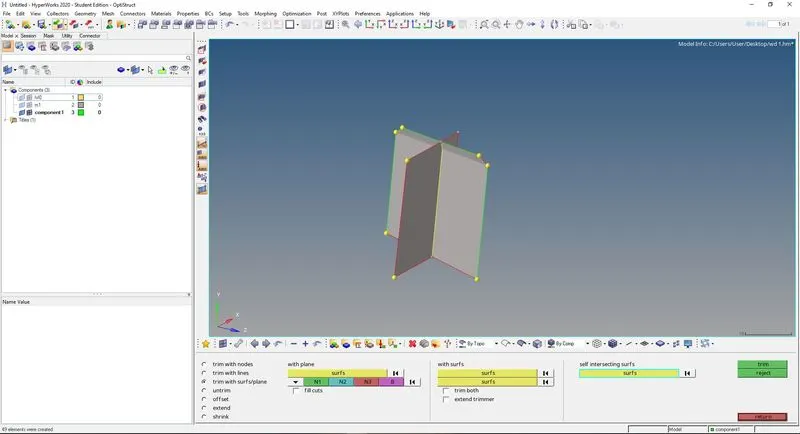
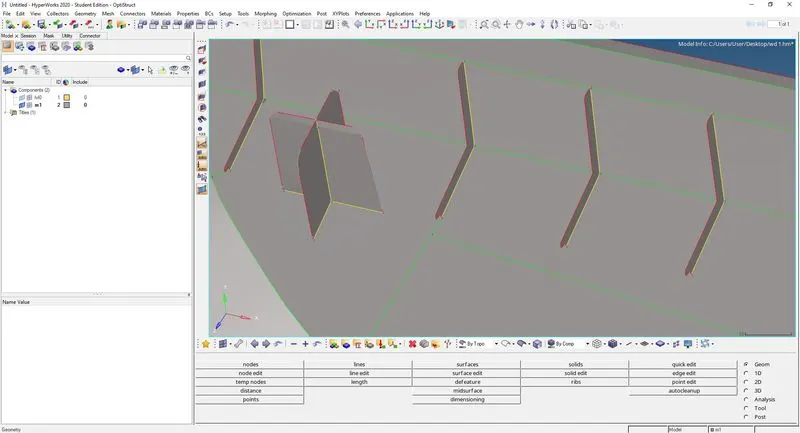
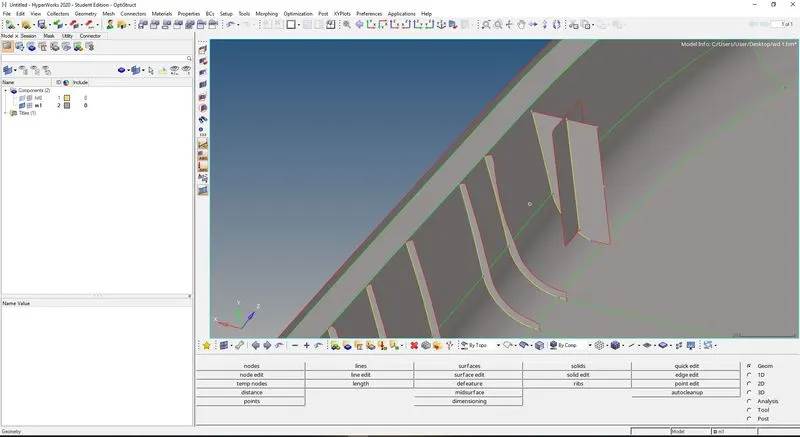
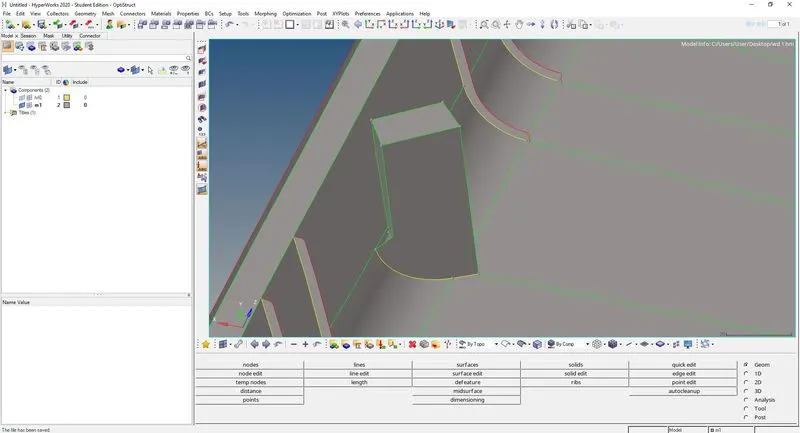
- After creating the mid surface for the features which are asked in the objective then move on to the next point which are asked in the objective which is shown in the figure.
- Then check those hole features if after creating mid surface there is any problem then solve it manual which is shown below in the figures. Please follow those figures for the further steps.
- Then with the use of quick edit tool in the geometry tool bar then do the neccsary set ups which is needed for the clean up.
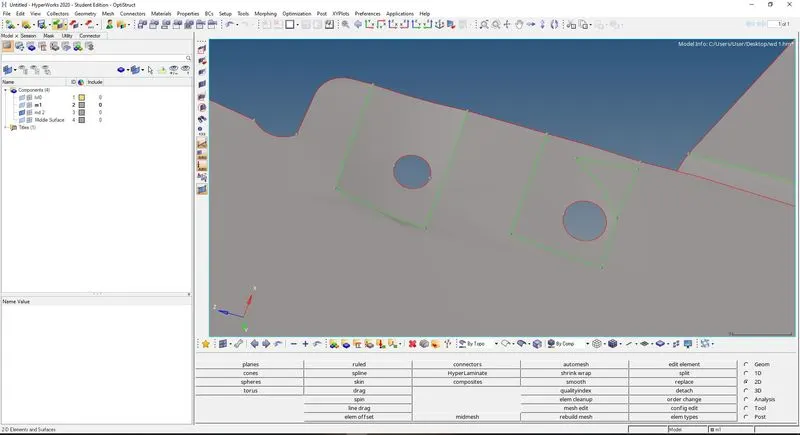
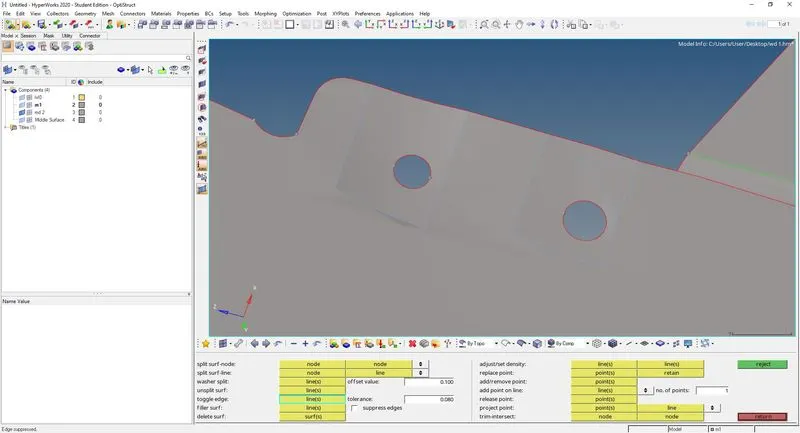
- After doing the clean up the whole geometry.
- Go to 2d tool bar to the mashing as asked in the objective with the element size “4MM”.
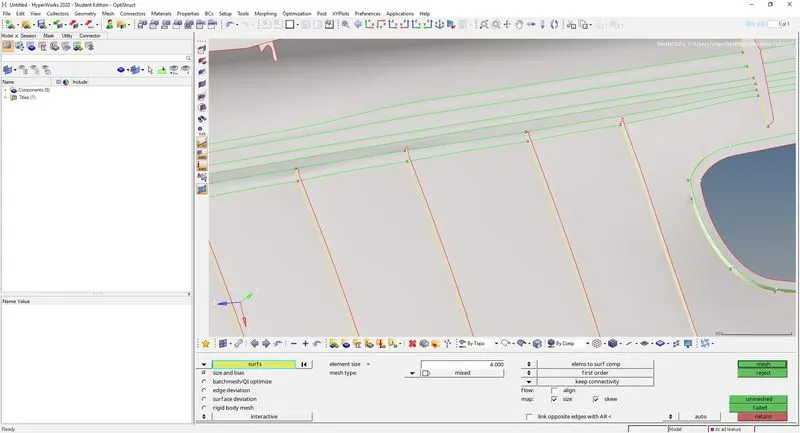
- Then check the mesh flow if it is okay or not. If there is any problem then do the mesh accordingly to that particular location as shown in the figures below:
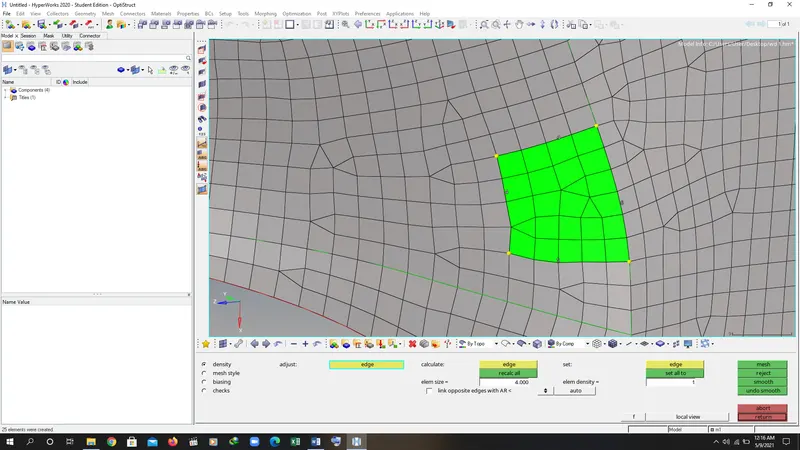
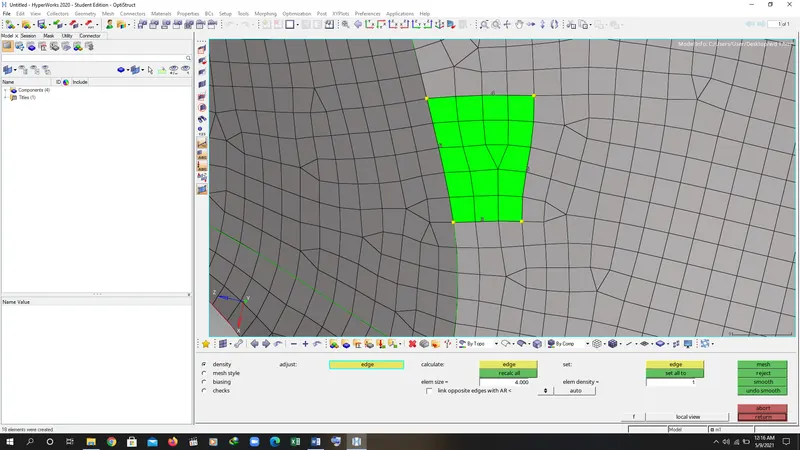
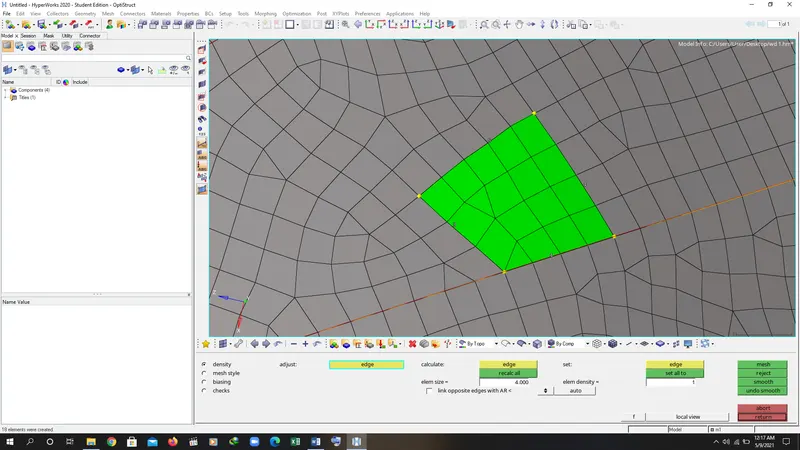
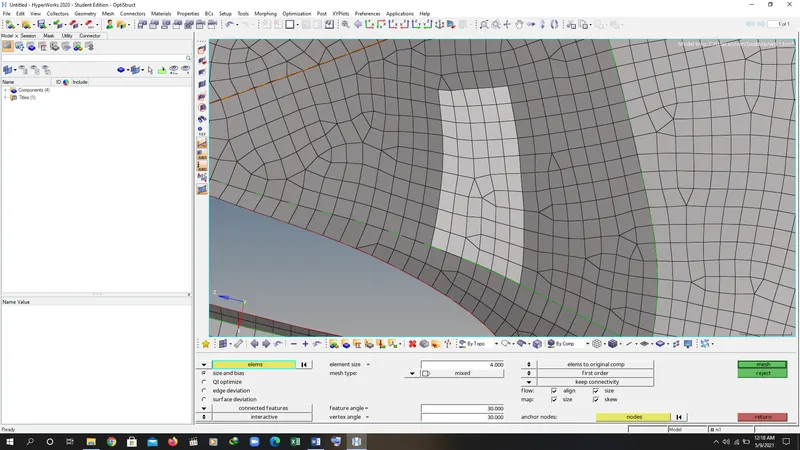
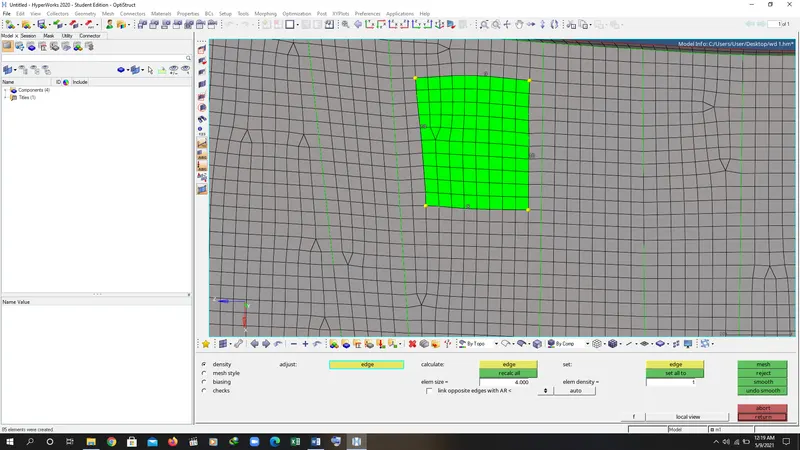
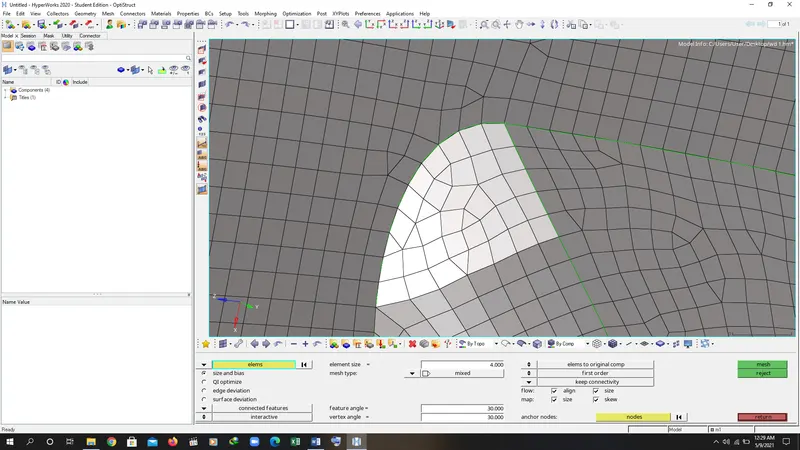
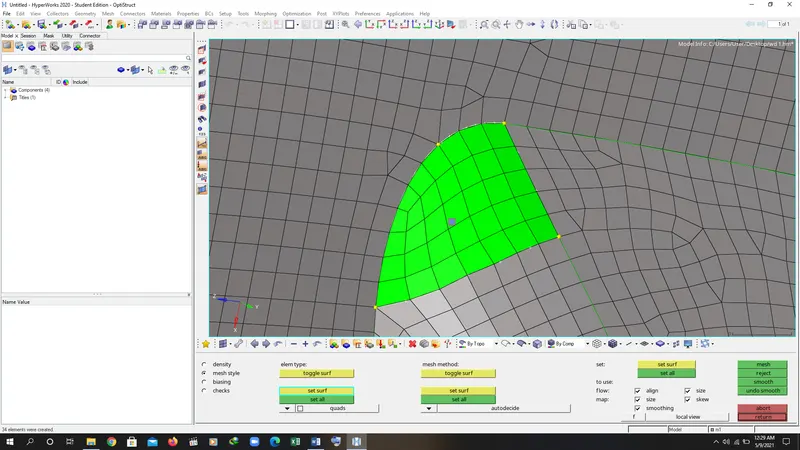
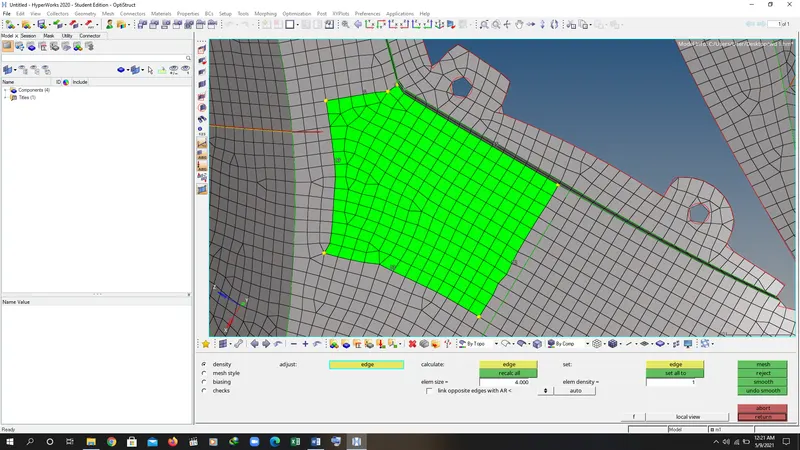
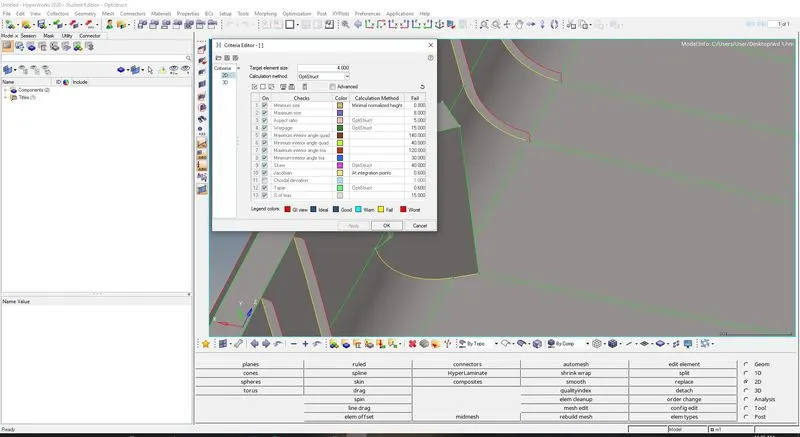
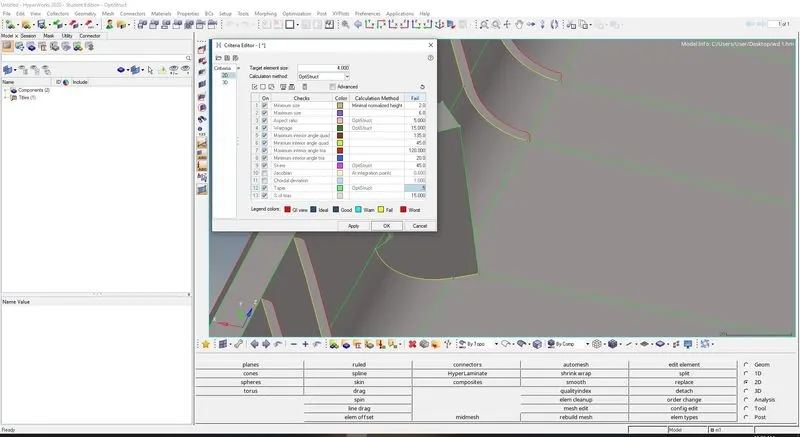
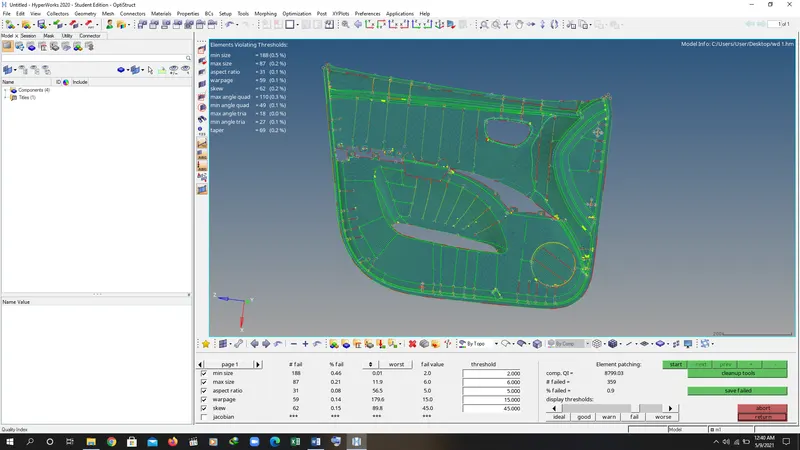
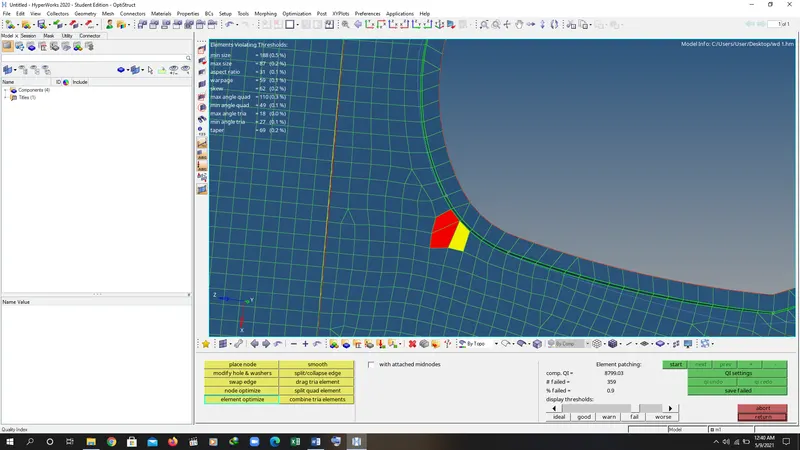
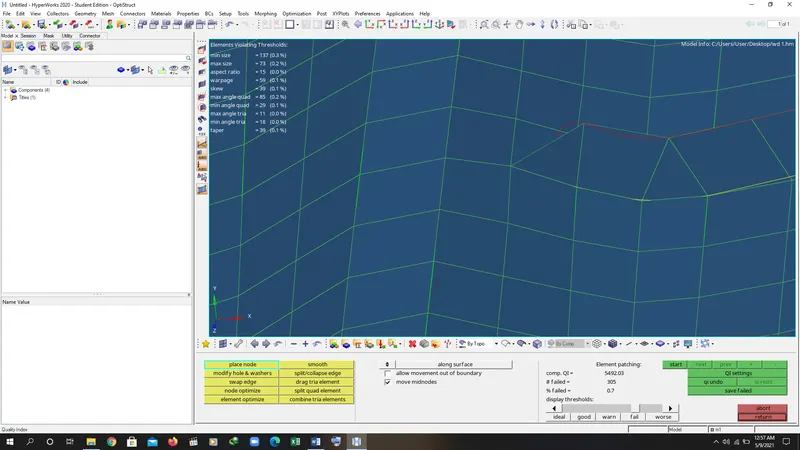
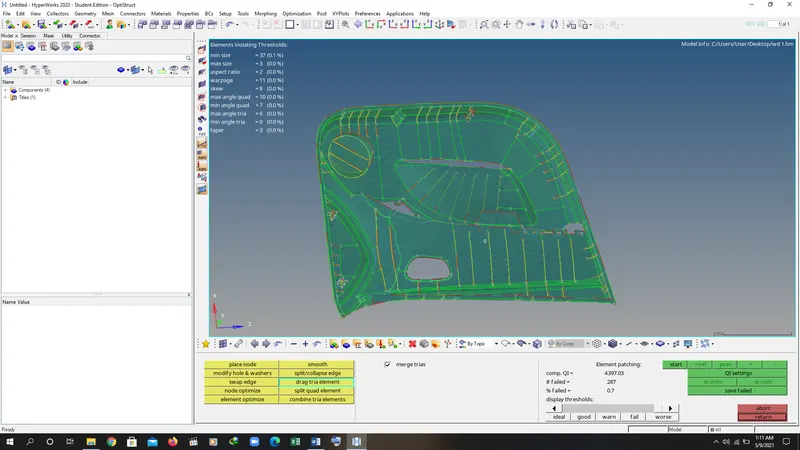
- Go to menu or file tab then go to preference then set the criteria file to check the quality for the elements. If there is any element is failing then go to quality index as shown in the figure:
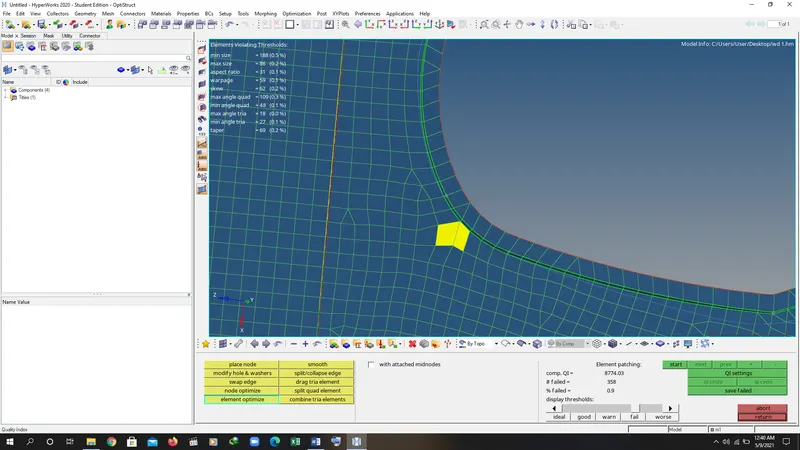
- After checking the quality if there is any element is failing then with the use of quality index tools do the necessary changes accordingly.
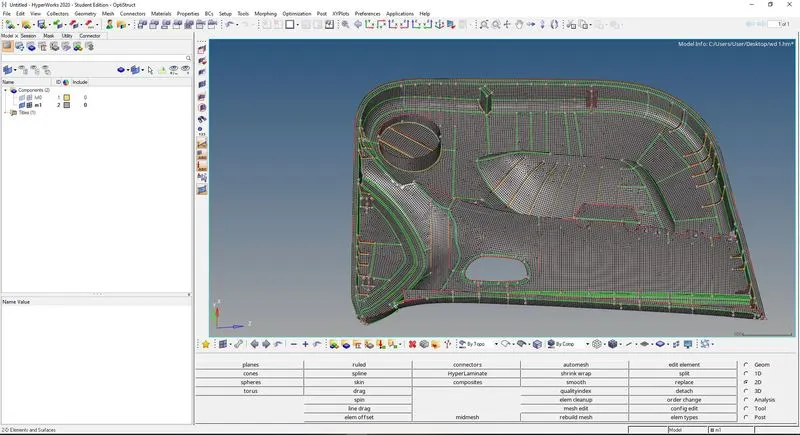
- After doing all the things then the result will be like below shown image:
RESULT: