Week 12:Project-1-Meshing of Door Inner Panel Challenge
project -1 report
objective: mesh the given component and assign thickness for the component.
procedure:
- first imported the geometry of the given challenge.
- then checked for the free edges on the model .
- checked component 3 or more surface thickness and chosed manual midsurface.
- for the manual midsurface tool is geom>surface edit>offeset>surf>duplicate surf>offset dist>check for vector normal>offset>return.
- some surface are like ribs and fringes those mid surface are extracted through surface pair option. tool for this geom>midsurface>extract option>final edit tool>surf pair>side 1and 2>extract.
- after completing the mid surface extraction some surface are like ribs fringes not connected to the base surface and those are fixed by surface extend option.
- tool used for the extend option is geom>surface edit>offeset>surf>duplicate surf>offset dist>check for vector normal>offset>return.
- then after completion of the midsurface work and component is ready for the meshing.
- before mesh need set parameter and quality creteria file for meshing.
- for this components batch meshing is done by setting parameter file and quality. and save the those files.
- for the batch mesh tool is automesh>batch mesh>browse param file and quality file(given challenge)>mesh.
- after completing the batch mesh and we need fix some mesh flow and mantain the quality criteria. this done by rebulid mesh and quality index.
- once the components is passed quality criteria and then need assign the thickness to meshed model.
- for the thickness assignment we created the property.
- we have mesarued variable thicknesss for different surfacce so that we created different property for each thickness and assigned thickness for respective property.
- after the creating the propertys and those property are assigned to the respective to the components.
- check for thickness is assigned or nor by 2d detailed elements. if not check property details.

above fig 1 is for offseting the surface.

above fig.2 is tool for extend option.
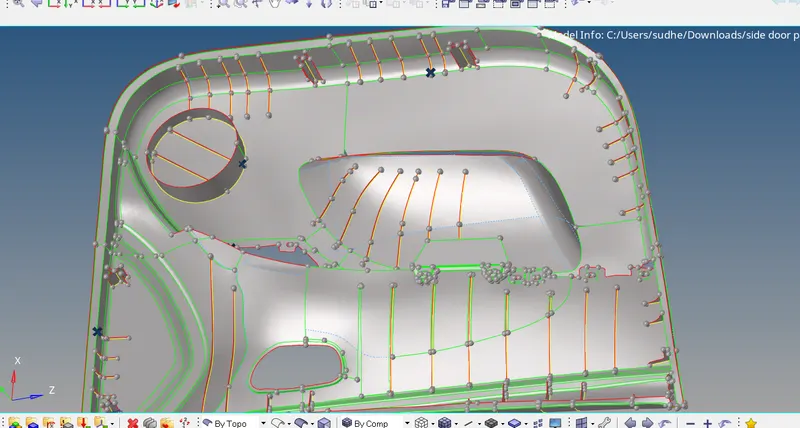
above fig 3 is after extend the all surfaces and it look like this.
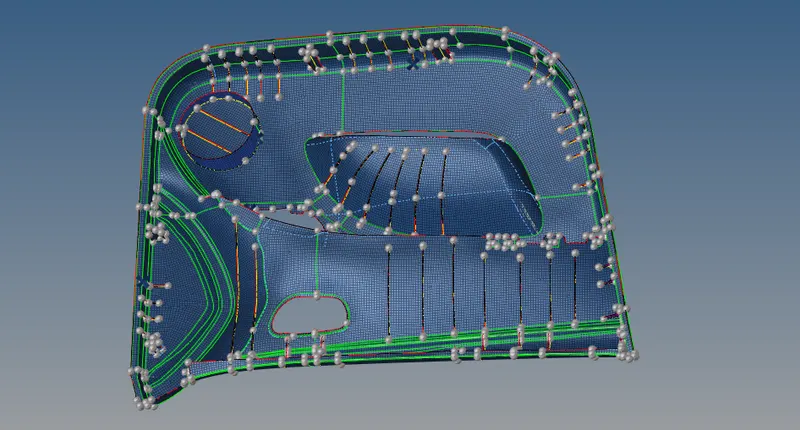
above fig 4 is after completing the batch mesh.
above fig 5 is tool for the batchmesh.
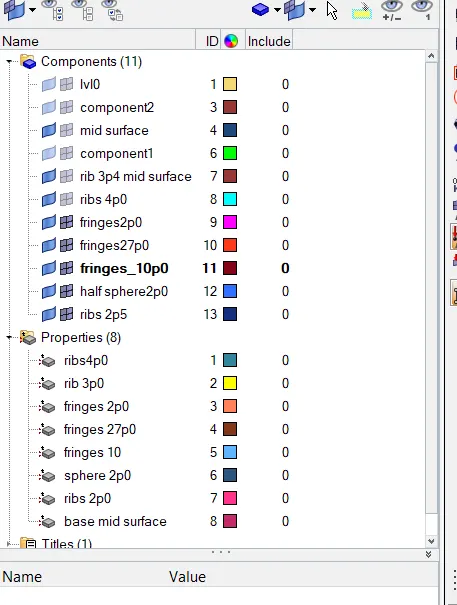
above fig shwon is property are created and assigned thickness and property are assigned to the component.
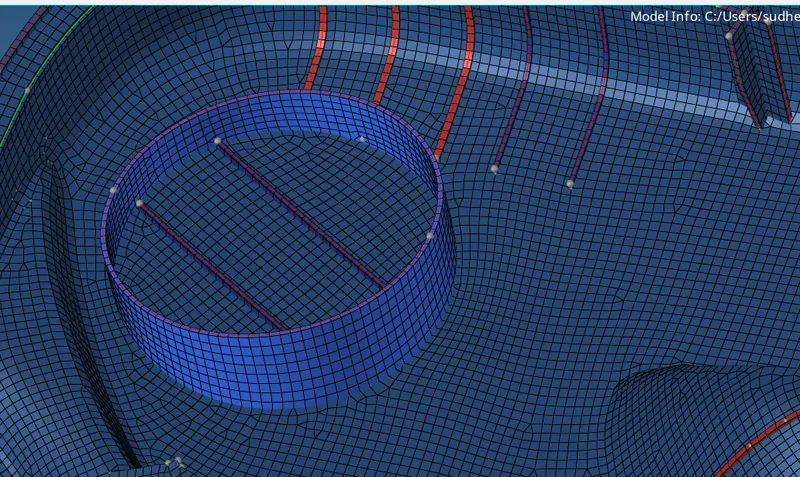
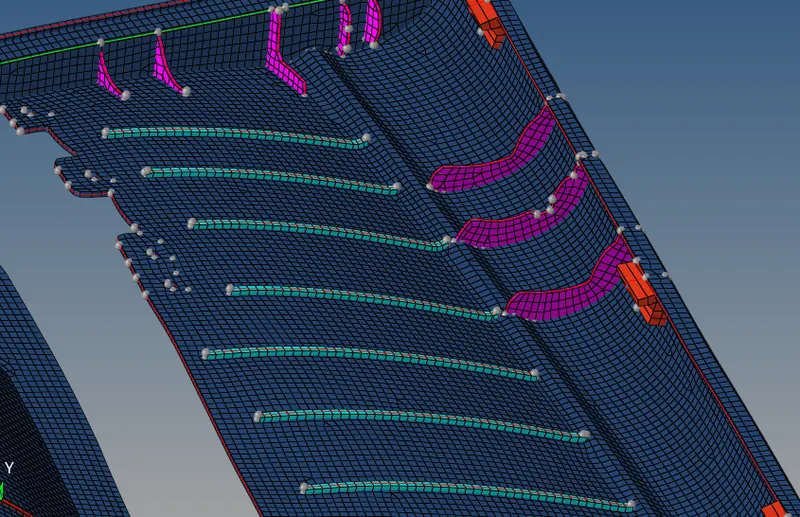
above fig shwon is that after assigning the thickness for the components. the components viewd by 2d detailed elements.
Conclusion: the given model is meshed and assigned the thickness.