Week 12:Project-1-Meshing of Door Inner Panel Challenge
Project-1-Meshing of Door Inner Panel Challenge
AIM: To take mid surface for the SIDE DOOR PANEL (plastic component) and meshing it with given quality parameters and assigning thickness.
OVERVIEW: This part can be found inside the side doors of cars, it covers the electrical wirings for door lock and door opening buttons and will be covering the glass slides into it. This rigid plastic body has a thickness varying from ribs and extended surfaces. Thus the component is separated into four equal halves and once the mid surface is completed it is again joined and meshing is done.
PROCEDURE:
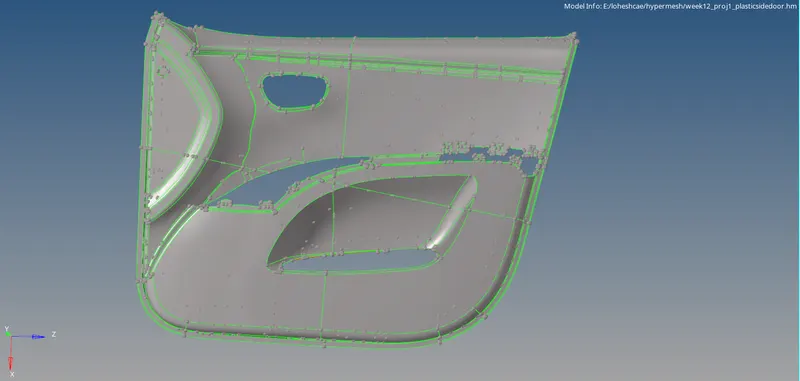
- Using the import solver deck, import the model.
- delete solids from the model using delete - solids - delete entity.
- before offsetting this component, the whole part is divided into four equal parts by surface trim option for better mid-surface extraction.
- since this model has a varying thickness, Geom - surf edit - offset, is used for taking mid surface for every varying region by knowing the vector normal giving the values like half of its thickness and the mid part can be extracted throughout the component.
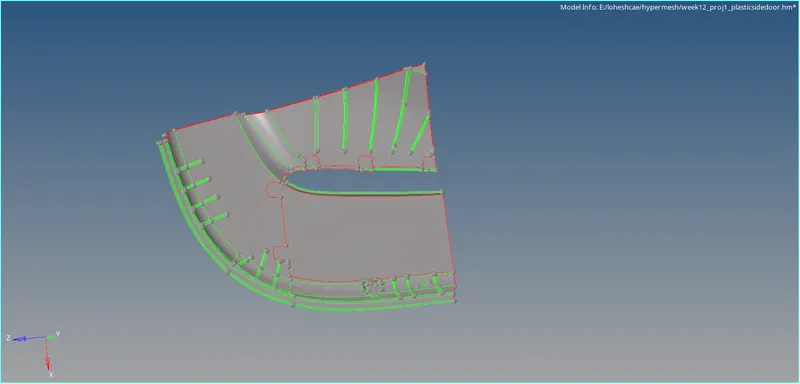
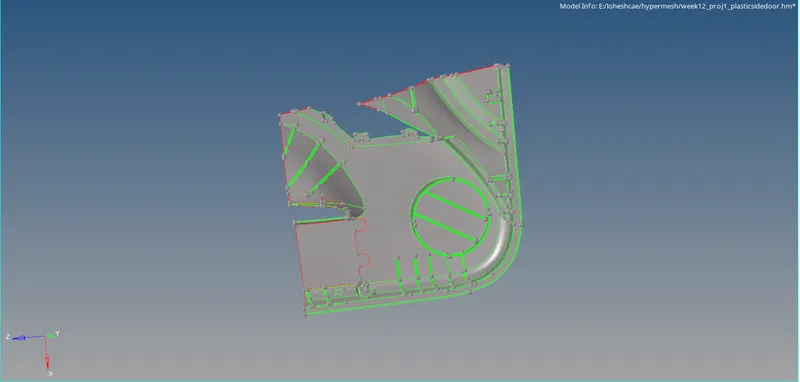
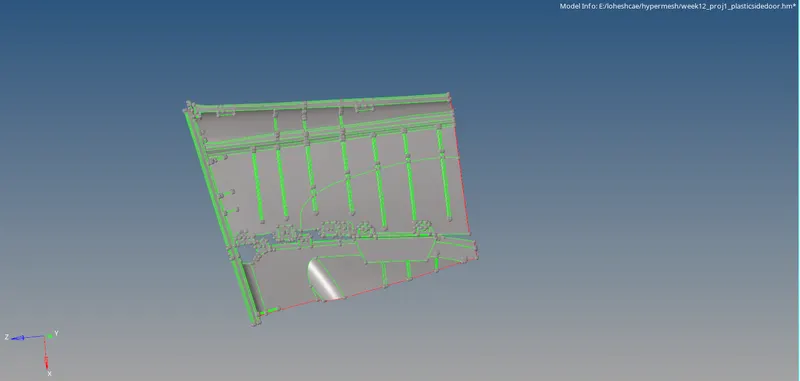
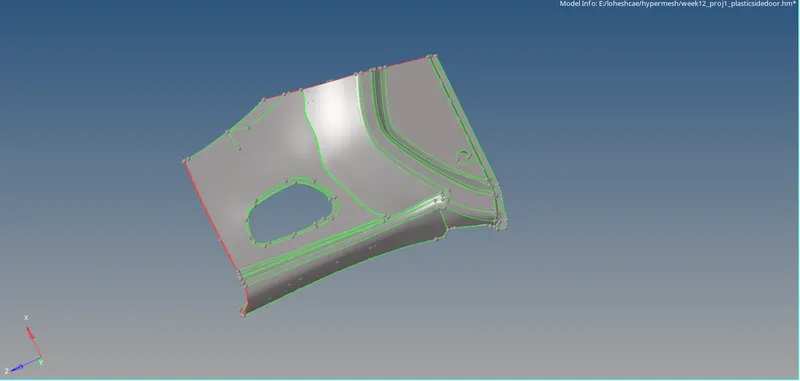
- the center body has 2.8mm thickness
- ribs are varying with 2mm, 2.5mm, 3.5mm, etc.
- surface edges have 2.5mm thickness
- extreme free line fillet has 2mm thickness.
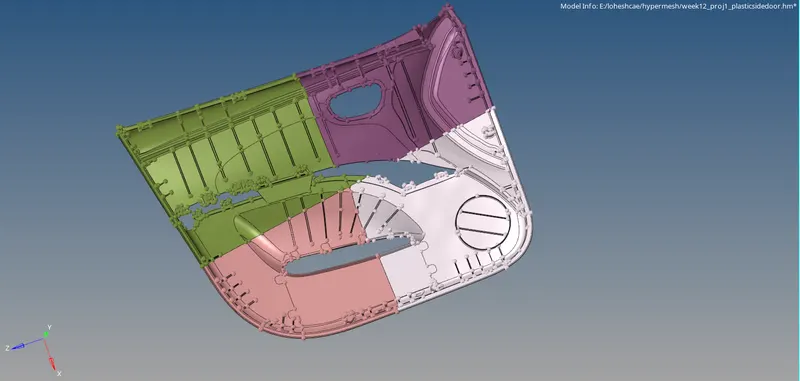
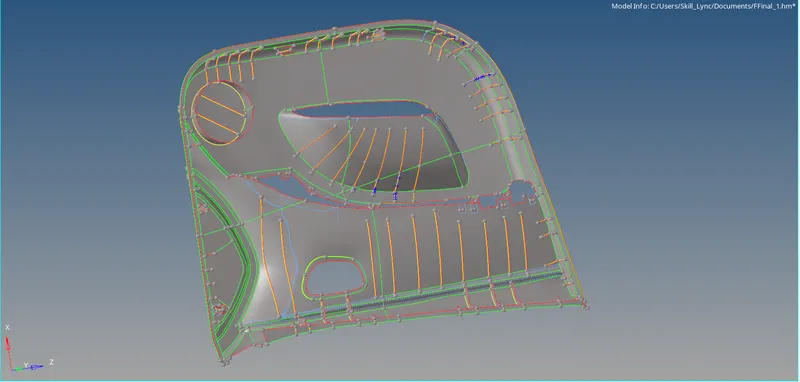
- once the mid surface is extracted and also completing the extension and intersection of all rib parts, the four parts are then combined and the divided lines can be toggled to get the clear whole part.
- then topo cleanup is done to eliminate unwanted lines and fillet regions, this is done by using F11, and defeature tool to delete the fillet on the rib parts below the required mm, and this is eliminated by the tool.
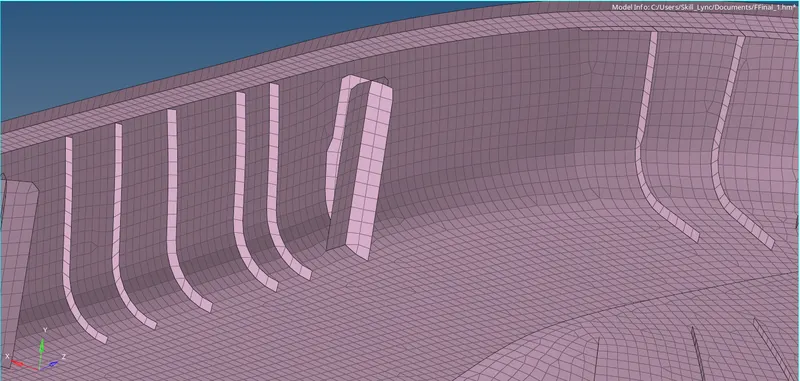
- shift+F9 is used mostly here for trimming surfaces, offset and to extend.
- before offsetting any part the part should be selected and duplicated before to not disturb the parent body.
- with extend option the extracted mid surface of the ribs and dog house can be extended by selecting the lines to extend and to the surface to target, thus it is done that way.
- here mostly for all ribs for taking mid surface, Geom - mid surface - final edit tools - select one side of the surface 1 - select another side of the surface 2 - thus mid surface will be extracted properly.
- after completing the mid surface properly for the component by joining each and every one of them, meshing is to be done with the required quality criteria parameters.
- once meshing is done, for better flow split surf is used then and there, remesh particular areas of elements for correcting the flow and to eliminate the trias.
- project tool is used for projecting any parent body lines to the surface and translate tool is used for correcting any unavoidable element error.
- F11 is used mostly after meshing to correct the flow and errors, by toggling, add point/delete point, replace point, project point.
- also the meshed elements can be corrected using the quality index tool where we can optimize the element, drag the trias for perfect flow, place node, split quad, combine trias and swap edge.
- by this mostly every quality error of the element can be eliminated and proper mesh flow can be generated.
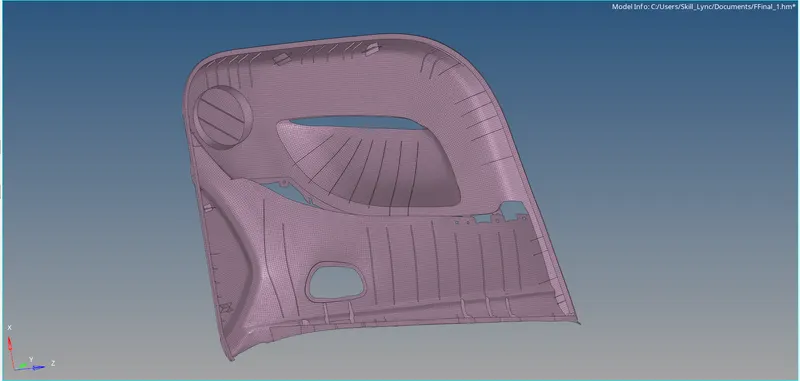
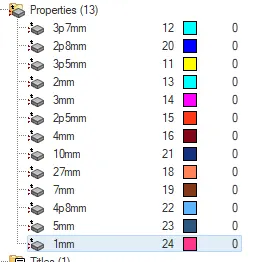
- finally for giving thickness for each and every ribs, measure thickness from the parent body for every ribs and to create a property for it. first, the respected thickness is measured and it is assigned in the box, for doing this organize tool is used here, select the elements by face and add the destination to their respected thickness value in mm.
- then select each and every values and in the property tab right click and create or add the thickness value and enter.
- thus thickness will be assigned for every part of the component.