Week 12:Project-1-Meshing of Door Inner Panel Challenge
OBJECTIVE
To mesh the given plastic component with the varying thickness and achieving better mesh quality.
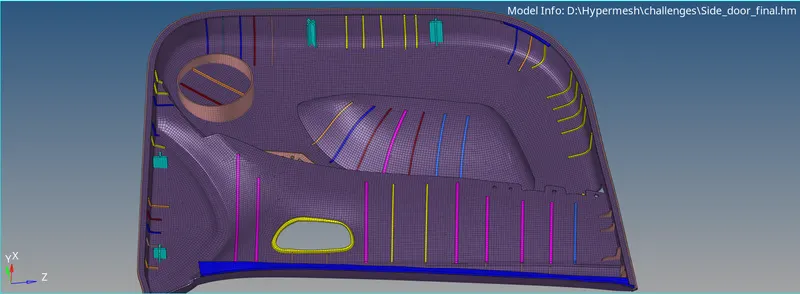
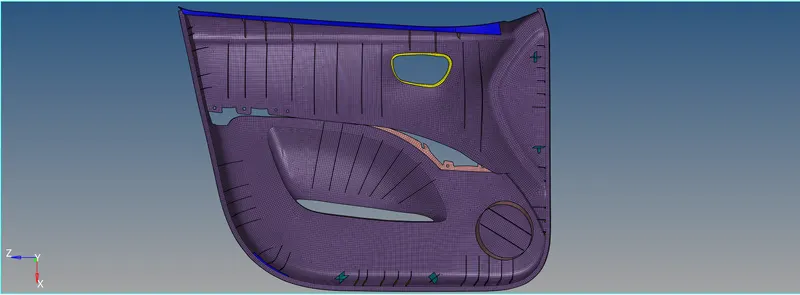
CAD MODEL IMAGE
PROCEDURE
Here I didn’t separate the model 4 parts, so I 1st take a mid surface for every surface and put it in every new component for the future preferences. At last we need to give thickness for the every 2D elements.
For the bottom flat surface, we have a uniform thickness all over the surface. So 1st we need to take a midsurface for that bottom.
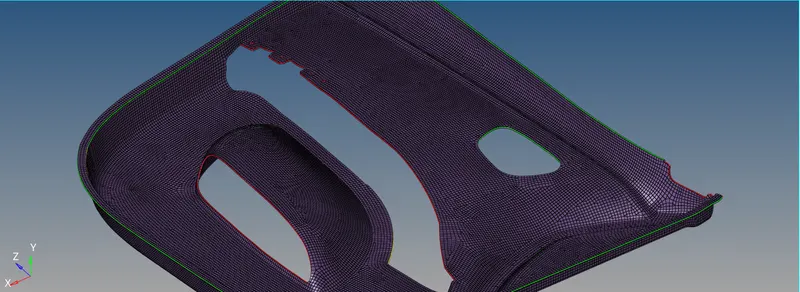
Then we can take midsurface for ribs and extend the midsurface to the bottom and attached to the each of the surface. Wherever we have the surface varying thickness then we can give average thickness for that particular surface. And put it in a separate component.
Now I toggle the unnecessary surfaces in all the components. Then I started to mesh the component along with the surface and mesh itself.
In most of the regions near the rib’s element don’t have the right connectivity. Also, I checked for edges to check for the element connectivity. Then I use a replace nodes to connect and create a connection.
dog houses can be captured like this and should be properly connected to the bottom.
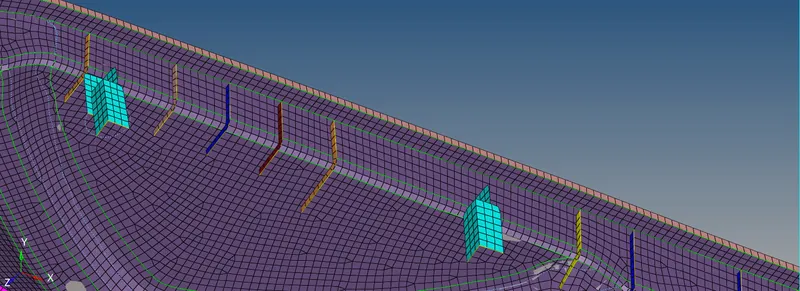
Then we need to check for the element’s failure and so i remeshed and smoothening the elements to overcome failure.
After meshing all the surfaces then I created a material and property each different surfaces. After giving the thickness then give a 2d detailed representation.
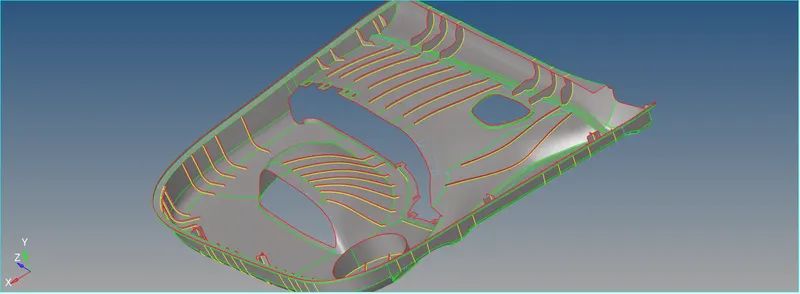
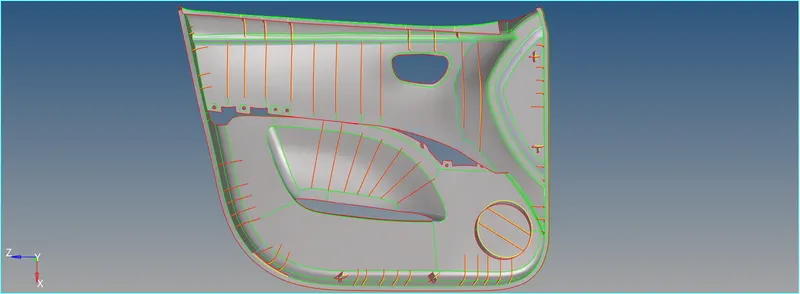
this is the final mid surface image.
CONCLUSION
All the surface should be meshed properly by capturing the surfaces and all the elements should pass the quality.
FINAL IMAGE