Week 11 - Project - A pillar Design with Master Section
Class A
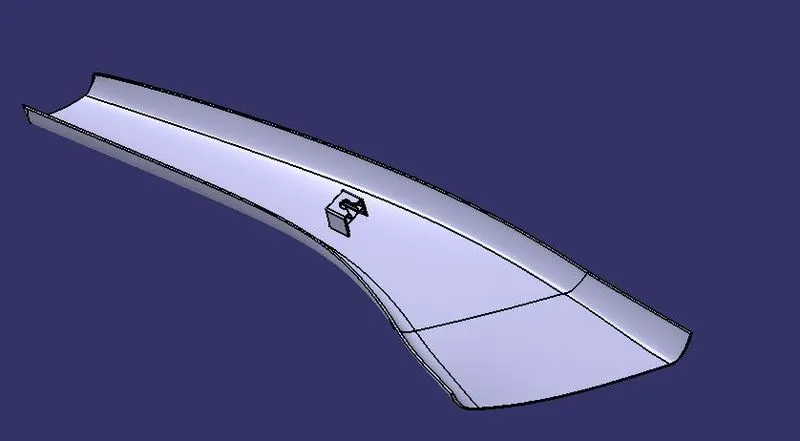
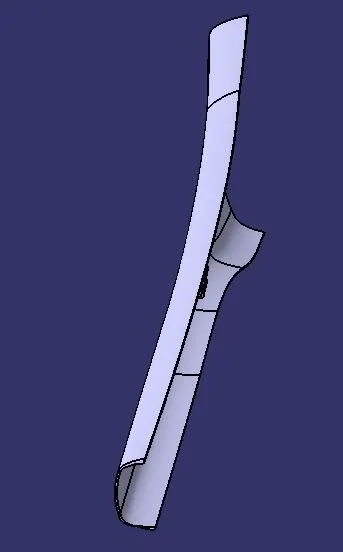
Class A is the most aesthetically pleasing finish available. AUTODESK ALIAS is used to create the majority of Class A Surfaces for Automotive Components. The Automotive Plastic Designer uses it to guide creating of CLASS B and CLASS C surfaces.
Check for continuity of the given surface using the Join or Boundary command.
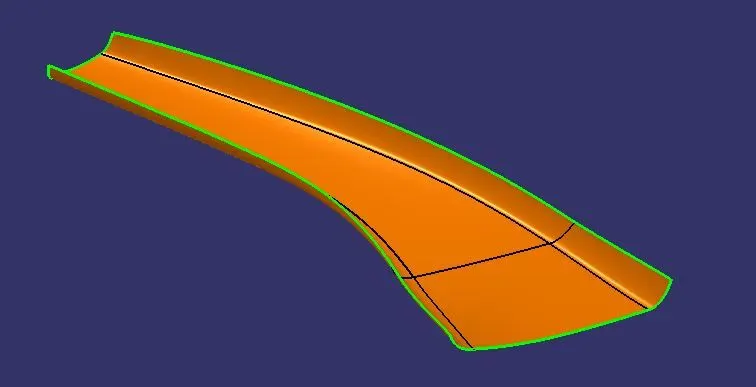
Tooling Axis
The direction a core or cavity of a mould opens is known as the tooling axis. This axis is crucial for determining how the component will be oriented in the mould, core, and cavity design and for doing the component's draught analysis.
- In this way first I create the point (between two lines) in the extracted master section.
- The extracted two lines are the key to creating the bisecting line and which is going to our tooling axis.
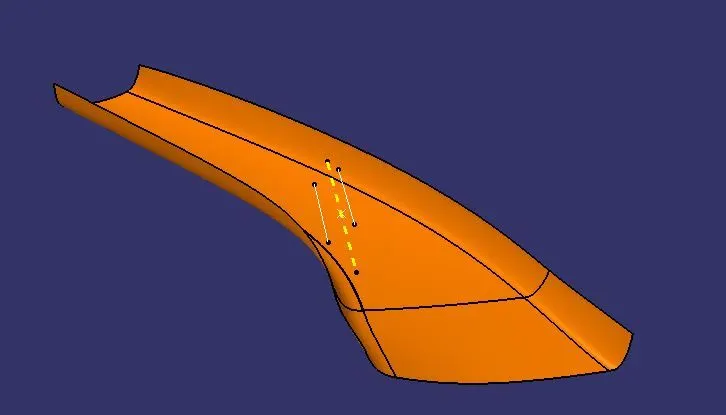
For the Side core, I created a line perpendicular to the master section.
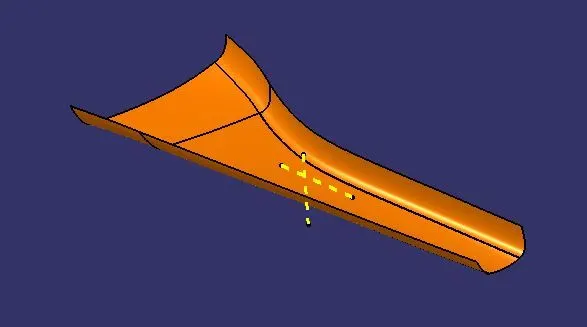
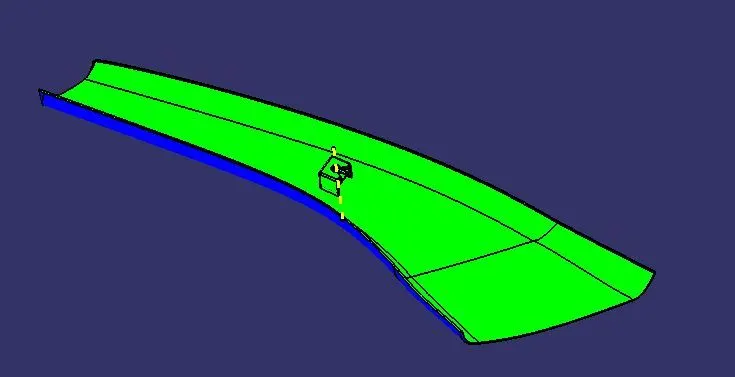
Class A Draft Analysis
Now analyse the draft using the tools' Featured Draft Analysis tool. Click on the lock symbol after aligning the compass with the tooling axis, then click once more on the surface after opening the draft analysis toolbox.
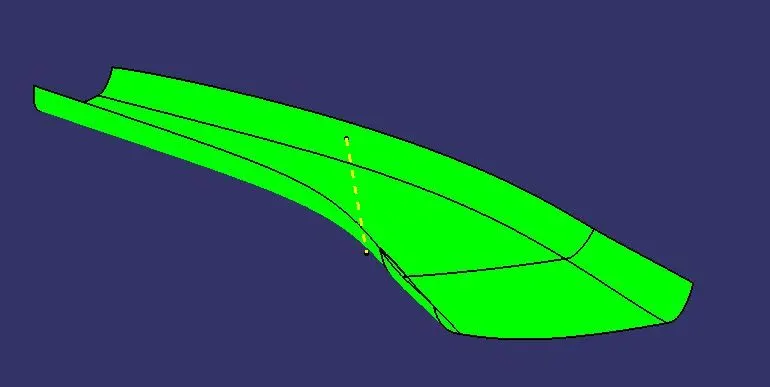
Class B Surface
First, offset the surface by 2.5 mm. This may lead to certain errors and the removal of some components. Select retain all items by clicking. Close the patches by using the fill, sweep, boundary, extrapolate, and trim commands. then combine all of them.
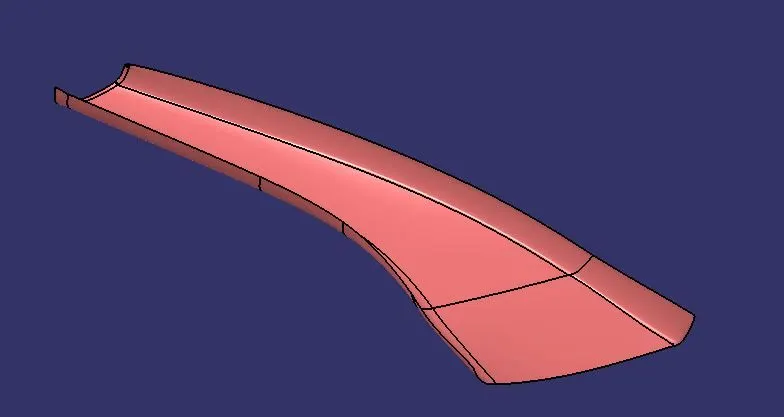
Class C Surface
At first, extract the boundaries of the Class A surface and B surface, and use the sweep option to create the c surface
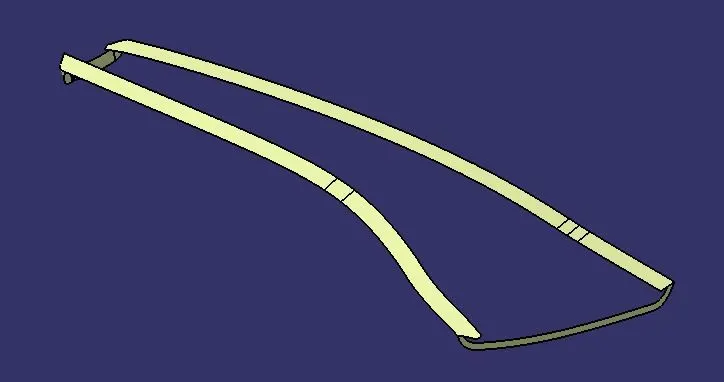
Class A+C Surface
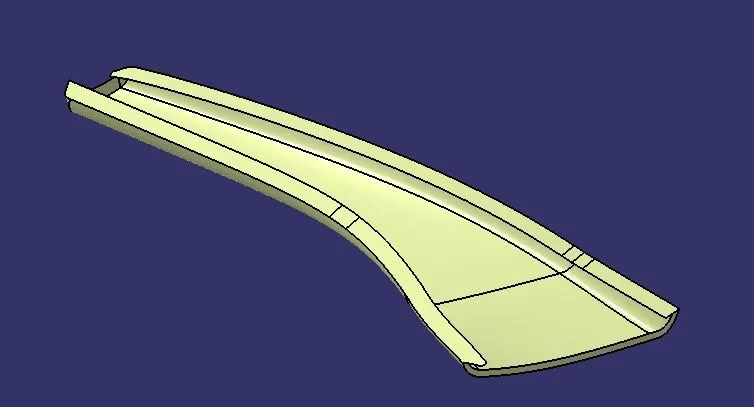
Closed Body
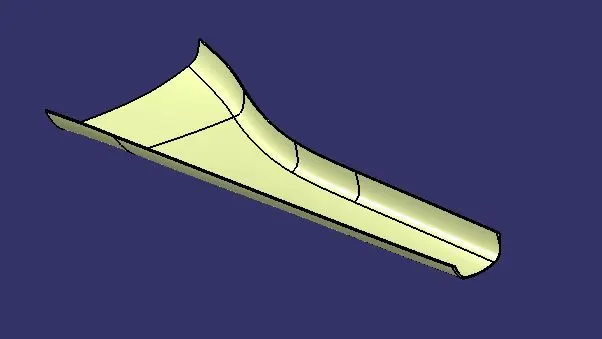
Closed Body with Dog House
Closed Body Draft analysis
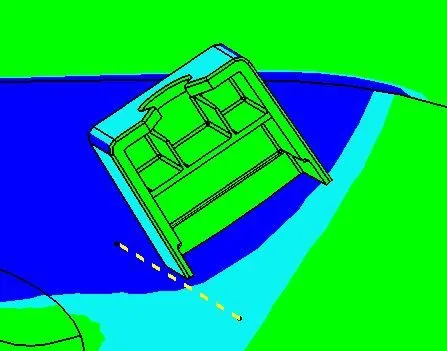
Dog House Draft Analysis
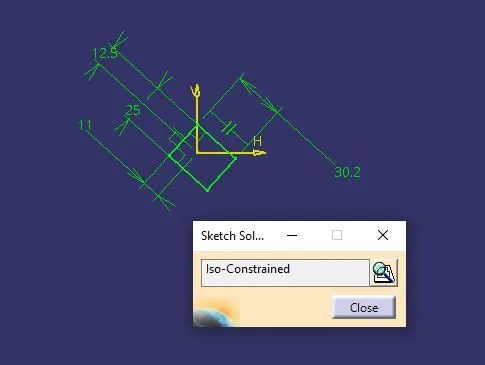
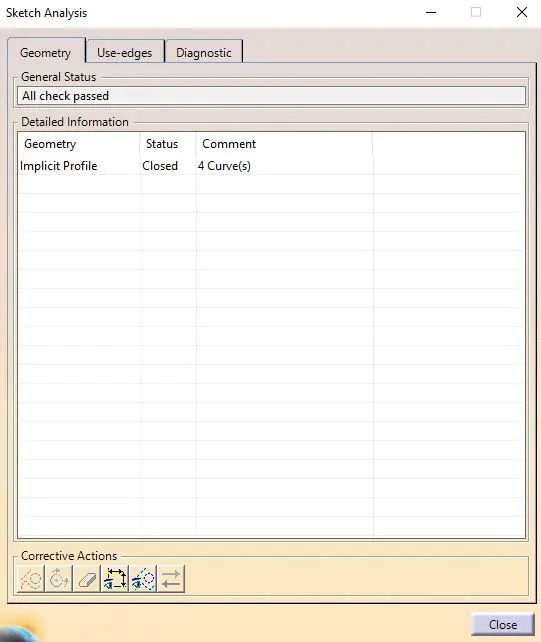
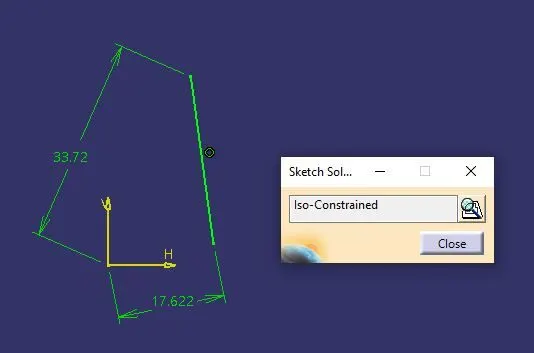
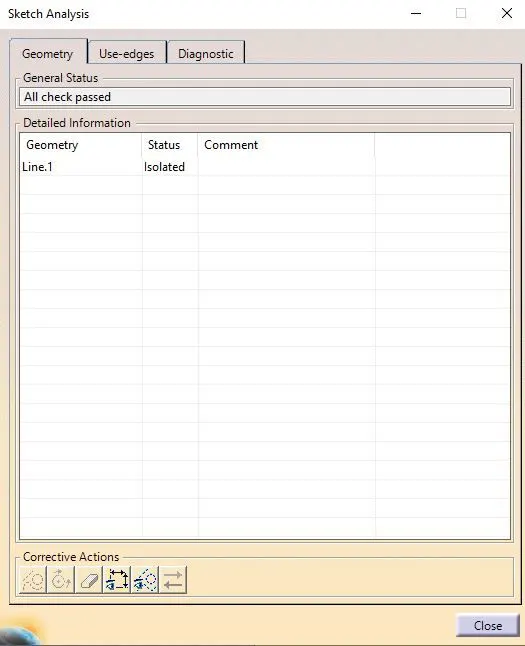
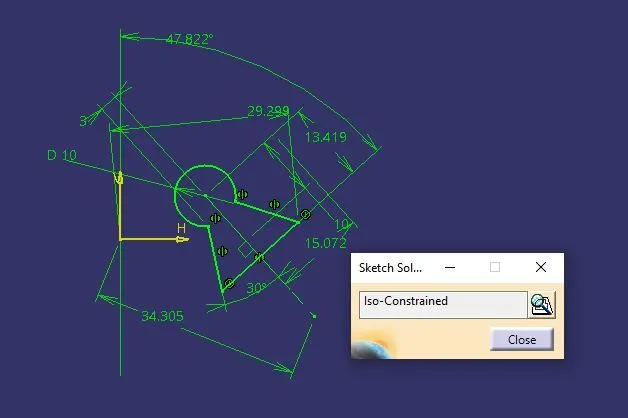
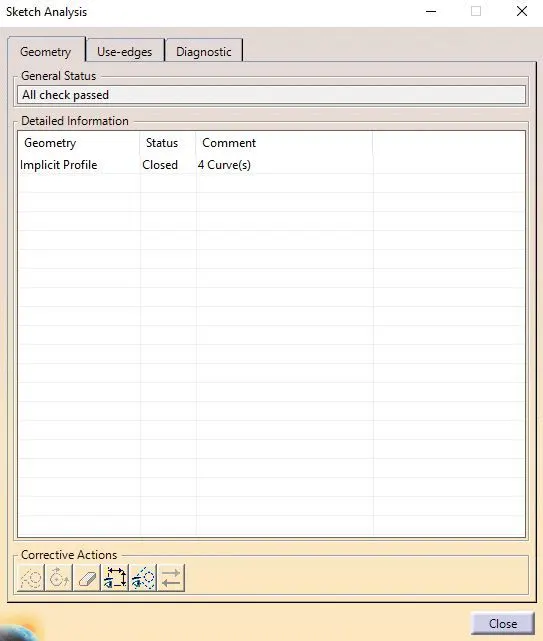
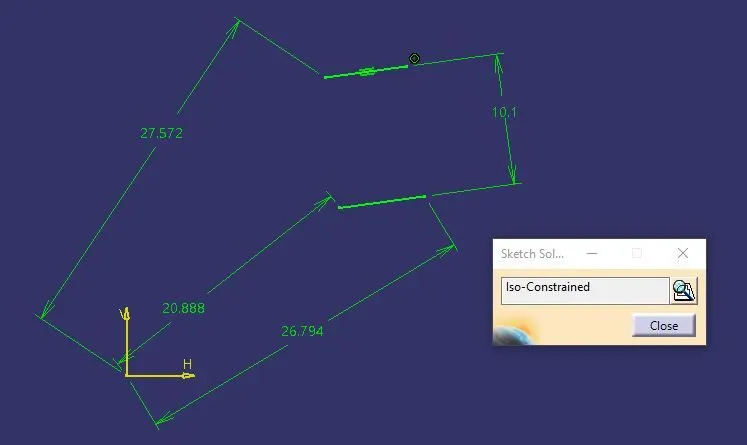
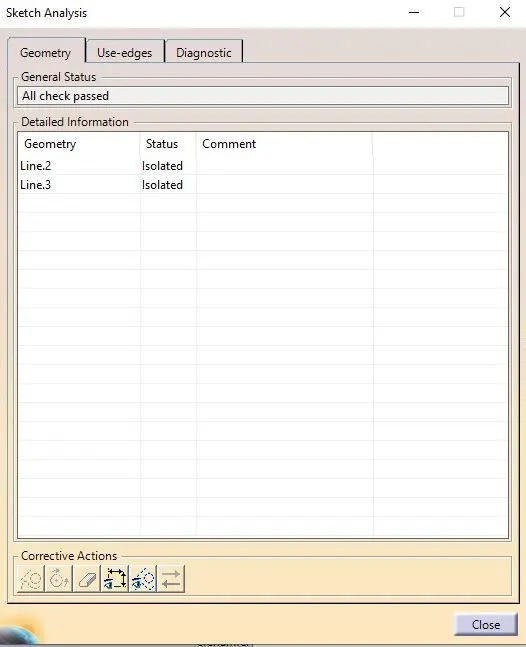
Sketch Solving Status
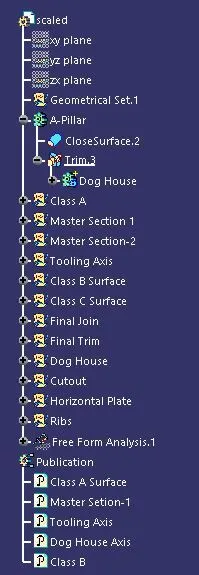
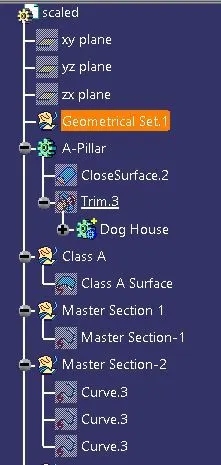
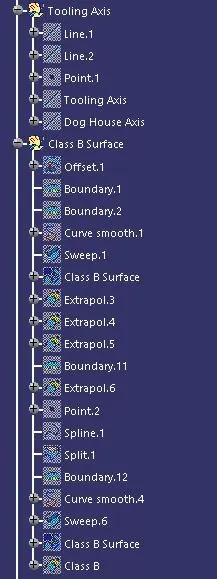
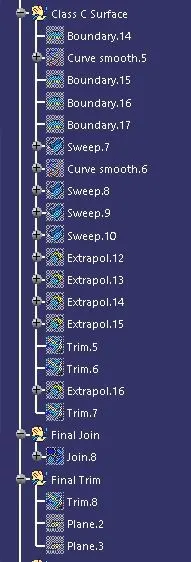
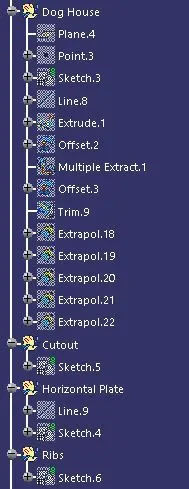
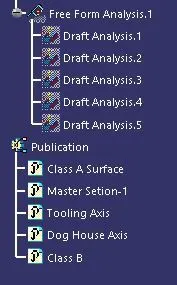
Tree Structure
Various Views of the Body
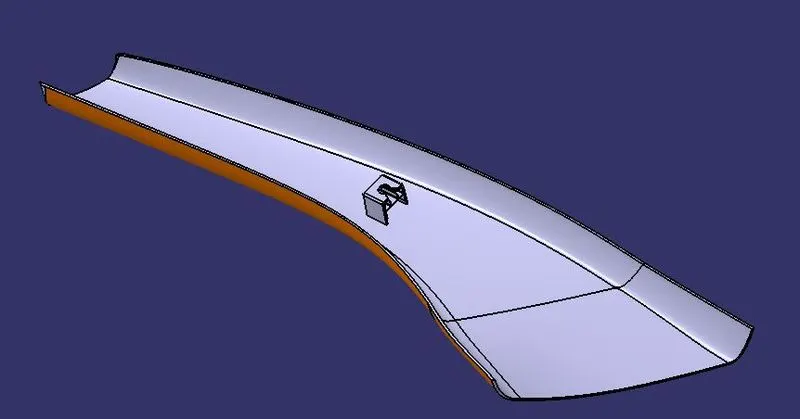
Side View
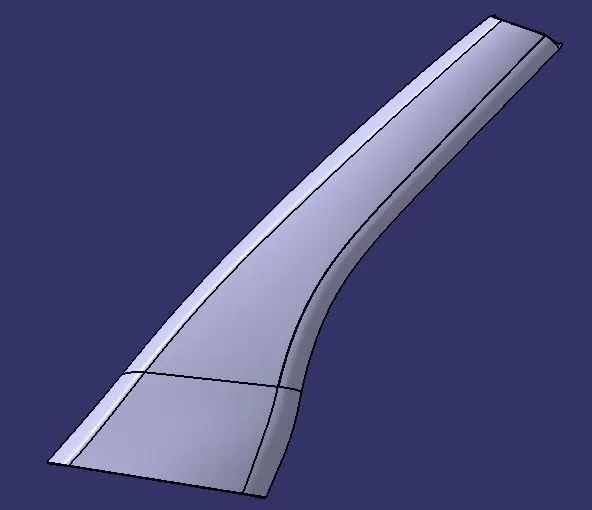
Front View
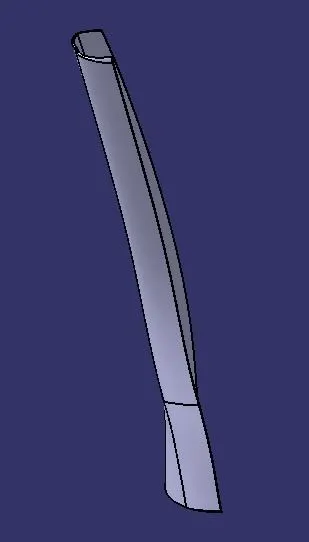
Top View
Conclusion
By following all the guidelines and from the given Class A surface, the closed body is modelled by using Class B & C surfaces, also dog house, ribs and the horizontal wall are created.