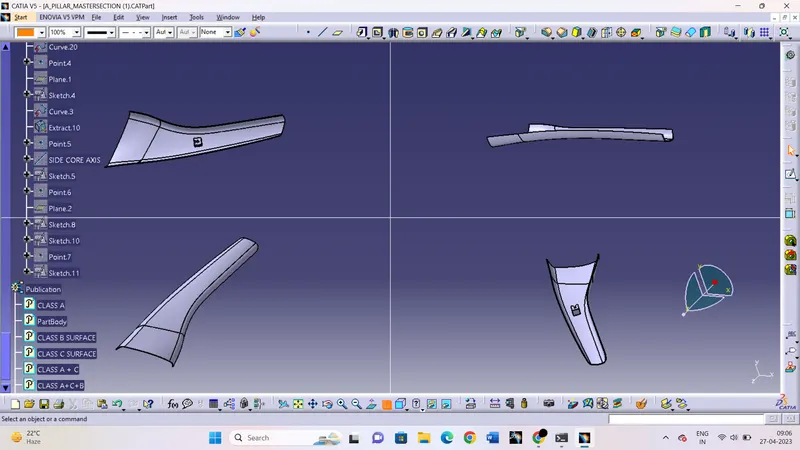
Week 11 - Project - A pillar Design with Master Section
TITLE:- A PILLAR DESIGN WITH MASTER SECTION
AIM:- Creating A Pillar design with given master section and also creating B side features according to the given master section.
OBJECTIVE:-
- Create Tooling Axis
- Perform Draft analysis for Class A surface and Final component.
- Create closed body
- Follow the master section and create B side features.
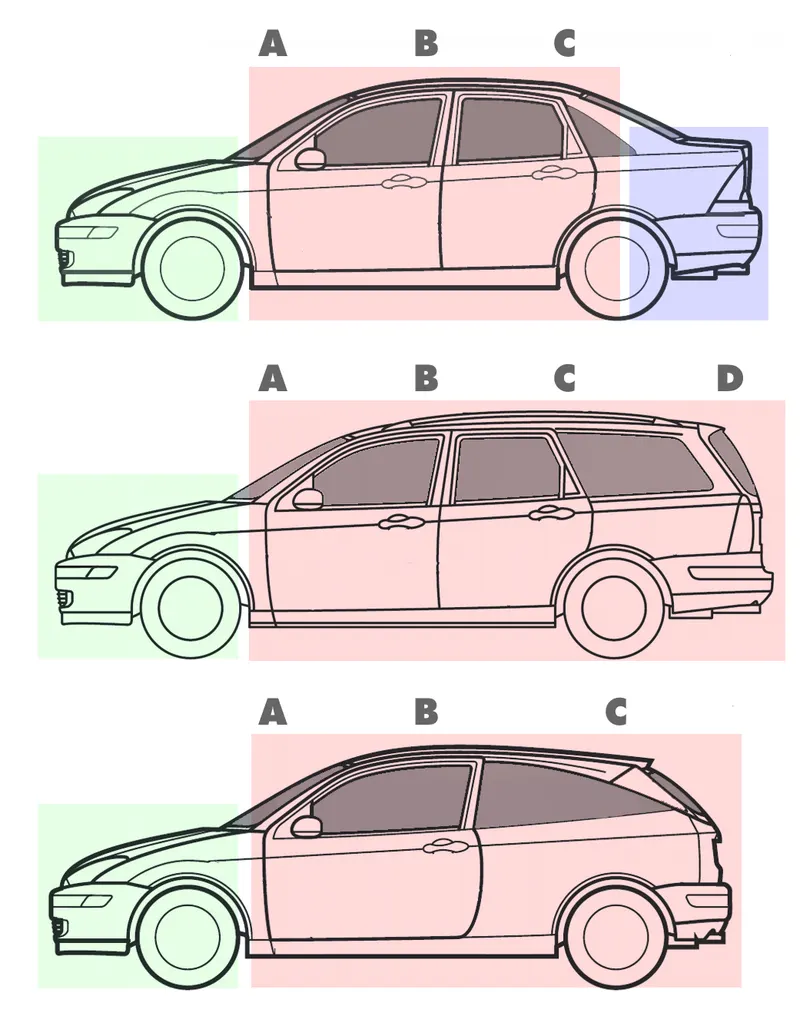
- A pillar:- The pillars on a car with permanent roof body style (such as four-door sednas) are the vertical or nearly vertical supports of its window area or greenhouse—designated respectively as the A, B, C and (in larger cars such as 4-door station wagons and sport utility vehicles) D-pillar, moving from front to rear, in profile view.
Car pillars are components that support the structure of an enclosed automobile body. This is similar to that of a house with pillars supporting the roof over the floor.Car pillars are designed to stand in near vertical or inclined positions to support the roof.
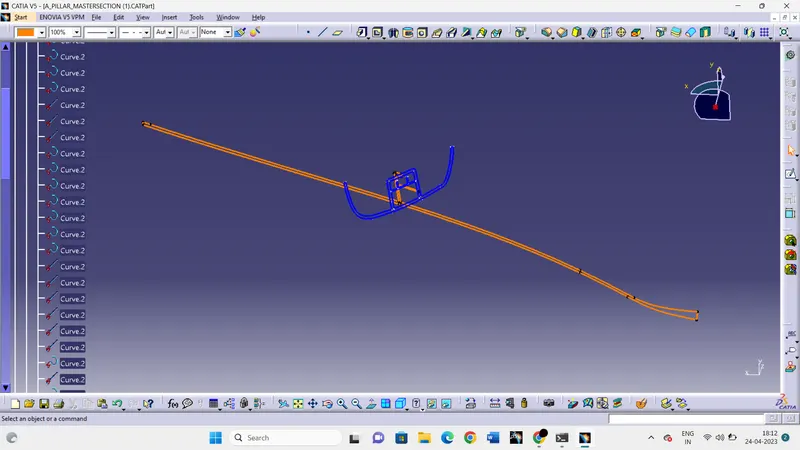
- Given Mastersection:-
Refrance for Class A and Class B & Class C surface.
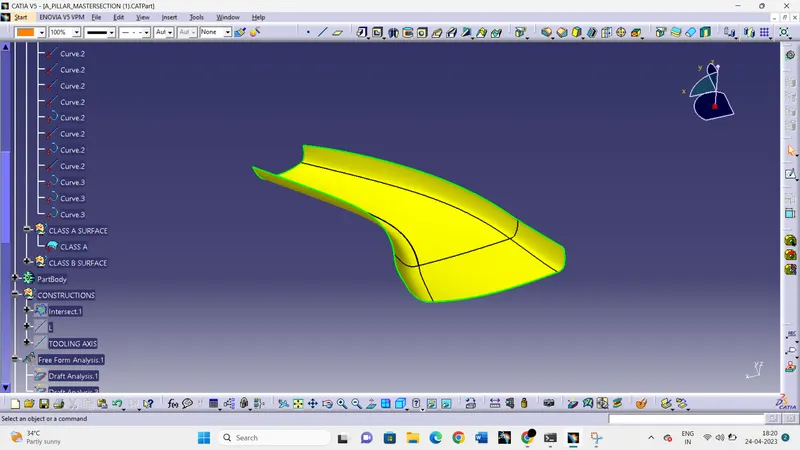
Class A Surface:-
- Check the given Class A surface properply if there any patches are available we have to correct it.
Creation of Tooling Axis:-
- Check all the three planes directions for possible tooling axis direction.
- Now, perform the draft analysis if it clears the minimum draft angle value then it is ok otherwise we have to follow the other method.
- Check the intersection point of mastersection and create a point and thereafter create a plane on it.
- And create a normal direction line and check the draft analysis otherwise use the bisecting method.
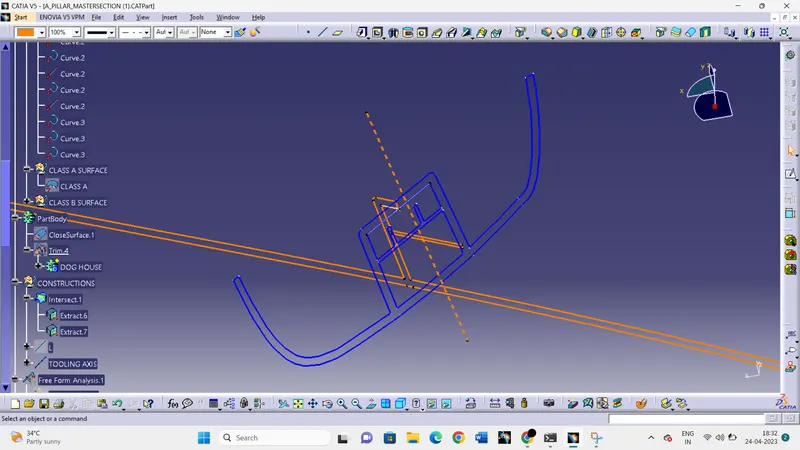
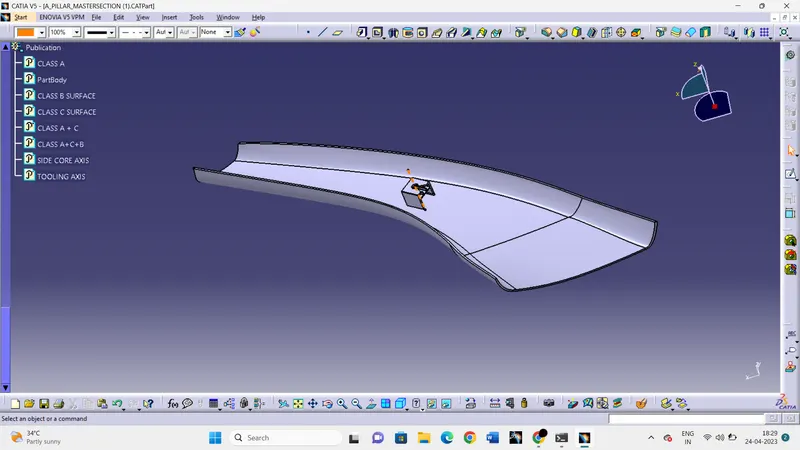
Draft Analysis for Class A surface:-
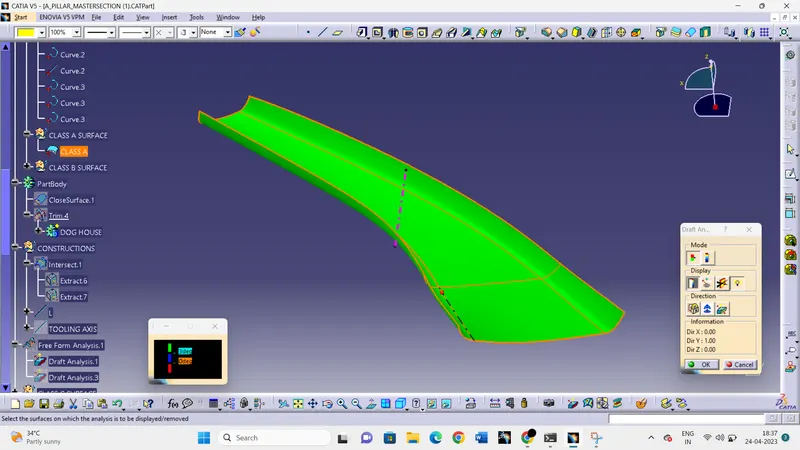
Class B surface:-
- Create offset surface from Class A at the given thickness value.
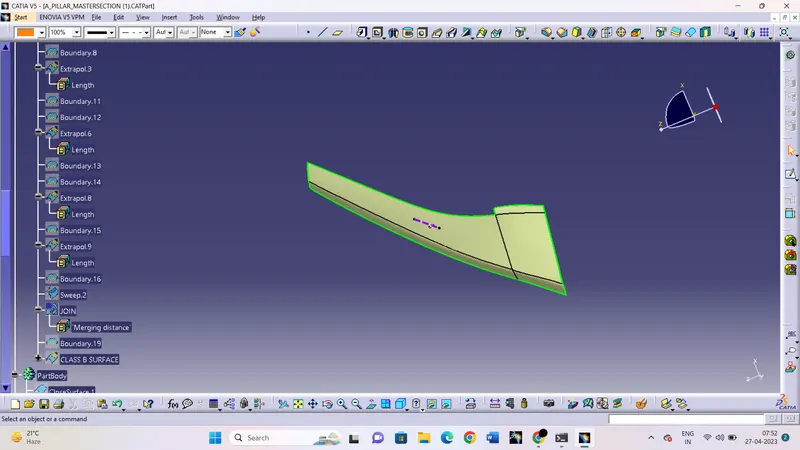
- Offset surface may not be fully offsetted correctly so we have to fill the patches using different commands.
- Join the patches with offset surface and create the final Class B surface.
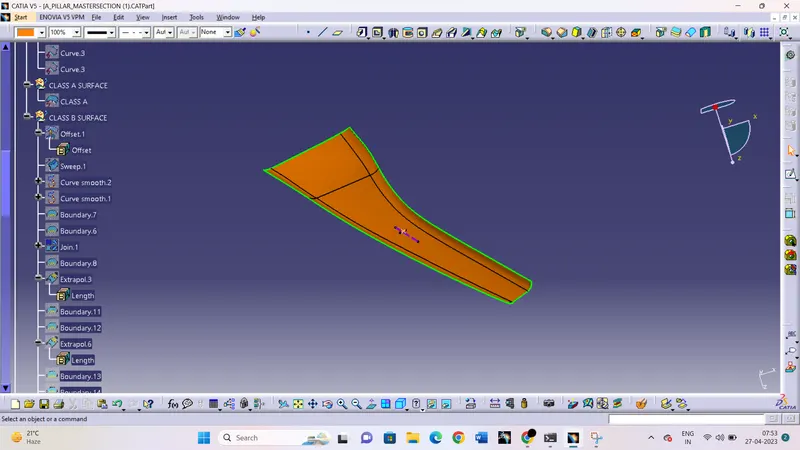
Class C surface:-
- Create the boundary of class A and create a surface using sweep and multisection surface.
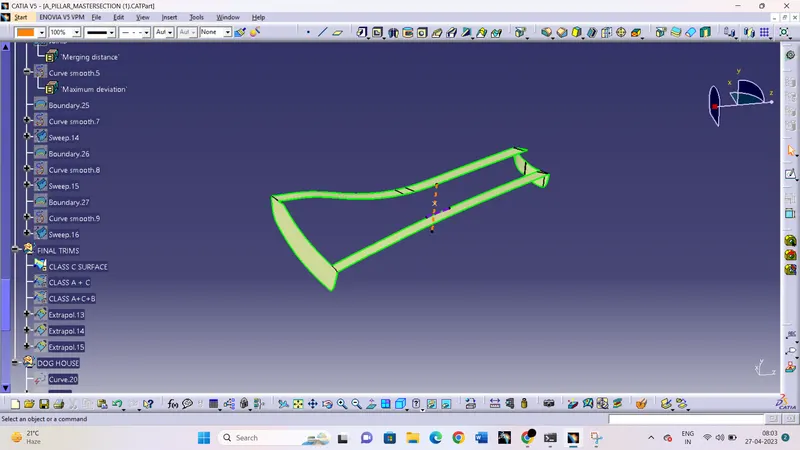
FINAL SURFACE:-
- Join the surfaces without any boundary.
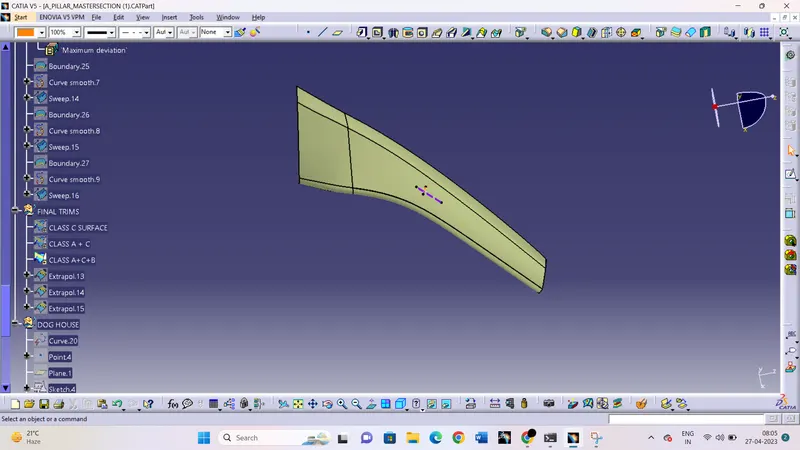
DOG HOUSE AND RIBS:-
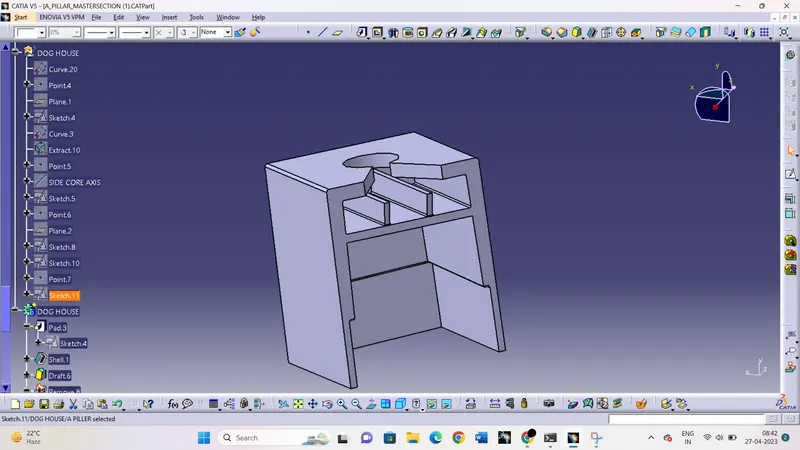
- Create the dog house & ribs as per master section.
DOG HOUSE-
- Create the sketch for dog house following mastersection.
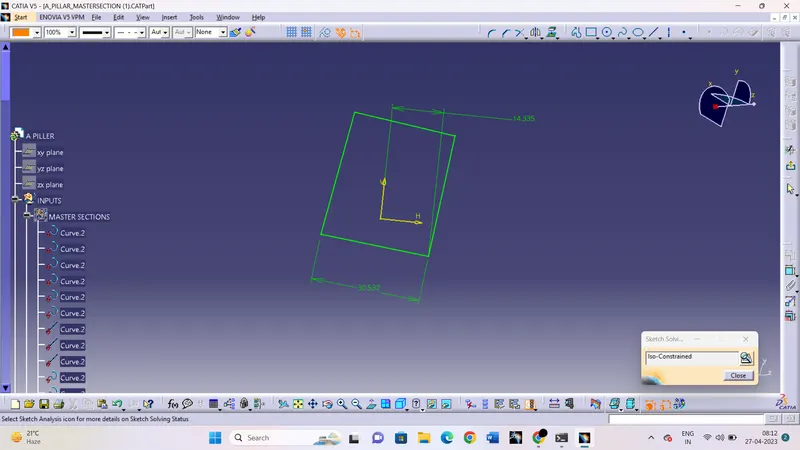
- Pad the sketch and use the shell command to get the shape.
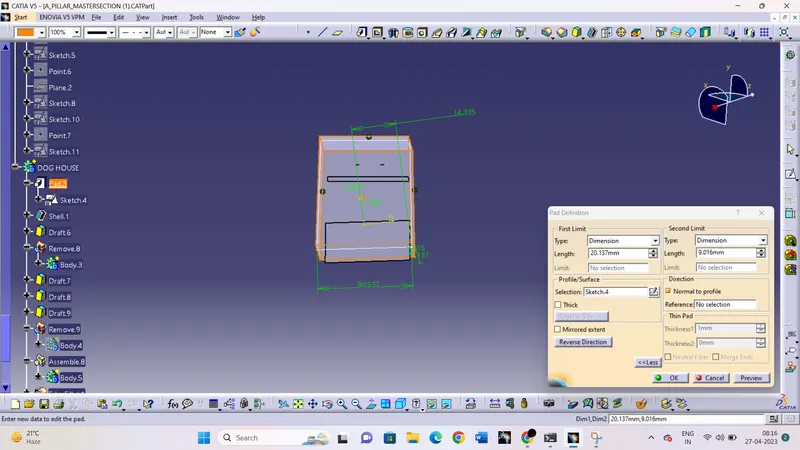
- Now, give the draft to outside faces using main tooling axis.
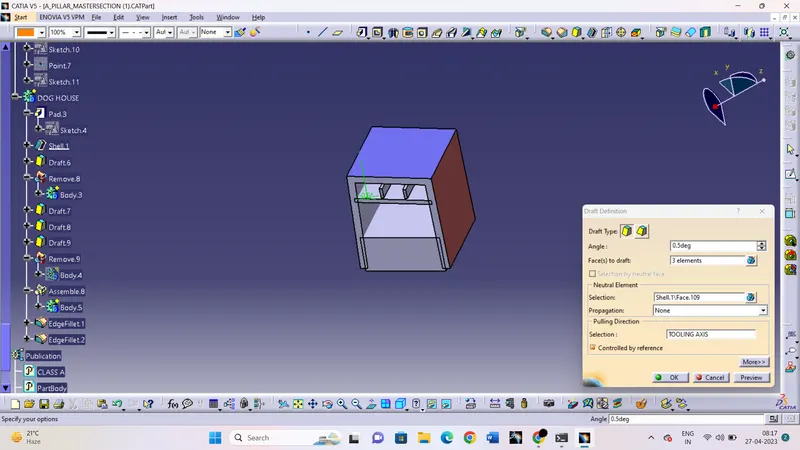
- Give draft to inside faces using side core axis.
RIBS:-
- Create the sketches for horizontal and vertical ribs.
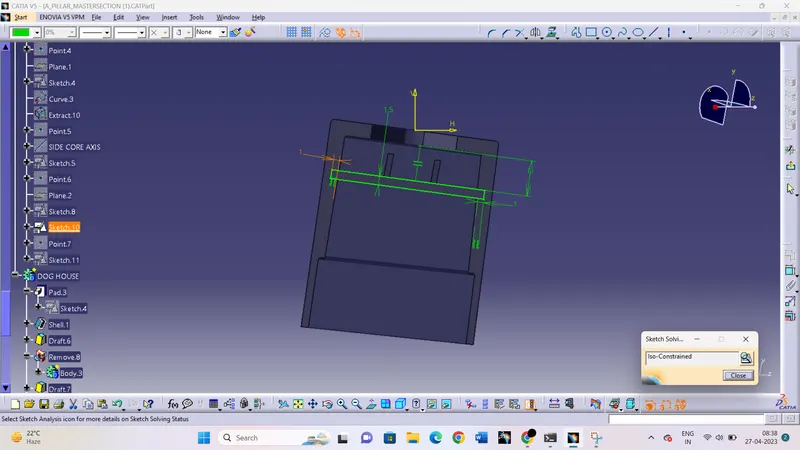
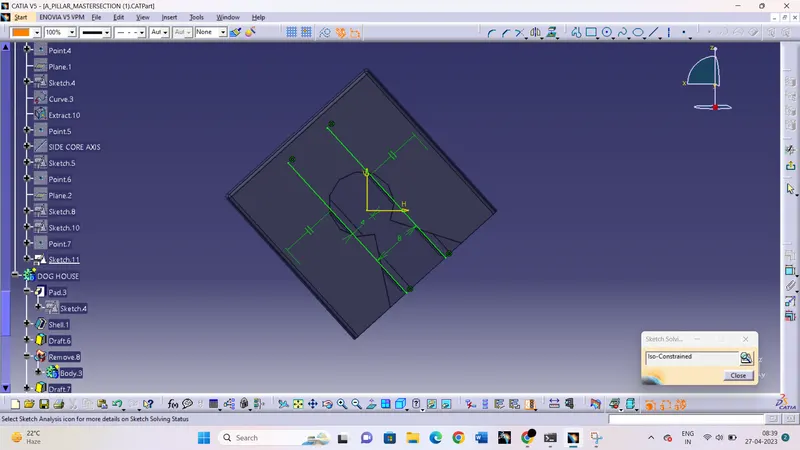
- Pad the sketches and give draft to the faces and assemble with dog house body.
Dog House Top profile:-
- create the sketch for top profile
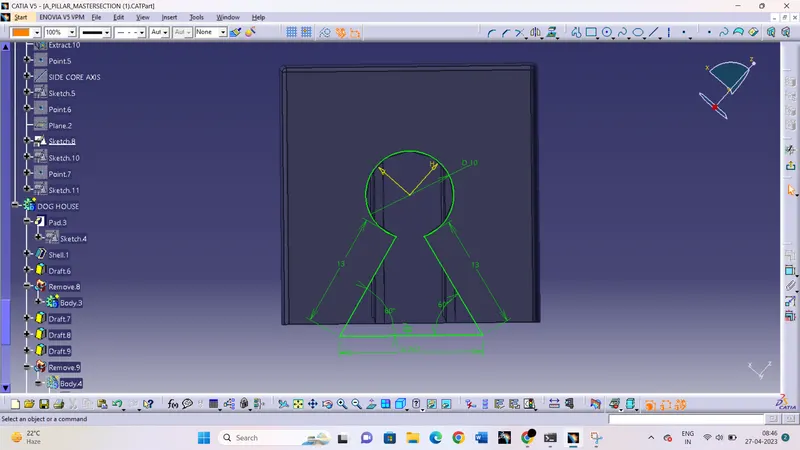
- Pad the sketch and remove it from dog house body.
Give fillets to dog house and ribs as per master section.
Draft analysis for Solid body:-
- Draft analysis using main tooling axis.
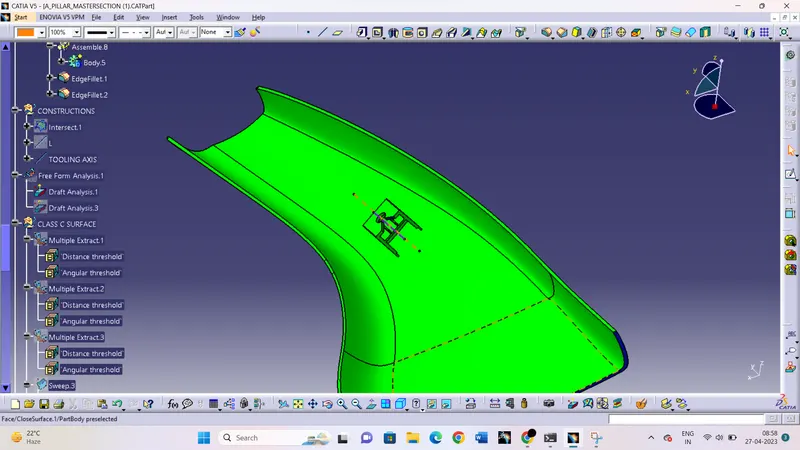
- Draft for side faces using side core axis.
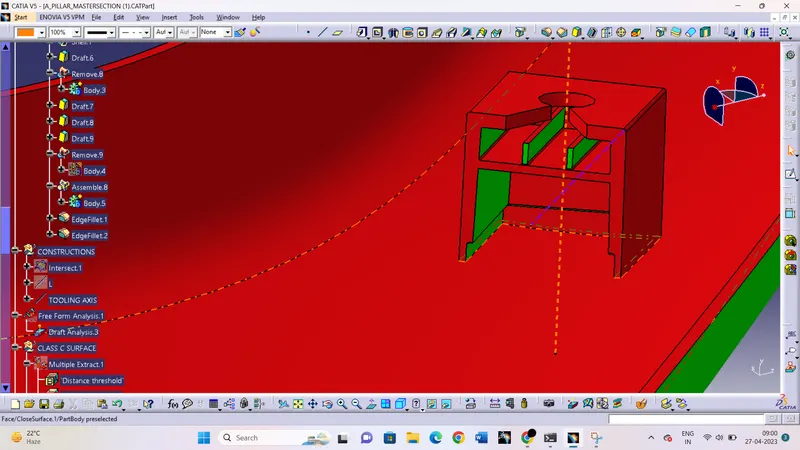
VIEWS:-