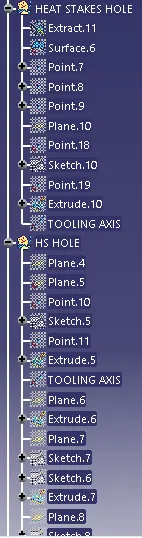
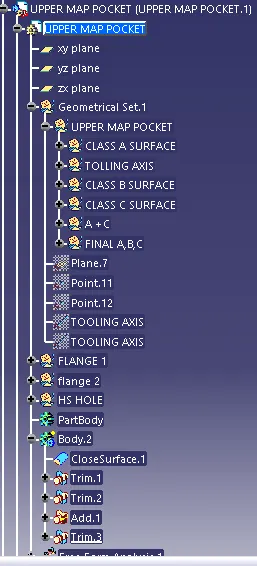
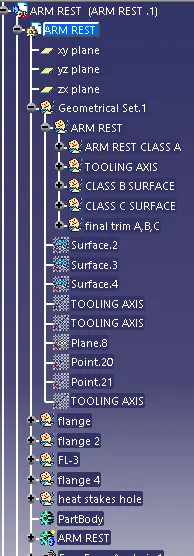
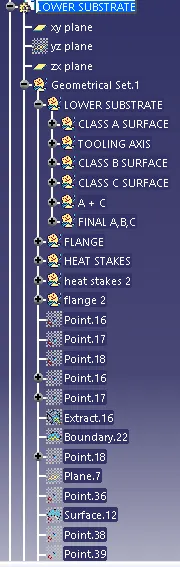
Week 11 - Final project
Aim : To create a CAD model of a side door trim panel from given class A surface .
Objective:
a) Creation of side door trim panle from given class A surface . Apply thickness to it and use attachment features .
b) Creation of flanges and heat stakes from given master sections .
c) Creation of dog house and various attachment features using industry standards
d) Performing draft analysis and ensuring the features and surfaces clear it .
Introduction :
The ten stages in automotive product life cycle developement are listed below .
1)Concept sketch
2) Styling class A
3)Feasilbility check
4)Concept validation
5)New product design
6)Product developement
7) Prototyping
8)Design validation
9)Pilot production
10)Mass production
From the above stages , it isin stage 5 that new product is developed and validated from class A surface . The objective is to design class B and class C surface from given class A surface and create a solid body from it using softwares like CATIA V5, solidworks or solidedge taking into consideration the draft analysis which makes the component suitable for production using injection molding process .
Given below is the procedure to create a new plastic component from given class A surface .
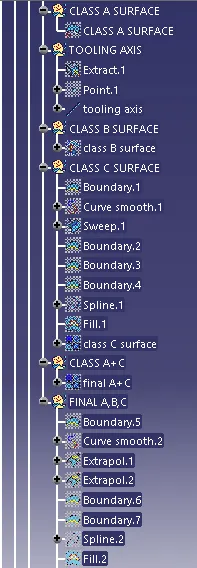
1) Creation of tooling axis
2) Creation of class b surface
3) Creation of class C surface
4) Creation of closed body
5) Draft Analysis .
Draft analysis is done to ensure that the designed part is manufacturable based on the draft conditions applied. It is done to ensure the proper ejection of the component from dies(for metals) or molds(for plastics). The basic idea is to ensure that the tooling axis has to be created in such a wat that it has no parallel surface profiles of the component so that the ejection of the components can be ensured . Tooling axis is the axis along which cavity and core are closed and opened .
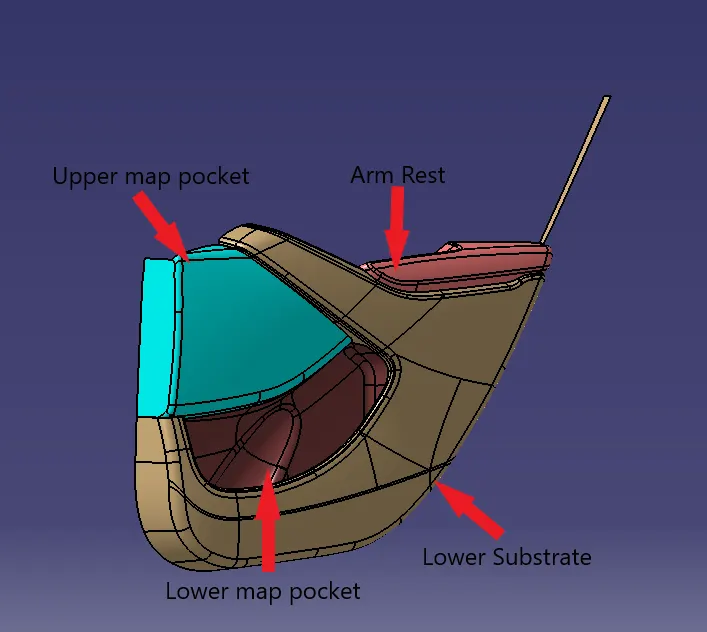
The main components of interior door panel of a car consists of the following parts .
1) Arm rest
2) Map pocket (Consists of upper and lower part)
3) Upper substrate (Not given in the current model)
4) Lower substrate .
Step by step procedure
1) Creation of tooling axis
To create tooling axis , we must import the model into catia as a product .
File=>open=>browse=> MASTER SECTION DEVELOPEMENT.igs file .
Given class A surface
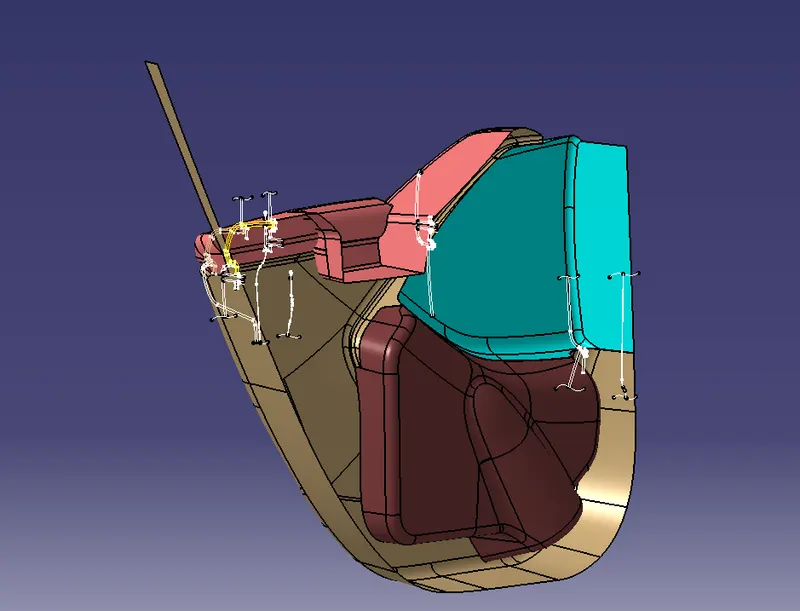
Rear side of the class A with master section
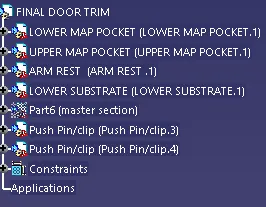
Create a product file and copy each component into different part files and name the accordingly .
Creation of Tooling axis for Arm Rest
1) We have split the arm rest into 2 parts for simplicity of creation.
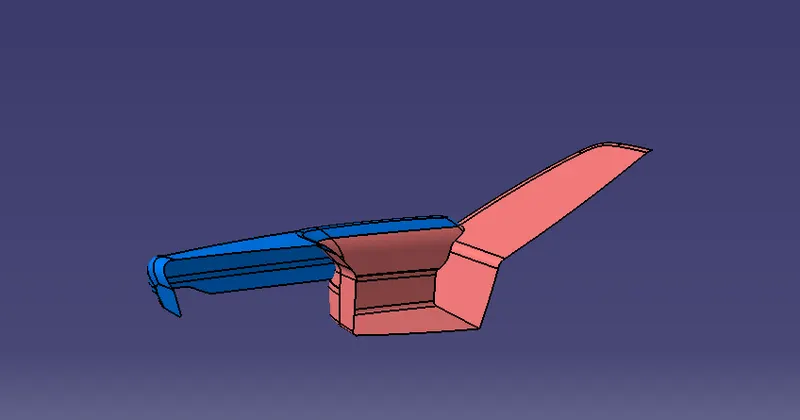
The parts were named as arm rest part 1 and arm rest part 2 respectively.
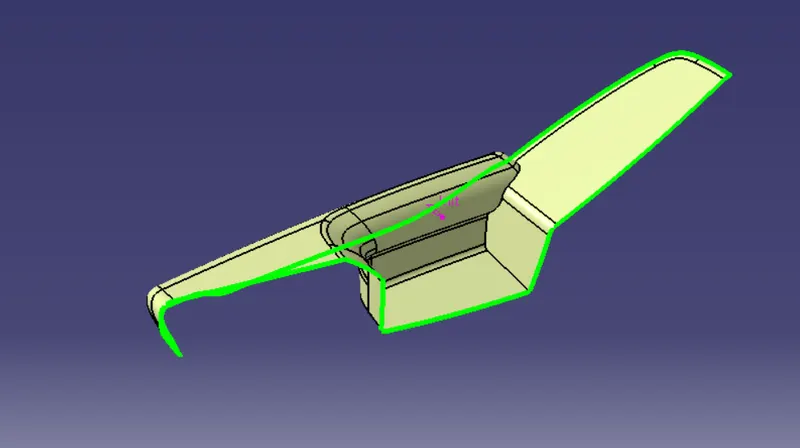
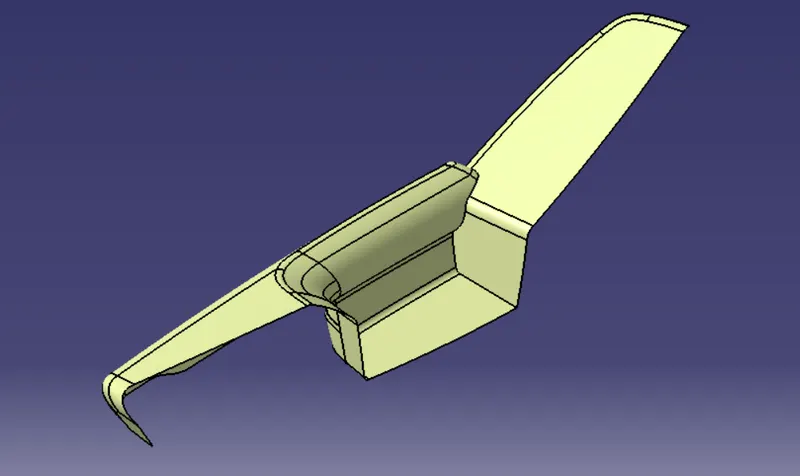
Step 2: Determine the tooling Axis :-
- Identify faces which can potentially create problems while manufacturing.
- Surfaces at angles along a desired Tooling Axis.
- Extract a plain surface and create a point on its center for Axis system creation.
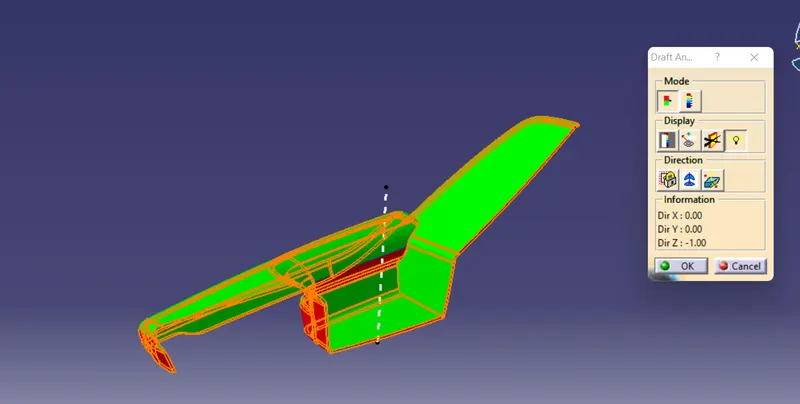
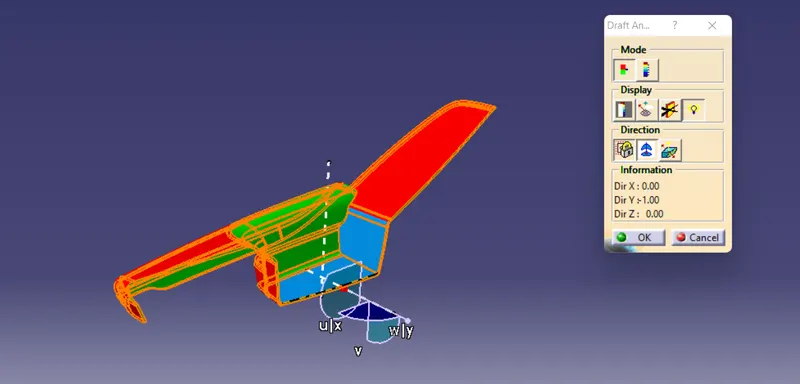
Step 3: Draft Analysis on Class-A and Possible Creation of Side Tooling Axis :-
- Change View Mode Customization to Material mode.
- Go to INSERT--->ANALYSIS--->FEATURE DRAFT ANALYSIS and move the compass to the moving Axis.
- Change the range to 3°. Apply the settings as shown in below image.
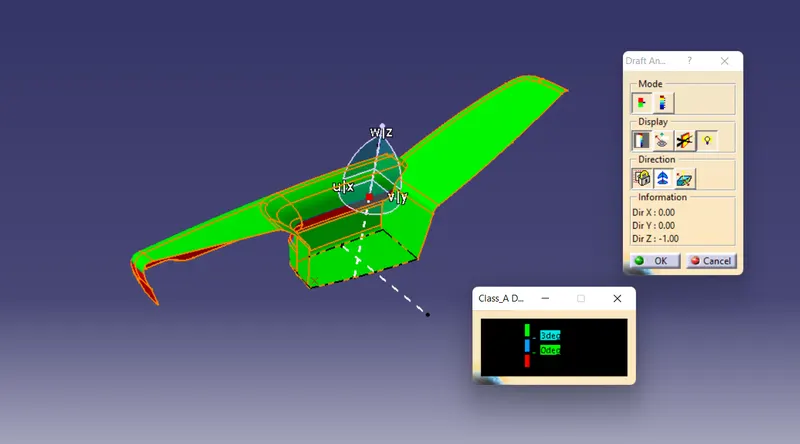
- The input Class A also has walls having negative angle to the tooling axis.
- This can be an issue while manufacturing the component as it would be very difficult to draw from the molds.
- So, this design needs to consider Various Side Tooling Options.
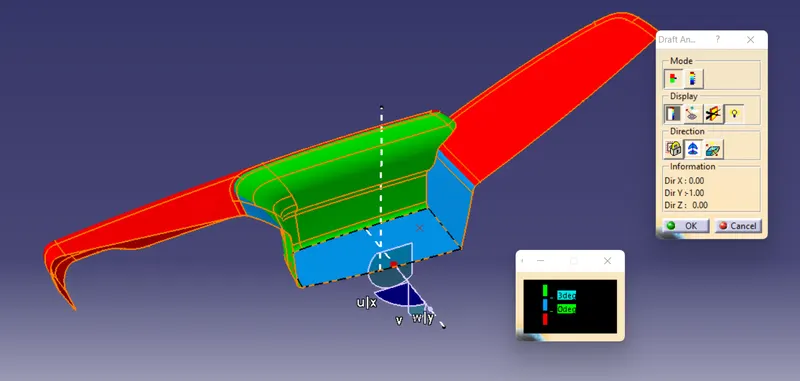
- Here also we can see that some faces are not clearing draft analysis and it is due to the improper class A surface and we have to imform our styling team to modify the class A surface.
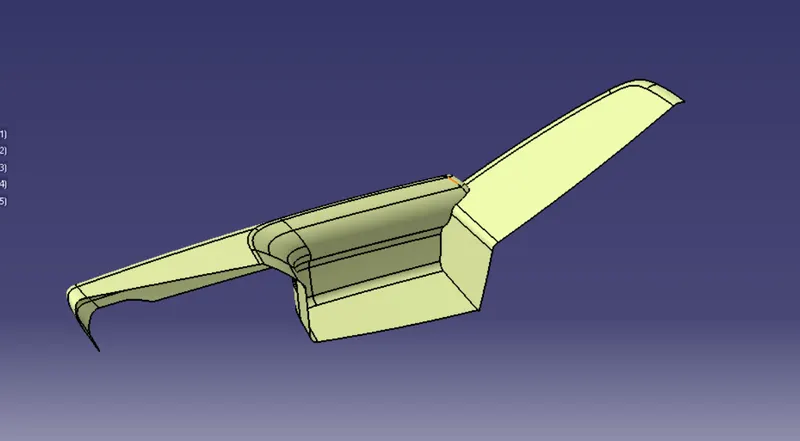
Step 4: Class-B Surface Creation :-
This can be done by offseting the class-A surface and by reparing the patches that are forrmed while offsetting the class-A surface.
- First offset the class-A surface
- We can observe it has created patches at two stages.
- So we have to repair them by using multi section surface command.
- Name the developed repaired surface ass Class-B Surface and make it publish.
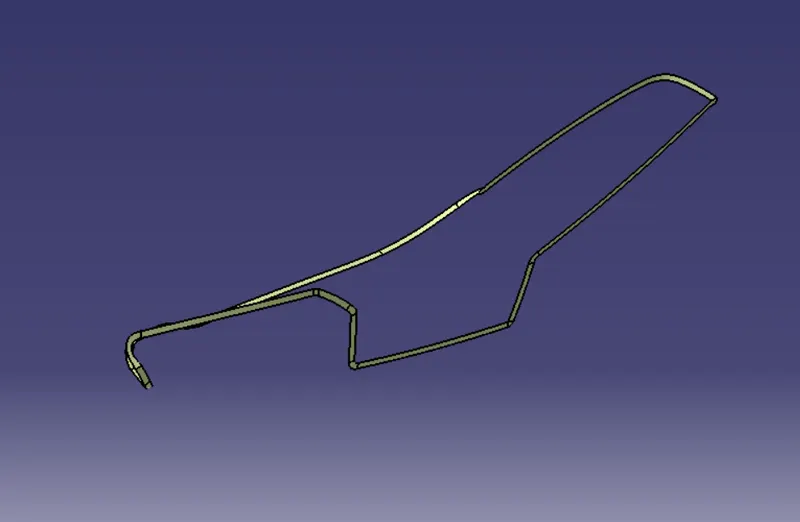
Step 5: Class-C Surface Creation :-
- Extract Class A boundary and convert to Smooth Curve.
- Sweep the curve to the Class A.
- Sweep value should be greater than the Thickness required for part.
- The obtained sweep is shown in Figure.
- Join the Class A Surface with the Class C surface to create a single surface entity.
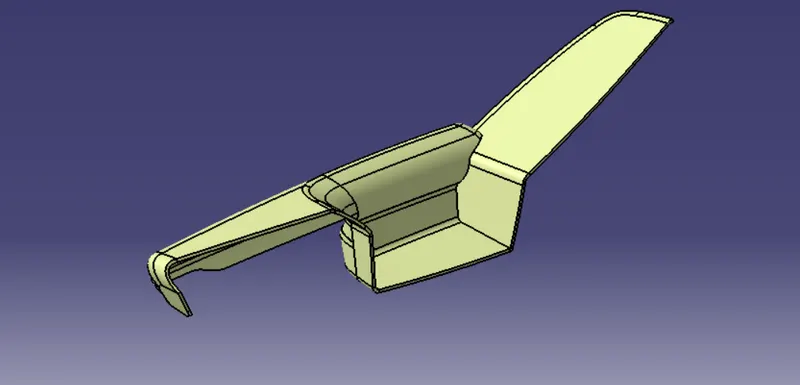
Step 6: Enclosed Surface Creation :-
- Trim the obtained surface with Class B surface.
- Make Slight Adjustments by extrapolating small values and trimming to obtain a final Enclosed Surface.
- The final Enclosed Surface Obtained is shown in Figure.
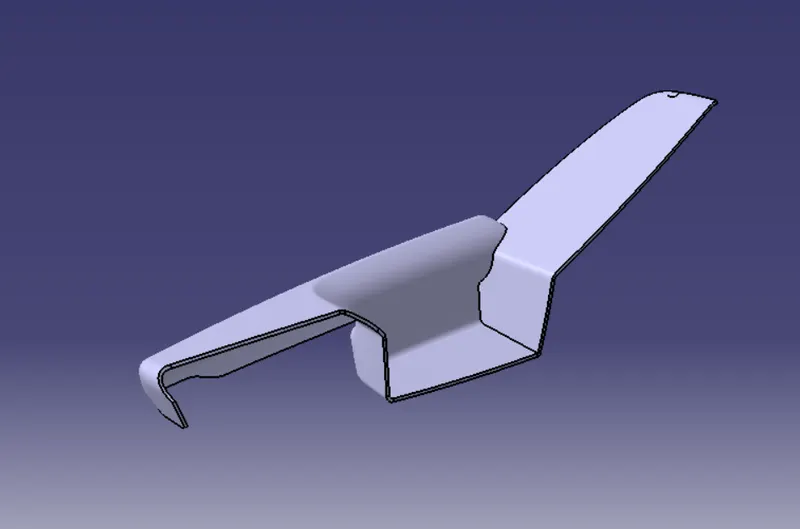
Closed Surface :-
Make the final trim to solid part using close surface.
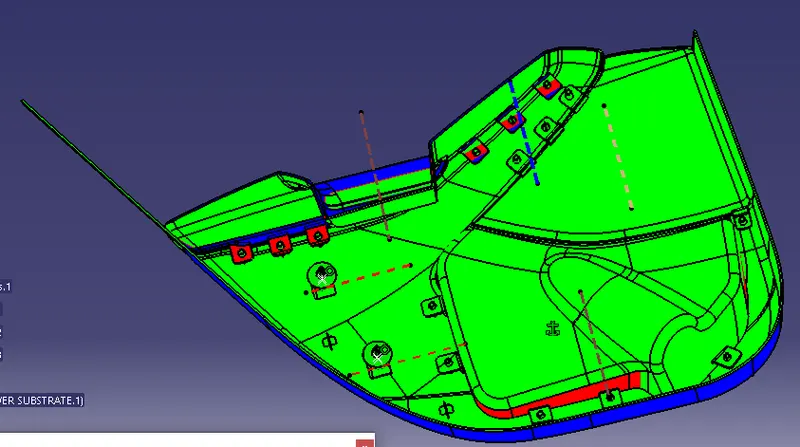
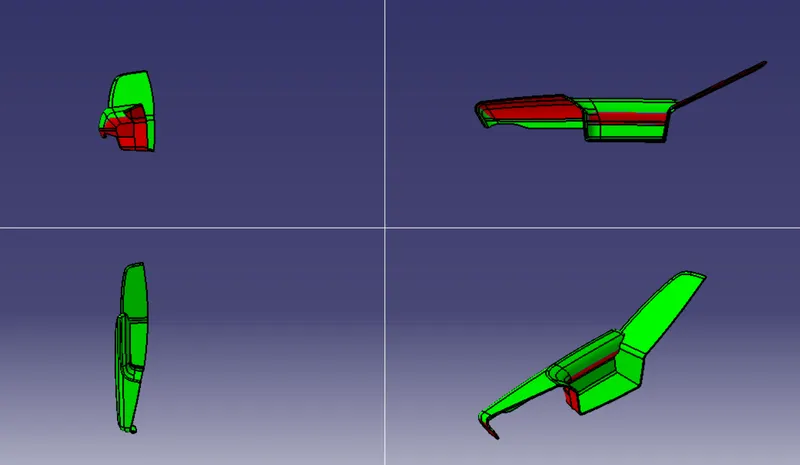
Step 7: Perform Draft Analysis on Final Enclosed Surface:
- Change View Mode Customization to Material mode.
- Go to INSERT---> ANALYSIS---> FEATURE DRAFT ANALYSIS and move the compass to the Main Tooling Axis.
- Change the range to 3°. Apply the settings as shown if Figure.
Views of Door Arm Panel :
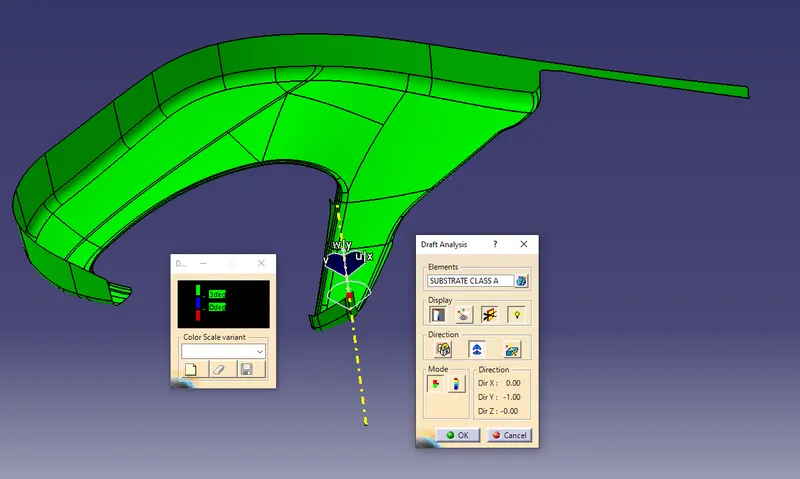
Tooling axis for lower substrate
 Tooling axis for Map pocket upper
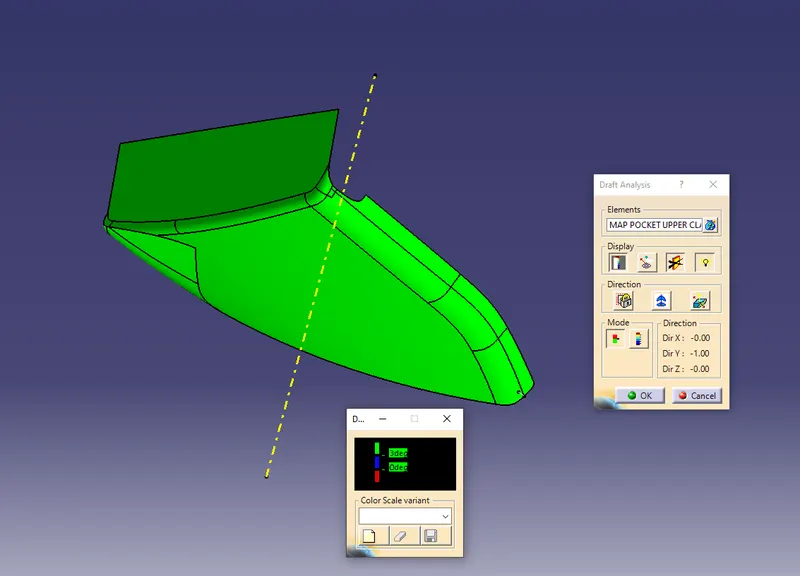
Tooling axis for map pocket lower
Tooling axis for map pocket lower
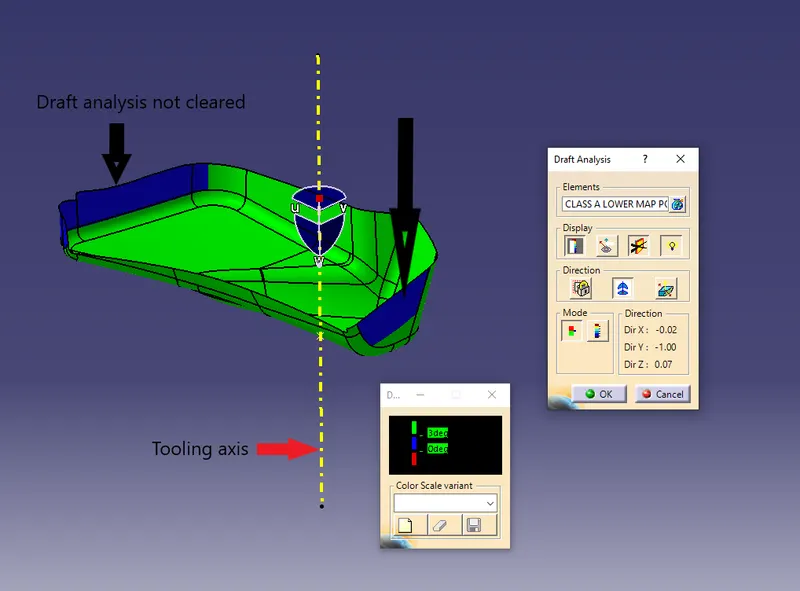
Here we can observe that regions in blue colour has a 0 degree draft angle . This would lead to ejection problems while molding process . Hence the class A surface has to be modified to meet draft requirements Hence we have created tooling axis for all components .
2) Creation of class B surface
Procedure to create class B surface for Lower substrate .
Step 1: Use offset tool with a distance value of 2.5mm to create offset of class A surface .
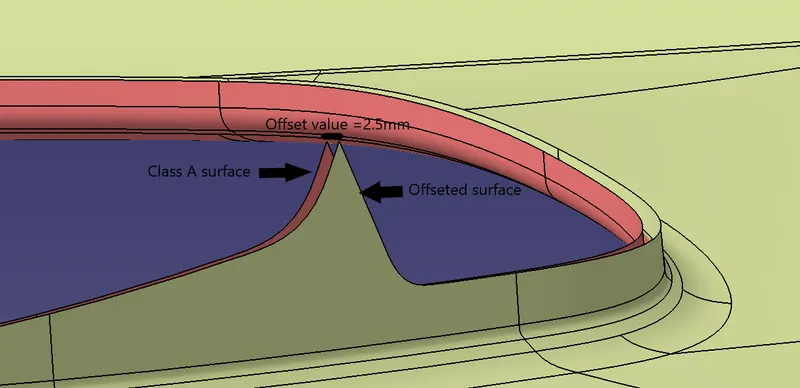
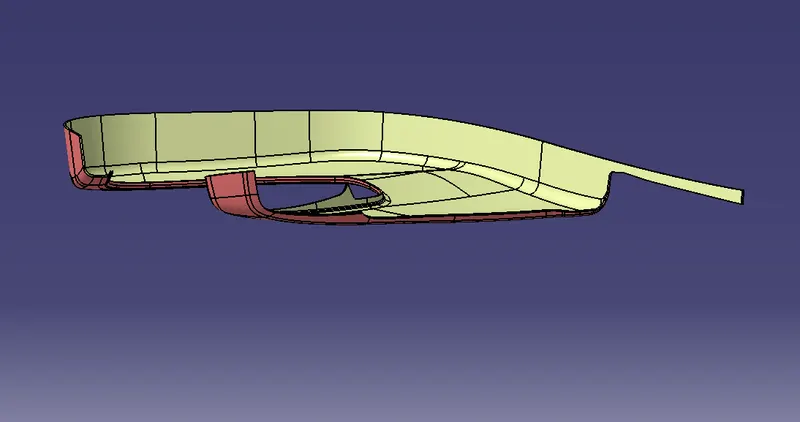
Step 2: After offsetting , extrapolate tool was used to extend all the edges of this surface . This is done to ensure that the parting line comes at B surface .
Step 3: In areas where extrapolate was not possible (Fillet or cusped surfaces) multisection surface option was used .
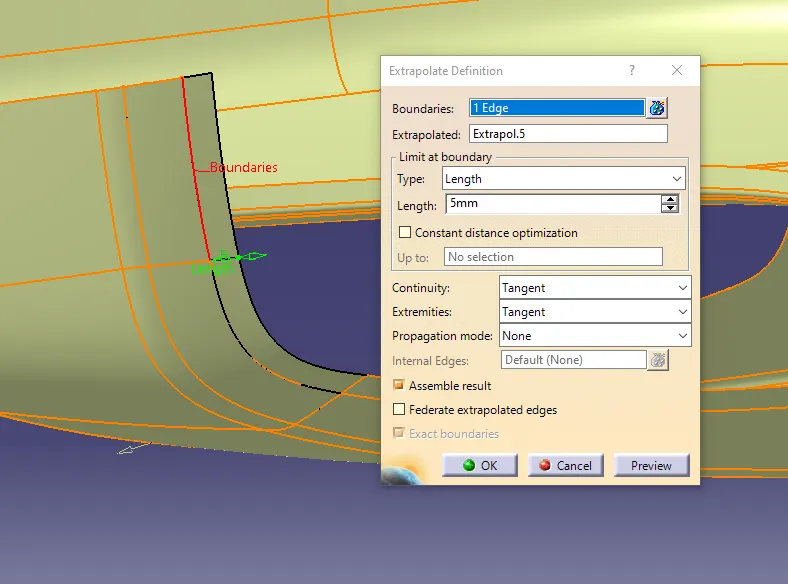
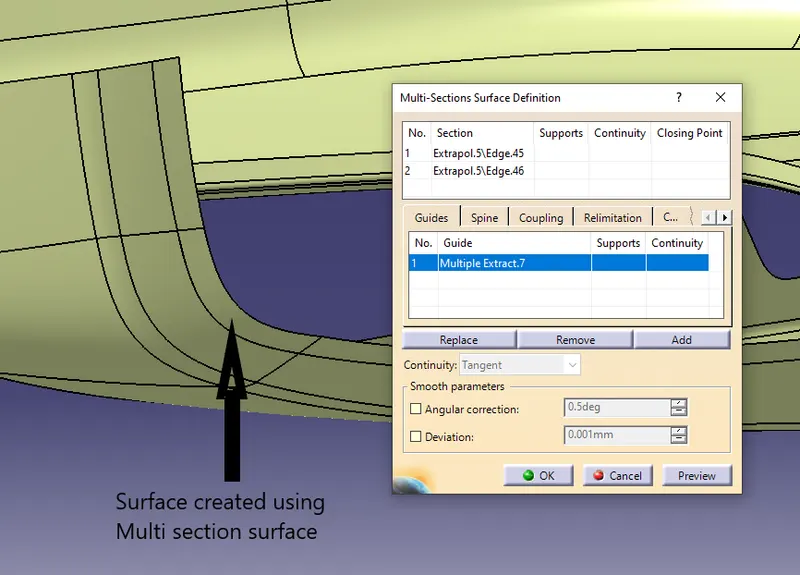
Step 4: Join all the extrapolated surface and multi section surfaces to obtain a single surface .
Hence the class B surface was created for lower substrate .
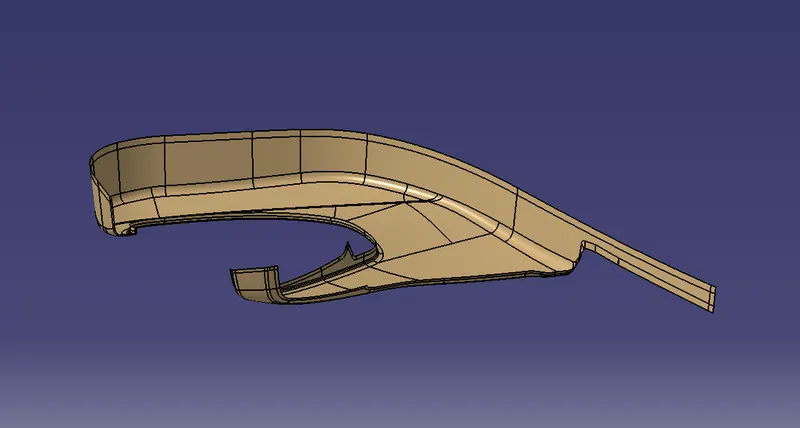 Similarly , class B surface was created for other components .
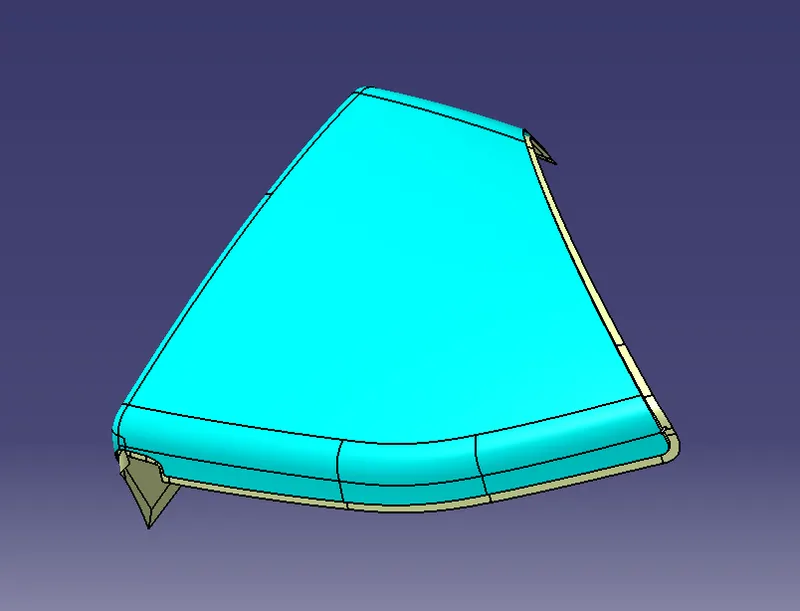
Class B surface of map pocket upper
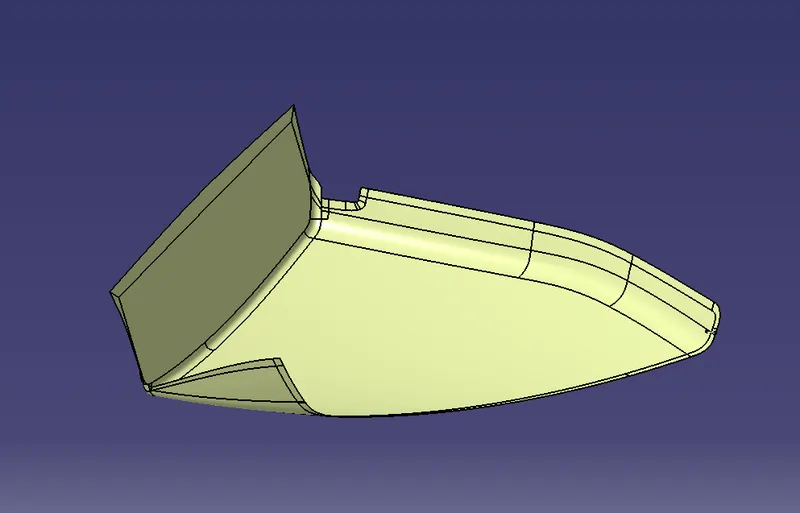
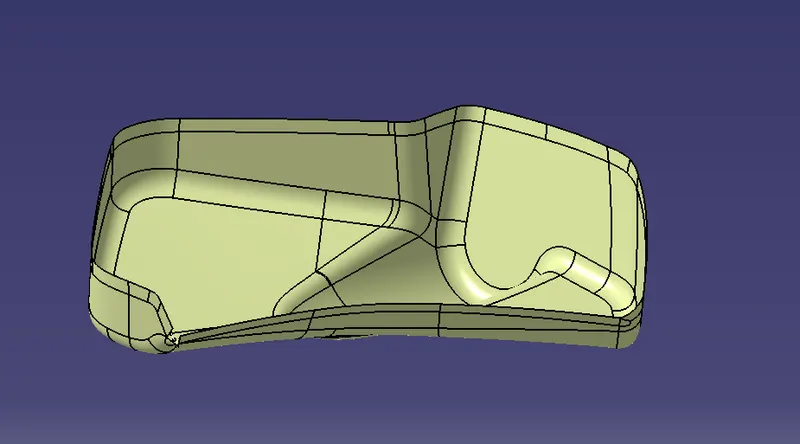
Class B surface of map pocket lower
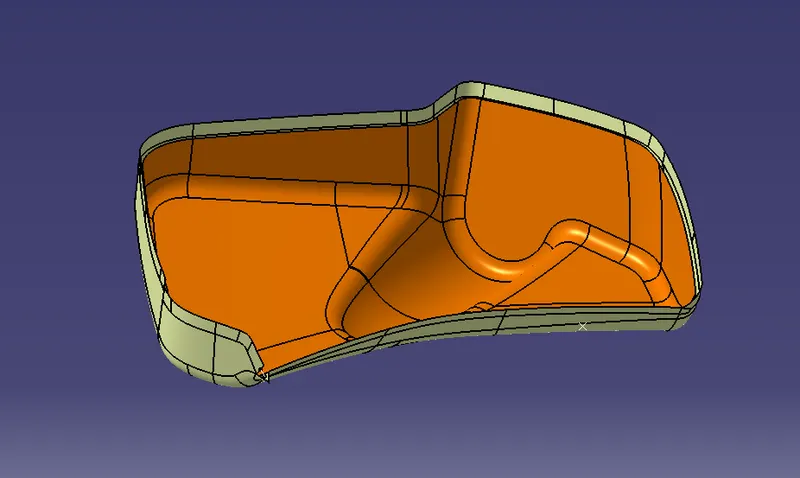
Hence class B surface for all components were created .
3) Creation of Class C surface
Procedure for creation of class C surface for Upper map pocket
Step 1: Use sweep command to create a new surface an an angle with respect to a surface . This angle is dependant on draft angle for free edges and ususally 90 degree for mating surfaces .
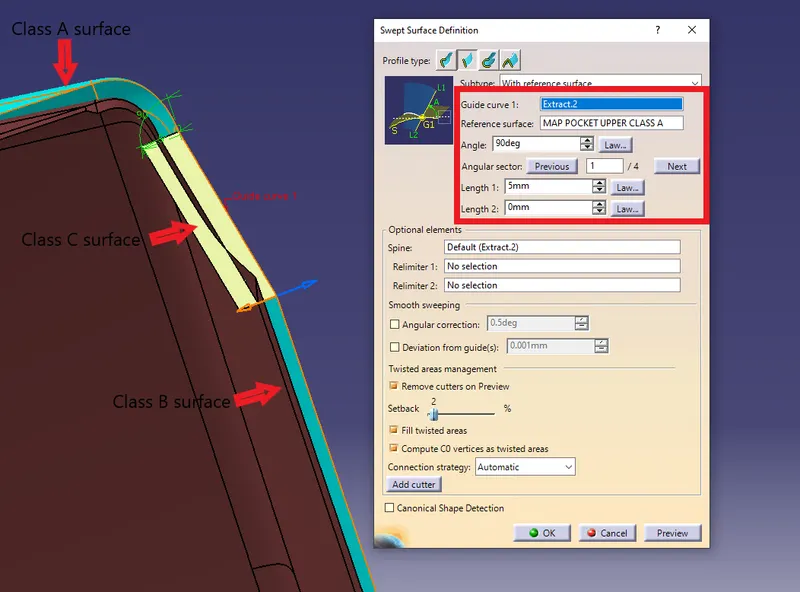
Step 2: In areas where sweep is not possible , use Multi section surface to create a new surface .
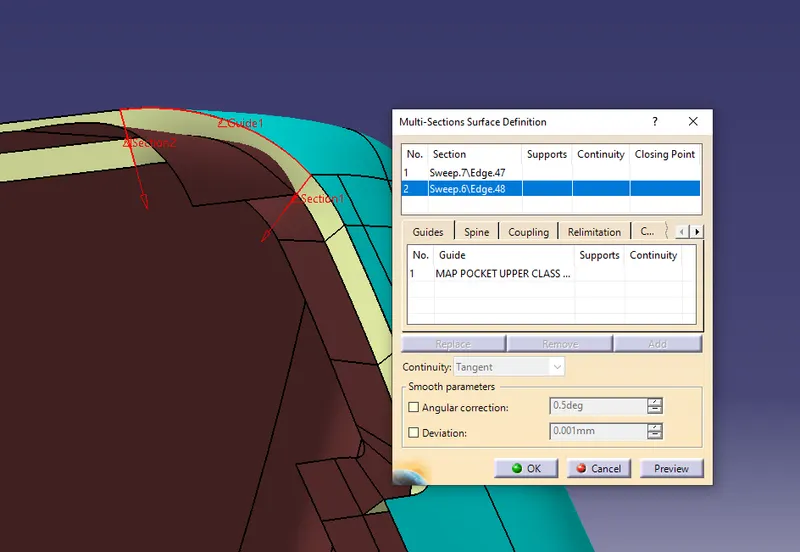 Step 3: Join all surfaces to obtain C surface.
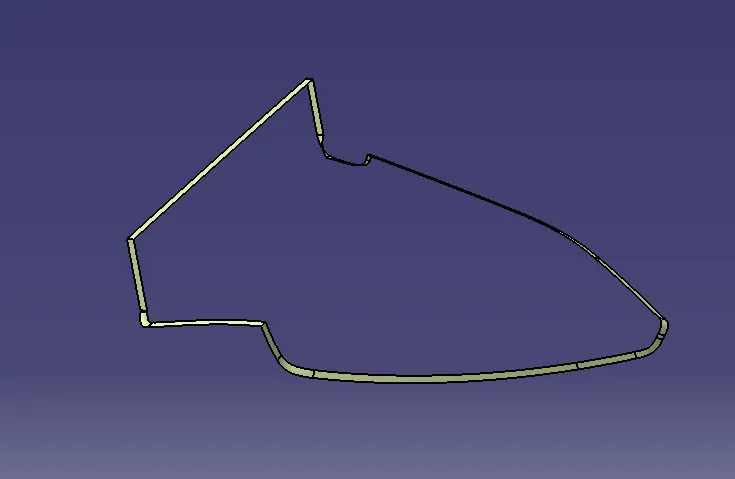
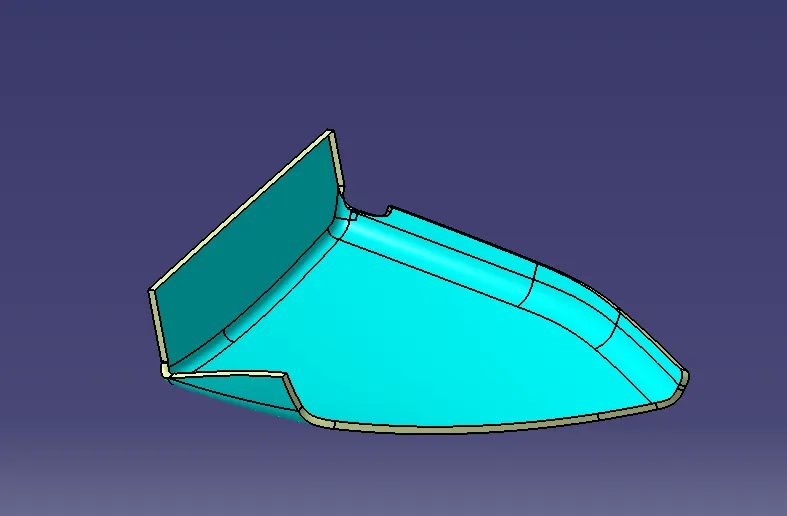 Hence C surface was obtained for upper map pocket
Similarly C surfaces were obtained for all other components .
C surface for Lower map pocket .
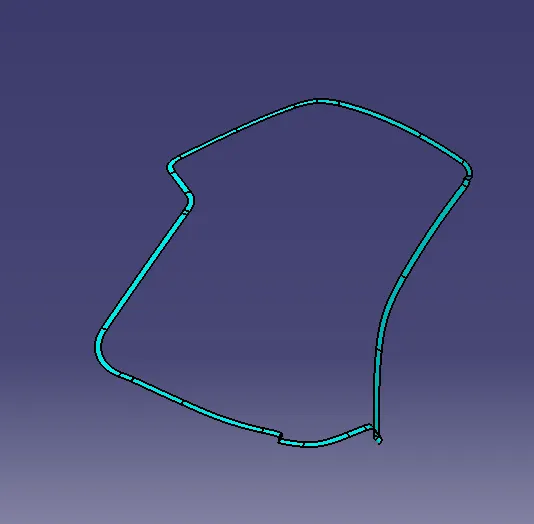
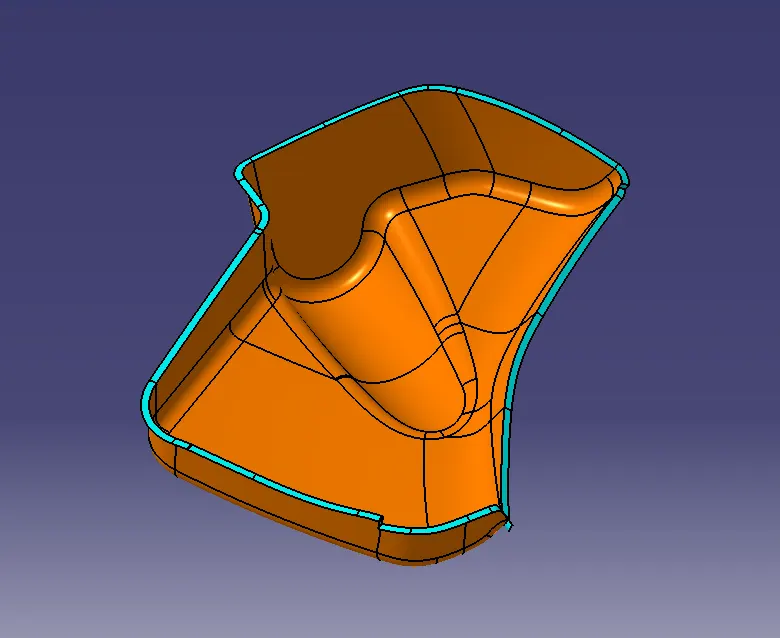
Class C surface for Lower substrate
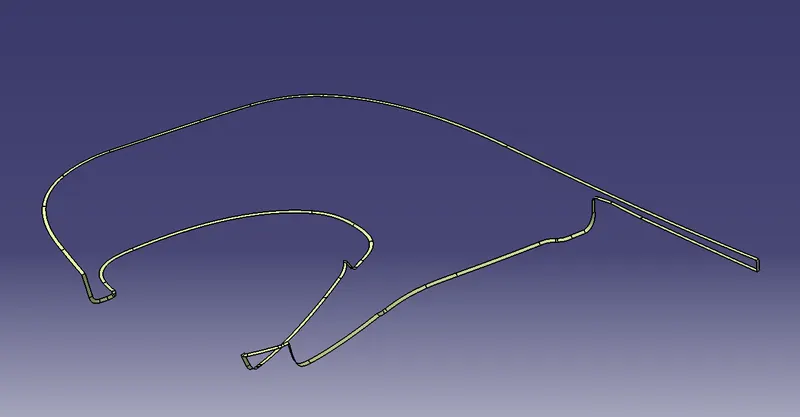
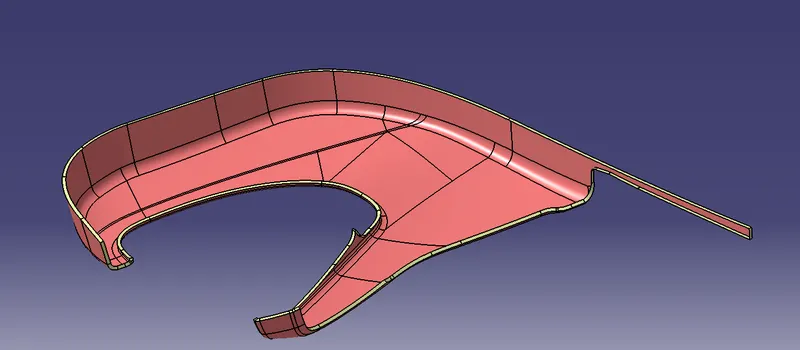
Hence class C was created for all components .
4) Creation of closed body
Procedure for creation of closed body for lower map pocket .
Step 1: Use trim or join option to join Class A and Class C .
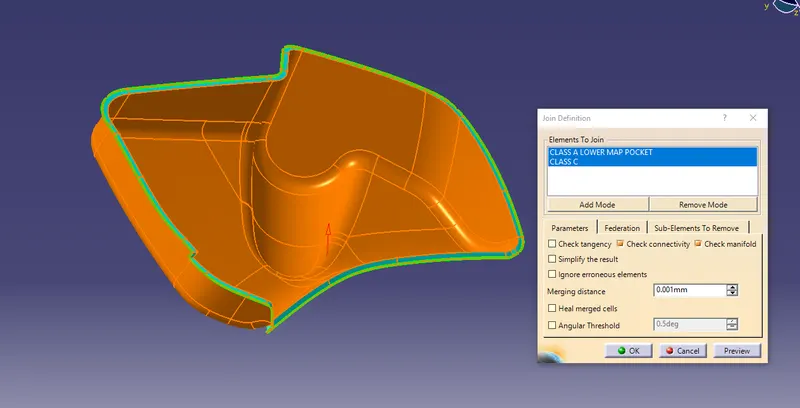
Step 2: Use trim option to join above trim with class B
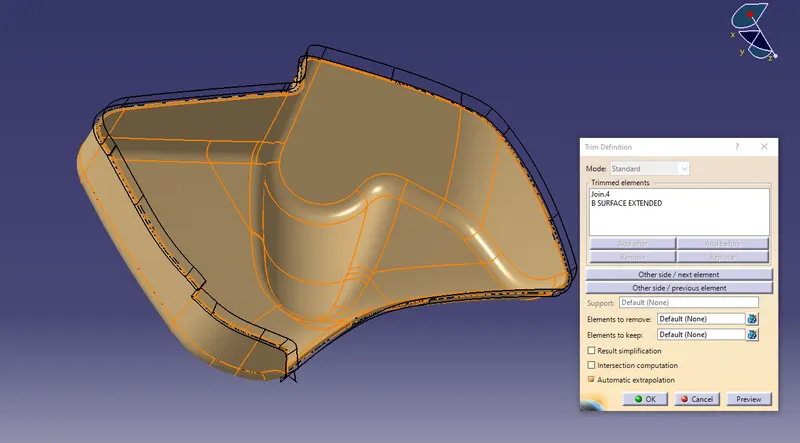
Hence we have obtained closed body .
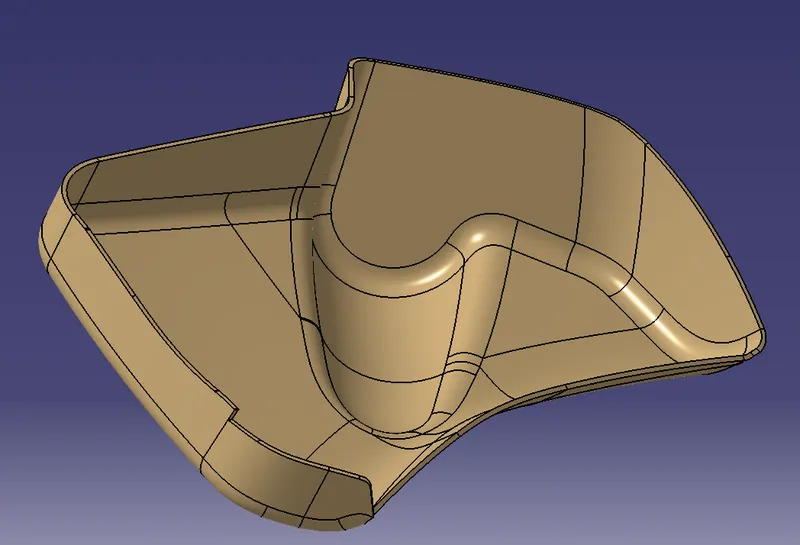
Similarly closed body was obtained for all other parts
Closed body for upper map pocket
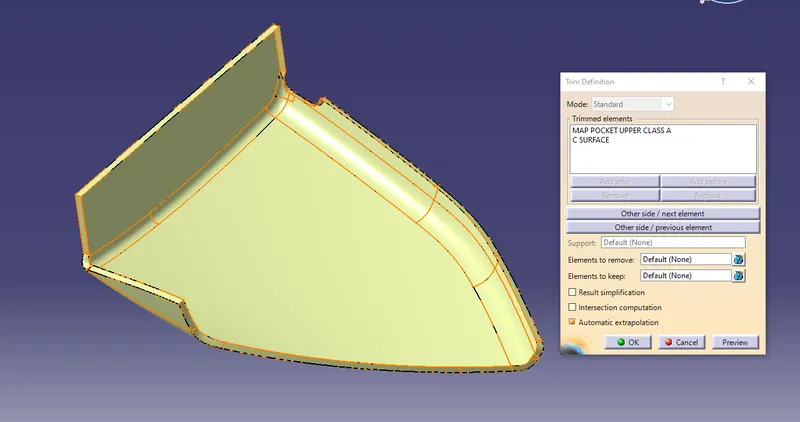
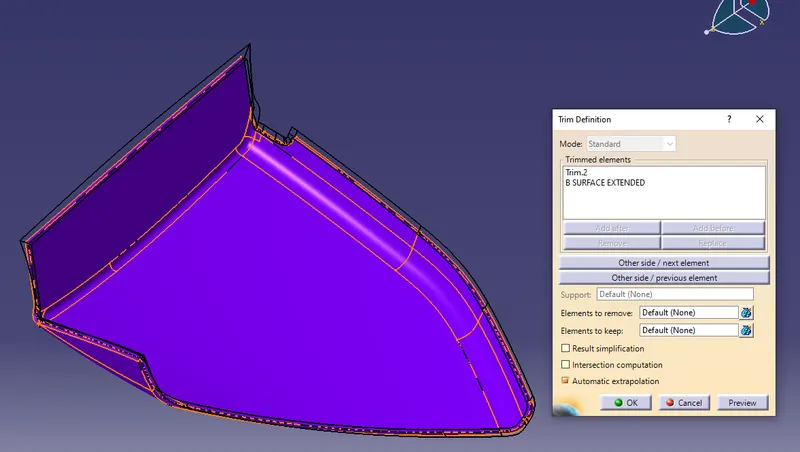
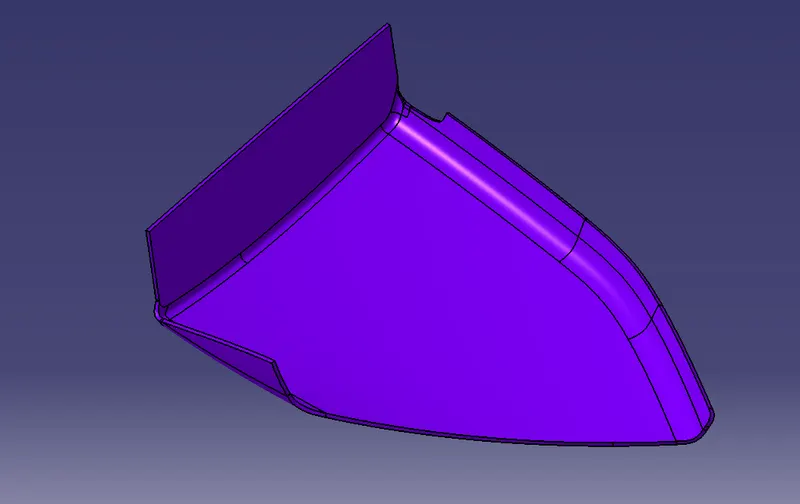
Closed body for Lower substrate
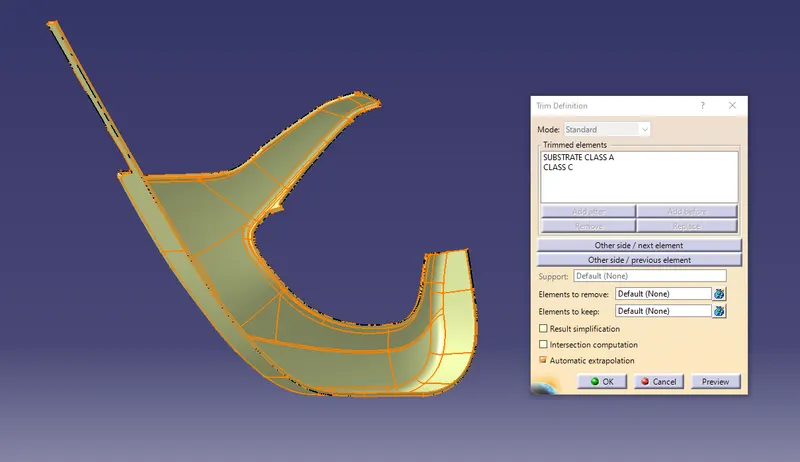
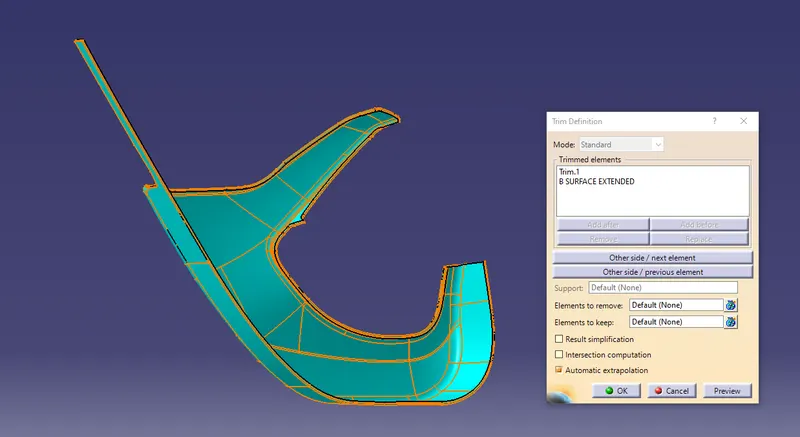
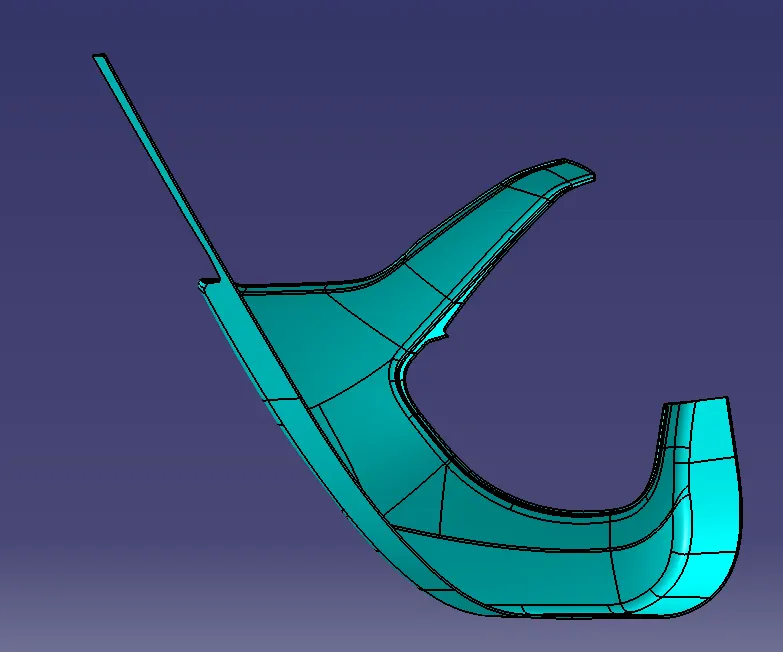
Closed body for Arm rest part 1
5) Draft Analysis
Procedure to check Draft analysis for Lower substrate .
1)Once the tooling axis is created , publish it and the component using Publication from tool option .
2)Insert Feature draft analysis option from insert tool bar
3) Change the view option to customize view parameters and click om material option under shading .
4) Now click on the axis option from Draft analysis tools , allign it with tooling axis and click on lock option to lock it .
5) Change draft angle value to 3 degree . Click on quick analysis mode to display feature according to given color scale . Check from all views to ensure the draft analysis is cleared . Click ok to complete the Draft analysis mode.
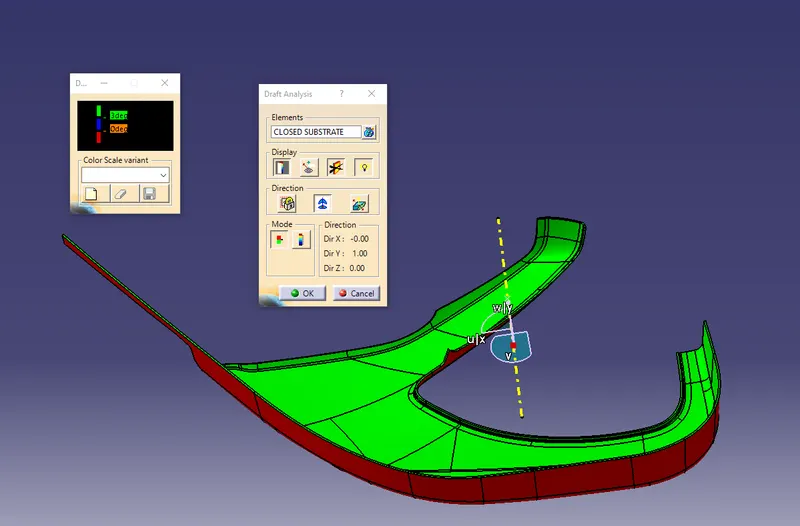
Draft analysis for Map upper pocket
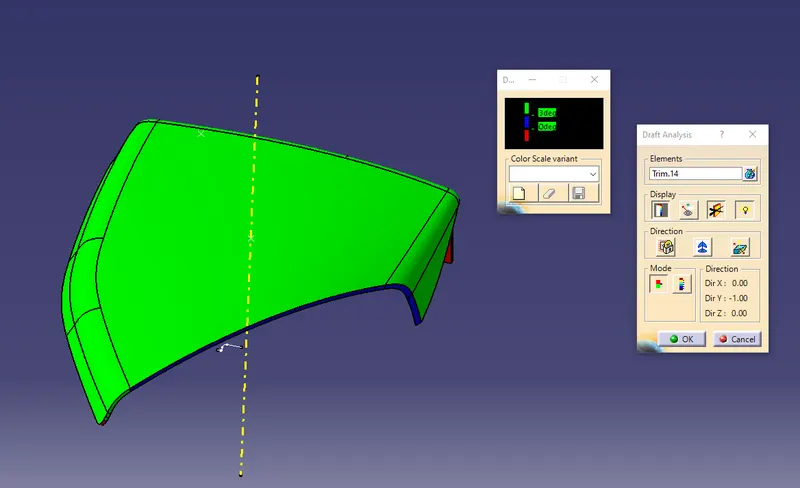
6) DESIGN OF B-SIDE FEATURES :
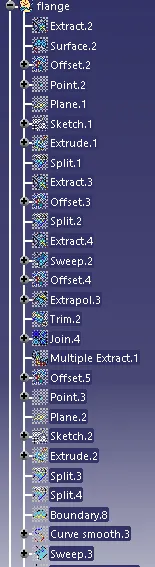
- First Create Flanges where ever required on the part bodies. The purpose of flange is to accomodate heatstakes on the part bodies.
- After creating the flanges create heat stakes at the places where flanges are present. For the thickness and diameter of the heat stakes refer to the master section which is given in the challenge.
- Then create a clearance hole on the flanges which we have created previously. The clearance between flange and heat stake must be 0.1mm.
- After creating the heat srakes create ribs on the lower substrate. The main purpose of creating ribs is to support the flange as well as ribs under the application of large pressure and force when the process of melting heat stakes is happening.
- Then after attach the push pin to the dog house by using proper assembly constraints.