Week 11 - Final project
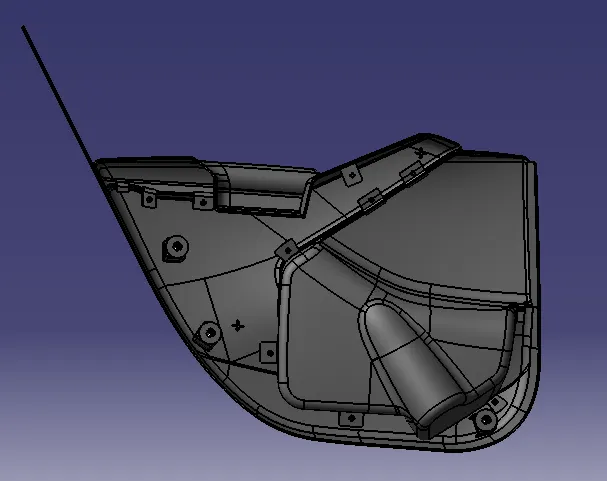
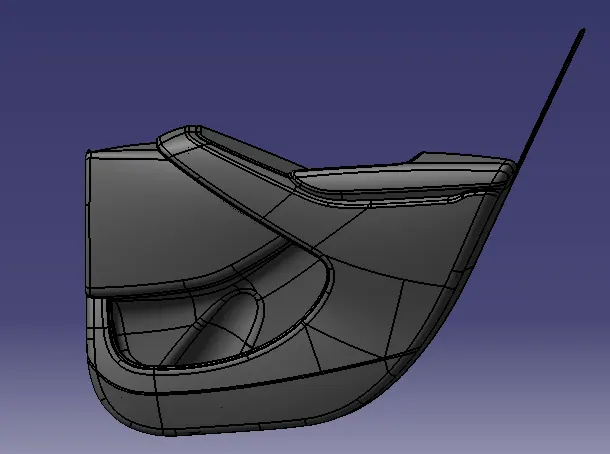
AIM - To create a solid body of Side Door plastic trim including the engineering features using CATIA V5 tool using the given Class A surface and master section.
INPUT -
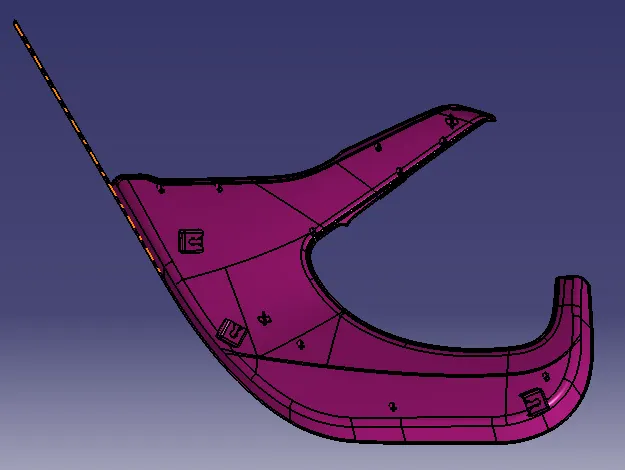
CLASS A SURFACE OF SIDE DOOR PLASTIC TRIM
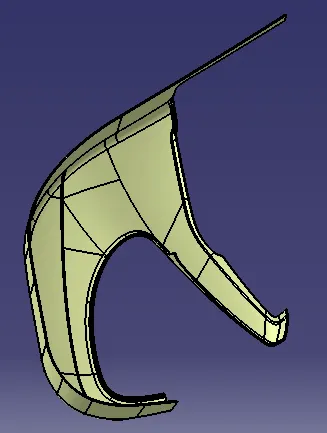
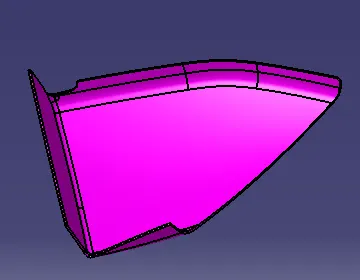
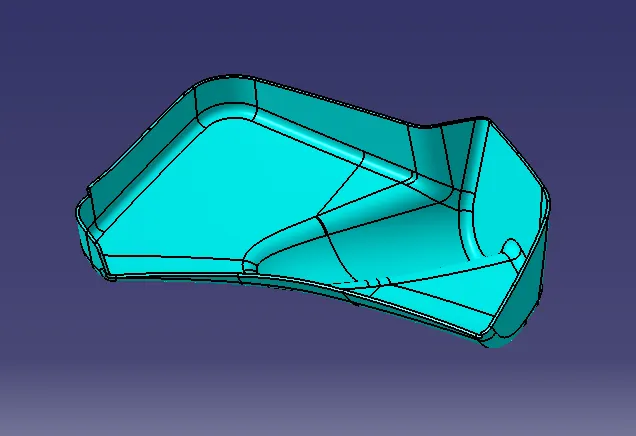
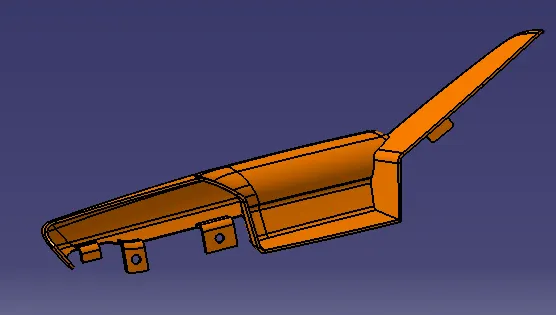
The given Side Door Plastic Trim Class A consist of
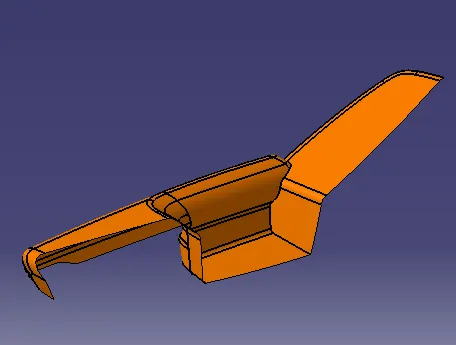
- Class A surface of ARM REST
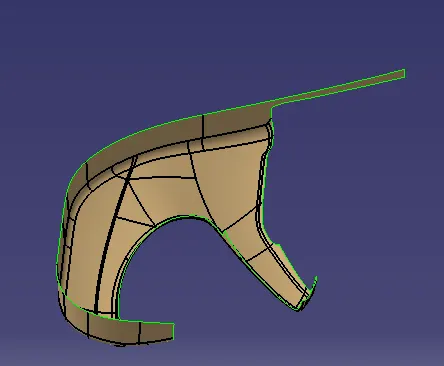
- Class A surface of Lower Substrate
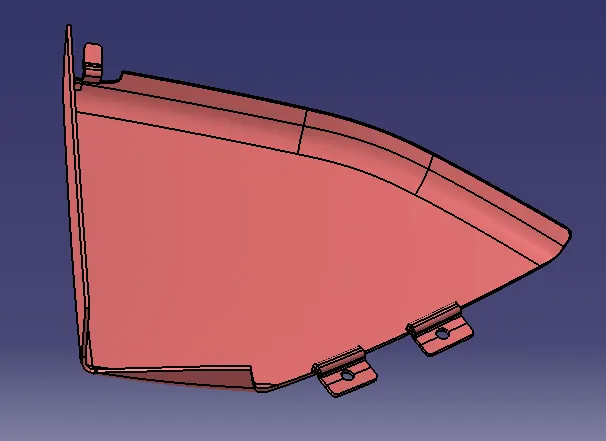
- Class A Surface of Map Pocket
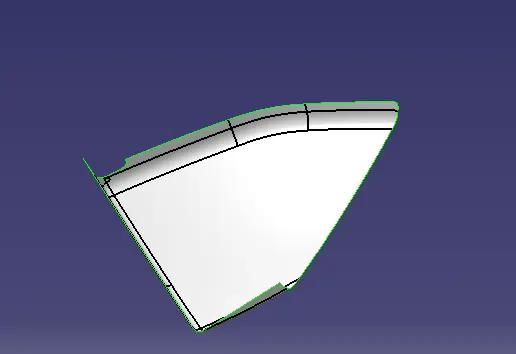
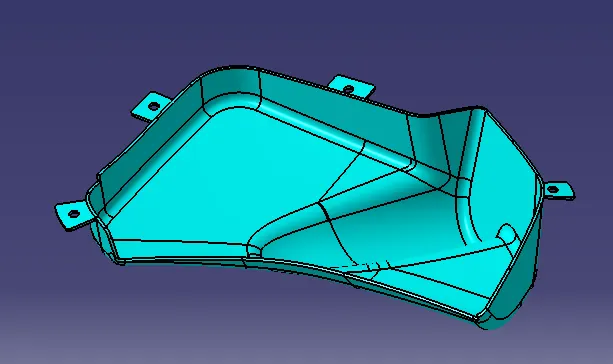
- Class A Surface of Bottle Holder
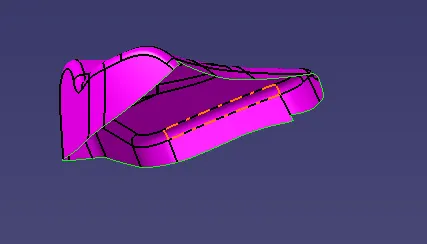
MASTER SECTION
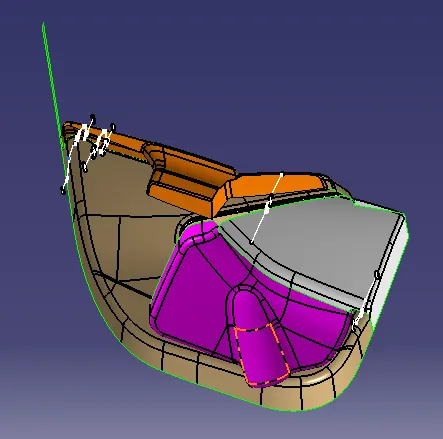
The procedure followed in creation of the plastic New Product Design are
- Tooling axis
- Draft analysis of Class A
- B Surface Creation
- C Suraface Creation
- Closed Body Creation
- Flange and B Side Feature Creation
- Draft Analysis of Part
TOOLING AXIS
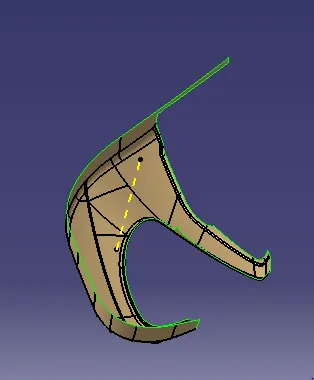
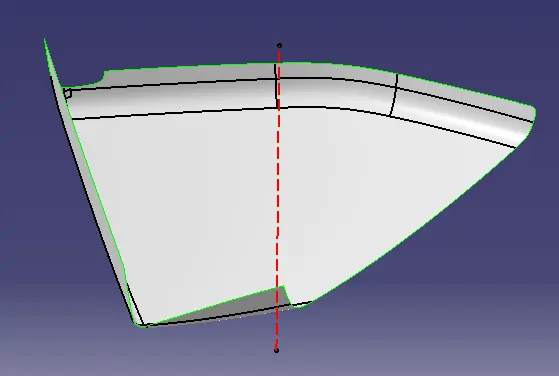
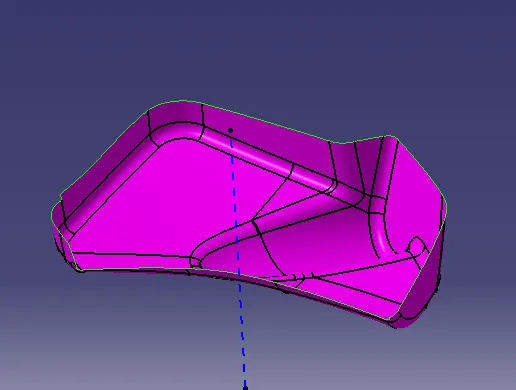
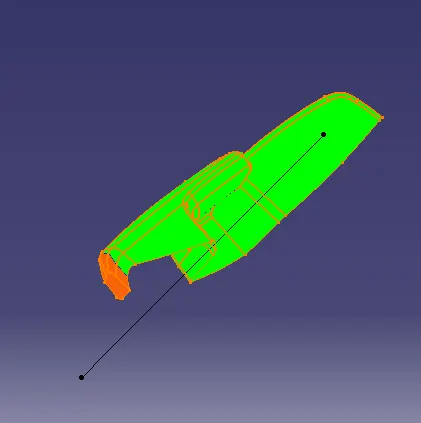
Tooling axis is nothing but the direction in which the core and cavity opens and closes. Design engineer works on it to analyse the Class A surface and finds out the best possible tooling direction keeping in mind all the draft angle is with respect to the tooling axis so that the component can be easily ejected from the moulds.
The tooling axis of given surface are mentioned below ,
ARM REST
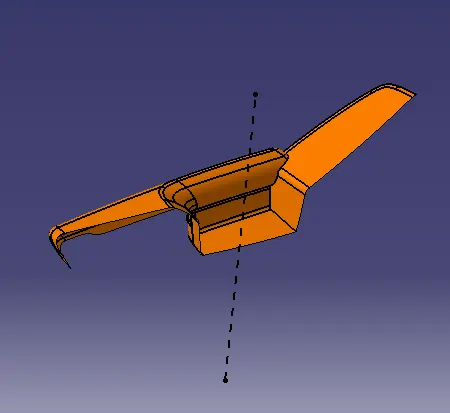
LOWER SUBSTRATE
MAP POCKET
BOTTLE HOLDER
Draft Analysis of Class A
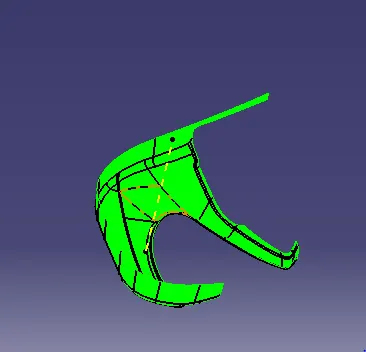
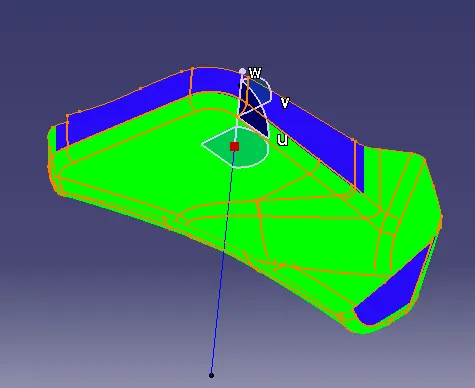
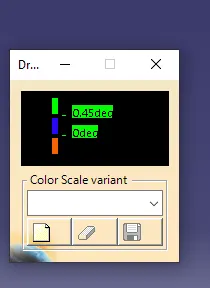
Here the given class A surface is subjected to the daft analysis with draft angle 3 degree. From insert the draft analysis tool is taken, here we placing the compass to the tooling axis. Click on the class A, then we get a green color on class A surface .
ARM REST
In the arm rest during draft analysis the some areas of surface showing negative draft, it means that draft analys is not clear all areas of the given class A for the 3 degree draft angle
LOWER SUBSTRATE
In this the 3 degree draft analysis clear all areas of the surface.
MAP POCKET
In this the 3 degree draft analysis clear all areas of the surface.
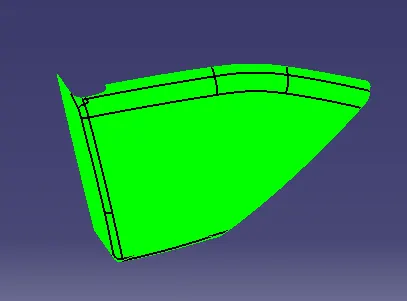
BOTTLE HOLDER
In the bottle holder during draft analysis the some areas of surface showing below 3 degree draft.
B Surface Creation
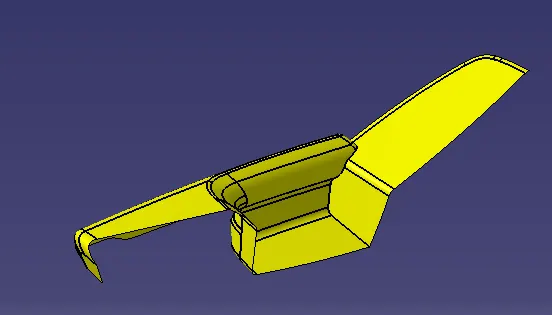
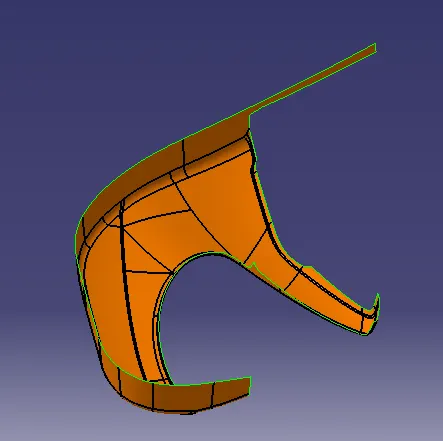
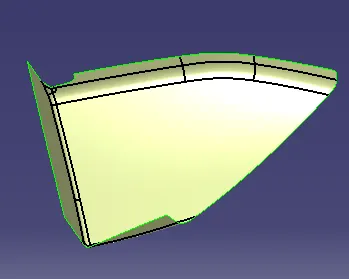
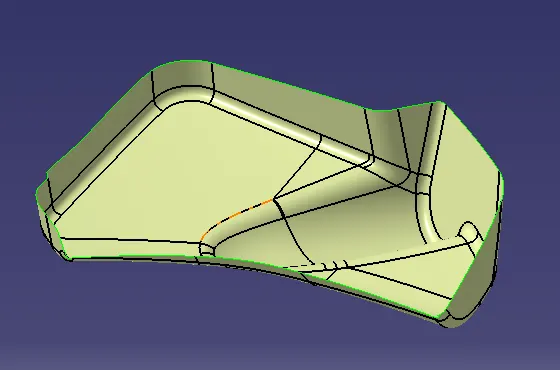
Class B surface includes derived surfaces created by offset operations from Class A surfaces to define the thickness of the part.
B SURFACE OF ARM REST
B SURFACE OF LOWER SUBSTRATE
B SURFACE OF MAP POCKET
B SURFACE OF BOTTLE HOLDER
C Suraface Creation
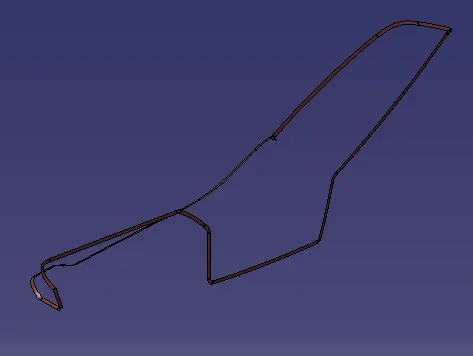
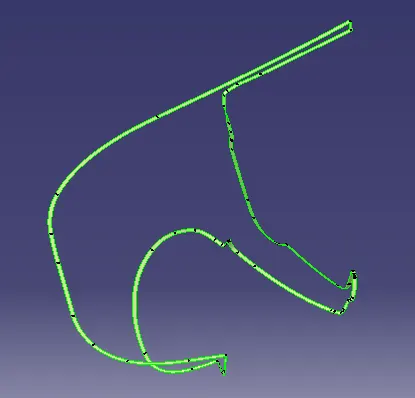
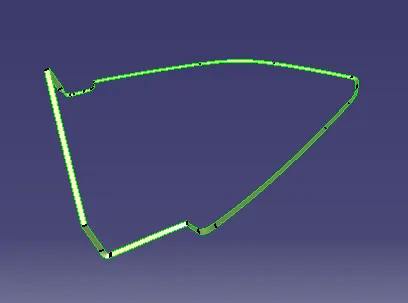
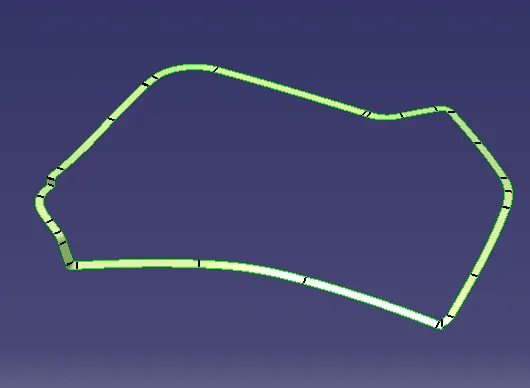
C surface creaed by using the Class A Surface boundary and Sweep command.
C SURFACE OF ARM REST
C SURFACE OF LOWER SUBSTRATE
C SURFACE OF MAP POCKET
C SURFACE OF BOTTLE HOLDER
Closed Body Creation
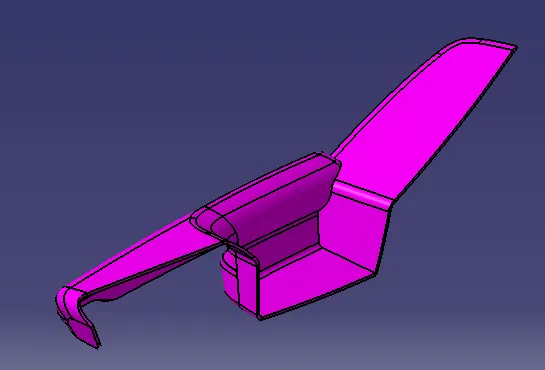
For closed body first we make the closed surface in the surface workbech by join the Class A and Class C surface together using Join command and the joined surfaces are then trimmed with the Class B surface to form a Closed Surface. After making the closed surface we using the closed body tool in the part workbench for making the closed body from the closed surface.
ARM REST
LOWER SUBSTRATE
MAP POCKET
BOTTLE HOLDER
Flange and B Side Feature Creation
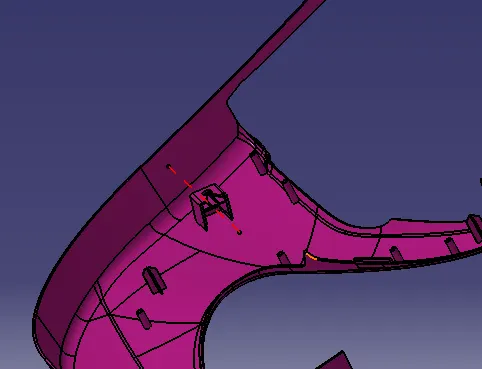
Here we add the flanges to the components using the master section and own decision for assemblying the component each others. Also the B side features like DOG HOUSE ,HEAT STAKES,LOCATORS.. are created by refering the design rules. And that are add to the respective area.
ARM REST
LOWER SUBSTRATE
MAP POCKET
BOTTLE HOLDER
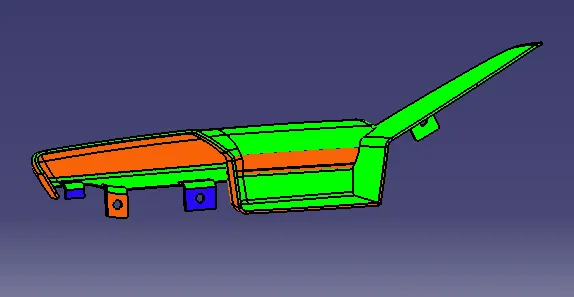
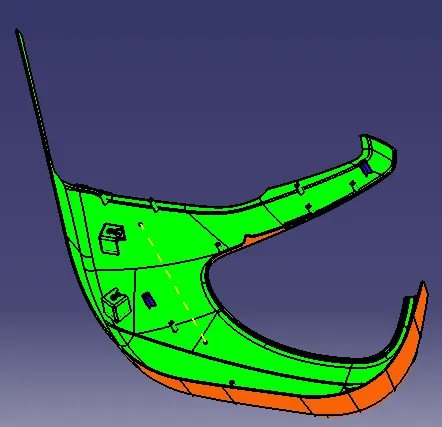
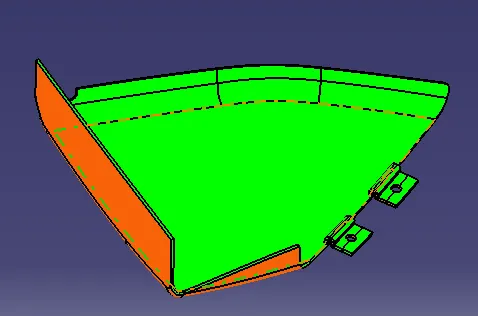
Draft Analysis of Final Parts
- Some surfaces which are not Clearing the draft analysis needs improvement in the Class A surface.
ARM REST
LOWER SUBSTRATE
MAP POCKET
BOTTLE HOLDER
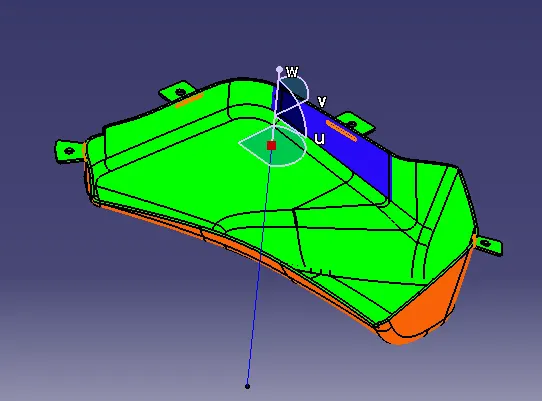
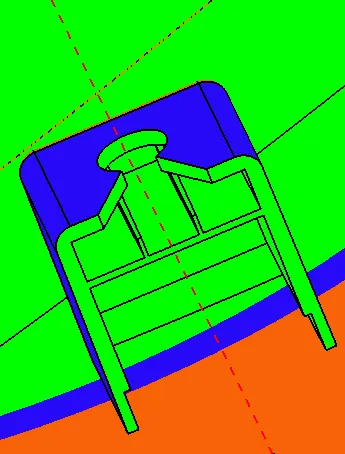
Draft Analysis OF DOG HOUSE Using Side Core axis
FINAL ASSEMBLY
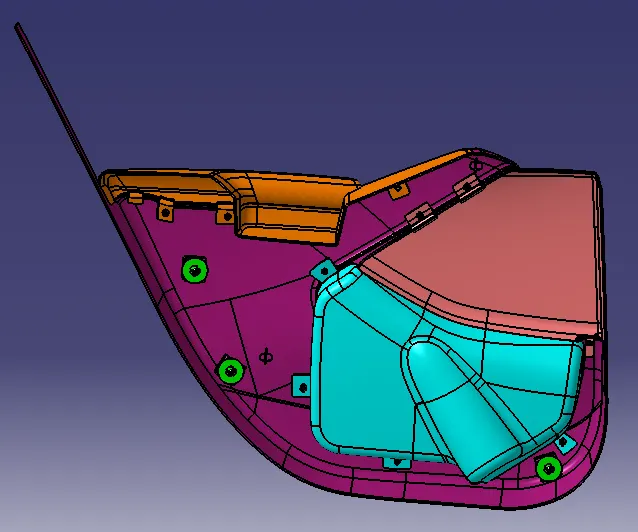
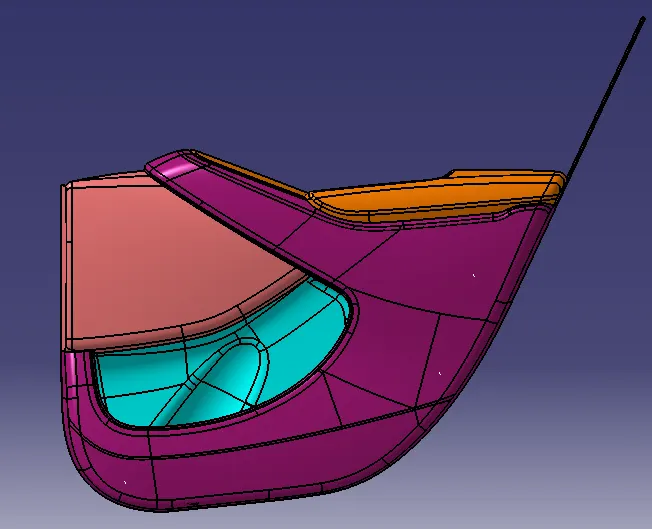
The all parts are positioned and the given push is assembled above the Dog House.
ADDING MATERIAL FOR THE PARTS
Plastic is used as Material for all the parts except for the push pin. For push pin Rubber is used as material.