Week 11 - Final project
AIM:
To create the Door Trim panel plastic component by using given Class A surface, also by refering the Master sections provided and to Create Engineering Features like Dog House, Heat Stakes, Flanges, 4-Way Locators and also to assemble all parts to create Door Trim panel plastic component using Catia V5 software.
OBJECTIVE:
- To create Tooling Axis for Class A using Bisecting Method and Normal to Surface method.
- Draft Analysis to Class A surface.
- Craeting Class B surface.
- Creating Class C Surface.
- Creating Solid Part by using CLosed Surface method.
- Creating Engineering Features like Dog House, Heat Stakes, Flanges, 4-Way Locators.
- Draft Analysis for Final Body Part.
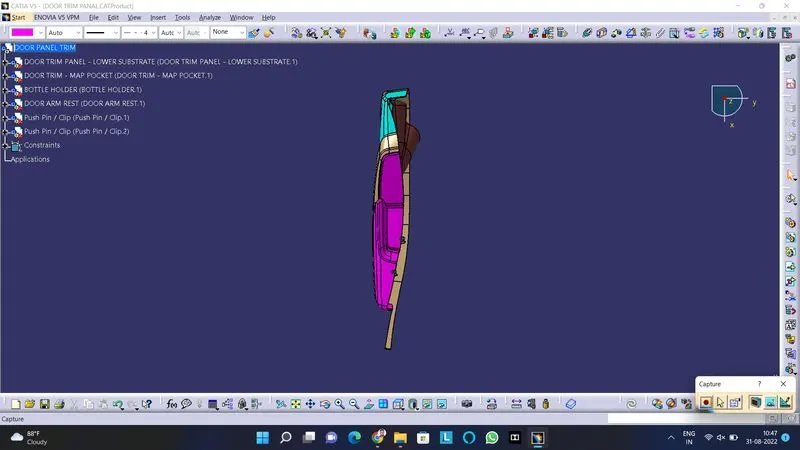
- Assemble all parts to create Door Trim Panel.
Given Inputs:
The Given Class A surface and Master Section as shown Below:
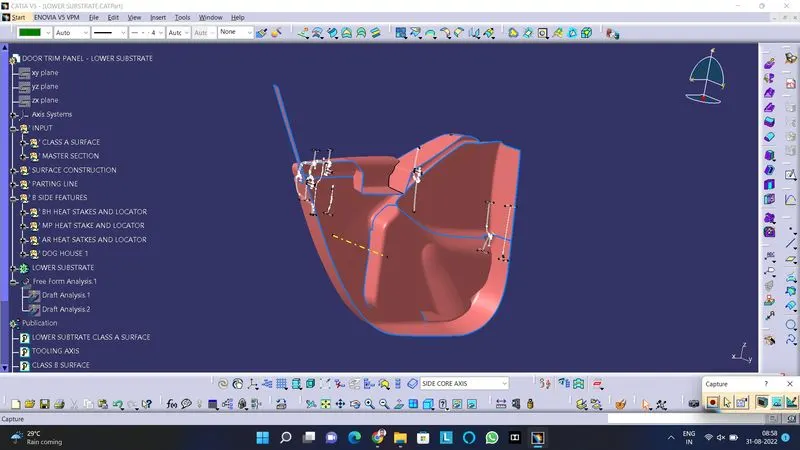
- The Door Tim Panel is combined by four parts they are
- Door Arm Rest.
- Lower Substrate.
- Map Pocket.
- Bottle Holder.
Door Arm Rest:
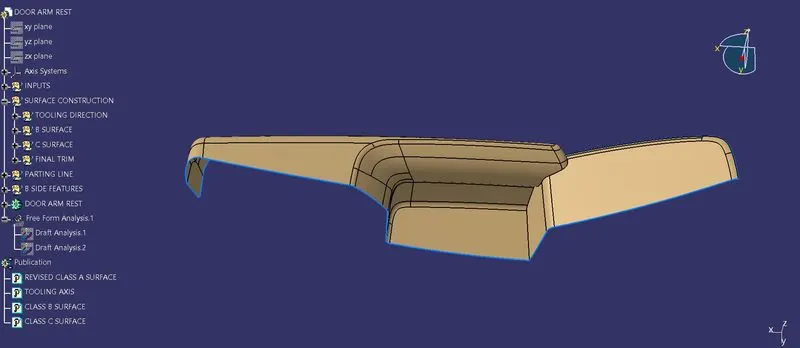
Class A Surface:
The Class A surface is gives is shown in below image:
Procedure:
Step 1 : Connectivity of the Class A Surface
- Check the connectivity of the Class A Surface that is to check that there is no gap between the components using the Join command or by visual inspection or also by using the Boundary Command.
Step 2 : Tooling Axis
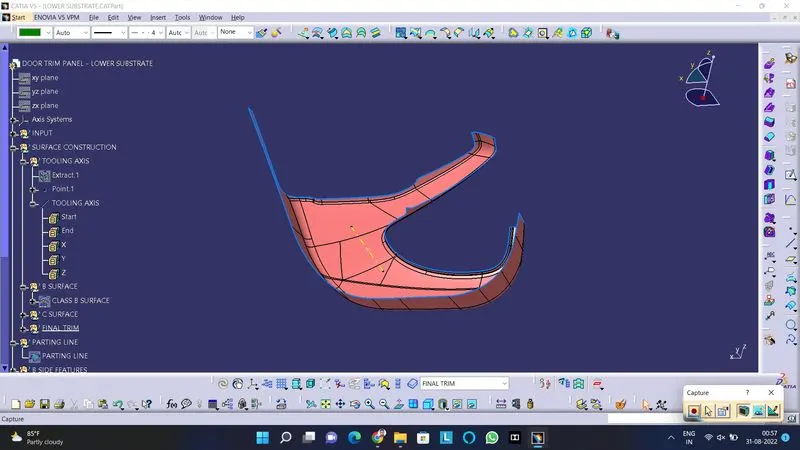
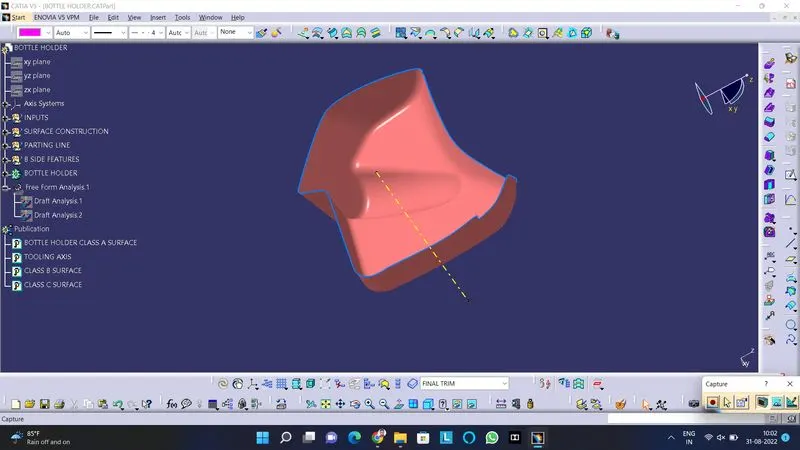
- The Tooling Axis is created using Bisecting Line Method.
Bisecting Line Method:
In Bisecting Line method is that the possiblities or clearance is checked along the direction using the intersection of surfaces along the axis on the plane of the Class A surface and the two lines is created on the intersections walls that is along the inclined walls of the intersections. Then the line is created by using bisecting line option in line command using the two lines and the point created and that line is Tooling axis.
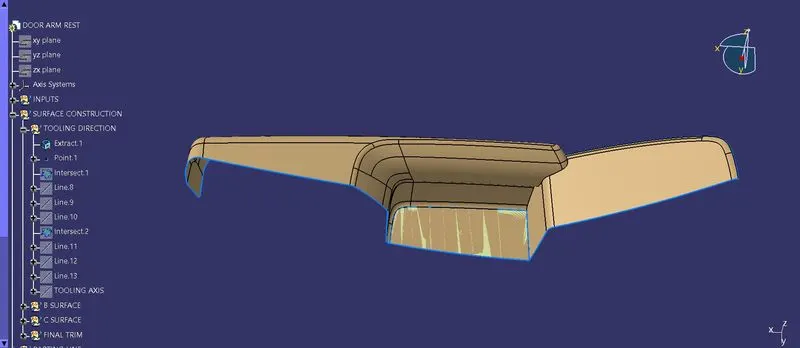
- For Creating tooling axis we create the point. The image of point is shown below
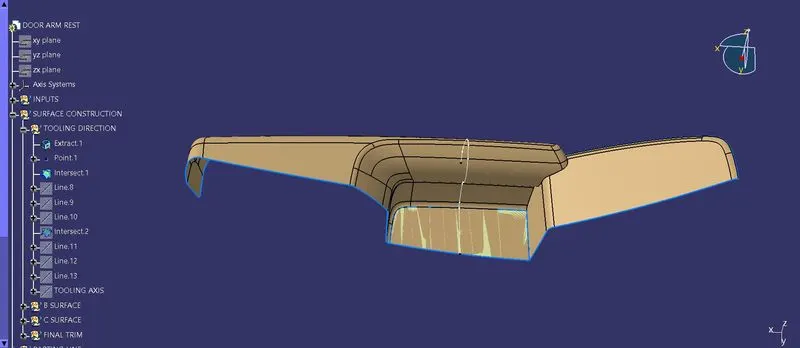
- Then one intersection and tooling axis is created using along X axis and another intersection and tooling axis is created using along Y axis and then we bisect these two tooling axis and create our main tooling axis.
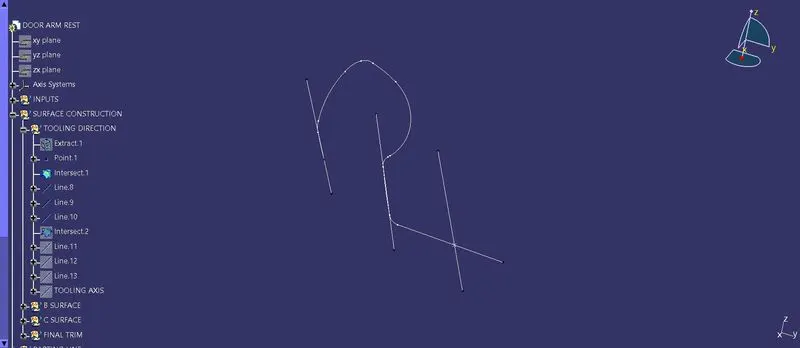
Creating Intersection and Tooling Axis Along X Direction:
- We create the positioned sketch using YZ plane and point.
- Then using Intersect 3-D element command for creating the intersection of the Class A surface.
- Then we create two line using line command along the inclined walls of the intersection.
- Then a line is created by using two line and a point using Bisecting Line command. The image shows below is creating Intersection and Tooling Axis Along X Direction
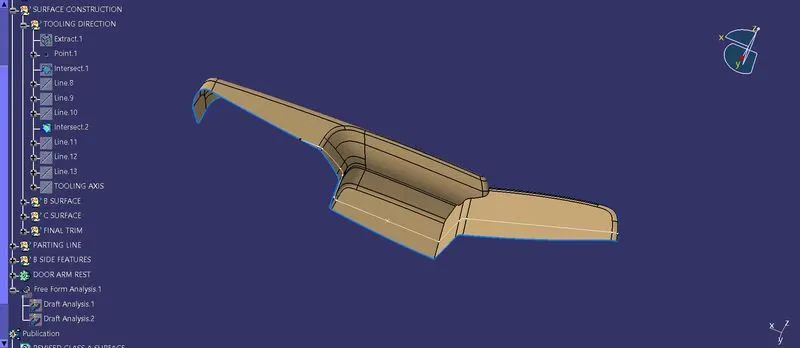
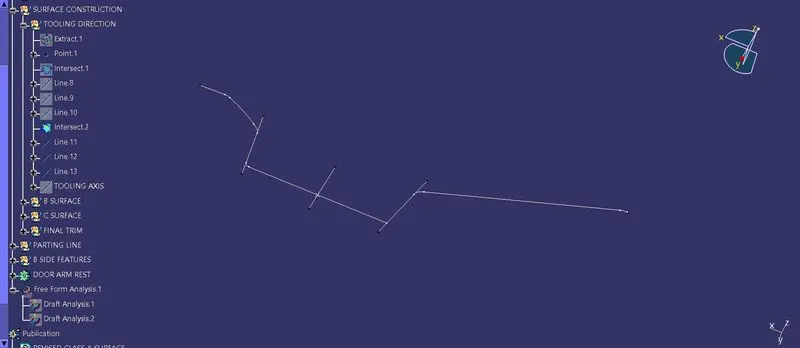
Creating Intersection and Tooling Axis Along Y Direction:
- We create the positioned sketch using ZX plane and point.
- Then the Cut section of the Class A surface is created using Cut Part by Sketch Plane.
- Then using Intersect 3-D element command for creating the intersection of the Class A surface.
- Then we create a line using line command along the inclined walls of the intersection.
- Then a line is created by using line command at the point as reference . The image shows below is creating Intersection and Tooling Axis Along Y Direction
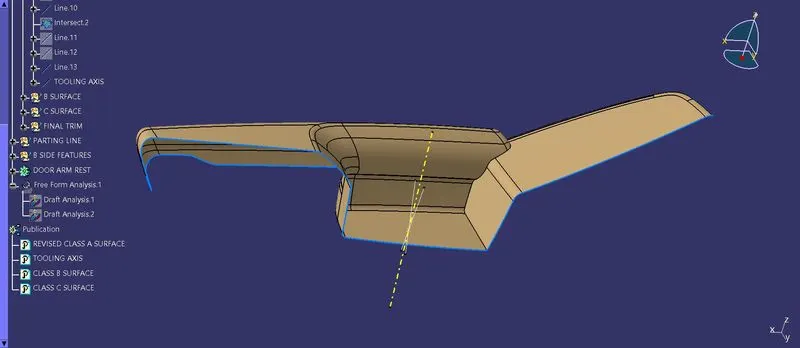
- Then using these two tooling axis along X and Y we create the main Tooling axis by using Bisecting of Line method. The image below shows the Tooling Axis.
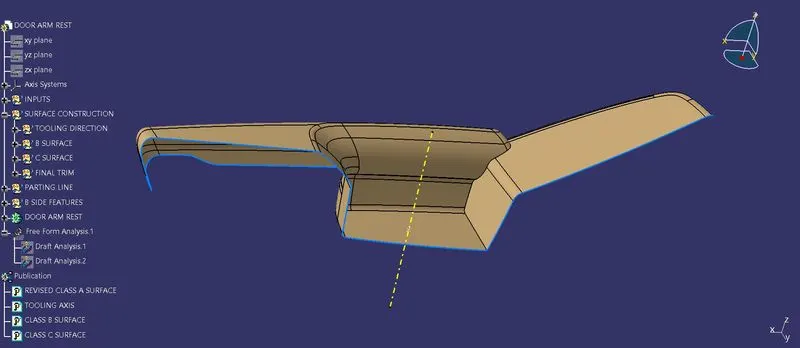
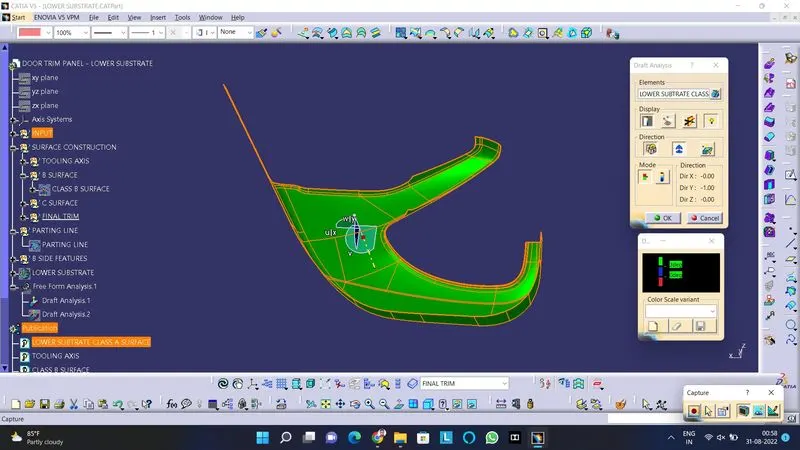
Step 3 : Draft Analysis
- Draft anlaysis is done based on the tooling axis. Draft analysis is used to check the Class A is maintained with minimum draft angle of 3 degree.
- The Compass is used define the Draft direction.
- The green colour shows that the minimum draft angle is provided otherwise blue color and negative draft angle shows the red color is shown to the surface. The image shows that draft analysis of the Class A surface with color scale variant.
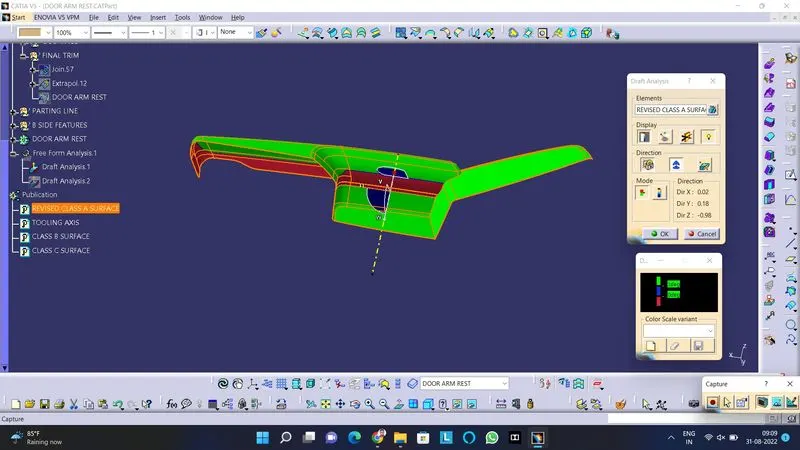
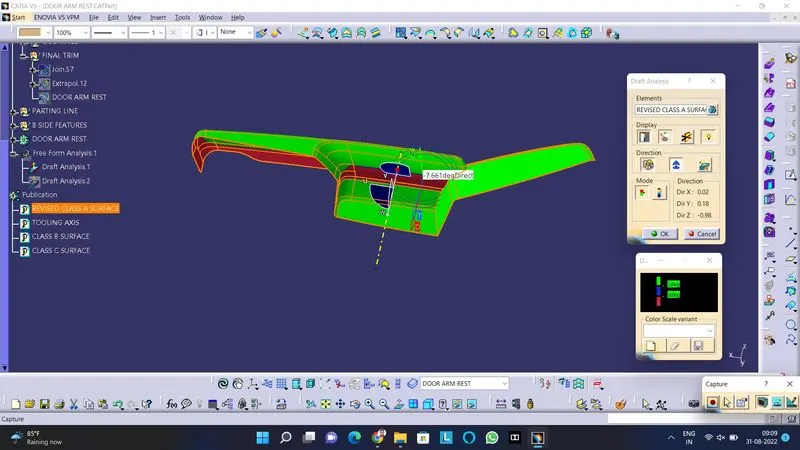
- Now using Analysis under running point we measure the red clor area and shows the negative draft angle in Class A surface and this to be informed to the Class A designer to provide the proper Darft angle to the Class A surface or we can use the Side core Axis.
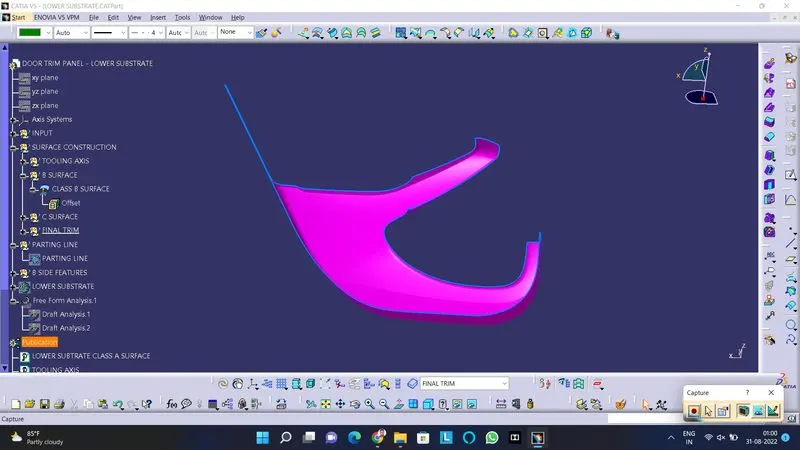
Step 4 : Creating Class B Surface
- We first Offse the Class A surface with 2.5 mm which is given as thickness by measuring the master section.
- Check for any discontinuity or gap between the joints or boundary is figured out in the offseted surface.
- If any any then by using Multiplr extract, Multi Sections Surface, Sweep are used to fill the gap.
- Thus the Class B surface is created. The image shown below is Class B Surface.
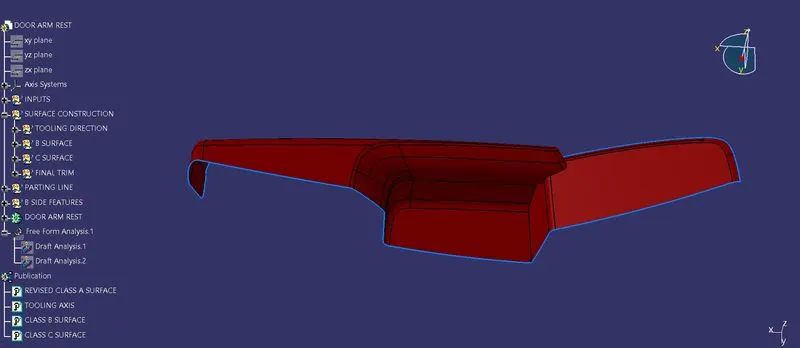
Step 5 : Creating Class C Surface
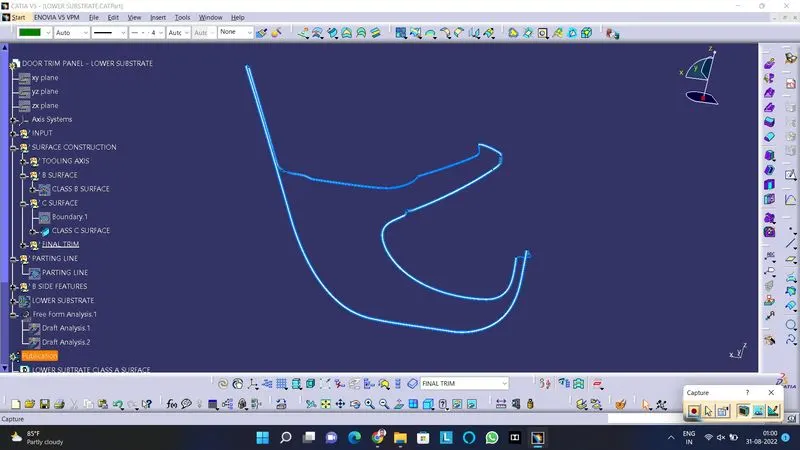
- The Class C surface is the connection between Class A and Class B surface.
- Then the boundary is extracted using Multiple Extract command or Boundary command.
- Then these extracted surface is Swept using Sweep command with reference surface option or with draft angle option is used.
- Thus the Class C surface is created. The image shown below is Class B Surface.
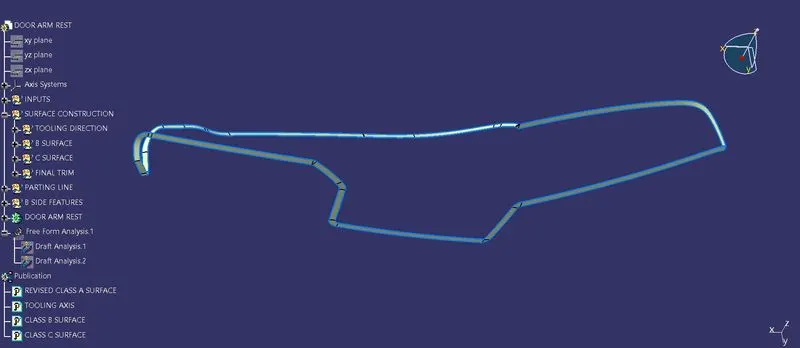
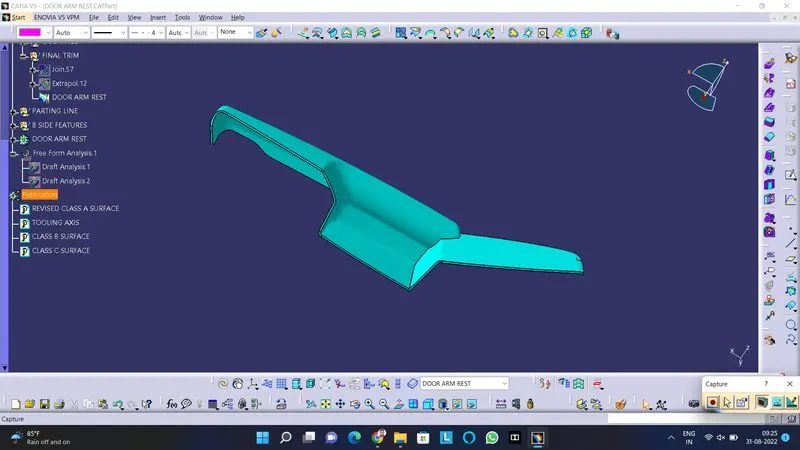
Step 6 : Final trim to obtain Arm Rest Plastic component
- The last step is joining the Class C surface with the Class A surface. Then the obtained surface is trimed with Class B surface.
- Then the obtained surface is converted into solid using Close Surface and thus the final Door Trim Plastic Component is obtained. The image is shown below is Door Arm Rest Plastic component
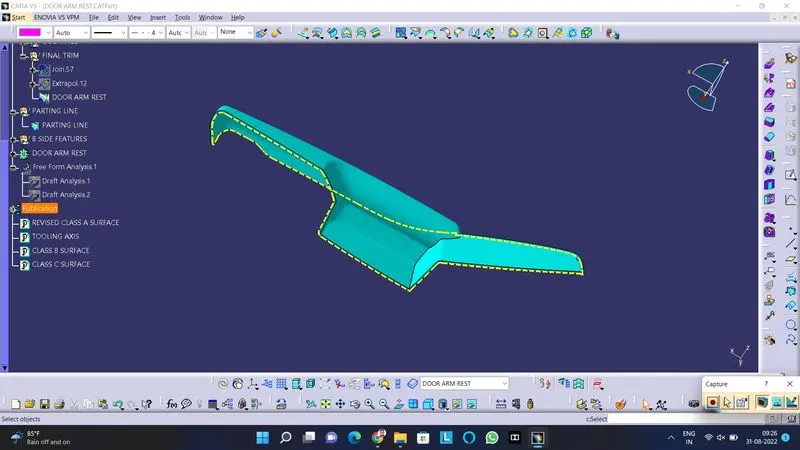
Step 7 :Parting Line:
- The intesection command is used to Parting line by intersecting Joined Class A and Class C surface with Class B surface. The image shows the PArting line along with part
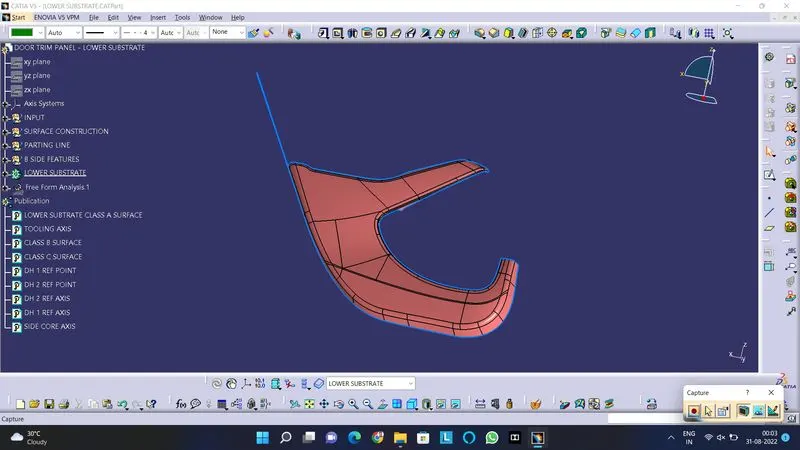
Lower Substrate:
Class A:
Tooling Axis:
Draft Analysis:
Class B Surface:
Class C:
Final Part:
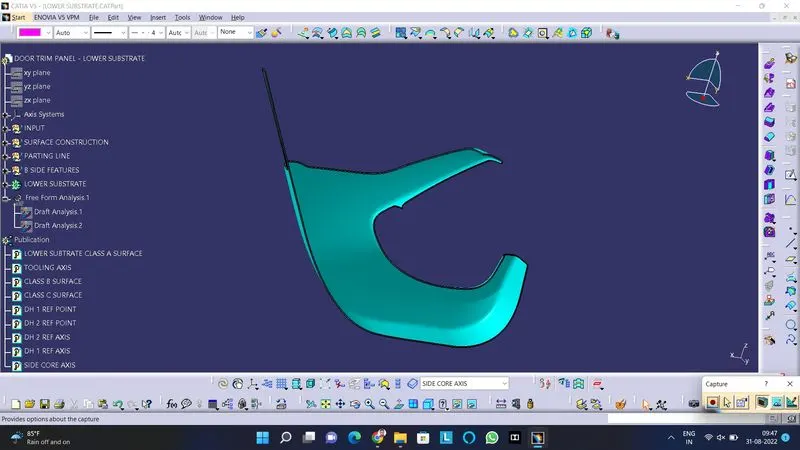
Parting Line:
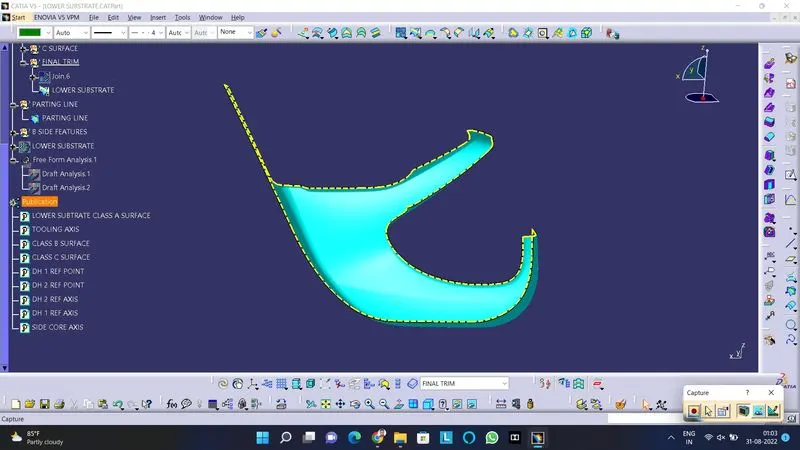
Map Pocket:
CLass A:
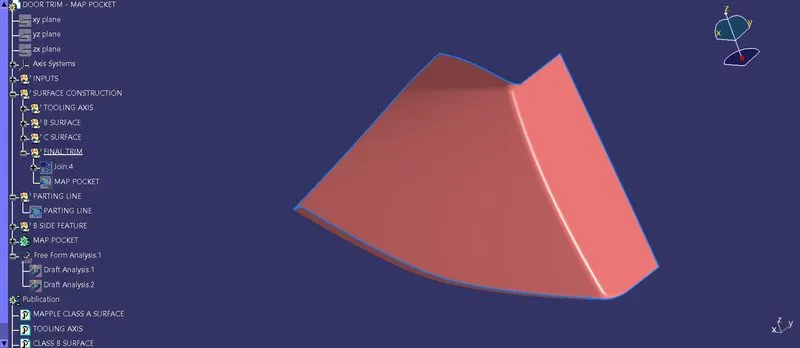
Tooling Axis:
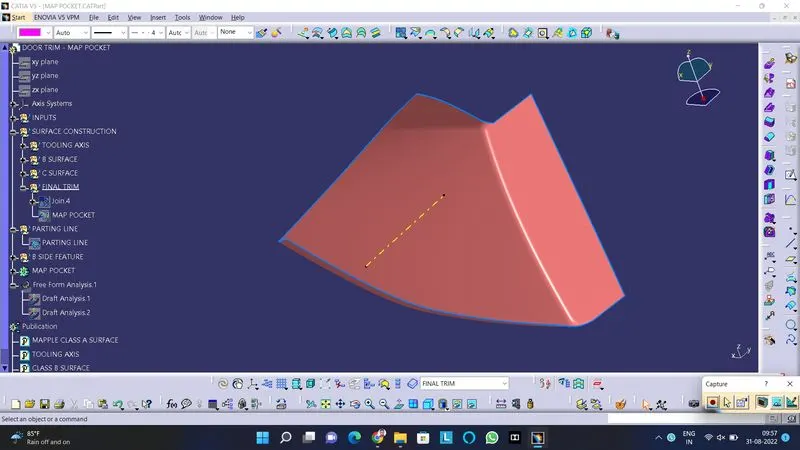
Draft Analysis:
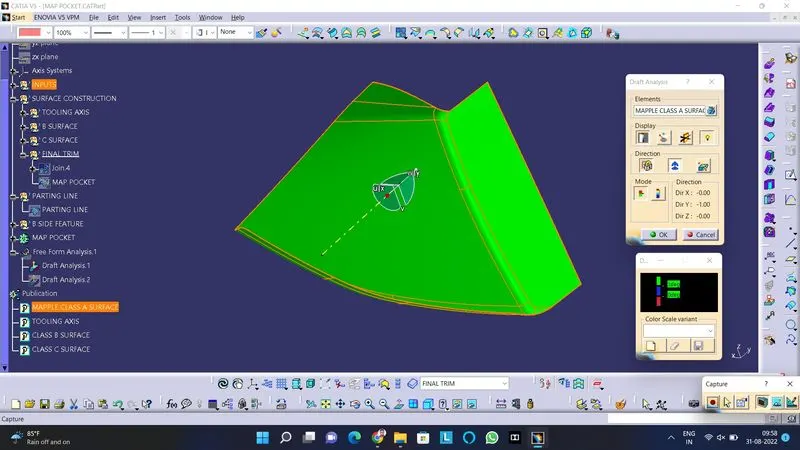
Class B:
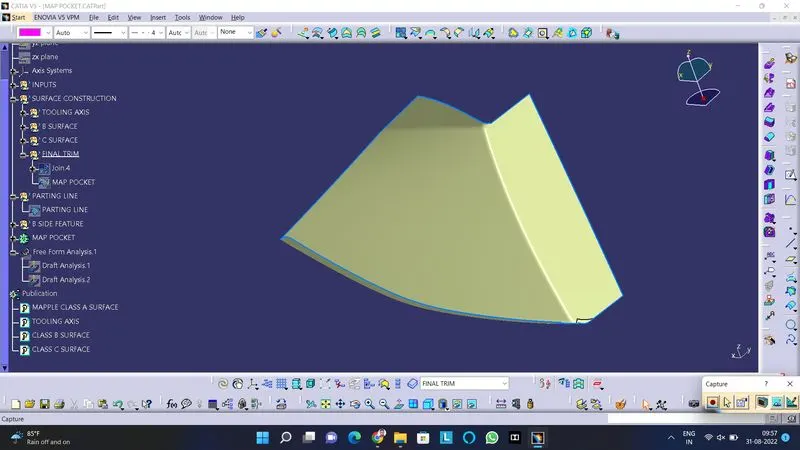
Class C:
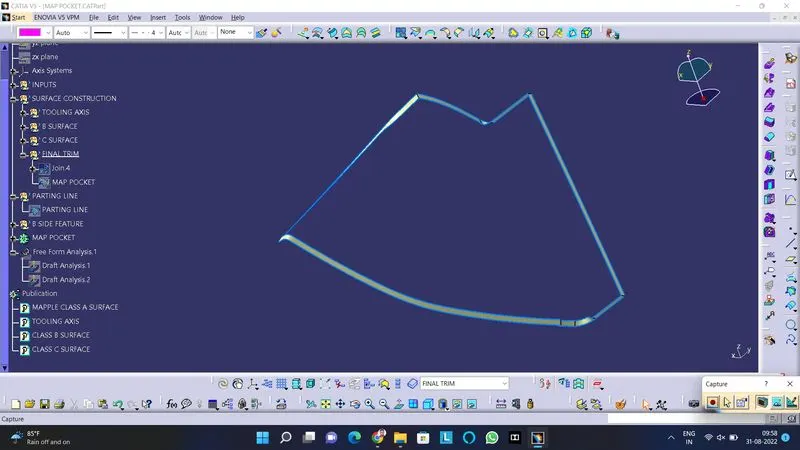
Final Trim:
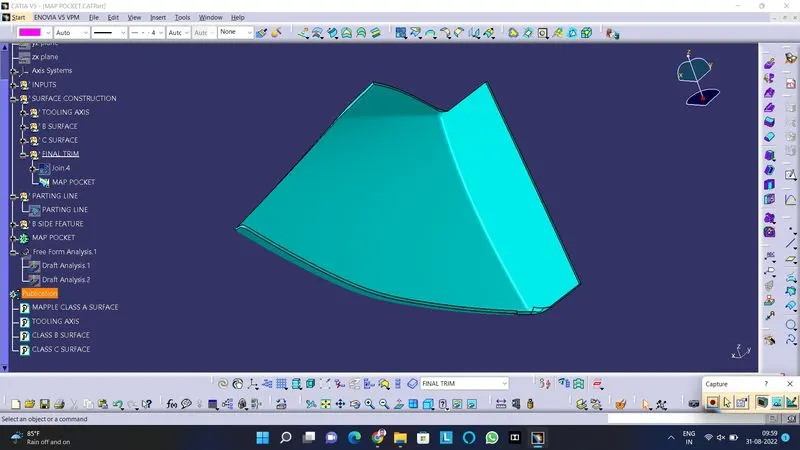
Parting Line:
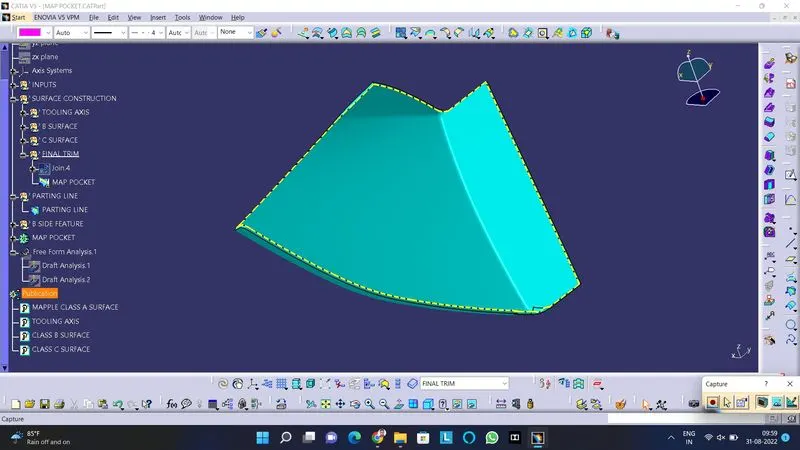
Bottle Holder:
Class A:
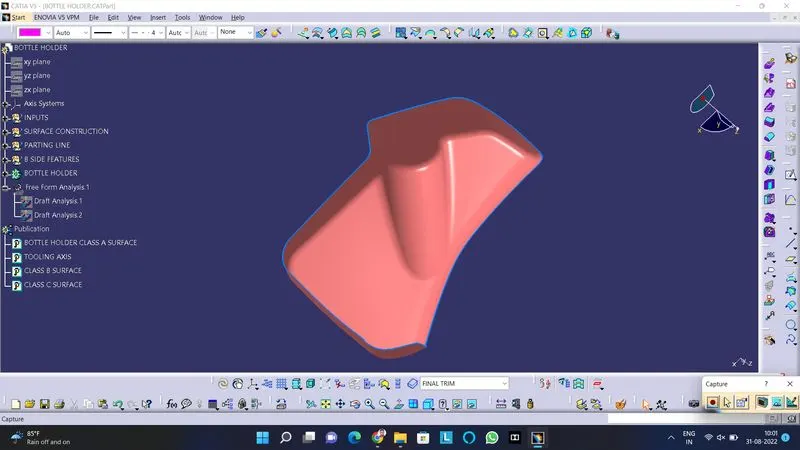
Tooling Axis:
Draft Analysis:
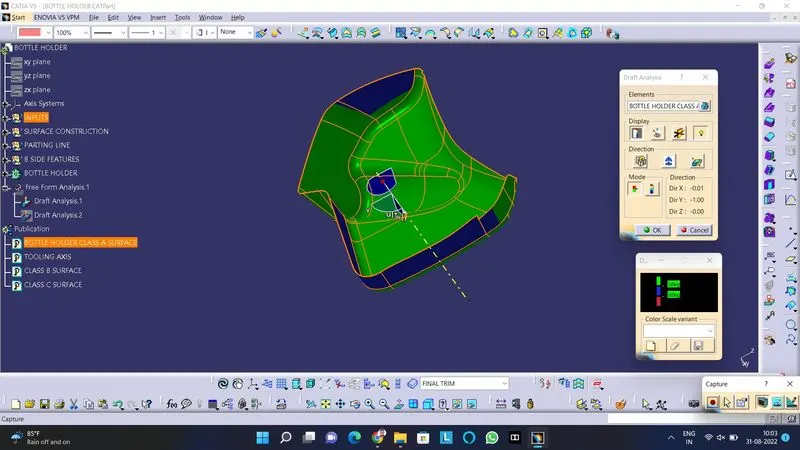
Now using Analysis under running point we measure the red clor area and shows the negative draft angle in Class A surface and this to be informed to the Class A designer to provide the proper Darft angle.
Class B:
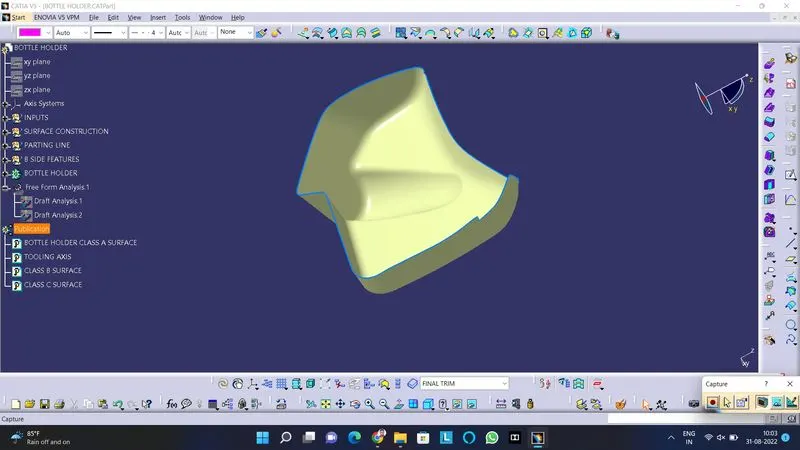
Class C:
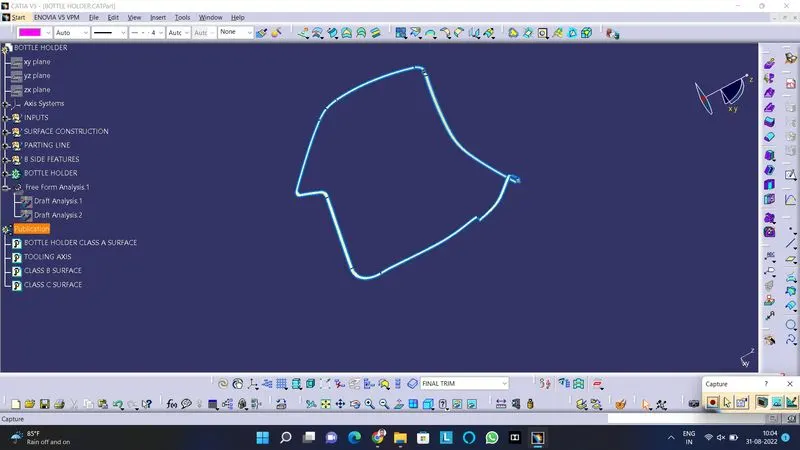
Final Trim:
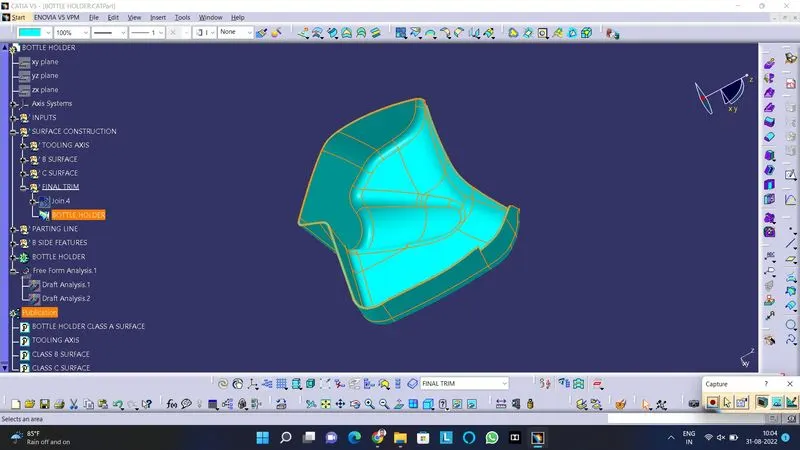
Parting Line:
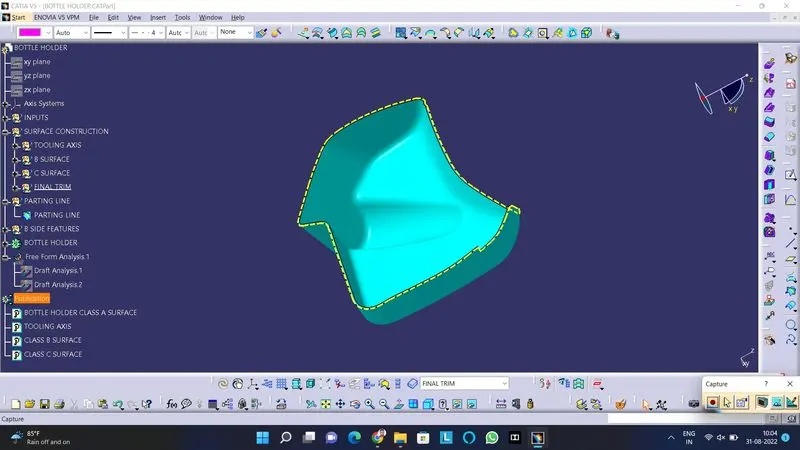
Creation Engineering Features:
FLanges:
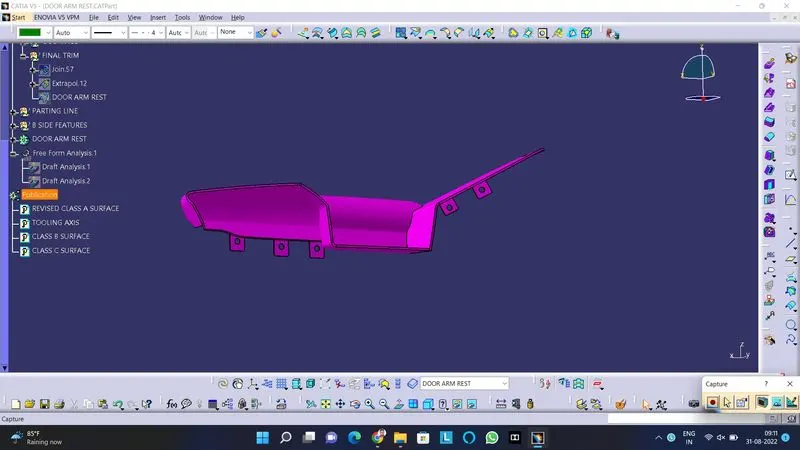
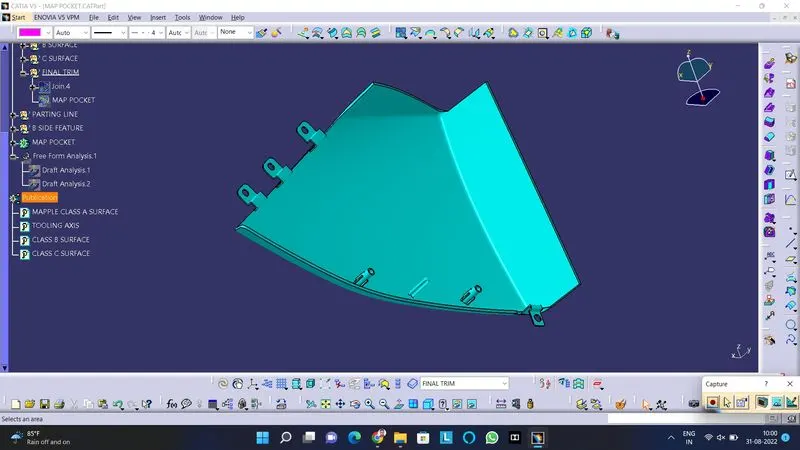
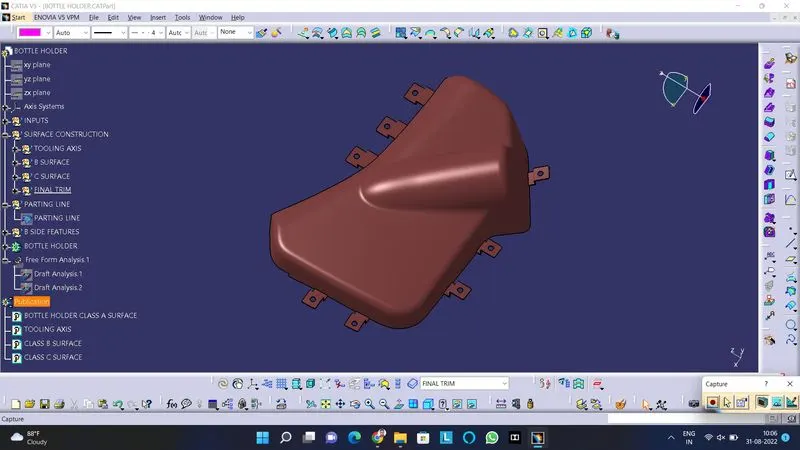
Flanges are created for holding the heat stakes by providing holes for the heat stakes and thereby connecting two parts together. Some flanges are created by using master sections. Some flanges are created by using sketch. Slots are created for the heat stakes and unwanted parts are removed. Finally fillets are provided. The image shows the Flanges of the parts
Heat Stakes:
Heat stakes are used to join two similar or dissimilar parts together.
- The Reference which is given in the Class A is taken as reference for creating the Sketch using Positioned Sketch.
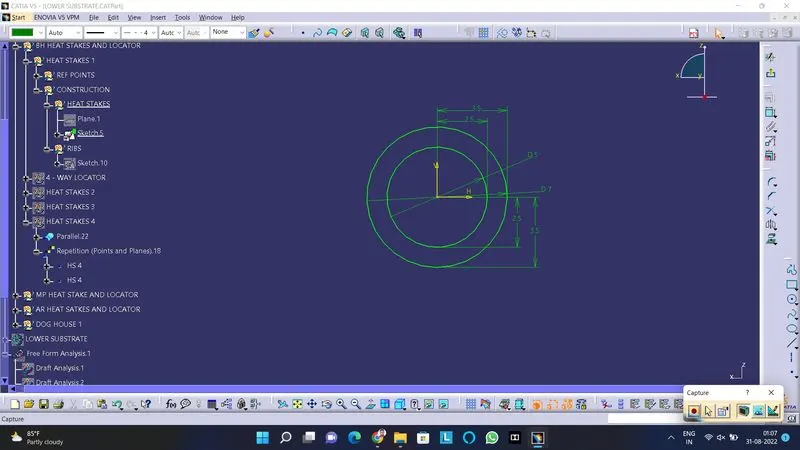
- Then the heat stake sketch is creayed using circle command and then it is Iso Constrained by providing proper dimensions. The image shown below is Heat Stake Sketch
- Then the skecth is paded using Pad command.
- Then the Draft angle with angle of 0.5 degree is provided using Draft command.
- Then Ribs is added with Heat Stakes for provideing strength to heat stakes.
- The Ribs is sketched and then paded it using Pad command and then Unoin trimed with Heat Stakes. The image shows the Sketch of Ribs
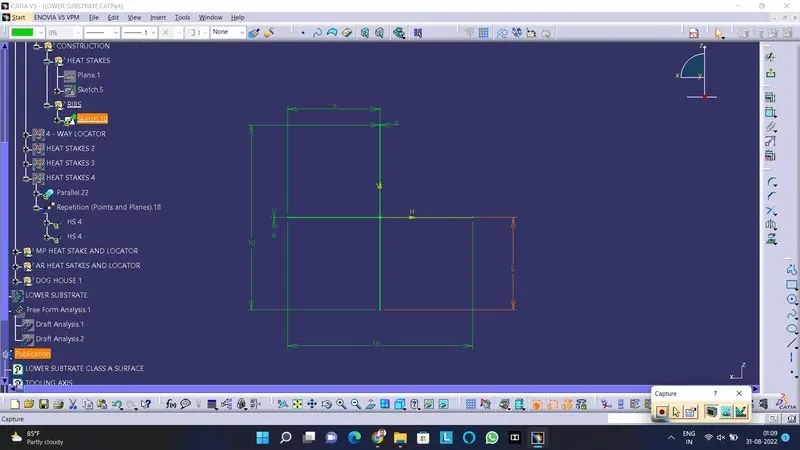
- Then the Heat Stakes are transulated using Translation command with Point to Point option.
- Then the created Heat Stake is Union Trimed with the Main Door Trim Body.
- Thus the Heat Stakes with Ribs is created. The image shown below is Heat Stakes with Ribs.
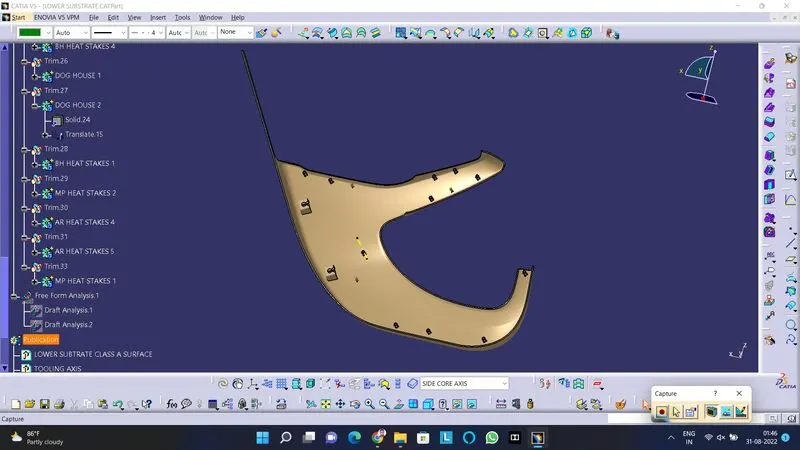
4 - Way Locator:
It is used to join two similar or dissimilar parts together.
- Then 4 - Way locator is created using Line command and it is Iso constrained by providing the proper dimensions.The image shown below is Sketch of 4 - Way Locator
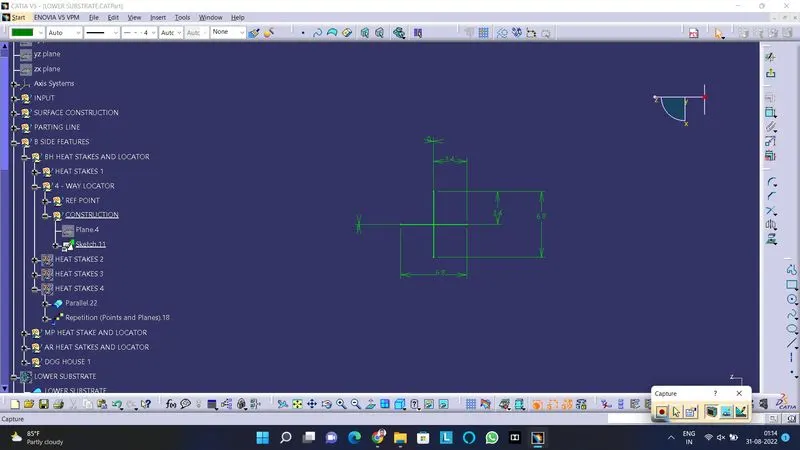
- Then the Sketch is paded using Pad command.
- Then the Draft angle with angle of 0.5 dgree using Draft command.
- Then the chamfer is provided at the edge for smooth fitting of locator using Chamfer command.
- Then the chamfer edge is fillet with radius 1 mm using Edge Fillet command.
- Then the other edges are filleted using Edge Fillet command.The below immage shows the 4 - Way Locator.
- Then the created 4 - Way Locator is Union Trimed with the PART Body.
- Thus the 4 - Way Locator is createdThe below image shows the 4 - Way Locator.
Dog House:
Design rules for Dog House:
C" is where the doghouse contacts the backside of the surface
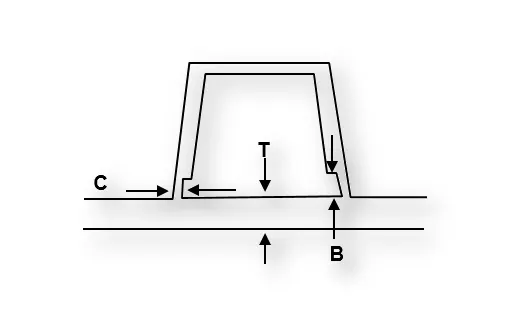
-
Doghouse wall thickness at the intersection of the part wall ( C ) should be 40% or less than the main wall stock ( T ) to avoid Sink Mark.
-
The height of ( B ) should be between 3.0 – 6.0 mm.
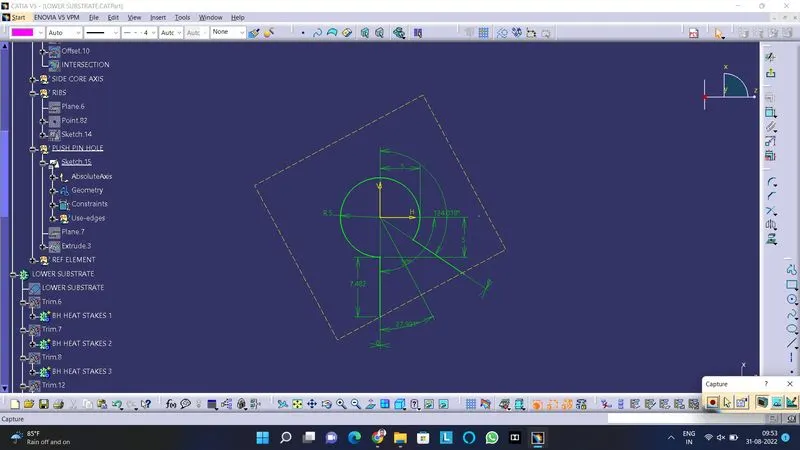
Sketch For Dog House:
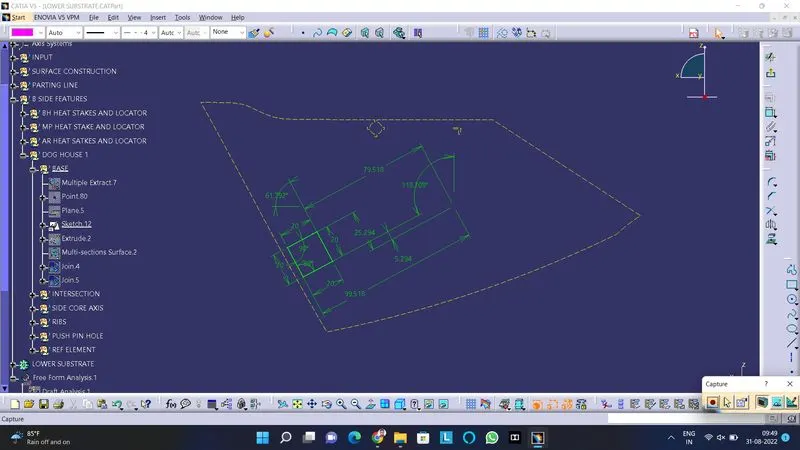
- The Sketch is extruded using Extrude command or sweep using Sweep command.
- Then the the extruded or sweeped surface is converted into solid using Thick surface command with thickness as 2 mm.
- Then the intersection is created as per design rule, the wall thickness of intersection witin 40% and the height is between 3-6 mm.The image shows the Intersection of Dog House
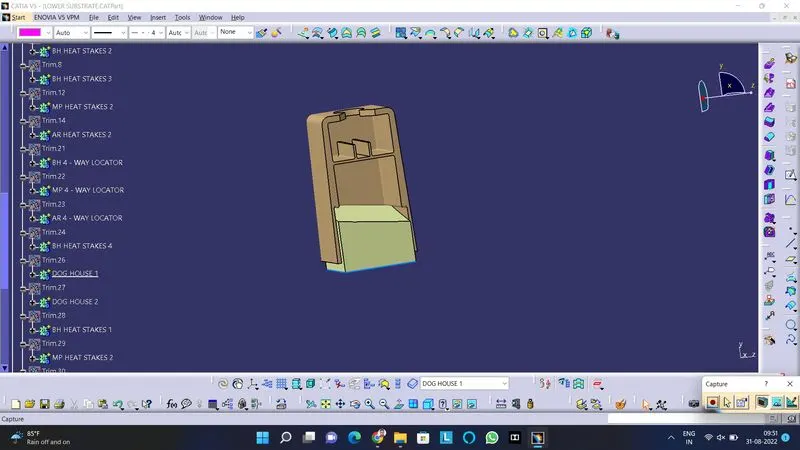
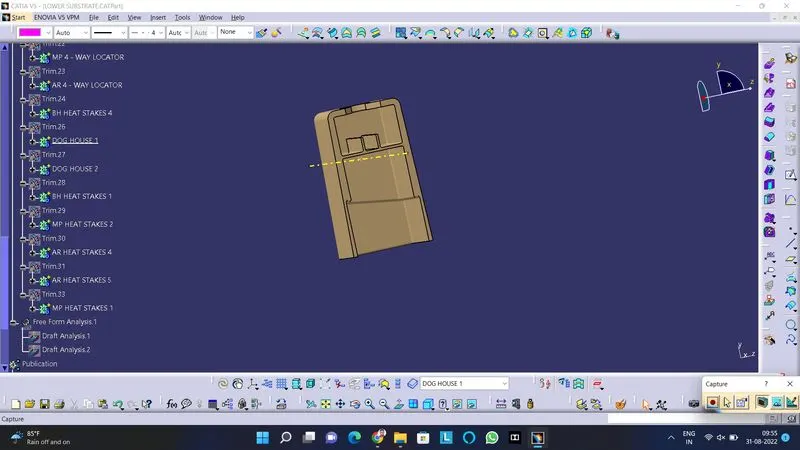
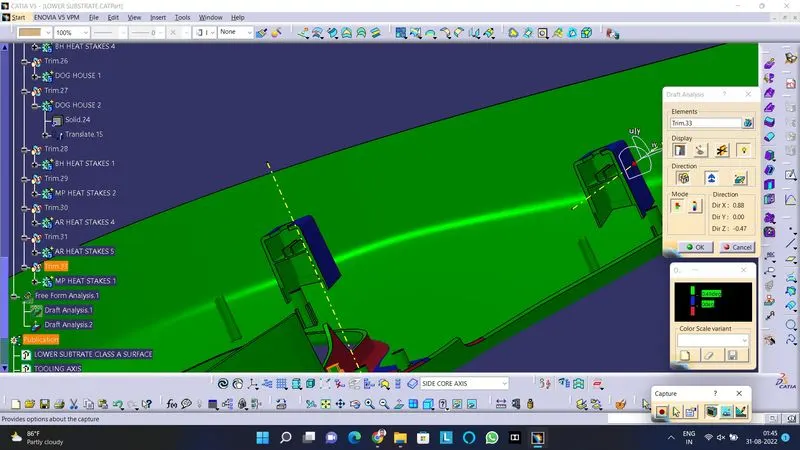
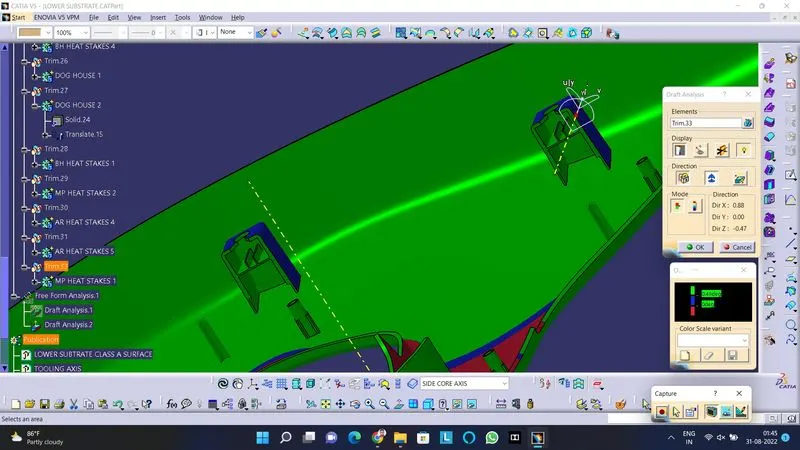
- Then the Side Core Axis is created to Draft the inner surface of the Dog House using Draft commnad with angle 0.5 dgree as the seperate Side core is used for manfucturing this Dog house.The image shows the Side core Axis of Dog House
Sketch For Ribs:
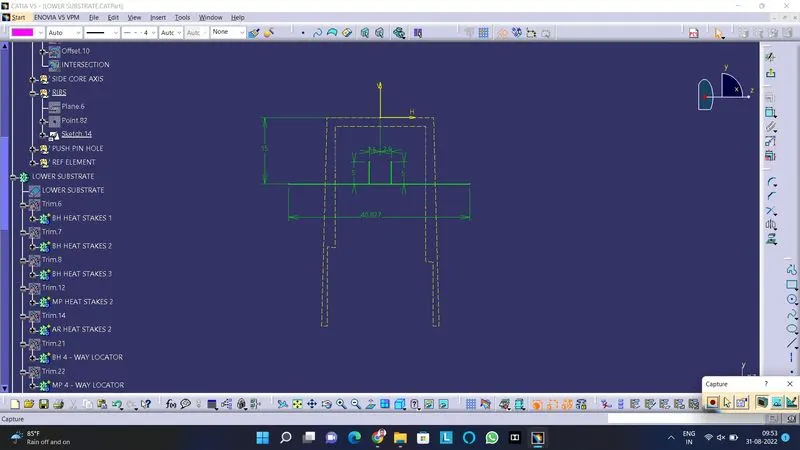
- Based on the Sketch the Rib is Paded using Pad command.
- Then by using Boolean operation the rib is union trimed to the Dog house.
- Then the Draft is done for Ribs by 0.5 along with Side core Axis using Draft command.
Sketch For Dog House Top Profile:
- The sketch is extrued using Extrude option.
- Then the Extruded surface is Splited with the Dog House.The image shows the Split of Dog House with the Top profile
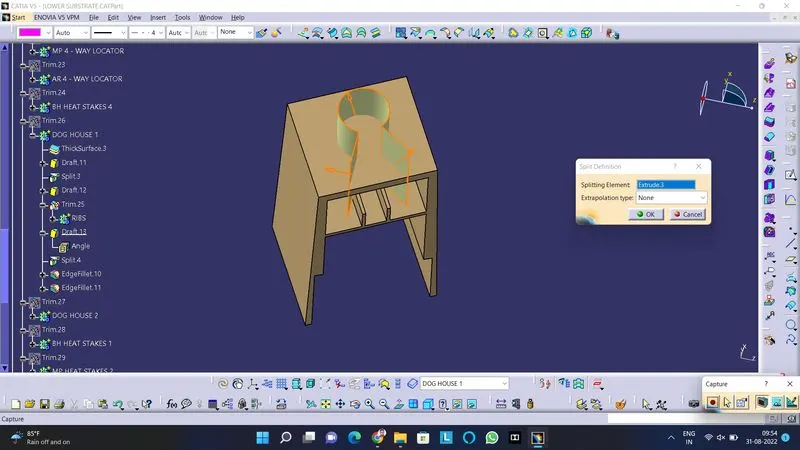
- Then the created dog house is Union Trimed by Boolean operation to the part.
- Then the Fillet is given to the Dog house using Edge Fillet command. The image shows Part with Dog House
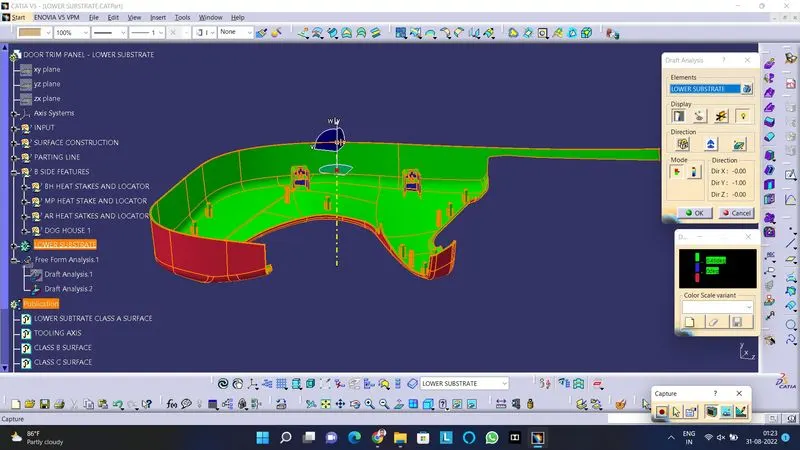
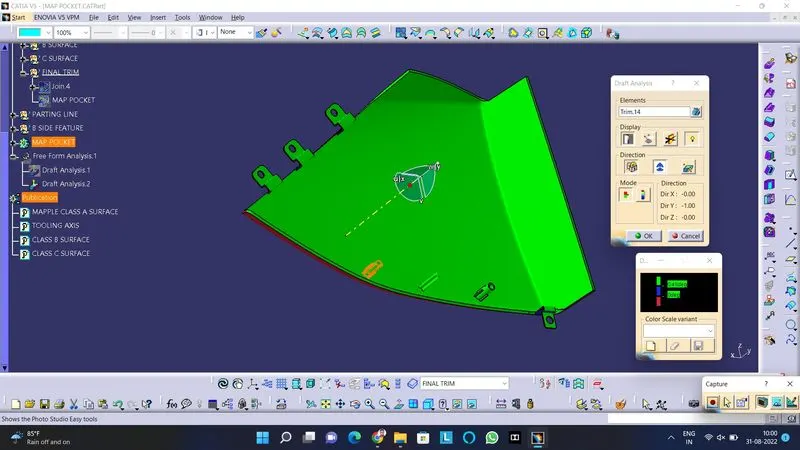
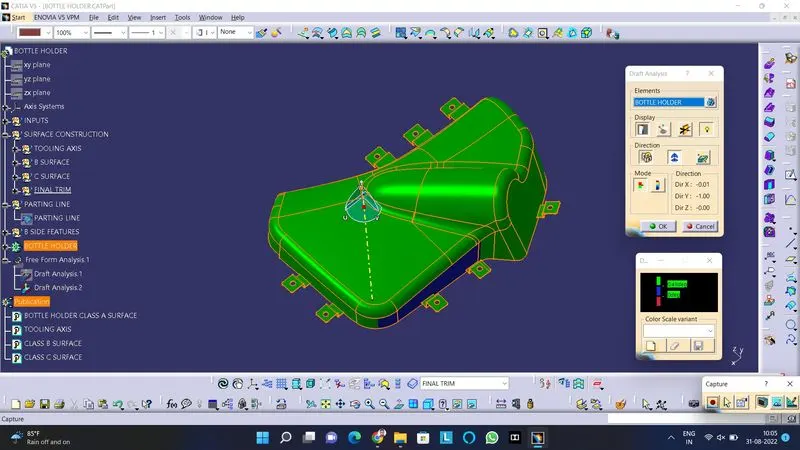
Draft Analysis of the Solid:
- Draft analysis is used to check the solid component is maintained with minimum draft angle of 1.48 degree for Dog House as the draft angle is 1.5 degree and inner surface is maintained with minimum angle by 0.48 degree as the draft angle is 0.5 degree.
- The Compass is used to define the Draft direction.
- The green colour shows that the minimum draft angle is provided otherwise blue color and negative draft angle shows Red color is shown to the solid. The image shows that draft analysis of the solid with color scale variant.
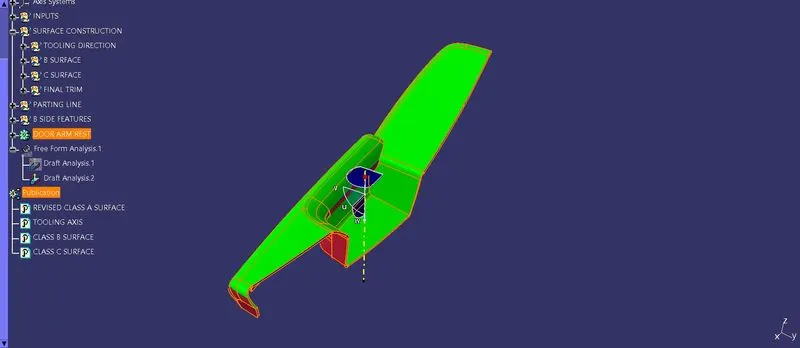
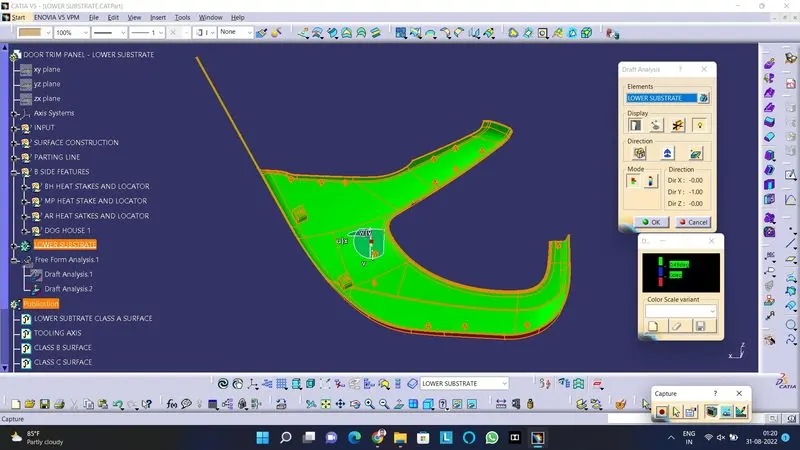
Draft analysis for Side Core Axis for Dog House:
Final Part with B Side Feature:
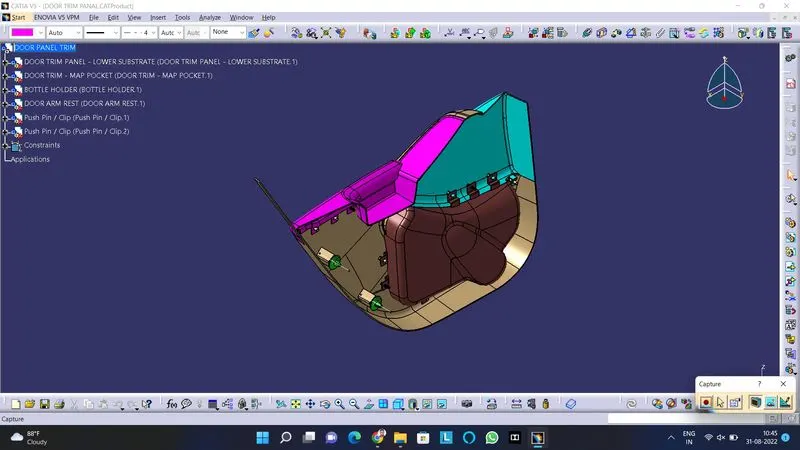
Screenshots of the assemble model in various orientations:
Isometric:
Front View:
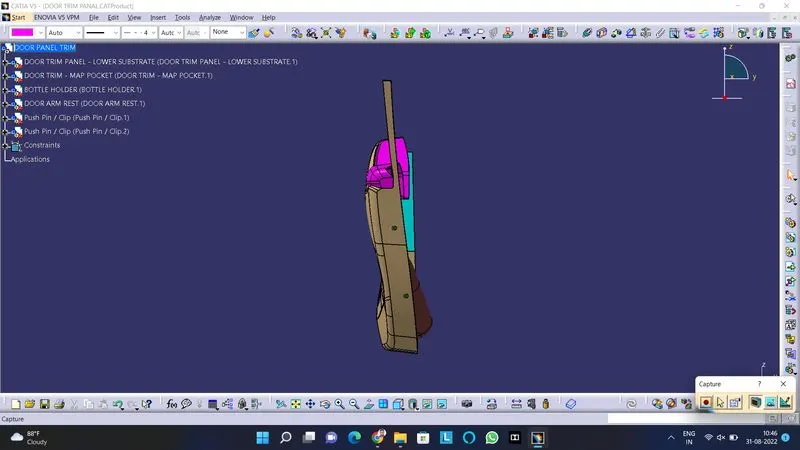
Side View:
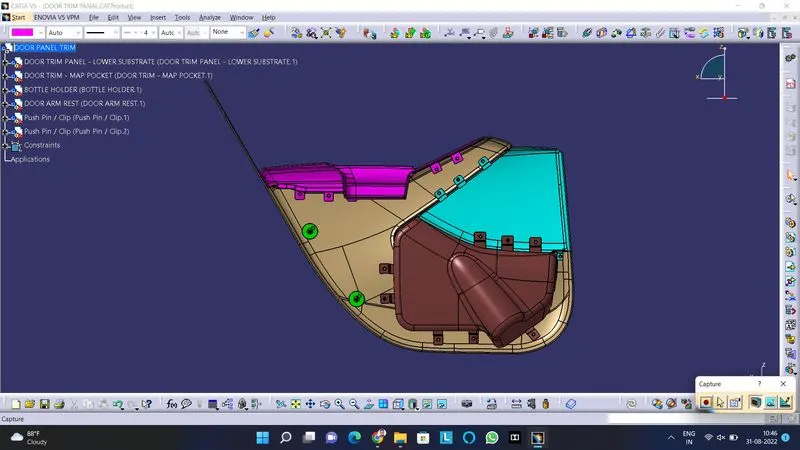
Top View:
Conclusion:
Thus the Door Trim panel plastic component by using given Class A surface, also by refering the Master sections provided and also Engineering Features like Dog House, Heat Stakes, Flanges, 4-Way Locators and also to assemble all parts to create Door Trim panel plastic component using Catia V5 software is cretaed.