Week 11 - Final project
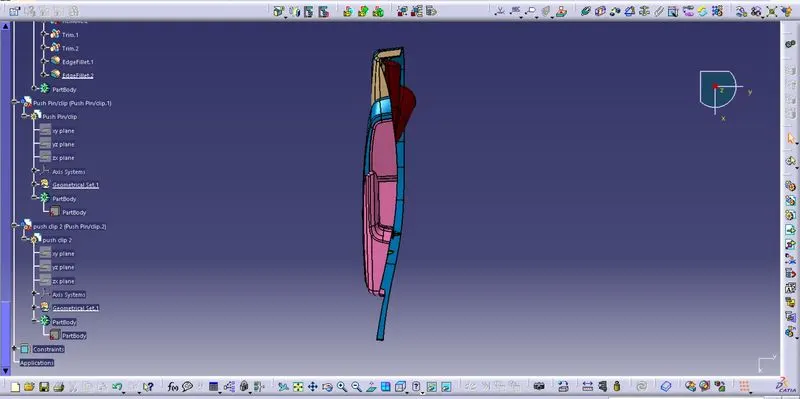
images of each part with a thickness of 2.5mm. This thickness is referred from the given master sections.
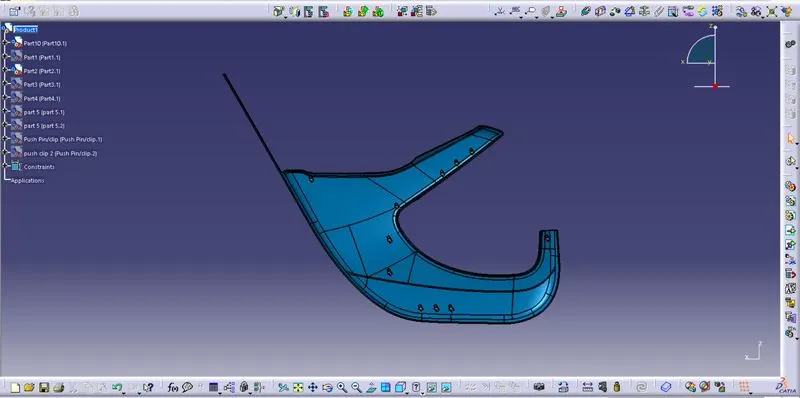
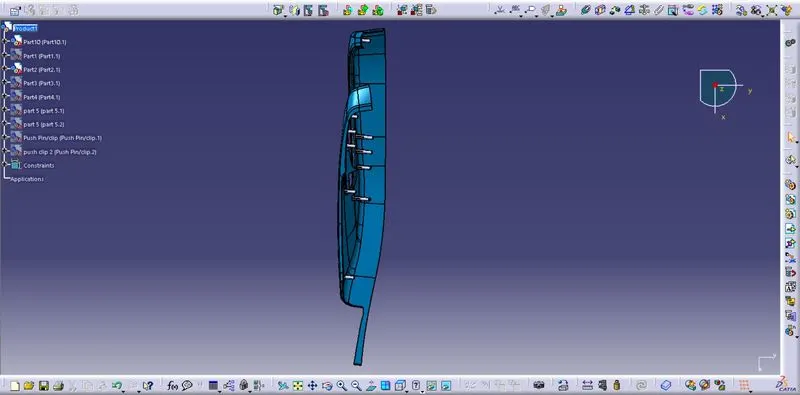
Part1: Door arm-rest
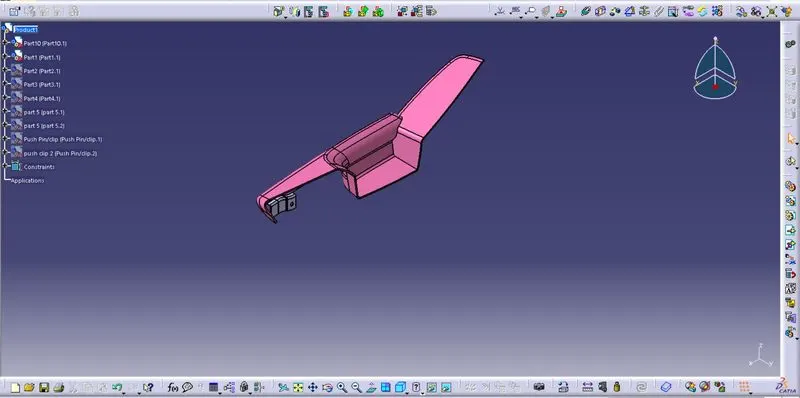
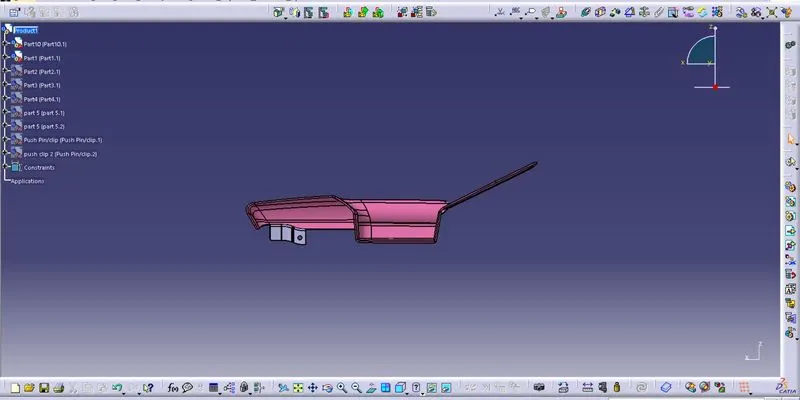
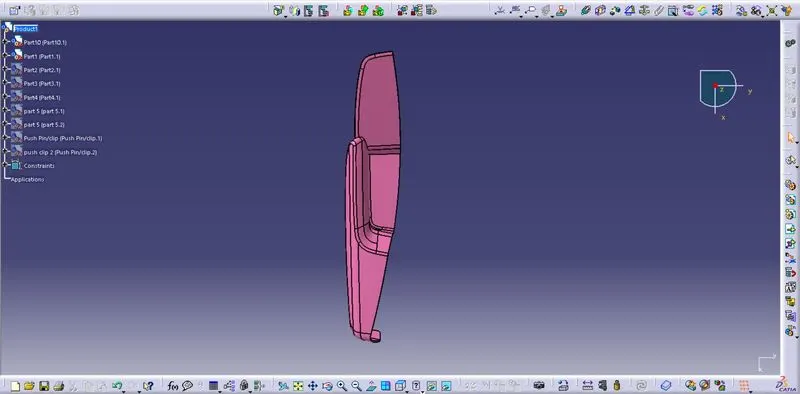
Part2: Lower substrate
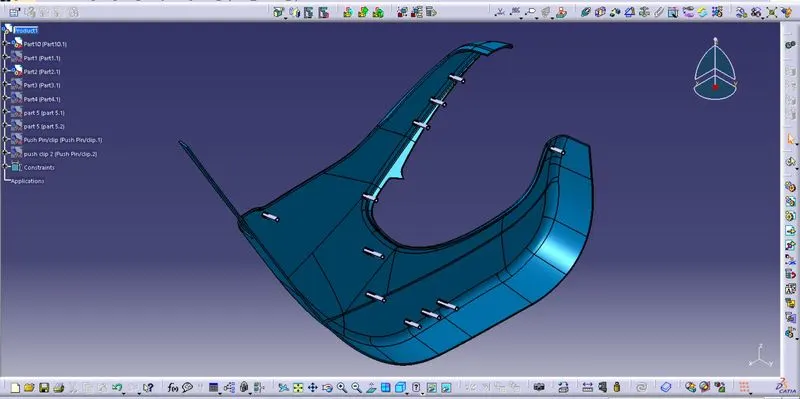
Part3: Map pocket
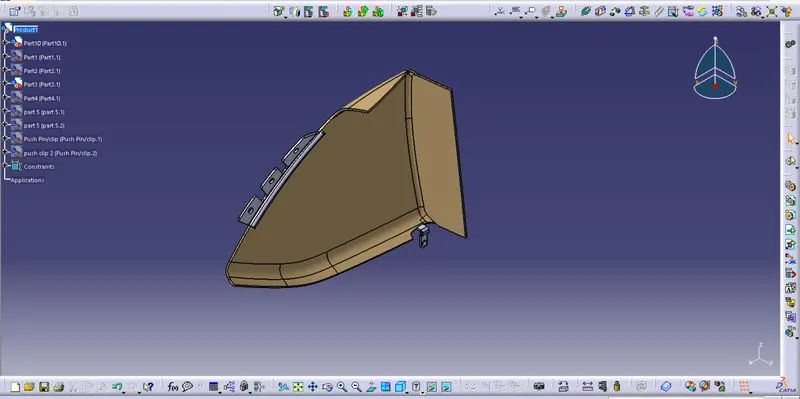
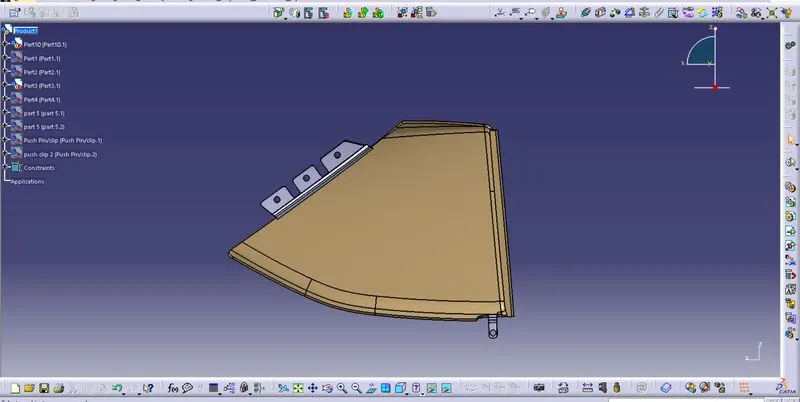
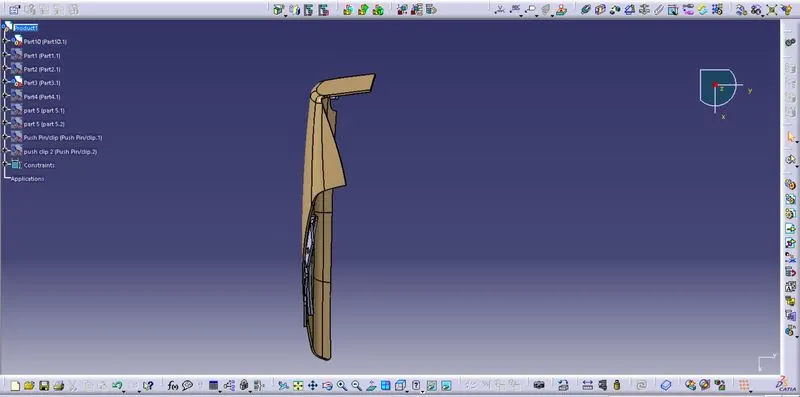
Part4: Bottle holder
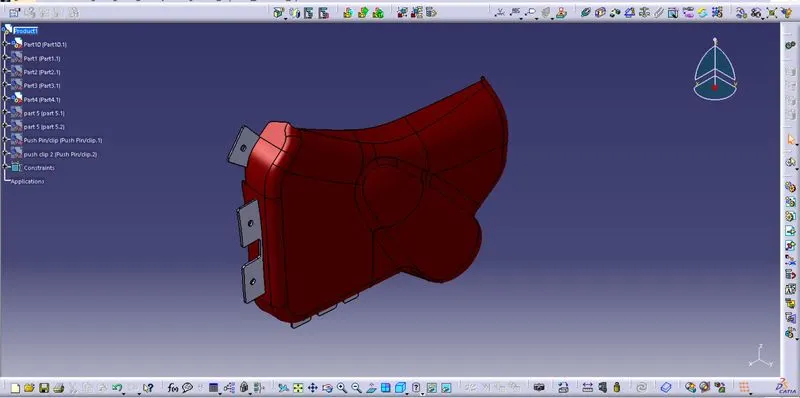
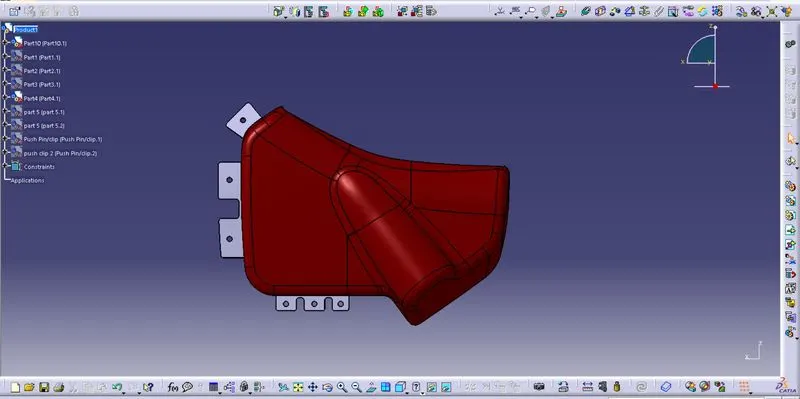
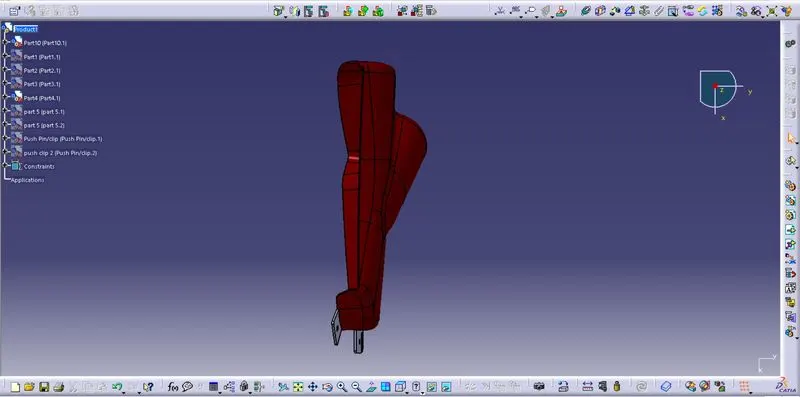
Part5: Dog house
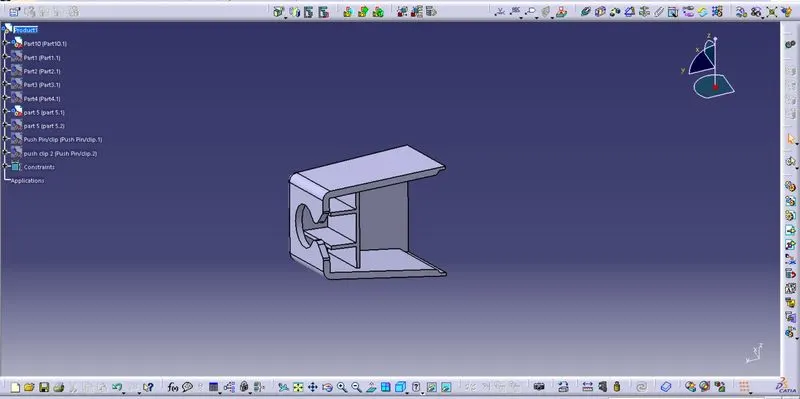
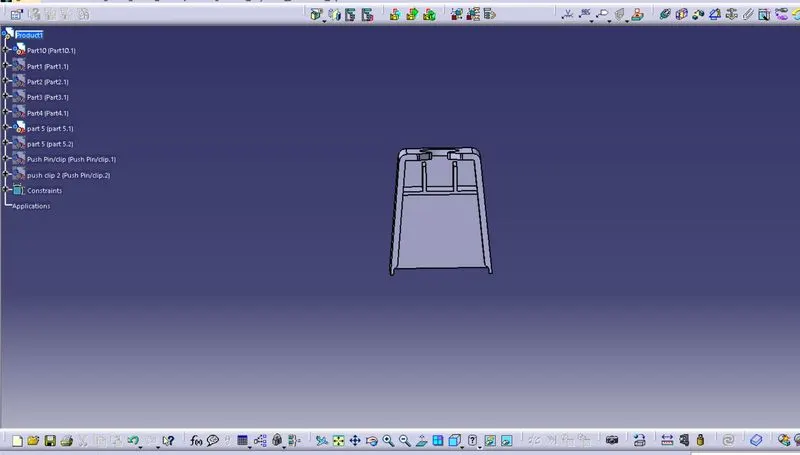
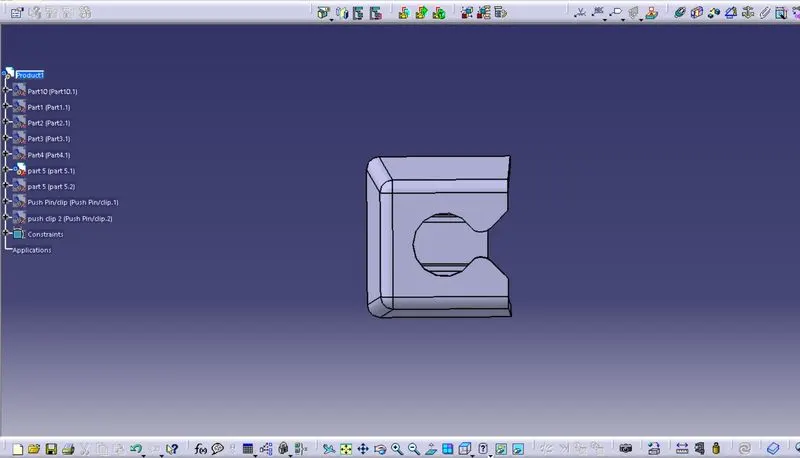
Part6: Pushpin
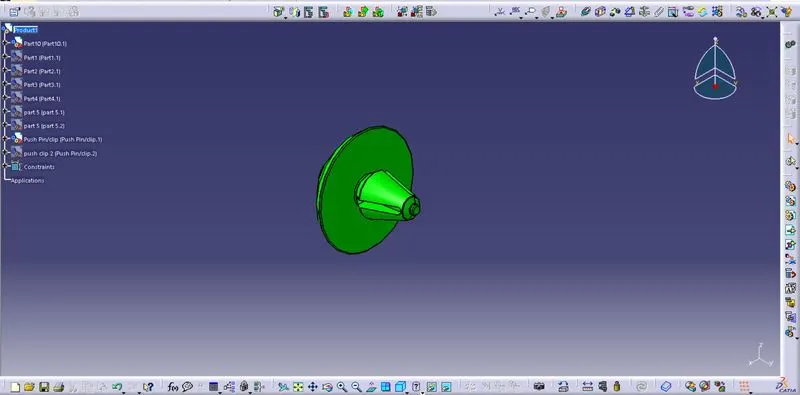
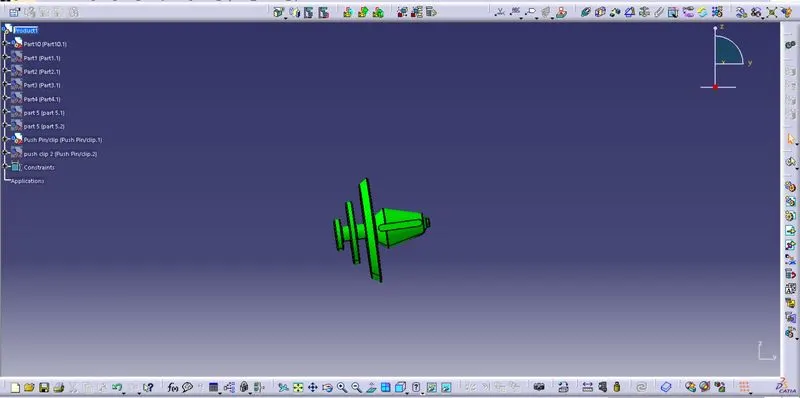
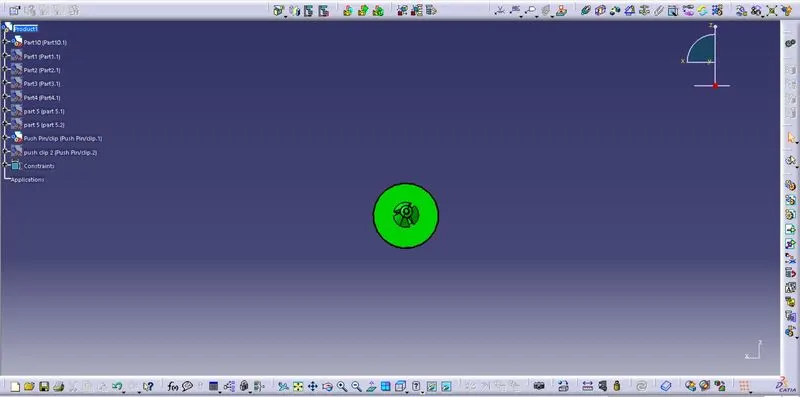
Assembly of all the parts:
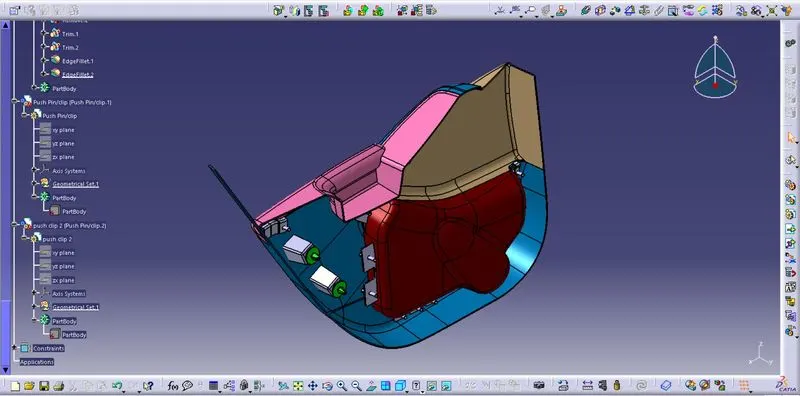
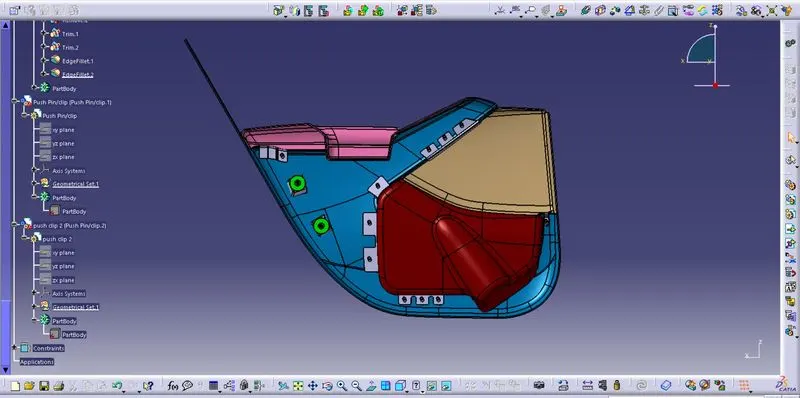
Creation of parts:
Part creation involves extracting the class-A surface, offsetting the class-A to 2.5mm gives the class-B surface. Both class-A and class-B surfaces can be joined by creating a class-C surface. The class-C surface is the side walls which define the thickness of the component. once we create class-A, class-B and class-C surfaces we join all the three elements which form a final component of a thickness of 2.5mm. After the final component is created go to the part workbench and use the close surface option to make it solid. Once we get the solid body we perform draft analysis using the main tooling axis and the min draft angle is 3deg.
Creation of Flanges:
Once we create the solid bodies, we need to create flanges and other engineering features by referring to the master sections provided. The given master sections contain heat stakes attached to the flanges. First, activate the body which has a flange. Using the measure option, measure the distance between the edges of the flange and the fillet radius. After measuring we extract the edge of the body that has the flange. Using the extracted edge we extrude it to a certain mm and form the shape of the master section. Once we create the surface of the flange, we go to the part workbench and use thicken option to create a solid body with a thickness of 2.5mm. The created flange is formed as a single surface. so we cut it into required portions, for example, the flange attached to the map pocket is divided into 3 parts. To attach a heat stake to the flange we need to make holes at the required positions. In this way, we create the flange at the given master sections and also at the bottle holder where the master sections are not given. we created the flange to the bottle holder to add heat stakes and attach with the lower substrate.
Creation of heat stakes:
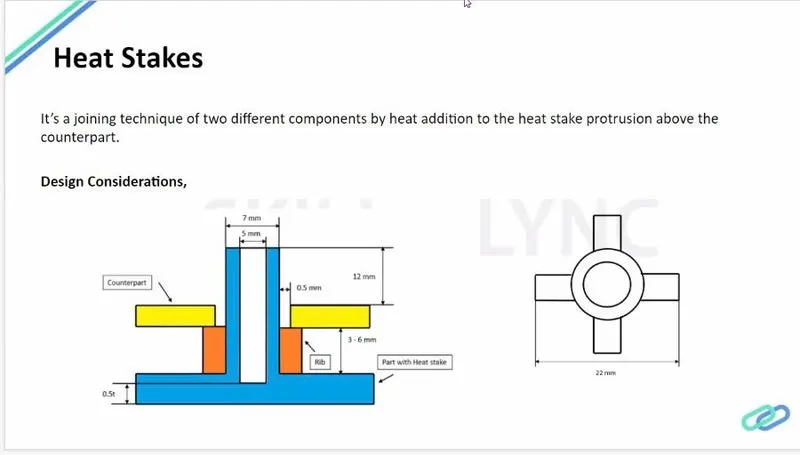
As per the design standards of the heat stakes, the main door trim is attached with the heat stakes at the points where the flanges are located. All the heat stakes are attached to the lower substrate and all the flanges are attached to their respective parts with master sections and other parts.
After the heat stakes Dog house is attached. These dog houses are attached parallel to the edge of the lower substrate. Over the dog house, the push pins are attached which enables the fixation to the BIW component of the door. All the parts are attached to each other using the constraints.
Conclusion: As per the given class-A surfaces, solid bodies are created, flanges and heat stakes are created using the master sections, and dog house along with push pins are also attached to the main door trim forming a complete assembly.