Week 11 - Final project
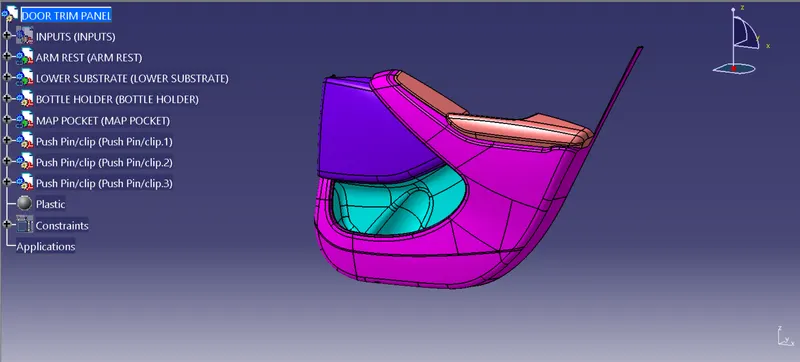
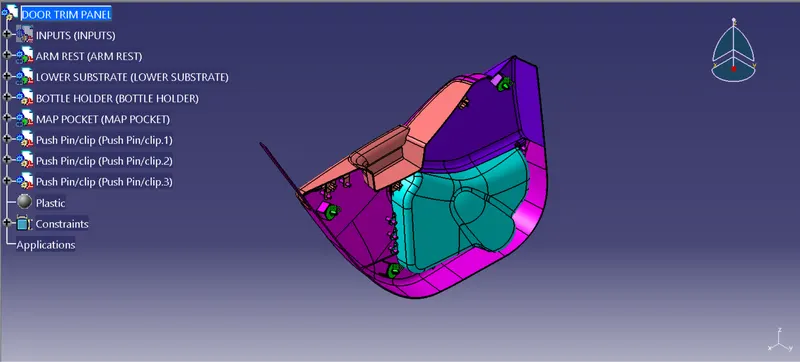
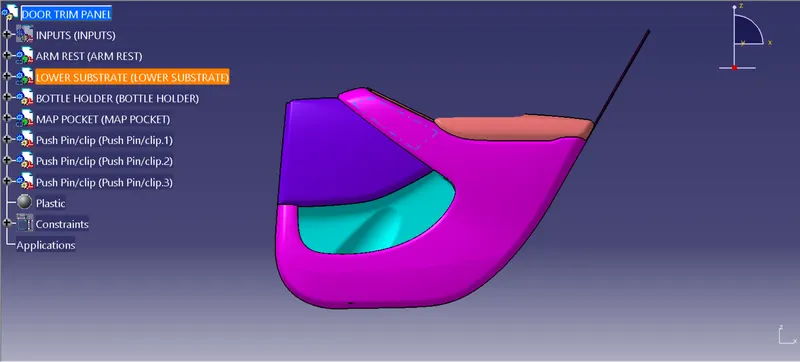
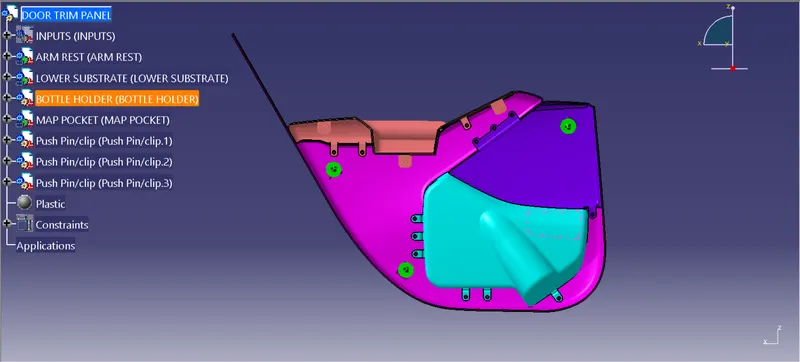
AIM: To develop a Door Trim Panel from the given class A and master sections and also create the attachment features.
OBJECTIVE:
- To create the class B & C surfaces from the given class A surface for all components of the door trim
- To form a solid body i.e. thickened part for all components
- Refer the master sections for nominal thickness and to develop the B side or attachment features
- To create the tooling axis and perform draft analysis
- To create the mounting features as per design guidelines in the industry and with master sections
- Apply the material details
INPUTS:
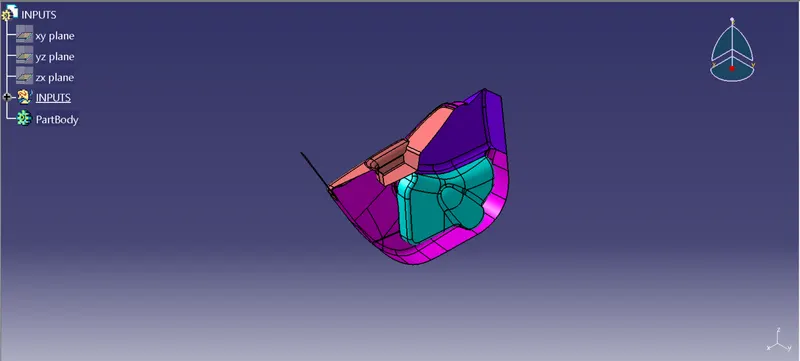
CLASS A SURFACE:
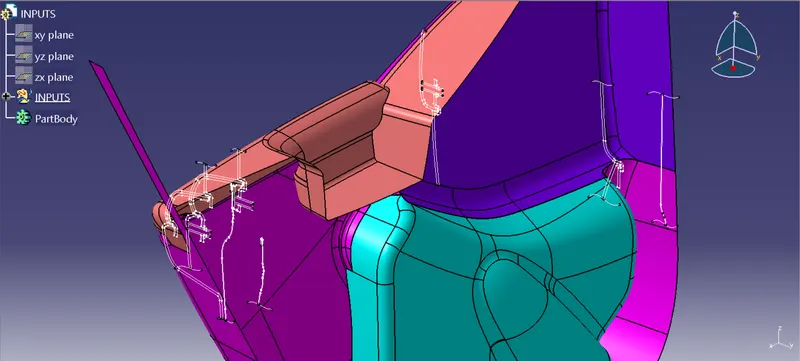
MASTER SECTIONS:
PROCEDURE:
- Download the input files for the class A surface and master sections, study the inputs provided
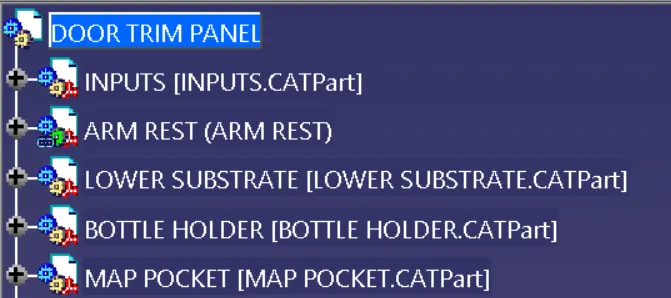
- In Catia create a product file and name it as Door Trim Panel
- In that create part files to add all the components of the Door Trim Panel i.e. the Arm Rest, Lower Substrate, Bottle Holder & Map Pocket
- Next step is to create the tooling axis for the class A surface of each component
- Check for any disscontinuities in the class A surface, if found make the required improvements
- We would get the class B surface by offsetting the class A surface at a distance of 2.5mm
- Next step is to create the class C surface for which first extract the edges of the class A and sweep them at a certian distance considering 3° draft angle
- Then join all the three surfaces and trim the unwanted faces to form a single plastic component
- Now in the part workbench use the closed body command to form a solid component
- Follow the similar procedure to develop all the other components of the Door Trim Panel i.e. Lower Substrate, Bottle Holder & Map Pocket
- Now next we need to develop the attachment features or the B side features like flanges, Heat Stakes, Screw Bosses & Dog House
- We need to follow the master sections and the design guidelines in order to create the attachment features wherever required on the panel
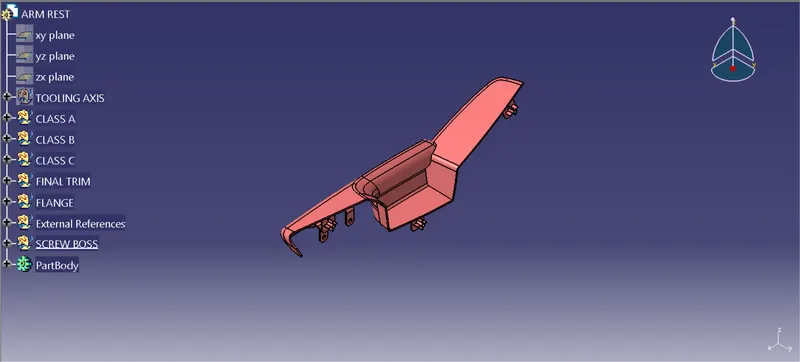
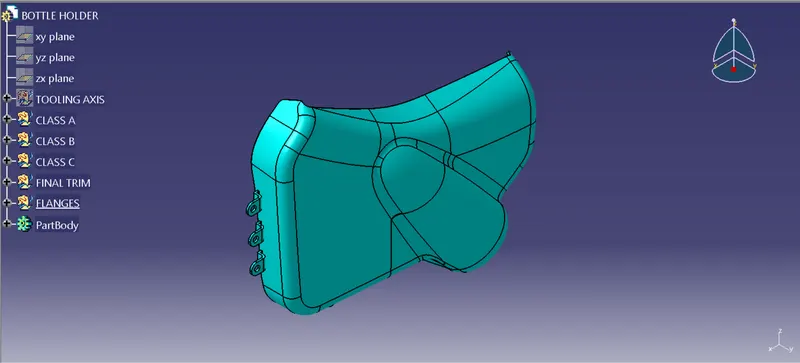
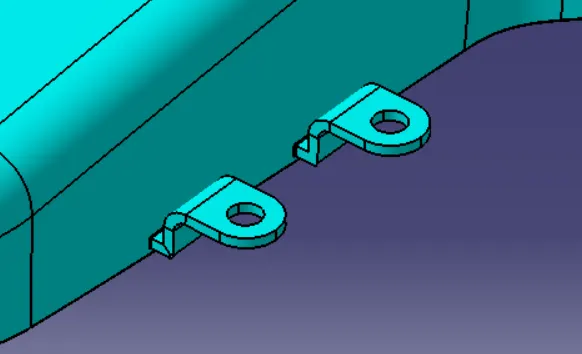
- Flanges will be required on the Arm Rest and the Bottle Holder for the purpose of mounting
- To create flanges sketch the profile and pad it then translate it to the required locations
- Add minimum fillet of 0.25mm on the edges of the flanges
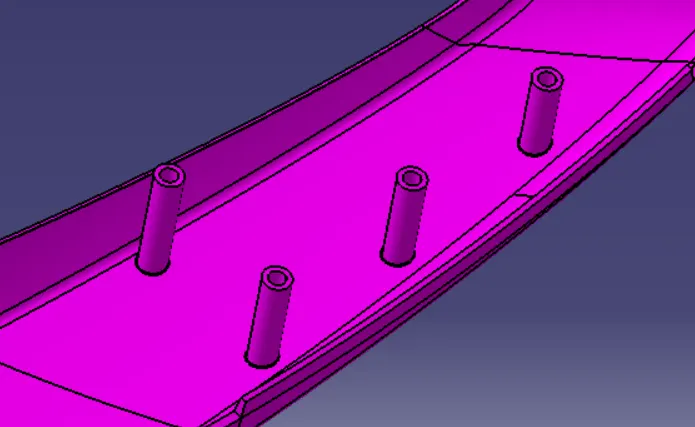
- Heat Stakes will be required on the Lower Substrate
- Follow the similar process as flanges to create the heat stakes
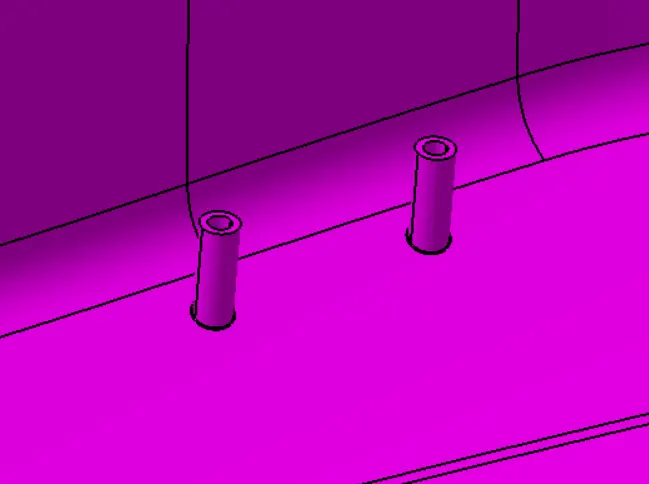
General guidelines that need to be followed while designing the bosses:
- Draft - 0.5 degrees on walls of boss
- Thickness - Typically 40%* of the nominal wall at the base.
- Height to Diameter Ratio - 3:1
- Radii - 0.25mm maximum radii.
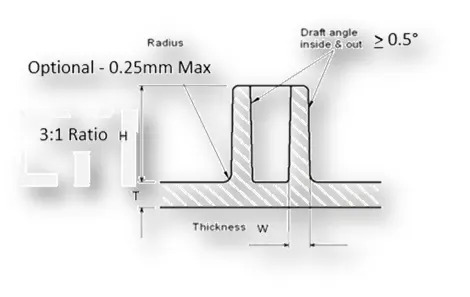
- Sketch the circular profiles and pad till 12mm length considering the 3:1 ratio
- Provide 0.5° draft on the surface with the tooling axis as pulling direction
- Provide fillet with 0.25mm radius on all edges
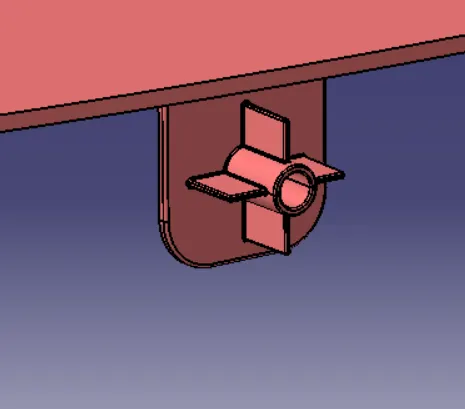
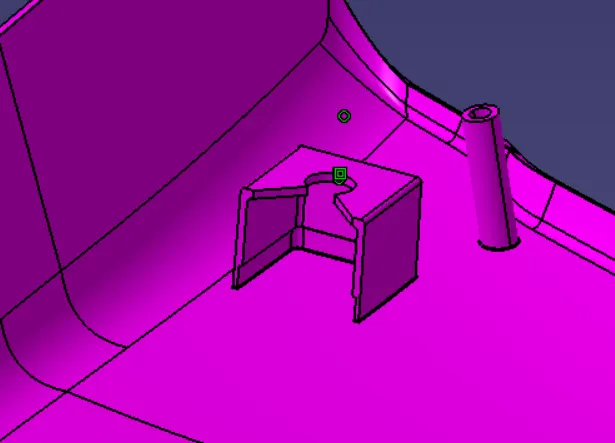
General guidelines that need to be followed while designing the Dog House:
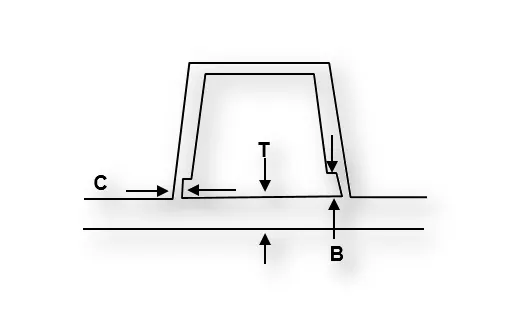
-
Doghouse wall thickness at the intersection of the part wall ( C ) should be 40% or less than the main wall stock ( T ).
- "C" is where the doghouse contacts the backside of the surface
-
Height of ( B ) should be between 3.0 – 6.0 mm
- Sketch the dog house profile and extrude
- Add thickness of 2mm
- Provide 0.5° draft on the faces with side the tooling axis as pulling direction
- To form the "C" profile offset the base at 4mm and extrude the dog house then offset it by 1mm use trim to get the profile (The length for C will be 1mm)
- Then split it with the thickned solid
- Provide draft on the inner faces
- Give 1mm fillet on inner surface of house and 3mm on outer
ARM REST:
CLASS A
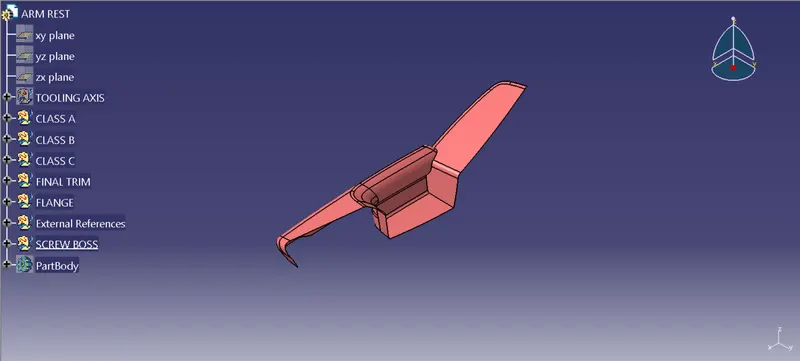
CLASS A & B
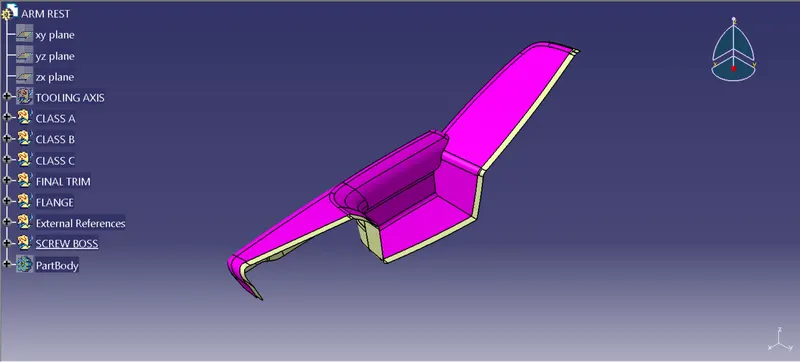
CLASS C
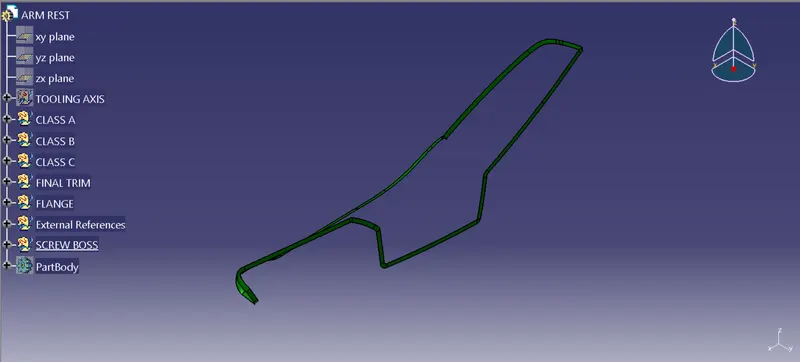
FINAL SOLID COMPONENT:
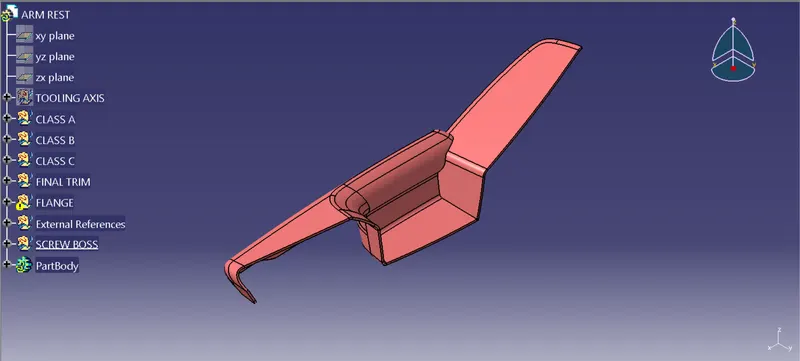
ARM REST WITH ATTACHMENT FEATURES:
LOWER SUBSTRATE:
CLASS A
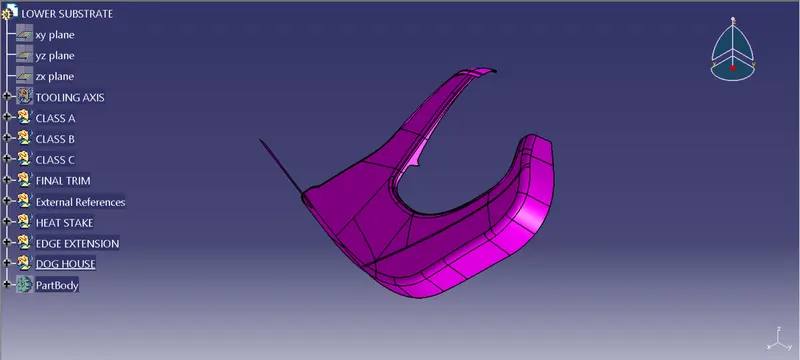
CLASS A & B
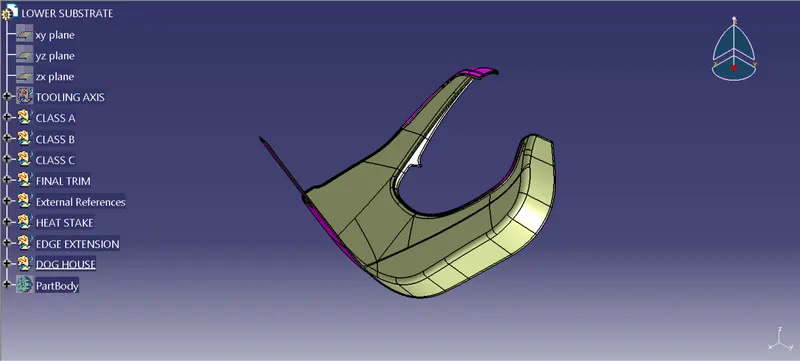
CLASS C
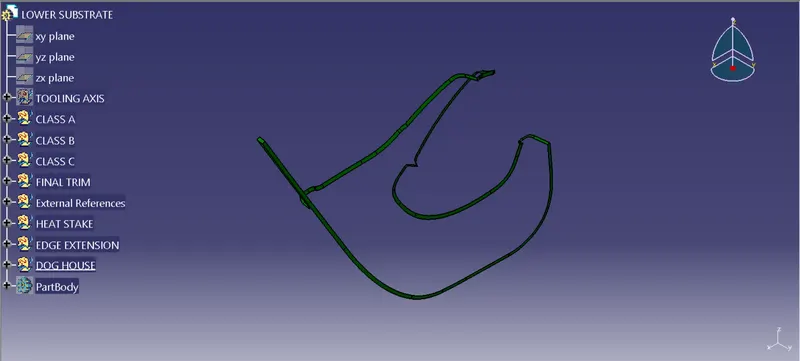
FINAL SOLID COMPONENT
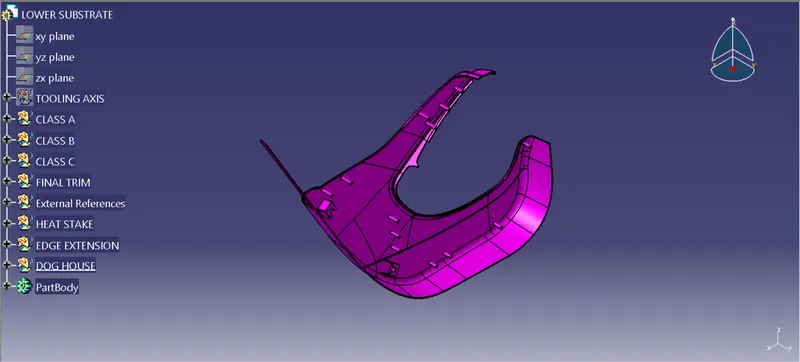
BOTTLE HOLDER:
CLASS A
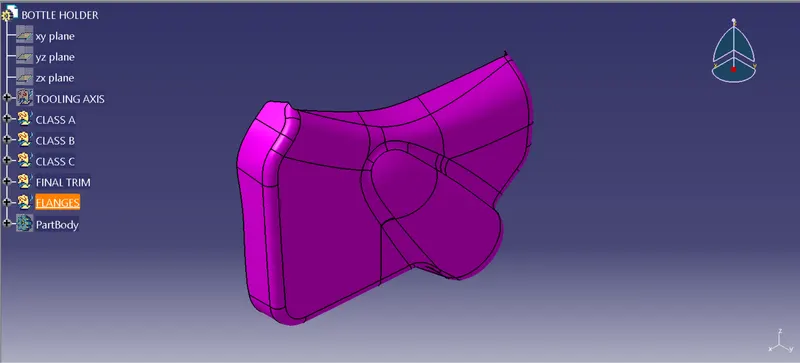
CLASS A & B
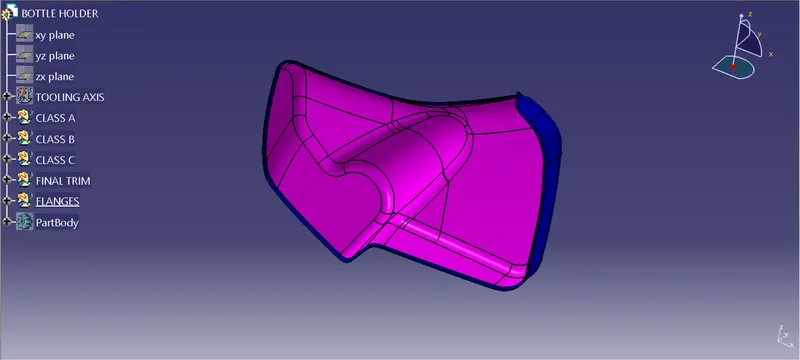
CLASS C
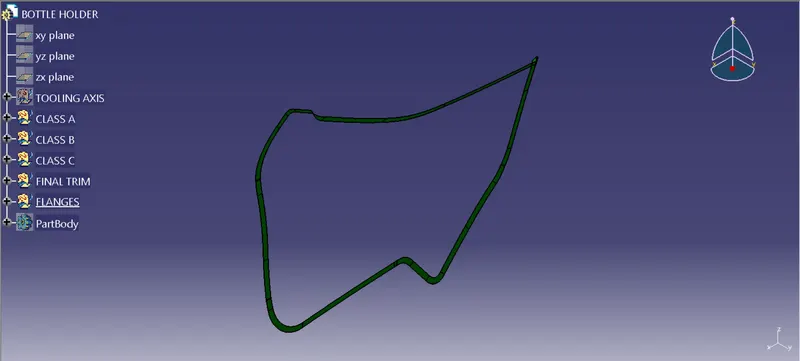
FINAL SOLID COMPONENT
MAP POCKET:
CLASS A
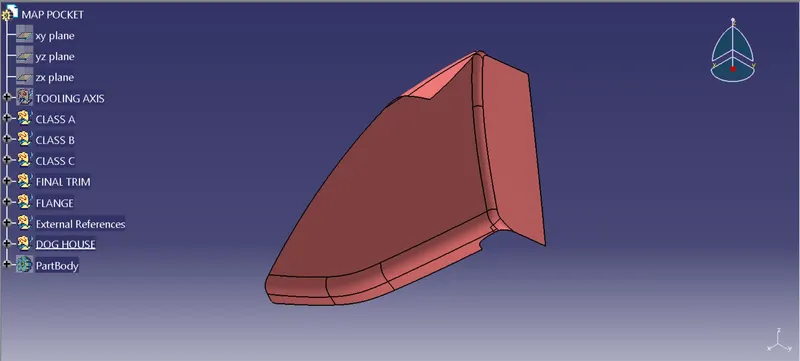
CLASS A & B
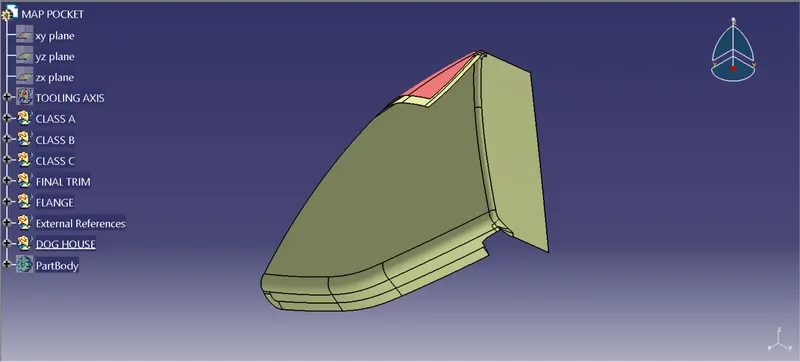
CLASS C
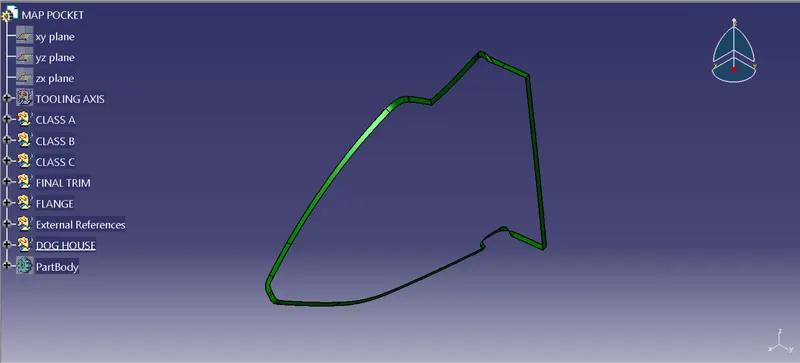
FINAL SOLID COMPONENT
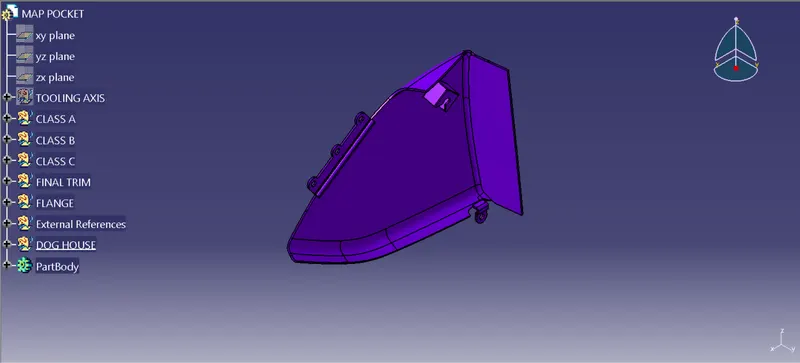
ATTACHMENT FEATURES:
FLANGES
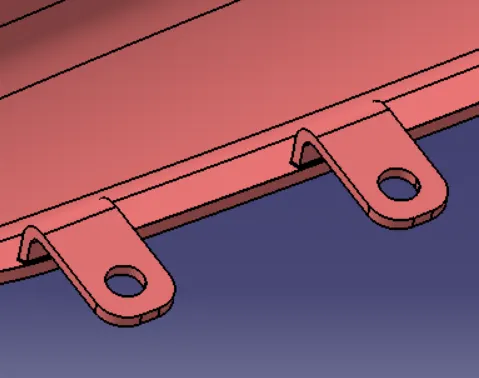
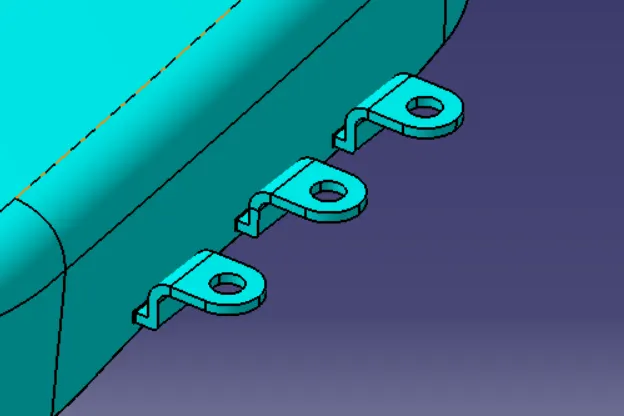
HEAT STAKES
SCREW BOSS
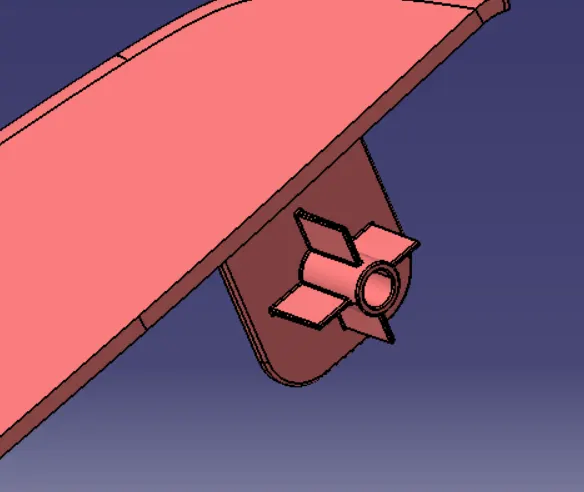
DOG HOUSE WITH PUSH PIN
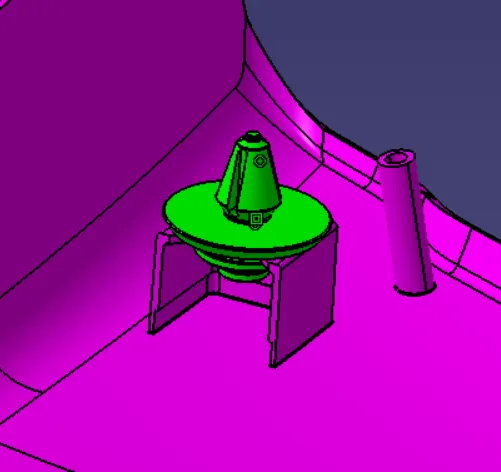
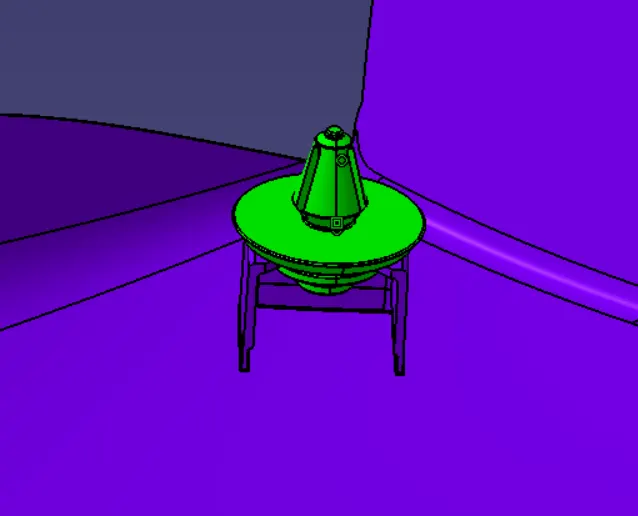
FINAL DOOR TRIM PANEL:
RENDERS:
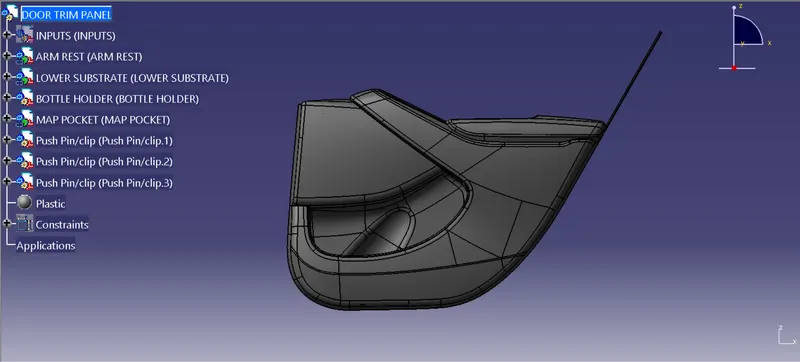
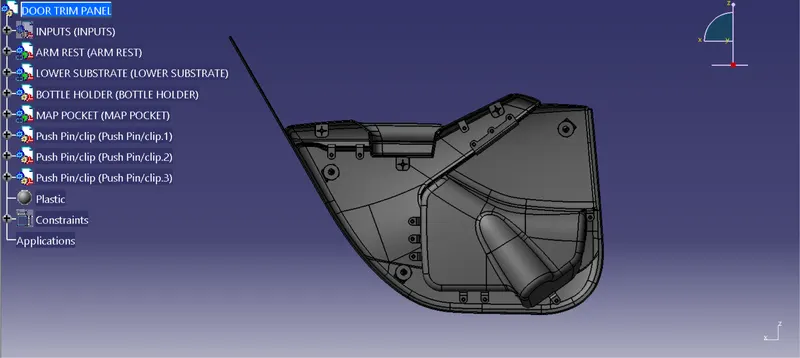
Applying the material as plastic on the door trim panel and creating the renders
CONCLUSION:
By working on this project I was able to apply my plastic component design knowledge which I had gained while learning this course to develop the Door Trim Panel considering the inputs(class A & master sections) as like in OEM and tier1 companies.