Week 11 - Final project
FINAL PROJECT - DEVELOPMENT OF DOOR TRIM PANEL
Objective :
To create the product file from the Class A data with all parts separated out.
To create the proper tooling axis for the given Class A surface and to perform draft analysis
To generate the Class B and Class C surfaces with reference to the given Class A surface and to produce the closed surface from it.
To create the flanges and required engineering attachment features by referring to the given master sections. Screw boss, dog house and Heat stakes are created which are required for the final join operations.
Theory :
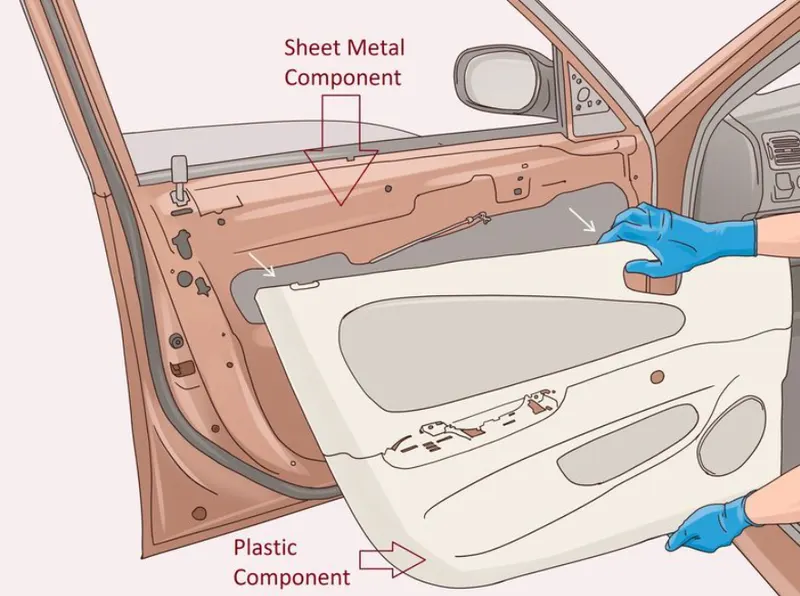
Door trim panel -
A door trim panel is the assemblage of various parts which are produced by injection moulding or other plastic process. Door trim panel is the interior part of the car door which covers the inside parts of the car door.
Procedure :
Creating a product file with all the parts
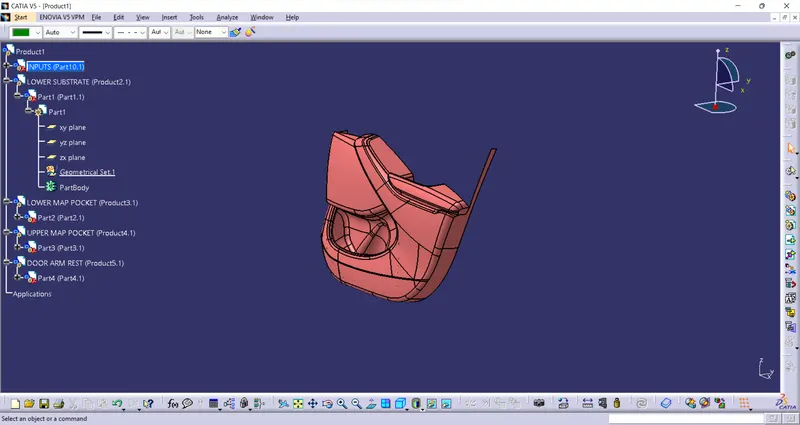
Lower substrate -
Create the tooling axis
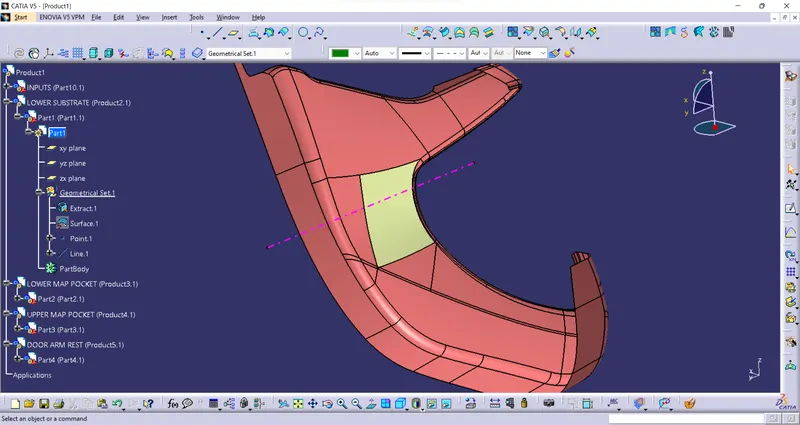
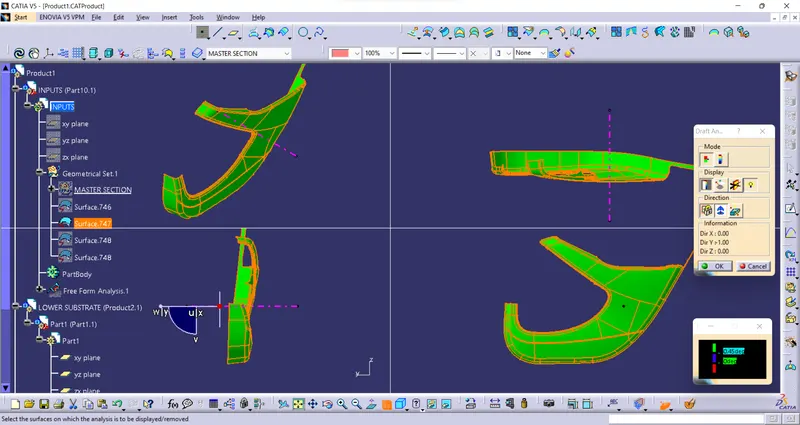
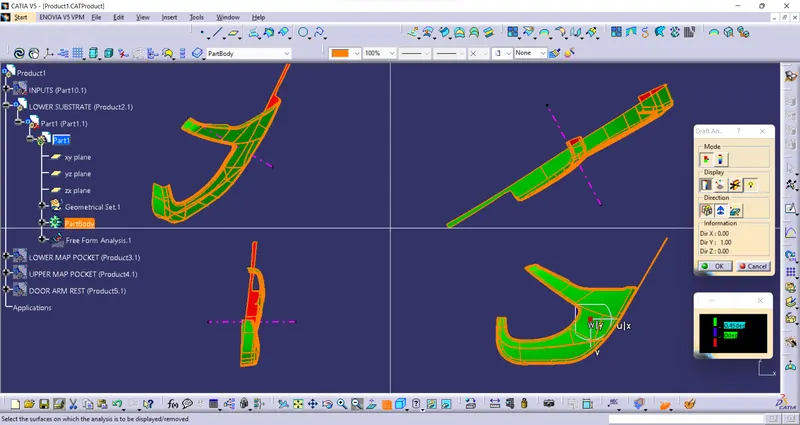
Create draft analysis
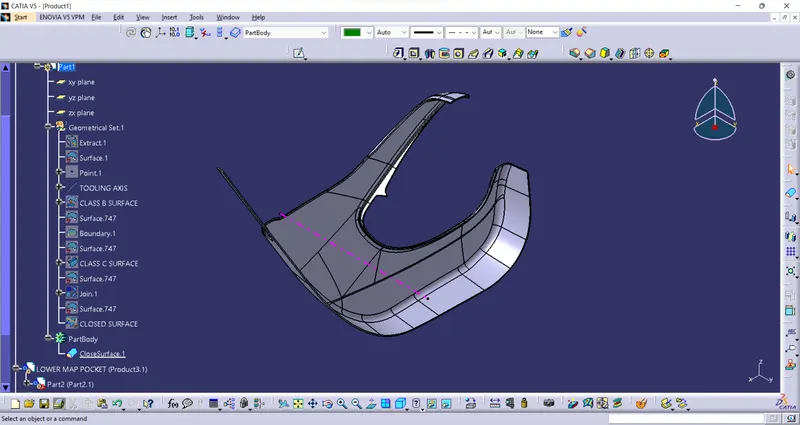
Create Class B and Class C surfaces. A Class B surface is created using the offset surface to a distance of 2.5 mm. For a Class C surface, the boundary of the Class A surface is created, and then the swept surface is created with reference to the boundary and Class A surface.
Check for open gaps using boundary feature
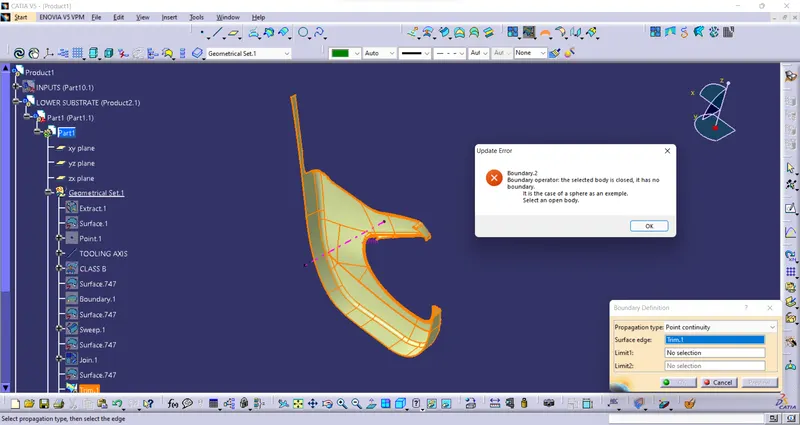
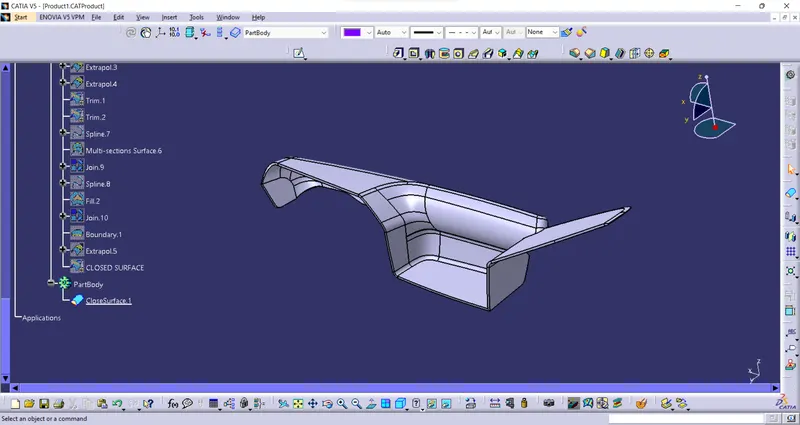
Close the surface
Draft analysis
Lower map pocket -
Create the tooling axis
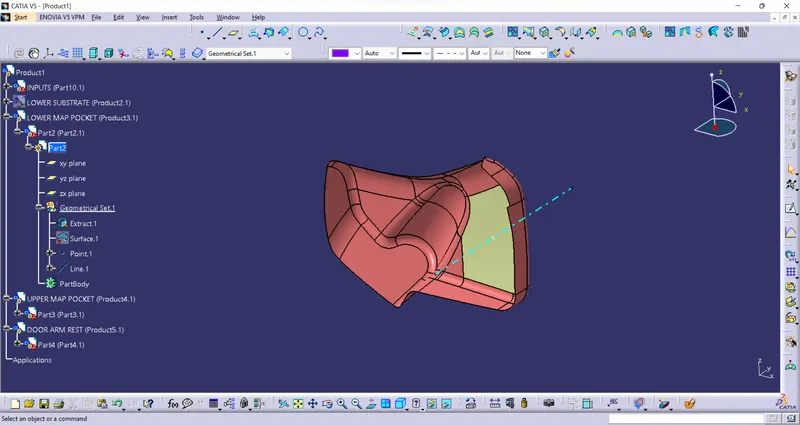
Draft analysis
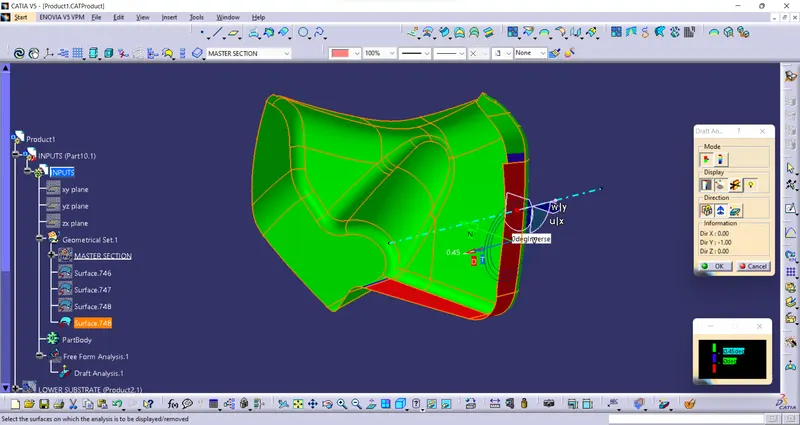
Create Class B and Class C surfaces. A Class B surface is created using the offset surface to a distance of 2.5 mm. For a Class C surface, the boundary of the Class A surface is created, and then the swept surface is created with reference to the boundary and Class A surface.
Check for open gaps using boundary feature
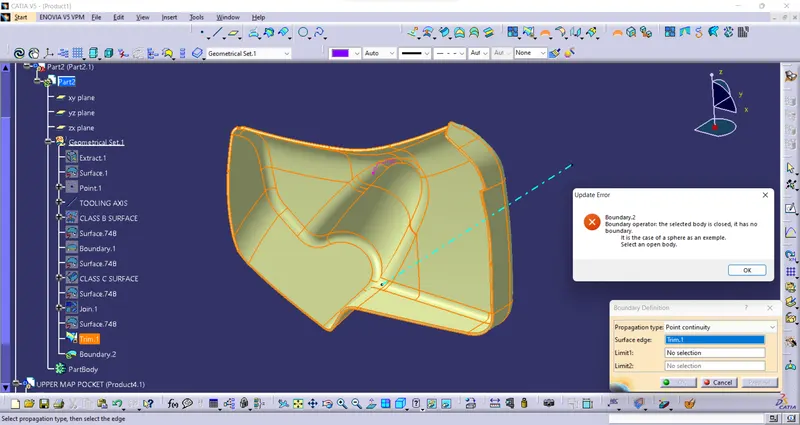
Close the surface
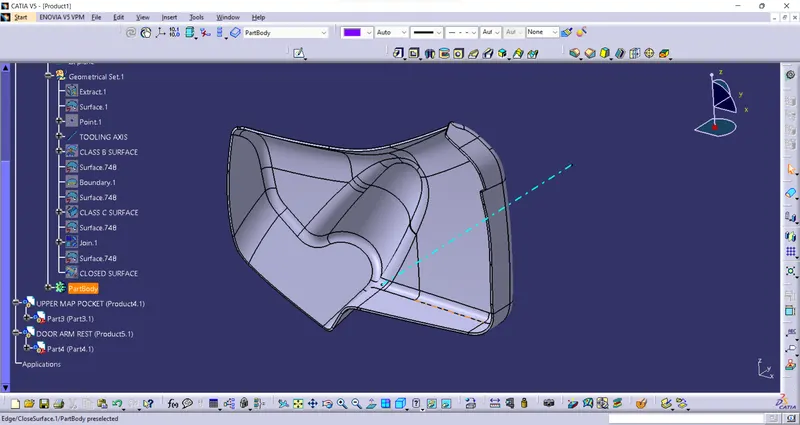
Draft analysis
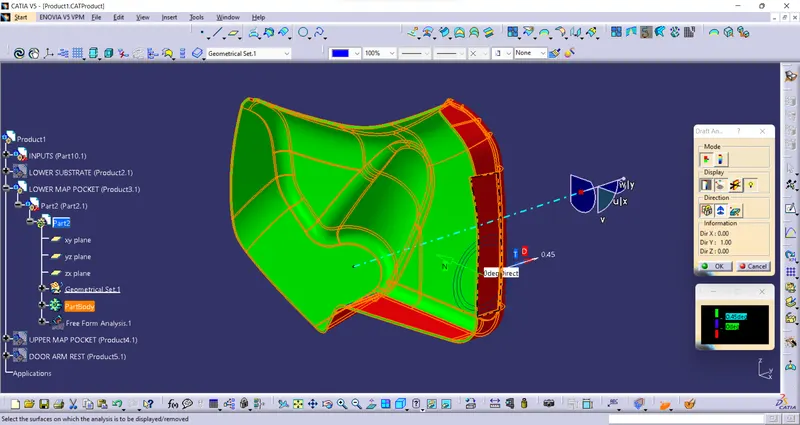
Upper map pocket -
Create the tooling axis
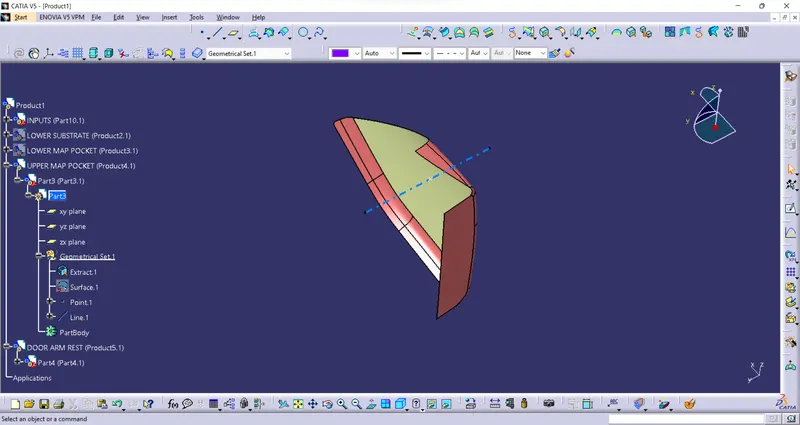
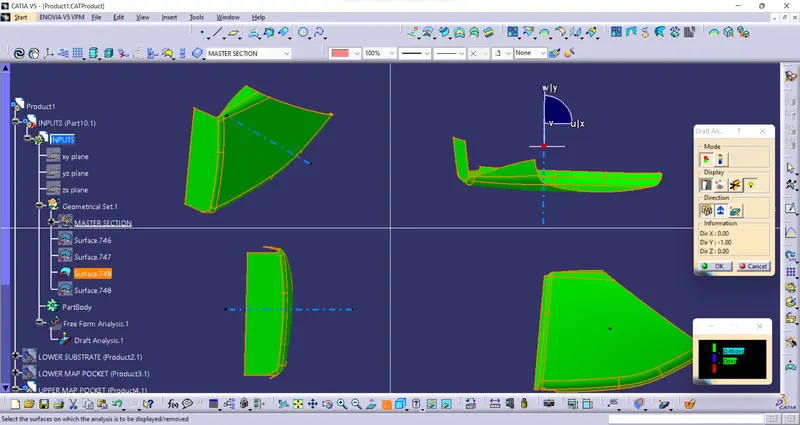
Draft analysis
Create Class B and Class C surfaces. A Class B surface is created using the offset surface to a distance of 2.5 mm. For a Class C surface, the boundary of the Class A surface is created, and then the swept surface is created with reference to the boundary and Class A surface.
Check for open gaps using boundary feature
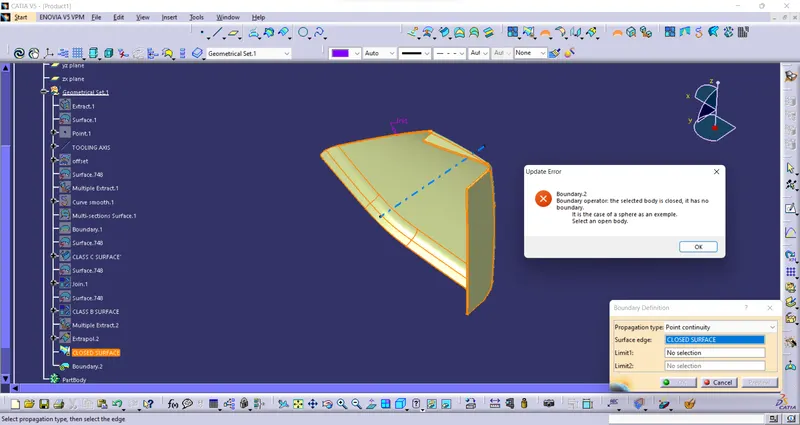
Close the surface
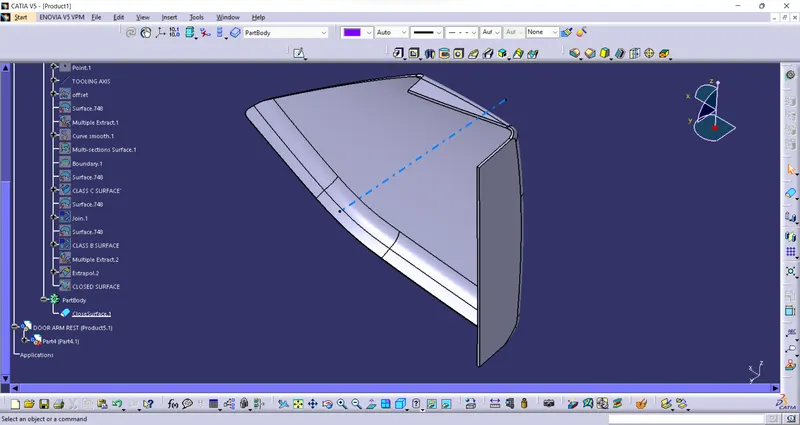
Draft analysis
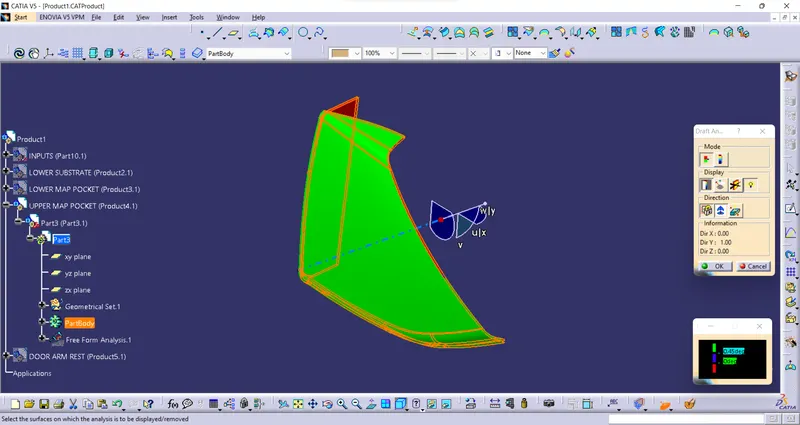
Door arm rest -
Create the tooling axis
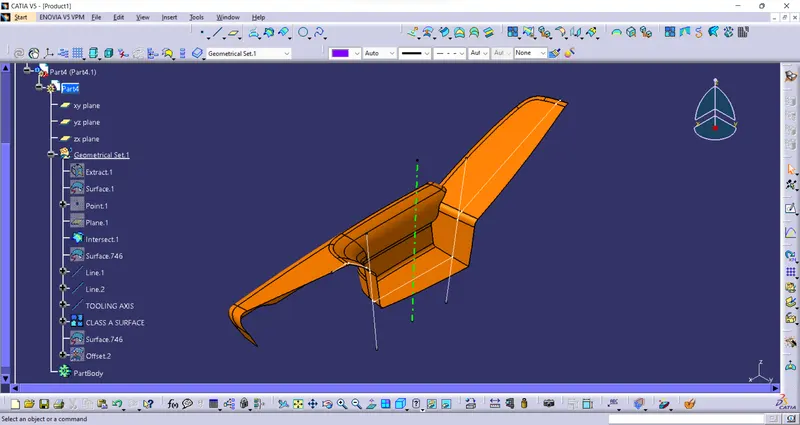
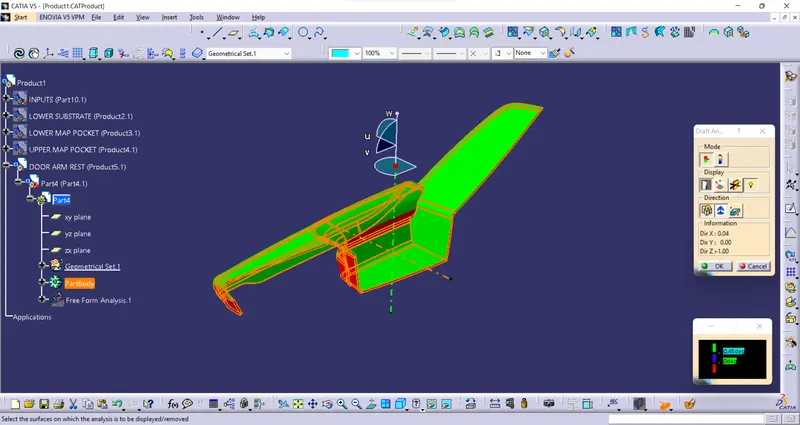
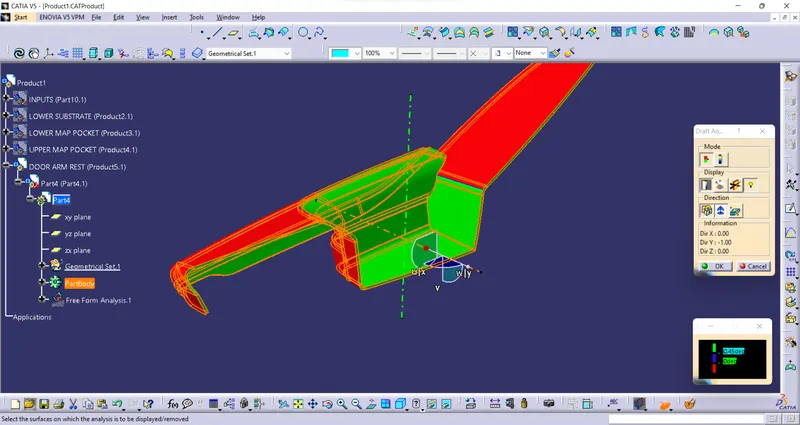
Draft analysis
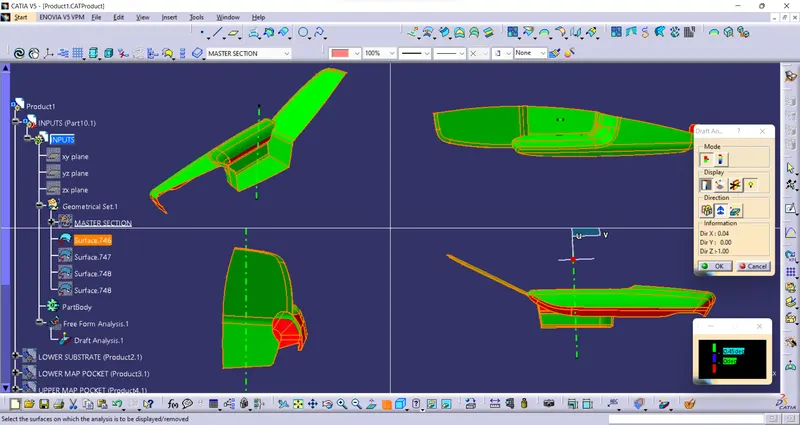
This requires side core axis. Create the side core axis and create the draft analysis
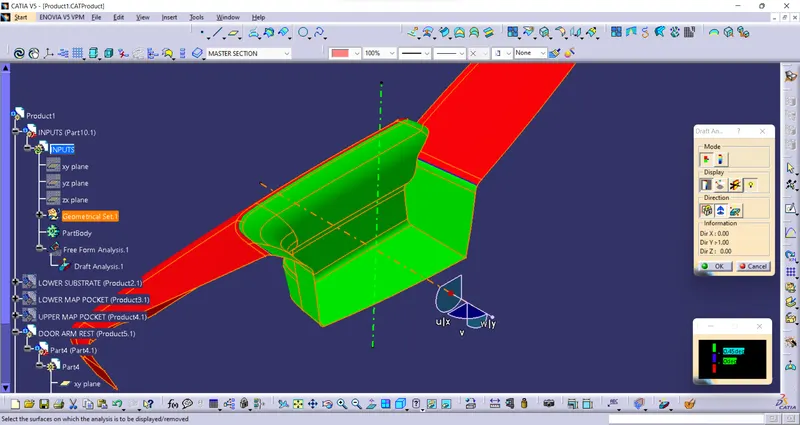
Create Class B and Class C surfaces. A Class B surface is created using the offset surface to a distance of 2.5 mm. For a Class C surface, the boundary of the Class A surface is created, and then the swept surface is created with reference to the boundary and Class A surface.
Check for open gaps using boundary feature
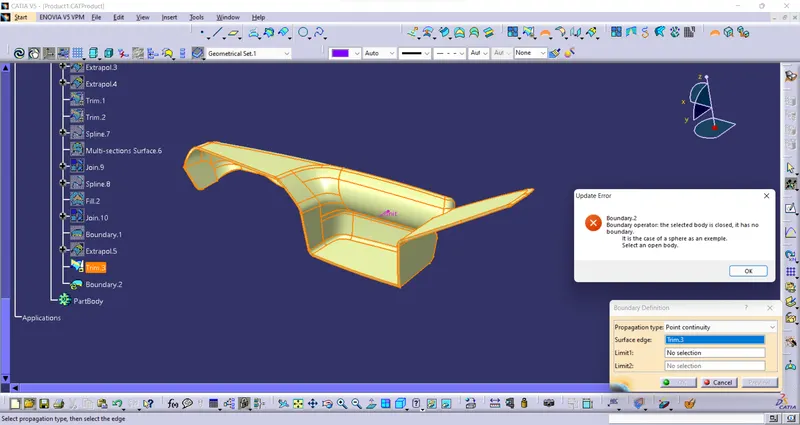
Close the surface
Draft analysis using main tooling axis and side core axis
B SIDE FEATURES CREATION
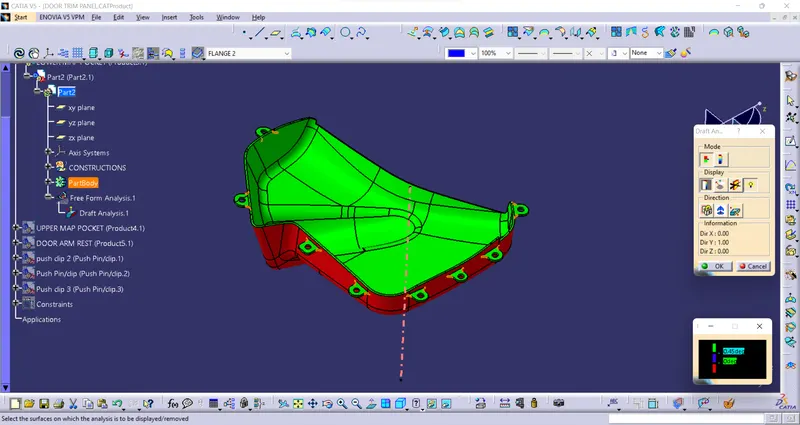
Upper map pocket :
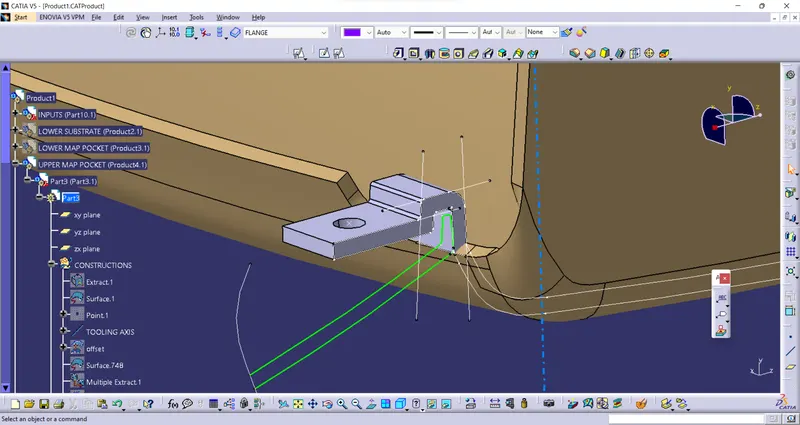
Create the flange as shown in the picture to join with the lower substrate with the help of heat stake. Add this flange to the upper map pocket
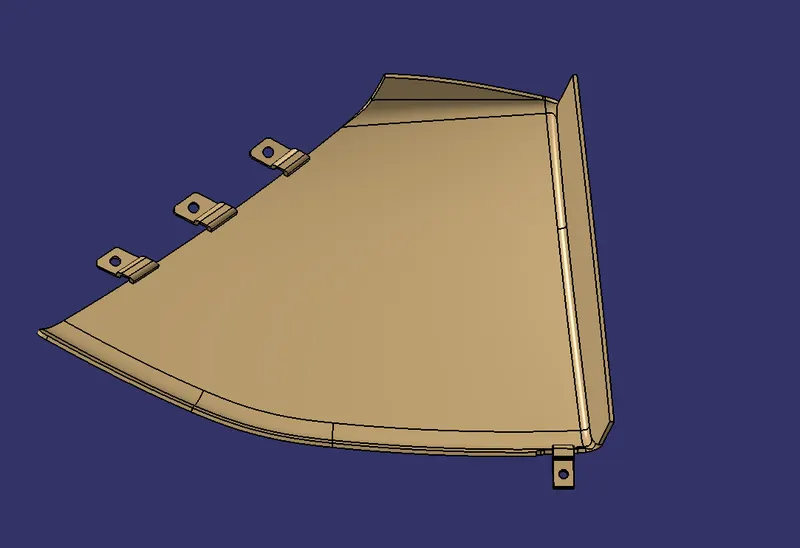
Create the other flanges for heat stakes and locator pins
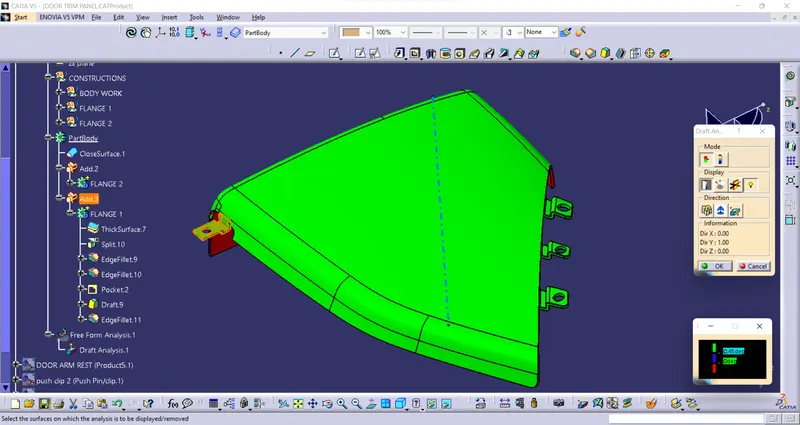
Draft analysis
Lower map pocket :
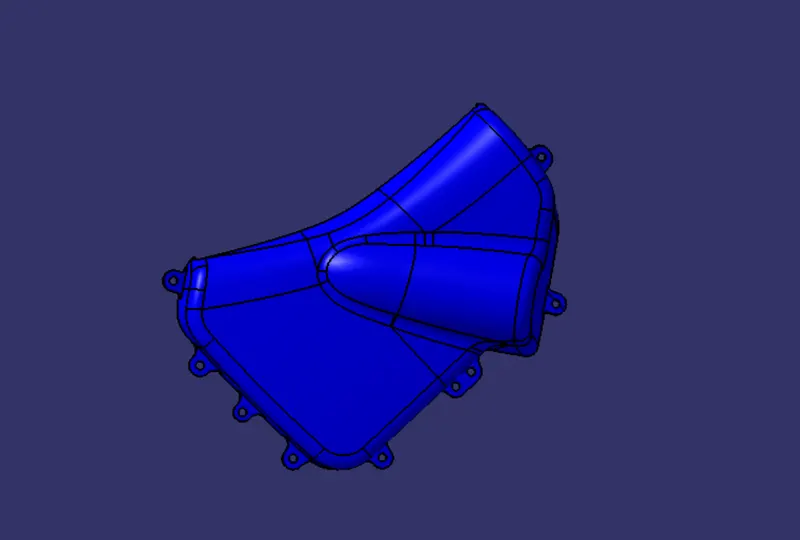
Draft analysis
Door arm rest :
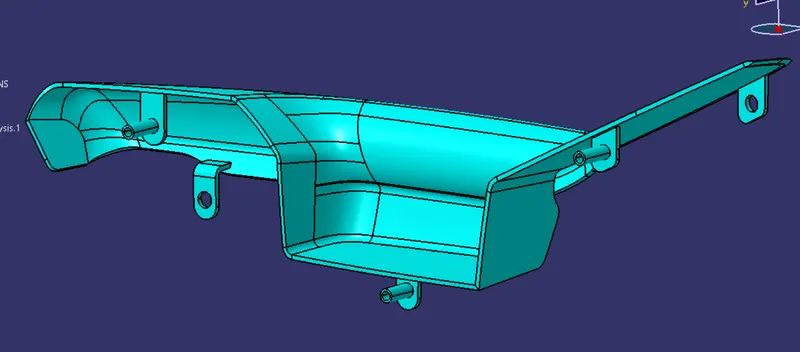
Main tooling axis draft analysis
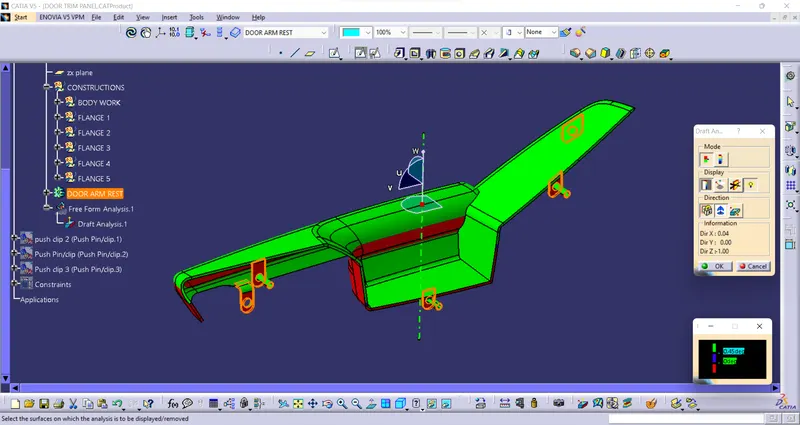
Side core clearance for the b side features
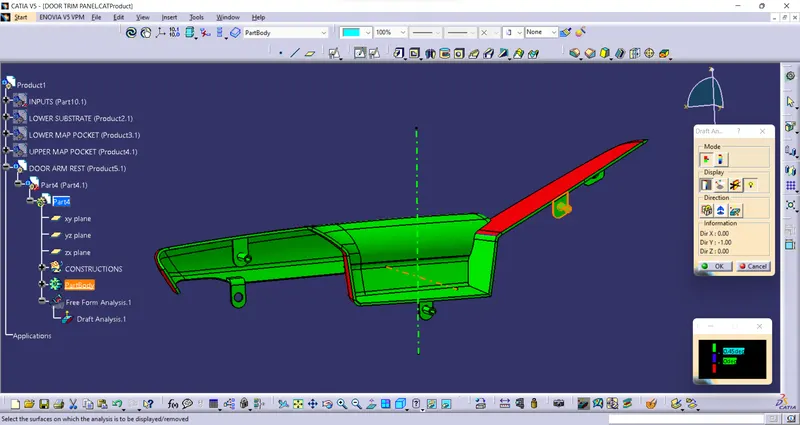
Lower substrate :
Create the three, 4 way locators on the lower substrate as shown. On locator is used to locate the upper map pocket and other both are used to locate the lower map pocket
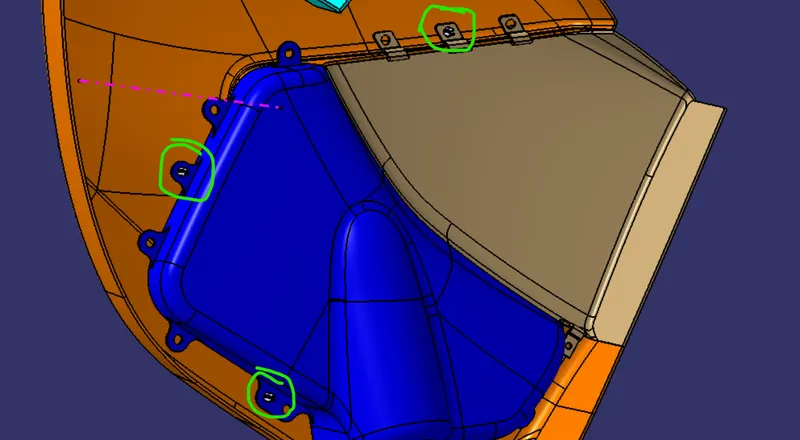
Create the required number of the heat stakes for the attachment of the lower map pocket, upper map pocket and door arm rest to the lower substrate.
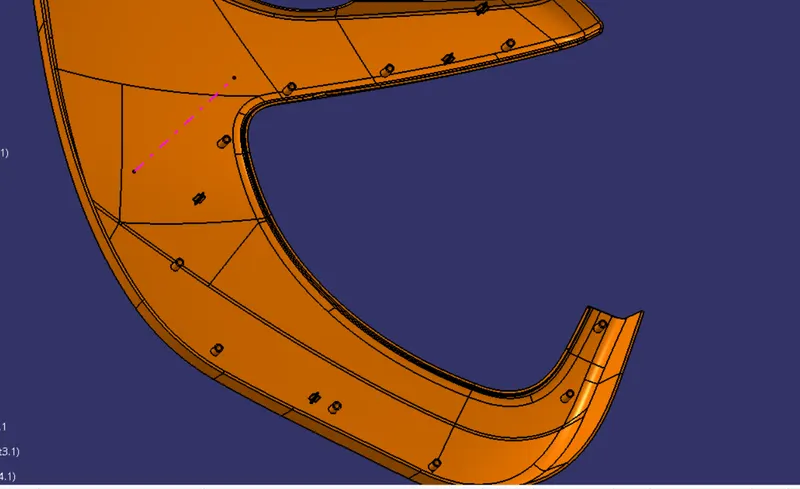
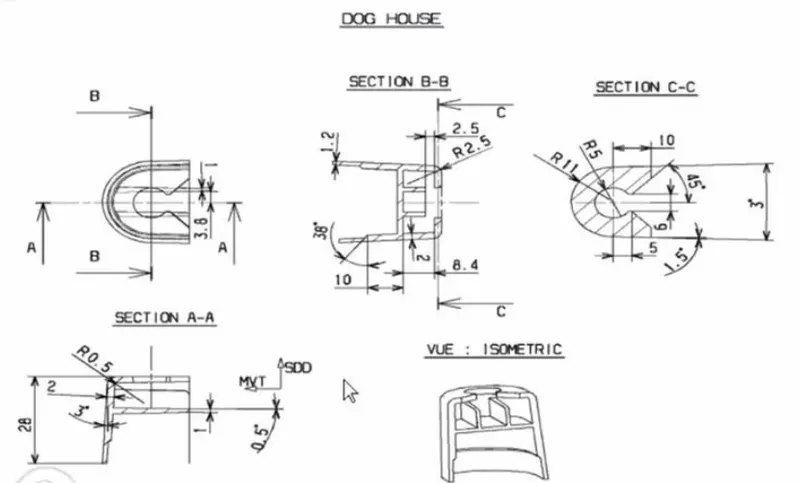
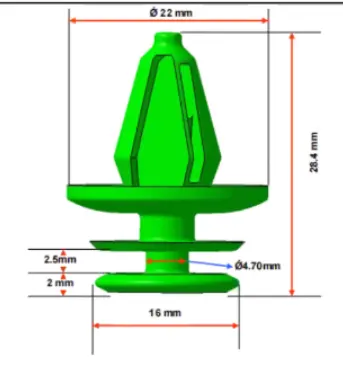
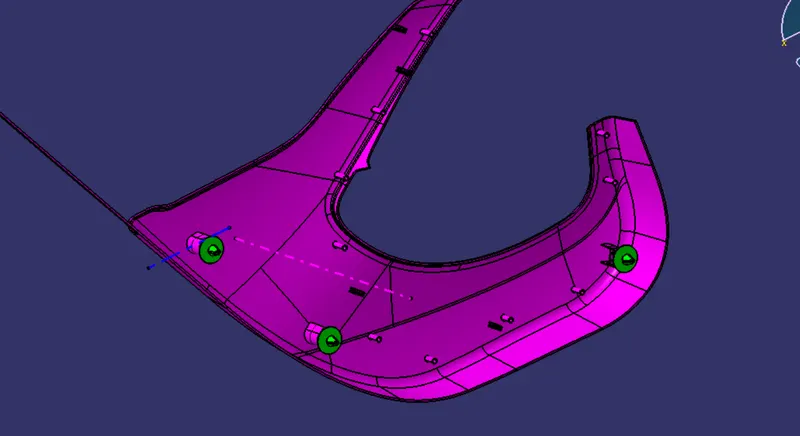
Create the dog house to hold the push clips. The design of the dog house is made as given in the below pictures
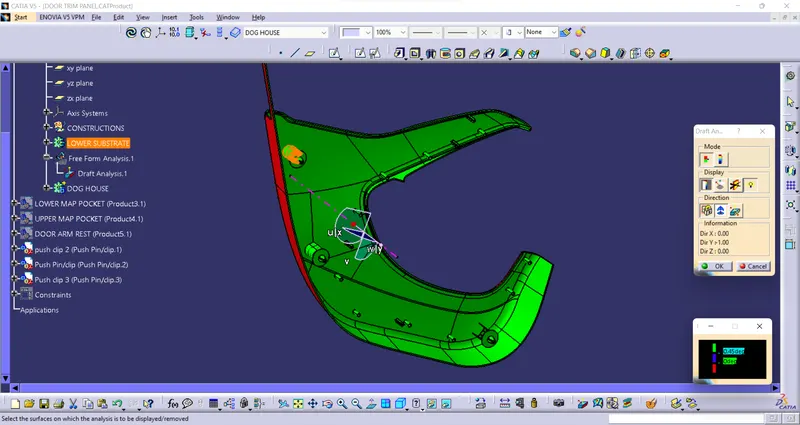
Draft analysis on the dog house using both main tooling axis and side core axis
Main tooling axis
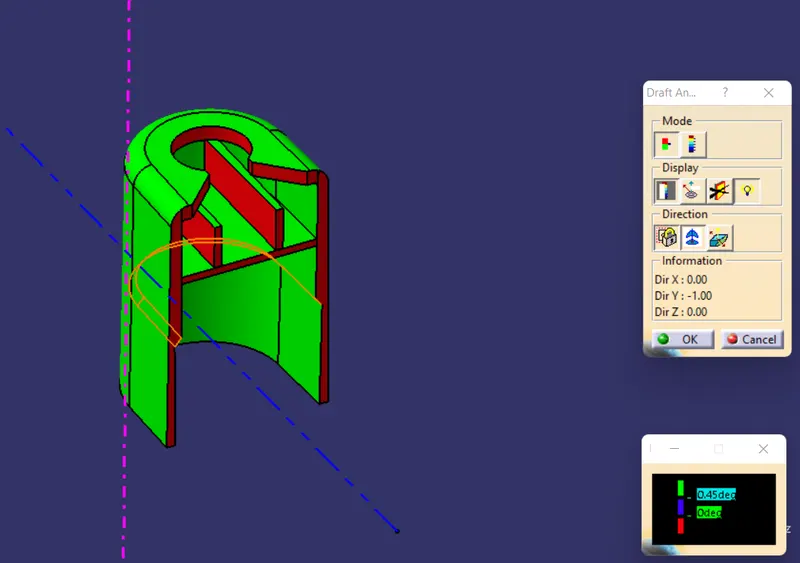
Side core axis
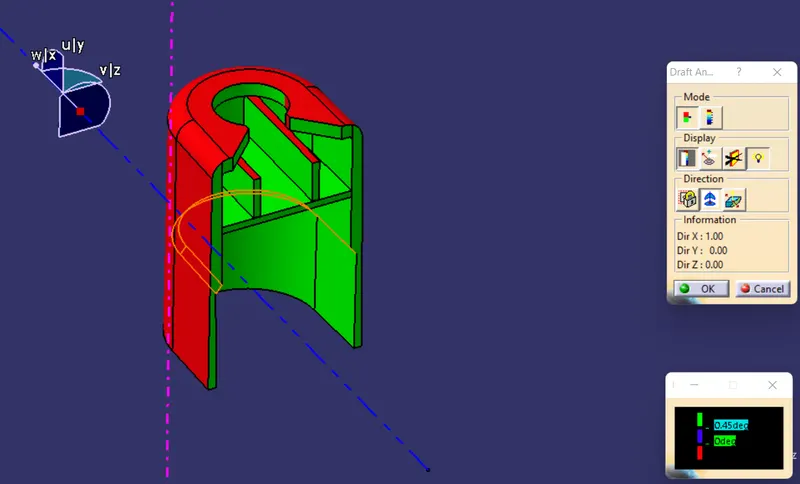
Given push pin clip
Translate the dog house to the required positions and union trim with the lower substrate as shown and assemble the push clips
draft analysis
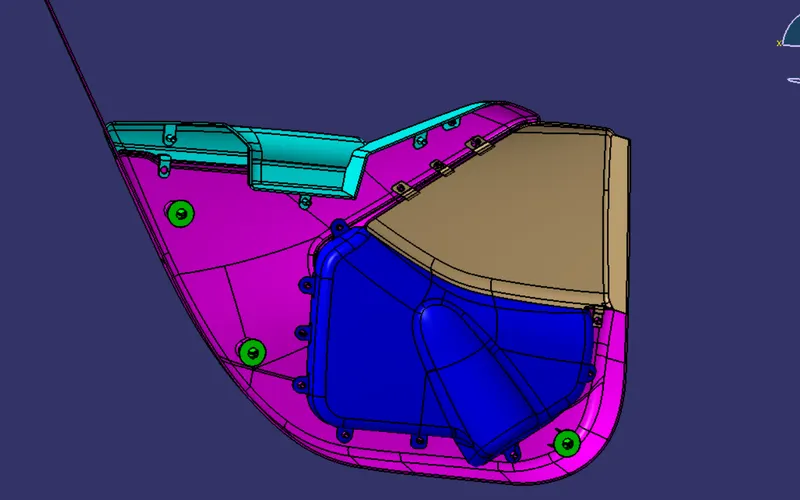
The final door trim panel after all operations
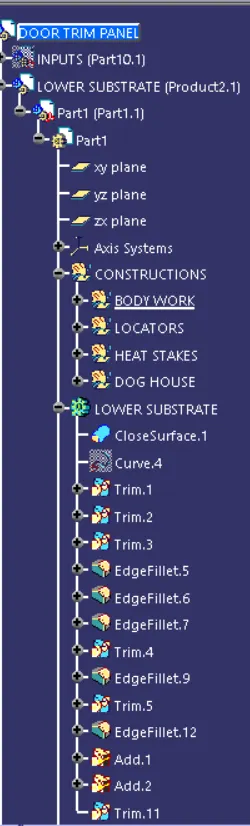
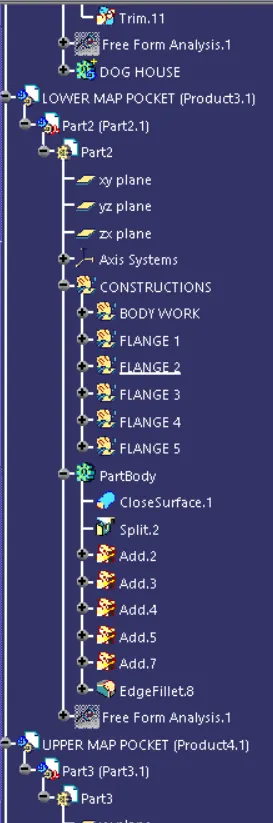
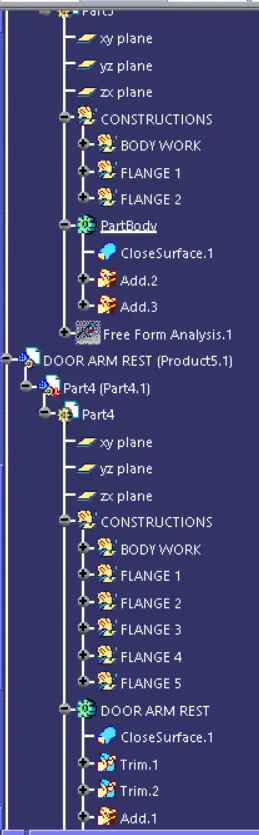
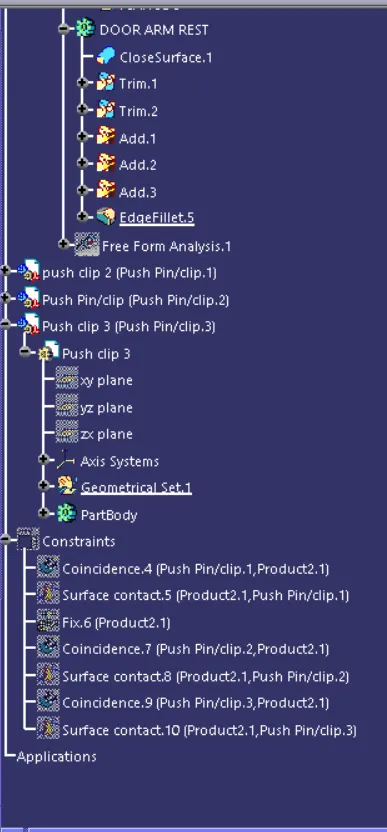
Feature tree :
Conclusion :
The parts are separated with the product files and the tooling axis is created for each individual parts.
The Class B and Class C surfaces are created for all four parts, and a closed surface is produced.
All B side features are created such as flanges, heat stakes and dog houses. Push clips are also placed at positions.
Thank You