Week 11 - Final project
Final Project
Aim: To design and develop the internal door trim of a vehicle using Catia v5 and also the attachment features according to the design considerations and engineering requirements.
Objective: To learn and understand different parts of car door trim and to apply all the concepts learned in Plastic design till now to make the final project.
To create the 2.5mm thickened components Class A provided.
To create mountings according to the given master section and perform the draft analysis
Introduction
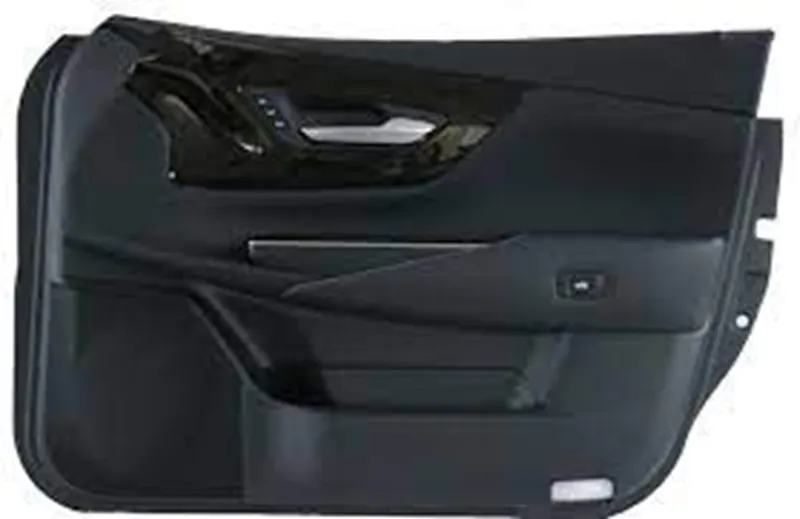
A door trim is an interior component attached to the inner side of the door. This product does more than merely improve the appearance of the vehicle interior. Rather, it is a vital module component that creates a more comfortable interior by providing a variety of accoutrements and functions.
Design Methodology and Requirements:
To create the door trim of car we required to create the various thickened components:
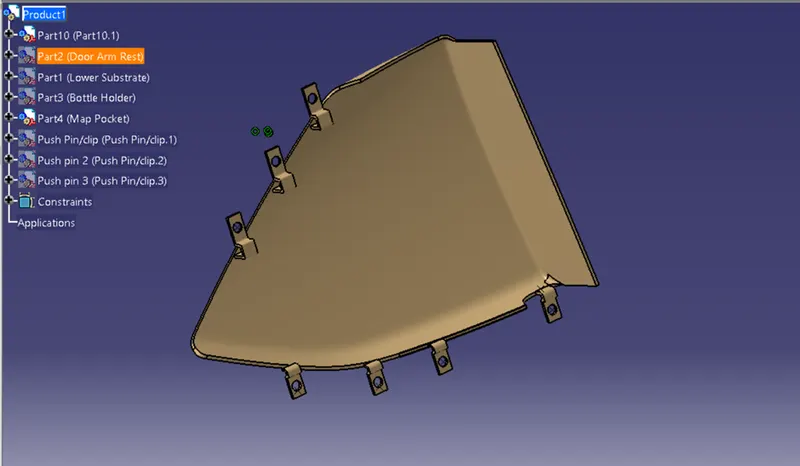
- Door Arm Rest
- Bottle Holder
- Map Pocket
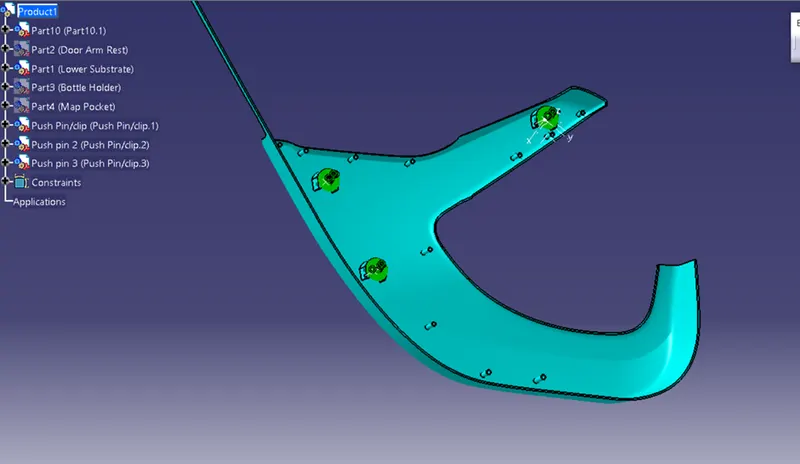
- Lower Substrate
- Dog House
- Flanges according to the master section
- Heat Stakes
Door Arm Rest
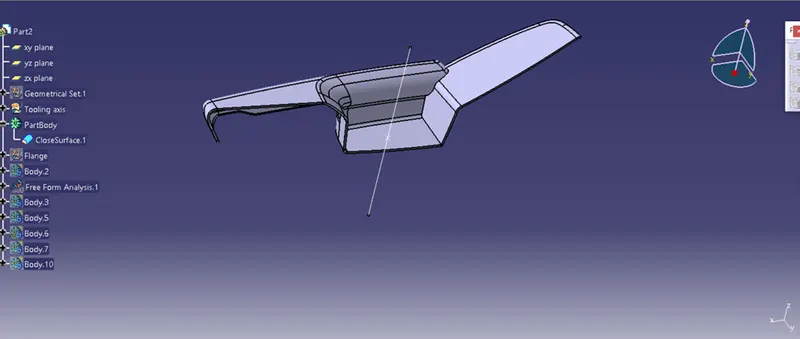
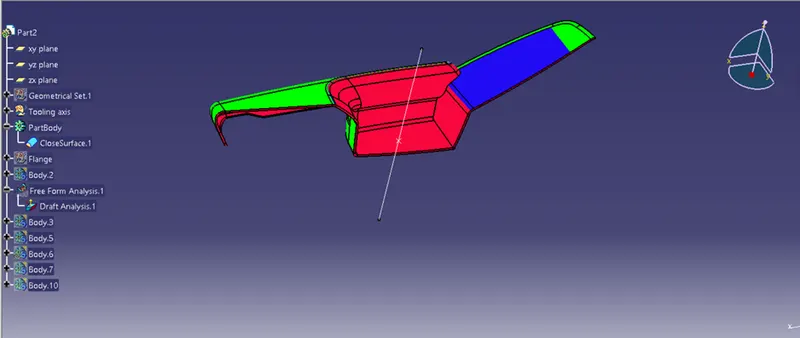
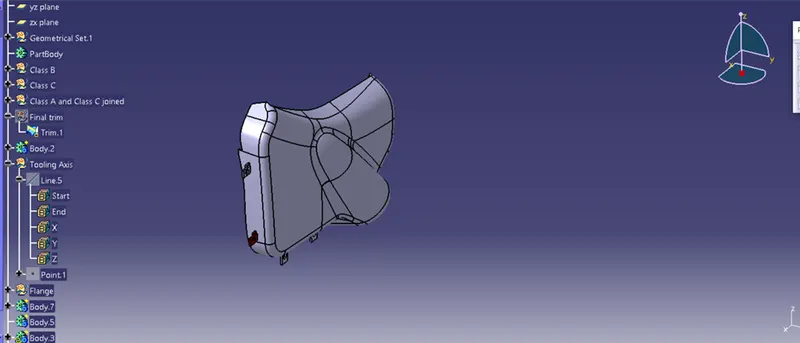
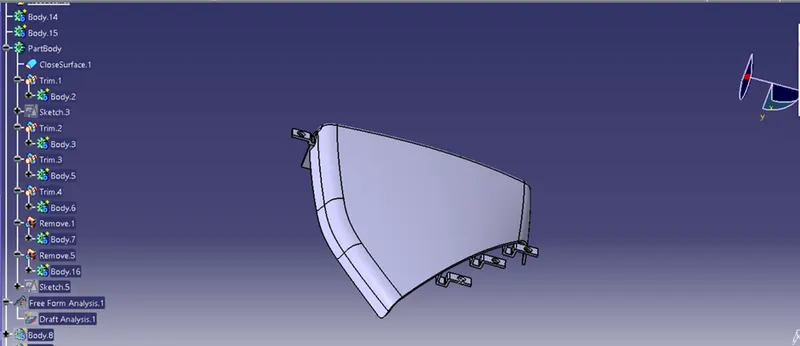
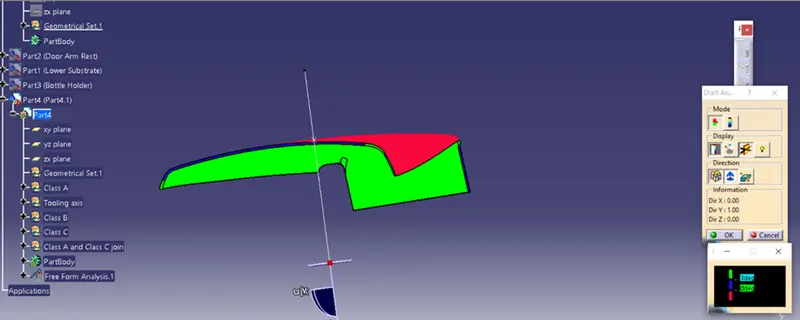
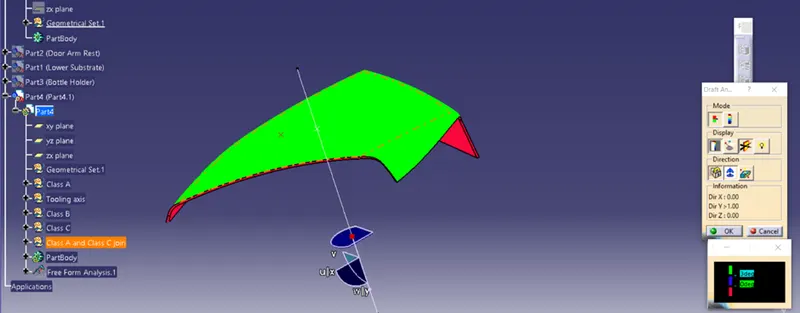
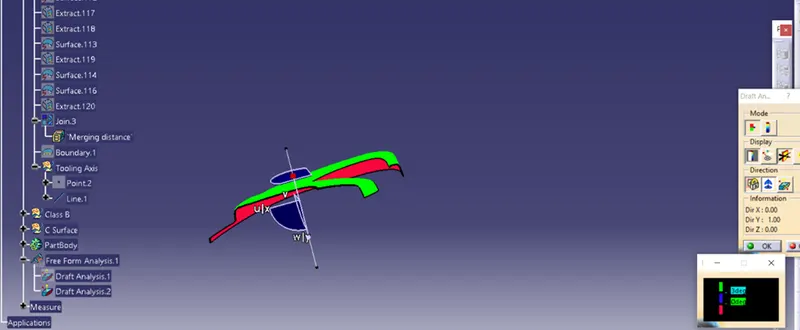
First of all, tooling axis is created for the door arm rest and then the Class A surface is offset to 2.5 mm and the surfaces which are facing problem are improved using fill surface and join command.
Then the Class A boundary is created and it is sweeped in such a way to intersect Class B, finally using trim surface the extra surfaces are trimmed and a closed body is formed.
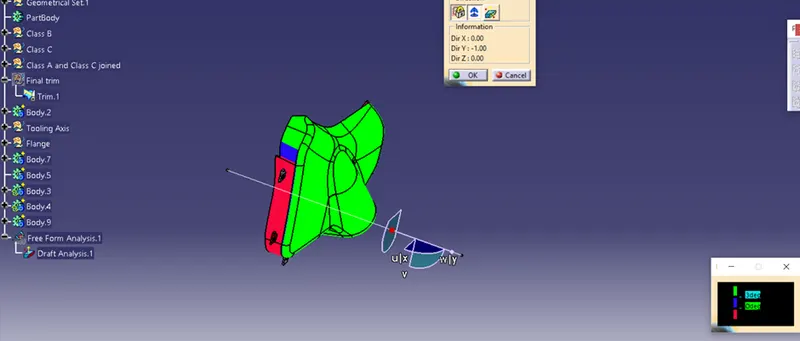
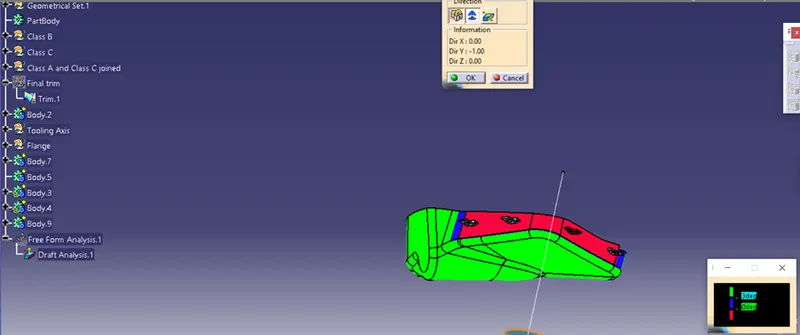
Finally draft analysis done along the tooling axis.
Bottle holder
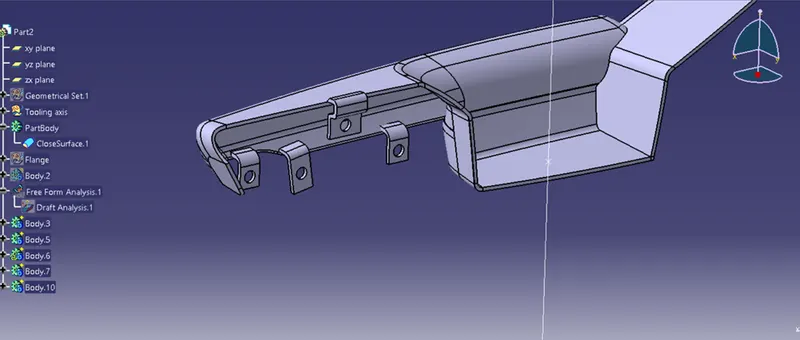
Bottle holder is also created by first extracting the Class surface and then performing the join operation. After that it is offset to 2.5mm, the offset surface is extrapolated to fixed length so that it can be easily intersected with class C surface.
To create the class C surface, Class A boundary and then perform the sweep operation to intersect the Class B surface and where the sweep is not working well, multi section or fill surface is created and finally it is joined.
Finally, the extra surfaces are trimmed and the closed surface solid body is formed.
Map Pocket
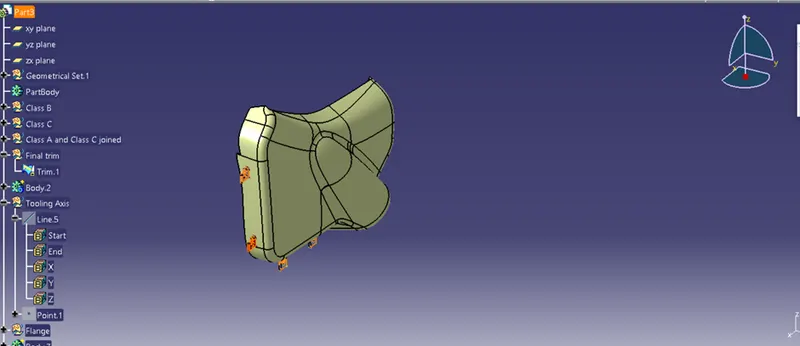
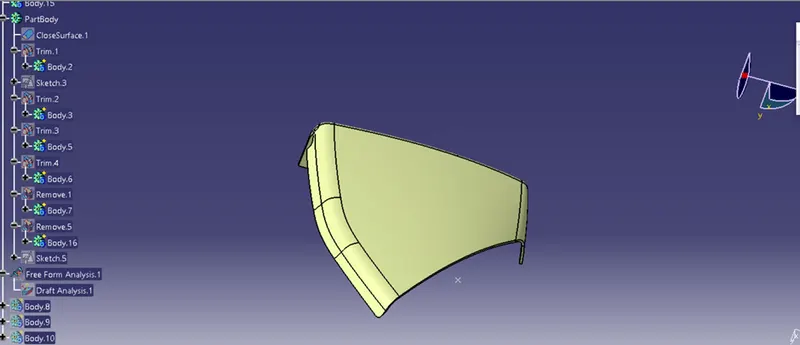
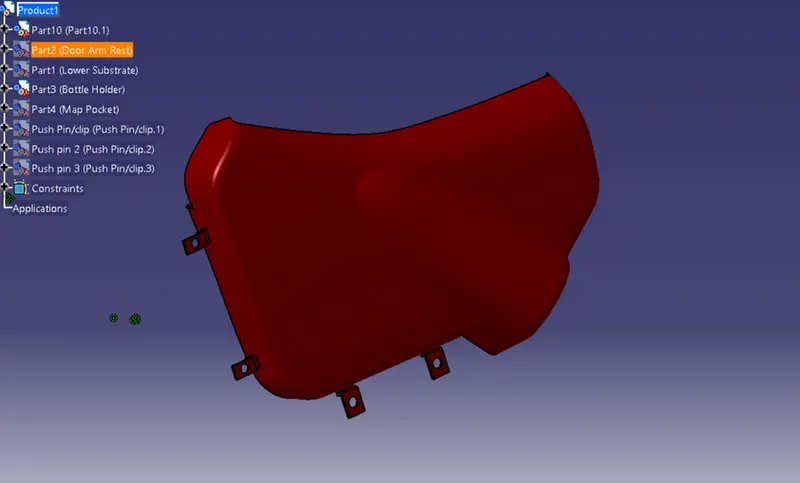
Map pocket as above by creating Class B and Class C surface in such a way to intersect Class B and Class C making sure that class A and Class C are joined properly and then extra surfaces are trimmed using trim surface command and a closed solid body is formed.
Lower Substrate
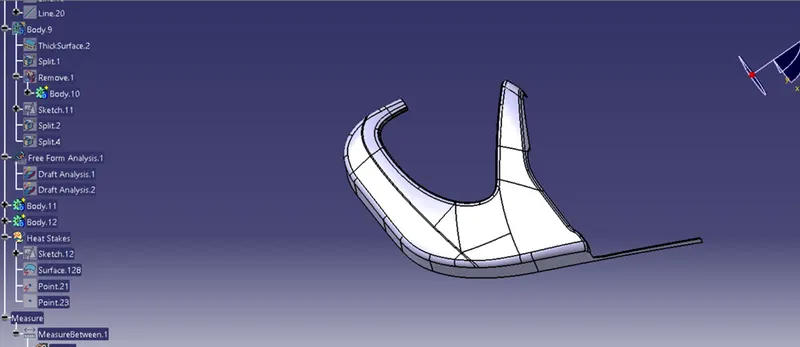
Lower substrate is created similarly and then draft analysis done.
Flange creation
Flanges are created according to the master section provided
Door Arm Rest
Bottle Holder
Map Pocket
Heat Stakes and Dog House
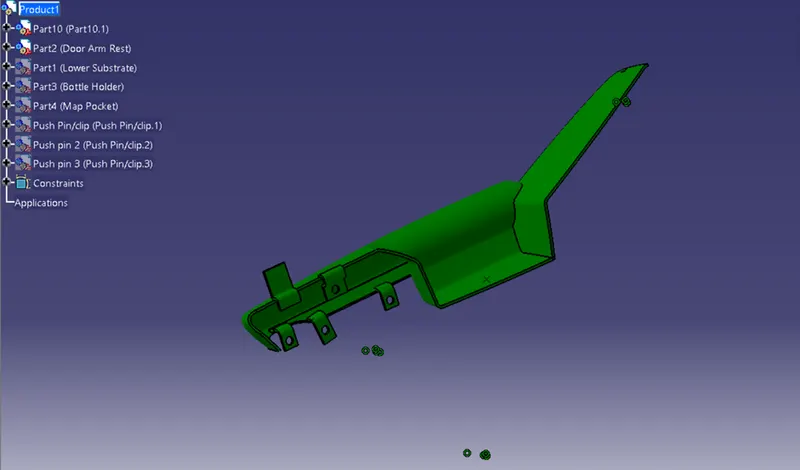
Final Assembly
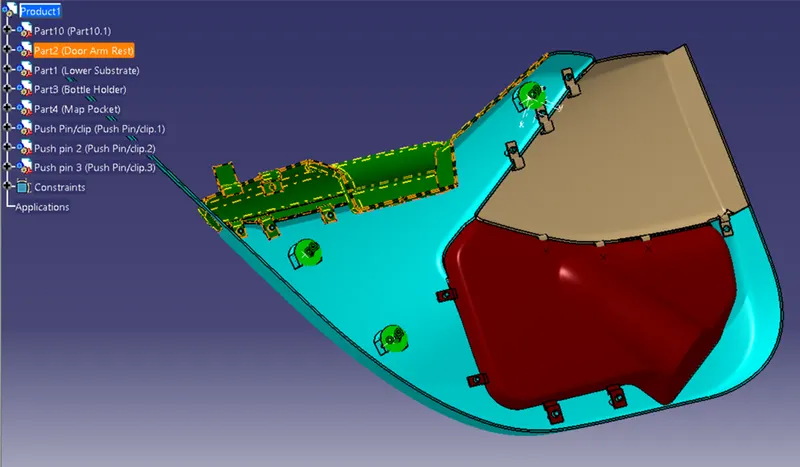
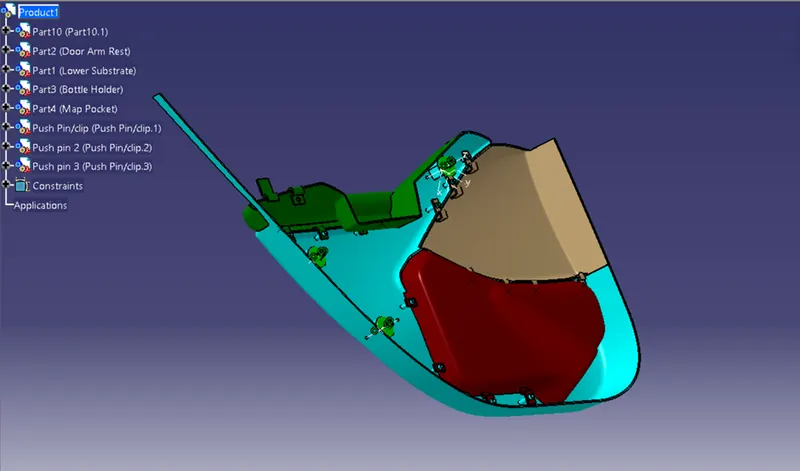
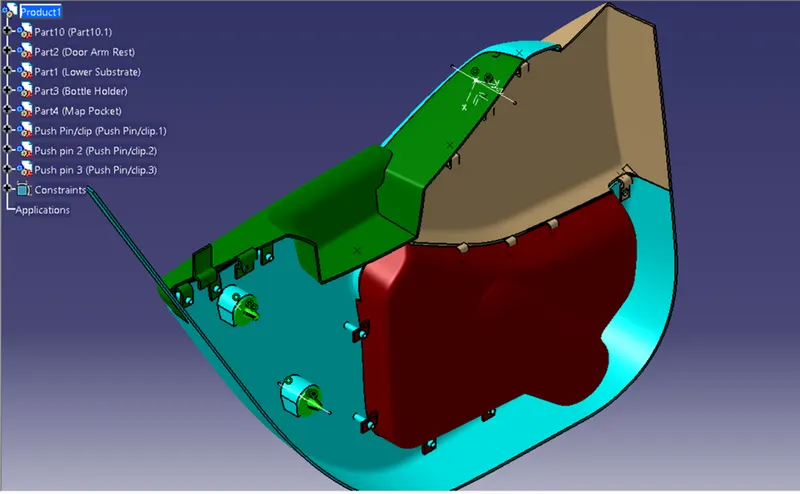
Conclusion: Through this project, we learned to apply our understandings till now that we gained in plastic design and we learnt about various engineering features and design considerations.