Advanced Sheet Metal Design Using NX Cad Challenge_1_Casing Design
TITLE OF THE PROJECT
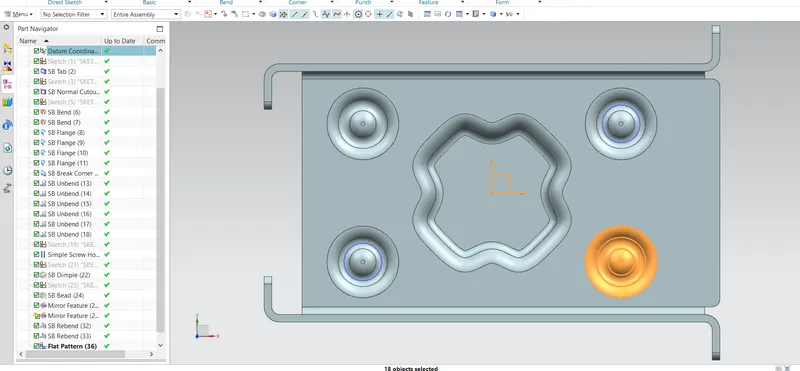
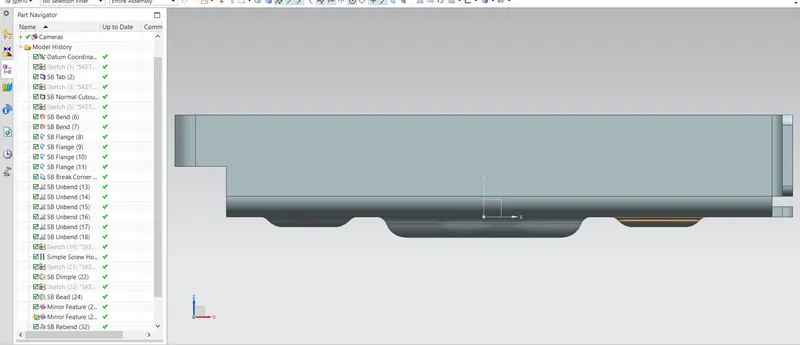
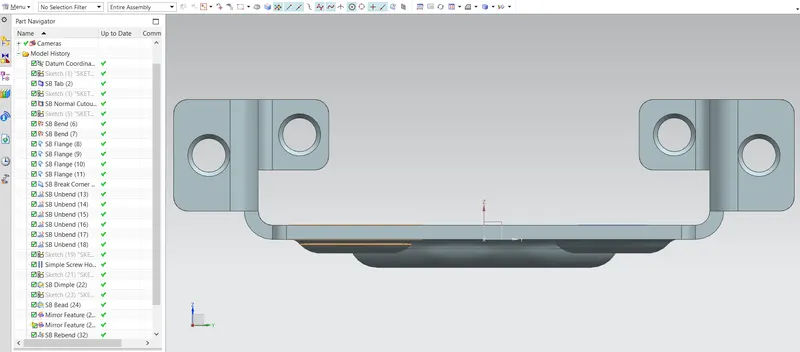
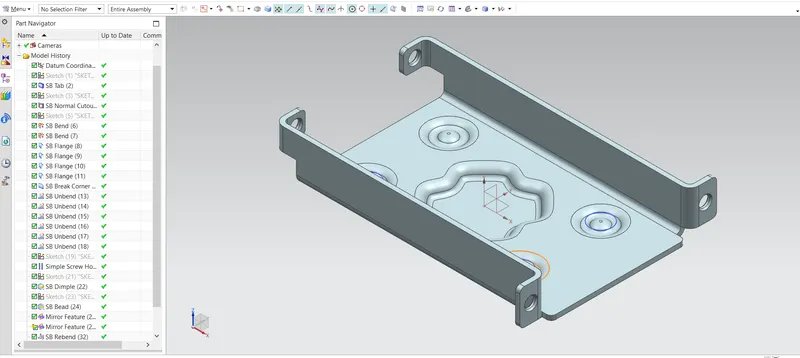
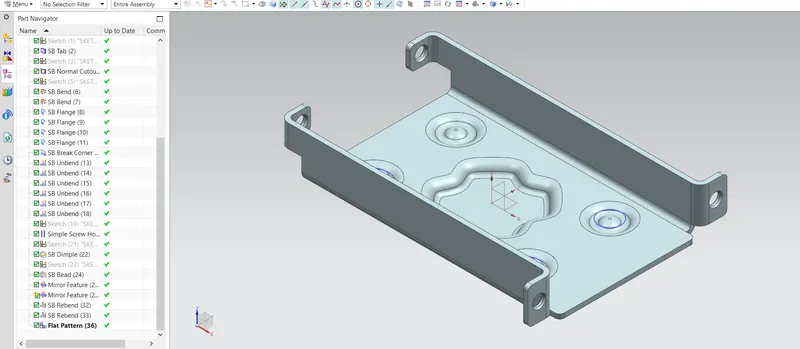
To make the Casing design using sheet metal in NX CAD software
OBJECTIVE
- The main objective of the project is to learn the casing design.
- To learn the fundamentals and advance tools of NX CAD
- To learn about various parameters and sheet metal designing.
INTRODUCTION
In this, we have to design a casing using sheet metal. First of all the sketches are drawn and then those sketches are converted into sheets with the help of various tools and according to the requirements.
The following features are used in creating the given design
- Sketch
- Tab
- Normal Cutout
- Bend
- Flange
- Corner Break
- Unbend
- Screw Hole
- Dimple
- Bead
- Mirror
- Rebend
- Flat Pattern
DESIGN METHODOLOGY AND DESCRIPTION
FLOWCHART
- Sketch
- Tab
- Sketch
- Normal coutout
- Sketch
- Bend
- Flange
- Unbend
- Sketch
- Hole
- Sketch
- Dimple
- Sketch
- Bead
- Mirror
- Flat Patter
- Drafting
DESIGN METHODOLOGY
- To design a casing, at first a sketch in the XY plane is created, In tis sketch, a rectangular sketch of given dimensions was created and then, the sketch is extruded using the tab feature
- TAB: Tab feature is used to create a extrude a sketch to a given thickness, it is also used to add some extra material on the existing tab.
- After this step a normal cutout is made by creating a sketch in the top surface of tab with the help of given dimensions.
- Normal Cutout: This feature is used to remove the material from given sheet and with the help of the given sketch.
- After that , the sheets are bend from the horizontal faces of the tab by creating a sketch of given dimensions and and using the bend feature
- BEND: This feature is used to bend the sheet from the given line in the sheet at a fixed angle.
- After that, flanges are created at the edges to bend the given sheet at the given angle. Similarly, all the four edges have been bent to with the help of flange feature.
- Flange: This feature is used to create a bend of edges at an angle and upto a given length.
- Then a blend is created at the corners with the help of corner breakout.
- Corner Breakout: This feature is used to break the sharp edges of the corners with the help of various shapes. In this case the corners are breaked using the in circular blend of given radius. All the sharp edges are breaked out.
- All the bend features are unbent in the next step to create a proper hole at the four flanges.
- Unbend: This feature is used to unbend the bended pieces of sheets.
- After that a hole is created in at the centre of all the four flanges by creating a point first and then creating a hole of given dimensions and size.
- Hole: This feature is used to create a hole of different types, different sized and different dimensions according to the requirement.
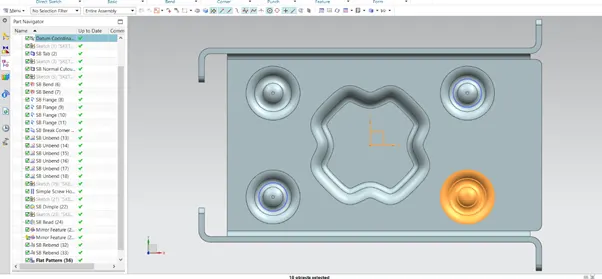
- After that, a dimple is created at the centre and the upper surface of tab by creating a sketch with proper dimensioning and using dimple feature
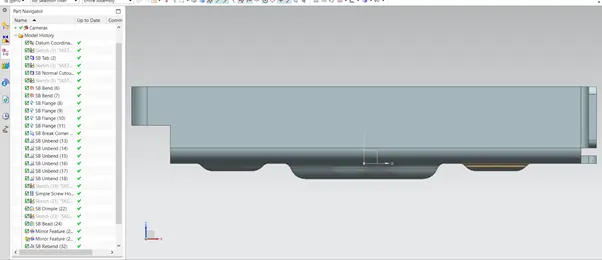
- Dimple: This feature is used to lift an area of the model inside a sketch. This can be closed or open. In this case a closed feature is used to bend.
- Then a bead is created by first creating a sketch on the top surface of the tab and then it is structured according to given model using Bead feature
- Finally, the beads are mirrored to other sides using the mirror feature
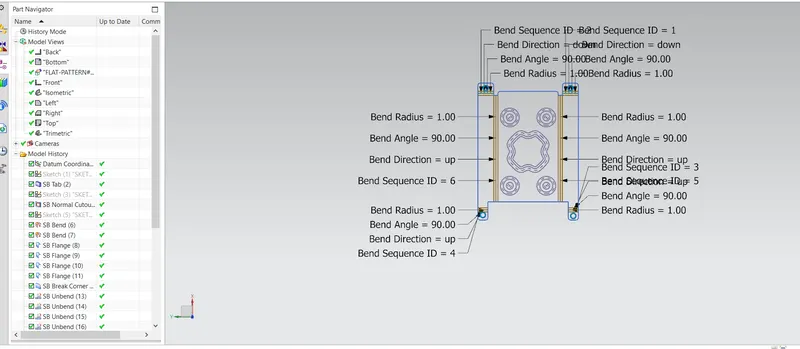
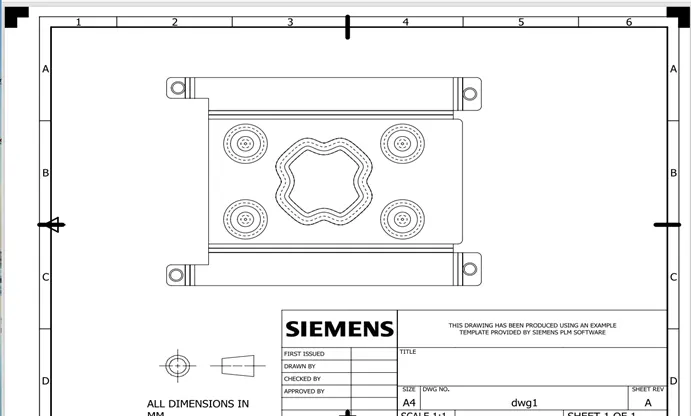
- A flat pattern is created on the top surface of the tab for the purpose of drafting and then the model created is drafted.
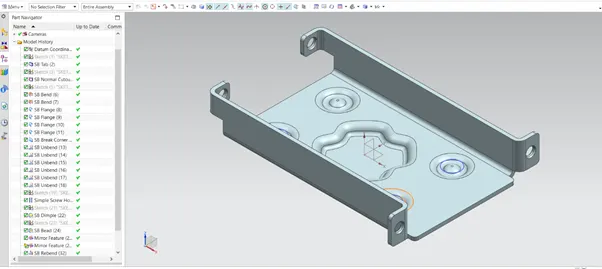
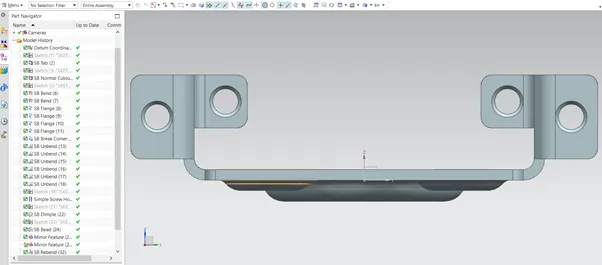
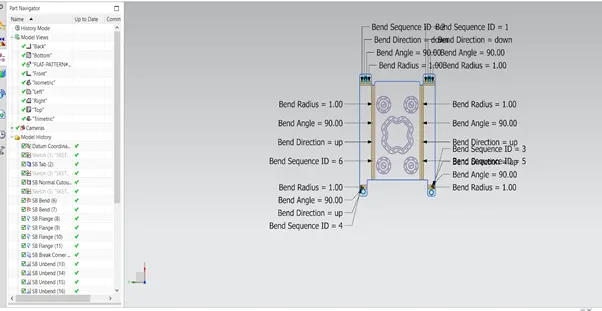
DETAILED DRAWING SHEET
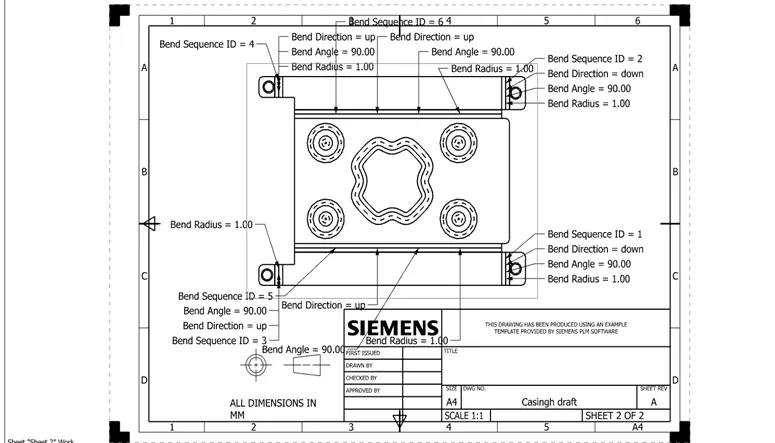
CONLUSION
In this project I have learned about various basics and advanced commands of NX Sheet. There are various commands that are used to create sheets, bends, etc like, Tab, Flange, Bend, Unbend, Normal Cutout, Corner Break, Screw Hole, Dimple, Corner break, Bead, Mirror etc.