Week 11 - Final project
DOOR TRIM PANEL
INTRODUCTION
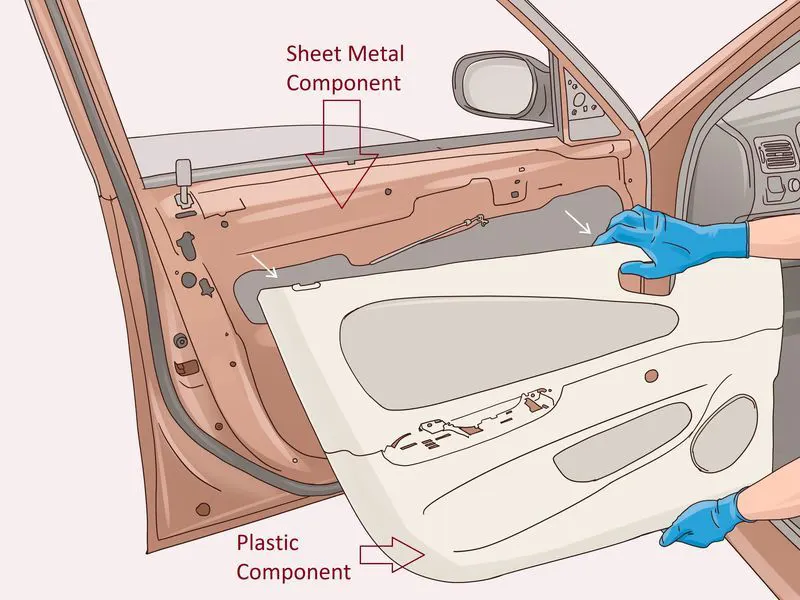
The door trim panels are key components making up the interior space of a vehicle. A door assembly for an automotive vehicle. Door panels acts as an interface between the interior of the car and the inner workings of the door, and between vehicle occupants and the door. In addition, they re expected to continue the material theme of the dashboard and pillars.
OBJECTIVE
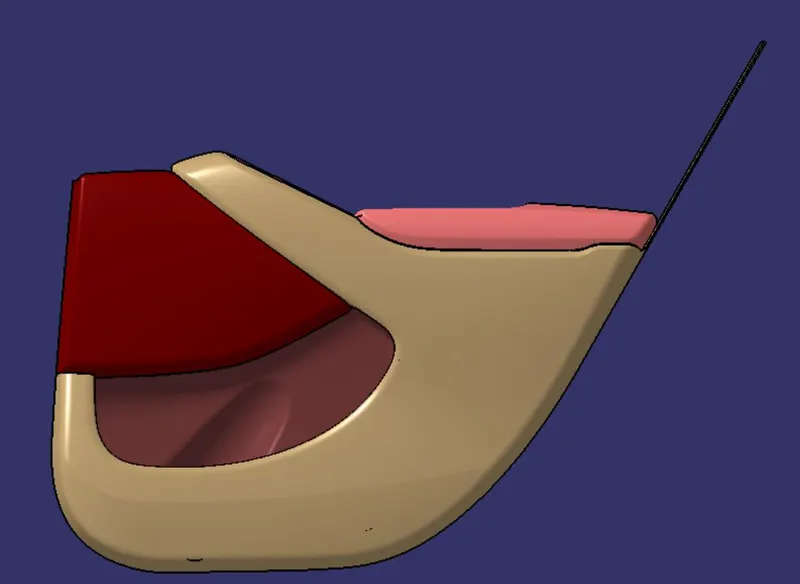
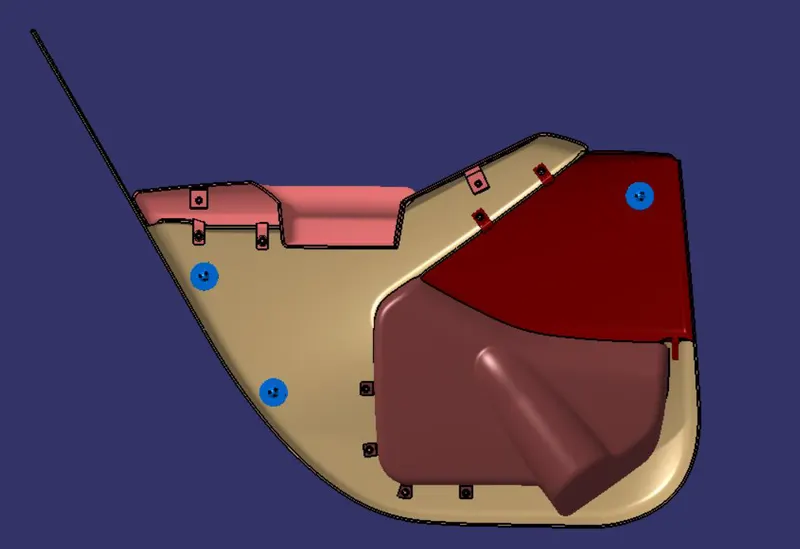
To create a solid body of side door plastic trim including the engineering feature using CATIA V5 tool using the given class A surface and master section and adding thickness to the component.
METHODOLOGY
Skin data and master section is provided to us.
The first step is to check the continuity of the class A surface. This is to ensure that there is no gap between surfaces. If we find any then we should fix that first.
The second step is to find the tooling axis of the component.
Then we can make the component by creating the class B and class C component.
Using the master section we create all the flanges and heat stakes for the components.
After that we can do the draft analysis of the component.
DESCRIPTION
Door Trim Panel-
The door assembly includes a vehicle door frame and an upper trim panel mounted to the vehicle door frame. The upper trim panel having an upper surface where the upper surface is angled down towards the exterior of the vehicle. The door assembly further including a sub-assembly having a first trim panel and a second trim panel. The first trim panel is mounted to the vehicle door frame behind the upper trim panel. A bracket on the first trim panel adapted to accept the second trim panel. A first surface of the first trim panel and a second surface of the second trim panel rest within the same plane to create a flush surface to give the same or a similar appearance of a one piece trim panel assembly.
Master Section-
Master section is a predefined sketch which is adoptable in different situation.
Class A surface-
Class A surfaces is a term used in most in automotive design to describe a set of freeform surfaces of high efficiency and quality.
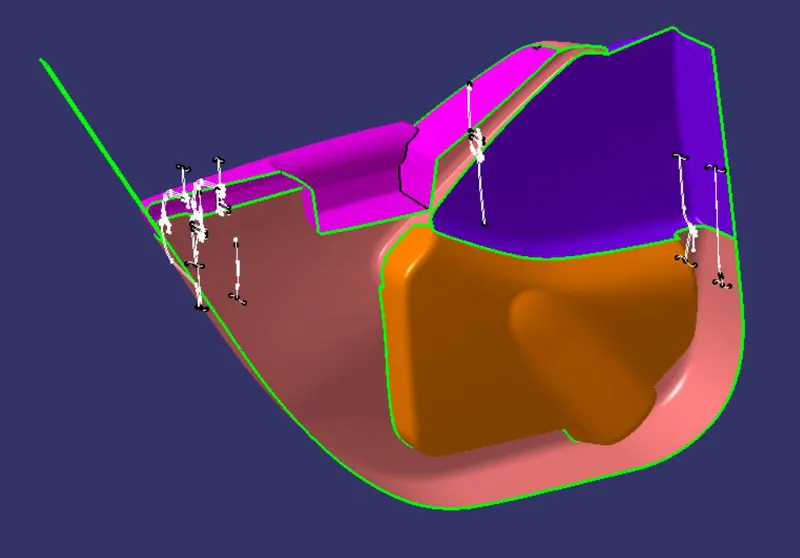
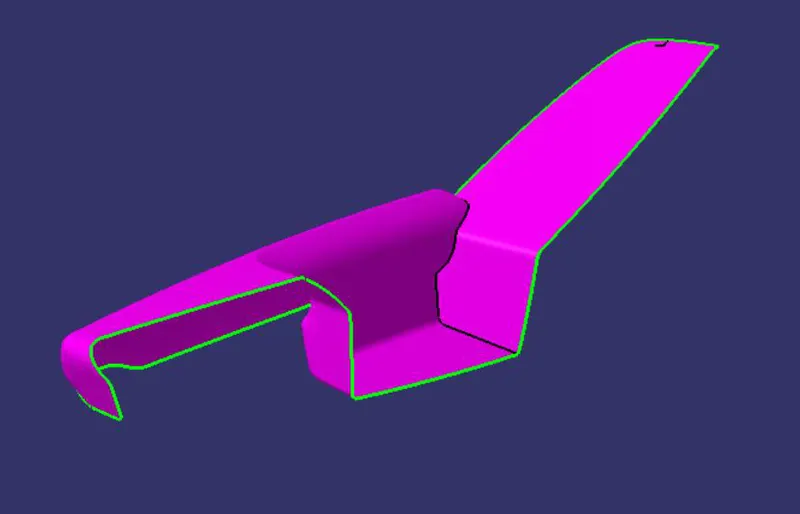
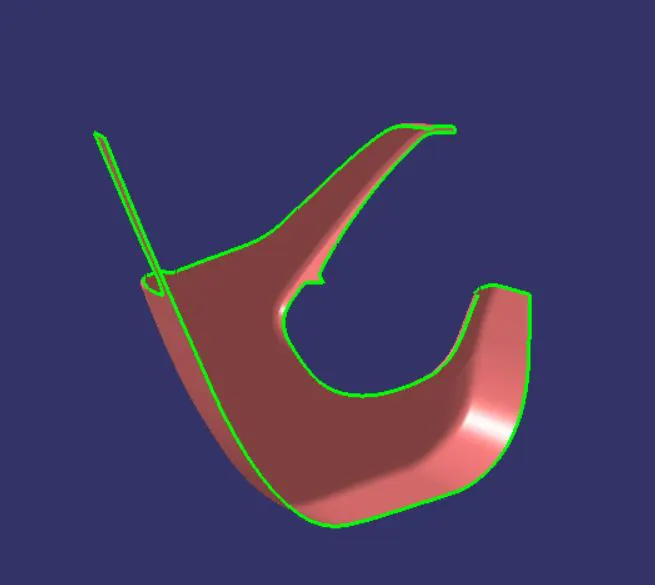
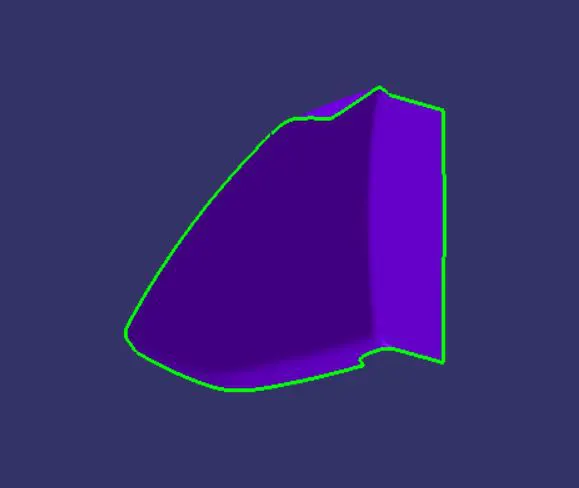
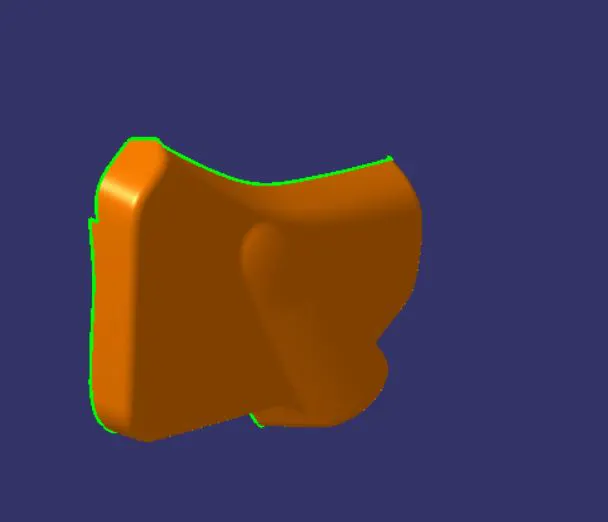
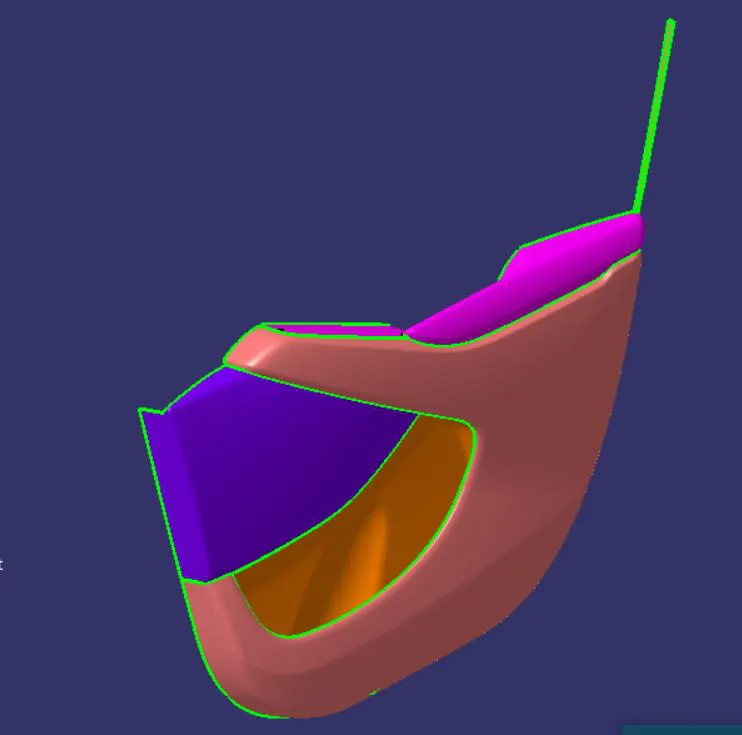
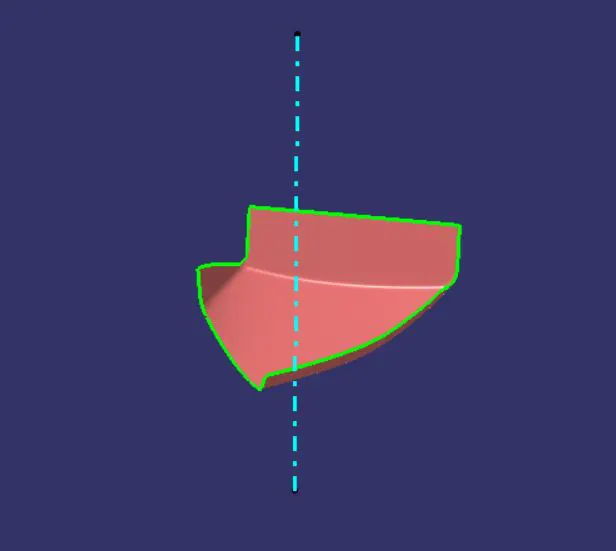
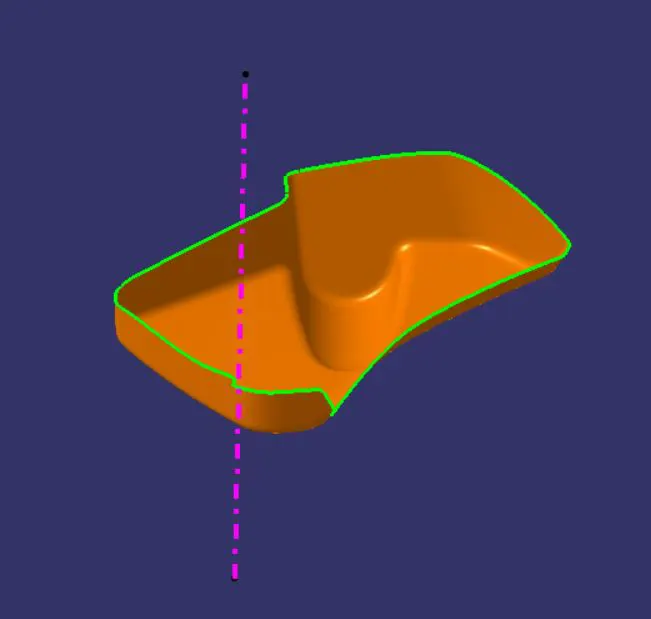
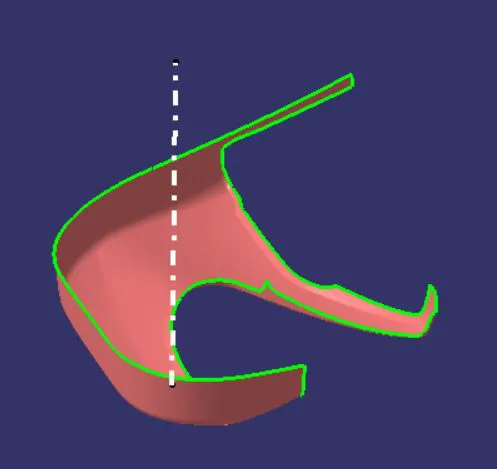
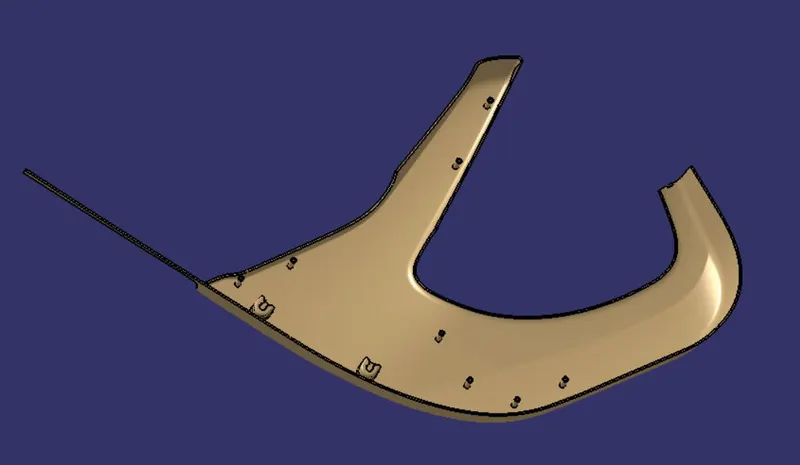
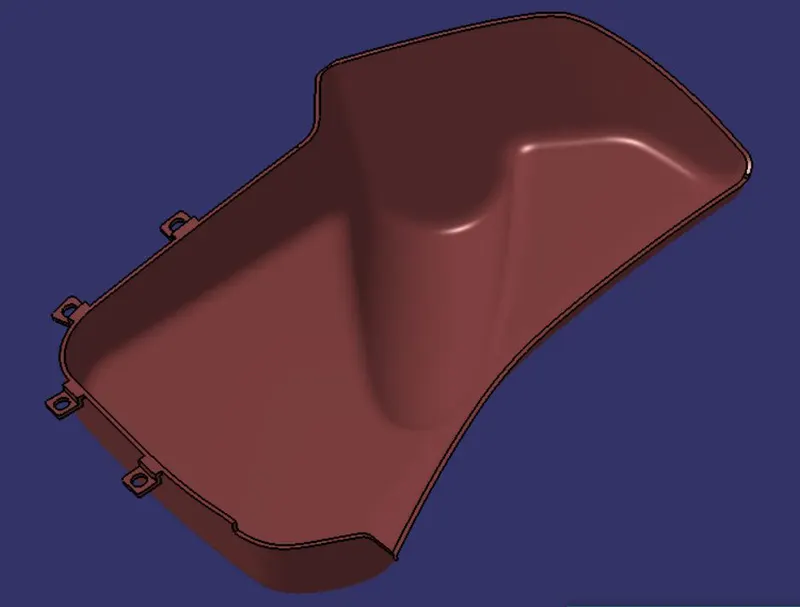
We have four Class A surfaces which was provided to us. The four surfaces was of Door arm rest, Map pocket, Map pocket with bottle holder and Lower substrate of the door trim panel.
Door arm rest-
Lower substrate-
Map pocket -
Map pocket with bottle holder-
Tool Axis-
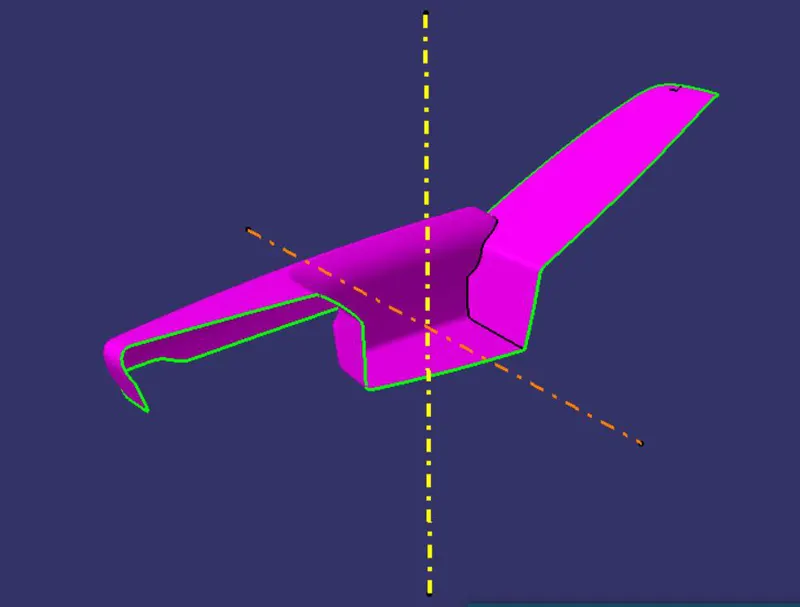
Since all the different plastic components to be designed by different design engineers we most likely give the tooling direction as the main axis system so that there won’t be any confusion.
Or else we can even give the tooling axis by using the bisecting method.
Door arm rest-
Map pocket-
Map pocket with bottle holder-
Lower substrate-
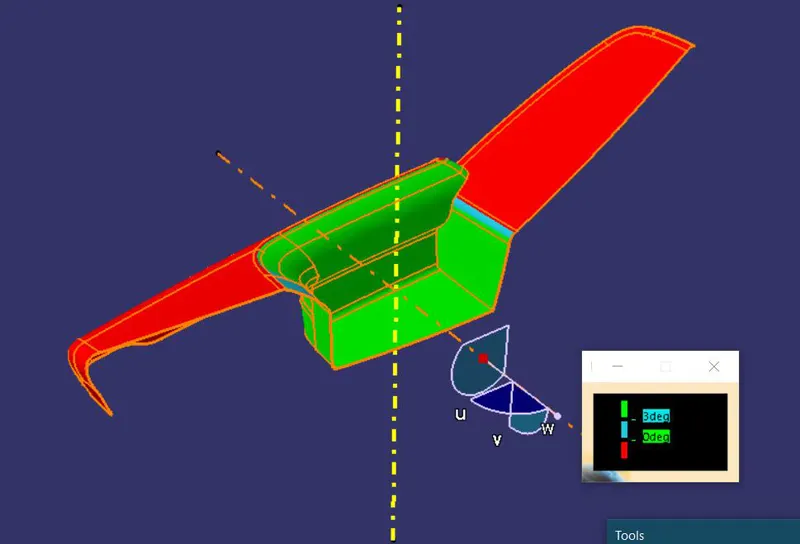
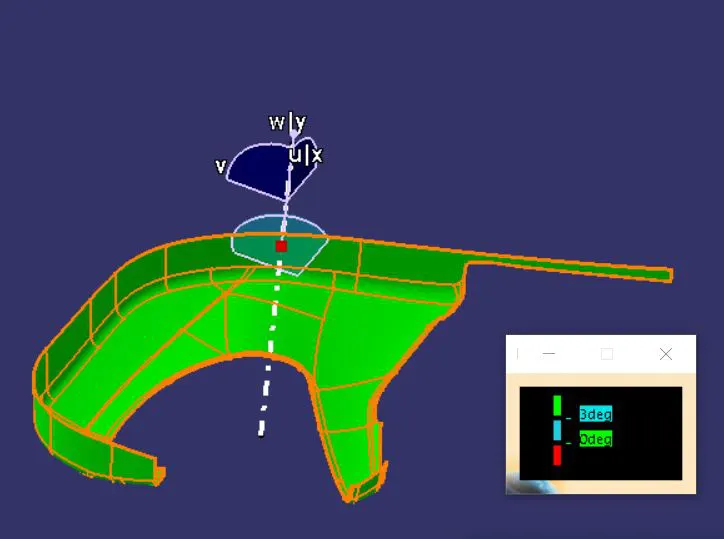
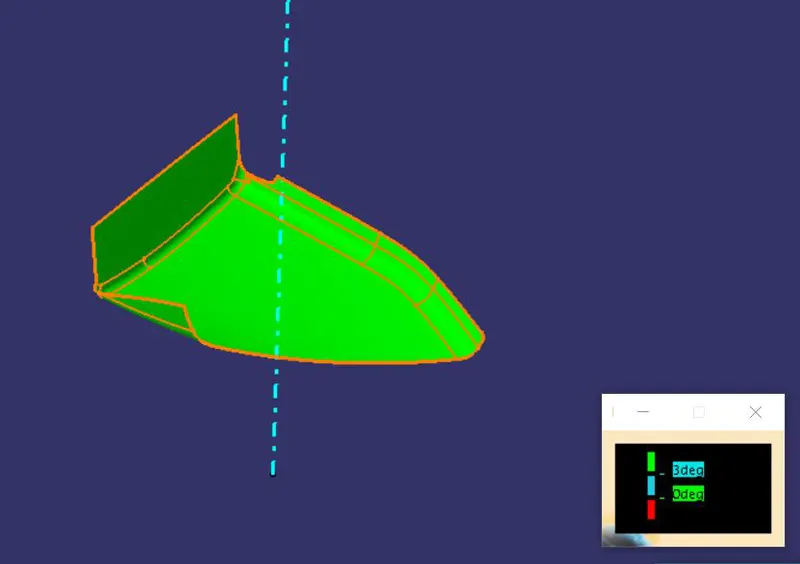
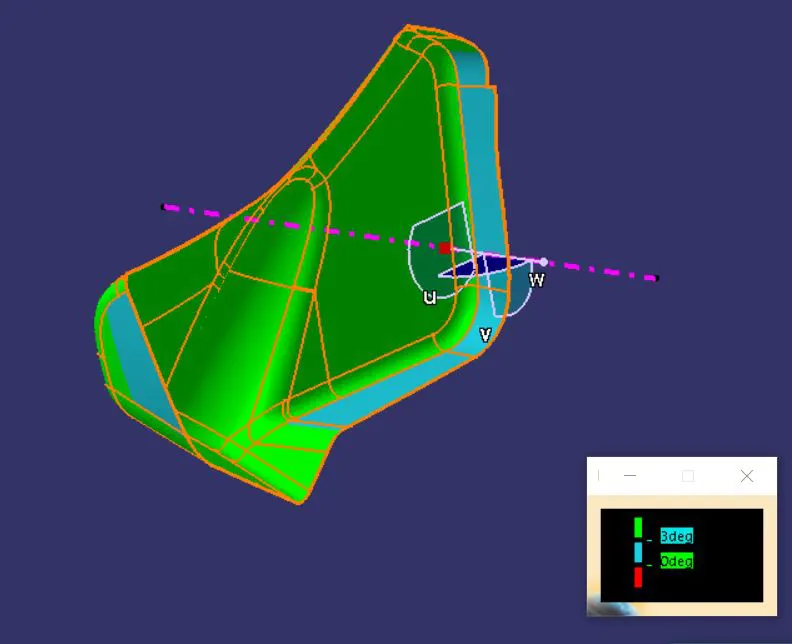
Draft analysis of Class A –
Draft analysis is performed on components where the ejection of materials happen after the material is made inside the tools.
After creating a tool axis we do the draft analysis. Before drafting we have to make sure that in the view mode it is selected to the materials.
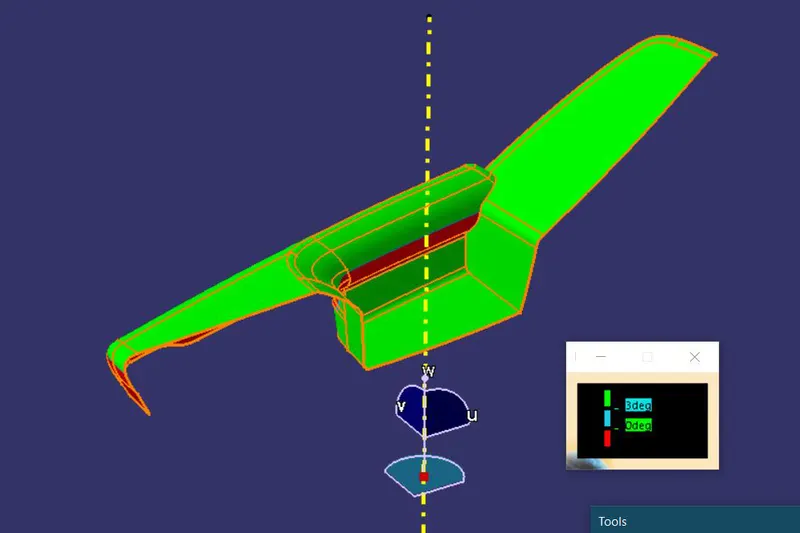
After selecting the feature draft analysis tool we drag the compass from its position to the tool axis. Then lock the compass. After that select anywhere on the component and it will give you the result.
We change the minimum draft for the component to 3°.
We can use the running point option to check the angle of the component.
We can even modify the colour according to our preference.
Door arm rest-
Lower substrate-
Map pocket-
Map pocket with bottle holder-
Class B surface-
Class B surfaces are the secondary surfaces that you can see sometimes, but are less important.
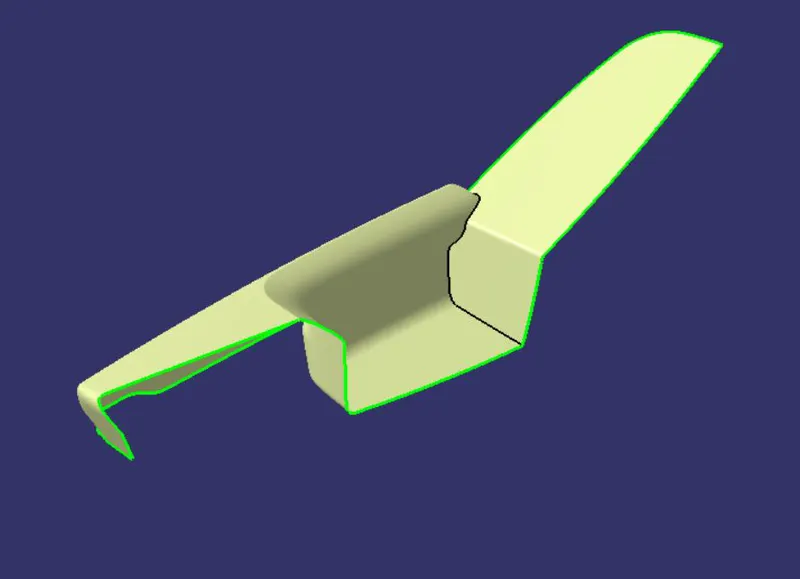
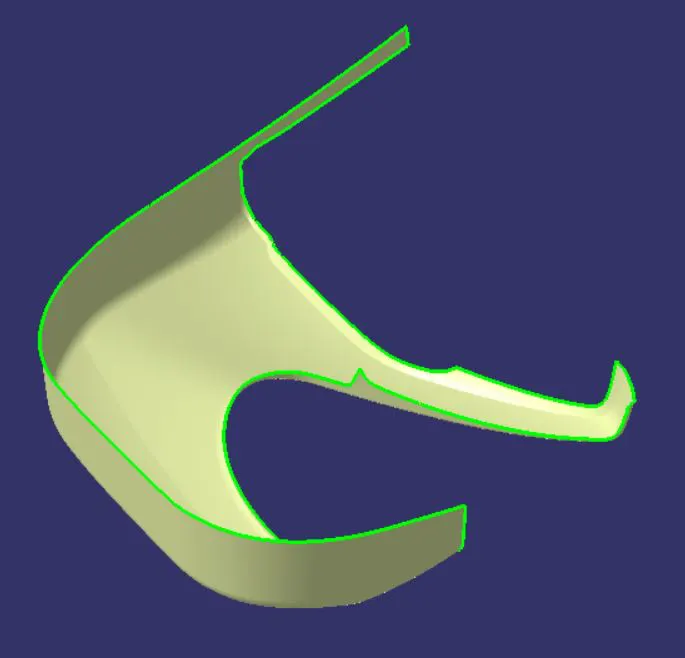
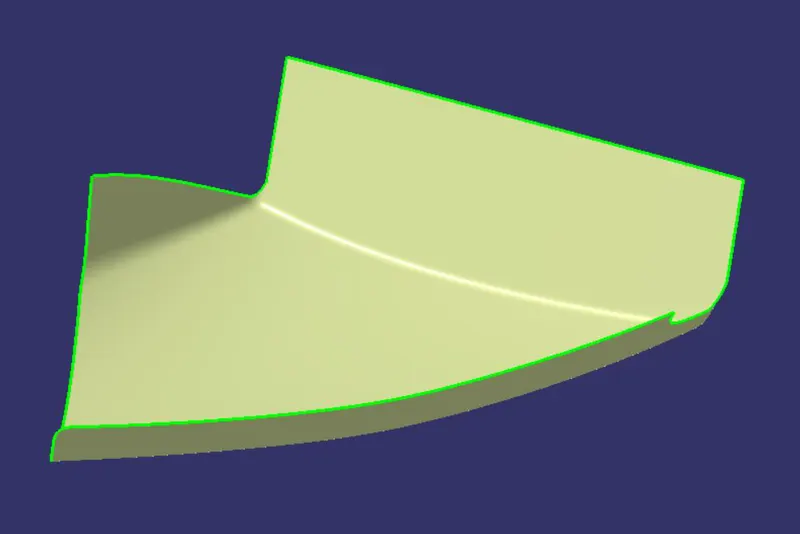
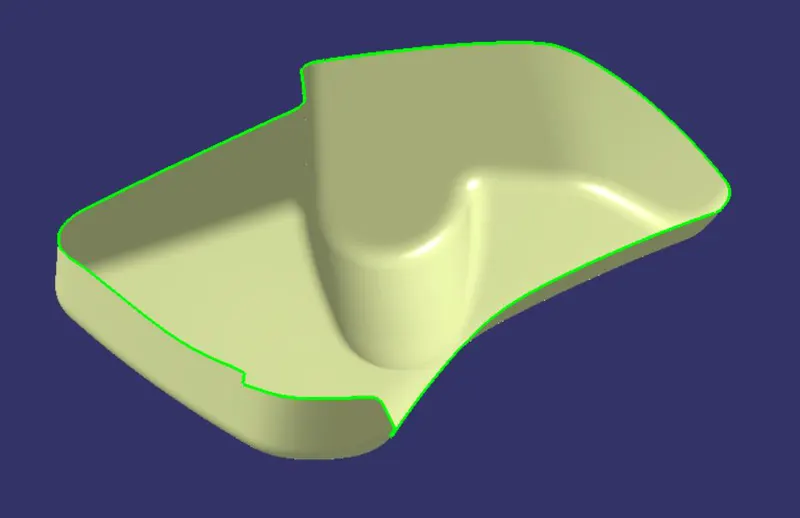
For the B surface what we usually do is extract the plain surfaces and offset it, but here since the fillet is part of the design in class A we cannot change that. So we offset the whole surface of the class A upto 2 mm. After offsetting the surface we check for any defect and if there are any we patch it up using the spline tool and multi section tool.
Door arm rest-
For the door arm rest we give an offset of 2.5mm of the thickness with addition to the 2mm thickness which would be the thickness of the leather or any other materials for the sift touch on door arm rest. So we only make the plastic component of 2.5mm.
Lower substrate-
Map pocket-
Map pocket with bottle holder-
Class C surface-
Class C surface are the surfaces which connects the class A and Class B surfaces.
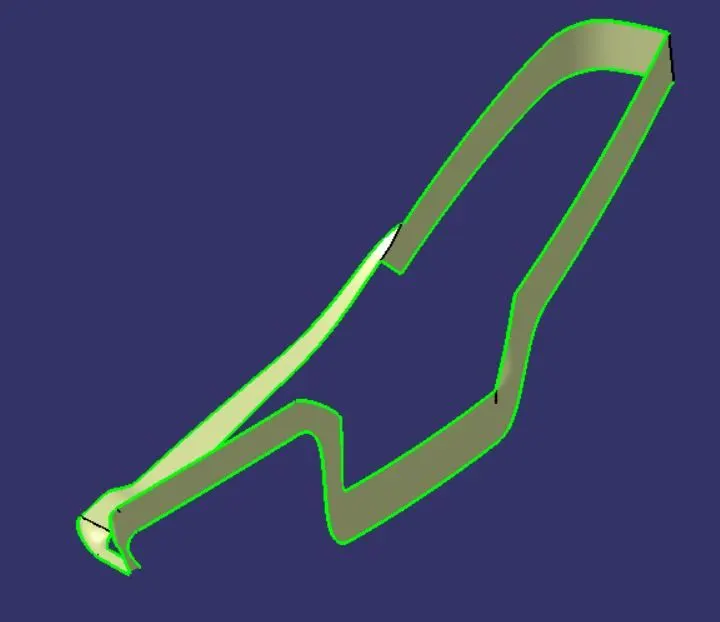
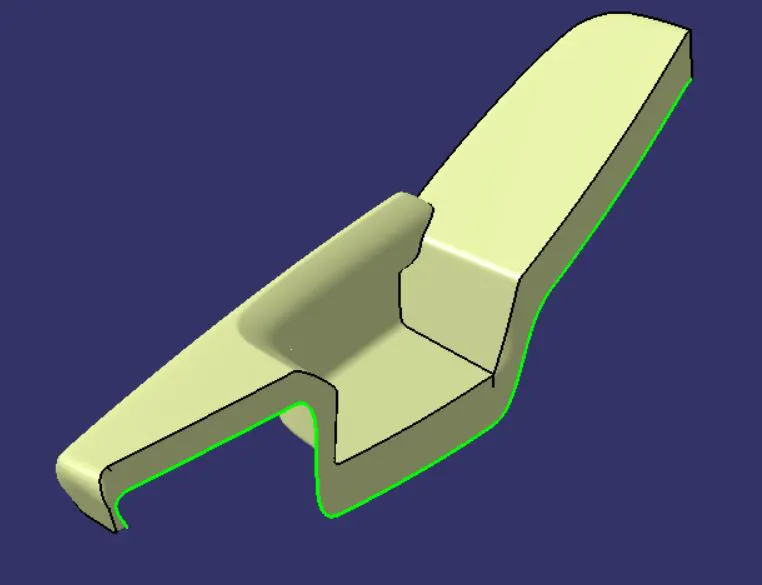
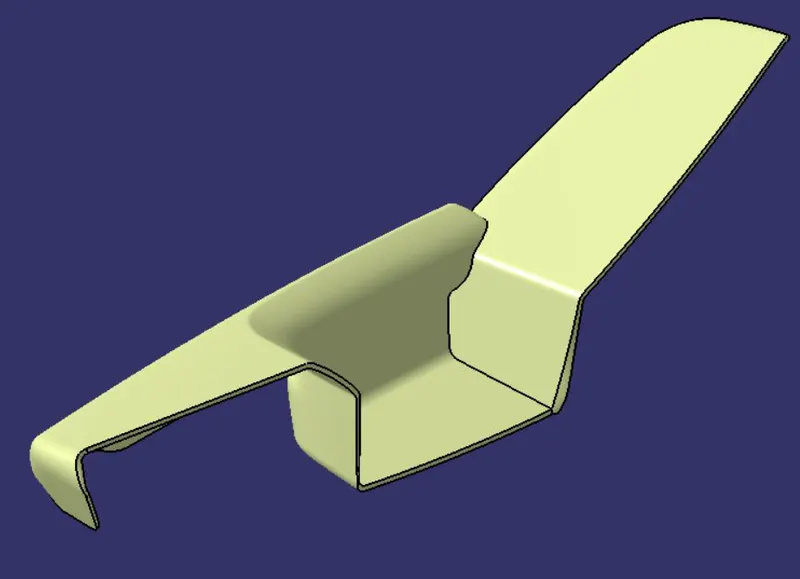
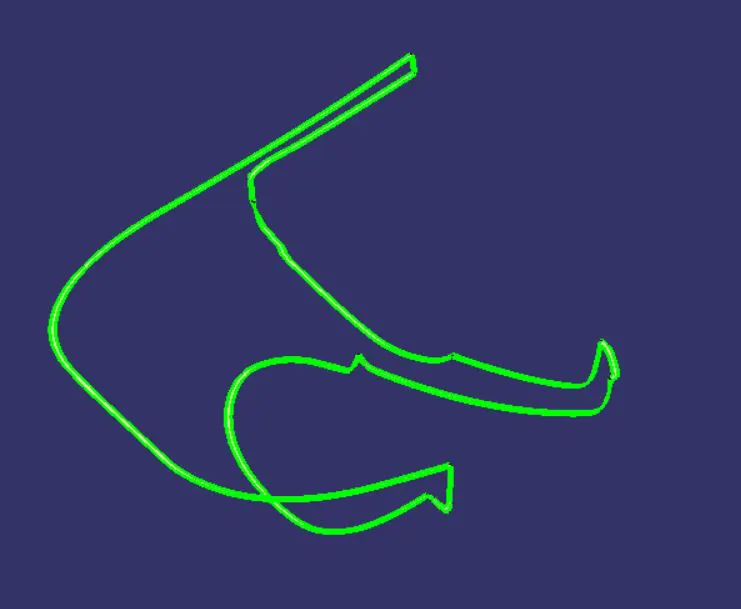
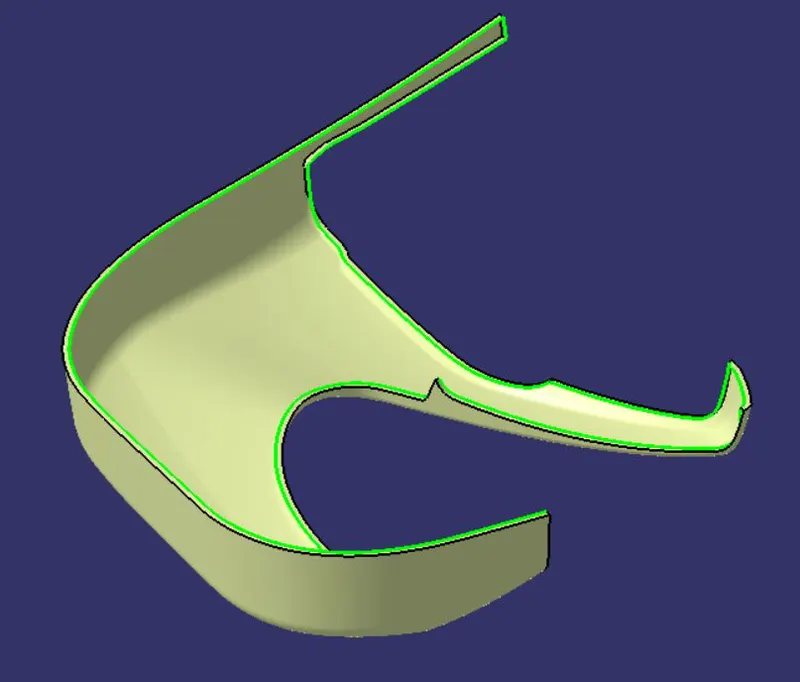
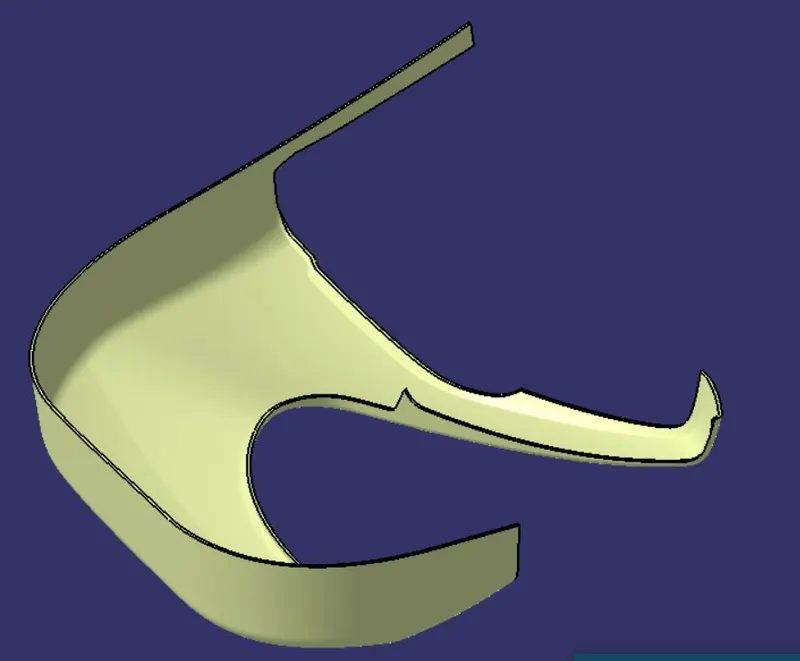
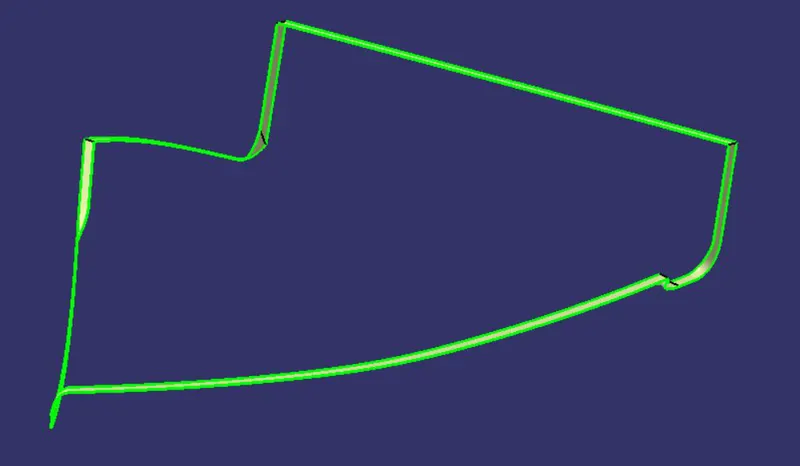
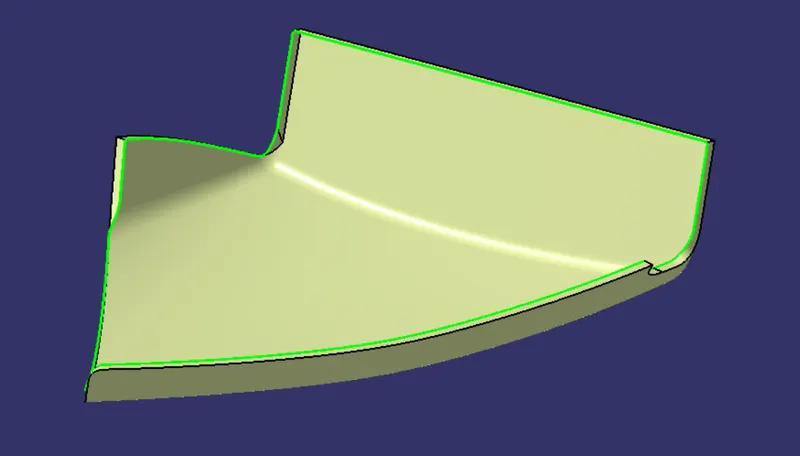
For making the class C surface we use the sweep command with reference to the draft. On some surfaces where we cannot do the sweep, there we used the multi section tool to complete the C surface.
Then used the trim command to join the class A and Class C.
Then we again use the trim command to trim the class B with the trim of class A and class C to form a closed surface.
We then use the closed surface tool from part workbench to make a solid component.
Door arm rest-
Lower substrate-
Map pocket-
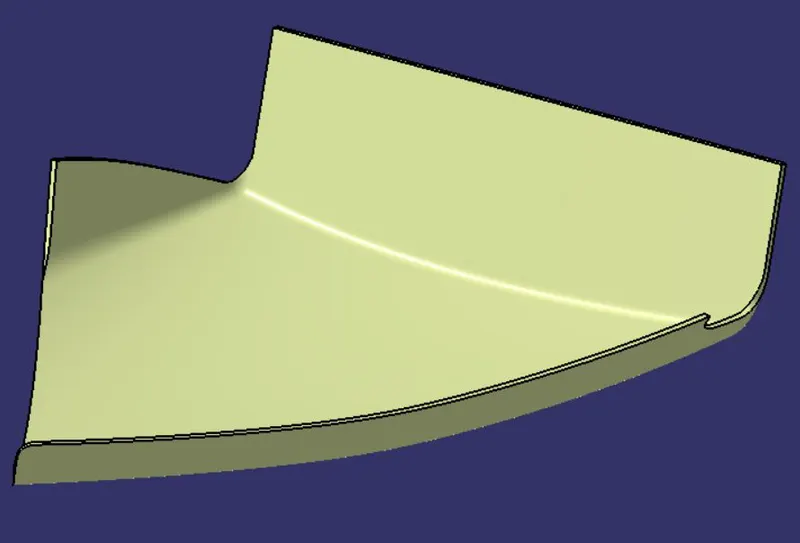
Map pocket with bottle holder-
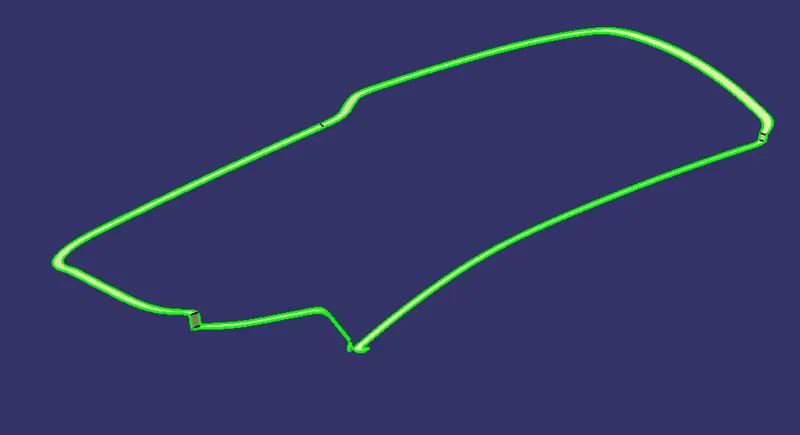
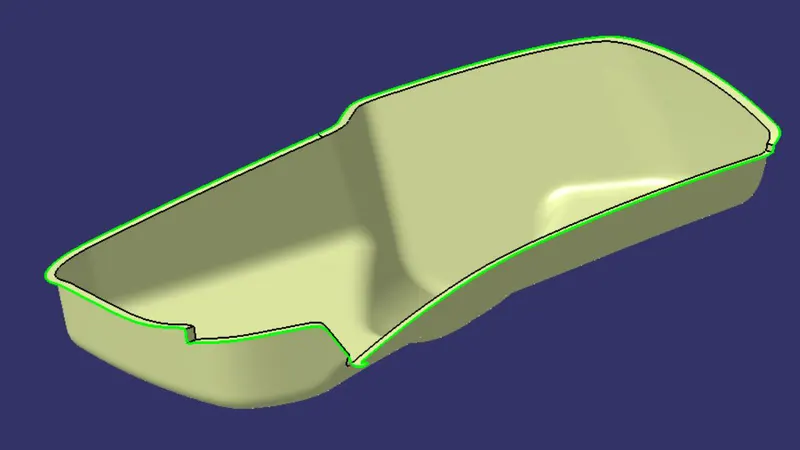
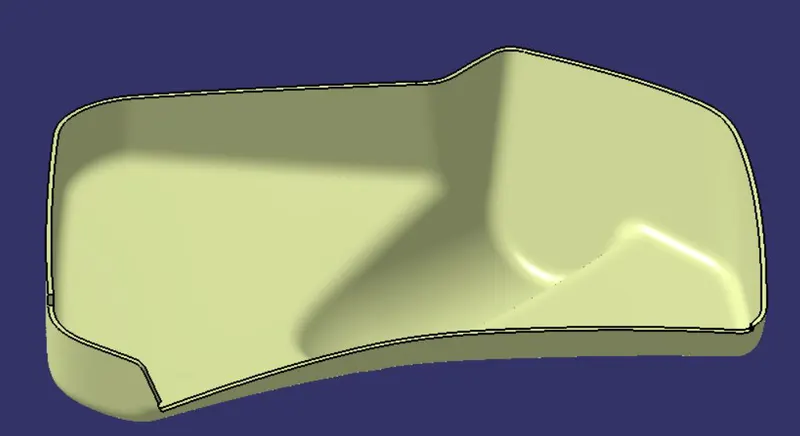
Flanges-
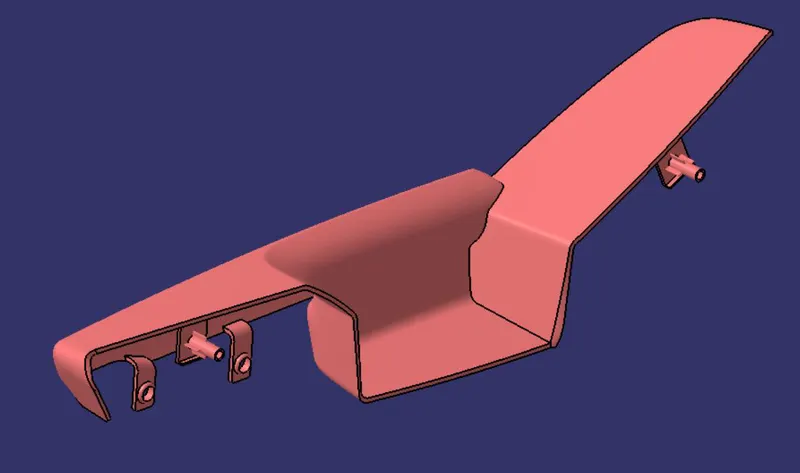
In the master section there are flanges shown. So we create the flanges using the sweep option. These flanges are created so that we could fix components to one another and also for the heat stakes.
Heat stakes-
Heatstaking is a method of joining two or more parts, where at least one is made out of plastic. The bond is made by partially de-forming the plastic part to fix the other
Thermal staking is an assembly method that uses the controlled melting and reforming of a plastic stud or boss to capture or lock another plastic or metal component of an assembly in place. The plastic stud protrudes through a hole in the component to be locked in place. The heated thermal tip contacts the top of the stud, which melts and fills the volume of the tip cavity to produce a head, locking the component in place.
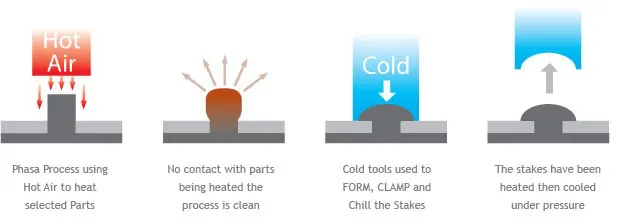
The heat stakes we created are according to the master section given to us.
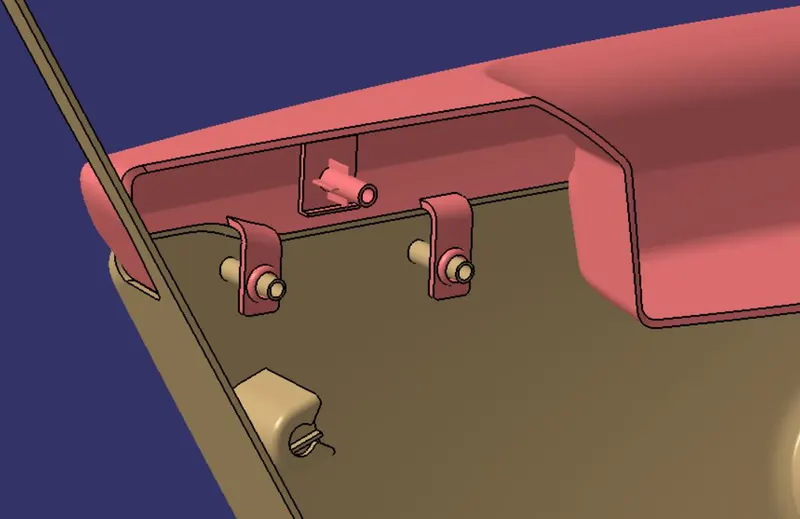
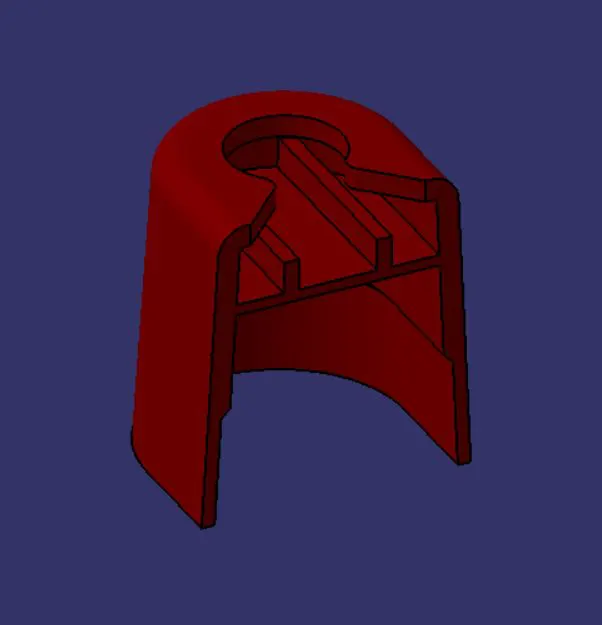
Dog House Design-
Dog house is an engineering feature used in plastic trim design. Dog houses are used as supporting feature. Dog house is a feature that helps you to avoid sink marks.
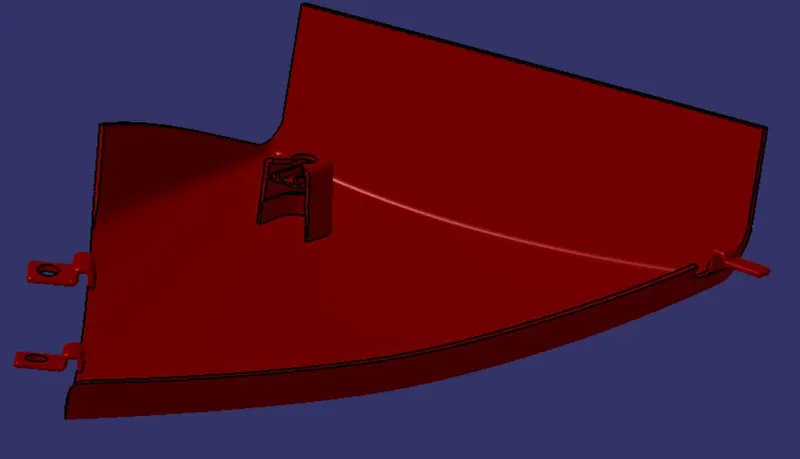
All Features-
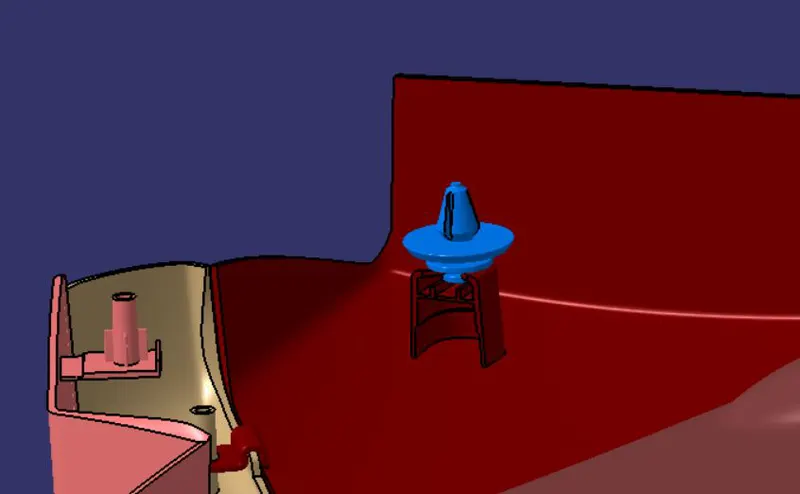
Push Pin-
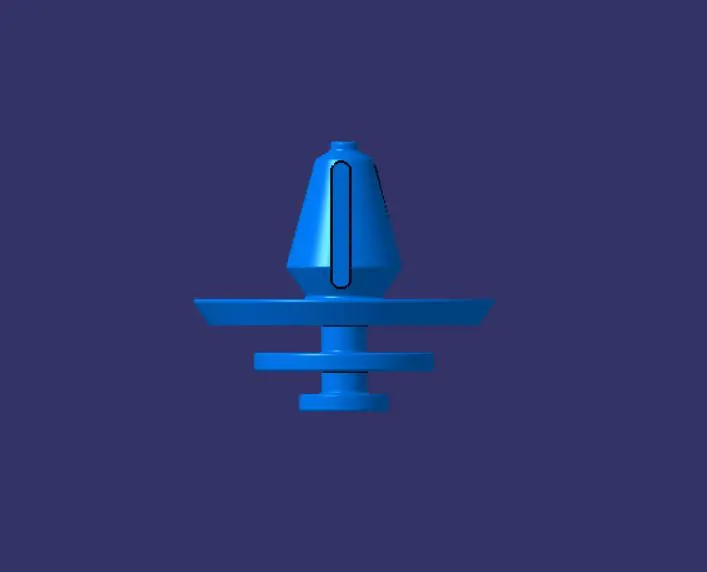
Push pin rivvets are used as fastners to join the two panels.
Since the body of the pushpin is already provided to us we just have to assmeble the pushpin to the dog houses in the assembly workbench.
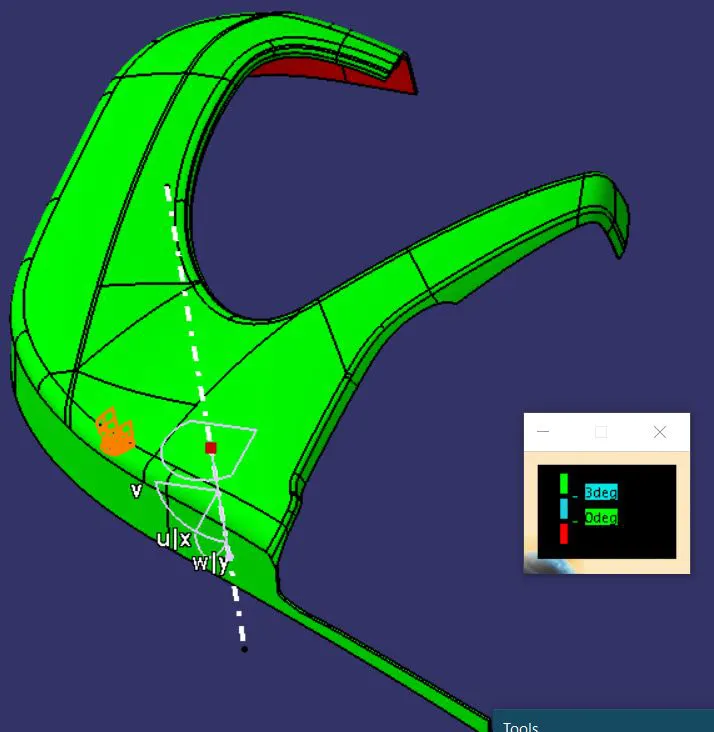
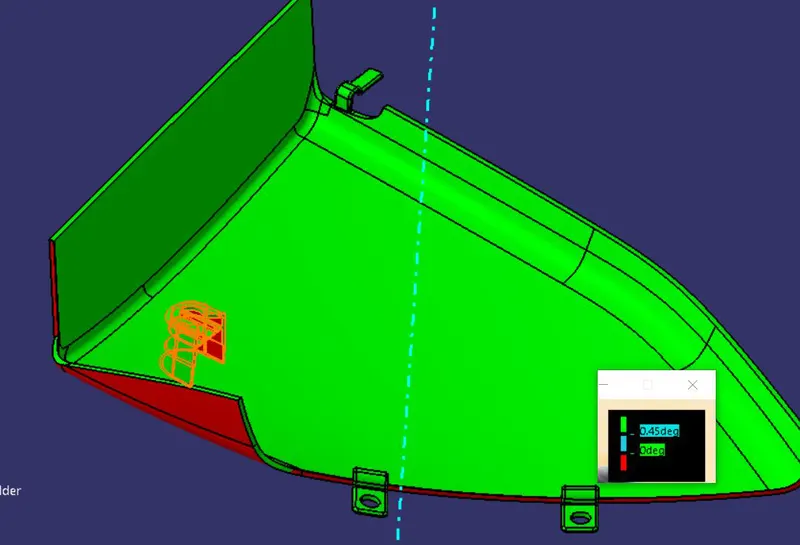
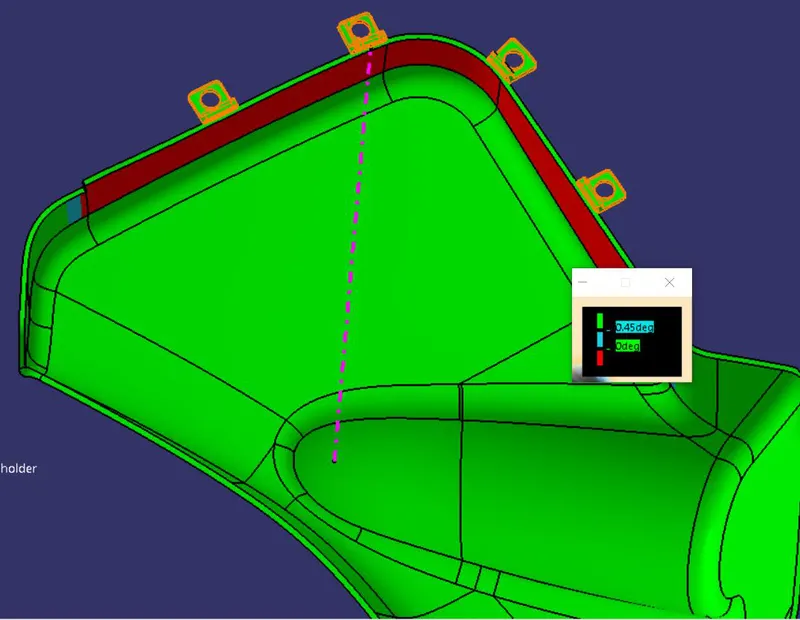
Draft analysis -
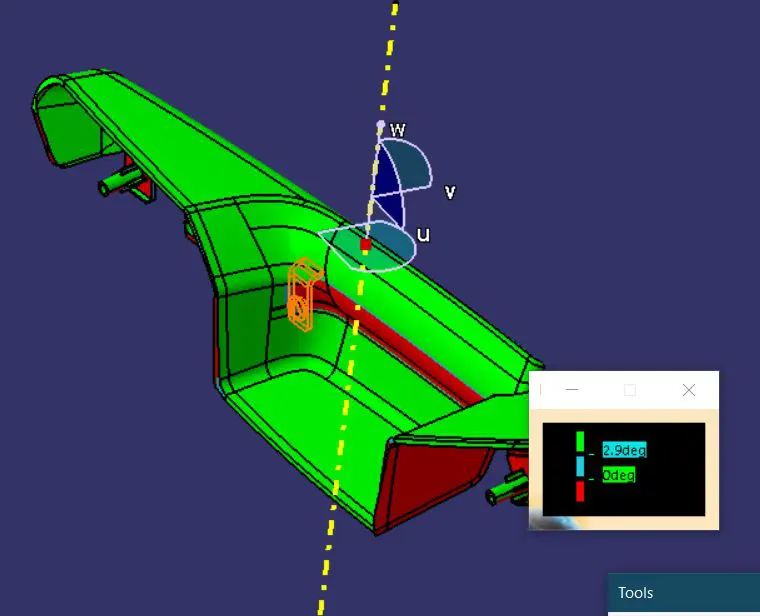
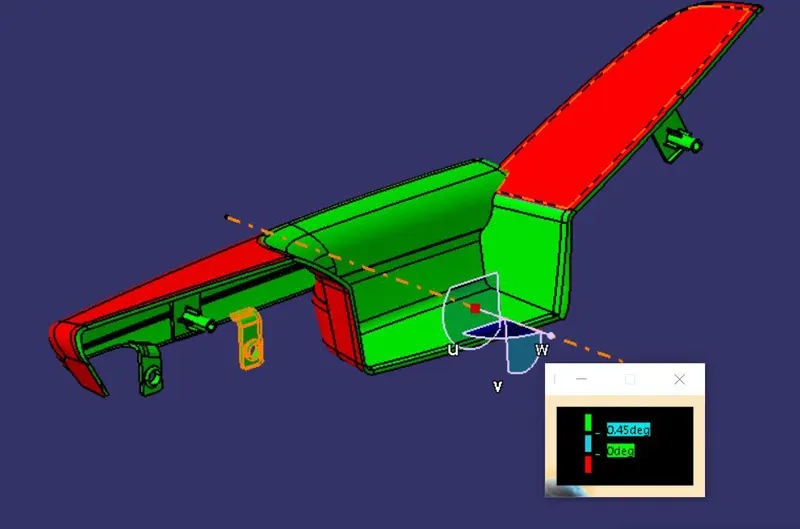
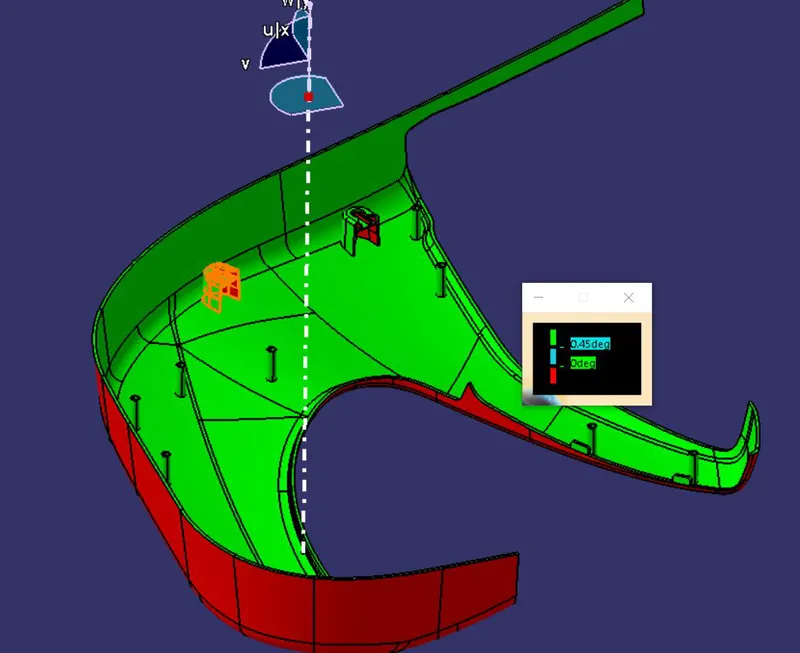
Before drafting we have to make sure that in the view mode it is selected to the materials.
After selecting the feature draft analysis tool we drag the compass from its position to the tool axis. Then lock the compass. After that select anywhere on the component and it will give you the result.
We change the minimum draft for the component to 0.45°.
Door arm rest-
Lower substrate-
Map pocket-
Map pocket with bottle holder-
Final Result-
CONCLUSION
From this we got to learn about the development of door trim panel according to the approach in the automotive industry on how to creates the Class B and Class C surface with all the engineering features.