Week 10 - Challenge 3 - Door Trim Lower with Engineering Features
AIM:
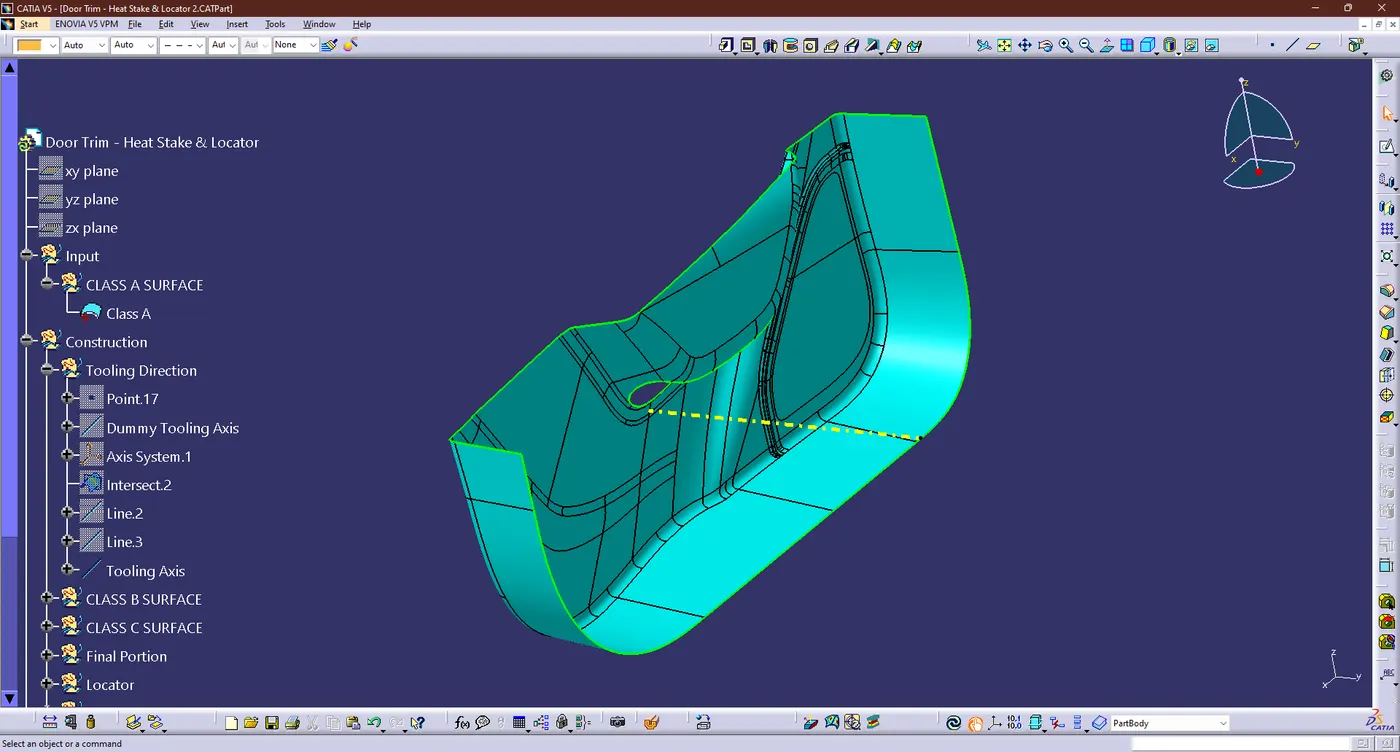
To Create the Door Trim Lower Plastic component through the given Class-A surface. To begin with, the tooling axis for the given Class-A Surface should be created meeting the requirements of the draft angle and at the end perform the Draft analysis on the model.
OBJECTIVES:
- Create Tooling Axis
- Create B & C Surfaces
- Create Heat Stakes & locator
Steps for Creation of Door Trim Lower Parts:
Creation of Tooling Axis:
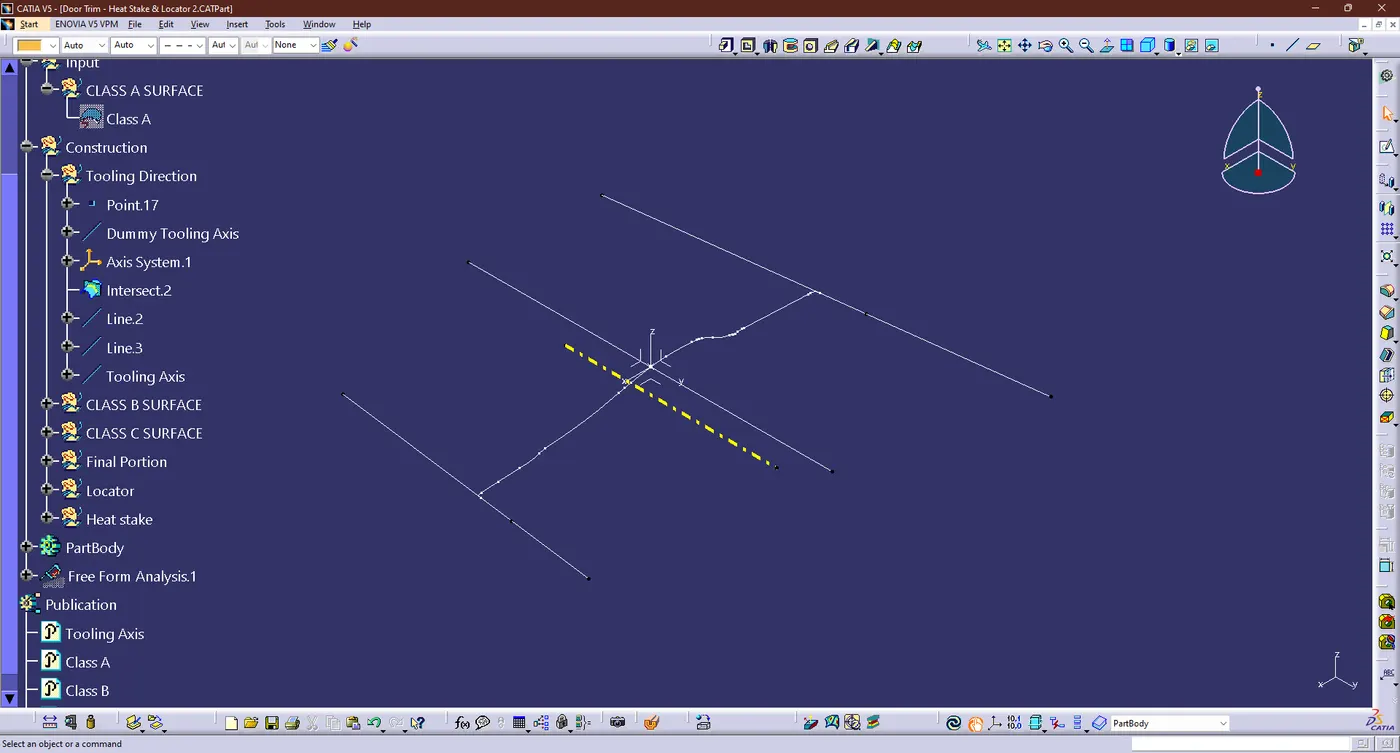
- To create the Tooling Axis, I extracted a surface from Class A and created a point in the center of the surface using the point command and create the line through the x-axis.
- Now create the intersection line through the point & Line
- Then create the another two lines in the both end of the Class A surfaces
- Again create the line by using the bisecting line option in the line command and given name has "Tooling axis"
Draft Analysis for Class A surfaces:
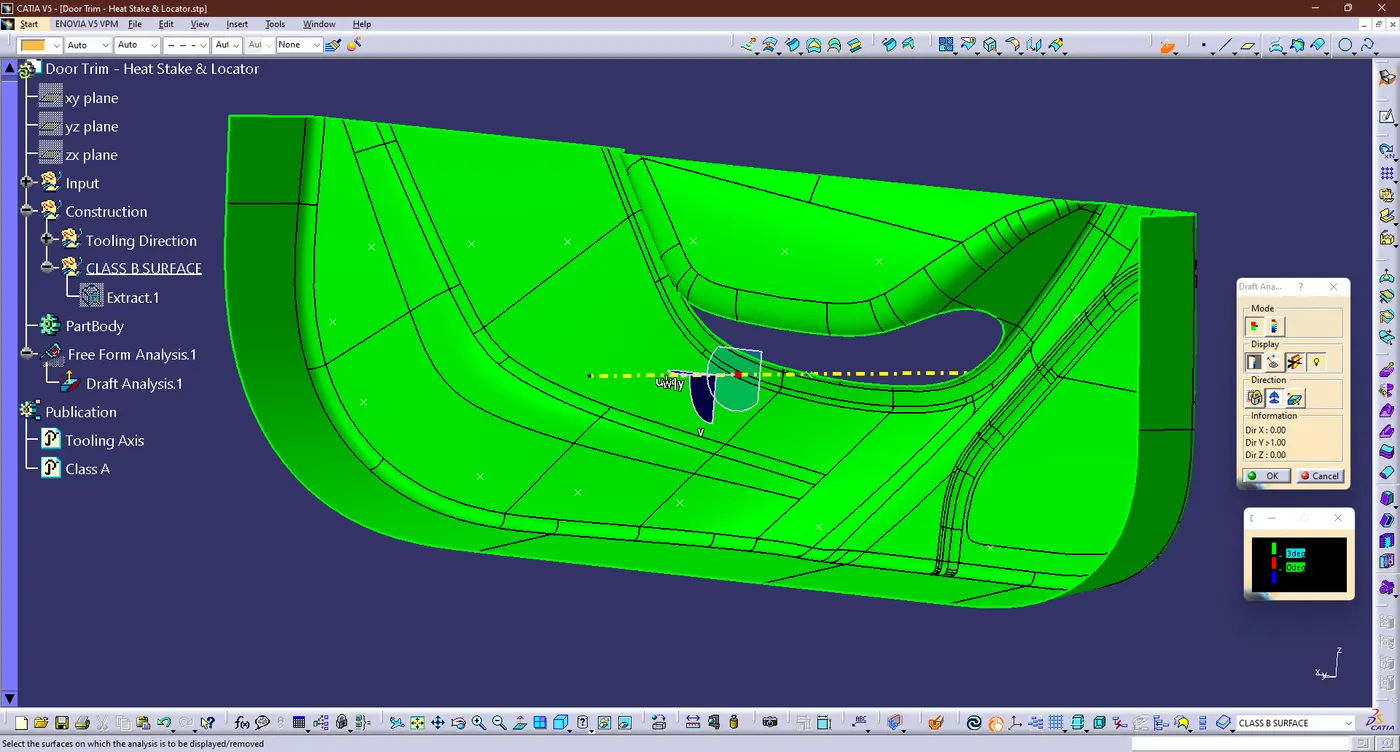
- We perform a draft analysis check for the Class A surface before we make solid part and creating features on Class B surfaces.
- Initially, I aligned the compass with the Tooling Axid and gave a Draft angle of 3 degrees for the green coluor on the Class A surface.
Creation of B surfaces:
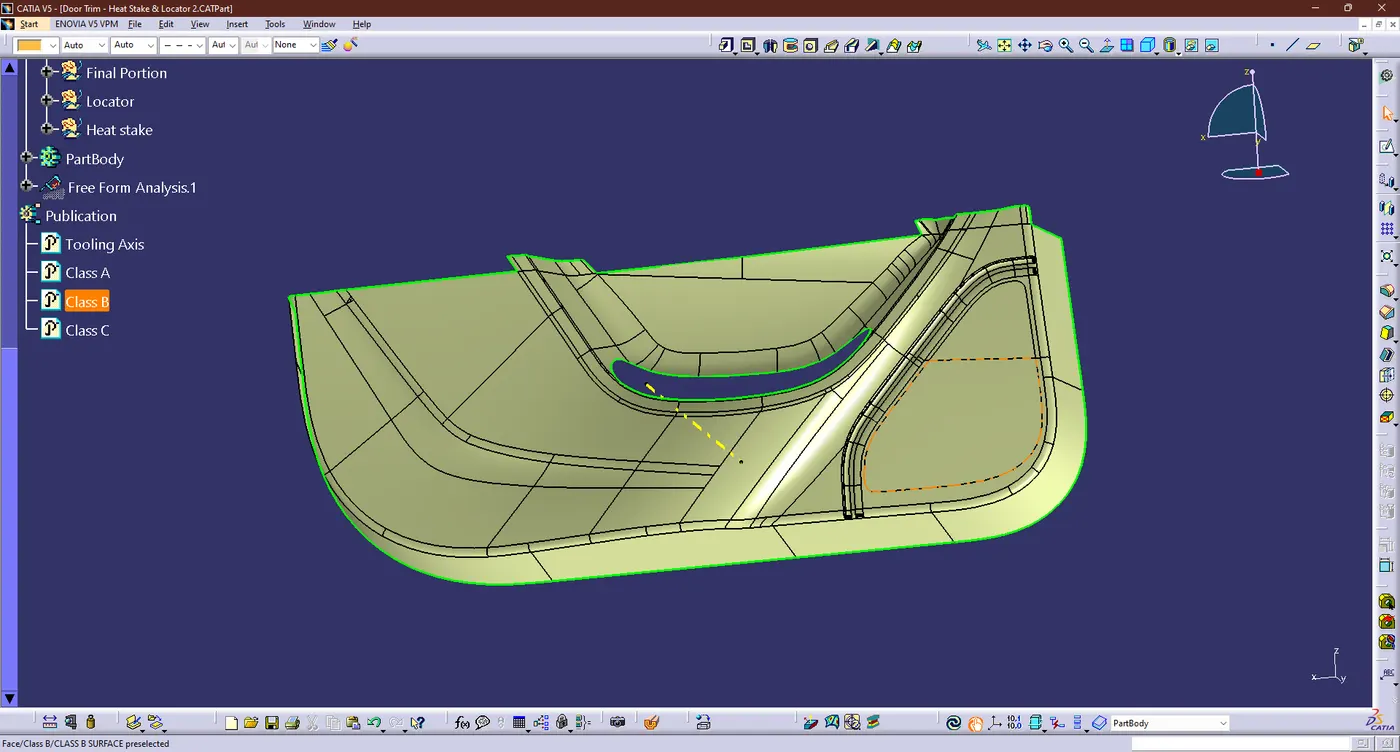
- To create a Class B surface, Offset the Class A surface through inward direction according to our thickness requirement has 2.5mm.
- Once the Offset is created, we can observe some patches on the offset surface by taking the boundary of the offset surface, These patches are formed by fillets on the Class A surface.
- So we need tod cover these patches with the Multi-Section surface command by extracting the patch boundries.
- Once all the patches of the offset are covered correctly, connect all the patches to the offset surface to obtain the replicate surface of the Class A surface.
Creation of C Surfaces:
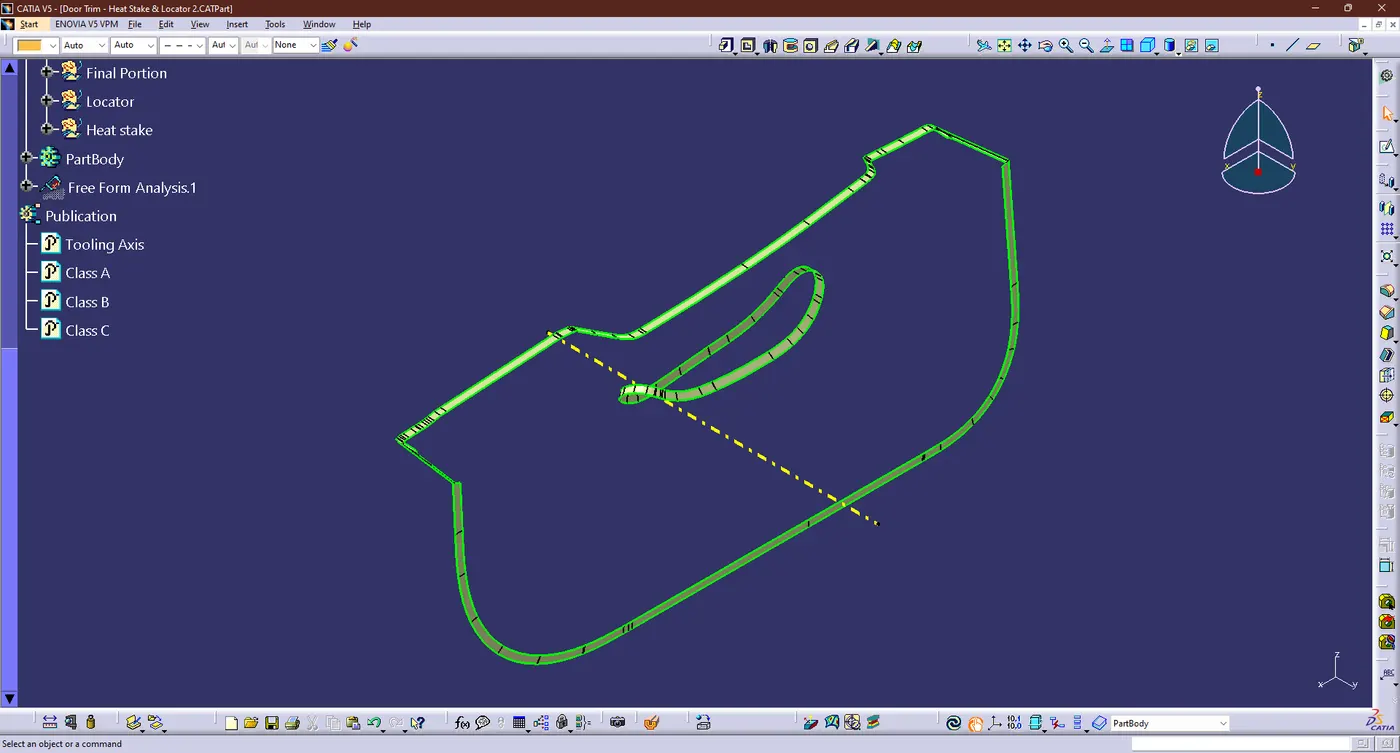
- First i could create the boundary from the Class A surfaces by using the boundary command
- Then create the c surface using the sweep command with boundary line from the Class A surface
- An extrapolate the full surface using the Extrapolate command due to it will merge the both CLASS A & B Surfaces
Final Portion:
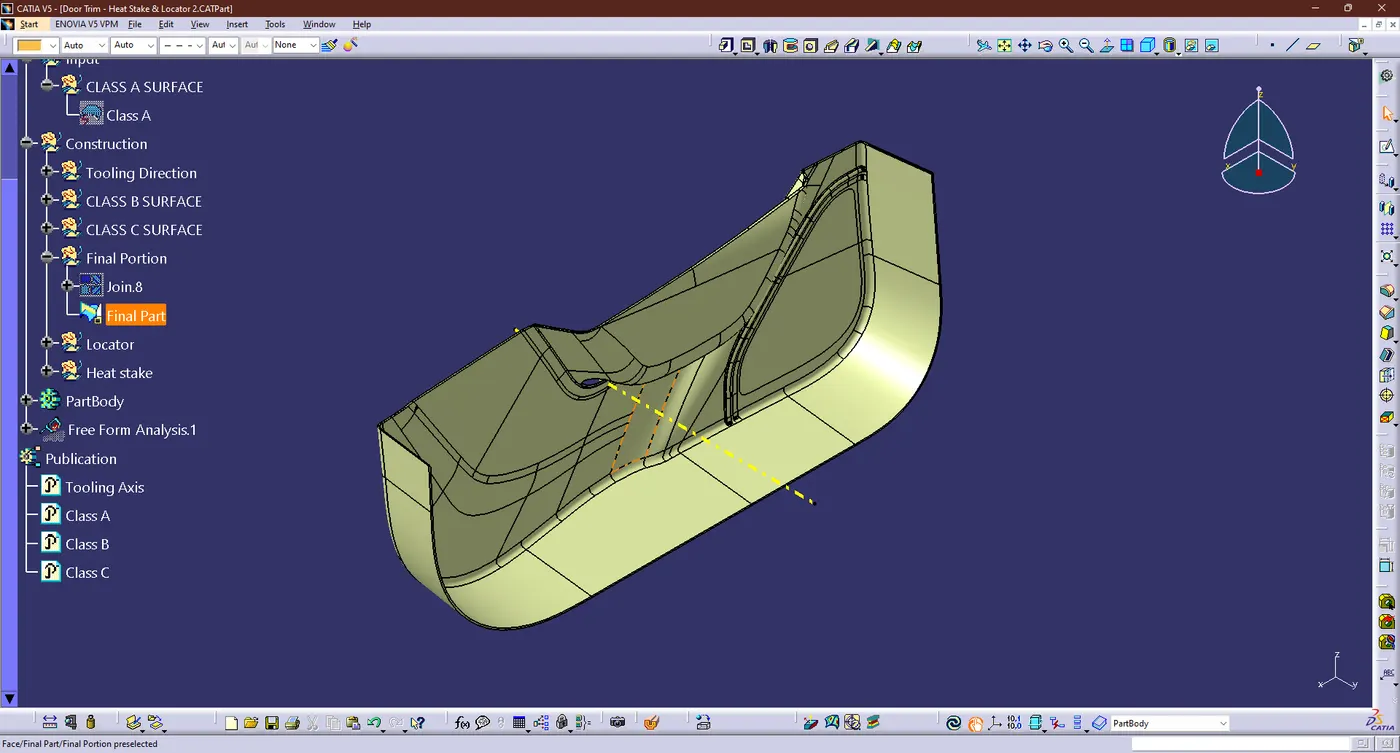
- First the join the Class A & C surfaces,Then trim with Class B surface
- Now we got the hollow part body of the Door Trim Lower Part
Solid Body:
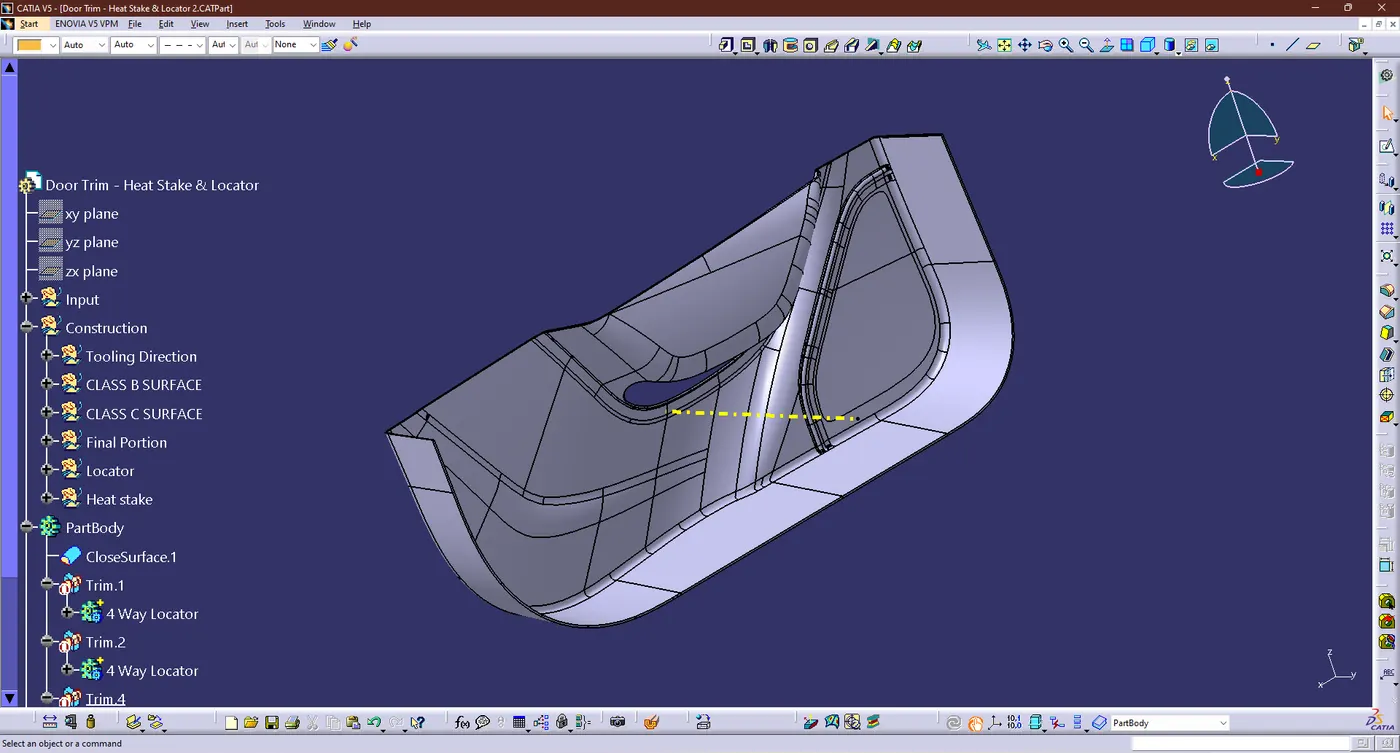
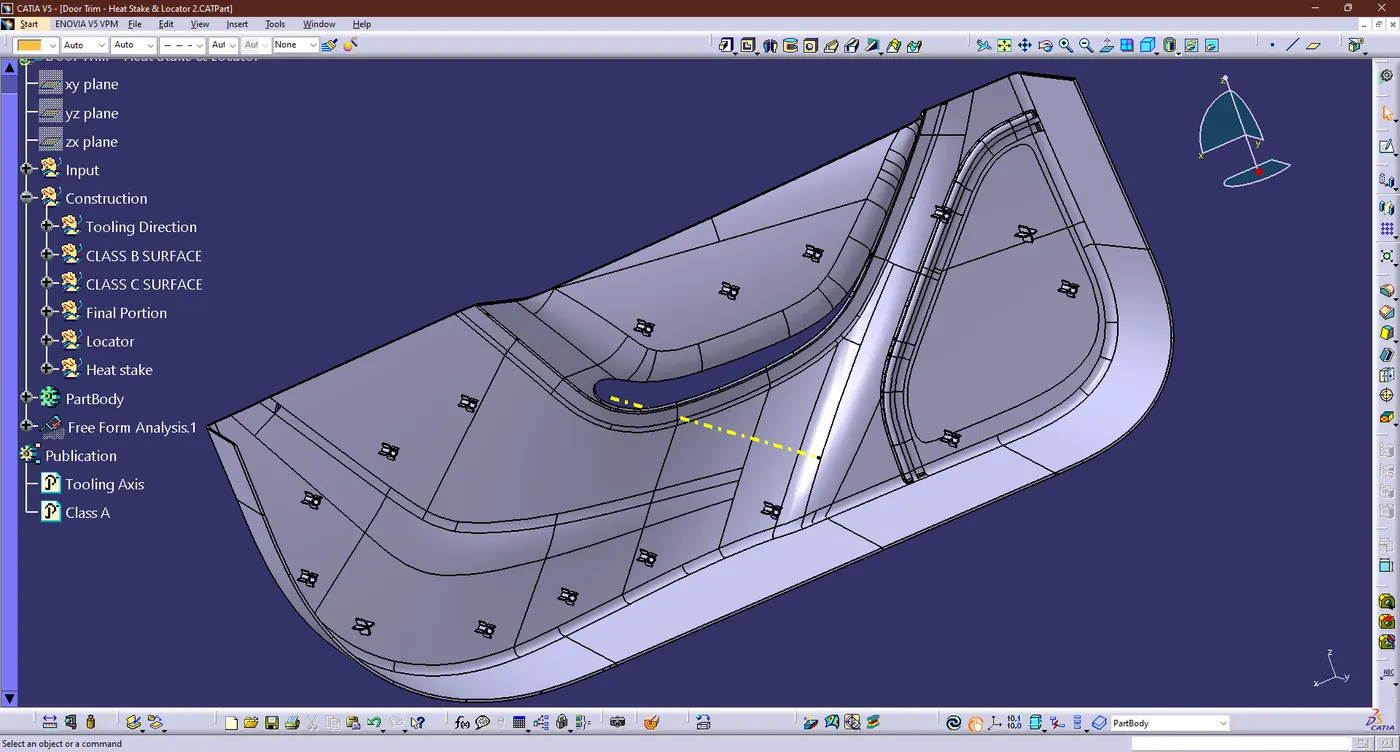
- The hollow is then created as a solid by selecting the Body option and then selecting the Close body surface and hence we got the final output were mention below
Creation of Engineering Features(Heat stakes & Locators):
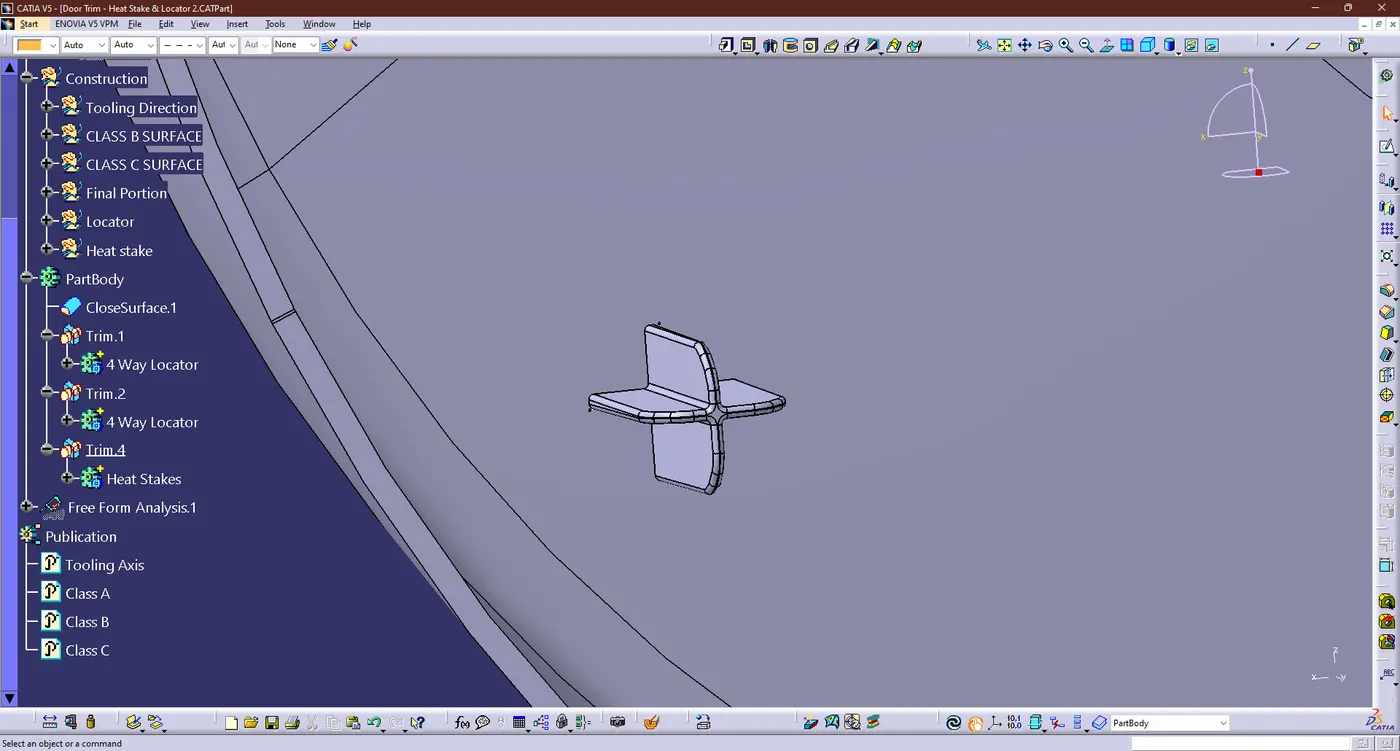
- Creation of Locators:
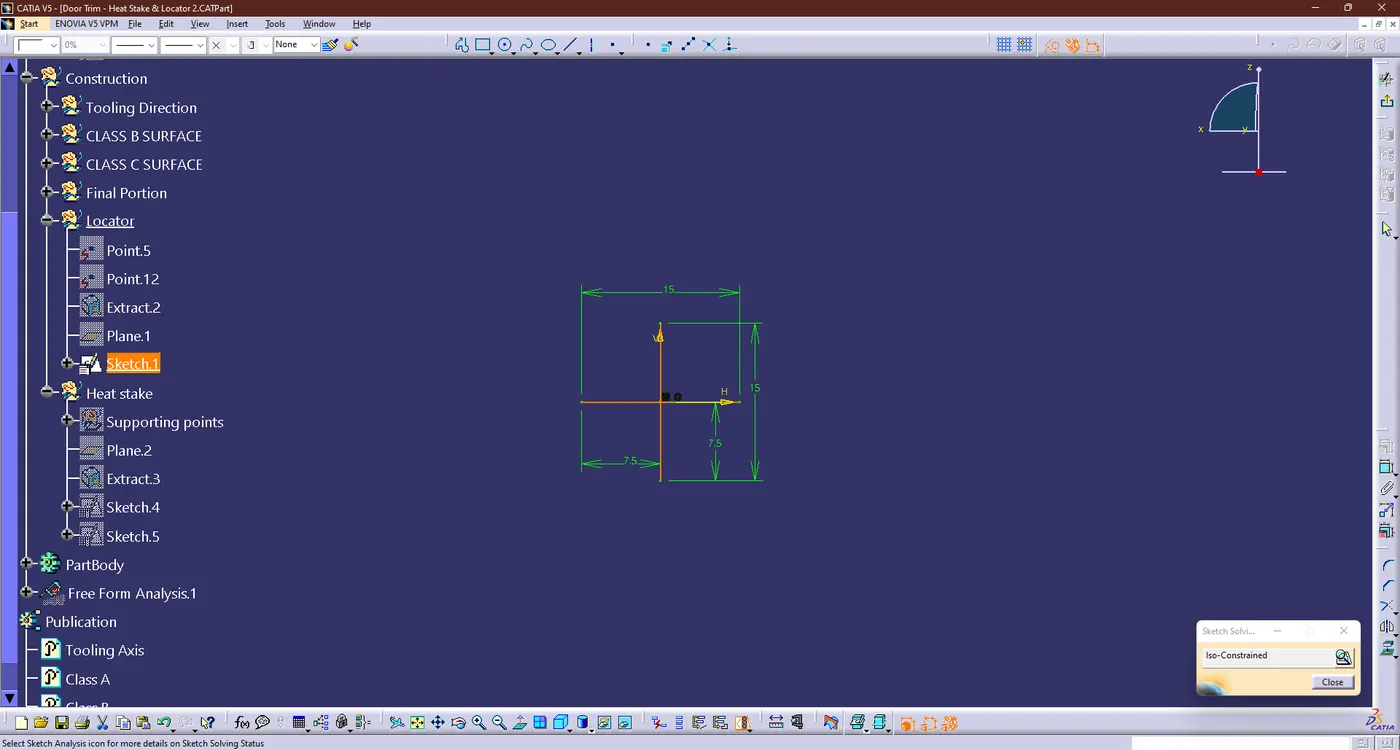
- First we need to the create the sketch for the Locators in the position sketch command in the dimension has 15mm
- Then pad the sketch using the pad command with 20mm height, 1.5mm thickness and i draft with 0.5 deg with direction of tooling axis
- I did a 3mm of chamfer with an angle of 45 degrees and then i gace a fillet with a radius of 0.3mm.
Creation of Heat stakes:
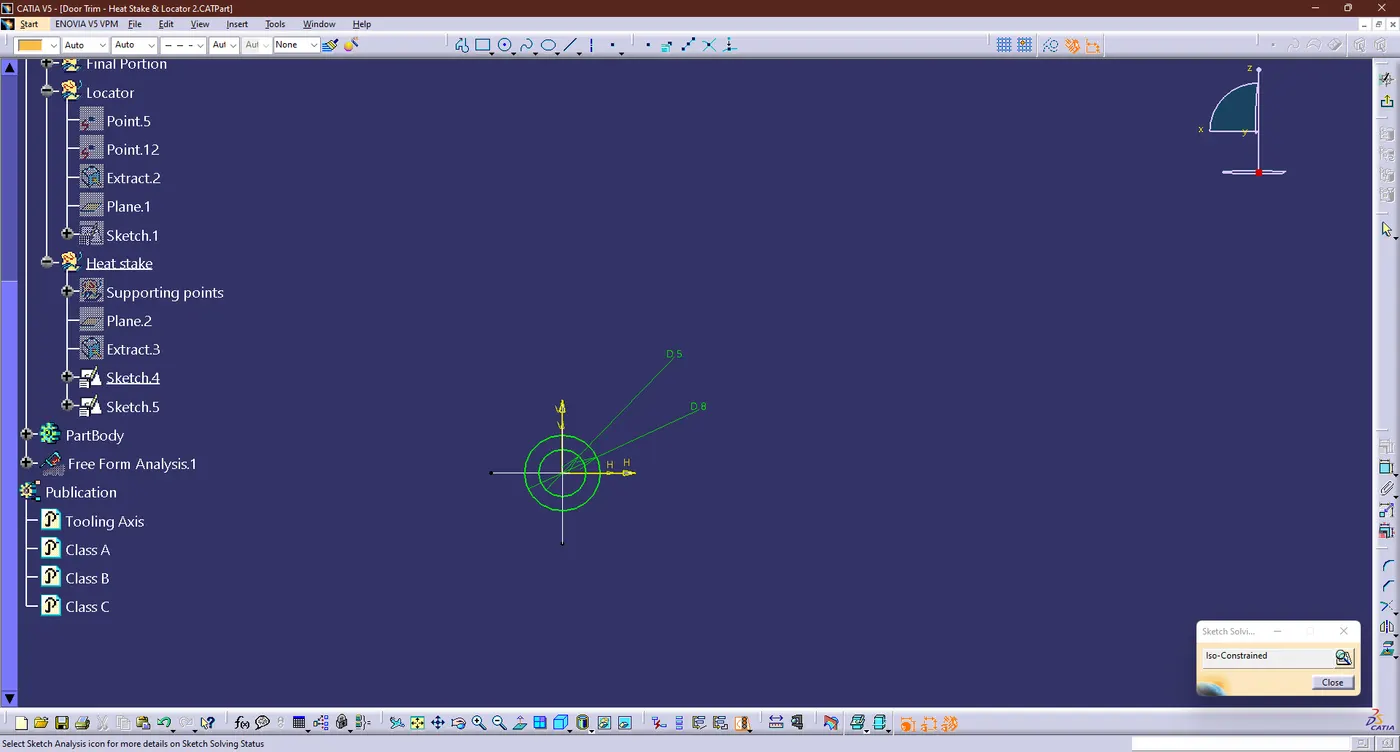
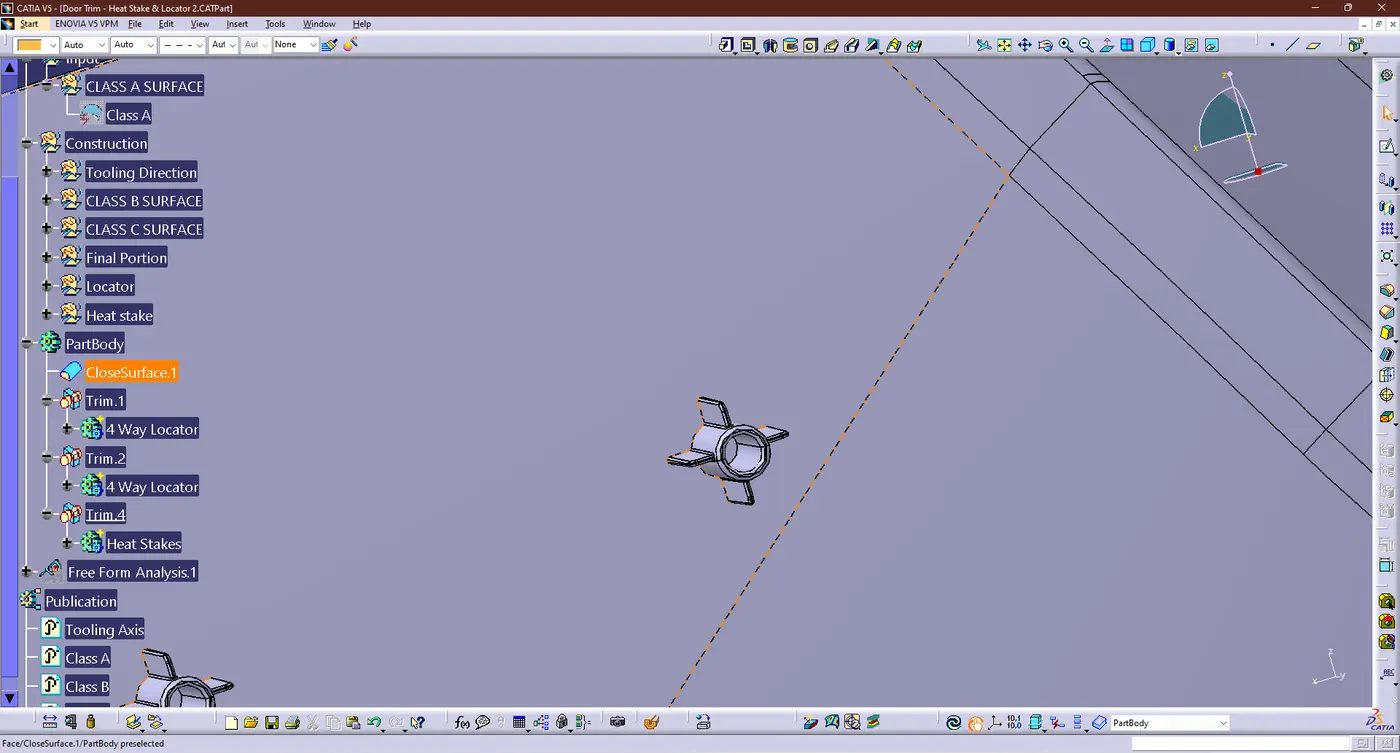
- First we need to the create the sketch for the Heatstakes in the position sketch command in the dimension has 5.2mm and 8.2mm for the circles
- Then pad the sketch using the pad command with 18mm height,and I draft with 0.5 deg with direction of tooling axis (inside and outside)
- After Creating the heat stakes, I created the ribs for supporting purposes, so do the same procedur for the rib also with some tweaks like 16mm height and the thickness has 1mm
- Then draft with 0.5 deg with tooling axis and fillet given has 0.25m
Draft Analysis:
- Draft Analysis for the Engineering Features:
- In Plastic Design, the draft analysis or angle that is considered in the OEMs is 3 degree.
- Same thing were do follow for the draft analysis on earlier and output mention below
- Then we got degree has 0.4 deg
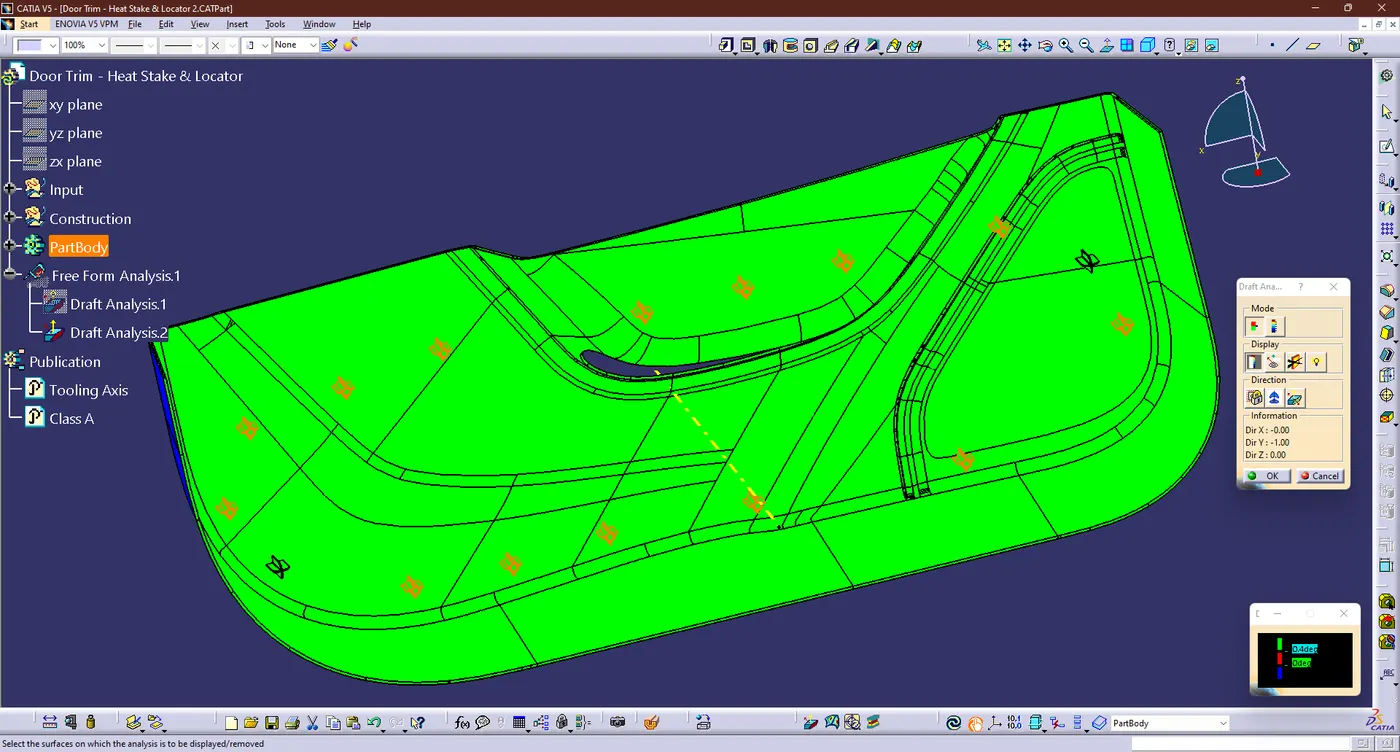
- Draft Analysis for the PartBody:
- In Plastic Design, the draft analysis or angle that is considered in the OEMs is 3 degree.
- Same thing were do follow for the draft analysis on earlier and output mention below
- Then we got degree has 0.4 deg
Tree Structure:
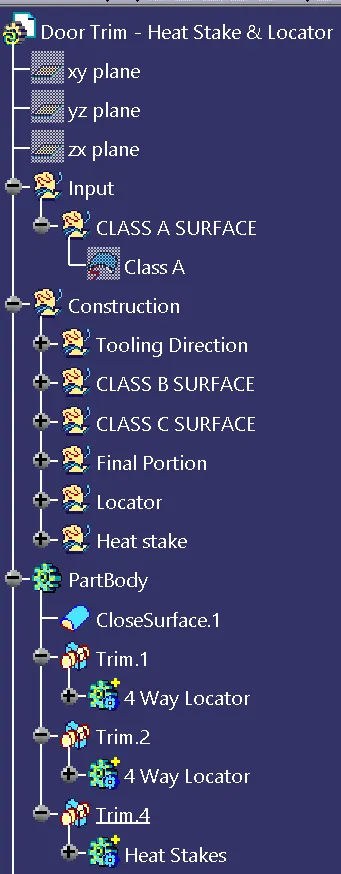
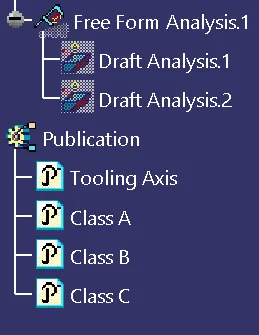
Files:
- The output file were mention pn browse option in the name of the "Week 10 challenges 3 (Heat Stakes & Locators).zip" and also output images were uploaded in the same folder.