Week 10 - Challenge 3 - Door Trim Lower with Engineering Features
Door Trim Lower with Engineering Features (Heat Stakes)
Aim:
To create the Door Trim Lower Plastic component through the given Class-A surface and create the tooling axis for the given Class-A Surface should be meeting the draft analysis requirements and performing the draft analysis on the final close solid component. Design the Heat Stakes and the locators considering the design rules.
Objective:
- To Design the door trim following the design rules (Create Class B & C surface)
- Use the Close Surface feature to make a solid body from the surface.
- To create the tooling Axis and Performing draft analysis on the Class A.
- To design the Heat Stakes and the locators considering the design rules
- Perform the Draft analysis for the final component.
Tooling Axis:
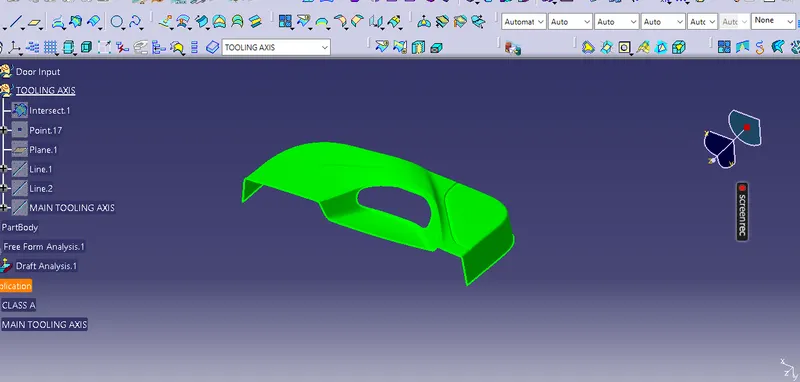
To analys the class A surface first create the Tooling Axis, the tooling axis is tends to the core and cavity direction. So the tooling direction is defined to the component ejecting direction.First create the plane perpendicular to the core and cavity area. So draw the intersecting line on the Class A suface. Then create the line on the intersecting boundaries for creating bisecting Line.
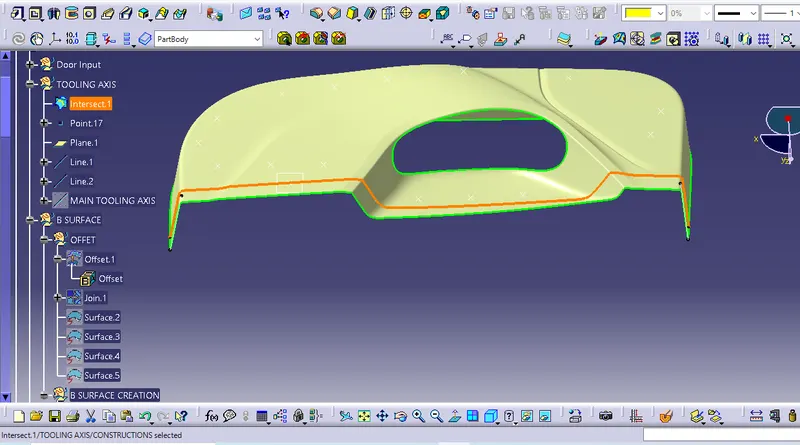
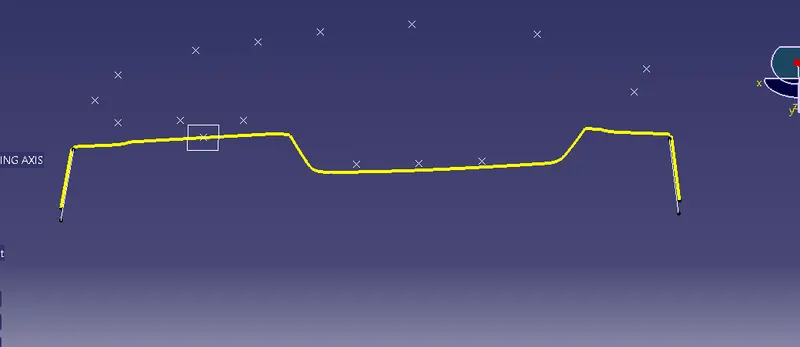
Before create bisecting line need the support line, so create the support line by the Point-Point option, pick up the vertex point on the both sides and define the supporting line.
Bisecting Line => Line -> Line Type -> Bisecting Line
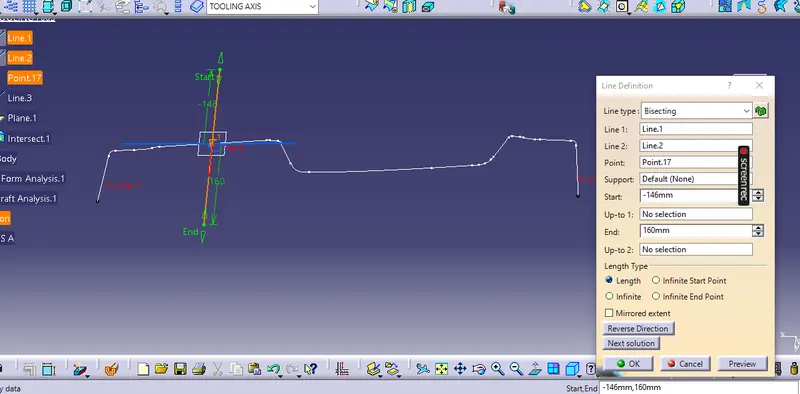
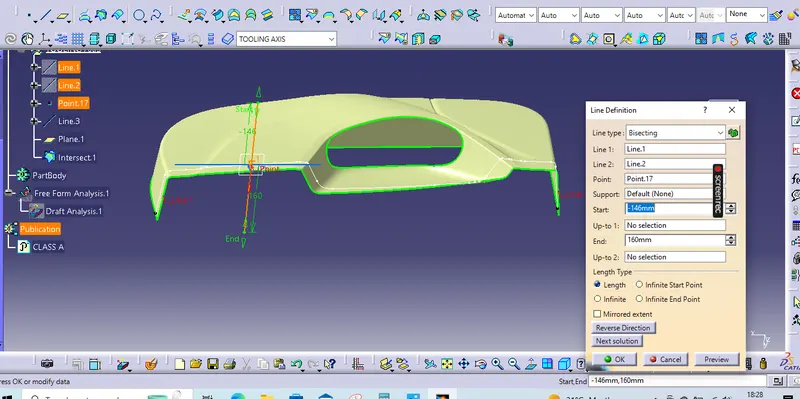
Tooling Axis created by the Bisecting Line and define the direction by the changing Next Solution. Hence the Tooling axis created successfully.
Class A:
Class A surface is the aesthetic skin data for the automotive part designing and curvature surface to represent the main component.Befor proceed with A surface to analys the Draft angle, if get any mis-match surface reconstruct the A surface.
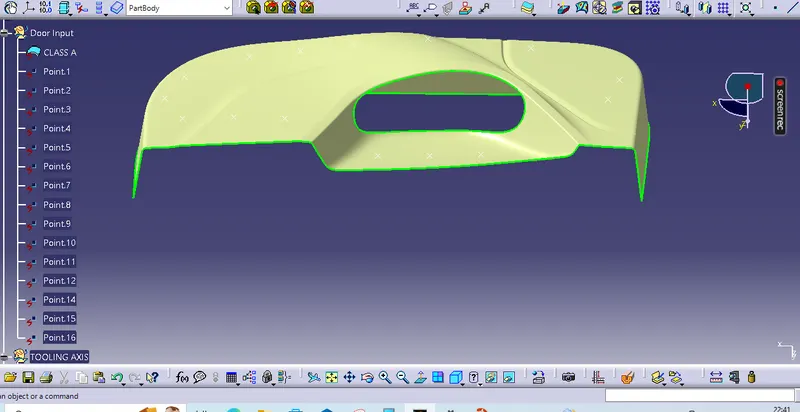
Class A Draft Analysis:
Draft is the main requirments in plastics molding. If the draft angle is less than 0 degree, the part or component and tool is to be damaged in mass production. If the draft angle is less than 0 degree, the part or component and tool is to be damaged in mass production. Also the molding part would not eject from the core and cavity. So the drafting analysis to find out the lesser angle are by the colour variation.
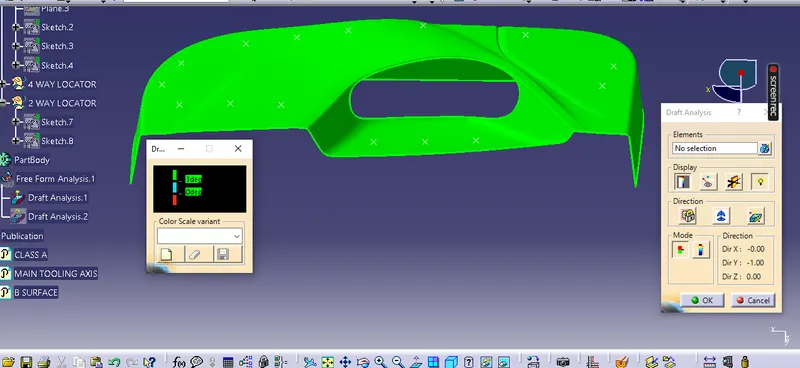
Above 3 - Green
0 to 3 - Blue
< 0 - RED
Class B:
For create the class B surface here we directly offset the class A surface to the total thickness of close body to inward direction some of the surfaces give offset error and ask for offset without these subelements click okay and work on the incomplete surfaces by using the multi-section surface command or extrapolate, fillet and different commands used to complete the class B surface.
Thickness of the component to be 2.5 mm
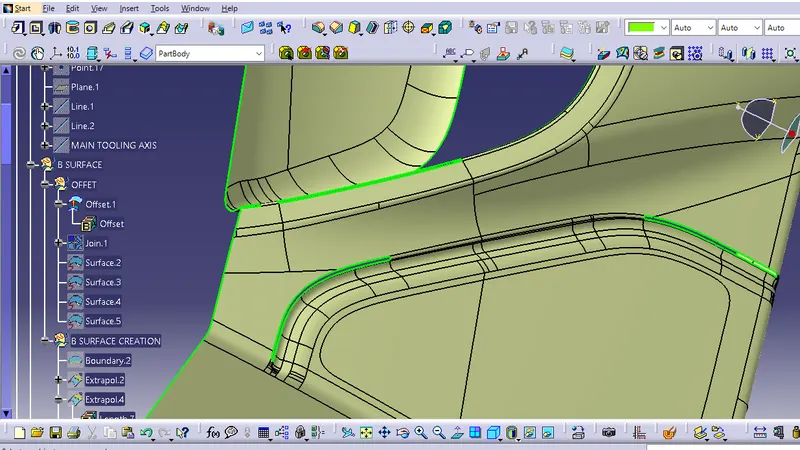
So offset the class A to 2.5 mm inward, inthis case fillets are showing some error. Because of the inward offset the fillet will be reduce.At this moment we reconstruct the B surface with respect to the A surface.So using multi section surface command and create the surface which is in the missing fillet area. Then spilt from the offset.1 and using join with the option of sub element to remove to the remove fillets and extracted surface from the offset1.
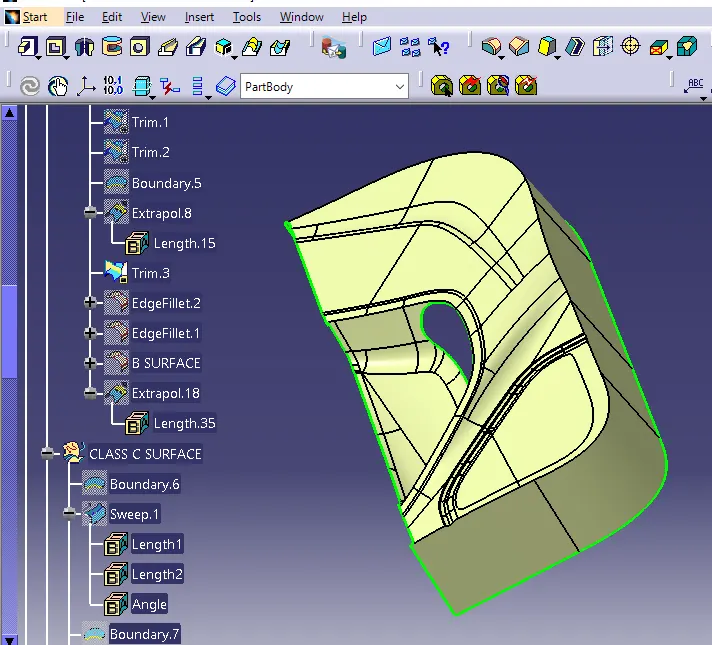
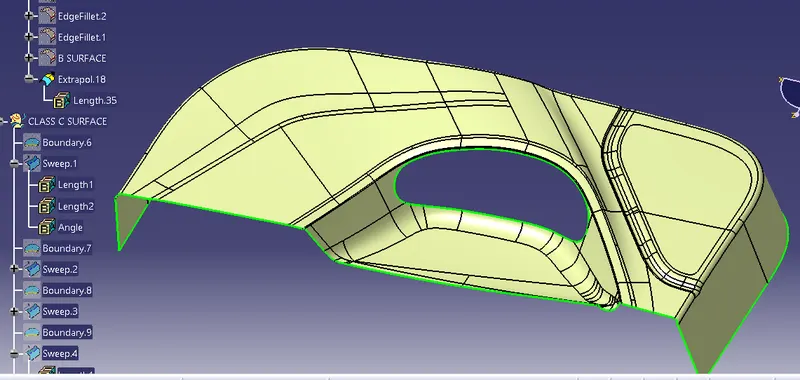
Then trim with the extracted surface to the all flat extrapolated got the B surface and give the all fillets with respect to class A.(Here consider the offset is inward direction so the fillet radius will change with respect to the thickness of close surface.)Otherwise you can directly measure the offset surfacefillet radious.
Class C:
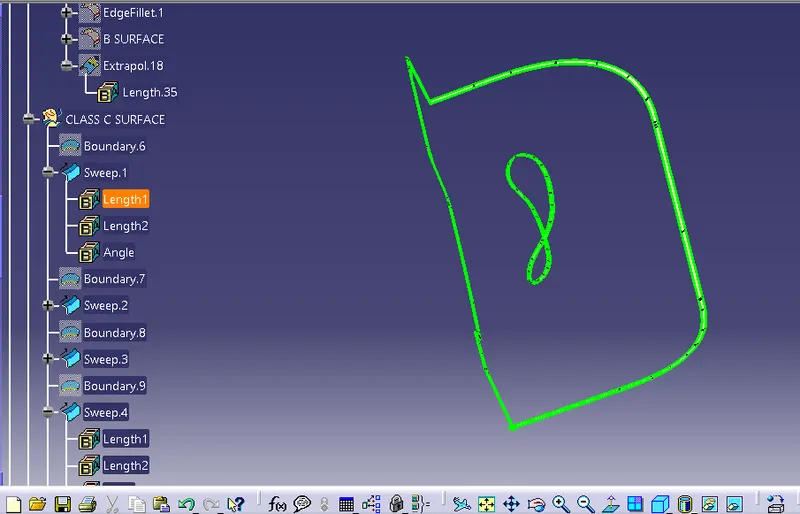
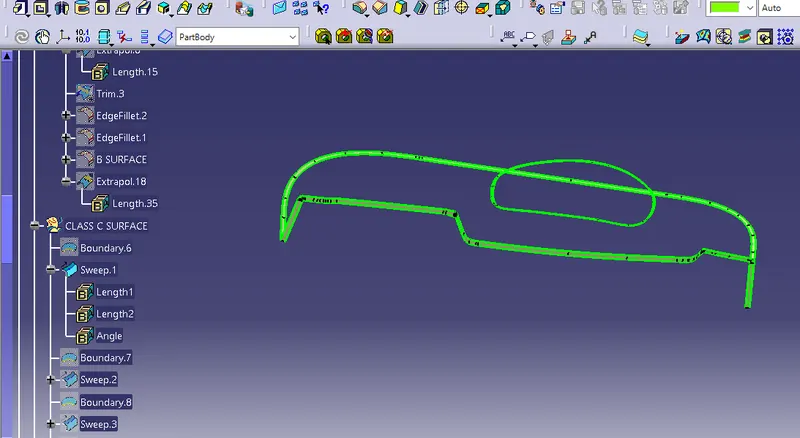
We first createste boundary from the Class A surface edges with the help of the multi extract or boundary command which we create the curve for sweep command. For creating the C surface draw a boundary to the class surface edges and sweep the edges with draft direction and with reference surface. The surface which is paralel to the tooling axis to use the sweep at the draft direction and the surface which is perpendicular to the tooling axis is swept with the reference surface.
Then extrapolate the missing edges and trim together wil get the class C surface.
Class A & C:
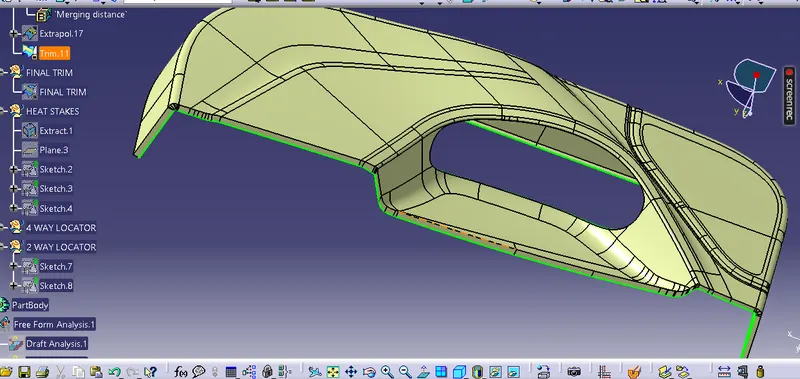
To join the class A and Class C surface by using join command.
Final Trim:
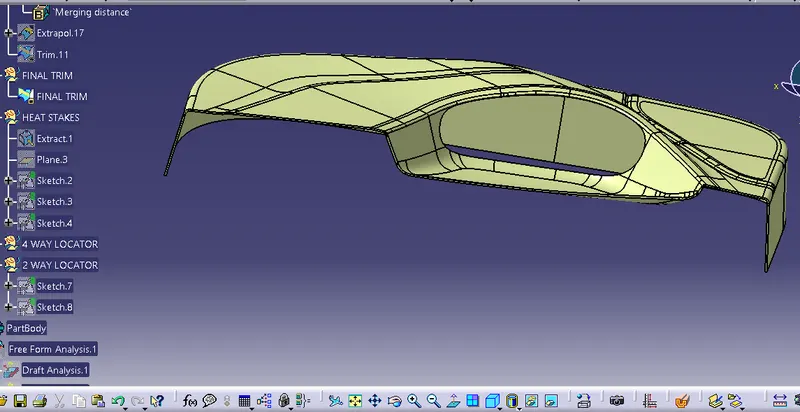
To trim the Surface (A+C ) with the B surface.
Close Solid Surface:
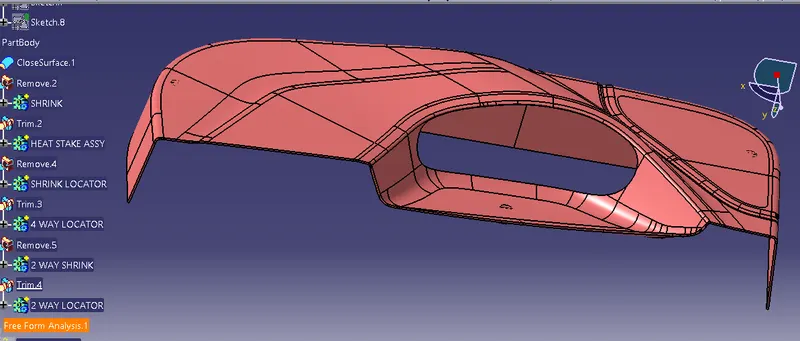
START -> MECHANICAL DESIGN -> PART DESIGN -> SURFACE FEATURE -> CLOSE SURFACE
Locators & Heat Stakes
Heat Stakes:
Plastic attachment industries currently use many different attachment methods to keep components together. Common fasteners such as bolts, screws, and rivets can be used to form permanent attachments, but there are attachment methods that don’t require secondary hardware. One of these methods is heat staking, which doesn’t required any additional fasteners.
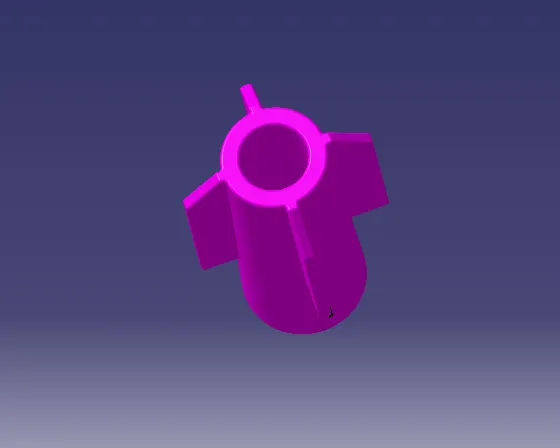
Heat staking is the process to attach two separate components together by melting the base plastic material into a shape that will hold the secondary component. It’s a permanent attachment method that does not require any additional material such as an adhesive or a solvent to make the permanent bond. The only addition is the heat applied to melt the plastic and a tool to shape the plastic to form the mechanical connection.
REASONS FOR HEAT STAKING:
1.Mutiple staking shapes for different benefits.
2.Excellent durability.
3.No extra materials are needed.
4.Increased efficiency.
5.Easy Maintenance.
3-2-1 PRINCIPLE:
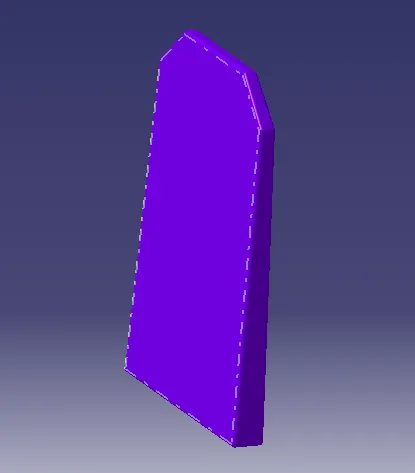
The work part free and it can move in an infinite number of directions. For analysis, this motion can be broken down into 12 directional movements or "degrees of freedom". All 12 degrees of freedom must be restricted to ensure proper reference of the work part.
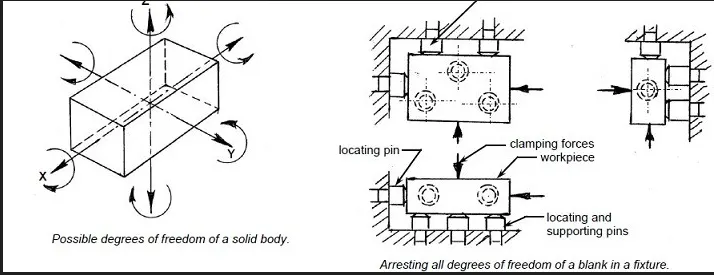
As shown in above figure, the 12 degrees of freedom all relate to the central axis of the work-part. Notice the six axial axis degrees and 6 radial degrees of freedom. The axial degrees of freedom permit straight-line movement in both directions along the 3-principle axis shown as X, Y & Z. The radial degrees of freedom permit rotational movement, in both clockwise & anti-clockwise radial directions around the same three axis.
4 Way Locator:
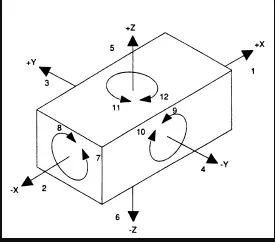
4-way locators mean you have to prevent the movement at 2 axes (+X, -X, +Y and -Y) on the plane. Generally, you have cylindrical pin on the fixture and circular hole at workpiece part.
2 Way Locator:
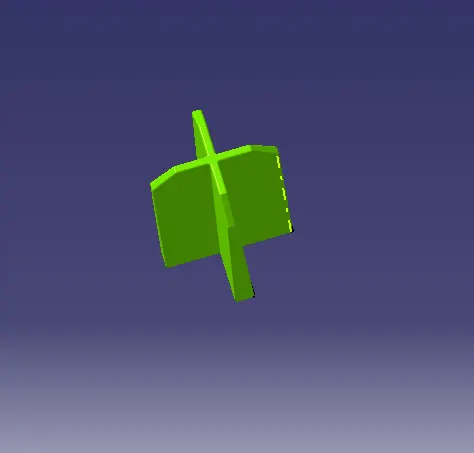
The 2-way locating pin restricts motion along 1 axis (or 2 degrees of Freedom), like a round pin in a slot. Like-wise, a 4-way pin restricts 4 degrees of freedom along 2 axes.
Final Drfat Analysis:
Final Close Body Draft Analysis:
Procedure for performing the draft analysis are as follows
- Change the view mode of the component into customized parameter mode and then select the shading option as material mode.
- Then open the featured draft analysis tool from the insert menu -> Analysis.
- Then click the compass and drag the axis to define the current drafting direction to tooling axis.
- Then lock the draft direction and perform draft analysis by pick the component.
- The green colour shows the positive daft tooling direction and the given surface passes the draft analysis.
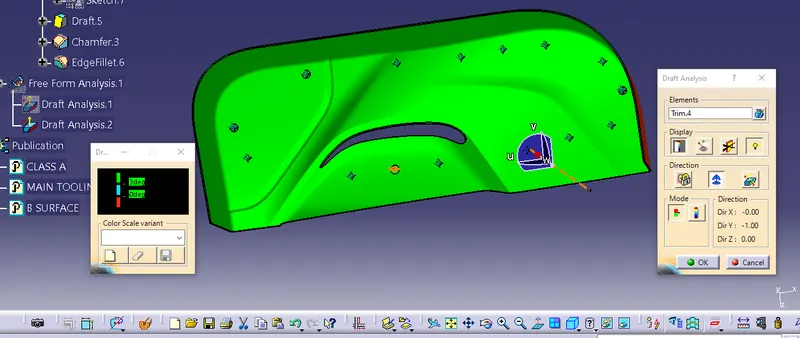
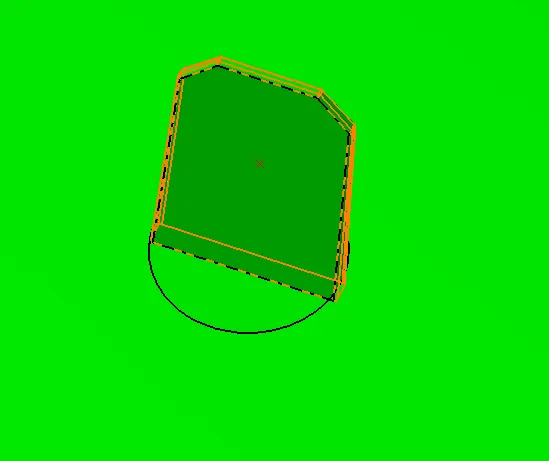
The final draft analysis the close surface clear by the draft angle.In Plastics design 3 degree is the minimum draft angle to drafted over the area which is permissible at the injection molding manufacturing area.Here the class A surface not clear 3 degree draft, so the final close body also not clear in 3 degree draft.
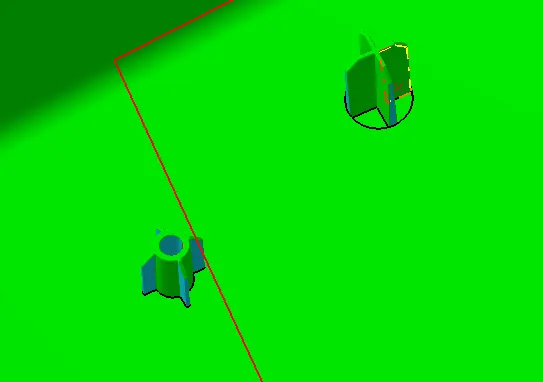
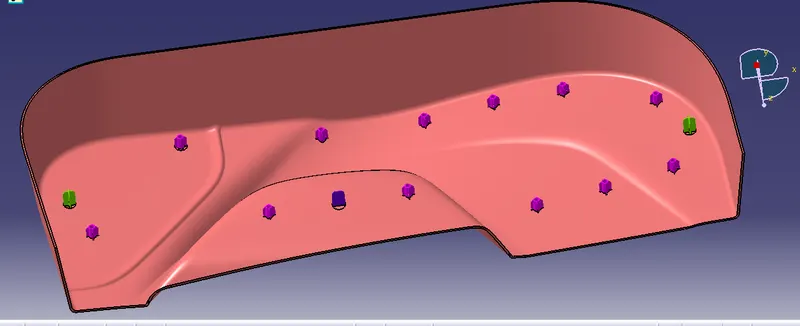
Heat stakes drfated at 1.5 degree angle, so the stakes draft angle is between 0 - 3 degree.
Above 3 - Green
0 to 3 - Blue
< 0 - RED
Different Views:
Front View:
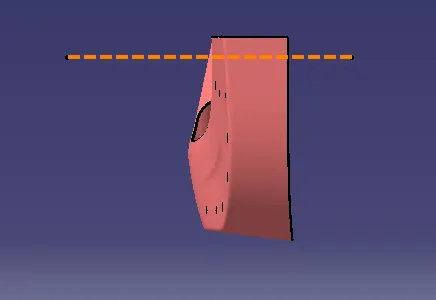
Side View:
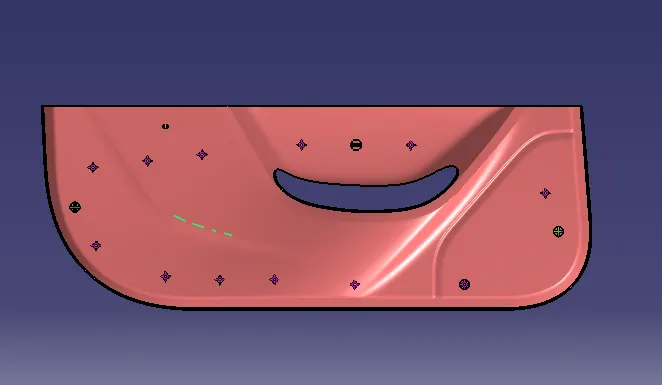
Top View:
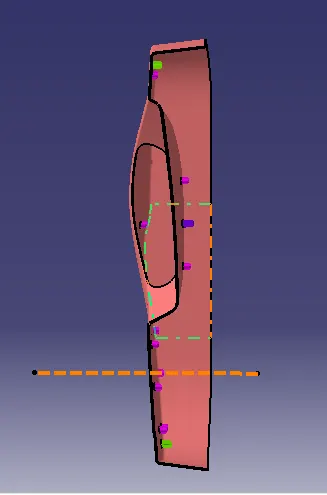
ISO View:
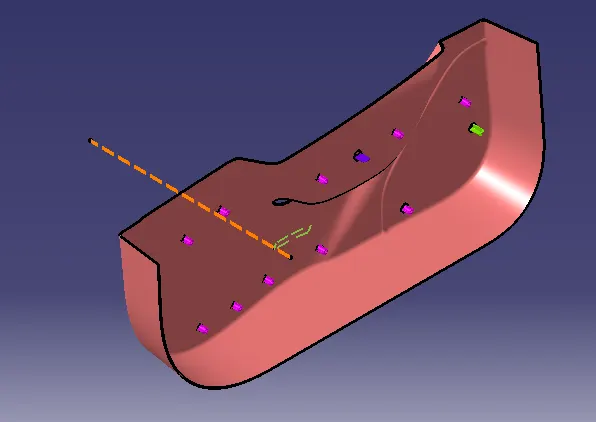
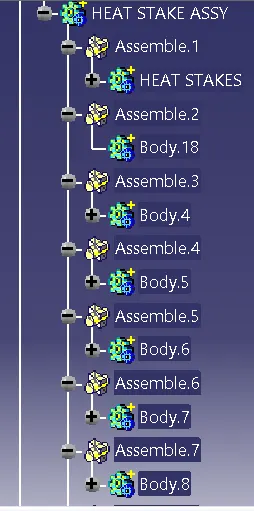
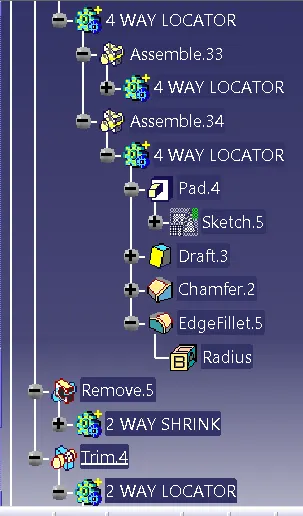
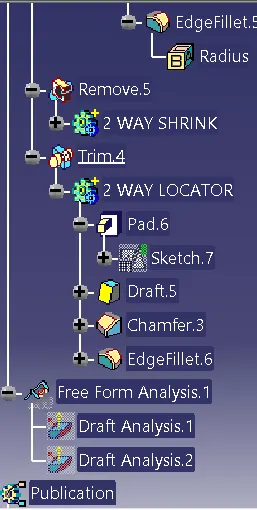
Tree Structures:
Conclusion:
The Door trim and the Engineering features of 4 way and 2-way locators, heat stakes has been created following all the plastic design guidelines.