Week 10 - Challenge 2- Attachment Feature Creation (Dog House)
AIM : To create the Dog House for the Door Trim considering the design. Considering the thickness of the part to be 2.5 mm.
REPORT :
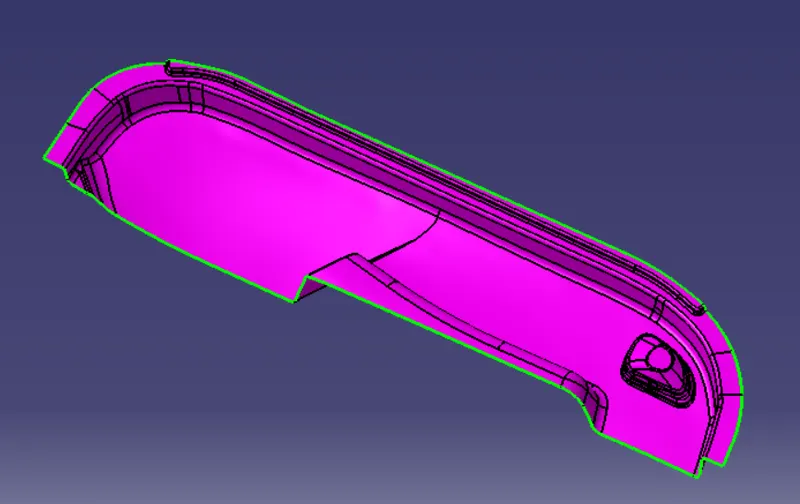
- Class A surface : Surface Class A was being provided to us.
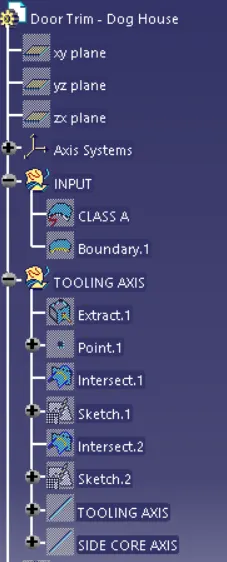
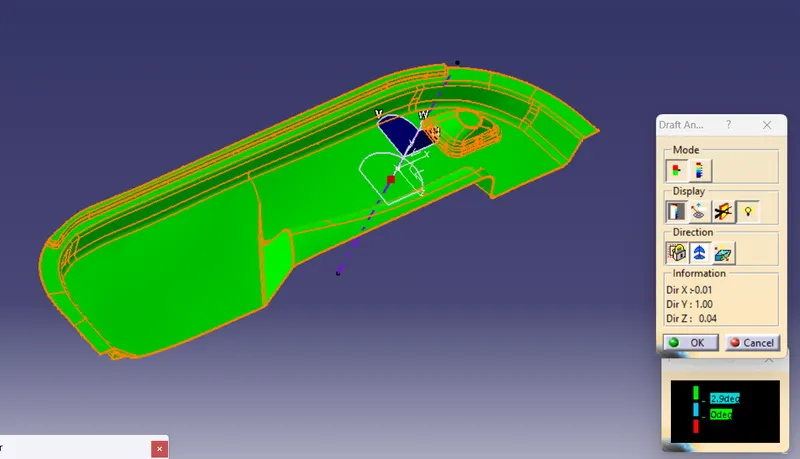
- Tooling Axis : Check the best possible tooling direction by manually adjusting the compass. Now extract any surface and create a mid-point on it. Then create a dummy axis creating a line on the point and direction along the following axis. Perform draft analysis to find whether the given axis clears the draft analysis. If not create a new tooling axis.
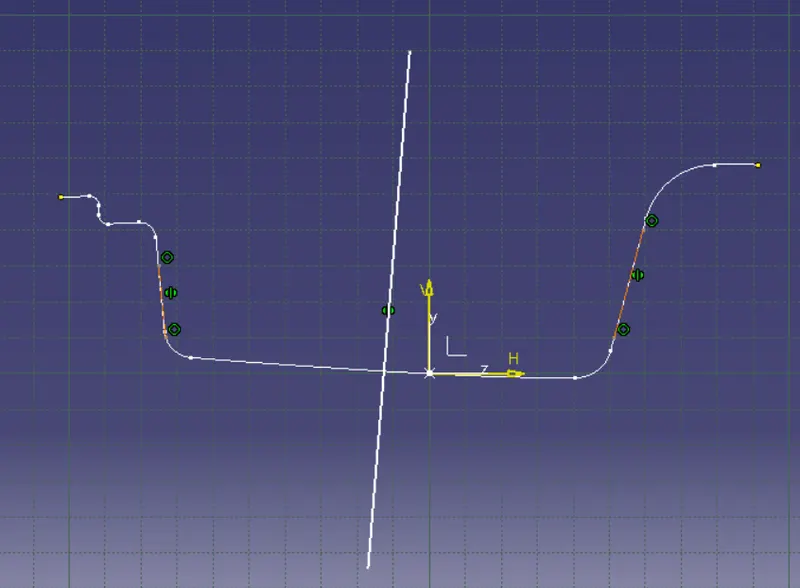
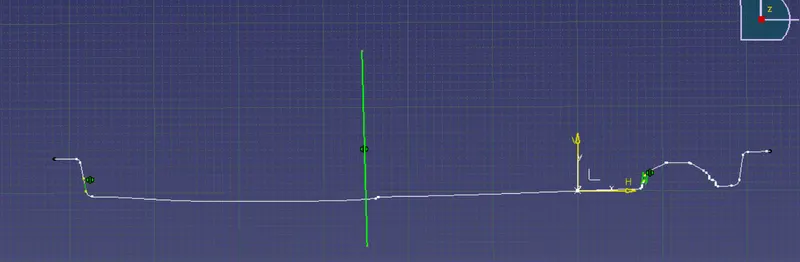
For new Tooling axis, we need to create two dummy lines with their respective boundaries and then by the Bisecting line option we need to create the tooling axis as shown in the below pictures.
- Class B Surface : To create the B surface, we need to offset the full Class A surface in the inside direction for 2.5mm.
In doing so, we will see many patches occur. Without filling those patches, we can't proceed for the C surface.
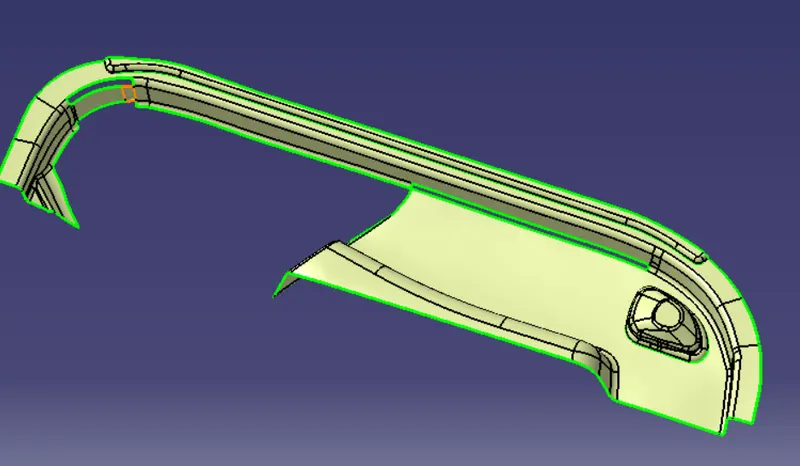
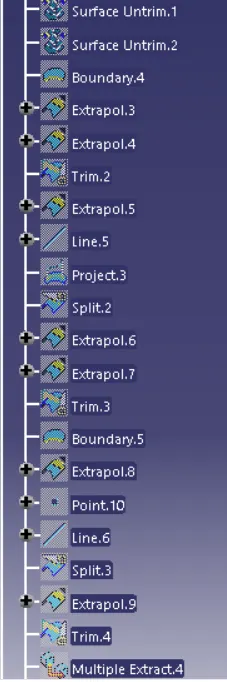
Now, to fill those holes in the offset surface, we need the following design operations which are as follows:
- Boundary
- Extract
- Extrapolation
- Trim
- Split
- Multi Section Surface
- Surface Untrim
- Projection
- Join
By doing the following operations, at last we need to give the edge fillet to all the required edges to create the final B surface.
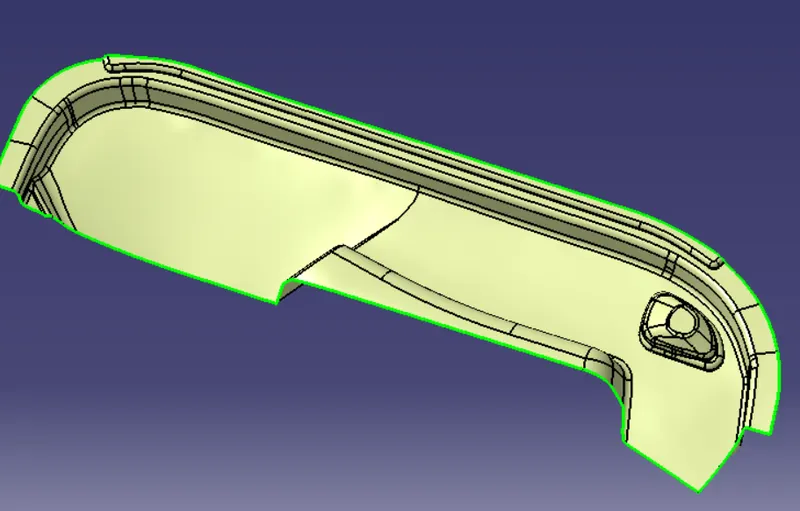
- Class C Surface : Class C surface means the thickness between th A and B surface. So, to create the thickness, at first, we the A surface, we need to make the surface by using following options:-
- Boundary : Boundary is very important. Wiyth boundary we are selecting the those boundaries in the surface which needed to be thicken.
- Sweep : In sweep, we go to either with reference surface or with draft direction. Here, we only used with reference surface by giving 90deg angle. Used for thickening the surface.
- Multi Section Surface : There are some places in the boundaries in which we faced some compressive nature of diversion, where sweep option was not quite useful, so we just took the help of multi section surface to fill those places.
- Join : Now, after completing the C surface, we joined the A and C surface and also we unhide the B surface to look if there are any unwired connection between them by Intersection method.
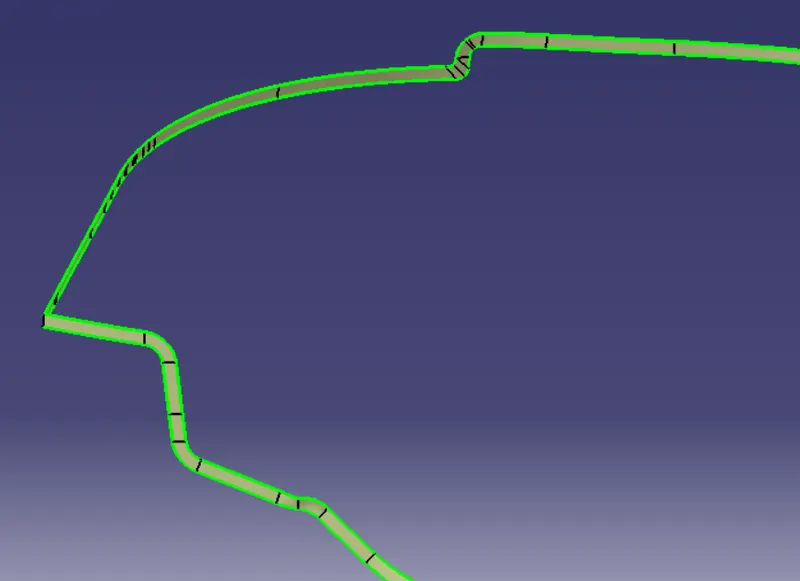
- Final Trim : After joing A+C and checking the connections with B surface by intersection method, we did the trim operation to get the desired component. That component in surface design, we then used the close surface in the part design to get the final component before dog house.
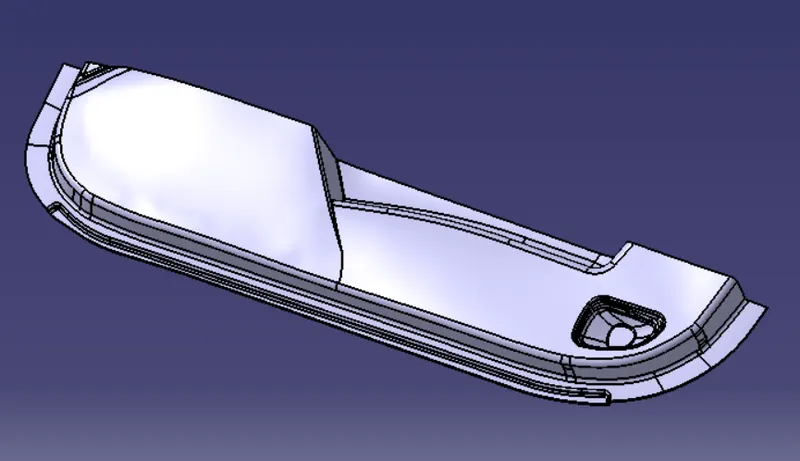
- DOG HOUSE :
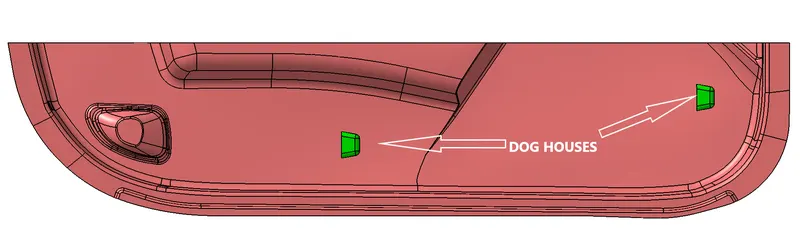
Dog house is an engineering feature used in plastic design. Dog houses are used as support feature. Sometimes other engineering features like snaps, locators, and screw bosses are mounted on them to increase their strength.
Dog houses are subjected to draft analysis to prevent breakage of the component during ejection from the mould cavity. Dog house and other engineering components are built on the B-surface.
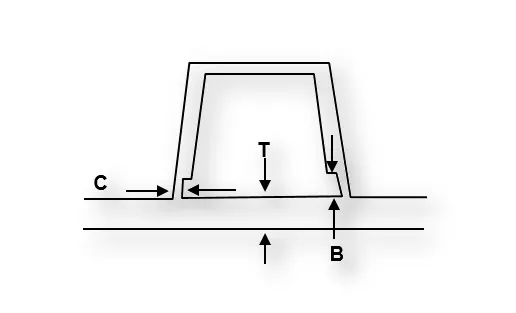
"C" is where the doghouse contacts the backside of the surface. Doghouse wall thickness at the intersection of the part wall (C) should be 40% or less than the main wall stock (T). The height of (B) should be between 3.0 – 6.0 mm. Here we used 4mm.
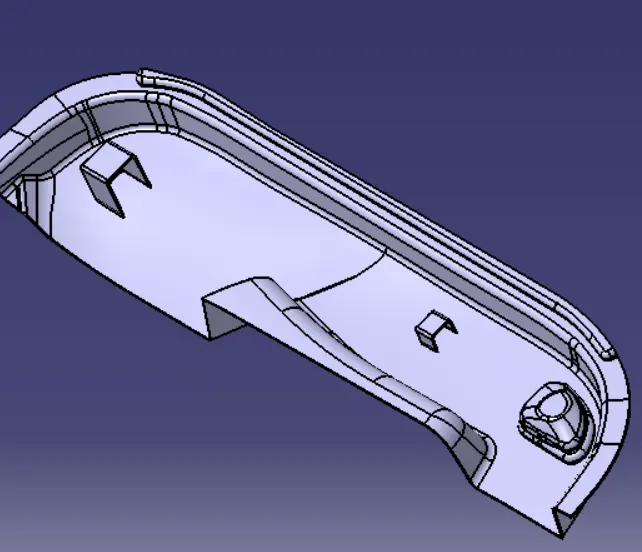
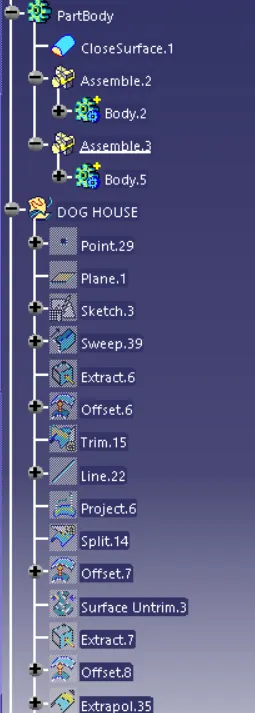
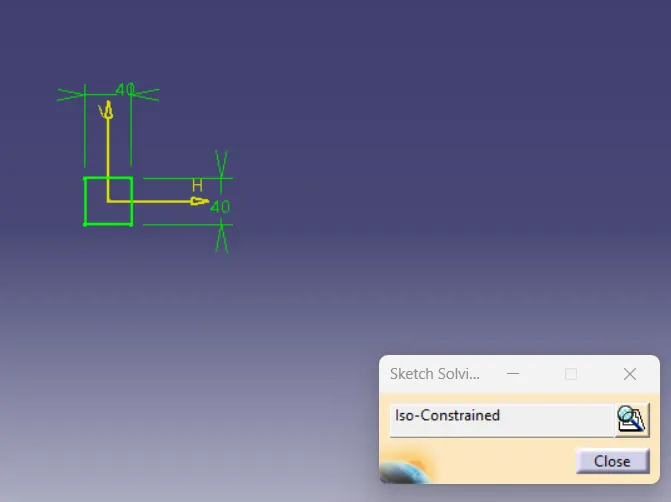
Created the dog house by first sketching the rectangle and then by using pad and draft or sweep option, we made the height with the draft of 0.5deg. To which we thicken the surface in the part design by 2mm. Then by providing the fillets and then, extracting the inner surface with tangent continuity, we offset that extract surface to 1mm. And then by trim operation we created the dog house. After that we did the draft analysis. We assembled to the main body.
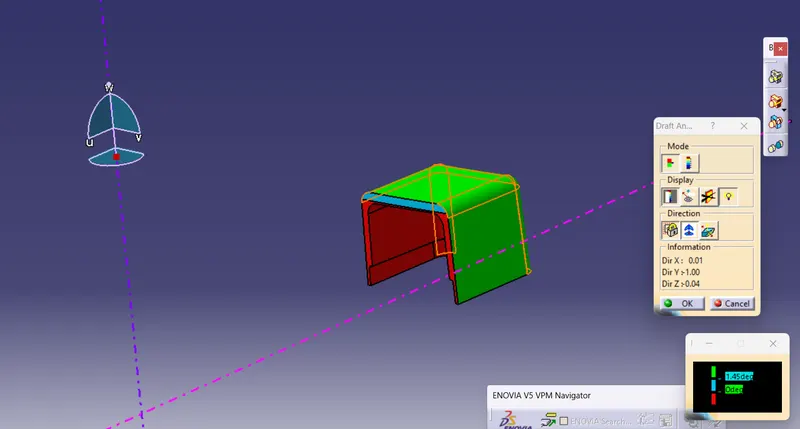
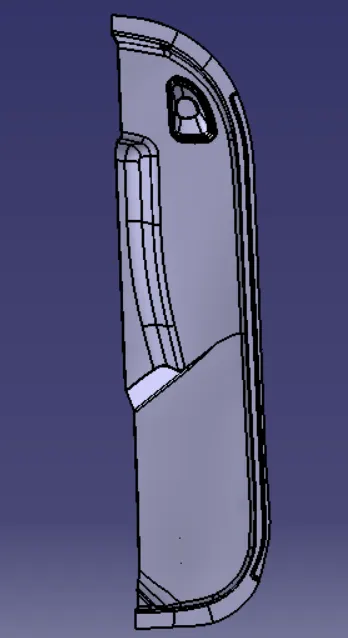

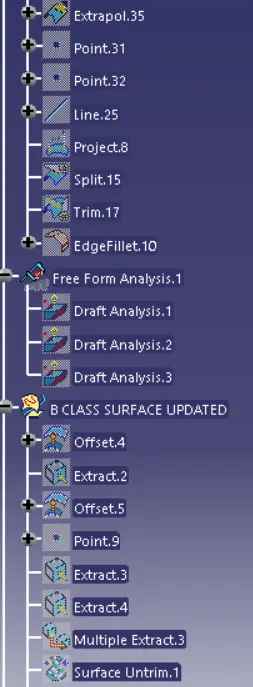
- Draft Analysis : After then we performed the draft analysis.
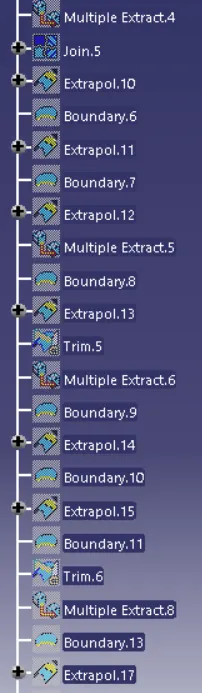
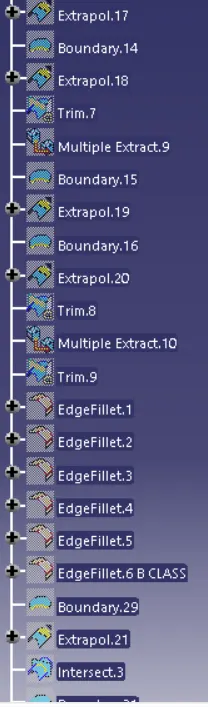
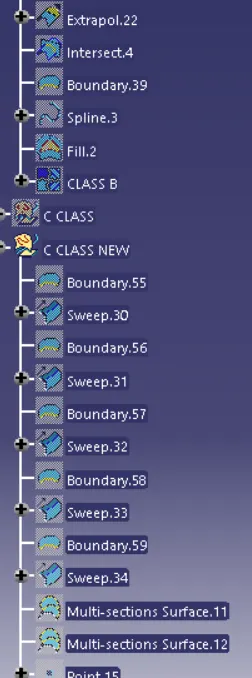
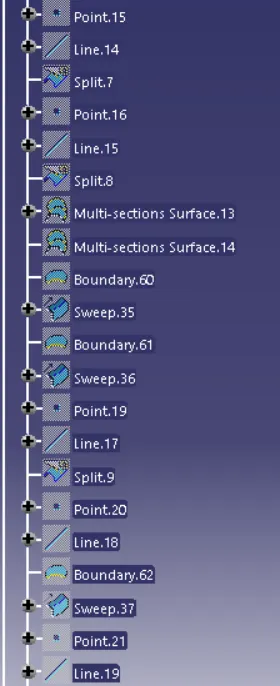
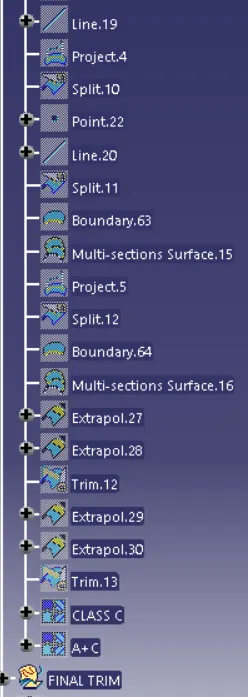
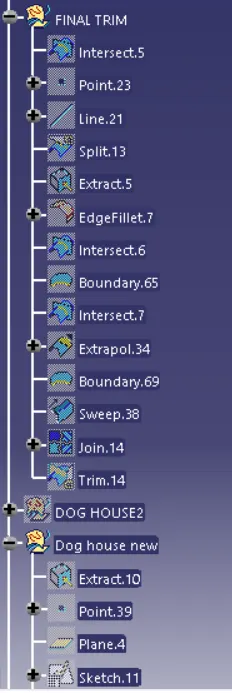
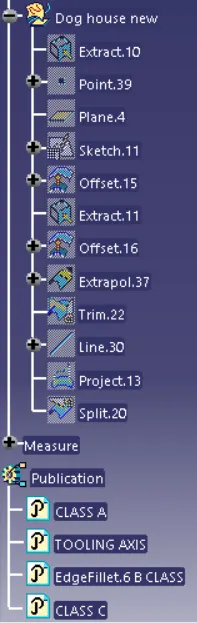
- Tree Structure :