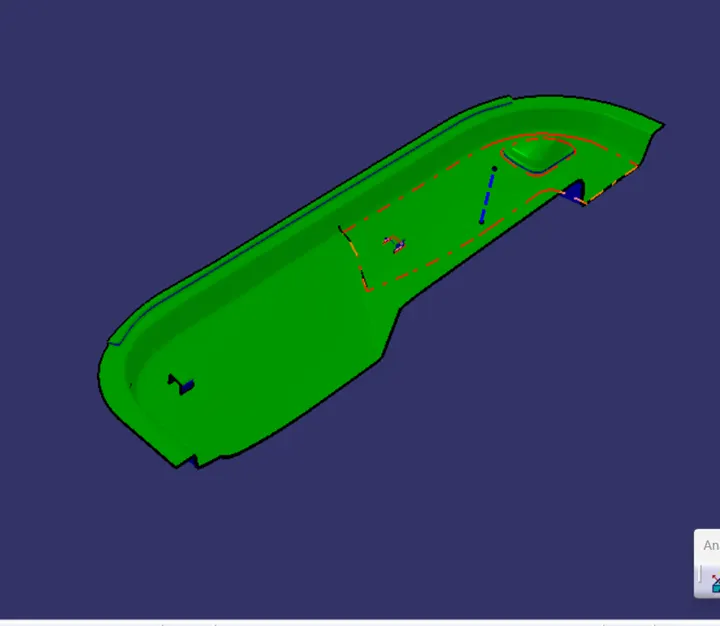
Week 10 - Challenge 2- Attachment Feature Creation (Dog House)
AIM
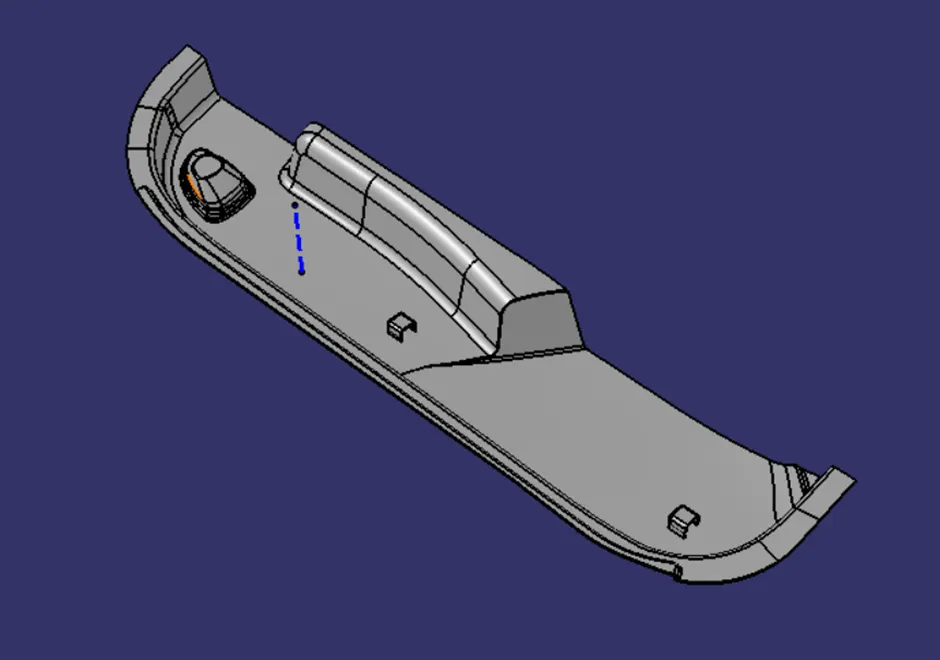
To design the Dog House for the Door Trim using the provided Class-A surface while taking the design guidelines into consideration
TOOLING AXIS
The direction in which the mould, core, or hollow opens and closes is known as the tooling axis. The tooling axis must be established before creating a component.
Tooling Axis Through Bisecting
· Verify that the Class A Surface is connected, meaning there are no gaps between the surfaces.
· Determine the appropriate tooling direction by analysing the component in the x, y, and z directions (here Y).
· By extracting it, make a point at the base surface.
· Use that position as the starting point for an axis system.
· Make a point where class A and the x-axis cross.
· Create two lines using examples of faces that you believe will cause issues.
· With the lines drawn, make a bisecting line that will give us the tooling axis.
Class A Surface:
· Class A surface is any of a set of freeform surfaces of high efficiency and quality. In other words, Class A surface is the aesthetic surface.
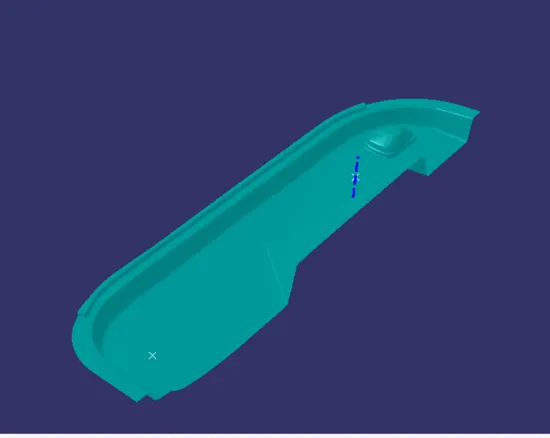
Class B Surface:
· The thickened engineering surface known as class B is where all ribs, screw bosses, dog houses, and other components will be placed.
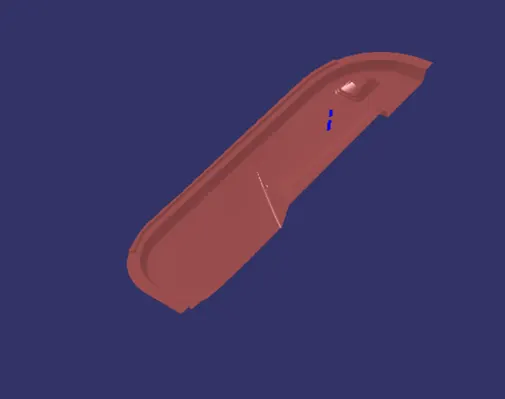
CLASS C:
· It is the Surface which joins Class A and Class B surfaces.
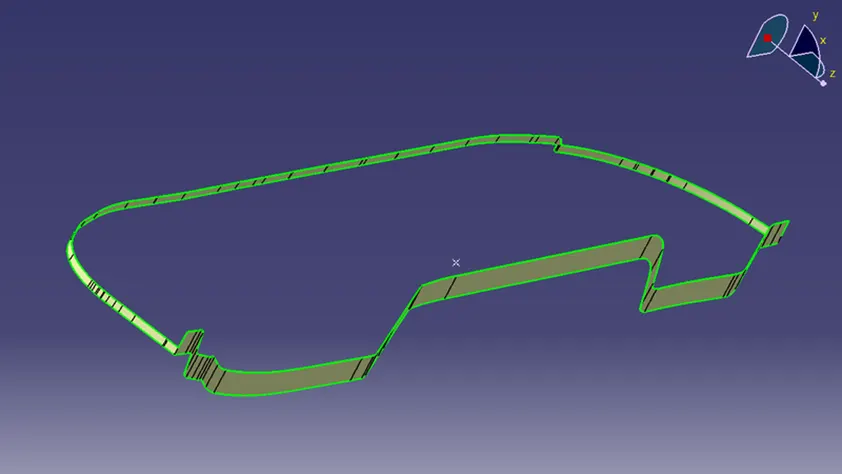
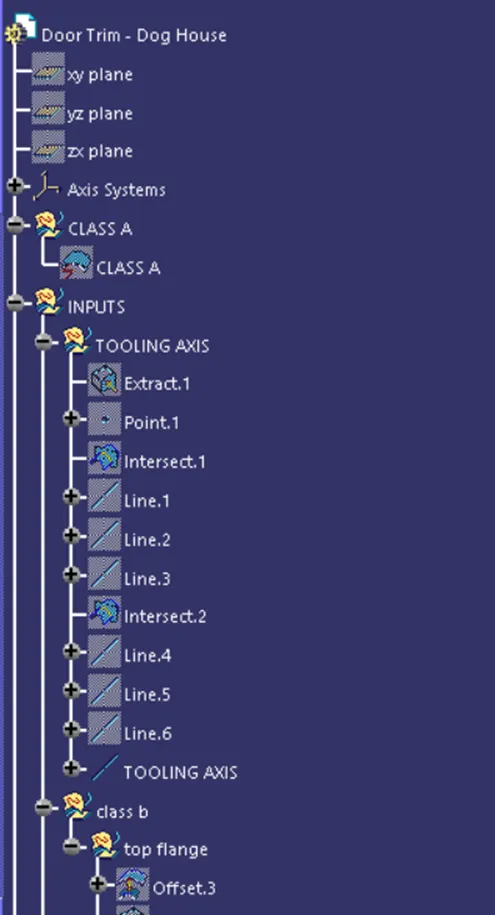
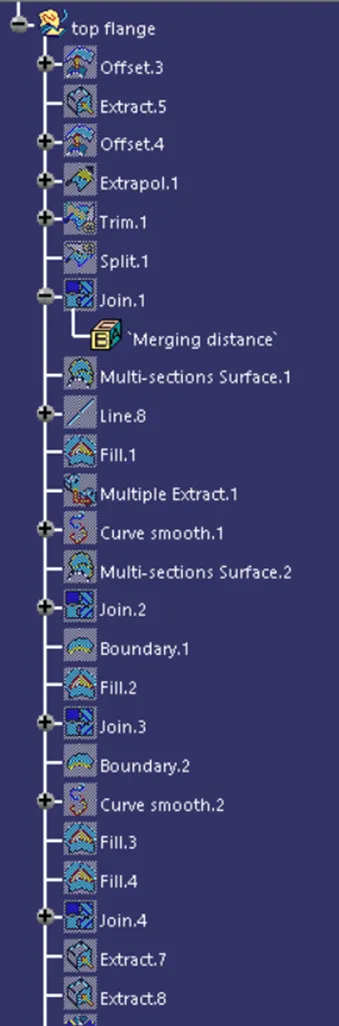
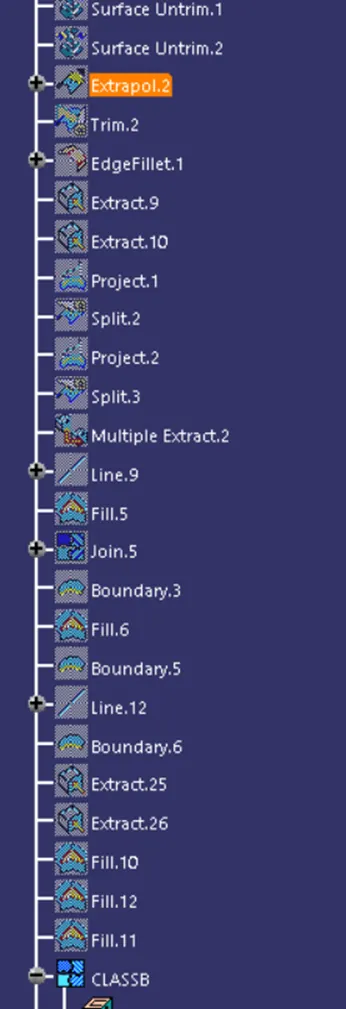
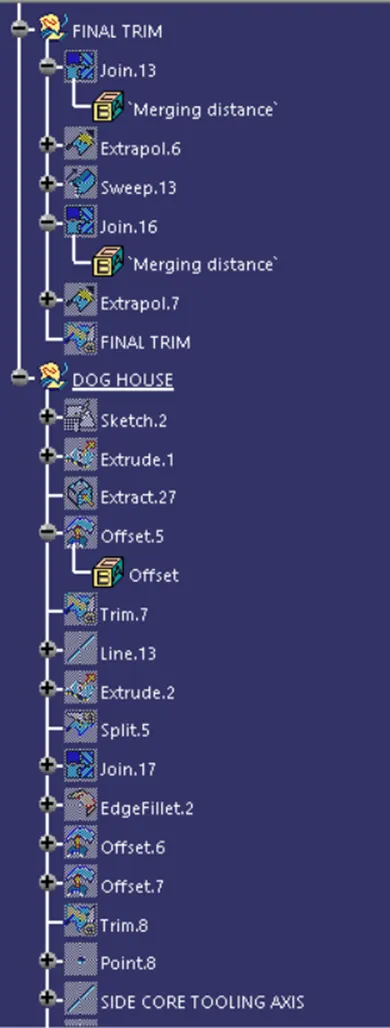
TREE STRUCTURE:
FINAL ASSEMBLY:
DRAFT ANALYIS: