Week 10 - Challenge 2- Attachment Feature Creation (Dog House)
AIM :-
To Create the Dog House for the Door Trim considering the design rules mentioned. Consider the thickness of the part to be 2.5 mm.
ABSTRACT :-
We need to create the closed body 3mm tick from the provided Class A surface, before need to create the class B & class C as well. After that the Dog house has to be done with the provided guideline.
SOLUTION :-
From the provided Class A surface we need to make as a closed body with the following procedures, & finally creates a Dog house with proper constrained.
PROCEDURE 1 :- TOOLING AXIS & CHECKING CLASS_A SURFACE.
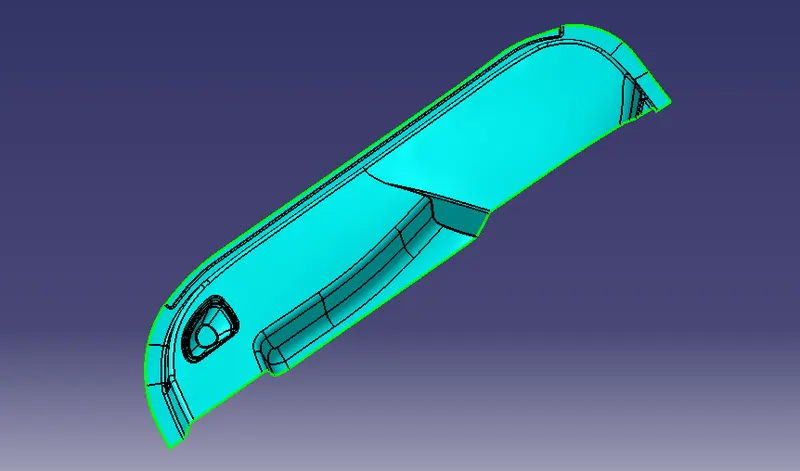
SNAP (1) :- Class_A surface checked with boundry.
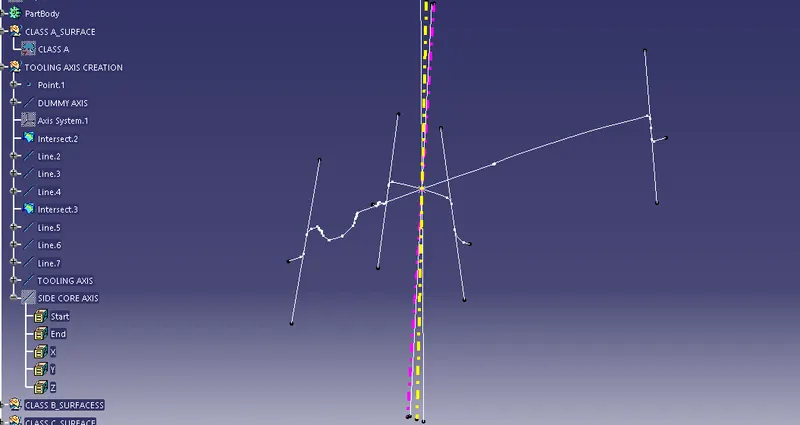
SNAP (2) :- Tooling Axis
- First we need to make a Tooling axis by any method just like
- (x,y,z) direction method, Normal to surface & Bisecting method
- Here we used the Bisecting method as well.
- firstly created the simply means a Dummy tooling axis normal to surface & take a Intesection along the YZ direction & 2nd along the XY direction
- with this 2 intersection we need to make a Tooling axis by using Bisecting line.
- The yellow colour axis is a Tooling axis.
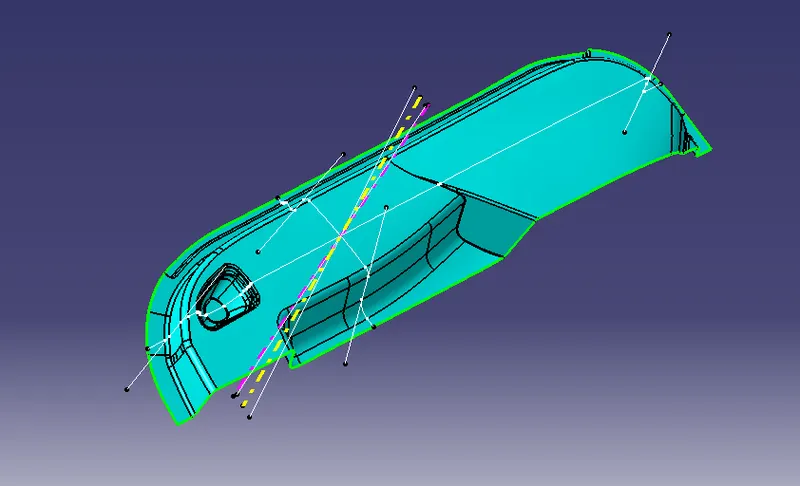
SNAP (3) :- Yellow colour axis is a Tooling axis.
PROCEDURE_2 :- Draft Analysis on class A
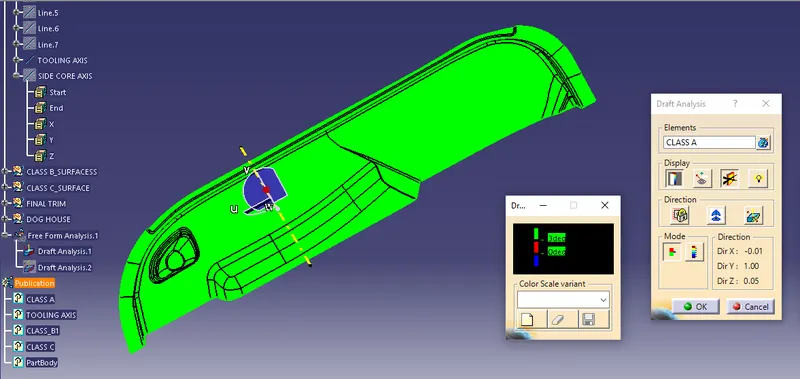
SNAP (4) :- Draft analysis Class-A surface.
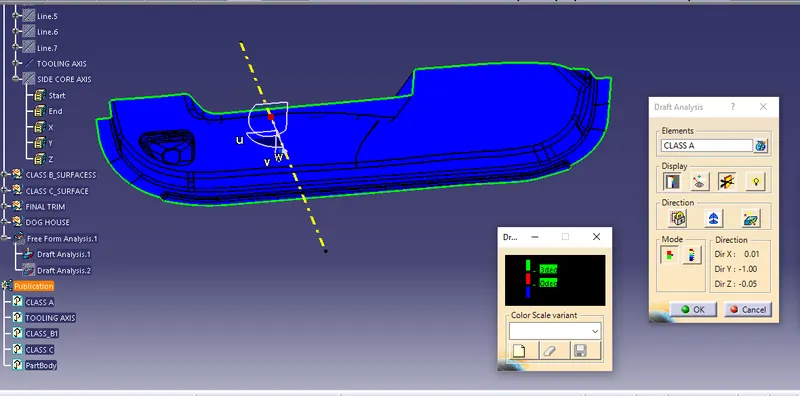
SNAP (5) :- Draft analysis in reverse direction.
PROCEDURE (3) :- Creation the Class B surface.
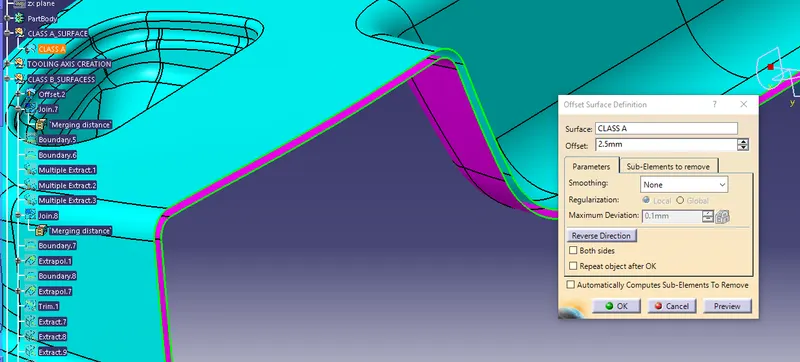
SNAP (6) :- Offset from the class A
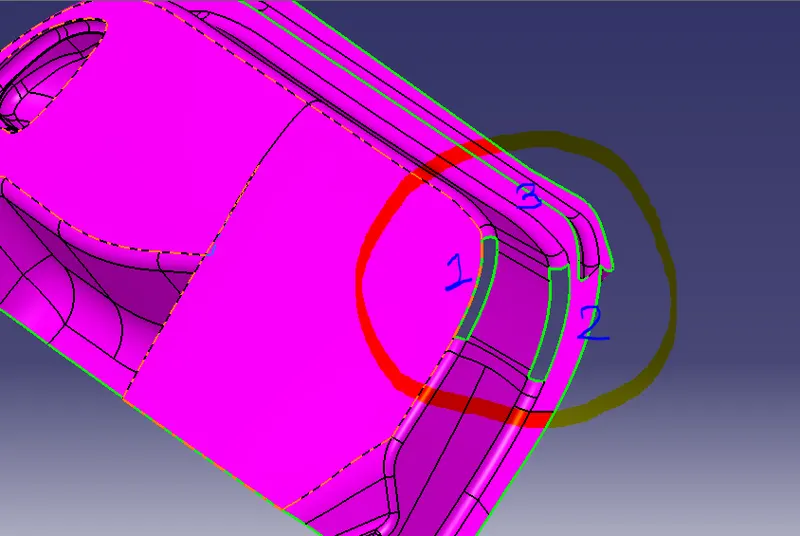
SNAP (7) :- Multiple patches found on Class B surface
- After the offseted Class A surface with an 2.5 mm diamension we got a Class B surface
- But there is a multiple of patches has found , at 3 places.
- Then we need to take a multiple extract to flat surfaces & untrim to it.
- This untrim surface has need to extrapolate & make a trim and finally provide a fillet radius as well.
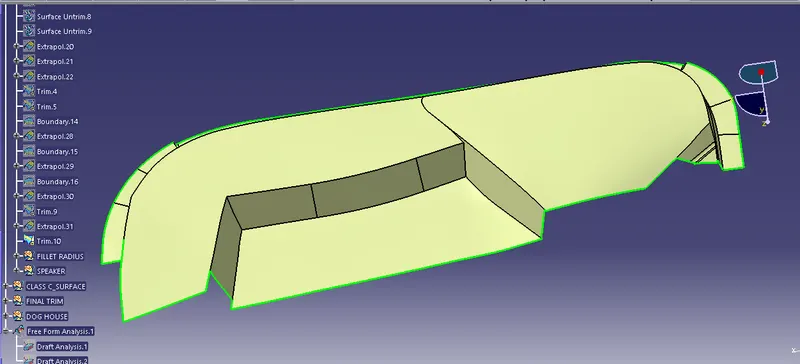
SNAP (8) :- CLASS B SURFACE without fillets radius
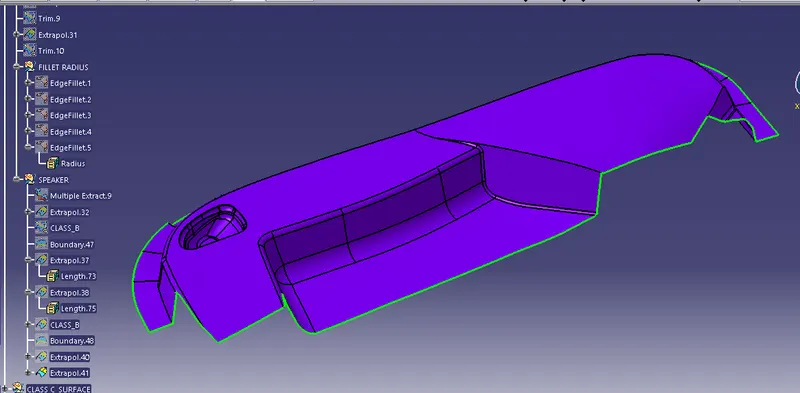
SNAP (9) :- FINAL CLASS B SURFACE
PROCEDURE_4 :- C_Surface Creation.
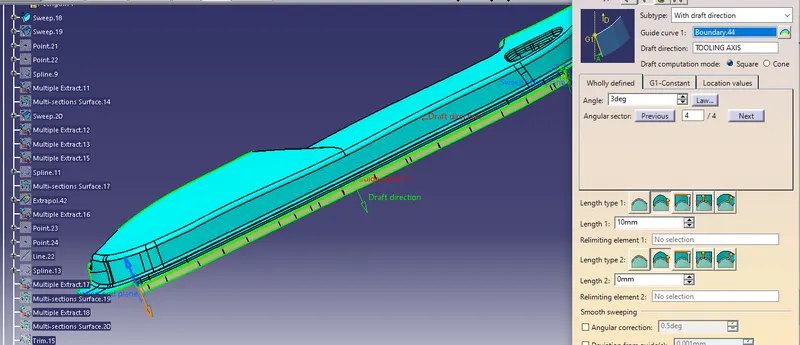
SNAP (10) :- C_surface created with the referance Class a & toolinfg axis.
- For the C_surface creation we used commonly 2 types of sweeps.
- With referance surface & Draft direction.
- The edges which are parallel to the Tooling axis we nee d to used with Draft direction , tooling axis with 3 Degree angle.
- And the edges which are perpendicular to the tooling axis we need to used with the referance surface & referance take as a Class A.
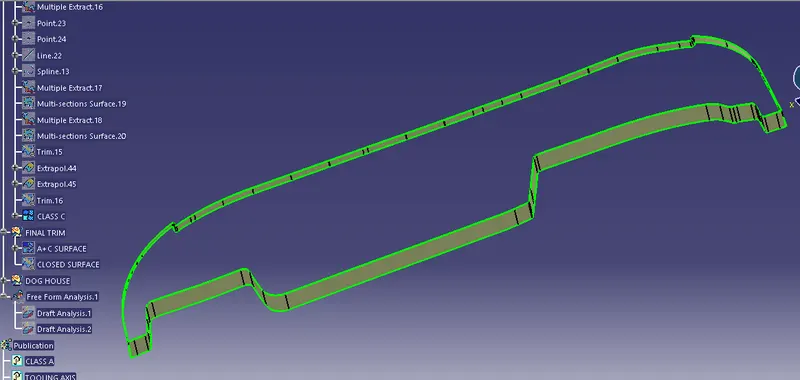
SNAP (11) :- Complete Class C surface
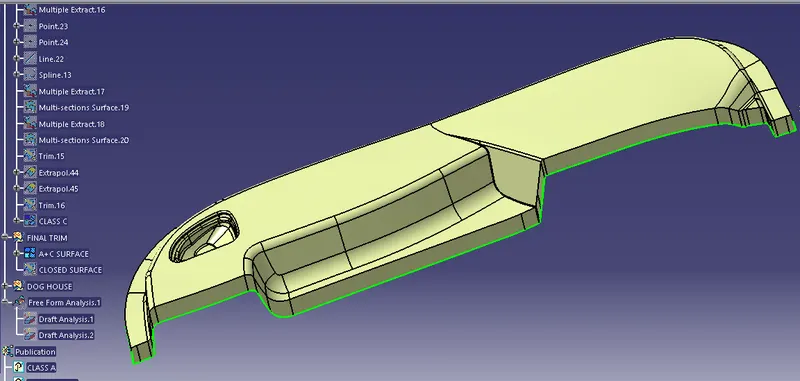
SNAP (12) :- Added Class A+C
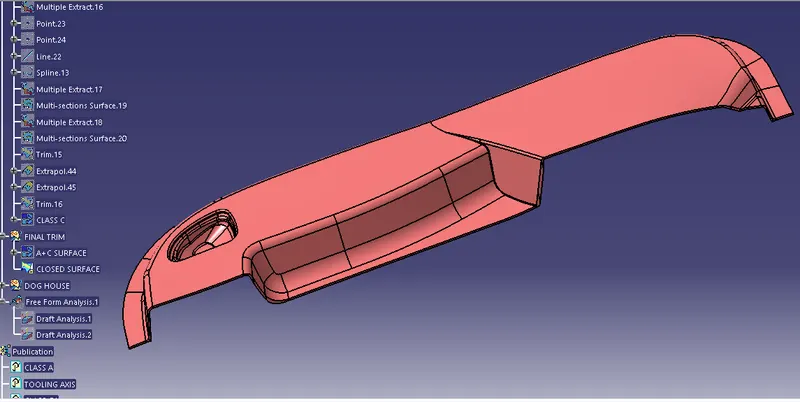
SNAP (13) :- FINAL TRIM / CLOSED SURFACE
PROCEDURE_5 :- Draft Analysis On the closed surface
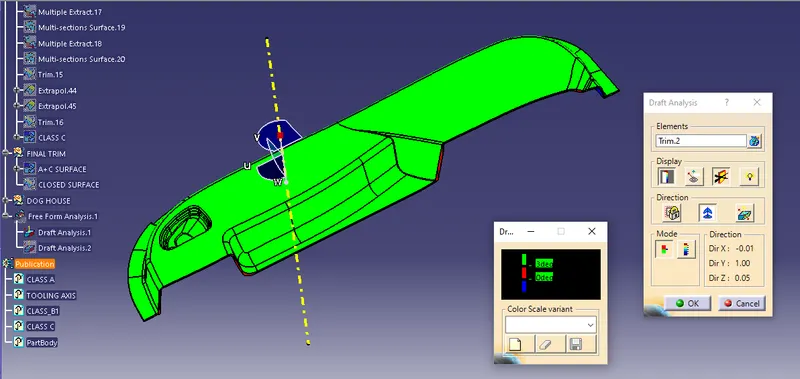
SNAP (14) :- Draft Analysis on closed body with ckeckiing 3 degree draft angle.
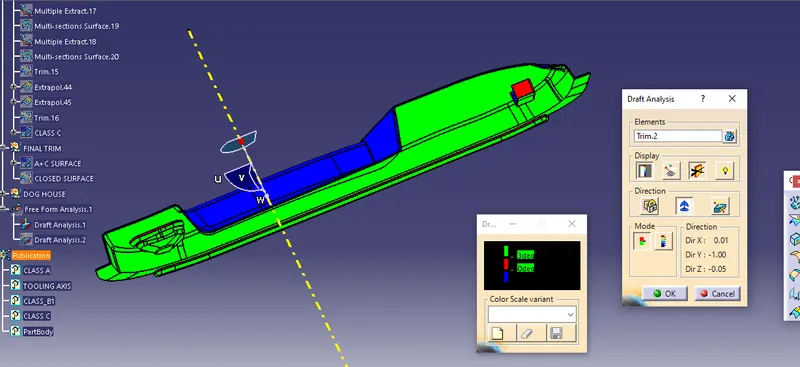
SNAP (15) :- Reverse direction Draft analysis
PROCEDURE_6 :- Dog house Creation.
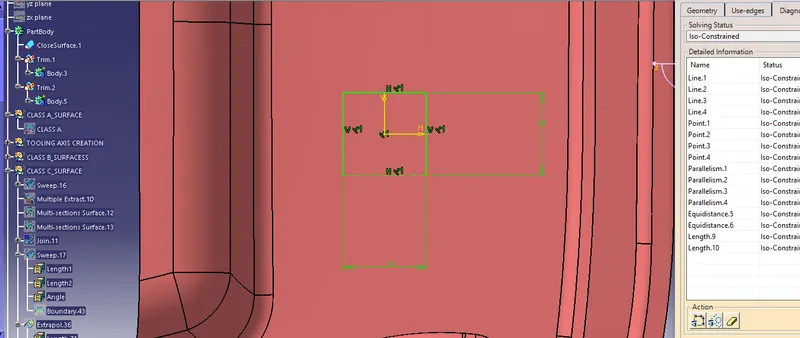
SNAP (16) :- Sketch of Dog House with iso-constrained
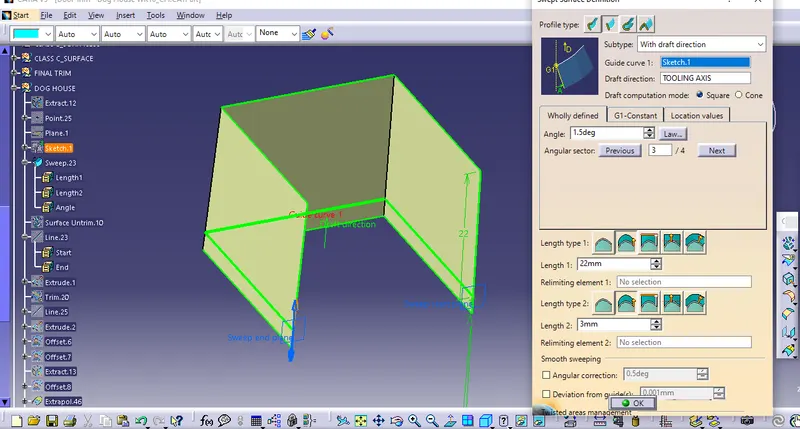
SNAP (17) :- Sweep to be taken to dog house
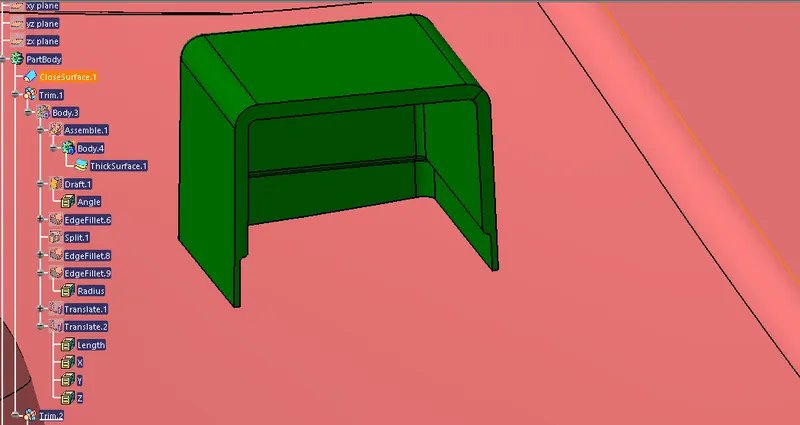
SNAP (18) :- Thicken to dog house
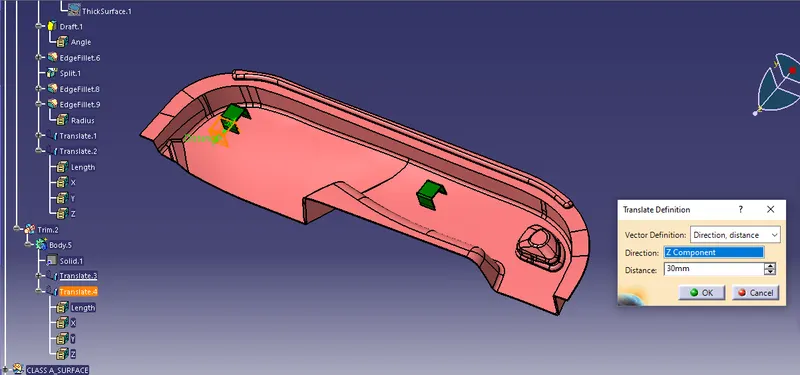
SNAP (19) :- Translate the Dog House with proper position.
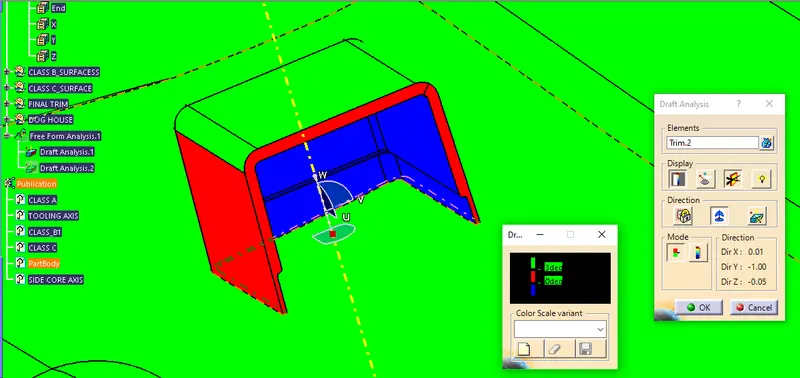
SNAP (20) :- Draft Analysis with tooling axis by 3 degree angle
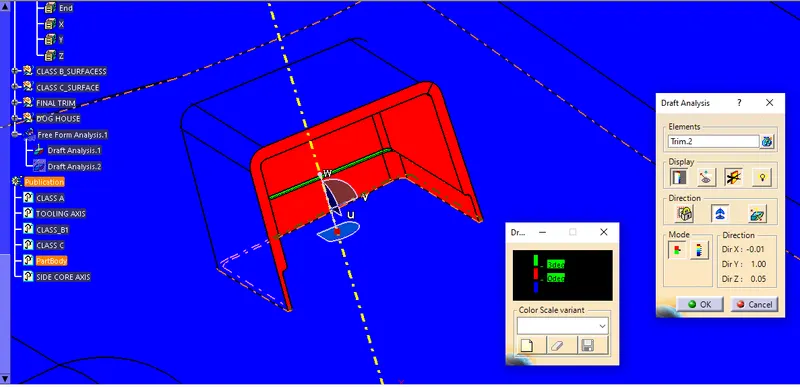
SNAP (21) :- REVERSE DIRECTION
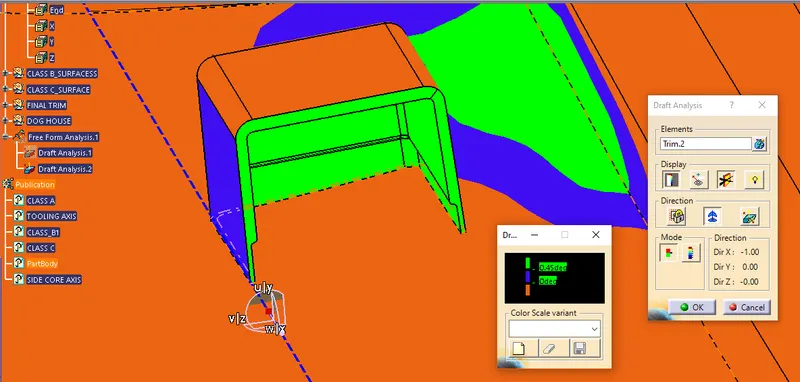
SNAP (22) :- Draft analysis by Side core Axis with 1.45 degree angle.
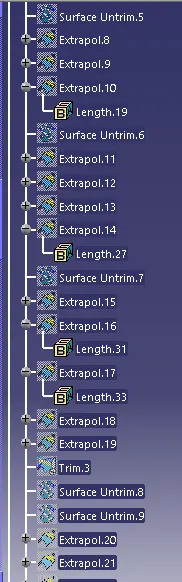
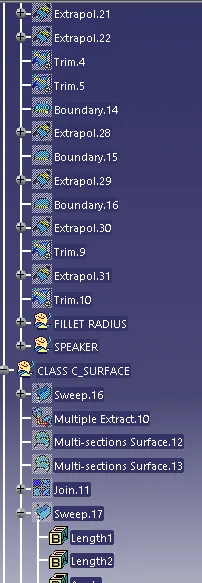
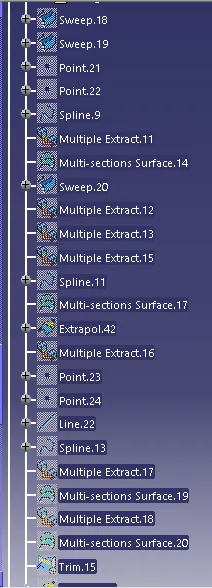
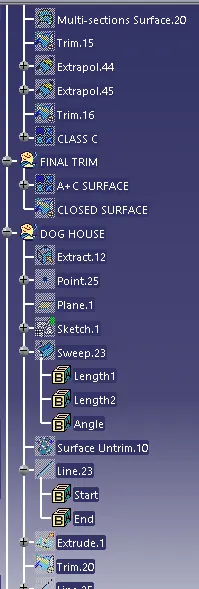
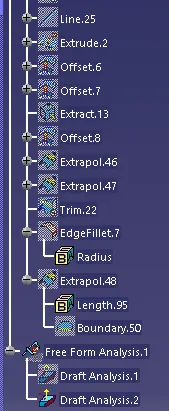
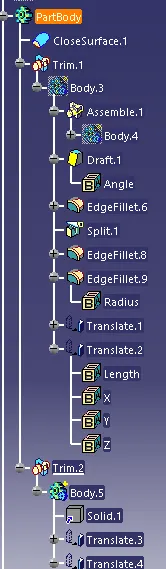
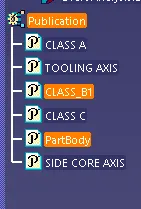
- TREE STRUCTURE
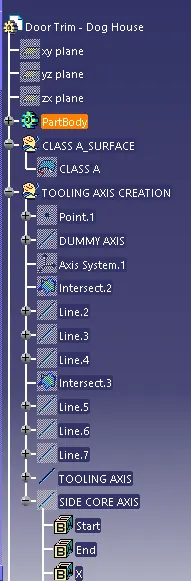
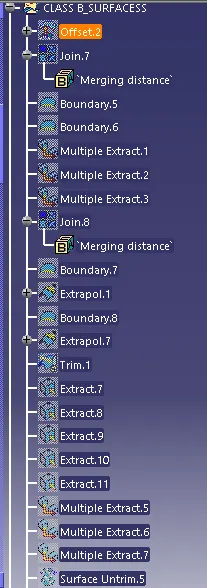
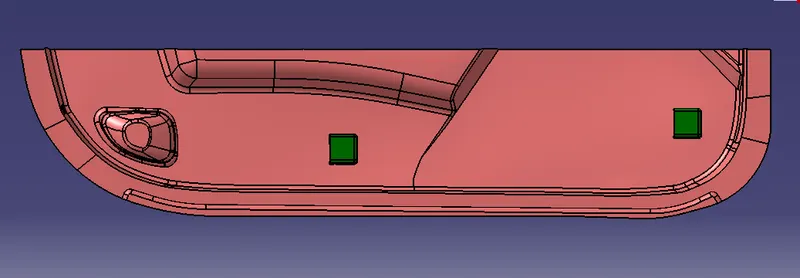
- FINAL COMPONENT
CONCLUSION :-
In this way we have created the closed body with Class A surface creation Class B & C surfaces. And finally Provided the Dog house with using the guidelines withh proper place & Draft anaysis. The required snaps are attached to the report with the explanation give to it. The Catia Cat part file are browse as well.
Thank You.