Week 10 - Challenge 1- Attachment Feature Creation (Ribs & Screw Boss)
ATTACHMENT FEATURE CREATION (RIBS AND SCREW BOSSES):
CREATION OF TOOLING AXIS:
1. Before we create a tooling axis, we first need to check if the given class-A surface is appropriate. This can be done by using boundary command and making sure there are no discrepencies.
2. After confirming that the class-A is good, we can go ahead and create the tooling axis. For this, we create a new geometrical set called "Tooling Axis Creation".
3. Then we need to visually analyse the given class-A and figure out which direction is the best to clear all the surfaces comfortably. In this case that is the Y-direction.
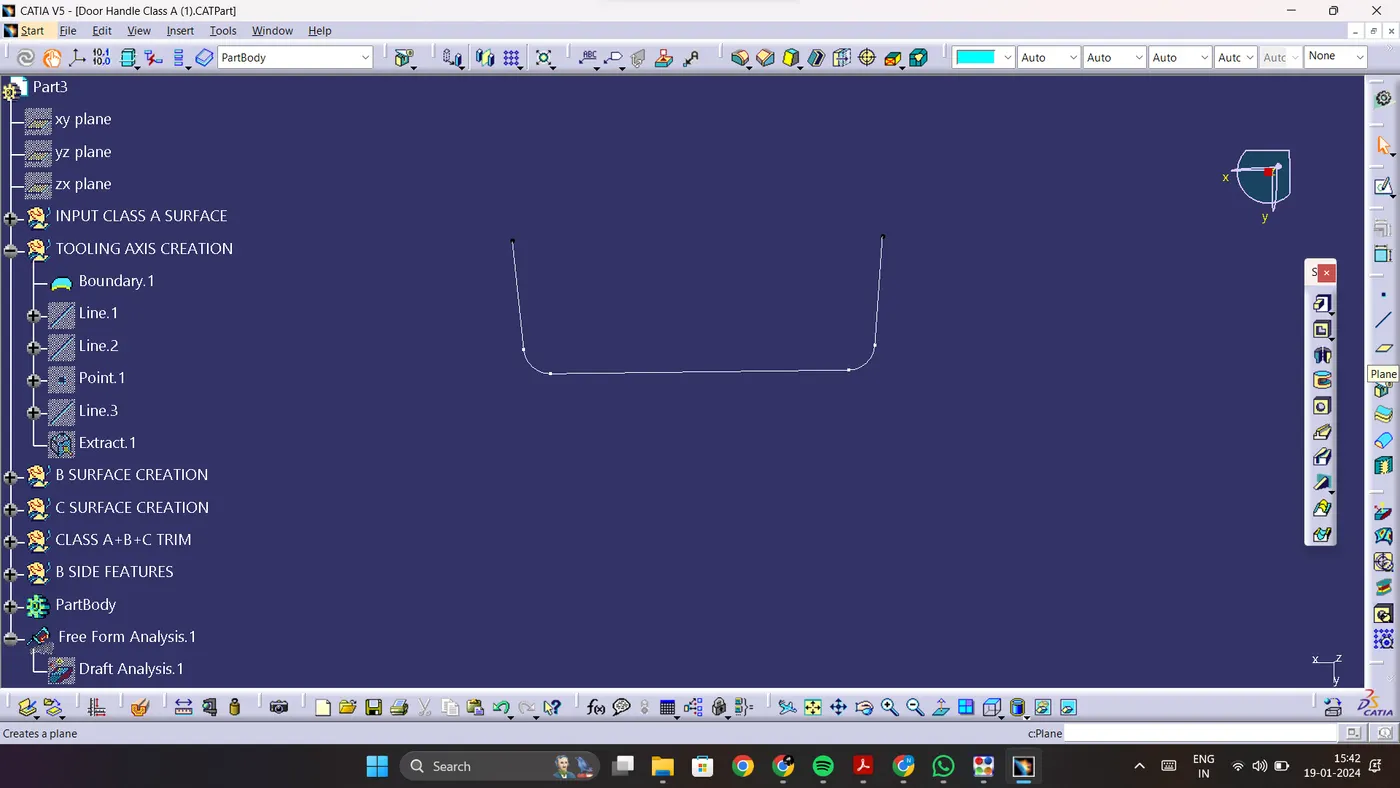
4. Now we need to extract boundary of the surface confined to the part which looks parallel to the direction of tooling.
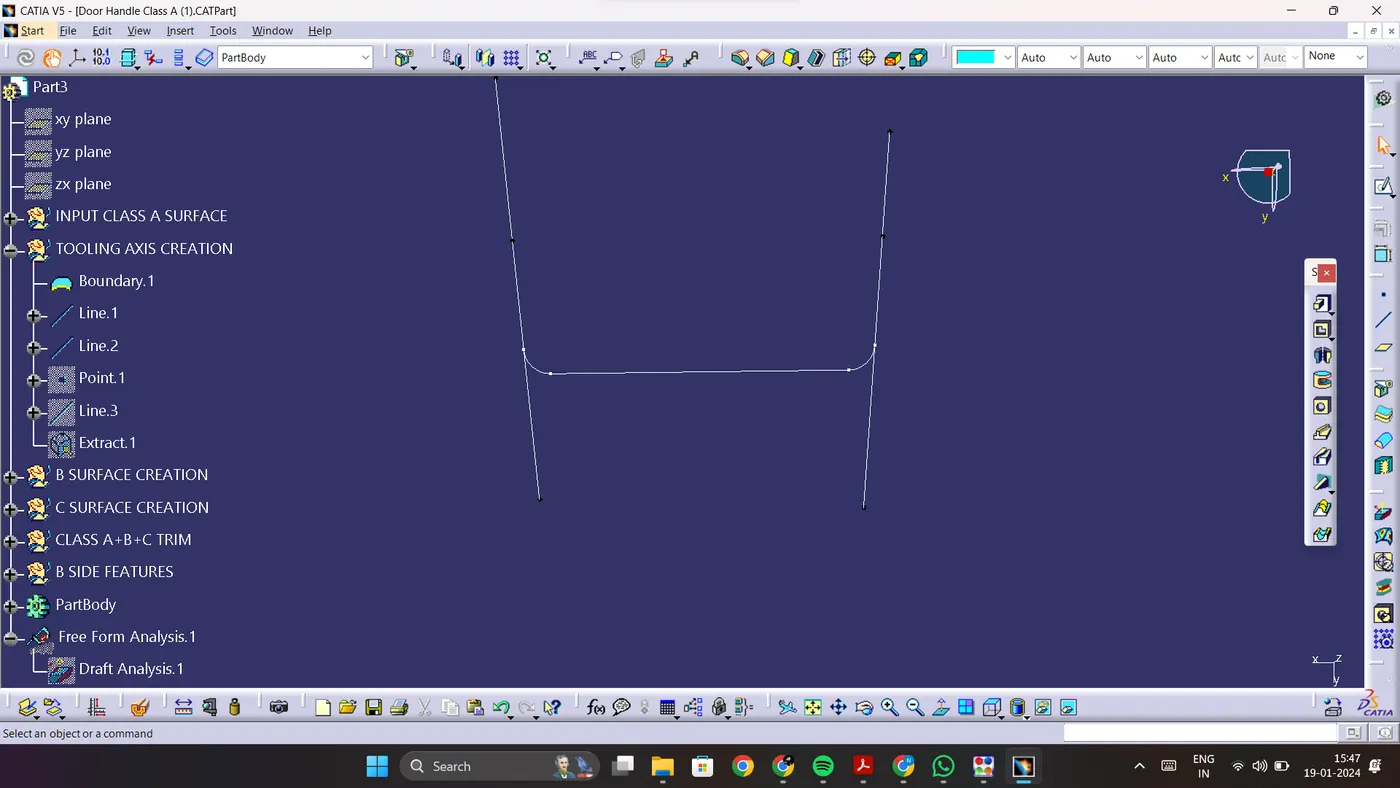
5. Now we need to create lines that coincide with the outer edges of the boundary and extend those lines.
6. Then by creating an extract of the base of the class A surface, create a point on the extract in the middle.
7. Now create a line bisecting the two extended lines, passing through the point. This line can act as our tooling axis.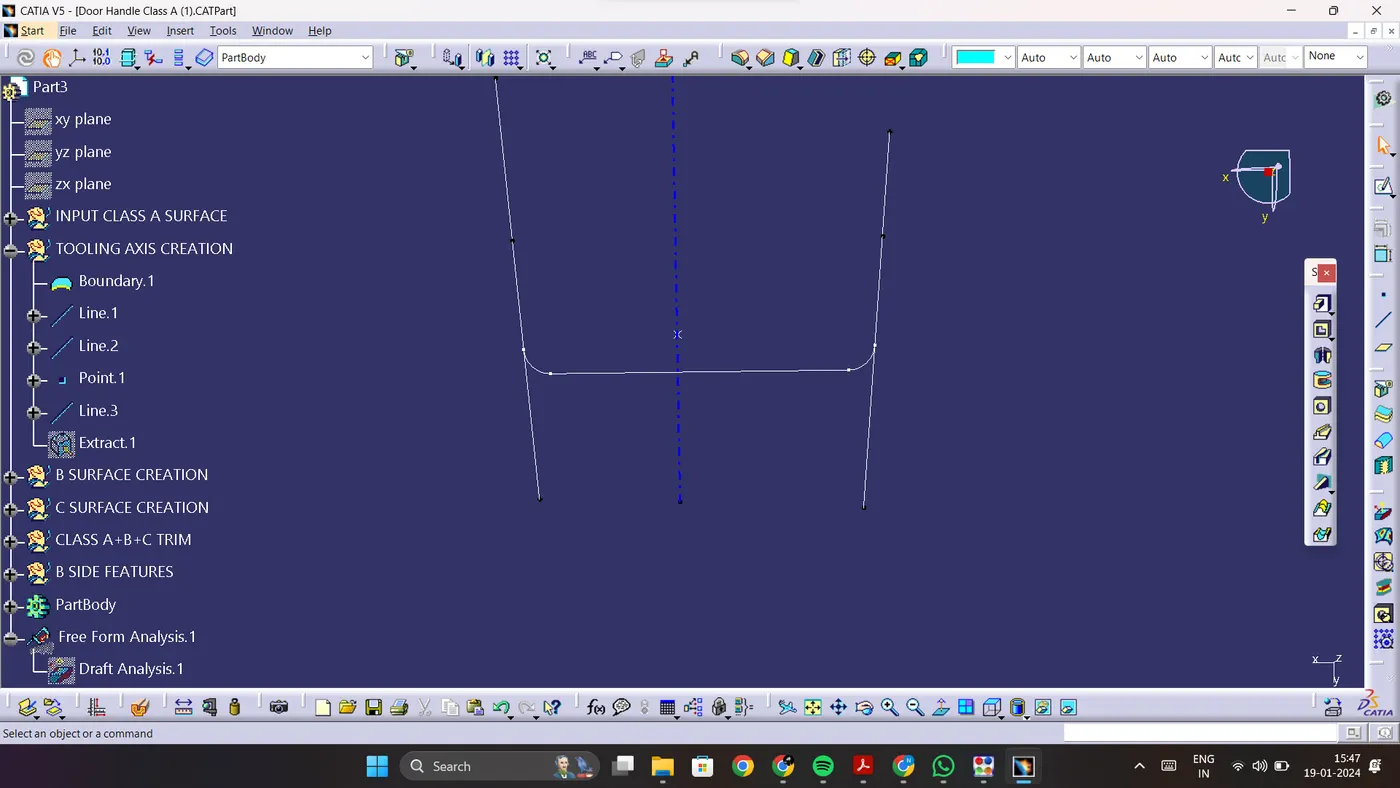
DRAFT ANALYSIS ON THE CLASS-A SURFACE:
1. Now we need to perform a draft analysis on the class A with respect to our tooling axis.
2. To do this, we first need to go to insert and select analysis. Under the drop down menu, we can find feature draft analysis.
3. Now when we select feature draft anakysis tool, we can find three dialog boxes. Select the compass tool and you can see the compass appear.
4. Now we need to move the compass and align it with the tooling axis and click on the lock button. Then we need to select the class-A surface.
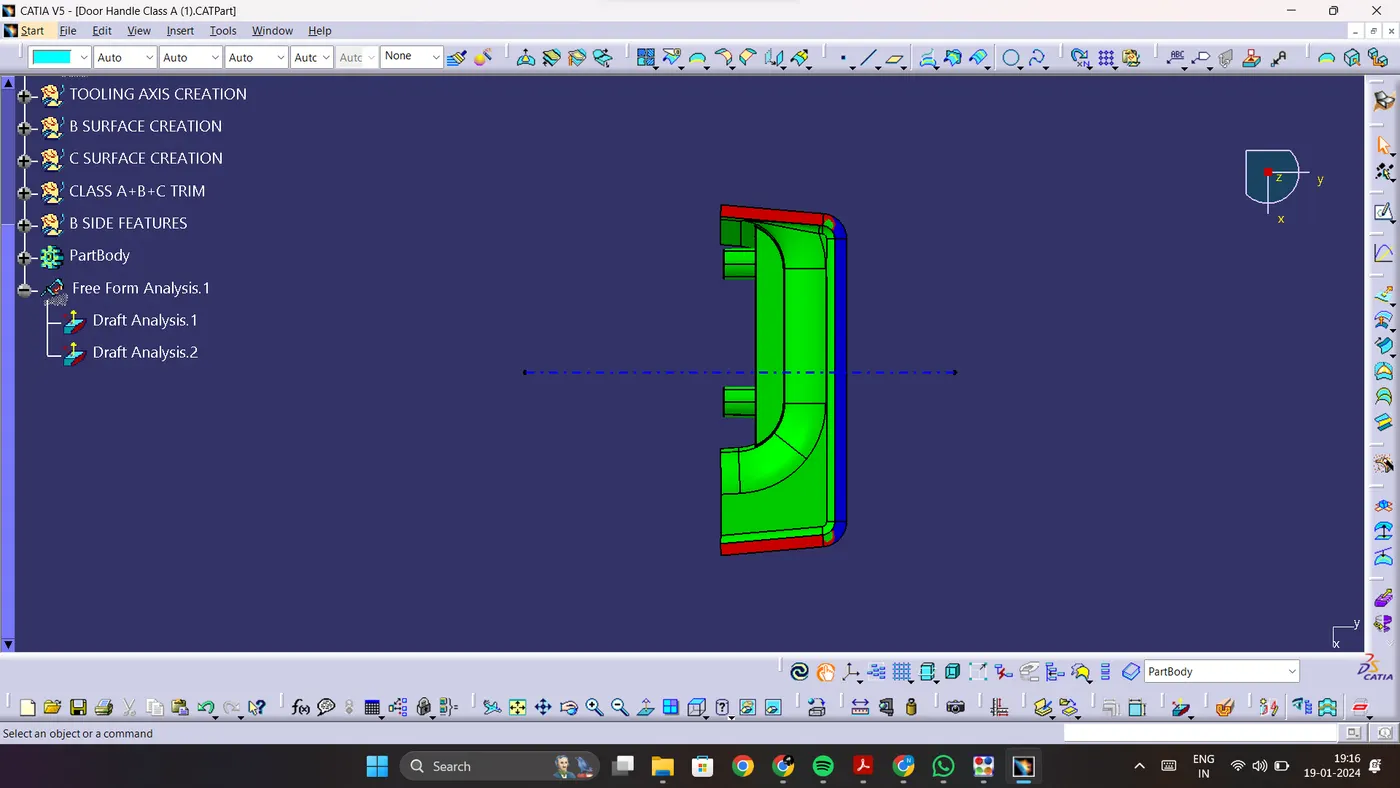
5. We can see that the class-A surface takes up different colours based on the inclination of the surface to the tooling axis.
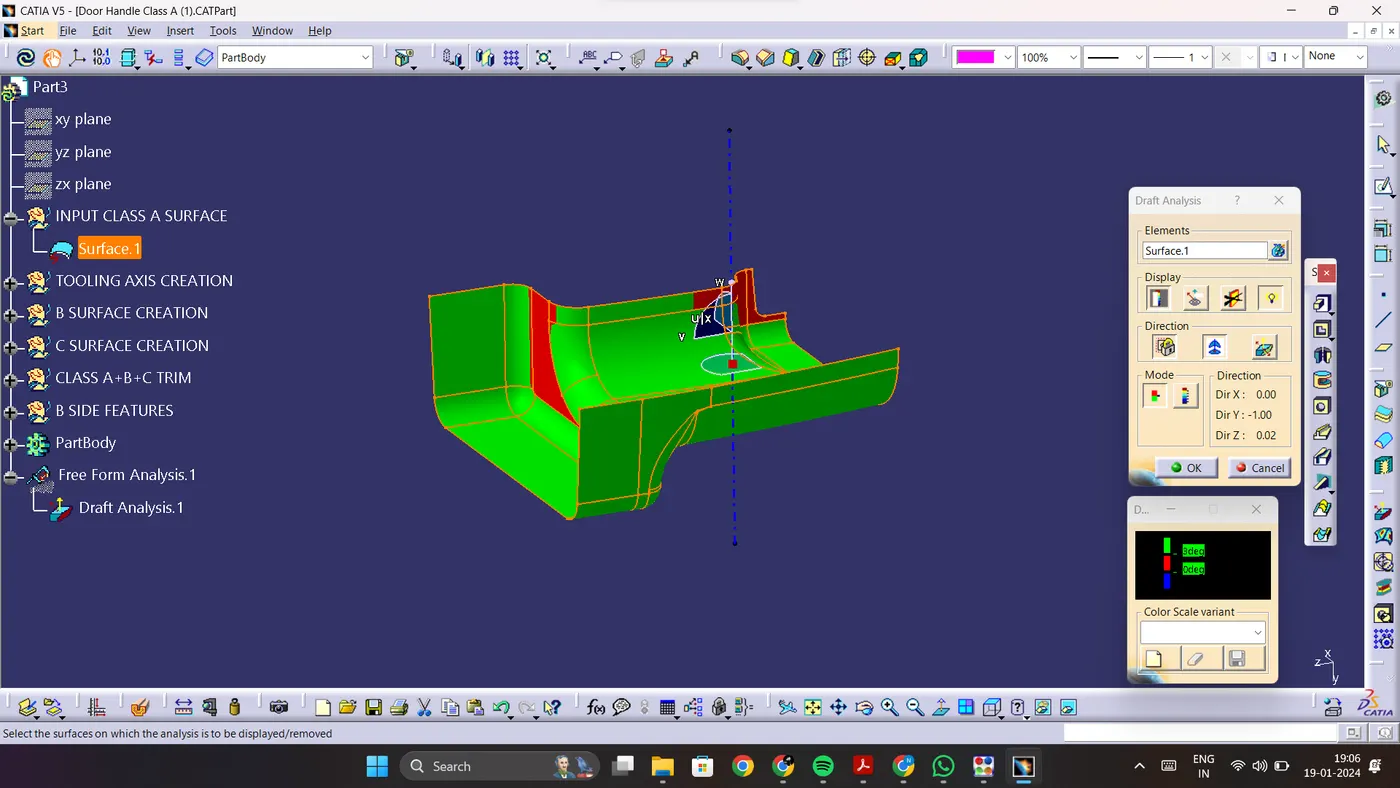
6. Any surface at an angle greater than 3 degrees is green in colour, an angle between 0-3 degrees gives the surface a red colour and any negative angle gives the surface a blue colour.
7. Some parts of the class-A do not clear the required draft angle. In such cases we need to contact the team in charge of designing the class-A and ask them to make changes accordingly.
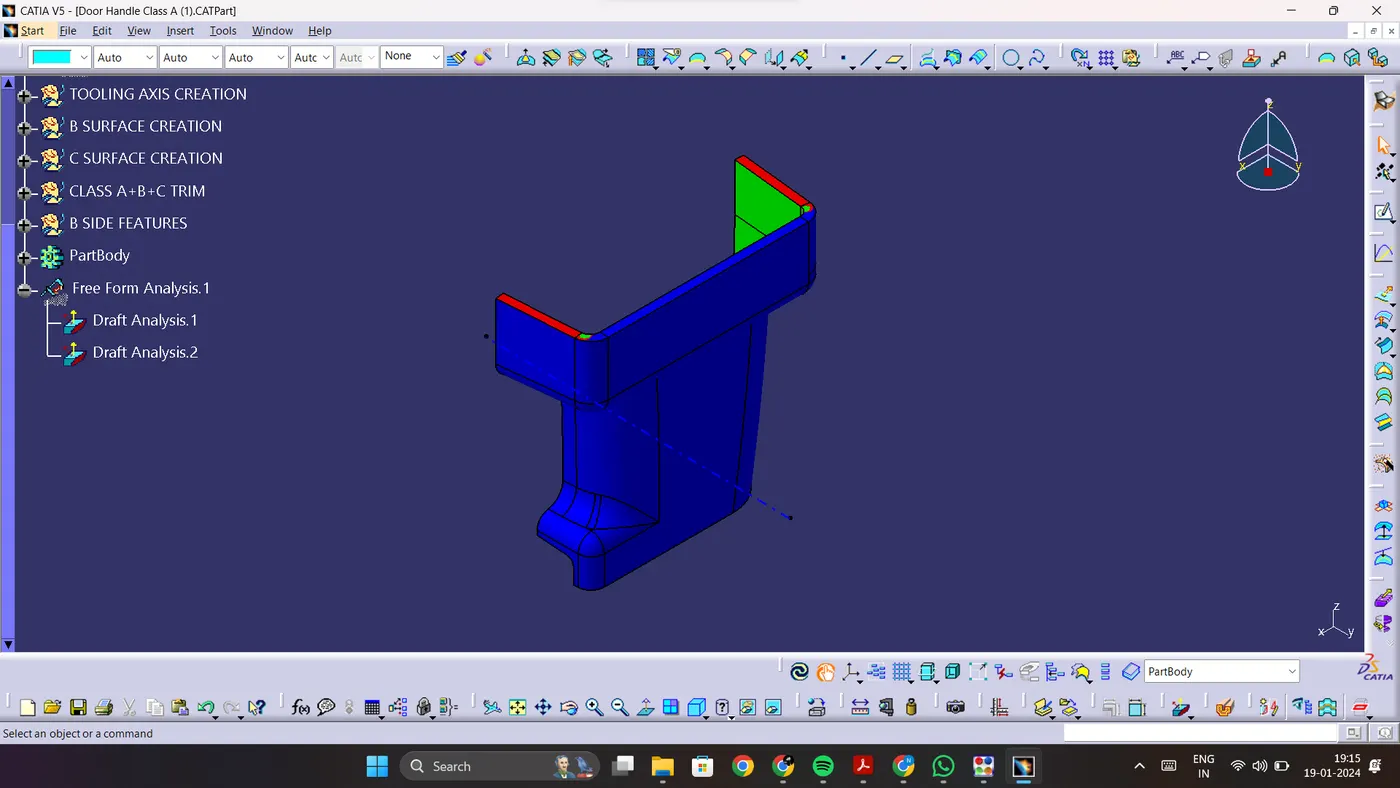
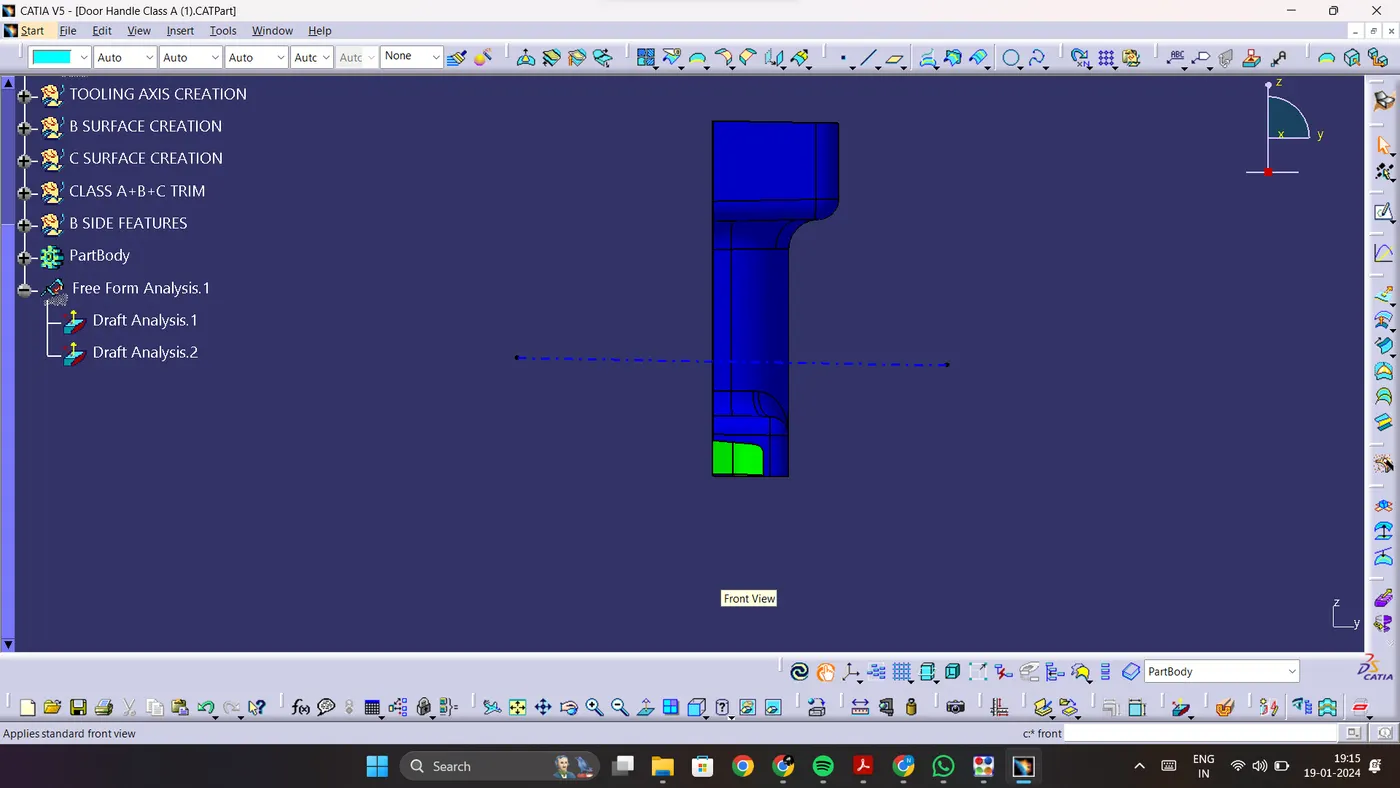
SCREENSHOT OF PART IN VARIOUS ORIENTATIONS:
ISOMETRIC VIEW:
FRONT VIEW:
SIDE VIEW:
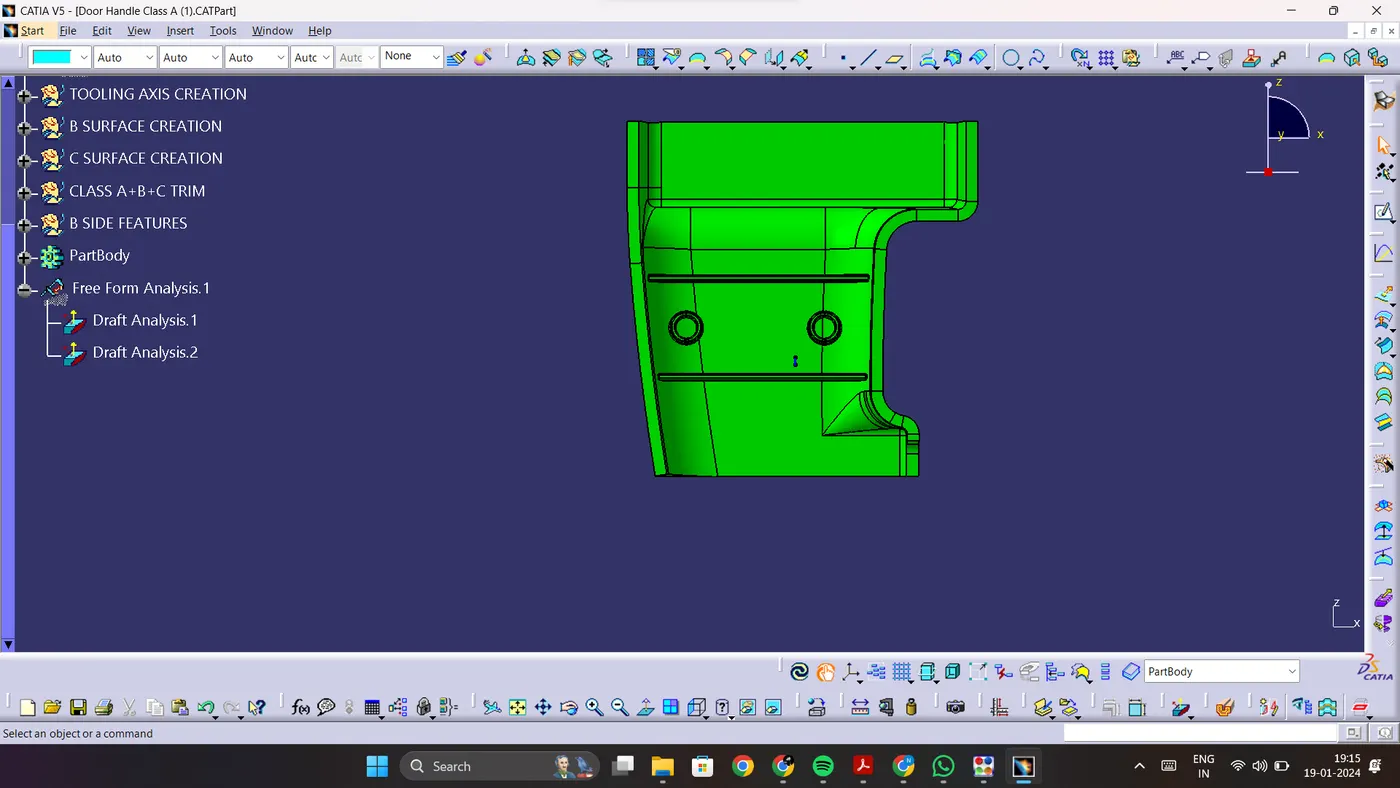
TOP VIEW: