Week 10- Assembly Workbench
AIM :
To create the Assembly Deigns From Given 2D drawings & Also Create The 2D Draftings in Catia.
OBJECTIVES :
1.Maintain proper tree structure
2.sketch should be Iso - Constarined
3.Follow the Rules of Assembly Design Rules
4.Snap Every Cat.part
4.Submit all part, Design, Drafting Models.
PROCEDURE :
1.Open the Catia V5
2.Go To The Part Work bench.
3.Draw the given 2D Sketches
4.Pad It Properly
5.Then Load The Cat Parts into the Assembly design workbench.
6.Fix the Main Catpart.
7.Constarint the reamaining Catparts together.
8.Then Go The Drafting Workbench Draw the 2 Assembly Designs & Thier Parts.
Let's Discuss In Detail
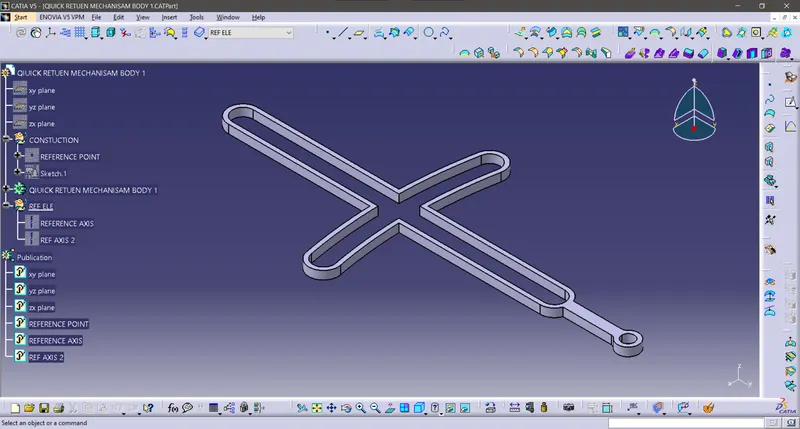
Quick return Mechanisam CATpart 1 :
Take A Positioned Sketch & Draw the Sketch by using Sketch Tools & Check it should be Iso - Constrained & Then Pad it properly As Ashown in figure given Below.
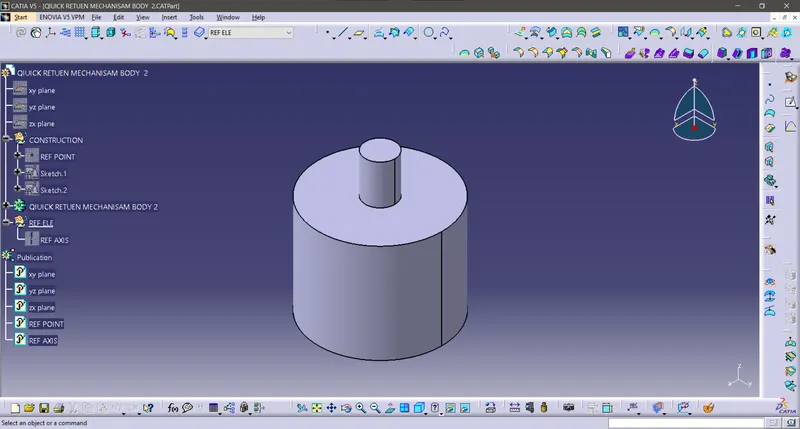
Quick return Mechanisam CATpart 2 :
Take A Positioned Sketch & Draw the Sketch by using Sketch Tools & Check it should be Iso - Constrained & Then Pad it properly As Ashown in figure given Below.
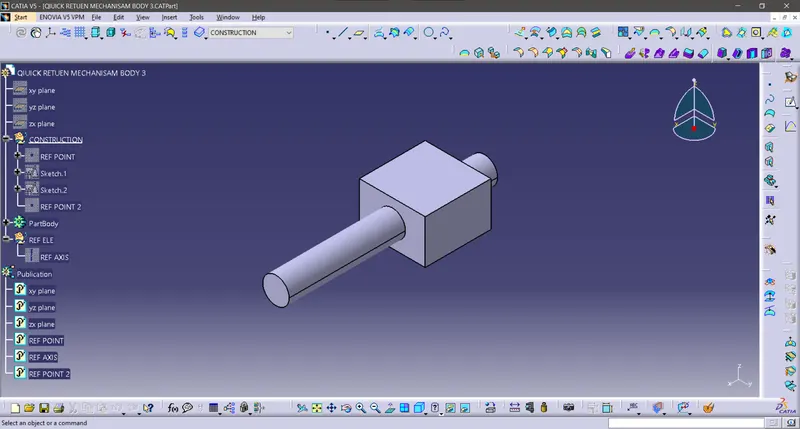
Quick return Mechanisam CATpart 3 :
Take A Positioned Sketch & Draw the Sketch by using Sketch Tools & Check it should be Iso - Constrained & Then Pad it properly As Ashown in figure given Below.
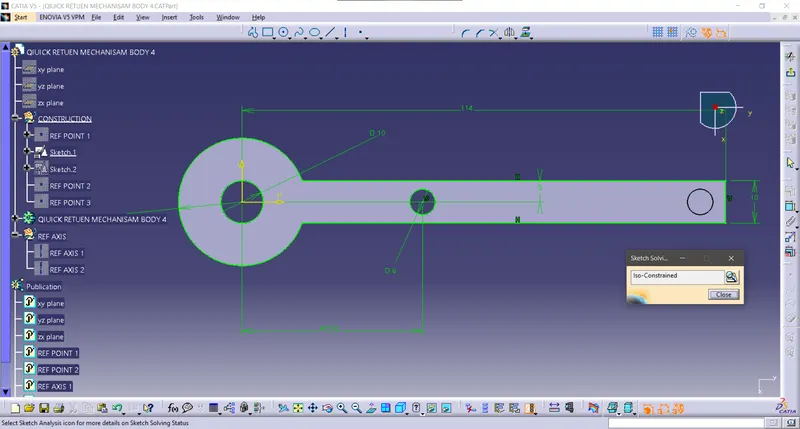
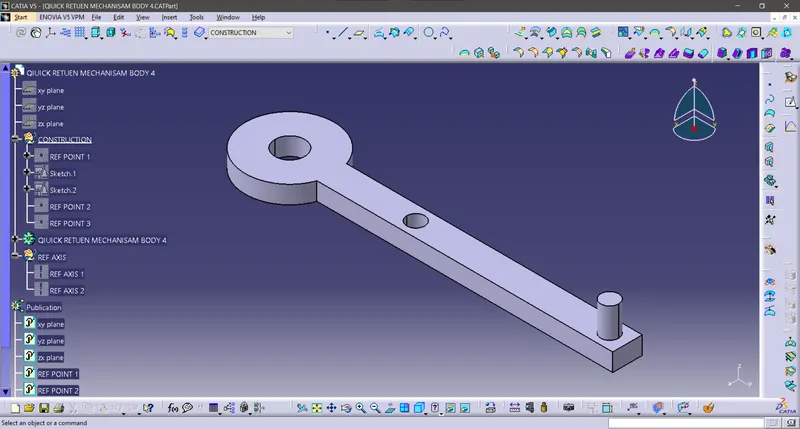
Quick return Mechanisam CATpart 4 :
Take A Positioned Sketch & Draw the Sketch by using Sketch Tools & Check it should be Iso - Constrained & Then Pad it properly As Ashown in figure given Below.
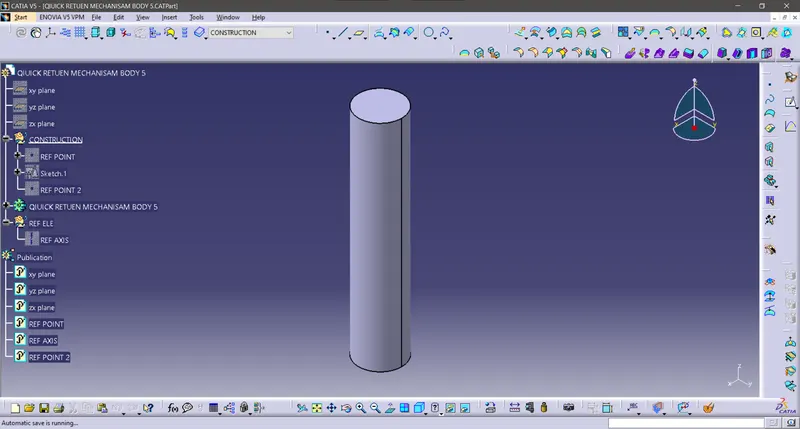
Quick return Mechanisam CATpart 5 :
Take A Positioned Sketch & Draw the Sketch by using Sketch Tools & Check it should be Iso - Constrained & Then Pad it properly As Ashown in figure given Below.
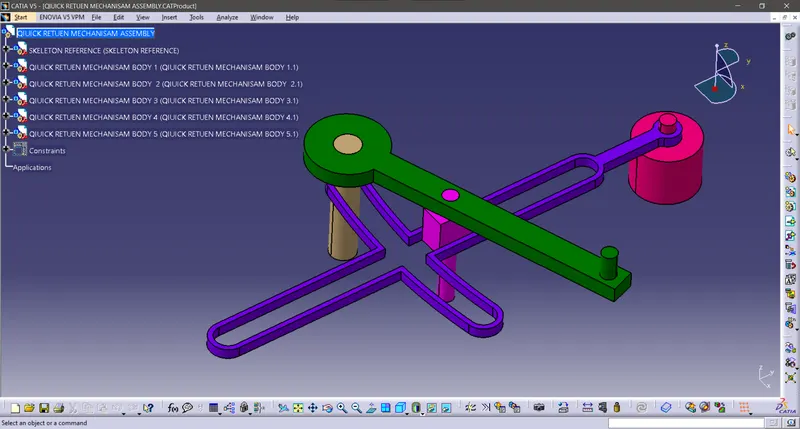
Quick return Mechanisam Assembly Design :
Open The Mechanical Assembly Design Workbench Load The All Cat Parts Properly Manipilate Them, After That Constraint Together By Using Assembly Workbench Toolbars Commannds As Shown in Figure given below.
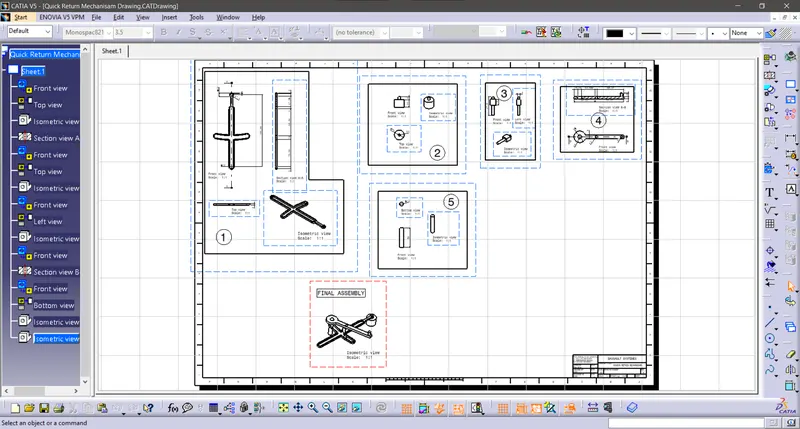
Quick return Mechanisam Drafting :
Load the All Front view, Isometric View CAT Parts, CAT Products Of Quick return Mechanisam Into the Drafting workbench
& Then place Properly Then Add Dimensions & Frame & Tiitle Blocks As Shown in Figure Given Below.
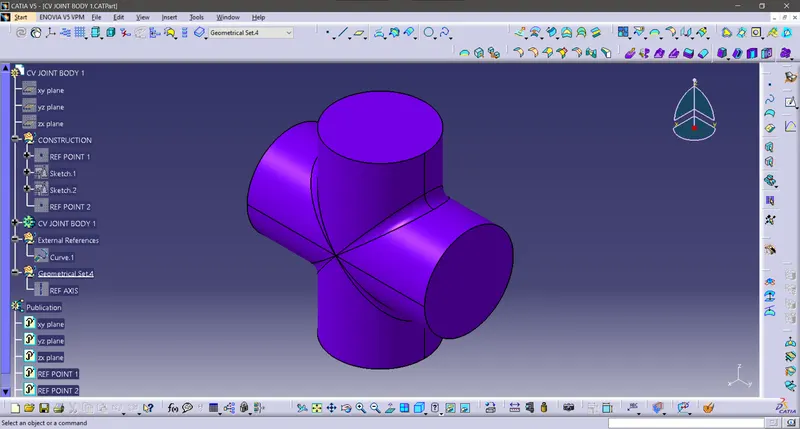
CV Joint CATpart 1 :
Take A Positioned Sketch & Draw the Sketch by using Sketch Tools & Check it should be Iso - Constrained & Then Pad it properly As Ashown in figure given Below.
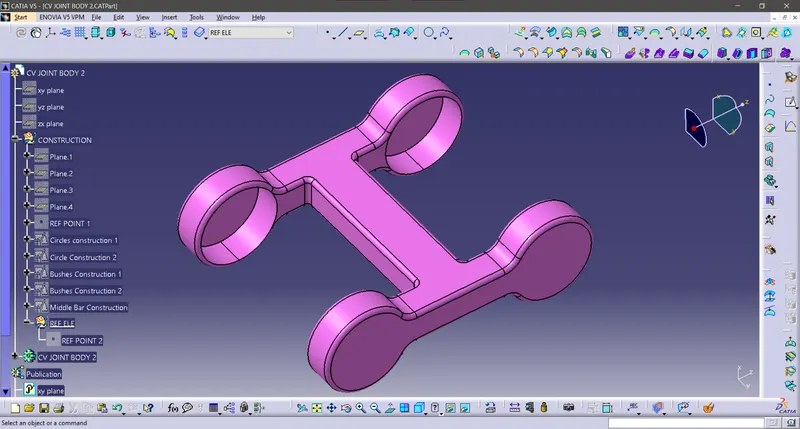
CV Joint CATpart 2 :
Take A Positioned Sketch & Draw the Sketch by using Sketch Tools & Check it should be Iso - Constrained & Then Pad it properly As Ashown in figure given Below.
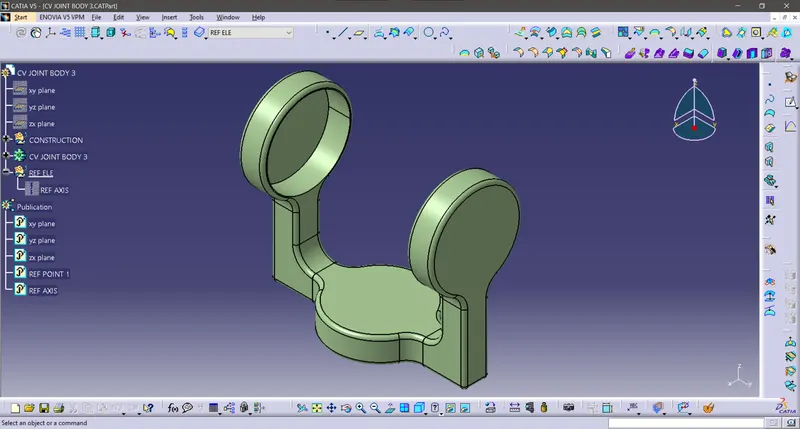
CV Joint CATpart 3 :
Take A Positioned Sketch & Draw the Sketch by using Sketch Tools & Check it should be Iso - Constrained & Then Pad it properly As Ashown in figure given Below.
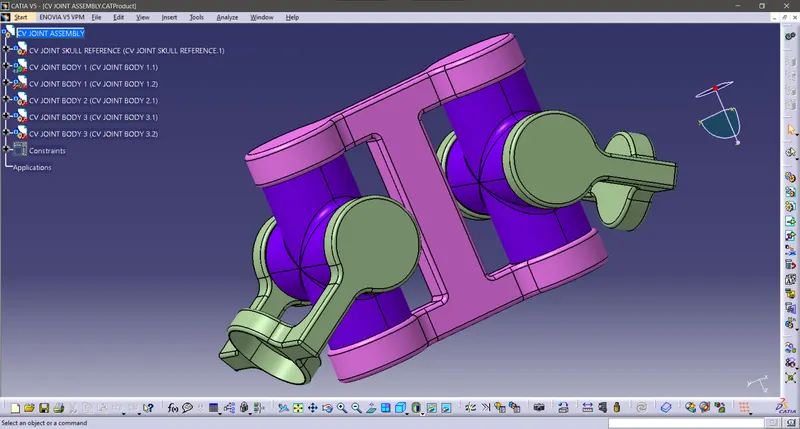
CV Joint Assembly Design :
Open The Mechanical Assembly Design Workbench Load The All Cat Parts Properly Manipilate Them, After That Constraint Together By Using Assembly Workbench Toolbars Commannds As Shown in Figure given below.
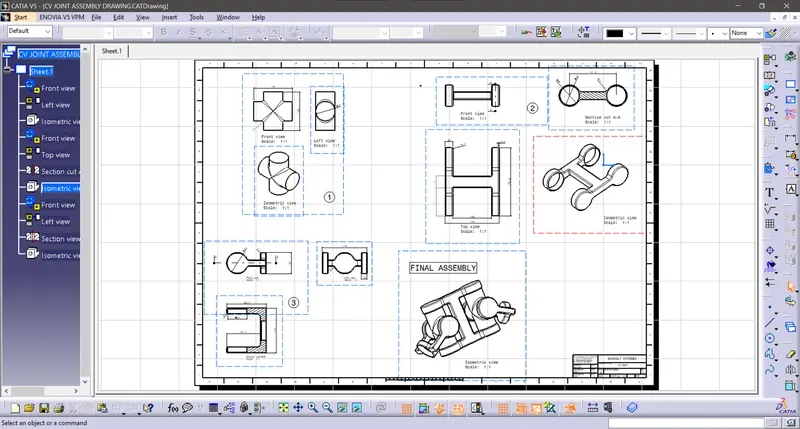
CV Joint Drafting :
Load the All Front view, Isometric View CAT Parts, CAT Products Of CV Joint Into the Drafting workbench
& Then place Properly Then Add Dimensions & Frame & Tiitle Blocks As Shown in Figure Given Below.
Conclusion :
Sucessfully Created The CatParts, Assembly Products, Draftings From Given Source.
Also Submitted the Zip Files Containg All Reqirements To The Task.