Week 10- Assembly Workbench
1.
 ]
]
2
assembly workbench
procedure:
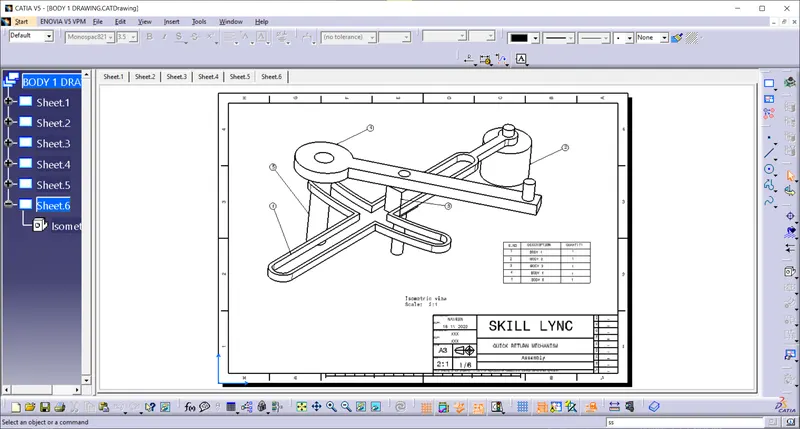
After create the parts seperately using Assembly workbench joining it to together .
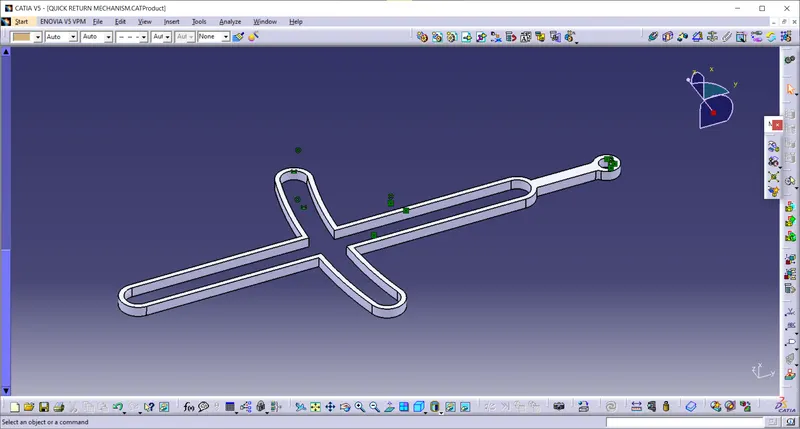
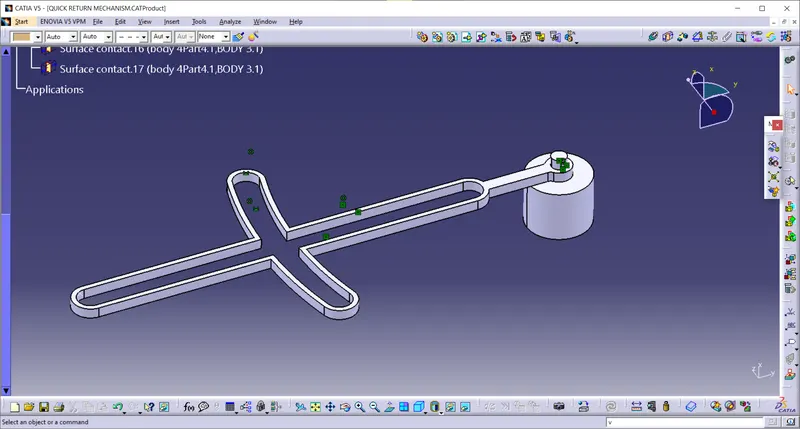
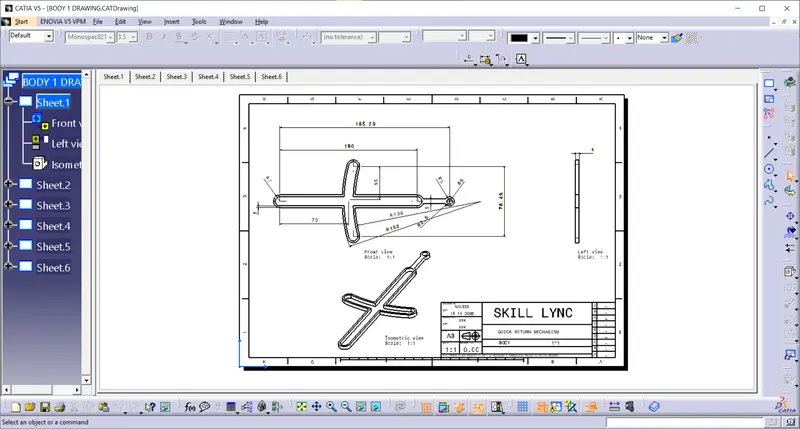
Then create new product and using existing component options bring component together inside the assembly product using assemby workbench constraint the parts together Mainbody( slotted bar) and body 1(fixed link) assembled using coincidence constraint were the both centre axis of circle ar constraint and poistioned it together
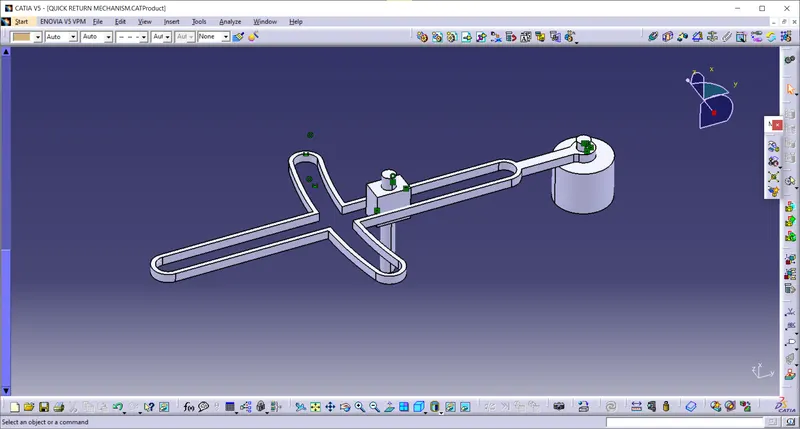
using existing component option body2(sliding block ) brought together using contact constraint option. this body are constrainted where both using contact surface are selected and then constrainted and orientation according to given assembly diagram
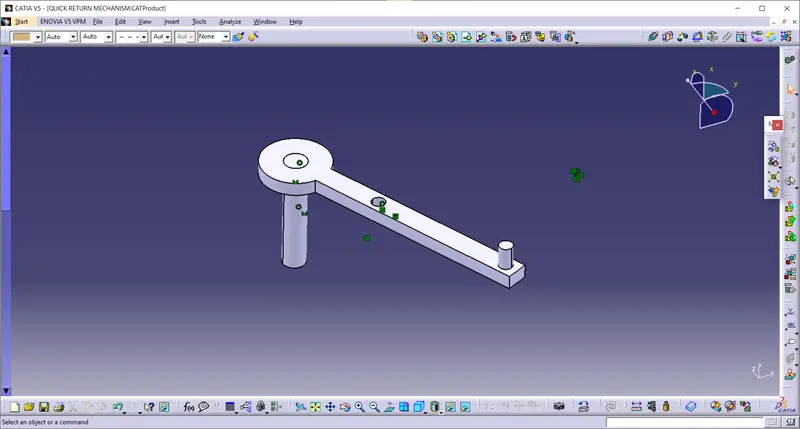
body 5 (CONNECTING ROD ) and body 4 (PIN) assembled together using coincidence constraint using centre axis of the parts and both component are constraint to the sliding block axis constraint poisyened together according to the main slotted bar
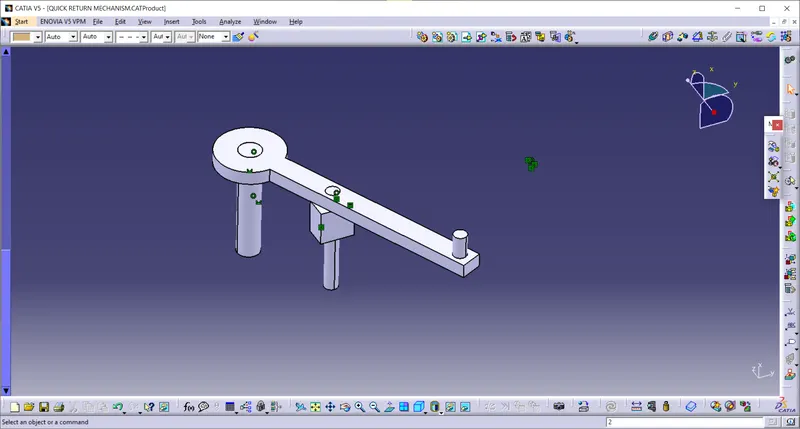
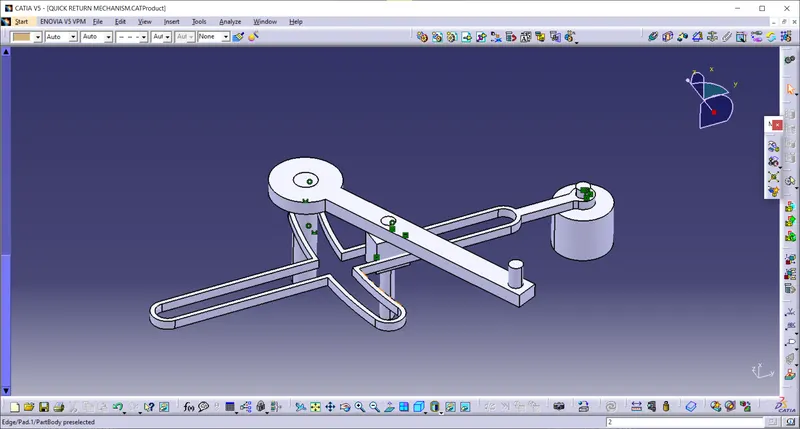
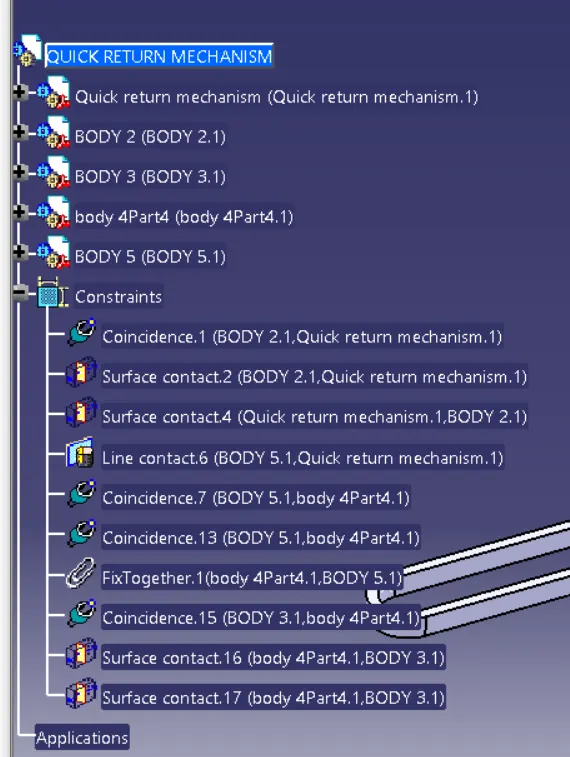
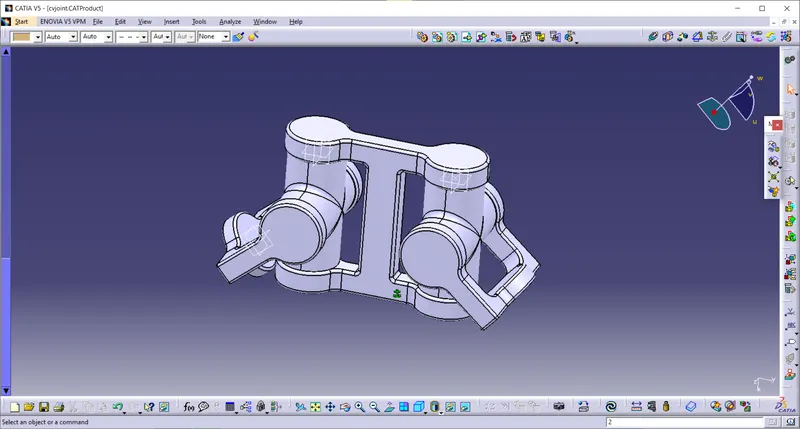
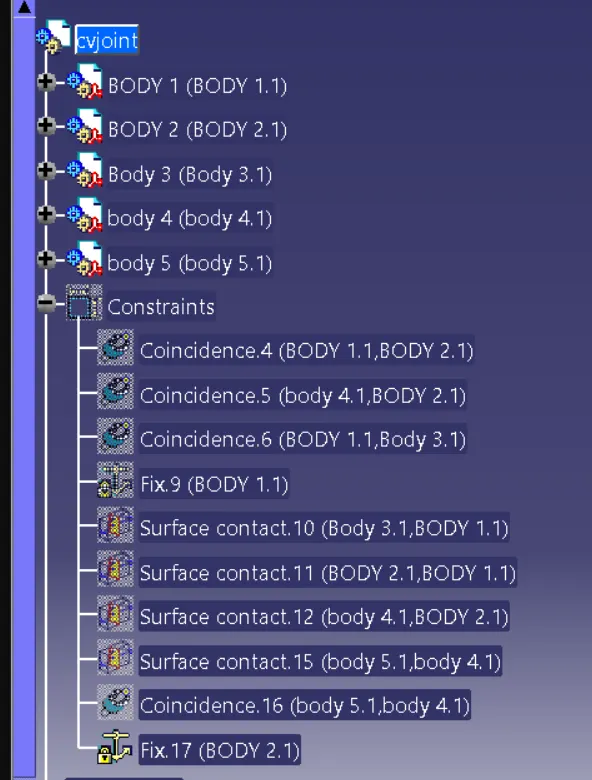
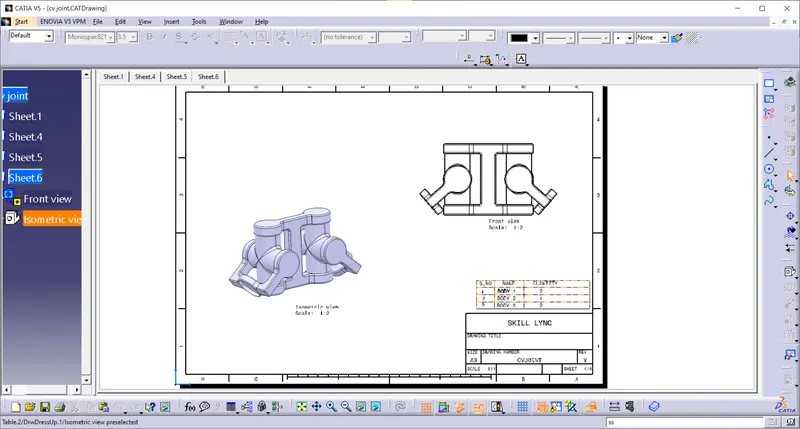
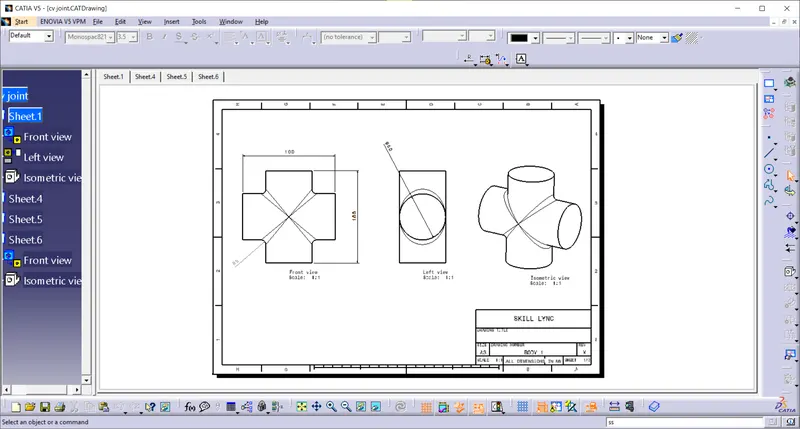
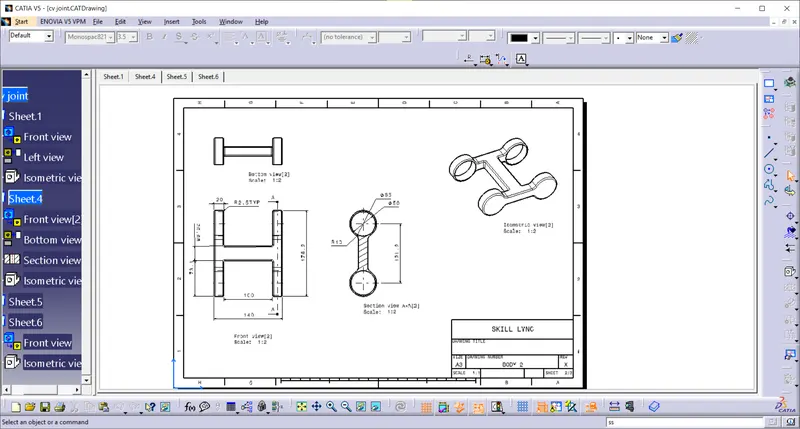
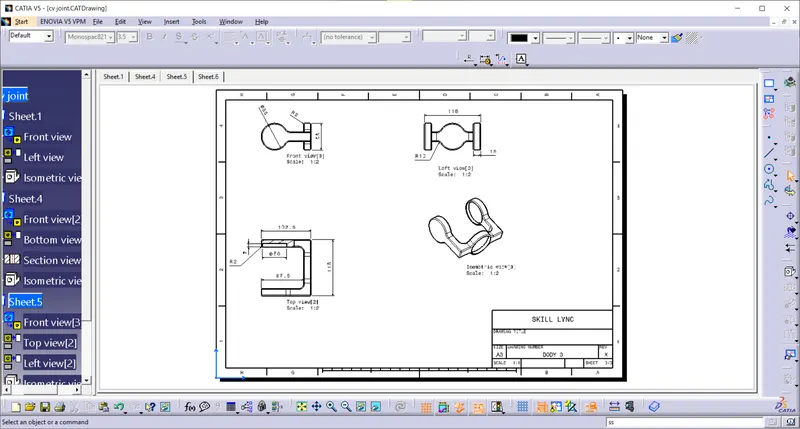
2 Assembly procedure of cv joint
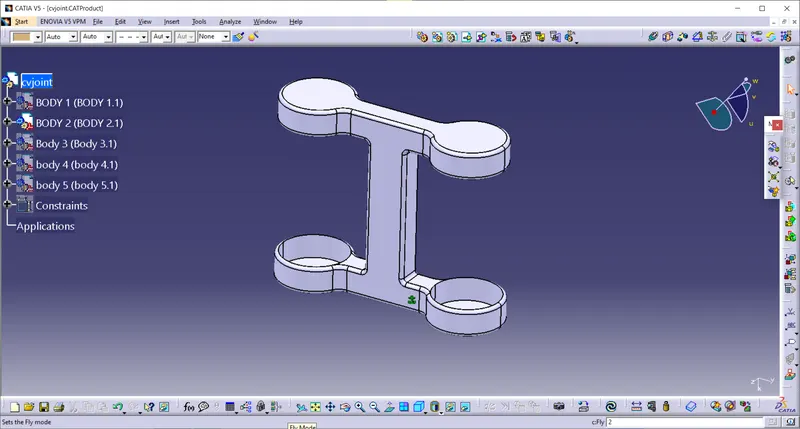
Assembly Mainbody of this assembly the I- joint and body 1 ( cross rod ) are assembled using coincidence constraint by constraing the both parts using centre axis and the body and the contact contraint where surface of both parts where I joint which hollow space rod circle structure and then cross rod joint together on the both side and fix together
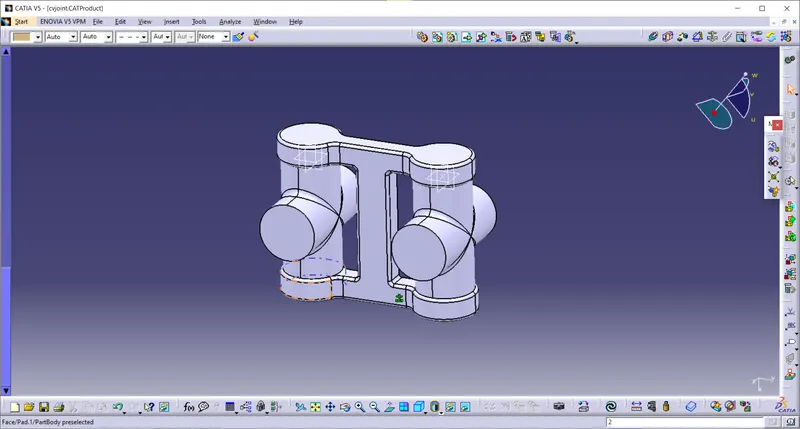
after then u joint added and in assembly for both side and constrained using coincidence constraint and surafce contact constraint accoeding to the given assembly cv hoint diagram