Week 10- Assembly Workbench
- Quick Return Mechanism's Parts and its Assembly :
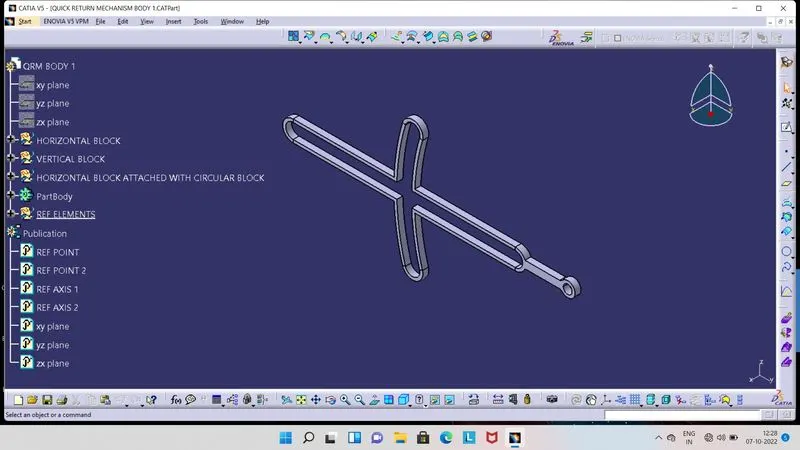
- Body 1 :
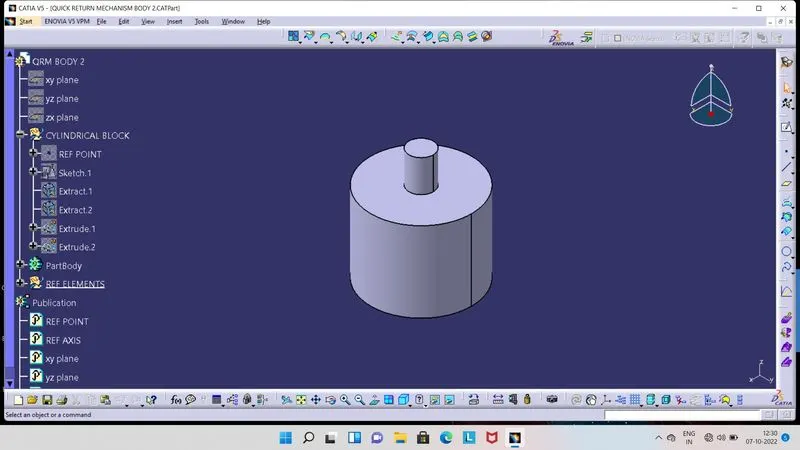
- Body 2 :
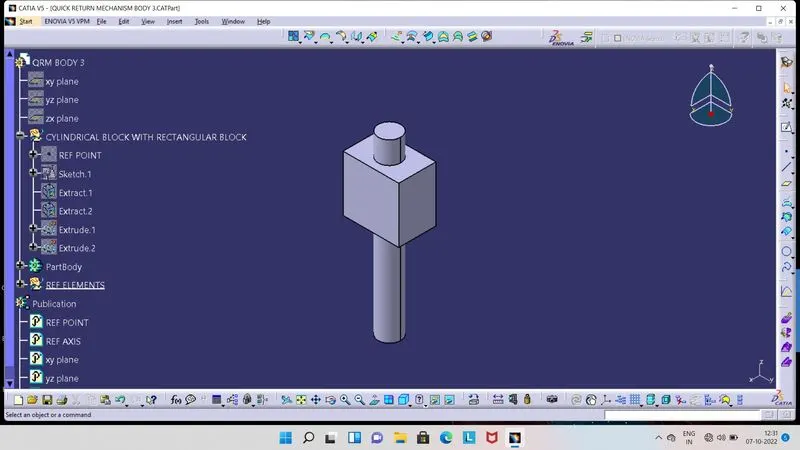
- Body 3 :
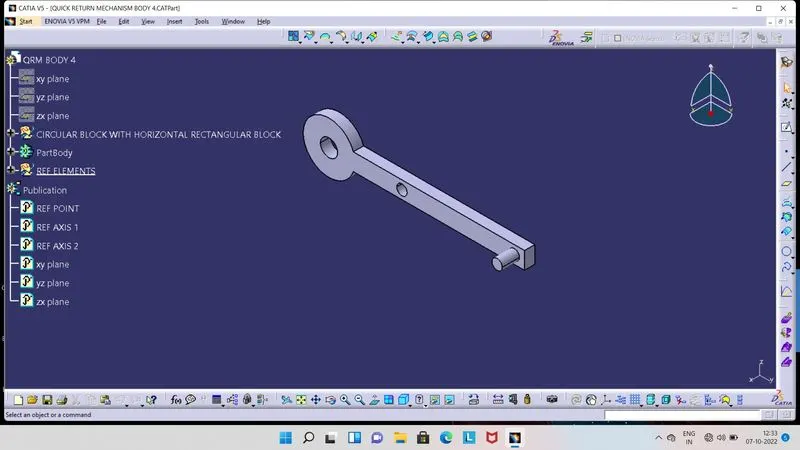
- Body 4 :
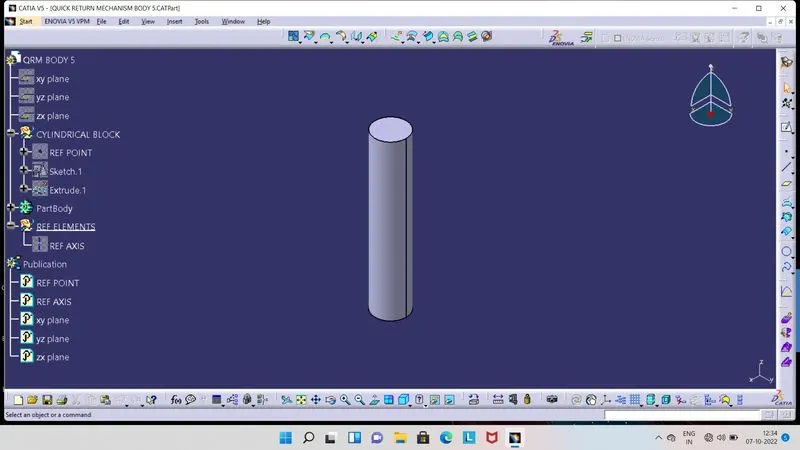
- Body 5 :
- Assembly of all above parts of Quick Return Mechanism :
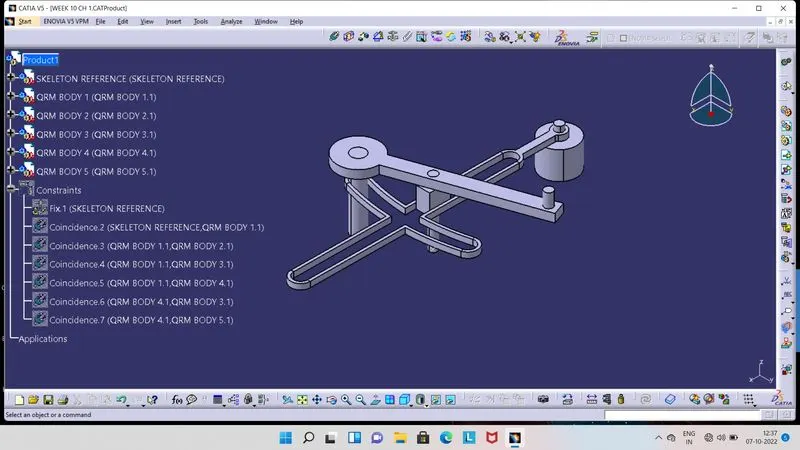
- For do the assembly of all parts of Quick Return Mechanism, we have to open Product file.
- Then import all individual parts into this Product file by using copy and paste method otherwise using Exisisting component tool, both method will give same result.
- After importing all the parts, take a new part and select 0 value for X, Y and Z axis, which is our first reference element then publish the reference point and all planes.
- Now we have to create reference axis or point or planes for all parts and then publish that reference axis, points and planes.
- Once the reference axis or reference point created and published for all parts, we can go for the assembly.
- There is a Coincidence Constraint tool in Constraint Toolbar and also another usefull tools, by using it we can able to assemble the parts at respective position.
- So, first we have to Fix the our first reference element by using Fix Constraint tool, which we have very first created. Then by using Coincidence Constraint tool, we have to coincide our first part with reference point and click on update.
- Similarly for all parts, we have to use Coincidence Constraint tool for coincide the parts at respective positions and also by using Manipulation tool, we can translate or rotate our part in required position.
- Hence, in this way our complete assembly of all parts of Quick Return Mechanism will take place.
- CV Joint's Parts and its Assembly :
- Body 1 :
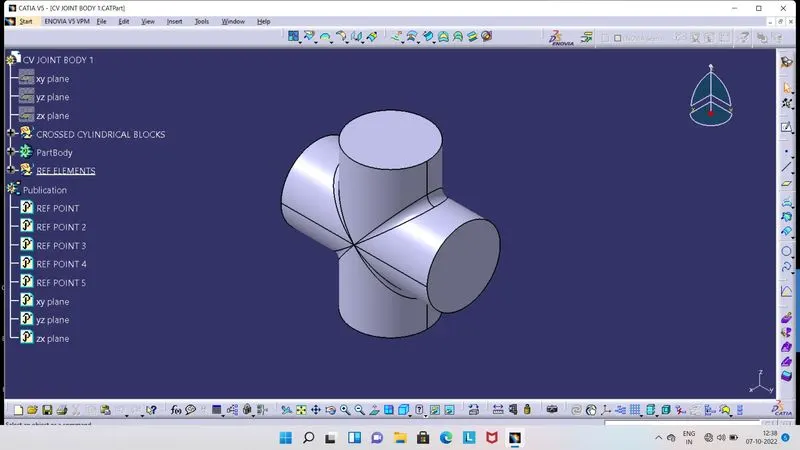
- Body 2 :
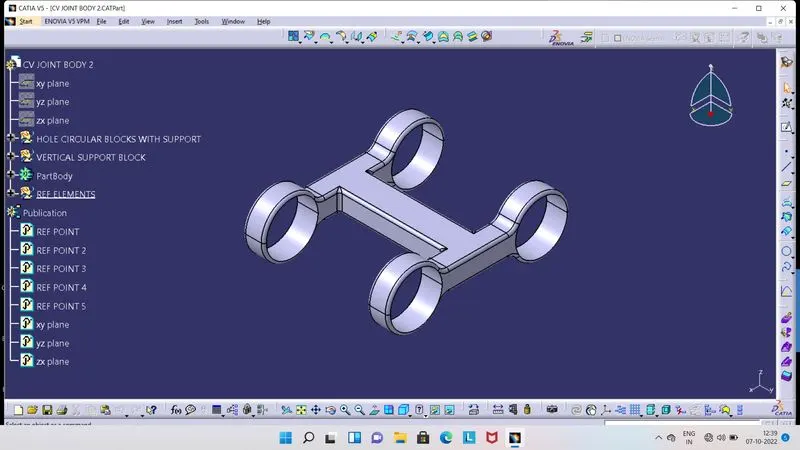
- Body 3 replica of Body 1 :
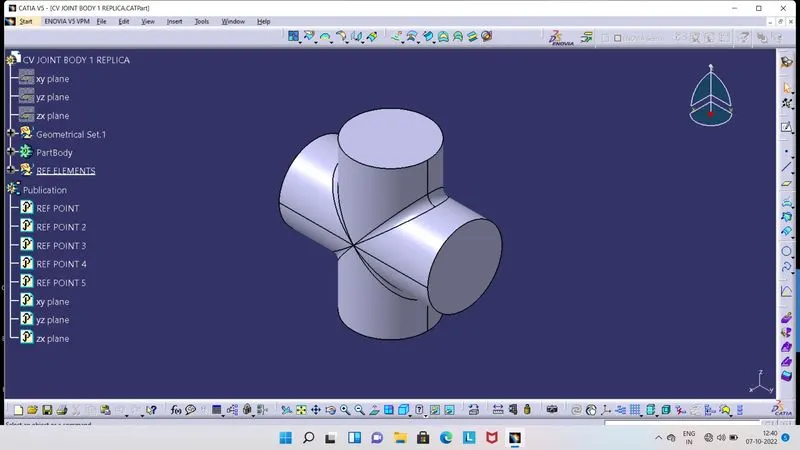
- Body 4 :
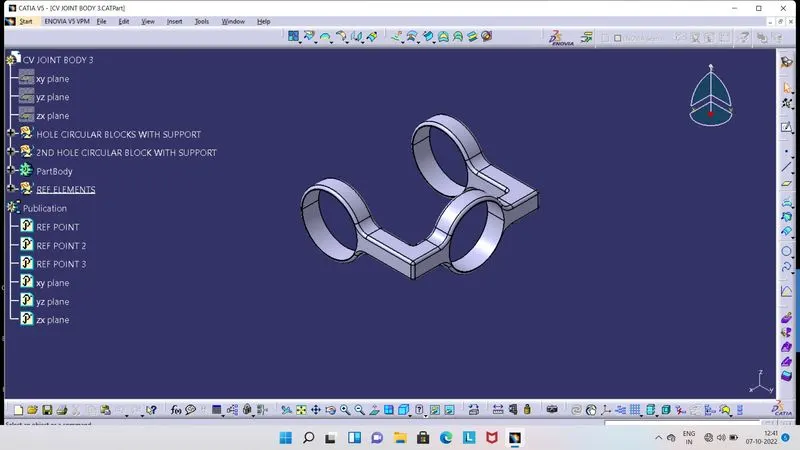
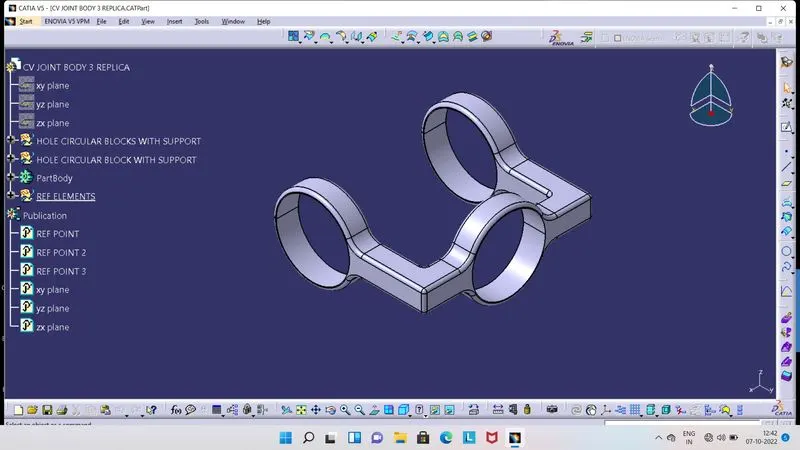
- Body 5 replica of body 4 :
- Assembly of all above parts of CV Joint :
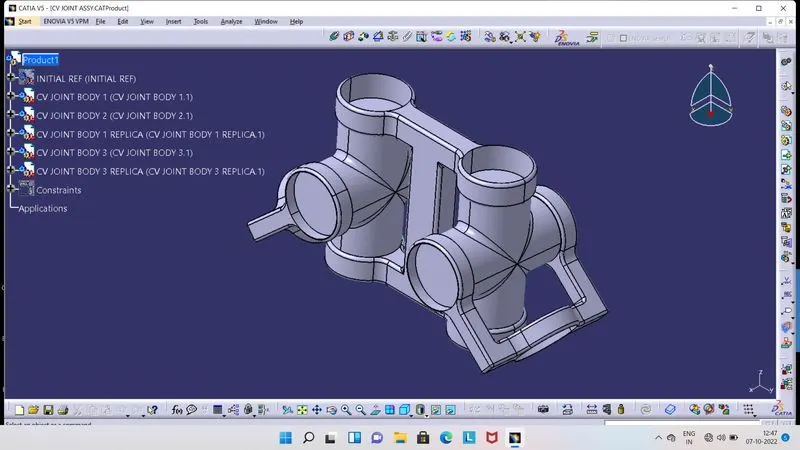
- For do the assembly of all parts of CV Joint, we have to open Product file.
- Then import all individual parts into this Product file by using copy and paste method otherwise using Exisisting component tool, both method will give same result.
- After importing all the parts, take a new part and select 0 value for X, Y and Z axis, which is our first reference element then publish the reference point and all planes.
- Now we have to create reference axis or point or planes for all parts and then publish that reference axis, points and planes.
- Once the reference axis or reference point created and published for all parts, we can go for the assembly.
- There is a Coincidence Constraint tool in Constraint Toolbar and also another usefull tools, by using it we can able to assemble the parts at respective position.
- So, first we have to Fix the our first reference element by using Fix Constraint tool, which we have very first created. Then by using Coincidence Constraint tool, we have to coincide our first part with reference point and click on update.
- Similarly for all parts, we have to use Coincidence Constraint tool for coincide the parts at respective positions and also by using Manipulation tool, we can translate or rotate our part in required position.
- Hence, in this way our complete assembly of all parts of CV Joint will take place.