Week 1 Challenge
1.AIM:To create a project using architectural template
TOOLS REQUIRED:
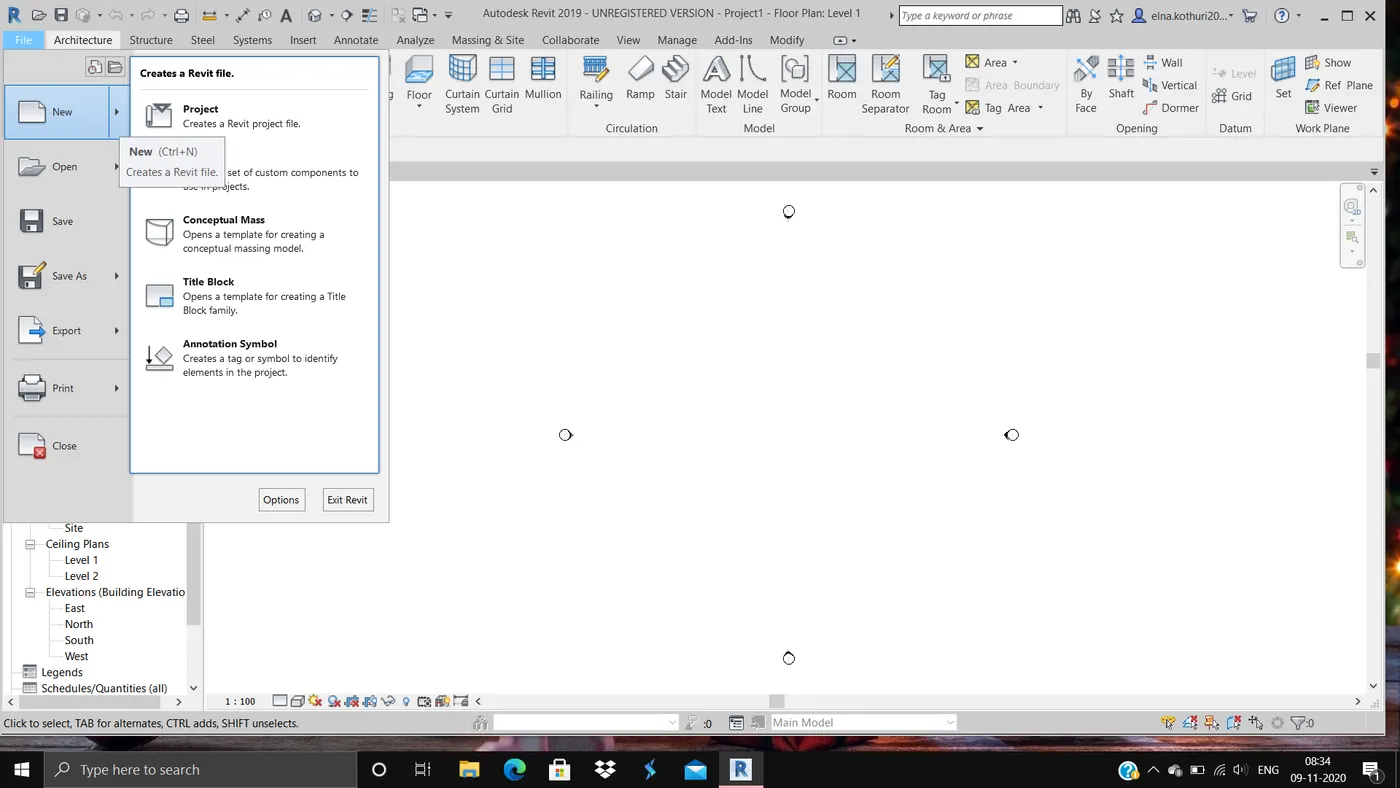
Click revit>new>project icon
PROCEDURE:
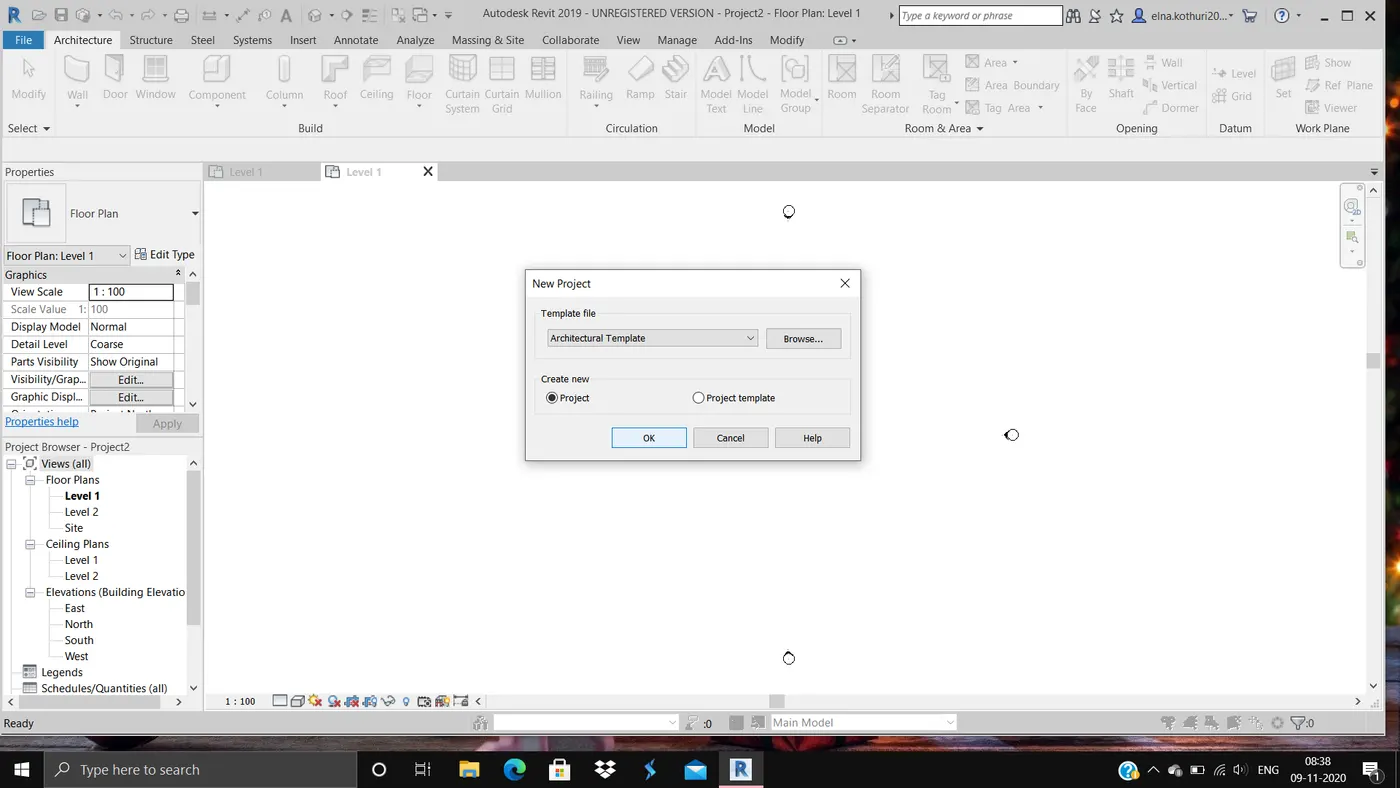
.In the new project dialog it shows a list of templates ,we need to select architectural template.
.click browse and navigate to the desired template and open it.
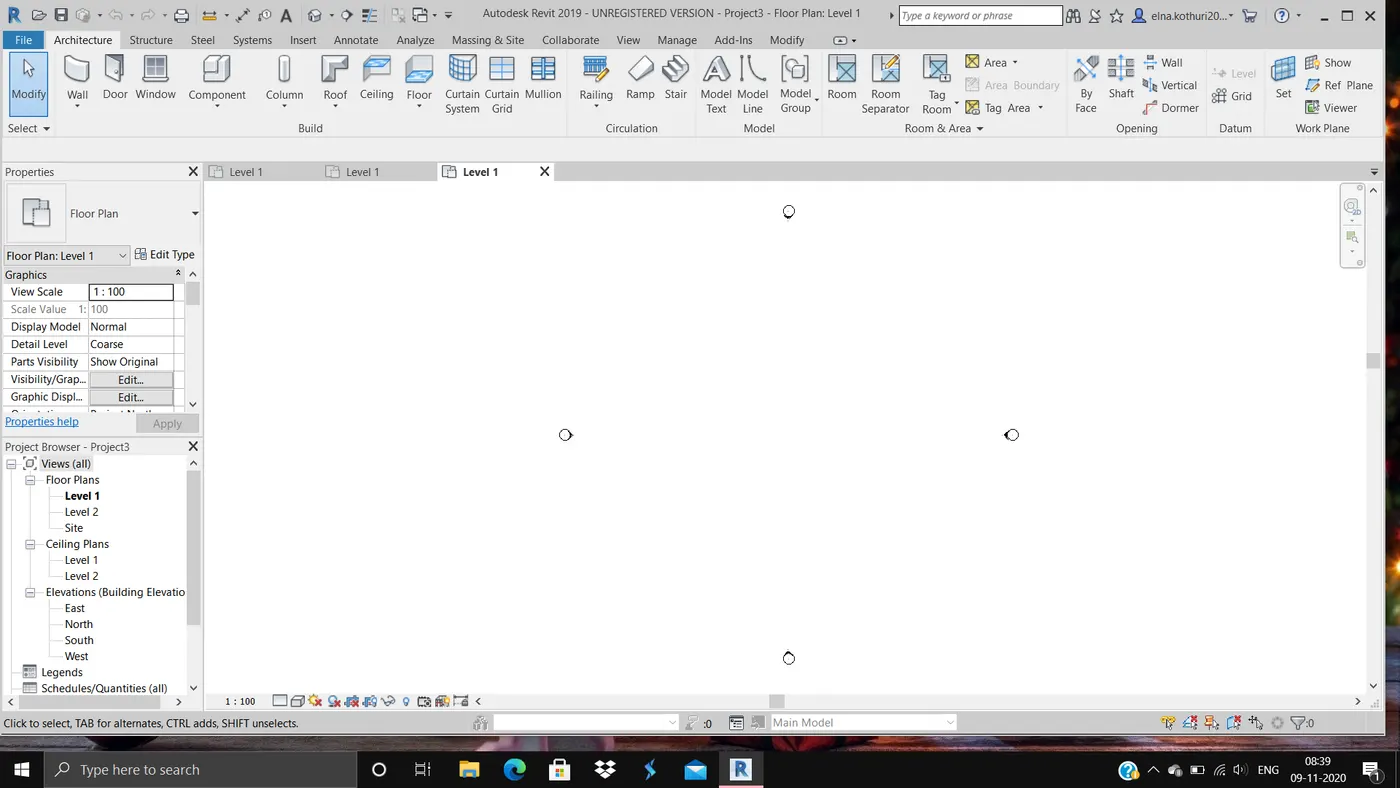
.For creating new project ,click the project icon and name the project as you want
.
2.AIM:To save a new project file in the revit
PROCEDURE:
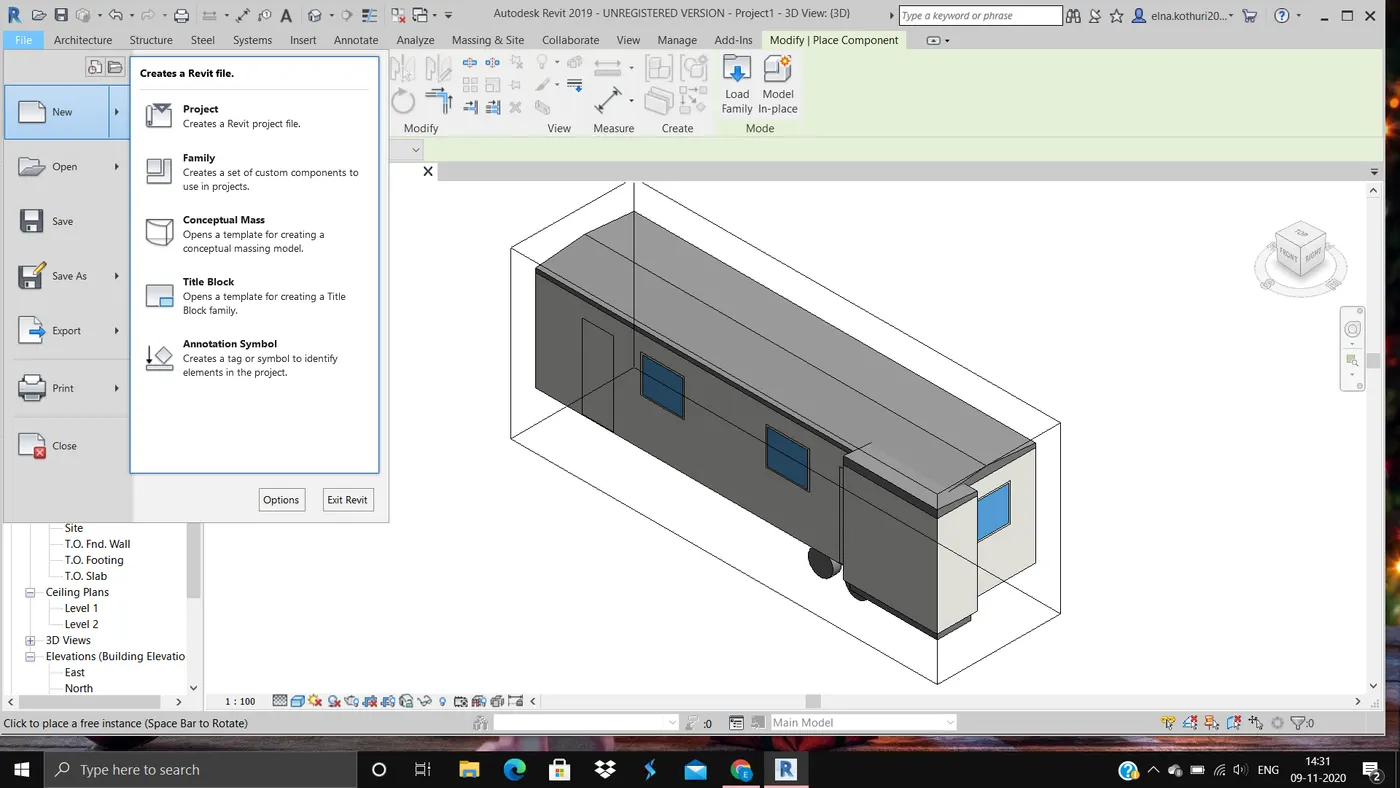
.In the file tab you can see option new click on that and select the model you wanted to save and click on save and select the location you want to place the model/file.
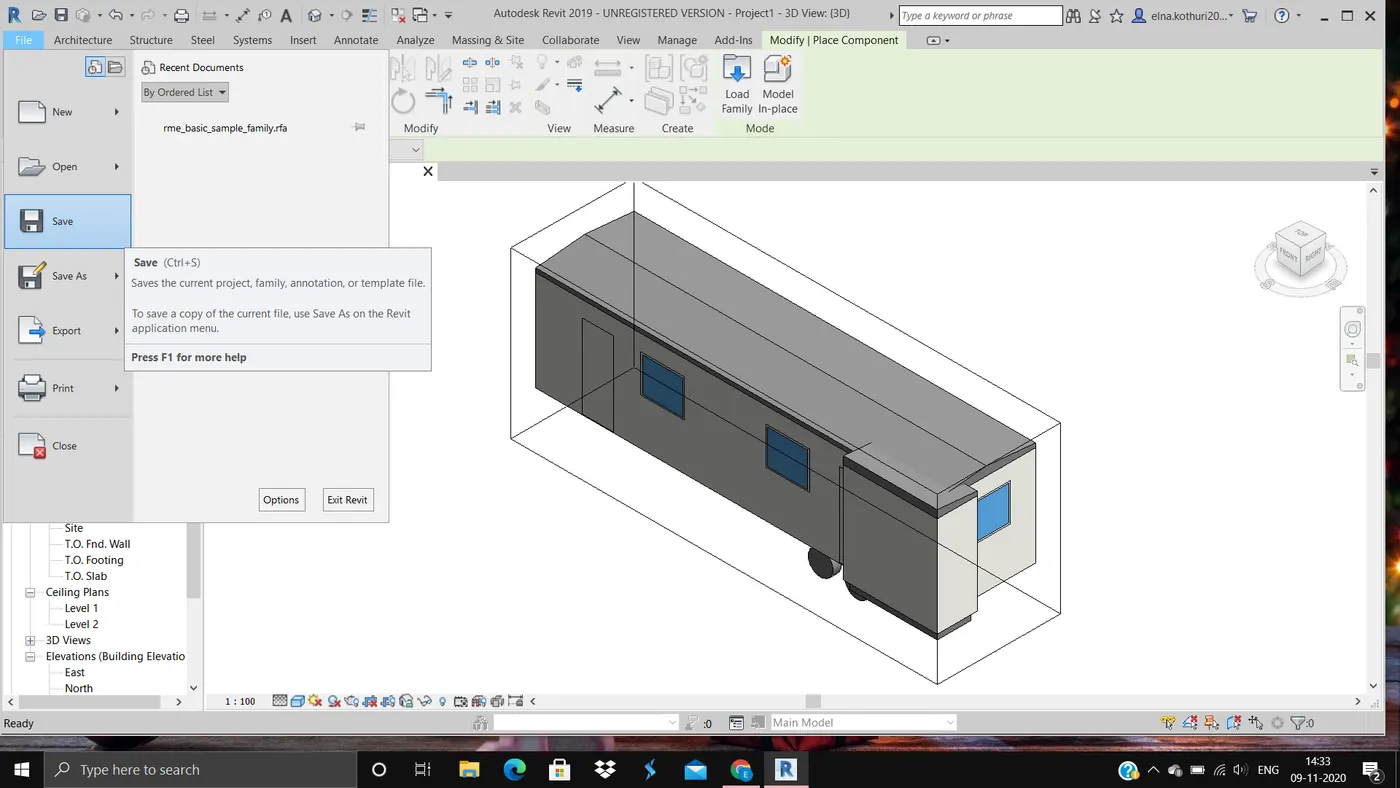
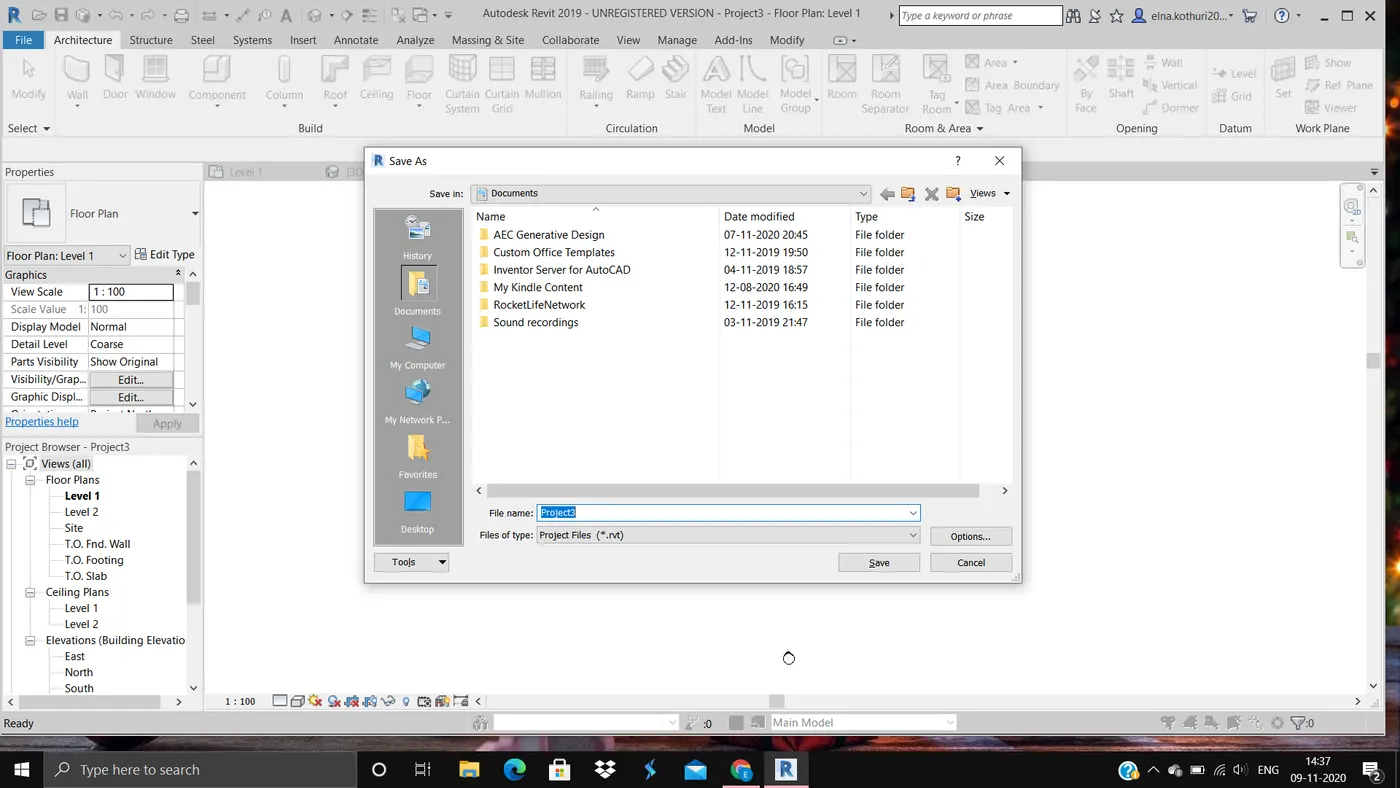
3.AIM:To draw a wall.
TOOLS REQUIRED:
Architecture tool,wall tool
PROCEDUERE:
.In the file tool bar we can see the architecture tool in thet we find an option to draw the desired wall.
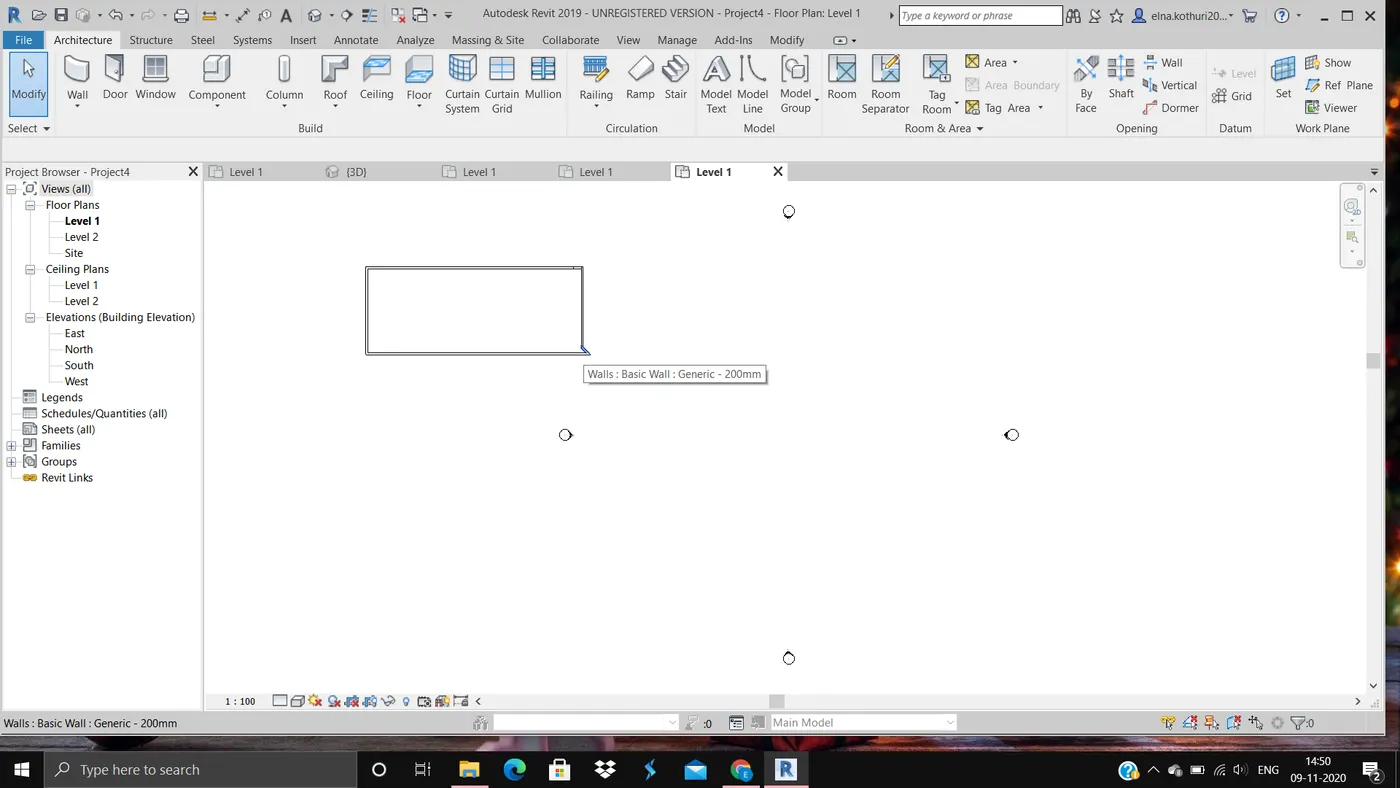
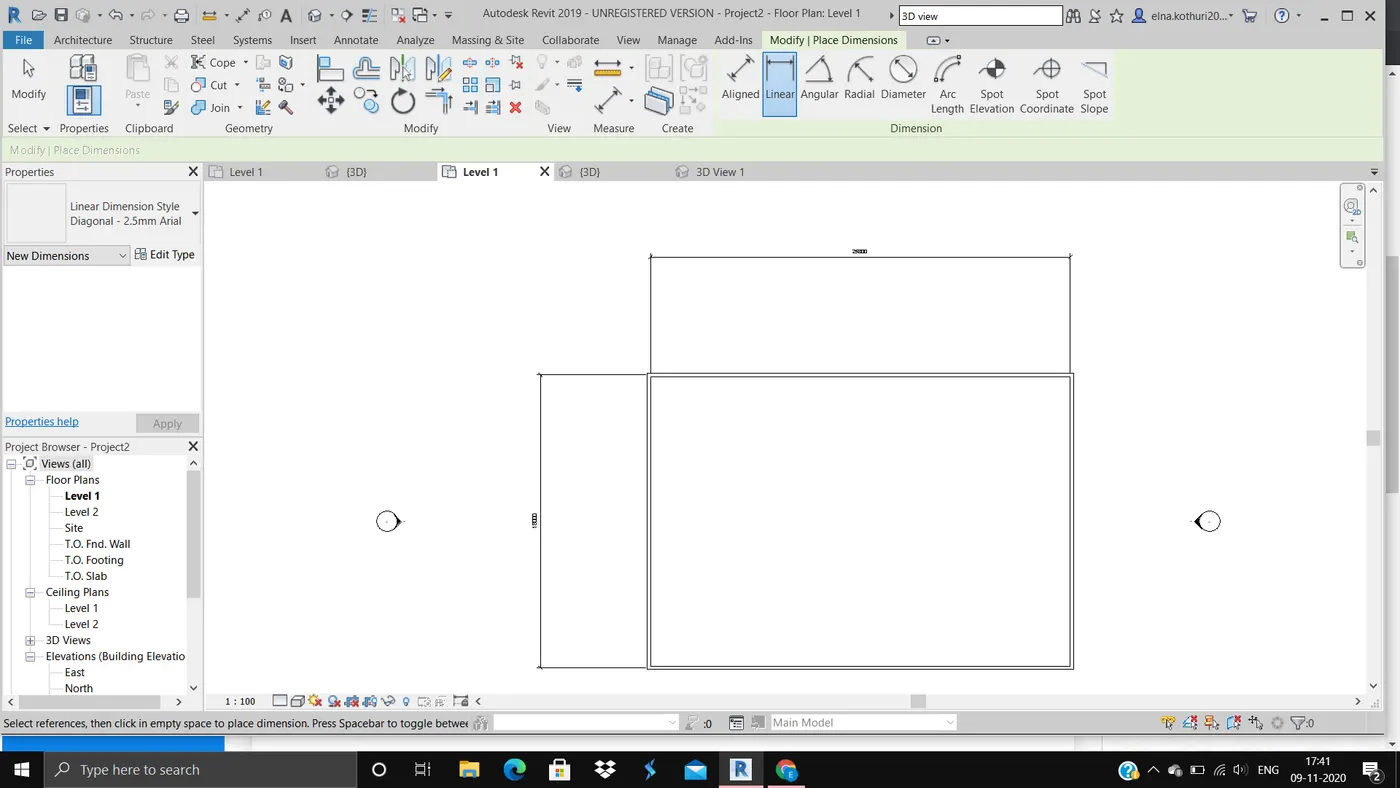
4.In the below attached image we can find the wall with its dimensions:
TOOLS REQUIRED:
Annotate tool
PROCEDURE:
.To get the wall with the dimensions we need to select the annotate tool and click on the aligned option,now we can get our required dimensions.
5.AIM:Properties browser to switch to diffrent wall types.
TOOLS USED:Properties tool,edit type tool.
PROCEDURE:
.First we need to draw a wall.
.Now click any side of the wall then you will directed to modify walls tool.
.Now click edit type and there you again directed to dialog box and click OK.
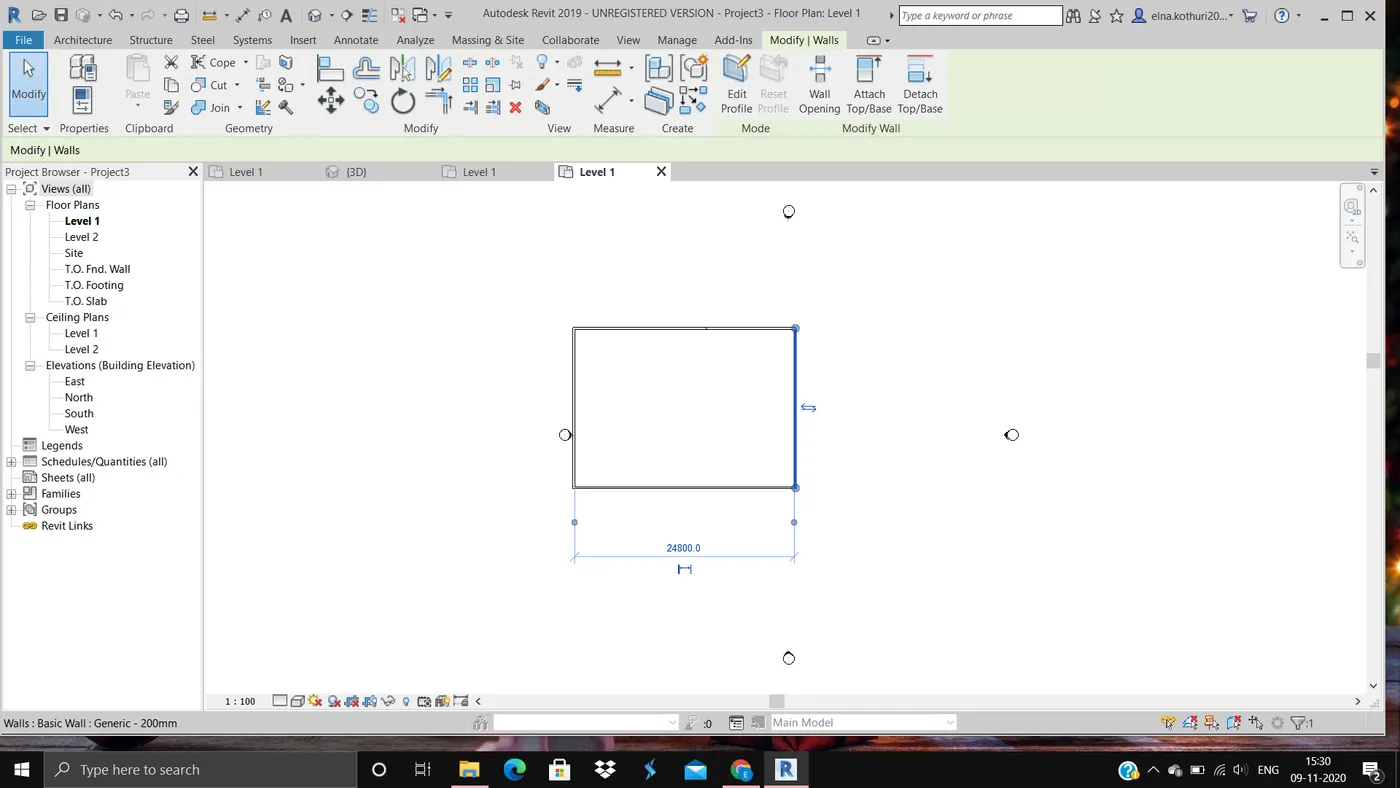
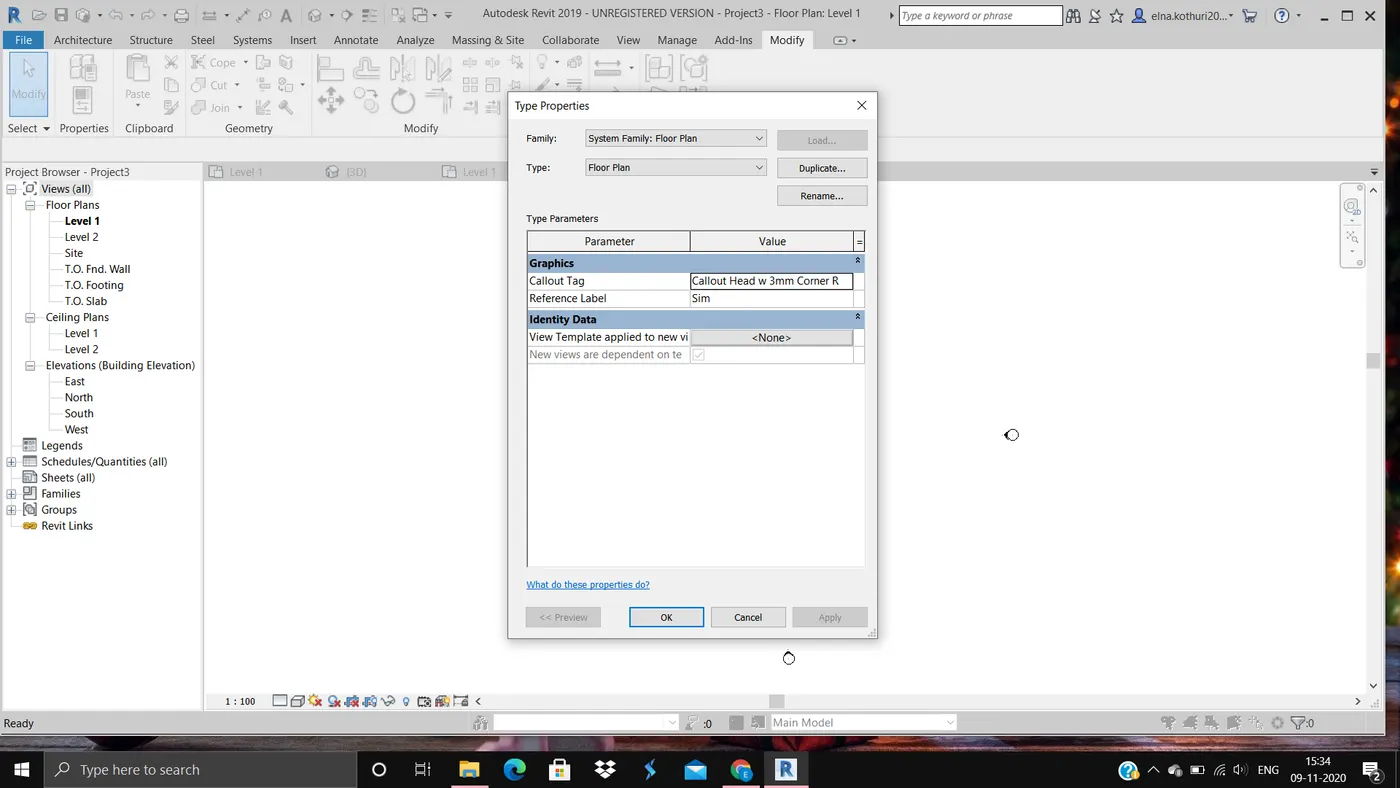
6.AIM:To create a 3D view from the view tool bar and save the view with appropriate name.
TOOLS USED:
wall tool,default 3D view tool.
PROCEDURE:
.Firstly draw a wall of desired dimensions
.Now click the 3D view tool then the 2D that we have drawn changes to 3D model.
.now to save the file we need to go to fil option.
.click save as option and click on the project option
.Then one dialog box will appear now name the file as you wanted and then click SAVE.
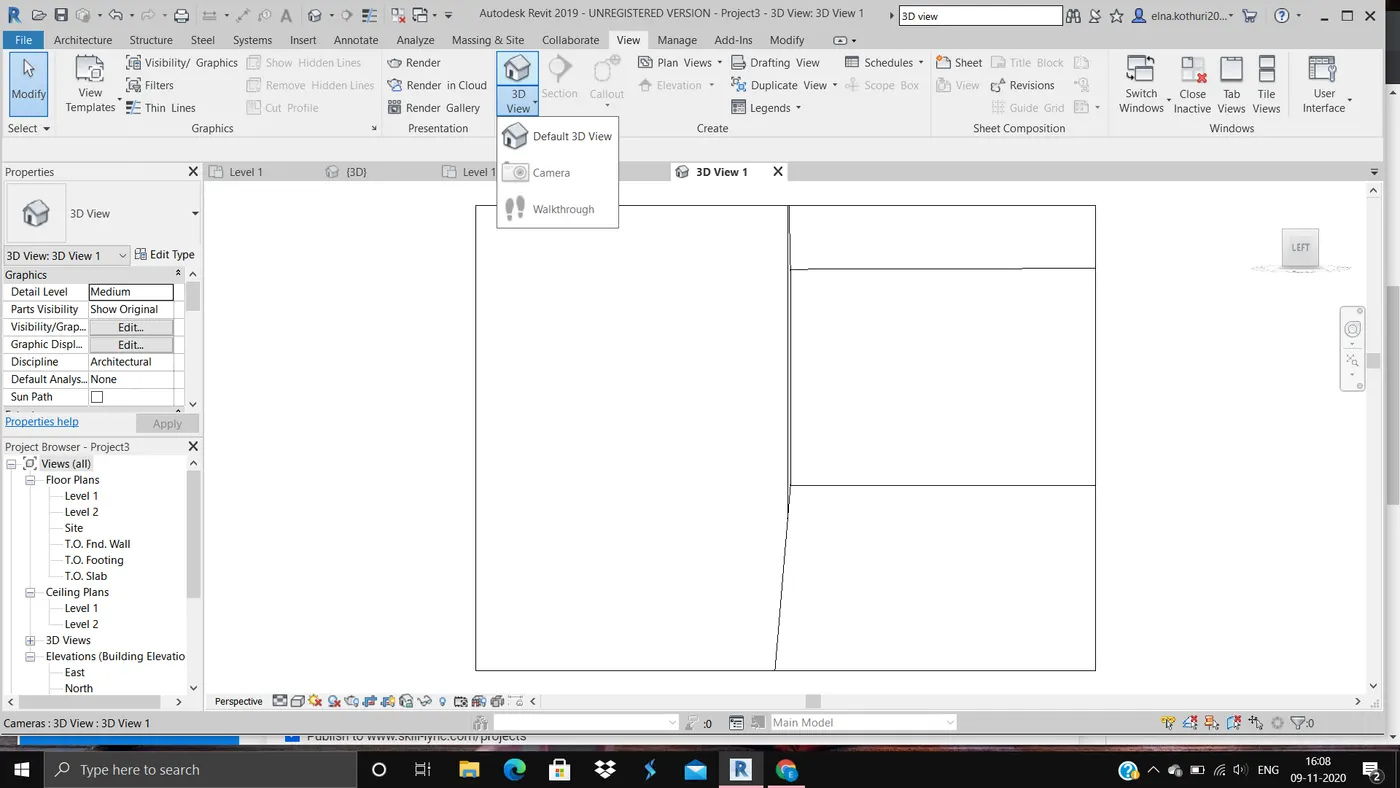
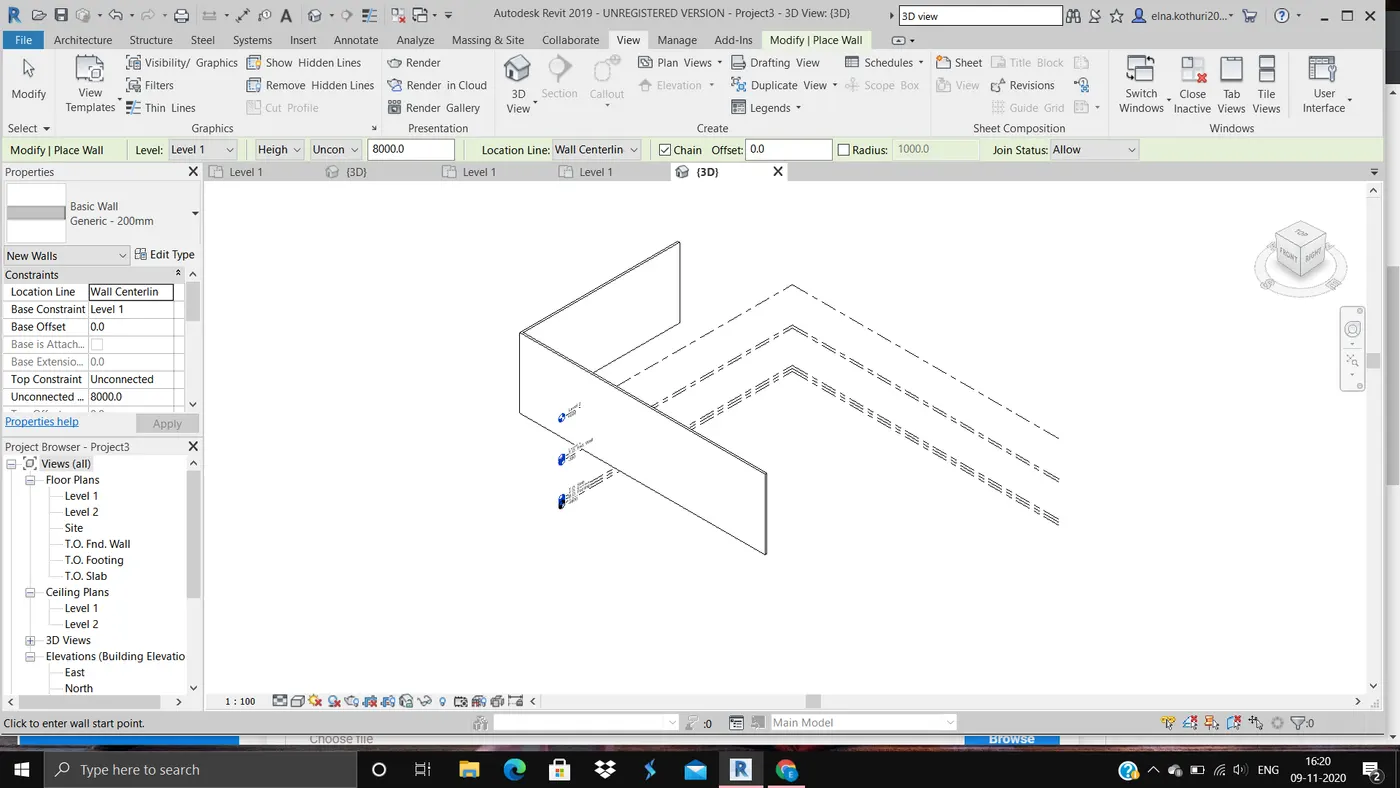
7.AIM:To navigate the 3D model using view cube.
TOOLS USED:
View cube
PROCEDURE:
.After the drawing finished of the desired model,we need to click on the view cube and rotate it accordingly.
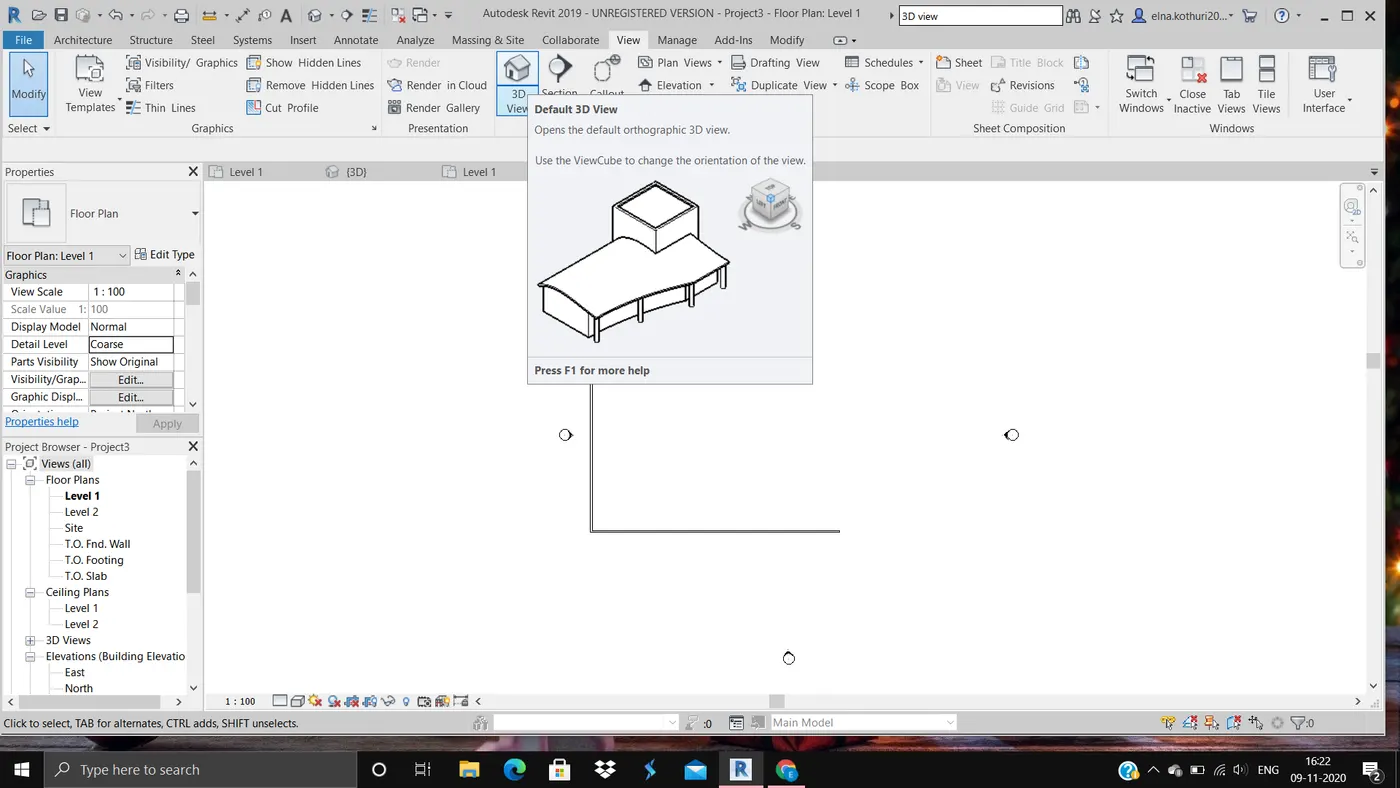
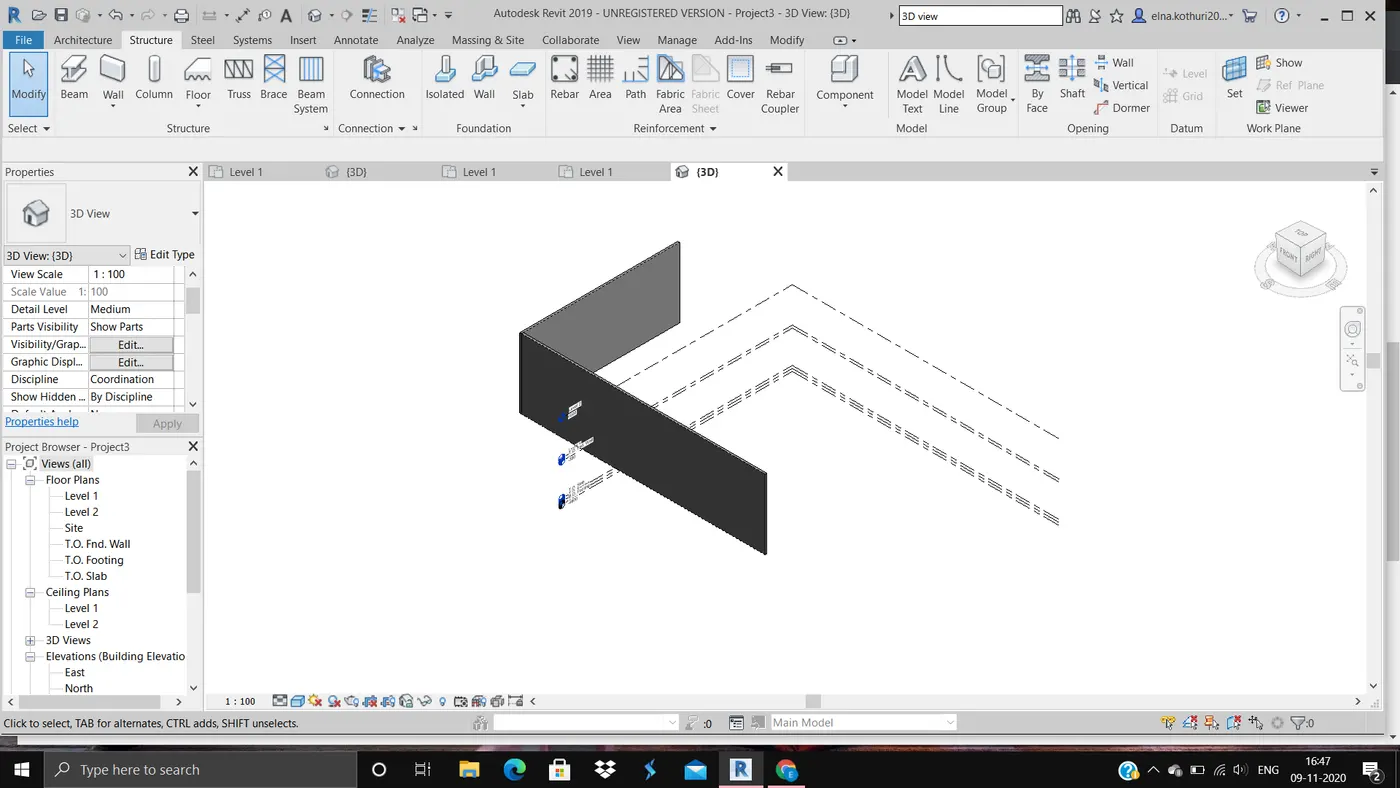
8.AIM:Using the visibility setting option below to switch model to shaded,realistic,hidden line options.
TOOLS USED:visual style tool.
PROCEDURE:
.Firstly consider a desired drawing
.click on the visual style tool,then we can see a dialog box consisting of wire frame,colors,hidden lines,realistic.
.now as we want to change the model from hidden lines to shaded click on the option that you wish to convert.
.see the below pictures for better understanding.
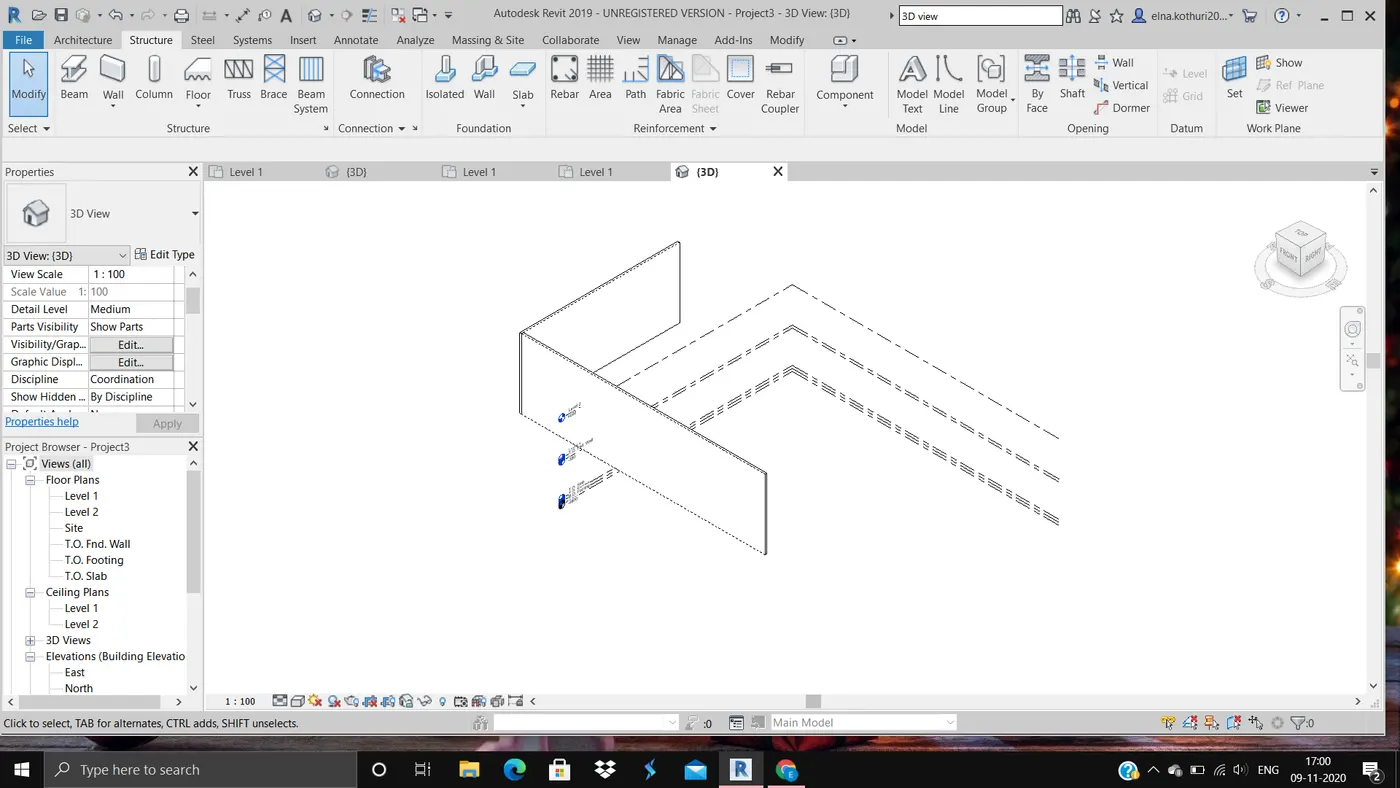
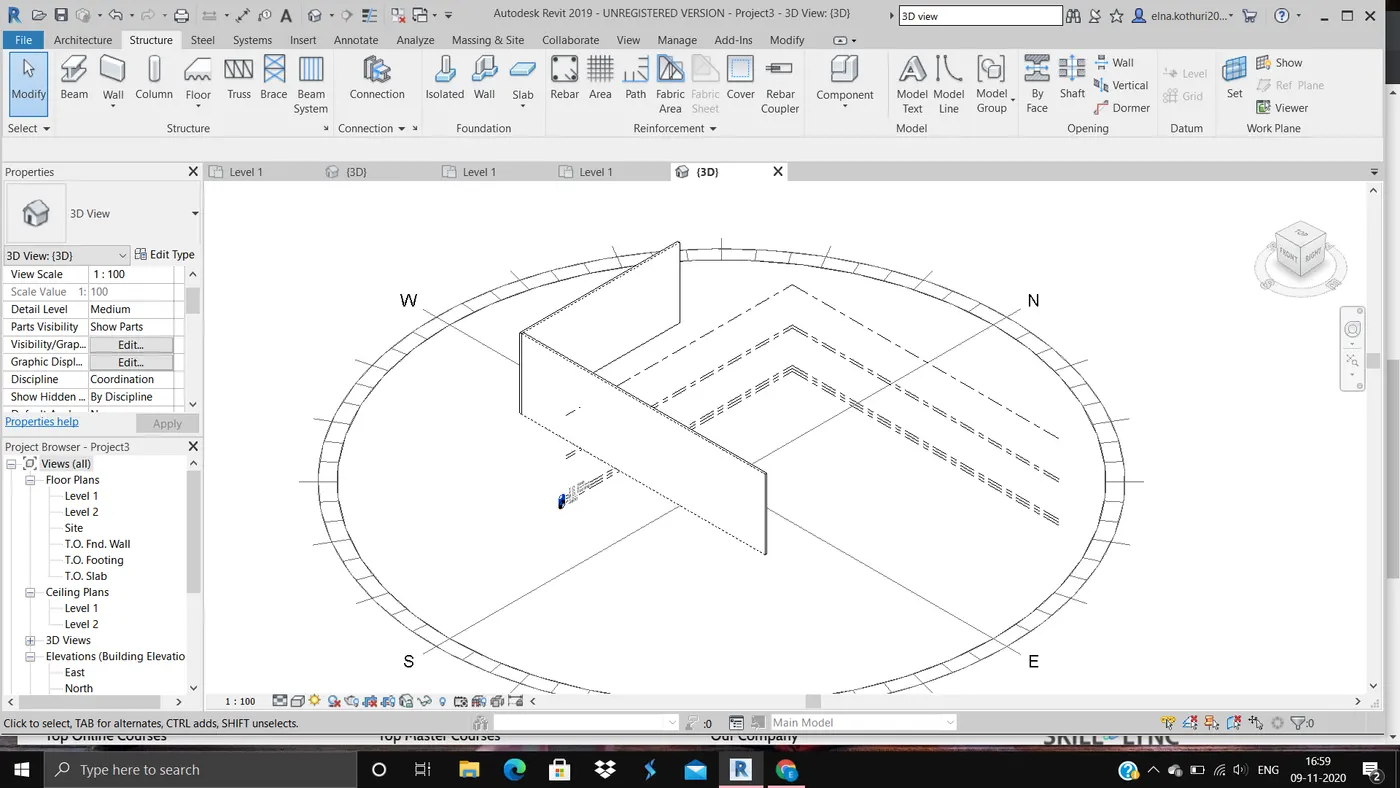
9.AIM:To view shadings in the layout created when sunlight is on and off.
TOOLS USED:
sun settings tool
PROCEDURE:
.click on the sun settings which is there on on the left side bottom of the diagram.
.there is 2 options shown there ,sunpath on and sunpath off.
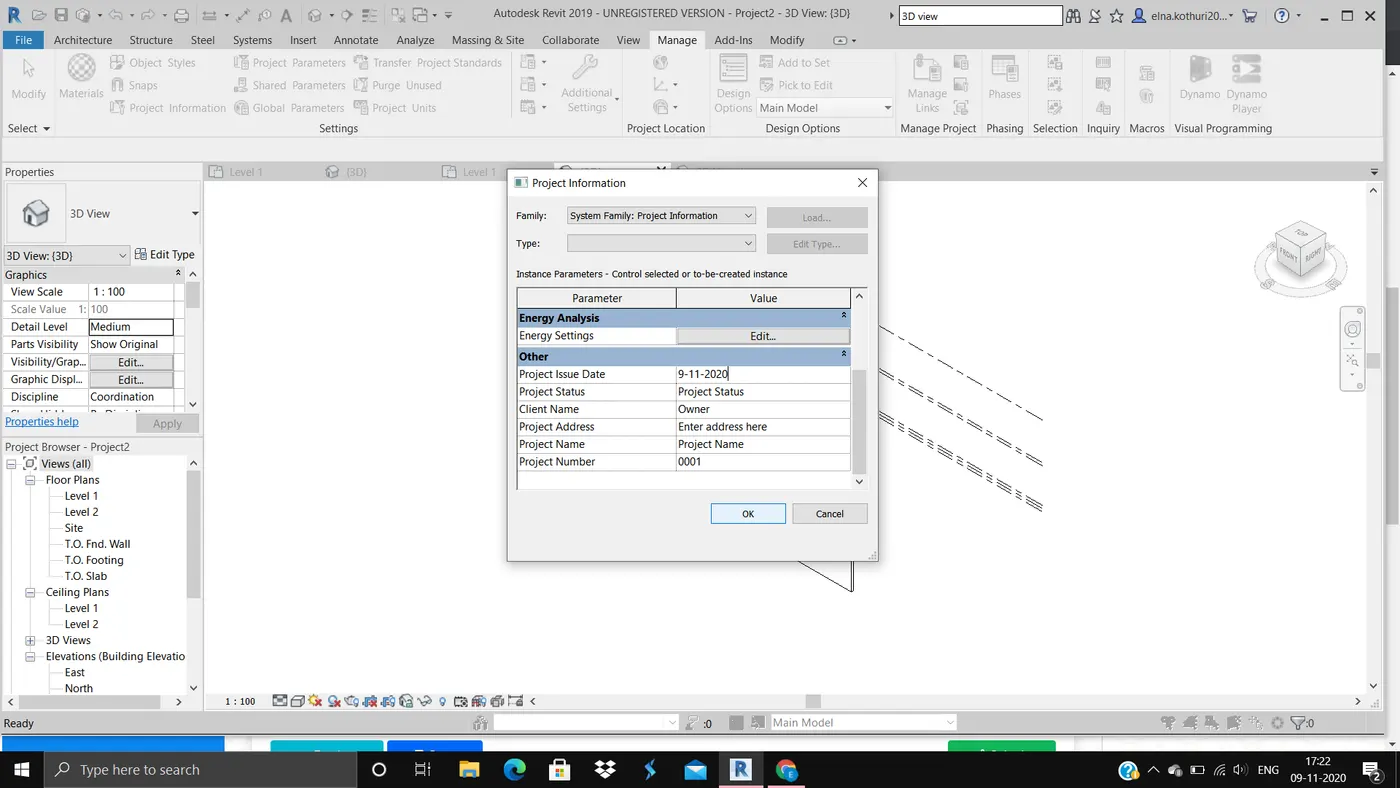
10.AIM:To enter project name,project settings and project issues.
TOOLS USED:
manage tool bar,project information tool.
PROCEDURE:
.Firstly click the manage tool to open the manage tool bar.
.now we will fine the "project information icon"under the settings section in the management tool bar.
.By clicking the project information tool a dialog box is opened we can enter the name,issues etc...
11.ANSWER: Analyze tool bar helps in modelling revit models. this analyze tool bar helps in boundary conditions. it helps in adjust the model and additionally useful for the present model.space separation and,space naming are also the available options in this tool bar.it also explain how economical the model is by some options.
12.links that revit supports to be linked to the model:
.Link CAD:Links a cad file to present revit program
.Link PDF:It allows us to link pdf to the current revit project.
.Link Image:it allows us to link the images to current revit file
.Link topography:it link the topograpy of the nature with the revit
.point cloud:it links point cloud to current revit project
13.Collaborate tab: collaborate model allows us inside or outside a network to collaborate on revit model.it allows us to link so many models in revit,it has higher accuracy which helps users to work easy and also it helps in modelling.