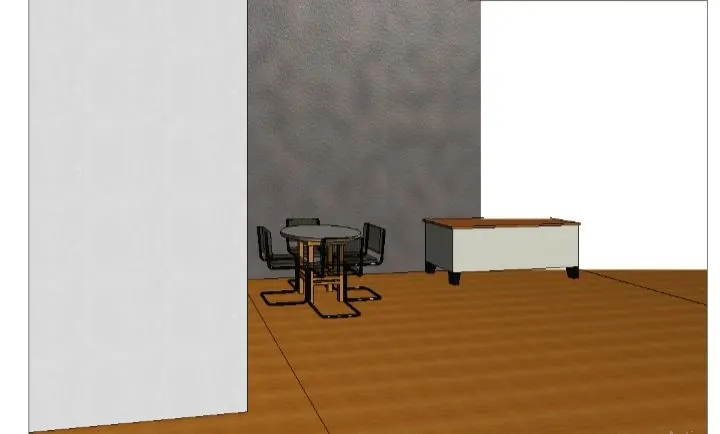
REVIT_3D Rendering of a House plan_Project 1
1.AIM:To model a ceiling from architecture tab above the walls at first floor level.
TOOLS REQUIRED:
>Open
>Architecture tab
>walls
>ceiling
PROCEDURE:
1.OPEN File in the revit.
2.select the project which is saved in 3rd week.
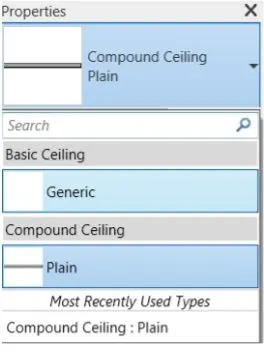
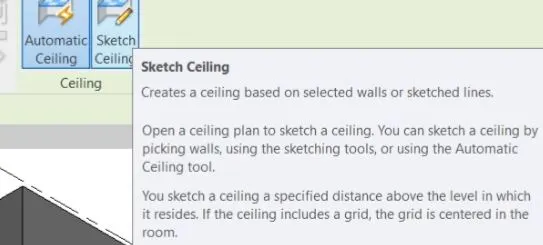
3.open architecture tab and click on the ceiling.
4.select the boundaries for applying the celing.
5.NOW, open the model in 3d view.
RESULT:
model ceiling from architecture tab above the walls at first floor level is obtained.
2.AIM:Create a roof by footprint method an slope of 10 degrees
TOOLS REQUIRED:
>UNITS
>manage tab
>architectural tab
>Roof by foot prints.
PROCEDURE:
1.Open file in revit.
2.select manage option.
3.select slope and select degree.
4.select the lines to draw the roof.
5.go to the properties tab and keep the slope as 10 degrees.
RESULT:
THE roof is created by foot print method.
3.AIM:Creating plan views for ground floor and the first floor level.
TOOLS REQUIRED:
>FILE
>walls
>view
>components
PROCEDURE:
1.OPEN THE FILE.
2.go to view tab.
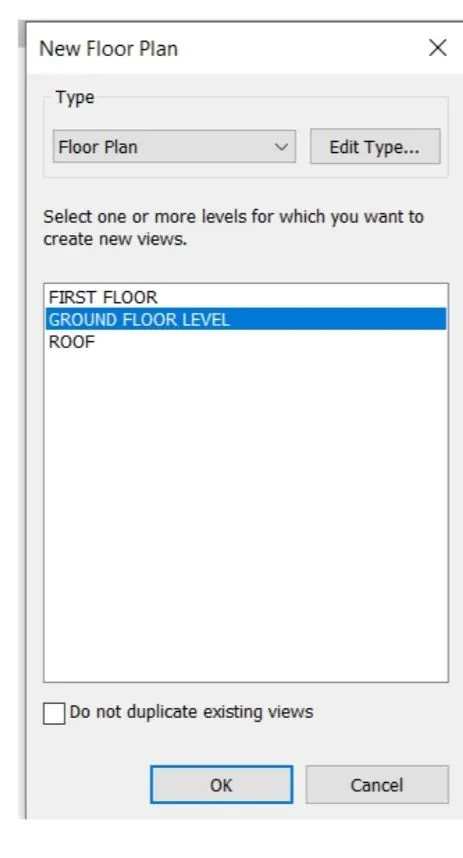
3.select the paln view and rename the view.
4.select the floor plan for ground floor,=.
RESULT:
Plan views are created for groung floor and first floor level.
4.AIM:To add dimensions to all walls and floors using transvers and longitunial grids.
TOOLS REQUIRED:
>Architecture tab
>Grids
>Annote
>Aligned
PROCEDURE:
1.OPEN the project file.
2.open architecture tab and select grids.
3.draw the grids horizontally and vertically.
4.rename the grids
5.Go to annotate tab and click on aligned.
RESULT:
Dimensions are added to walls and floors and other components.
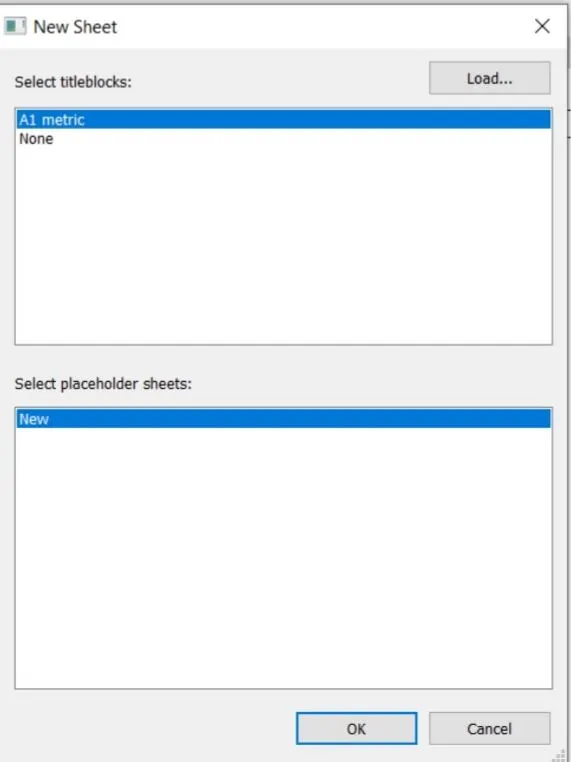
5.AIM:To create a sheet template from the view tab and adjust the parameters o the sheet to add appropriate views.
TOOLS REQUIRED:
>VIEW
>sheet
>load family
PROCEDURE:
1.OPEN file in revit
2.open the view command
3.select the sheet option
4.load the items you want
5.select the title block
6.select the title block and templates.
7.Double click on the parameters and edit them with desired titles.
RESULT:
the views created in the sheet.
6.AIM:Create elevation view using elevation tab in all four direction.
TOOLS REQUIRED:
>View
>elevation
PROCEDURE:
1.Open the file in revit.
2.go to the view tab.
3.select elevation.
4.select the point where elevation is required.
5.double click on the elevation to see the elevation.
RESULT:Elevation views now visible in all direstions.
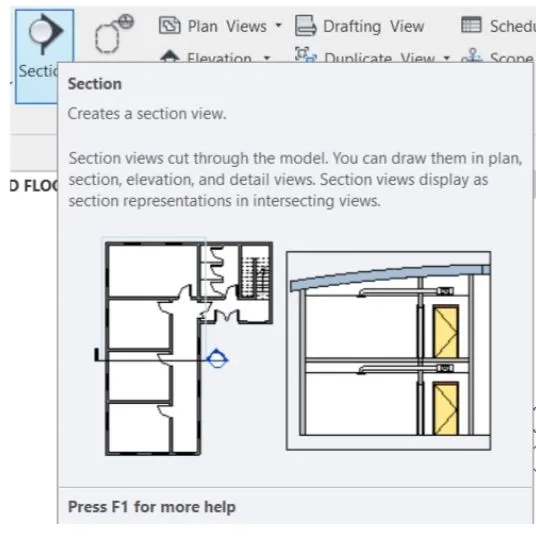
7.AIM:To create section cut longitudinally or transverse direction.
TOOLS REQUIRED:
>SECTION
>view
PROCEDURE:
1.Open file in revit
2.open view tab
3.select the section command.
4.draw the section in the floor plan.
5.double click on the section to check the section view.
RESULT:
section views are created.
8.AIM:To classifly the paln views
TOOLS REQUIRED:
>Load items
>sheet
>view
>properties browser
PROCEDURE:
1.OPEN the file in revit
2.go to view tab.
3.choose sheet option.
4.select the load items.
5.open the properties browser select the scale and set the property scale.
6.double click on the text in the sheet and complete the details in it.
RESULT:
VIEW is done for documentaion
9.AIM:To create multipls sheets as follows
a. A 101 – Ground Floor Architecture Plan
b. A 102- First Floor Architecture Plan
c. A 103- Roof Plan
d. S 101- Ground Floor Structural Plan
e. S 102 – First Floor Structural Plan
f. S 103- Roof Framing Plan
g. A-201 – North South Elevations
h. A-202- East West Elevations
AIM:CREATE the views according to the following drawing list.
TOOLS REQUIRED:
>VIEW
>SHEET
PROCEDURE:
1.open the file in revit.
2.open the view tab
3.select sheet
4.select the plans from the properties tab
5.NOW, drag it to the sheet and select the appropriate scale and name the drawing.
RESULT:
MULTIPLE SHEETS ARE CREATED
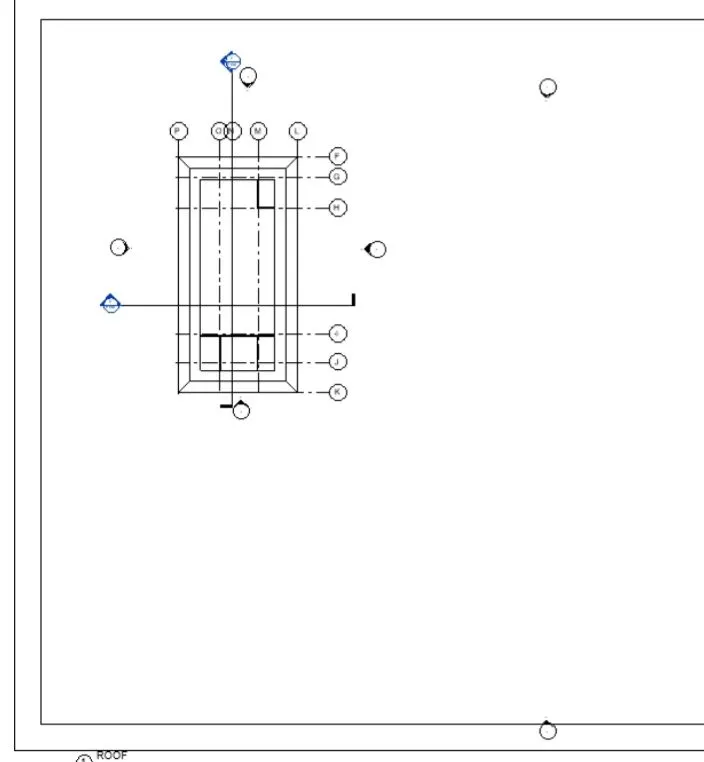
10.AIM:To create 3D viw in each room and to add them in sheets respectively.
TOOLS REQUIRED:
>VIEW
>sheet
>camera
PROCEDURE:
1.Open the file in revit.
2.go to view tab
3.select camera in 3D view.
4.place the camera in each room and save them.
RESULT:
3D view in each room is created.