Week 1 Challenge
Question 1
Aim: Create a new project and name the project
Tools: File,Project,Template and Save as
Procedure:
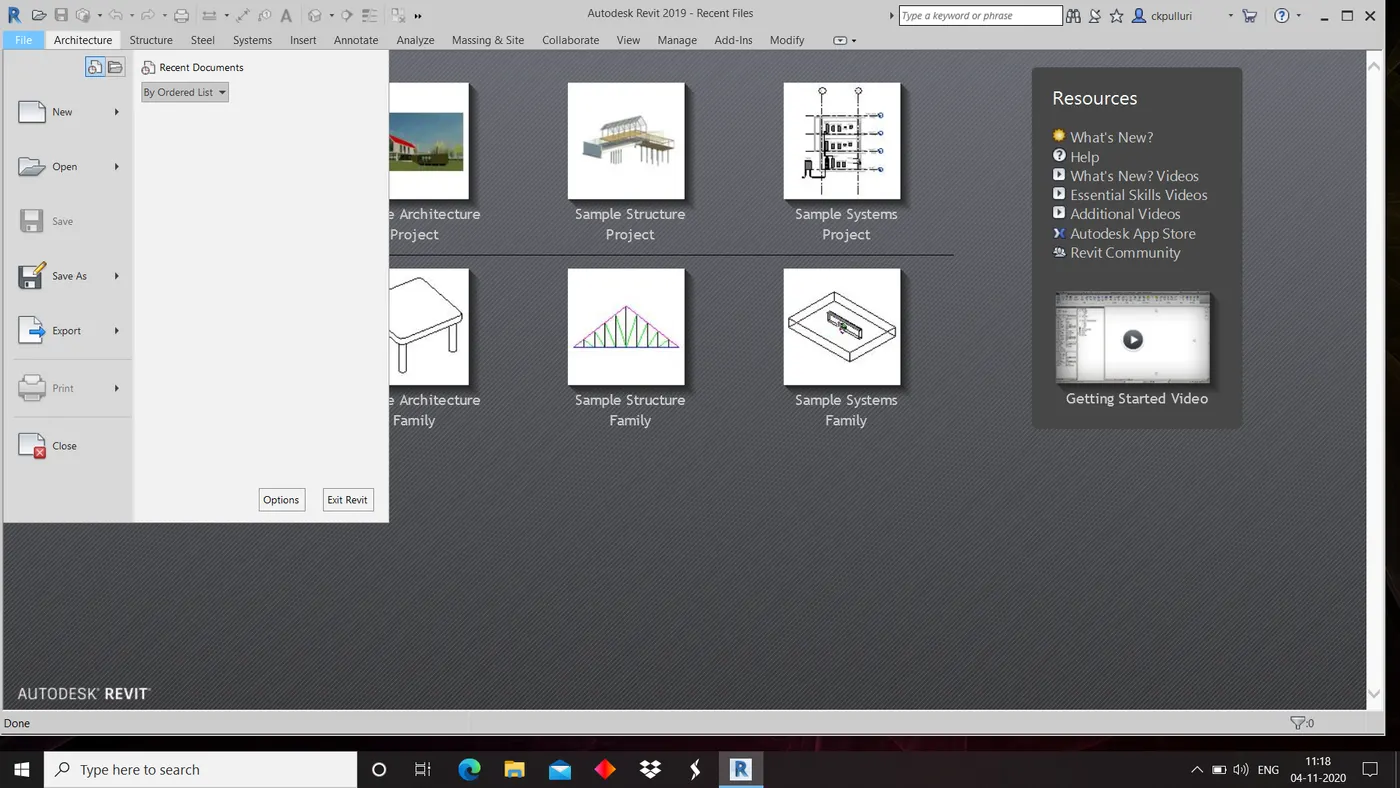
1)Open file menu
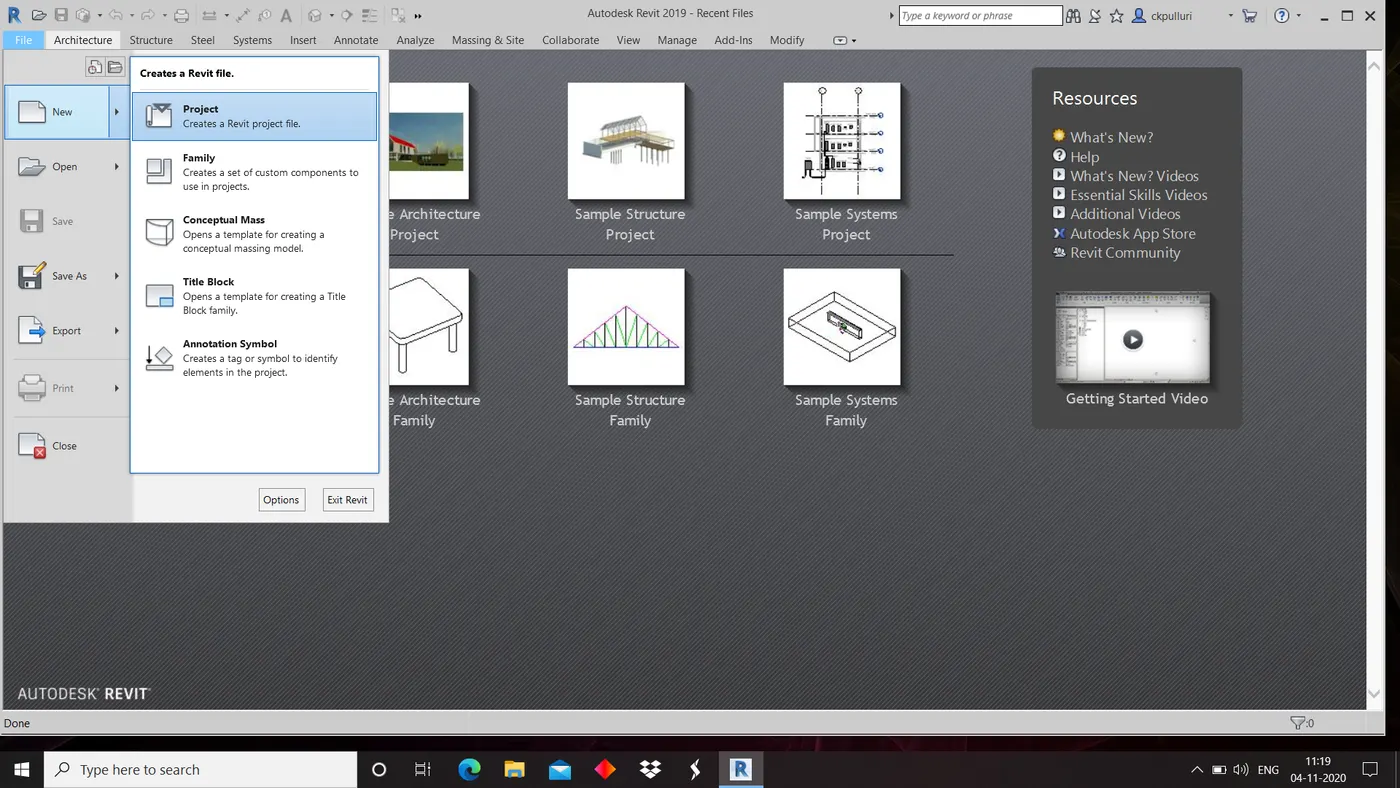
2)Click on new and then project
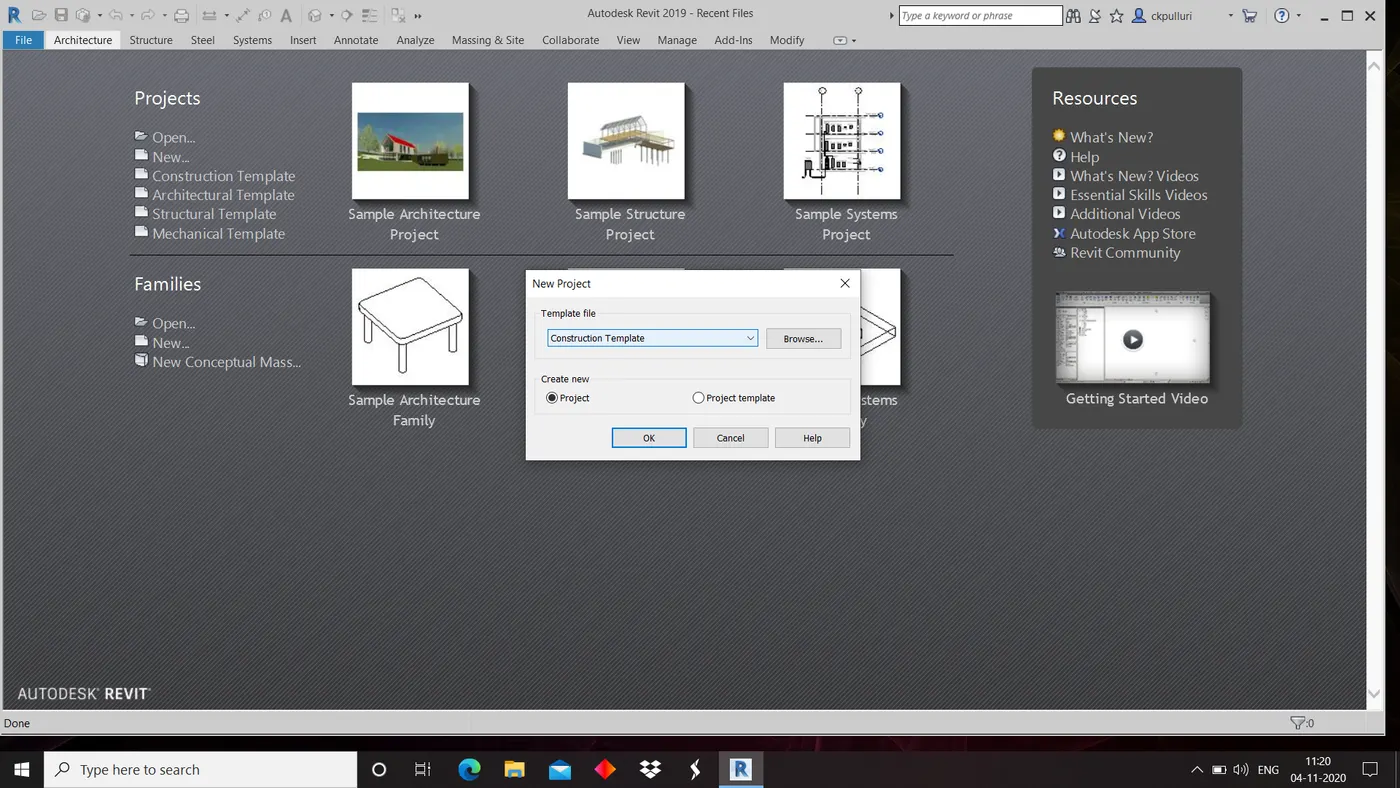
3)Select the template and click ok
4)Again open file,click on save as and select project
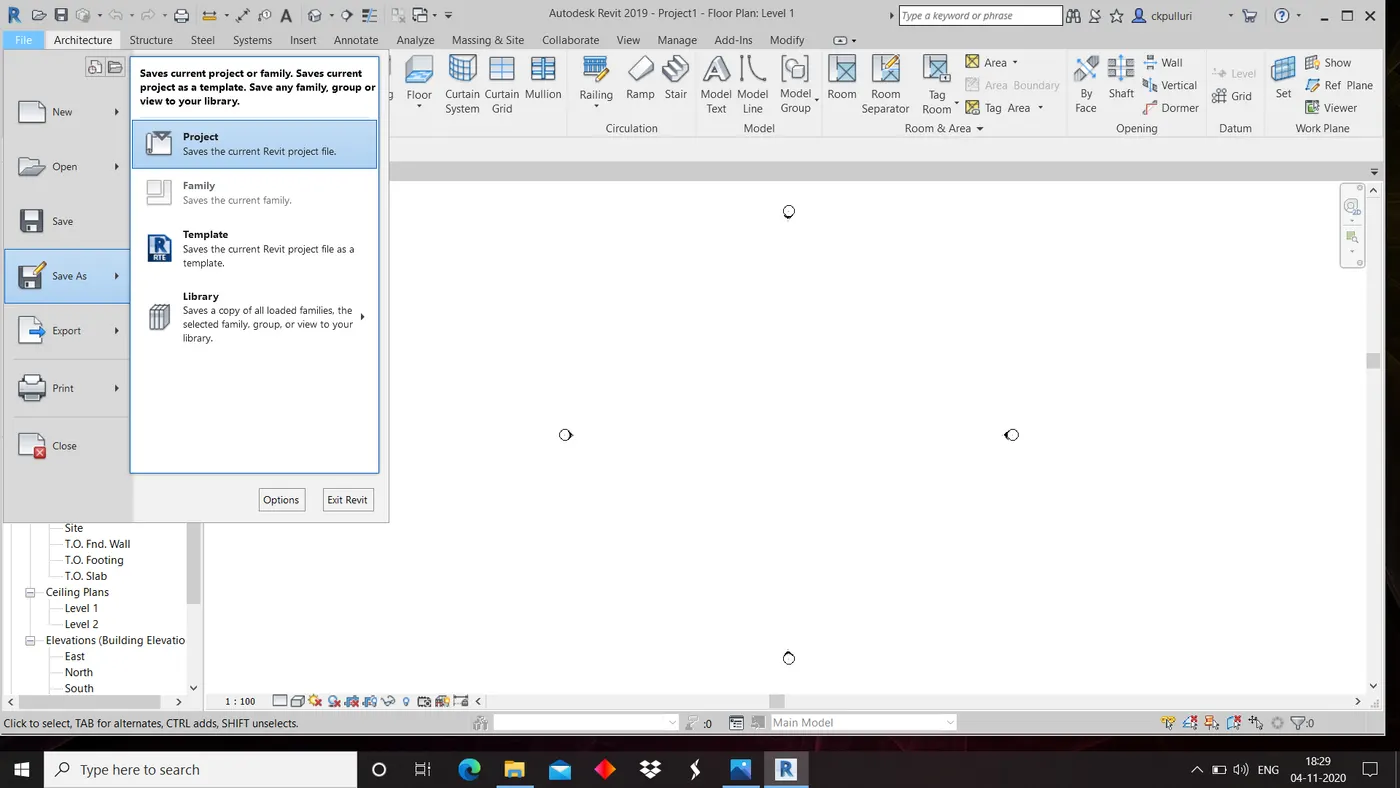
5)Name and save the project
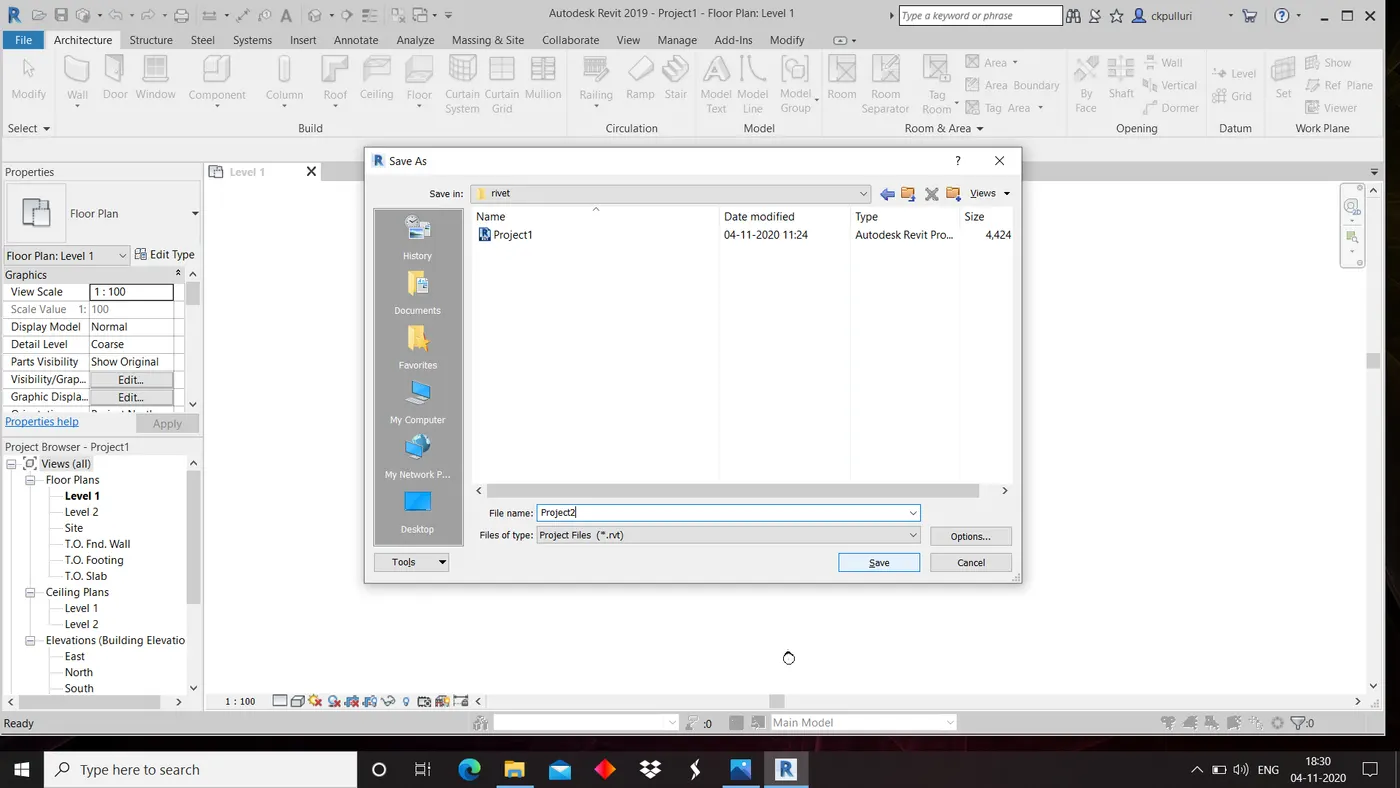
Result: New project successfully created
Question 2
Aim: Save the new project file. Close and open using icons from file toolbar
Tools: File menu,Save,Open,Close and Project
Procedure:
1)Open file menu,click on save
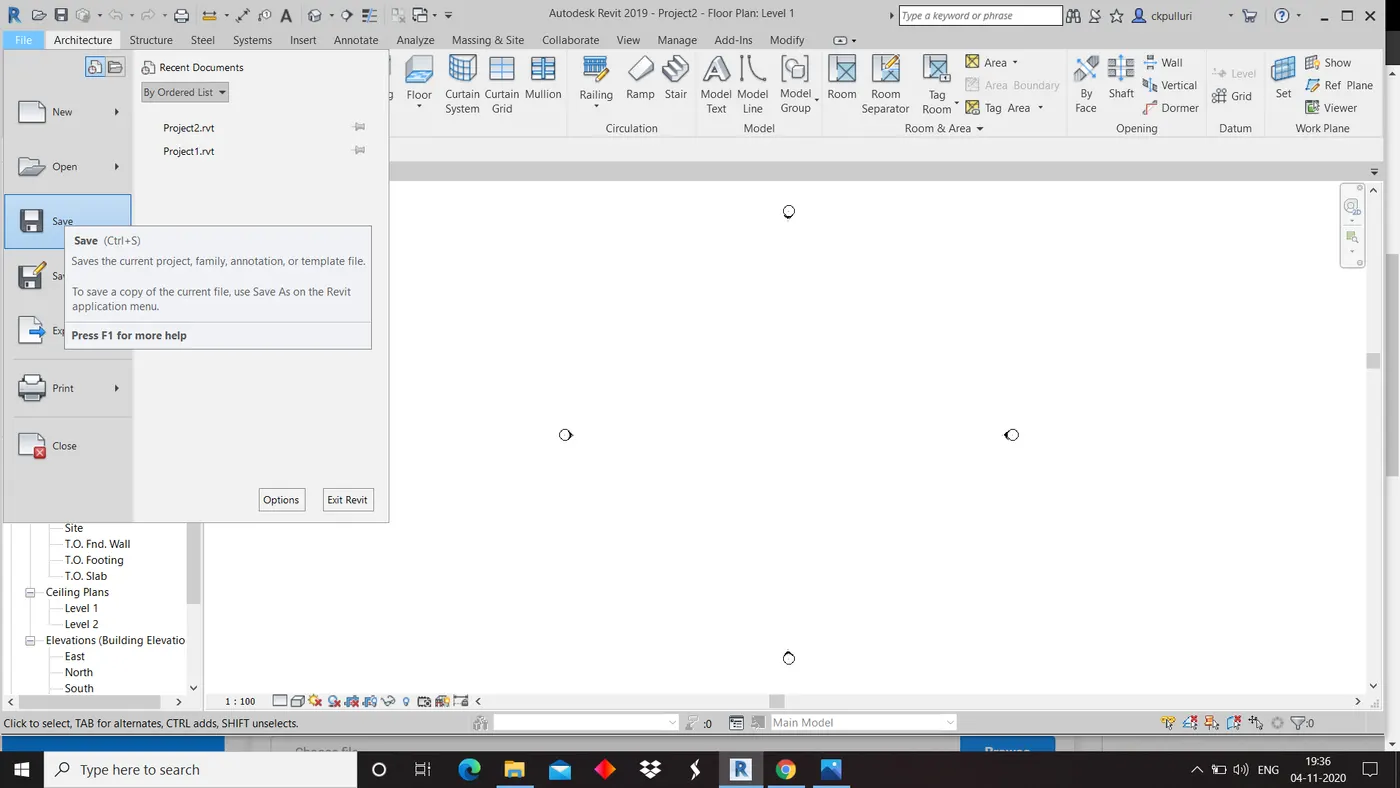
2)Again open file menu,click on close
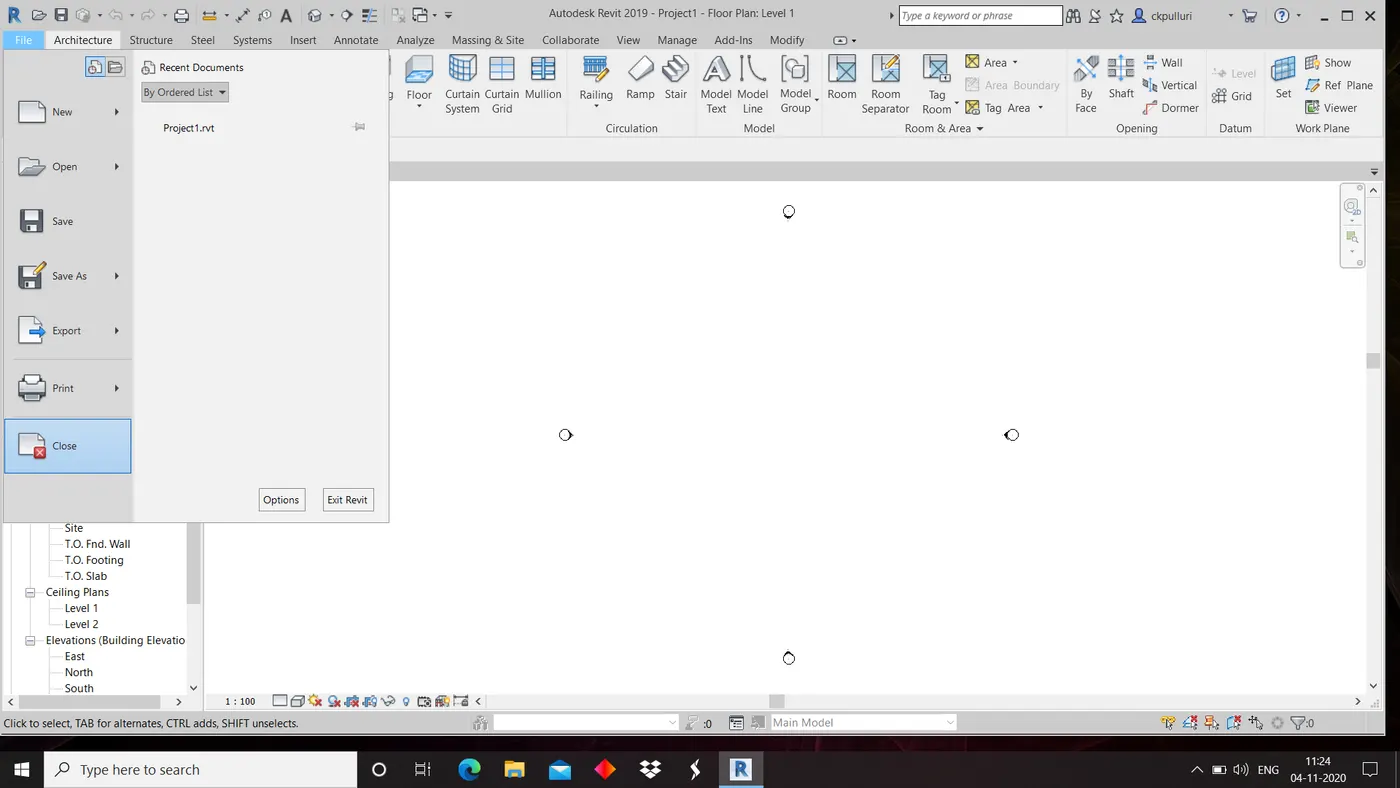
3)Open file menu ,click on open and select project
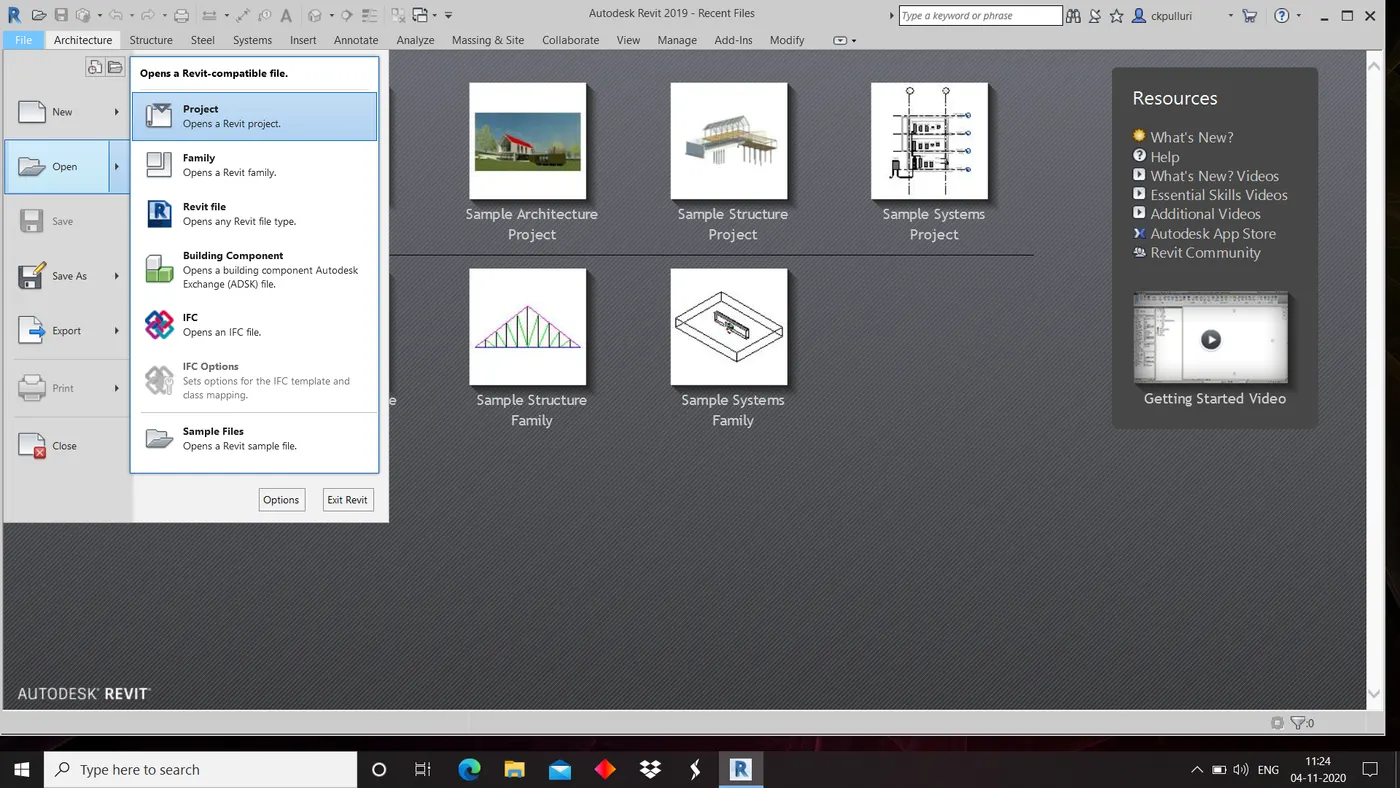
4)Open the project
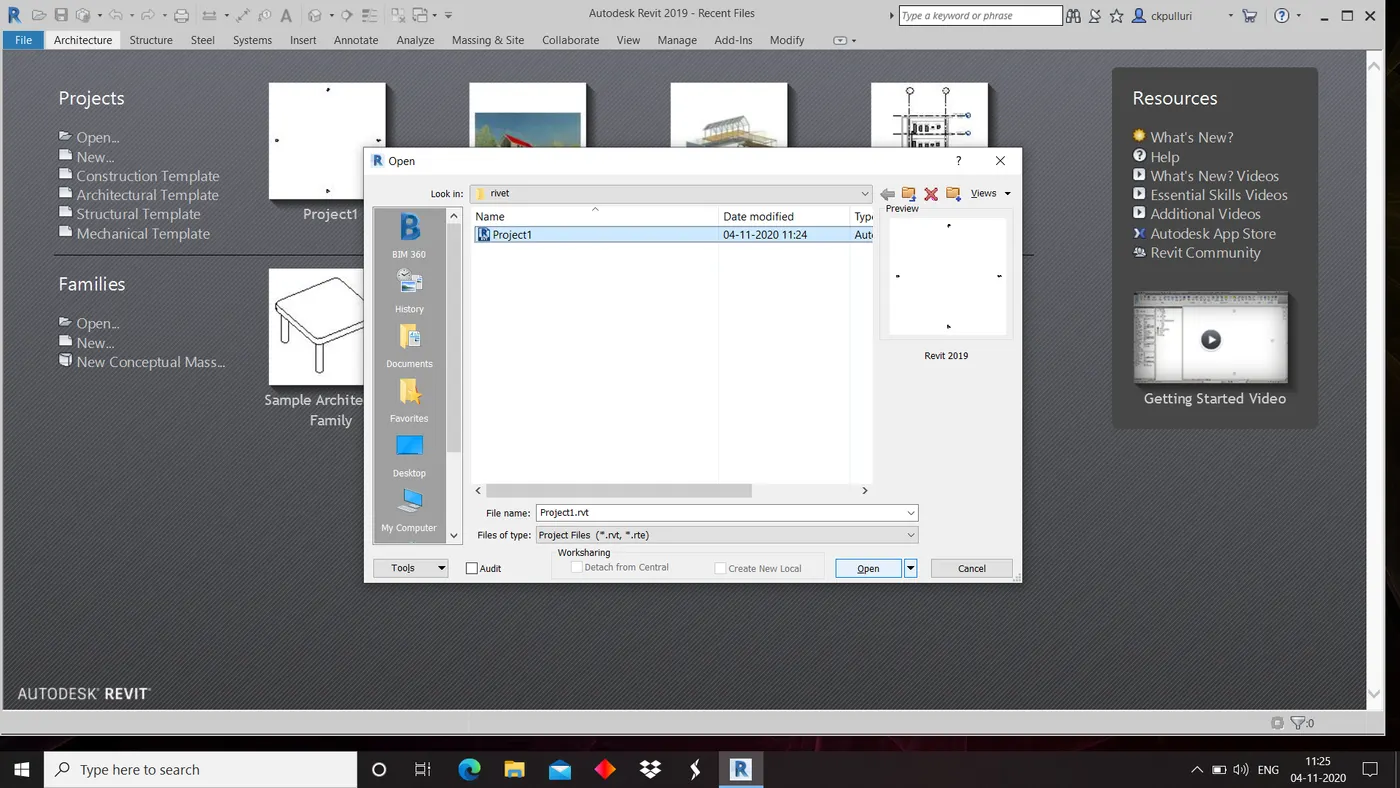
Result: Close and open project using icons from file toolbar successfully completed
Question 3
Aim: From the architecture/ structure tool bar familiarize with options to draw a wall. Create a rectangular layout of walls of about 40’-0” X 35’-0”
Tools: Architecture tool bar ,wall ,line and save
Procedure:
1)Open architecture tool bar
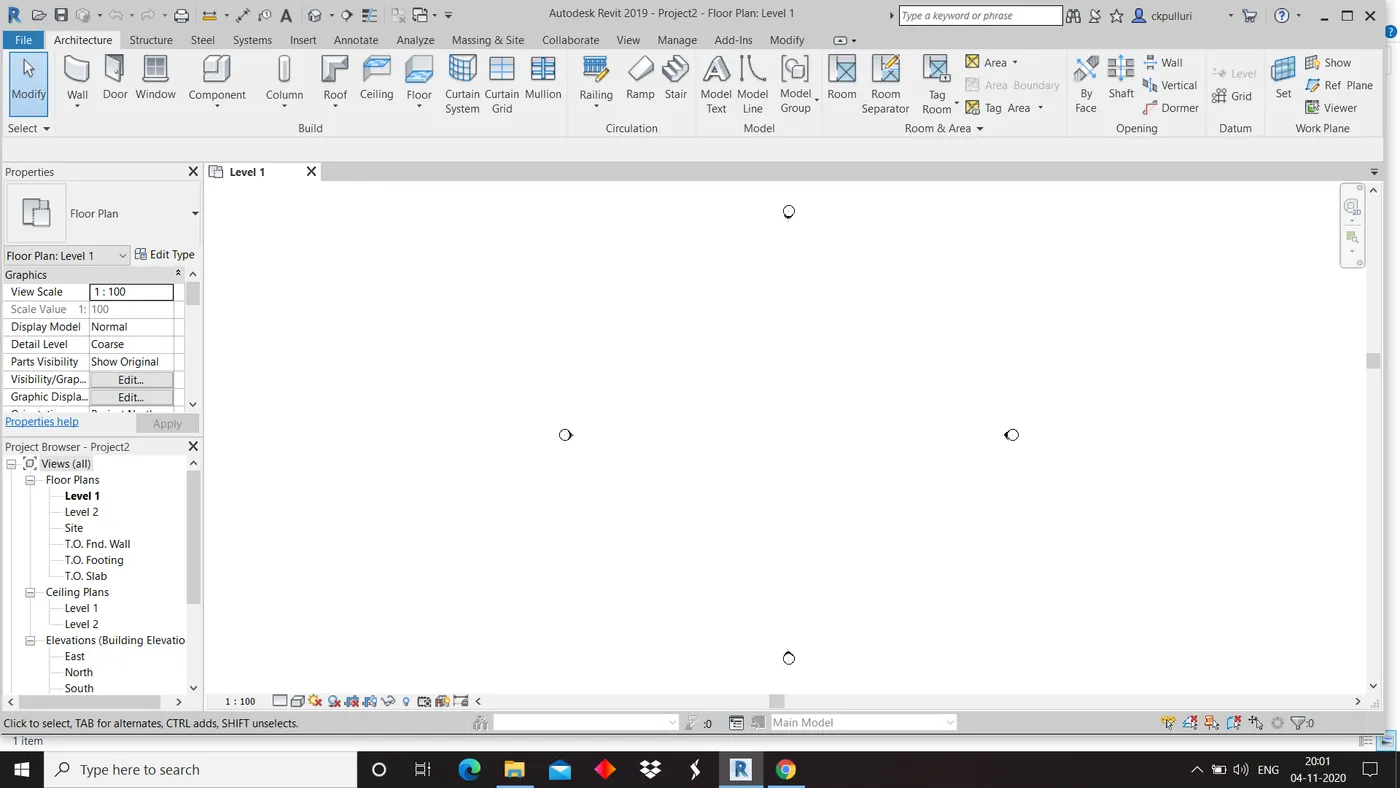
2)Click on wall and select line
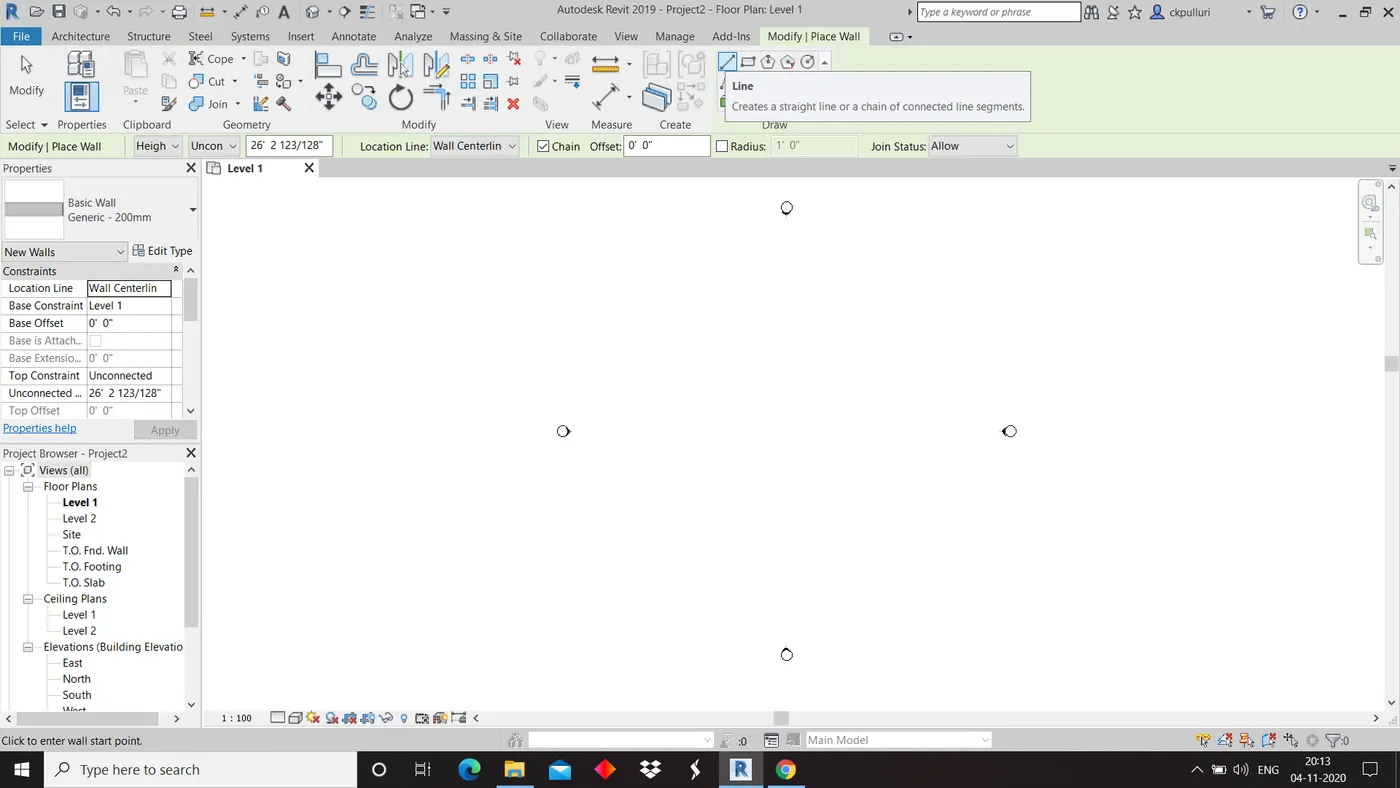
3)Draw a rectangular layout wall of dimension 40'-0"x35'-0"
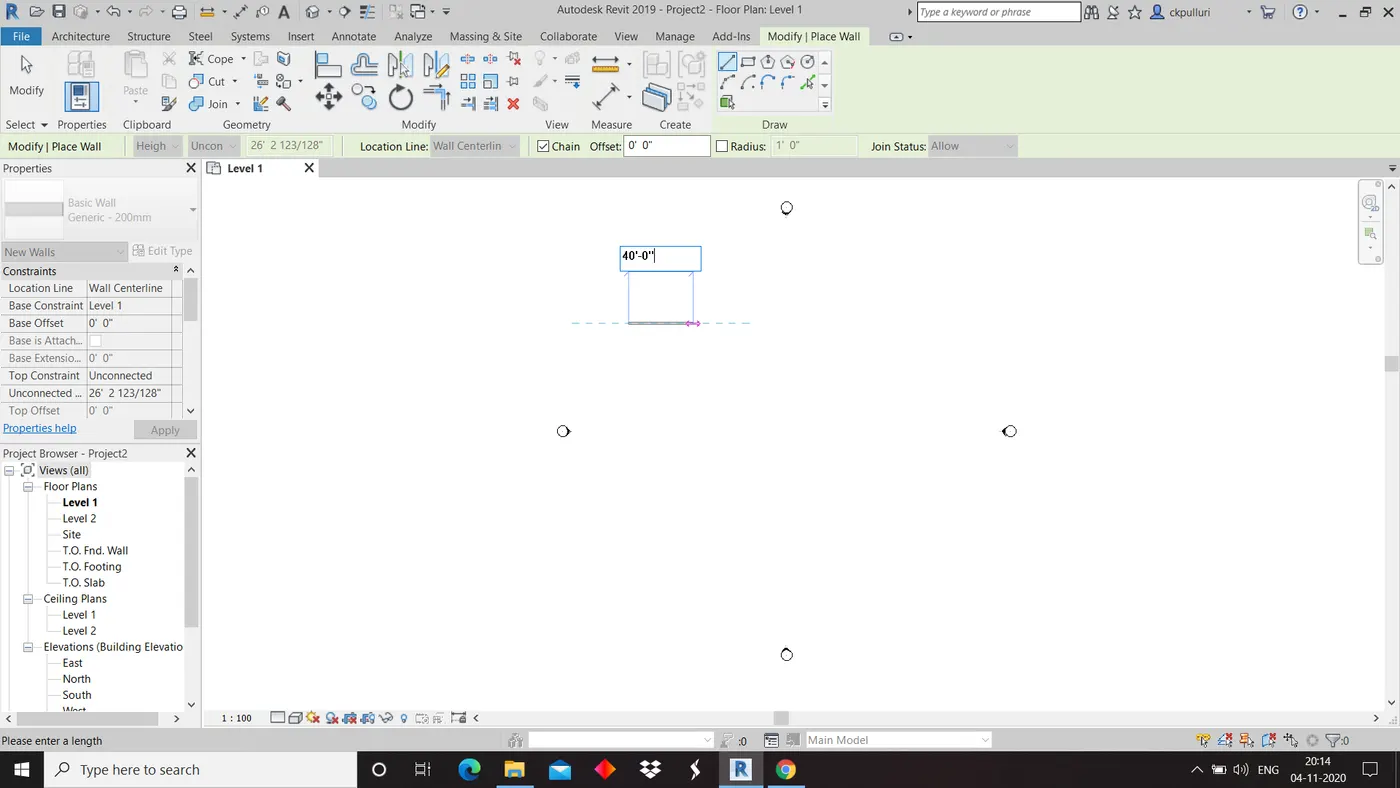
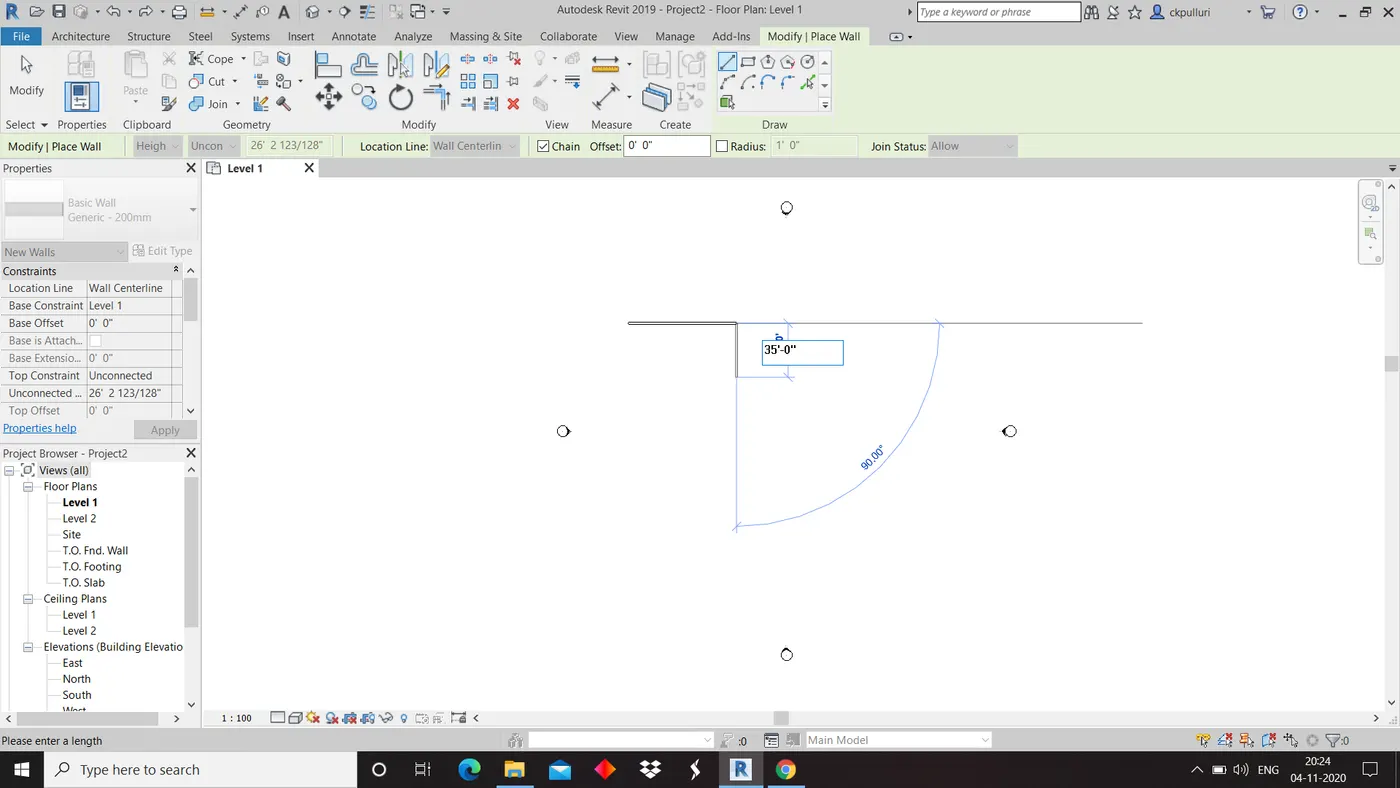
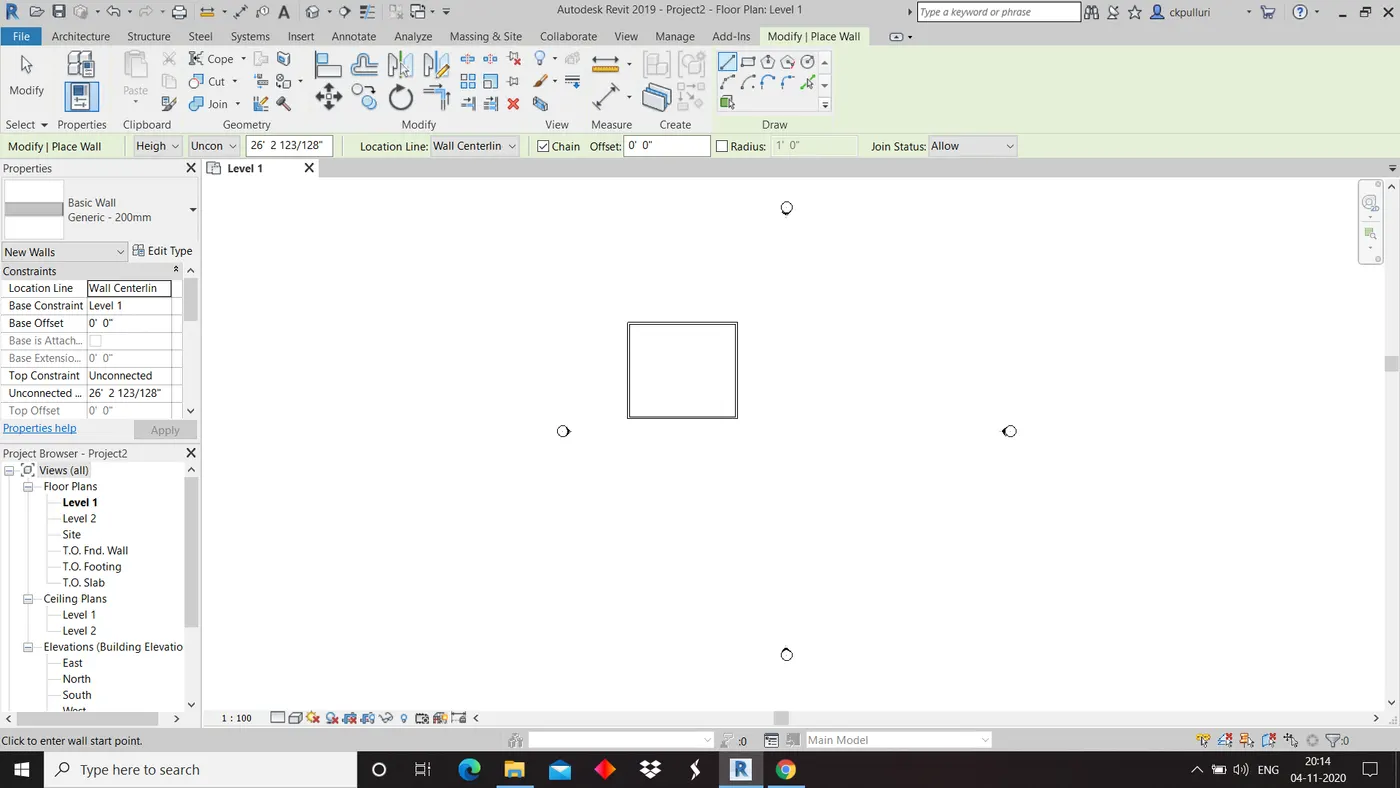
4)Save the file
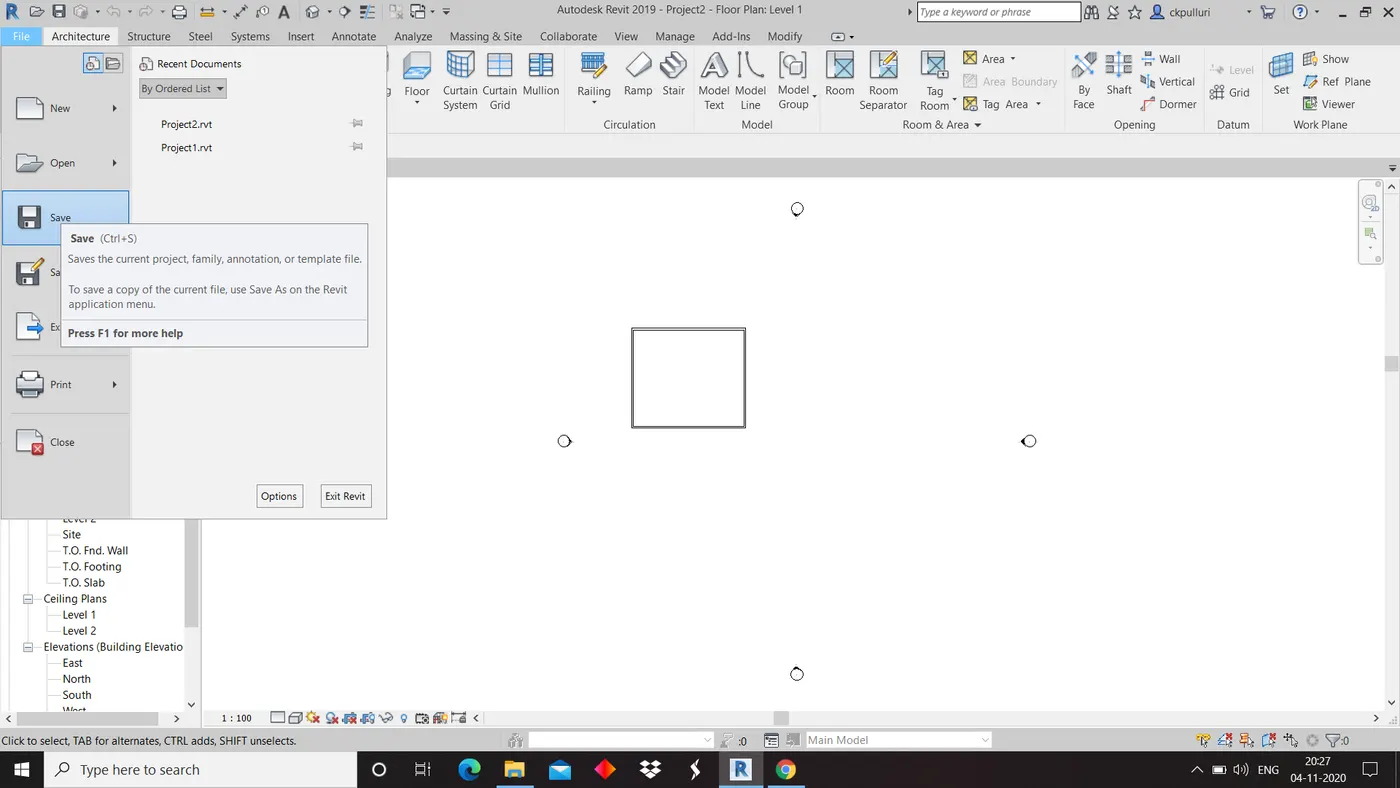
Result: Rectangular layout of walls of about 40’-0” X 35’-0” successfully created
Question 4
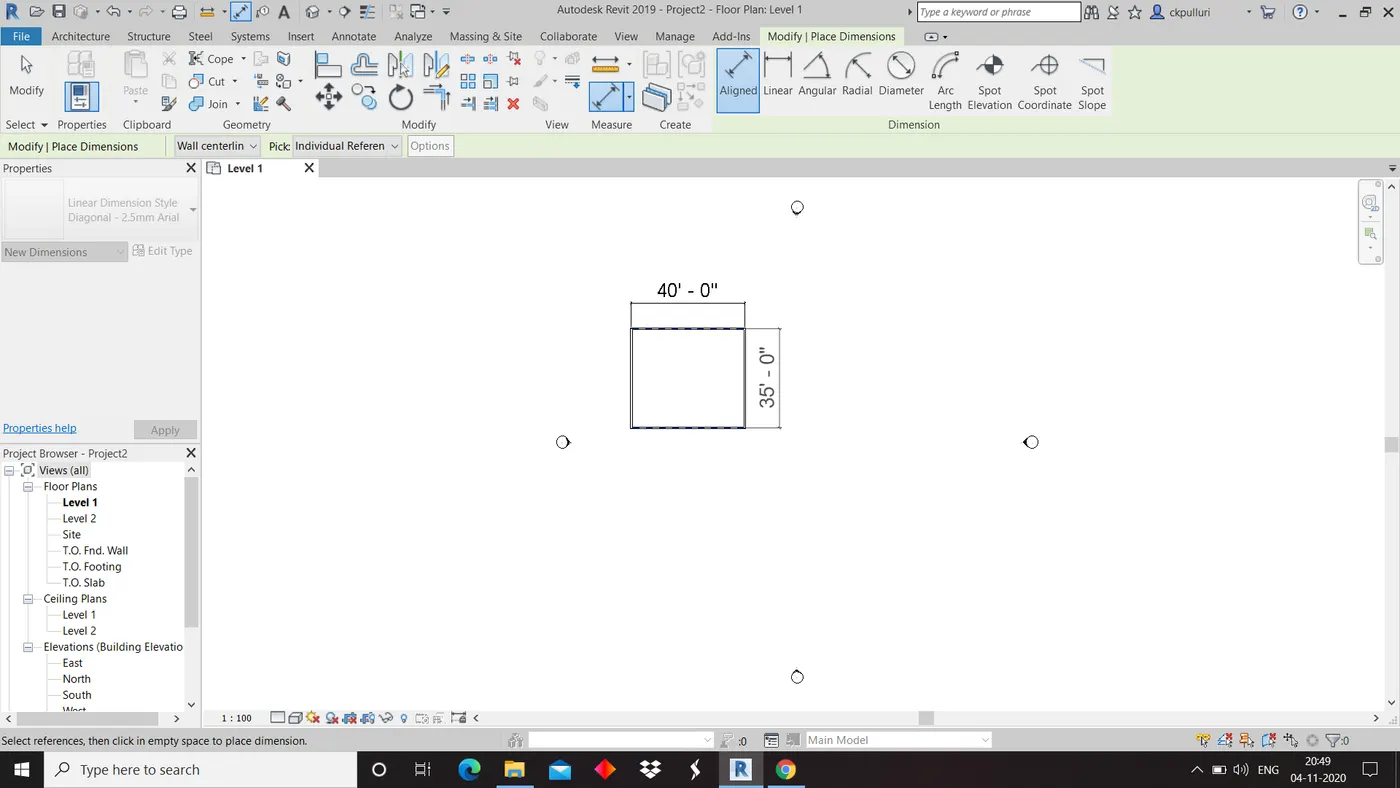
Aim: From Annotate tool bar use aligned option to add dimensions to the layout
Tools: Project,Annotate,Aligned and save
Procedure:
1)Open file ,click on open and then project
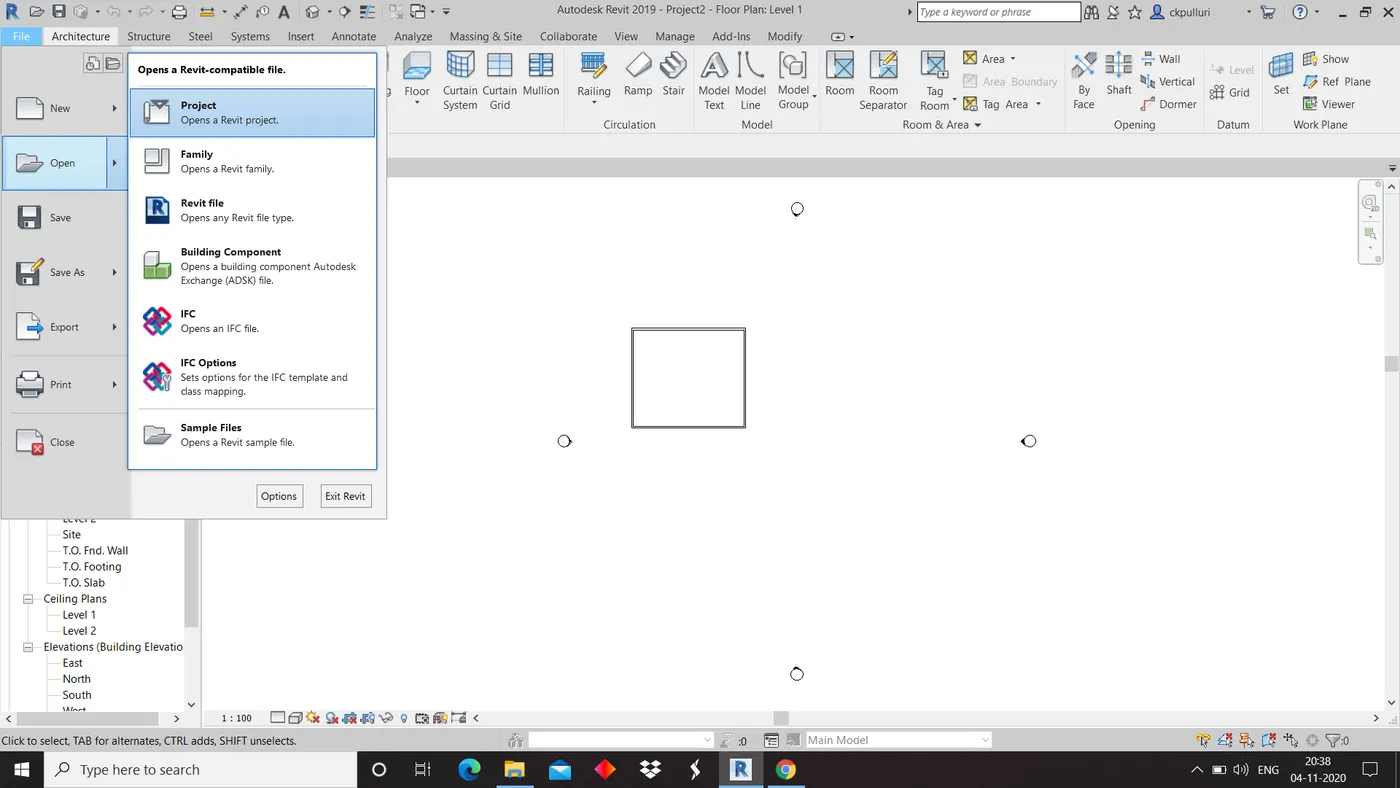
2)Click on annotate tool bar
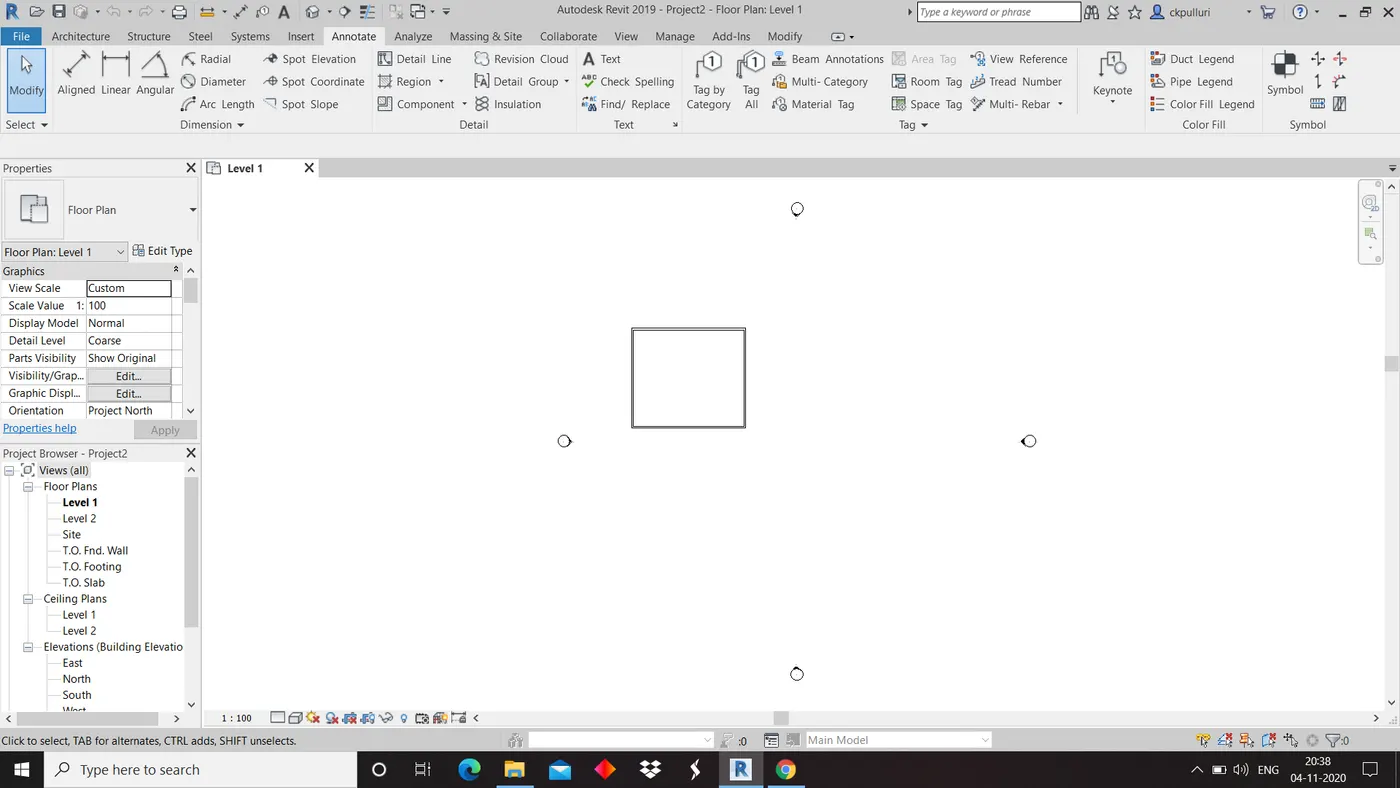
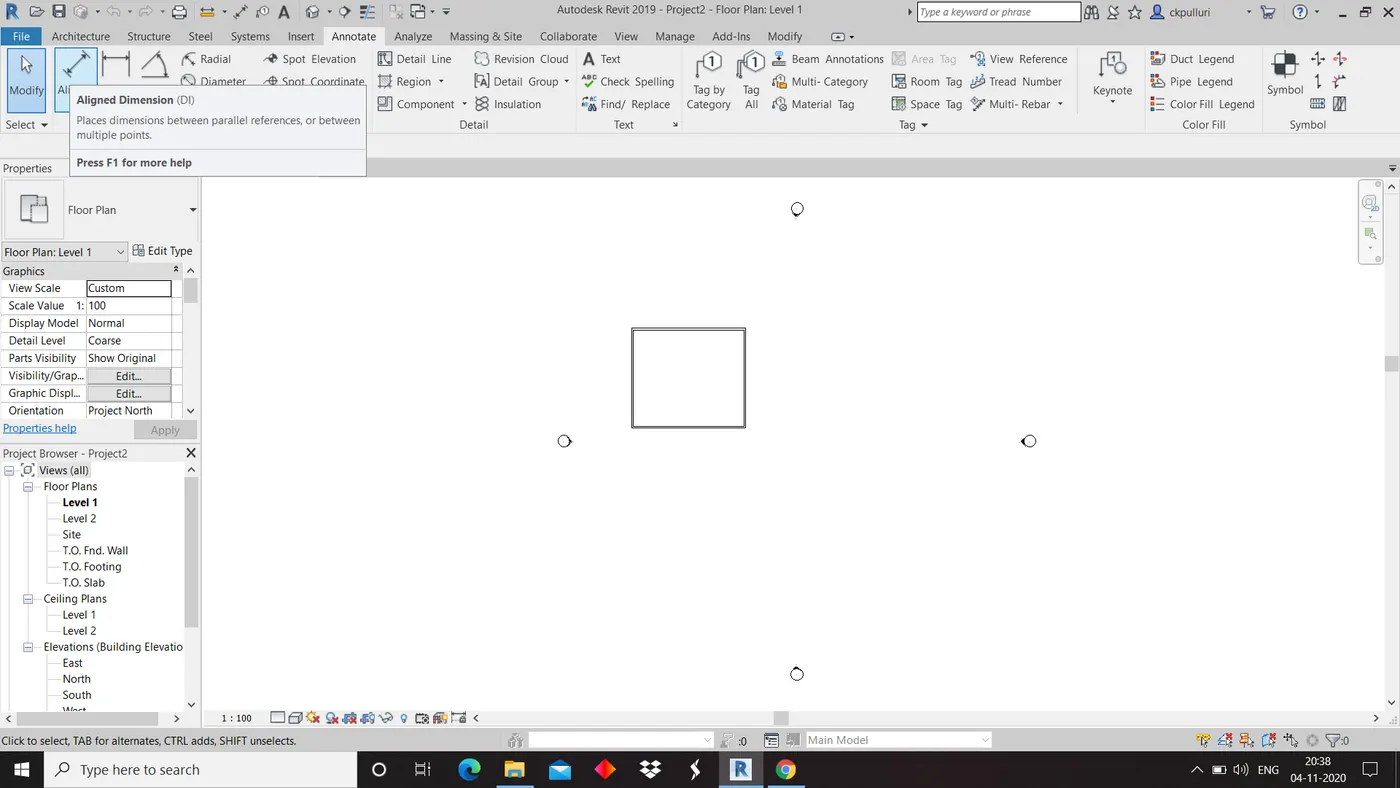
3)Click on aligned option
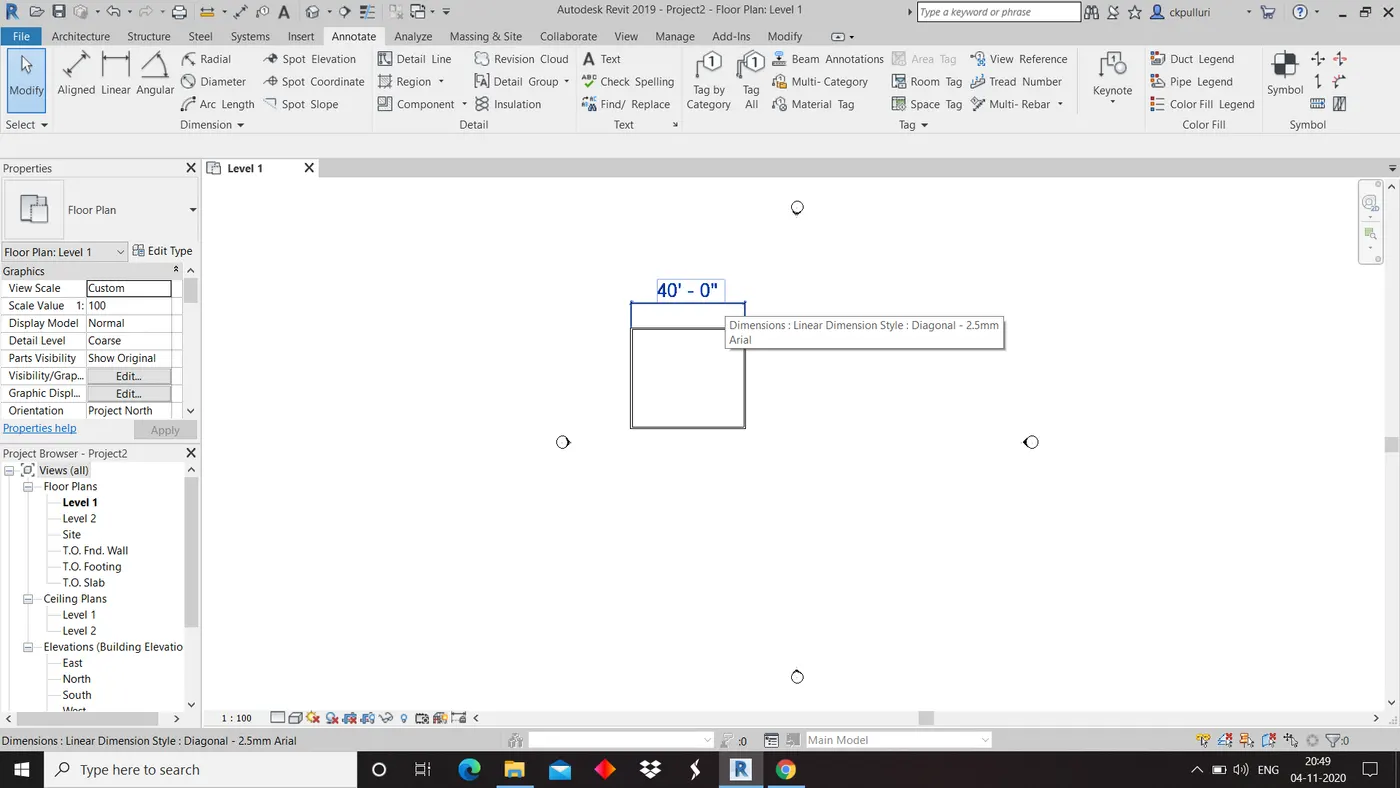
4)Add dimensions to the walls
5)Save the file
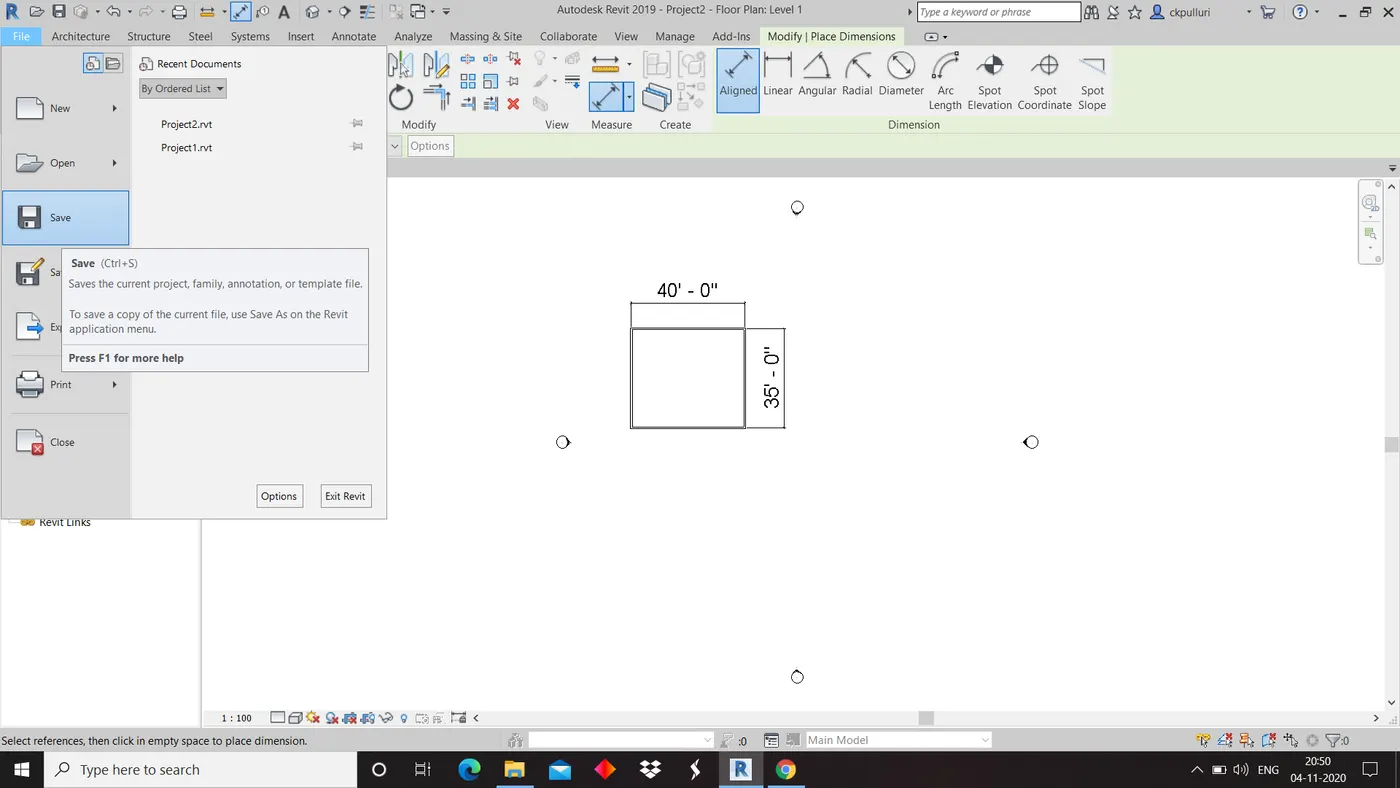
Result: Aligning dimensions to wall successfully completed
Question 5
Aim: Use the properties browser to switch to different wall types
Tools: Type property,Wall type and Save
Procedure:
1)Select the walls
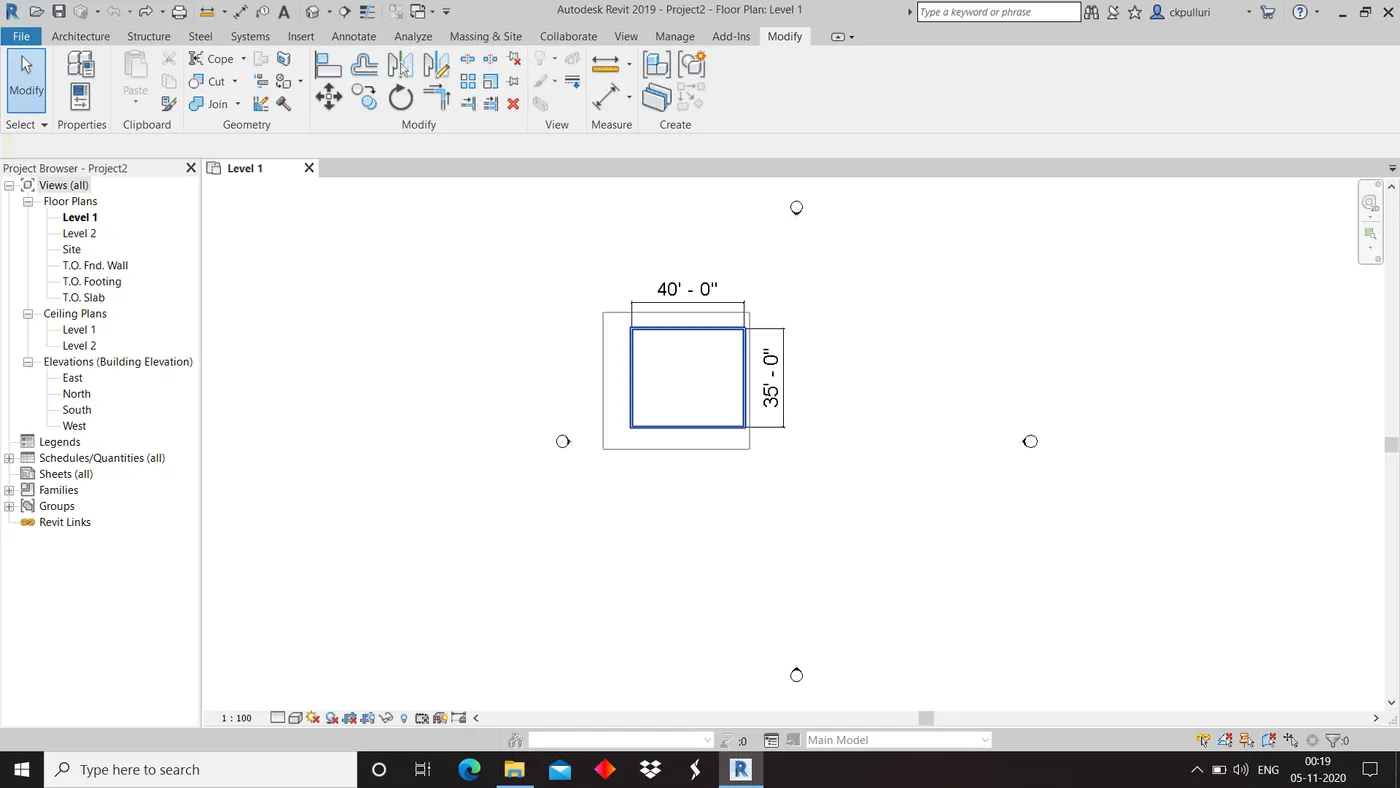
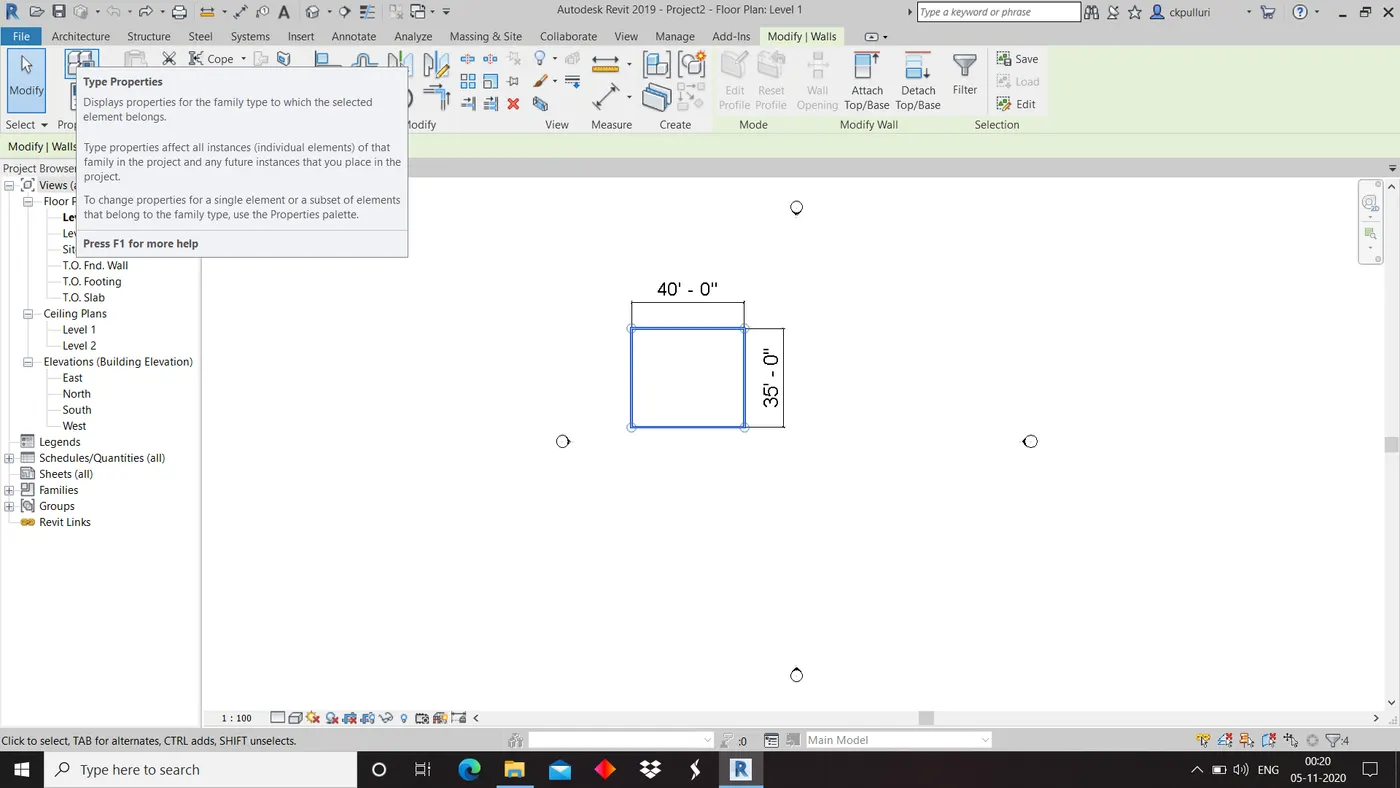
2)Click on type properties
3)Select wall type
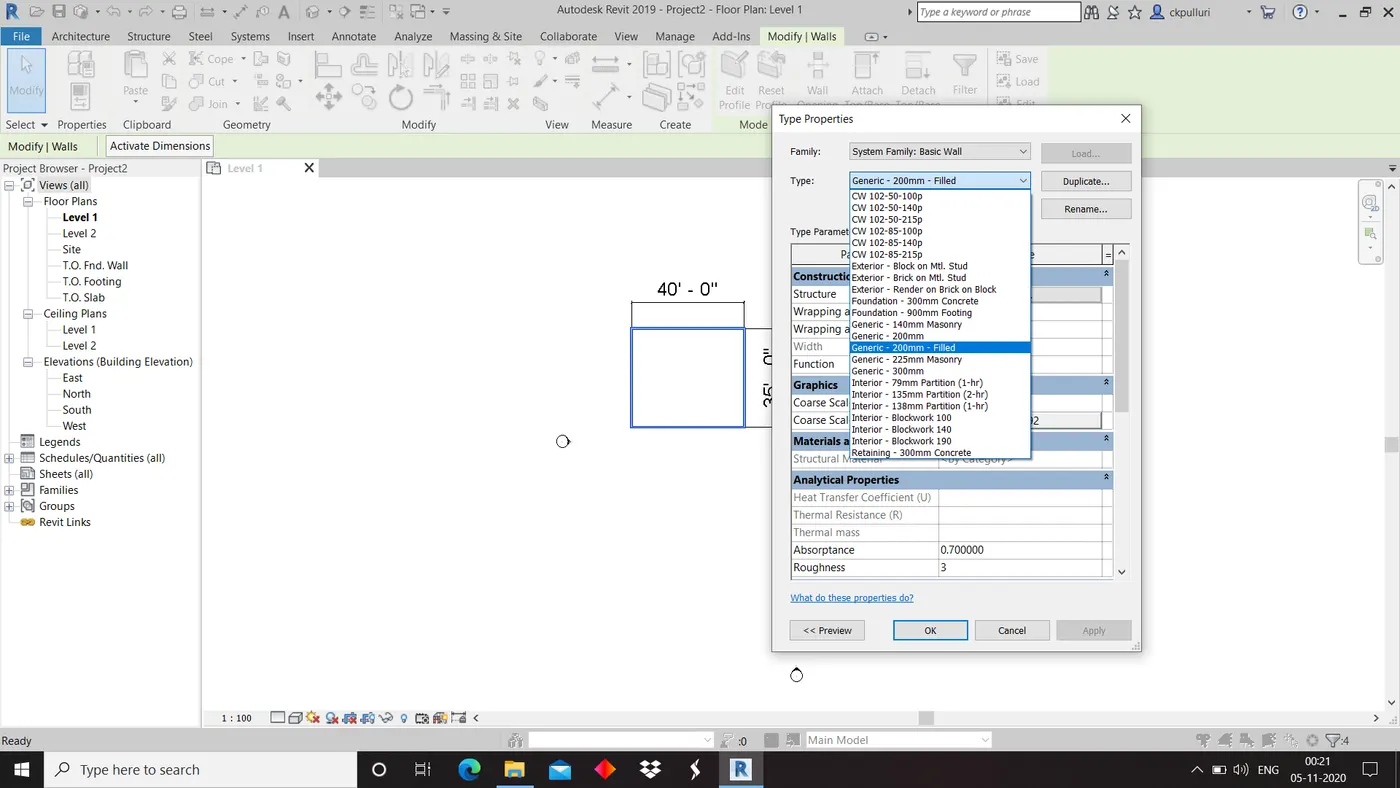
4)Click ok and save the file
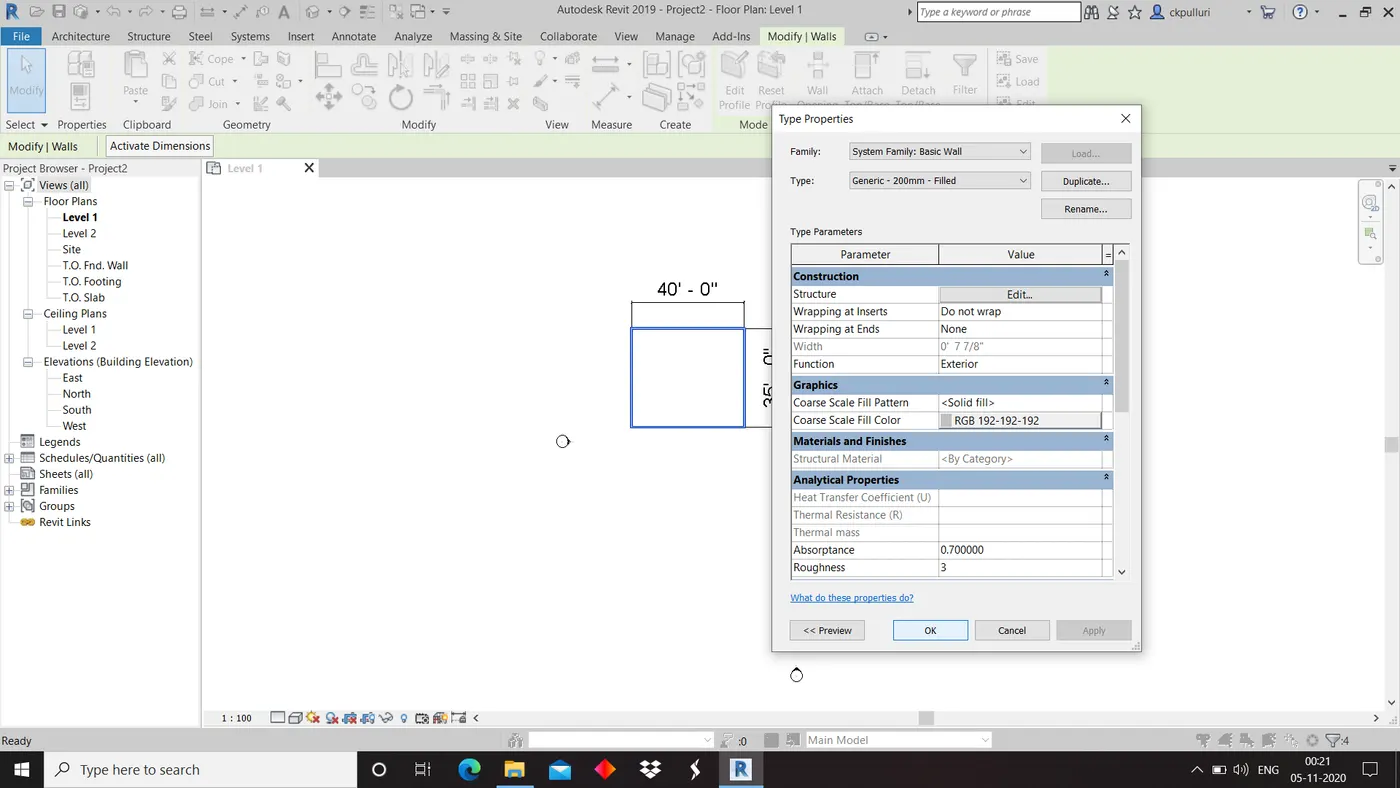
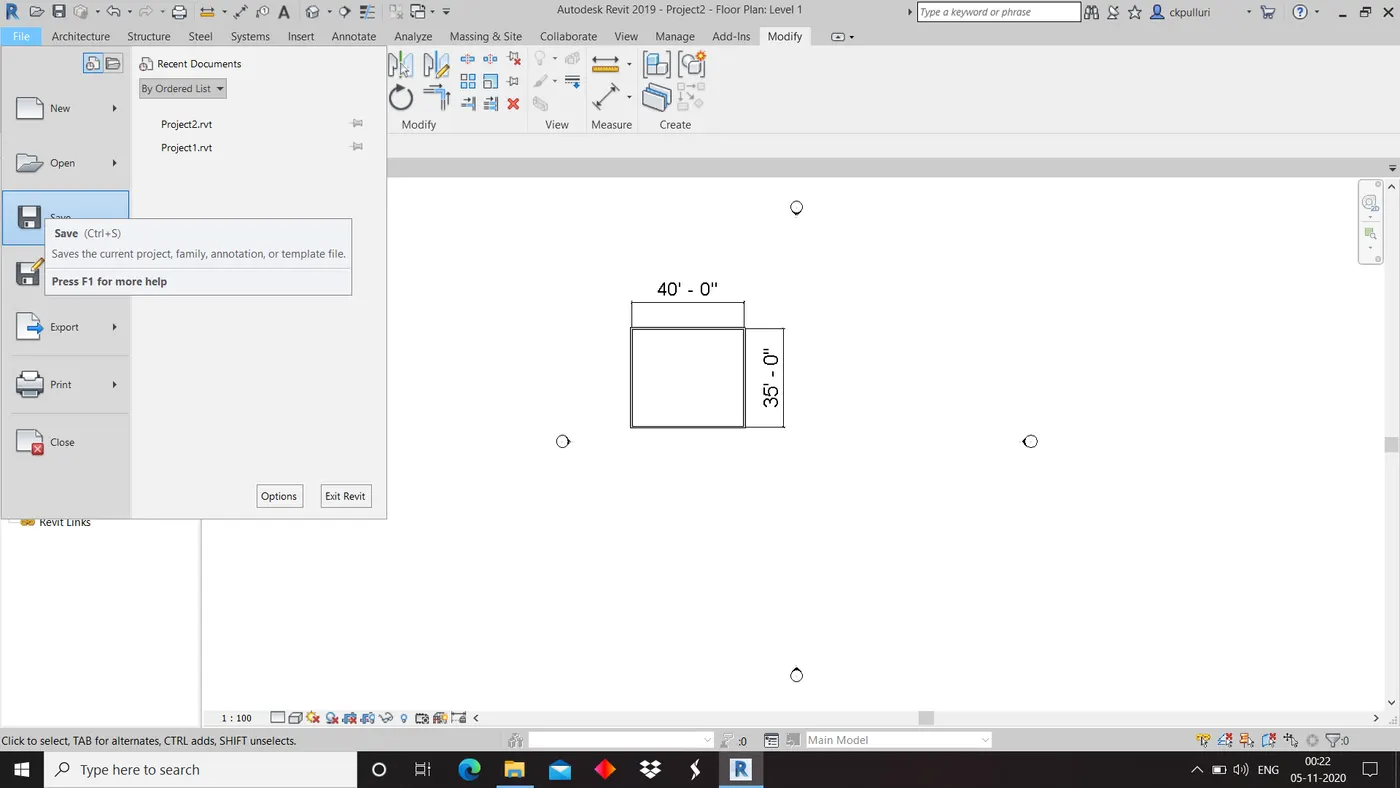
Result:Switching different wall types using properties browser completed
Question 6
Aim: Create a 3D view from the view tool bar and save the view with appropriate name
Tools: View tool bar, 3Dview, view cube ,save view and save
Procedure:
1)Click on view tool bar
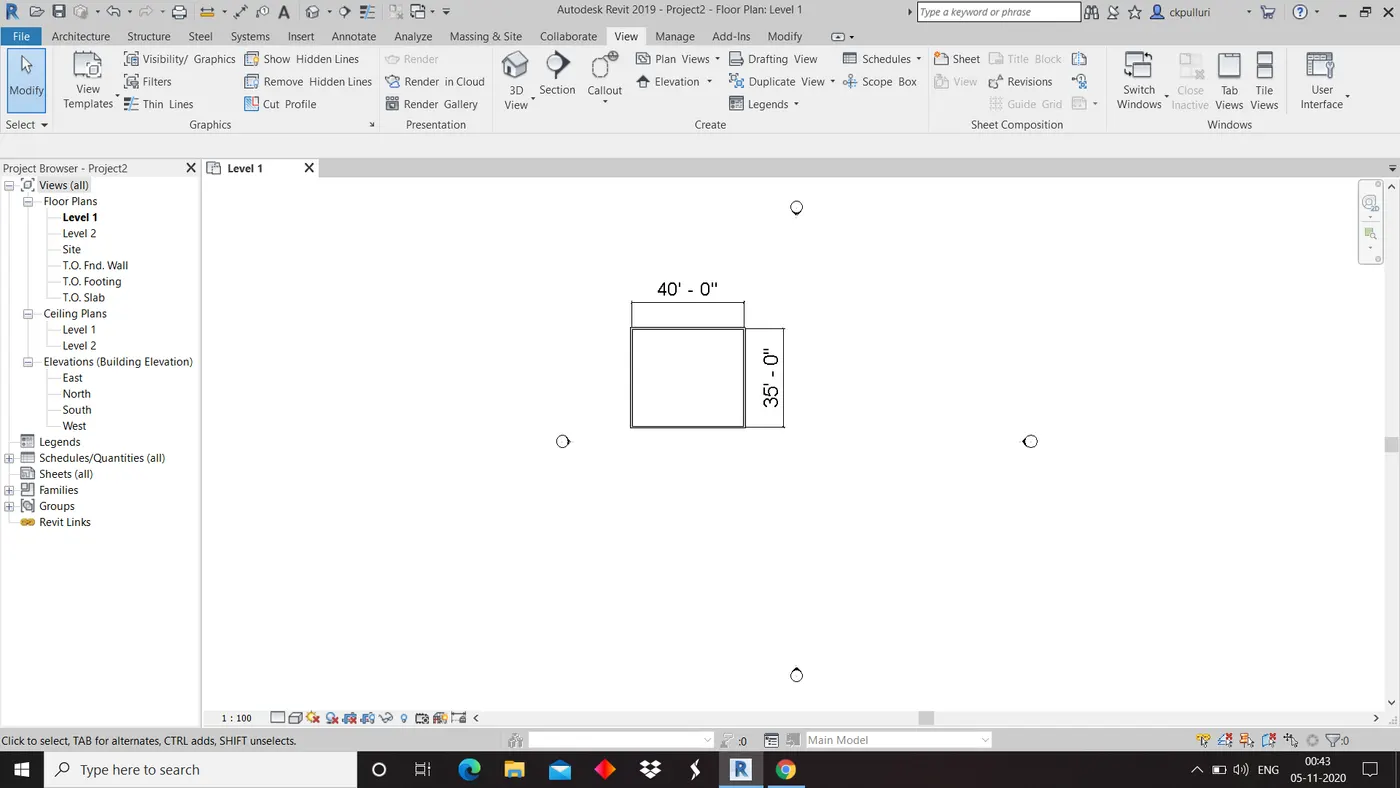
2)Select 3D view
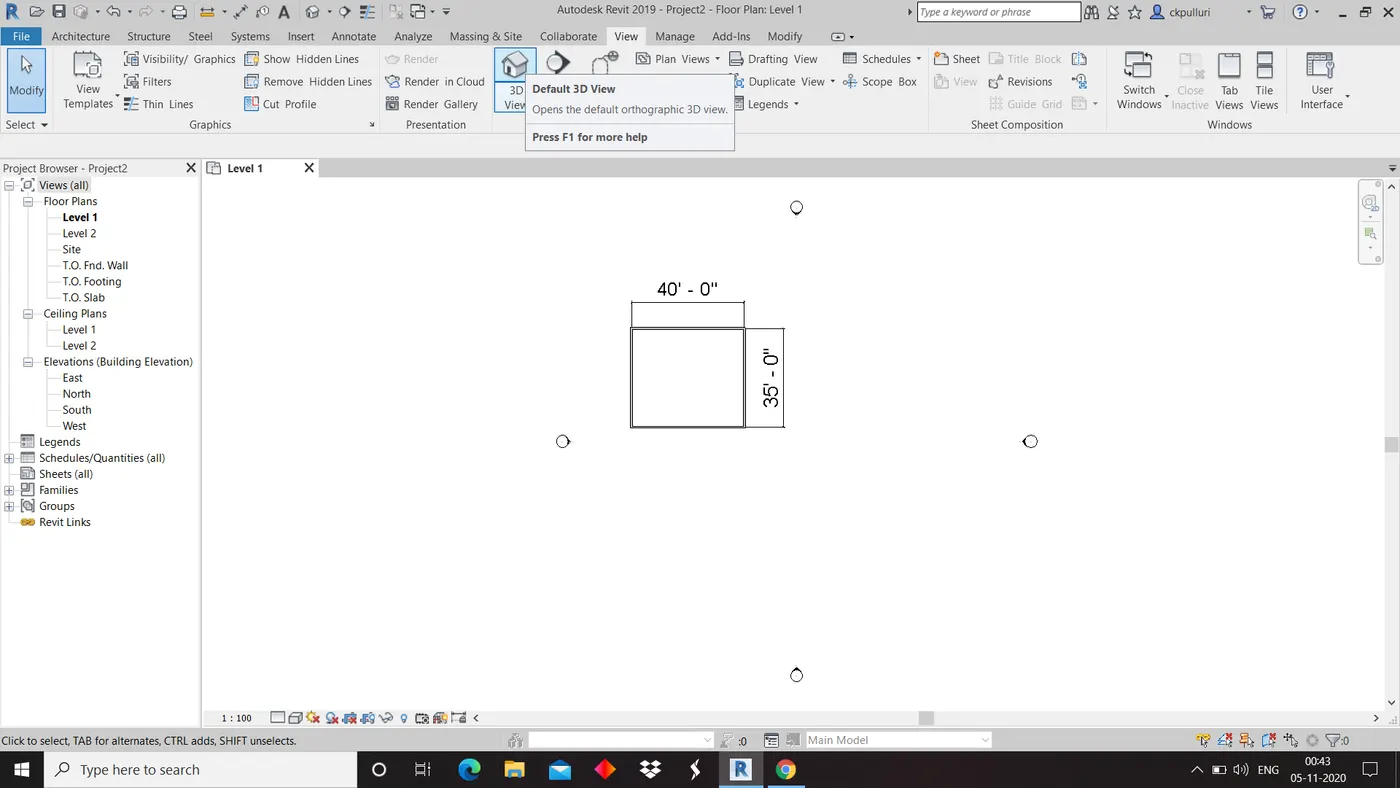
3)Right click on the view cube
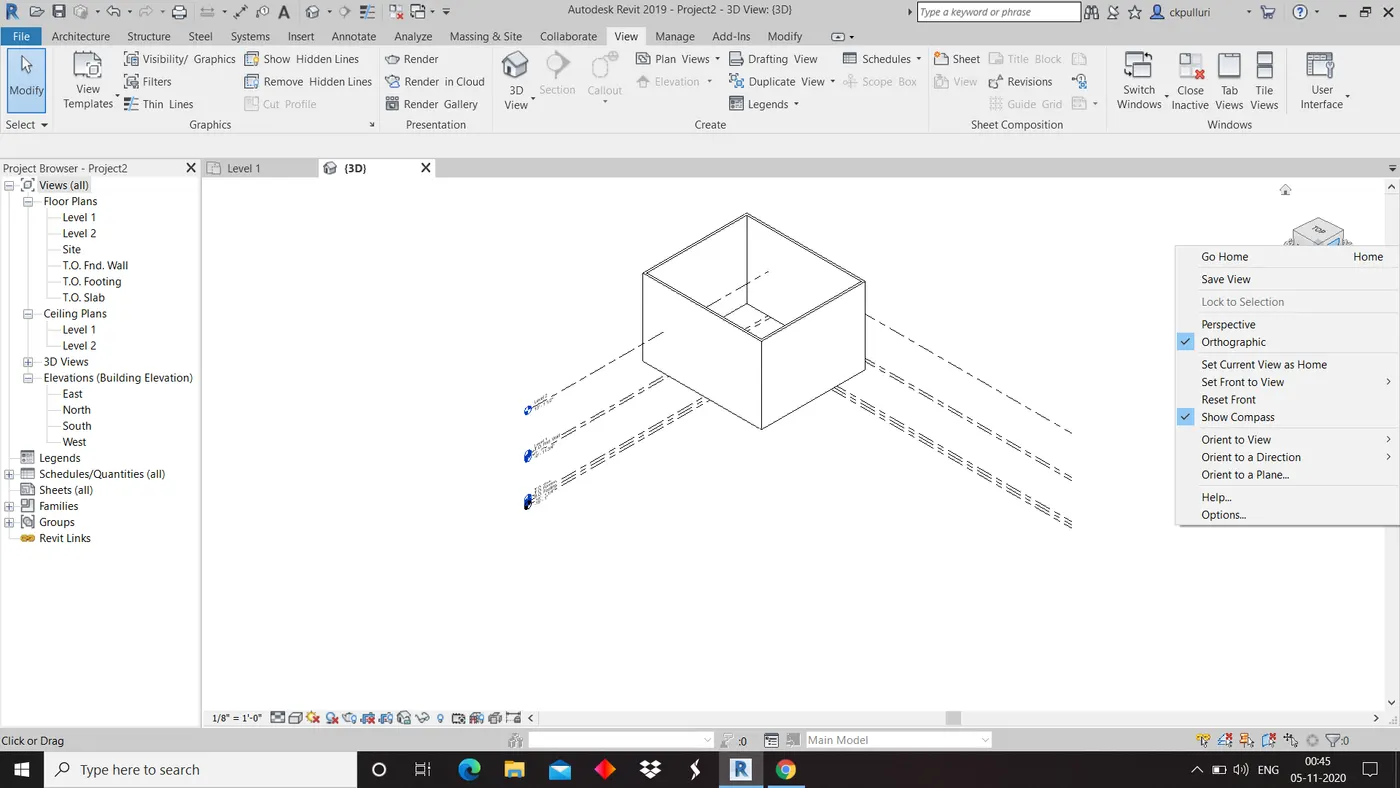
4)Select Save view and give your view name
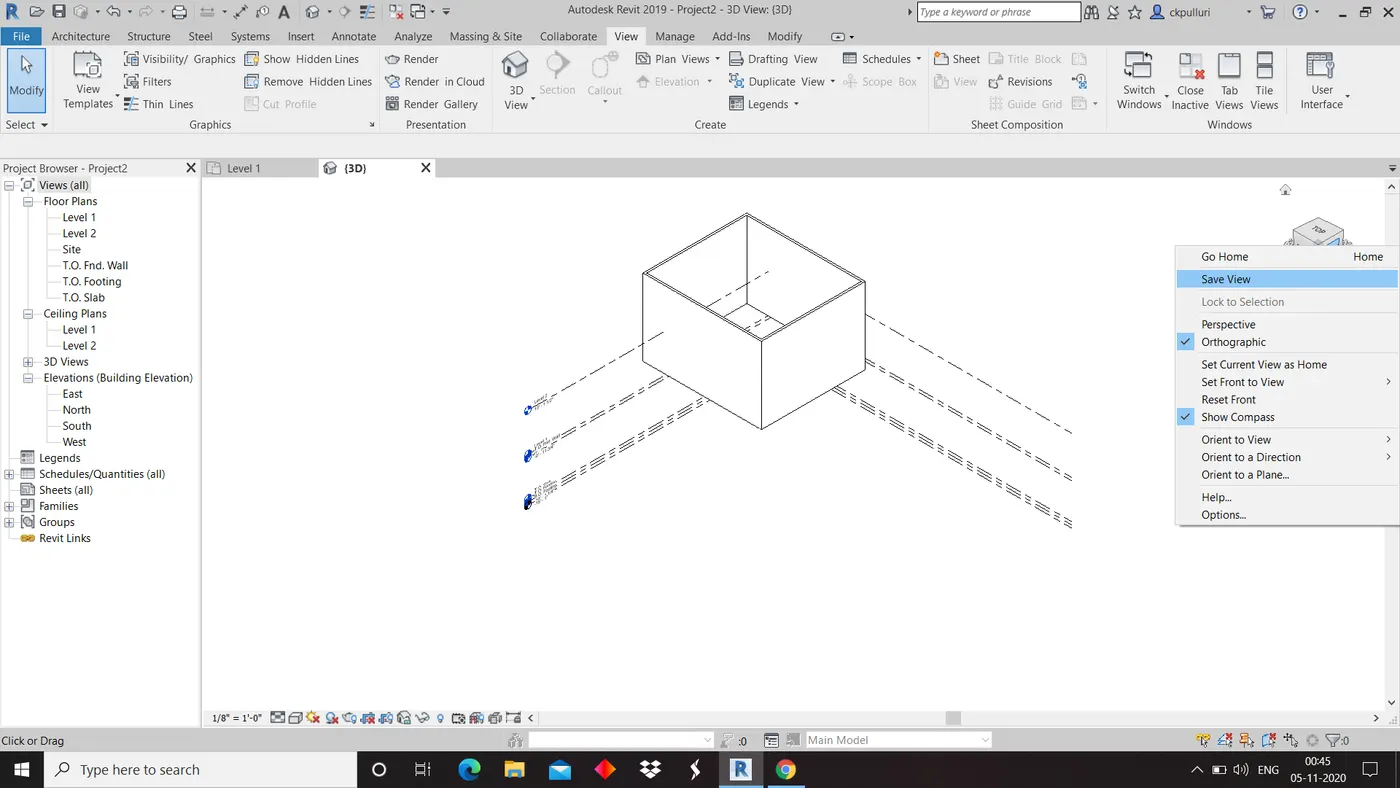
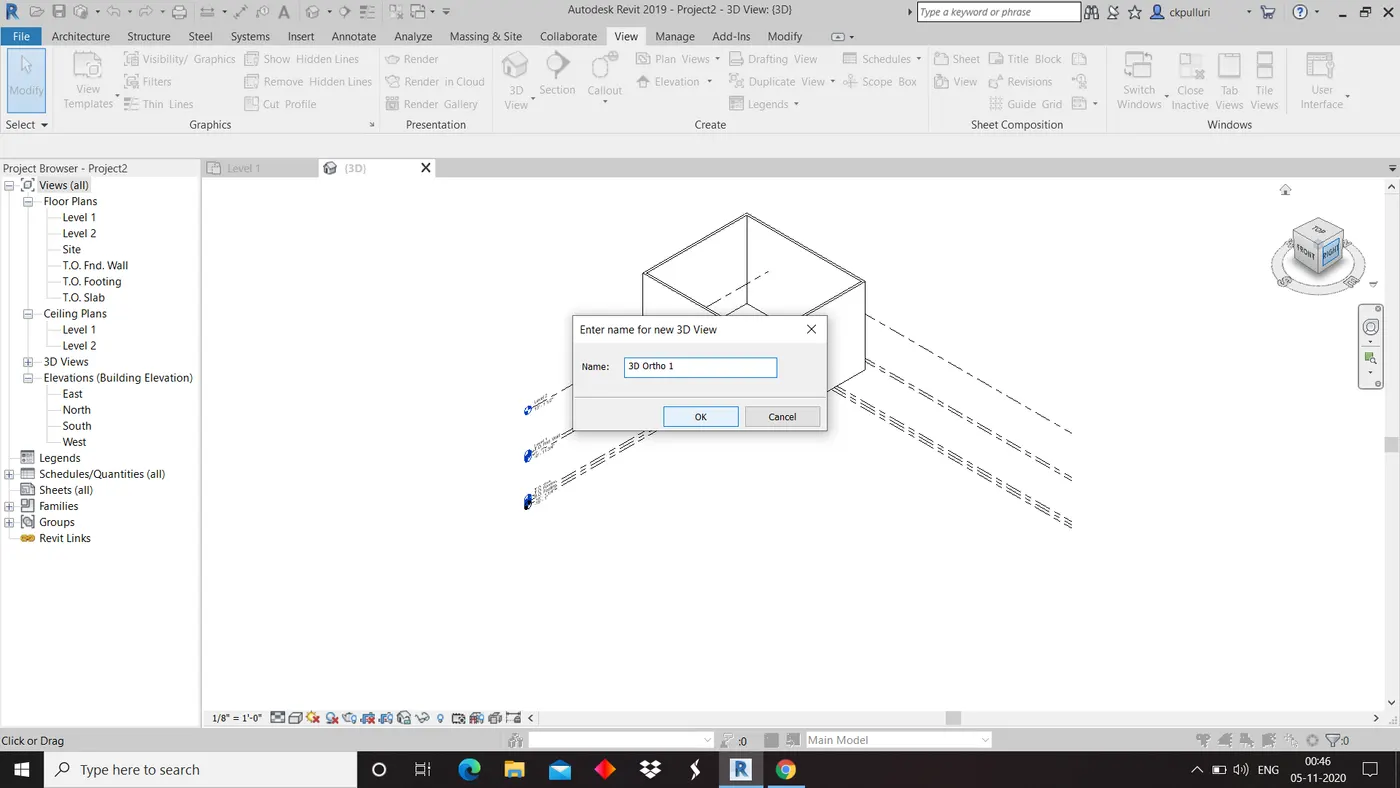
5)Save the file
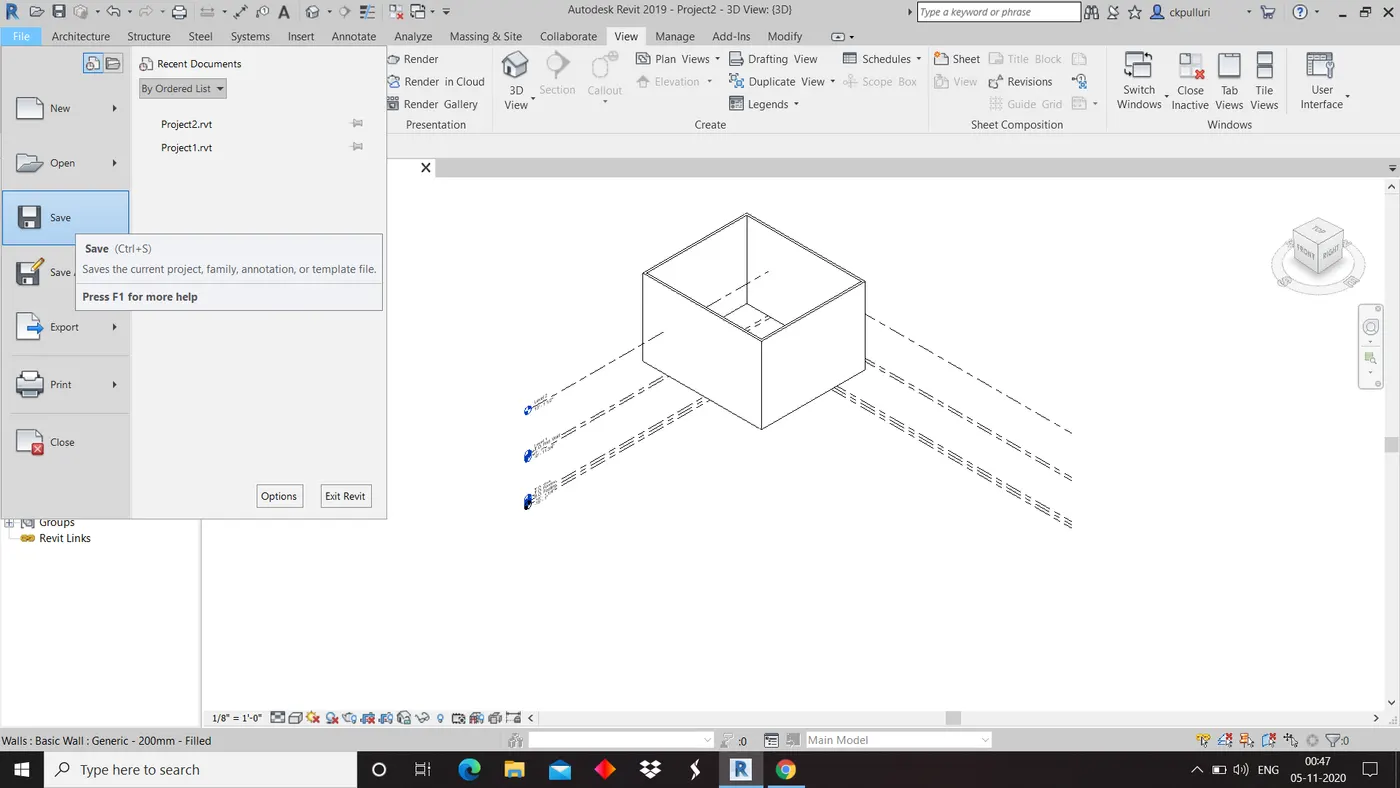
Result : Create a 3D view with appropriate name completed
Question 7
Aim: Navigate through the 3D model using view cube. Orbit/pan through the model layout created
Tools: View tool bar, User interface , navigation bar and orbit
Procedure:
1)Open view tool bar and click on user interface
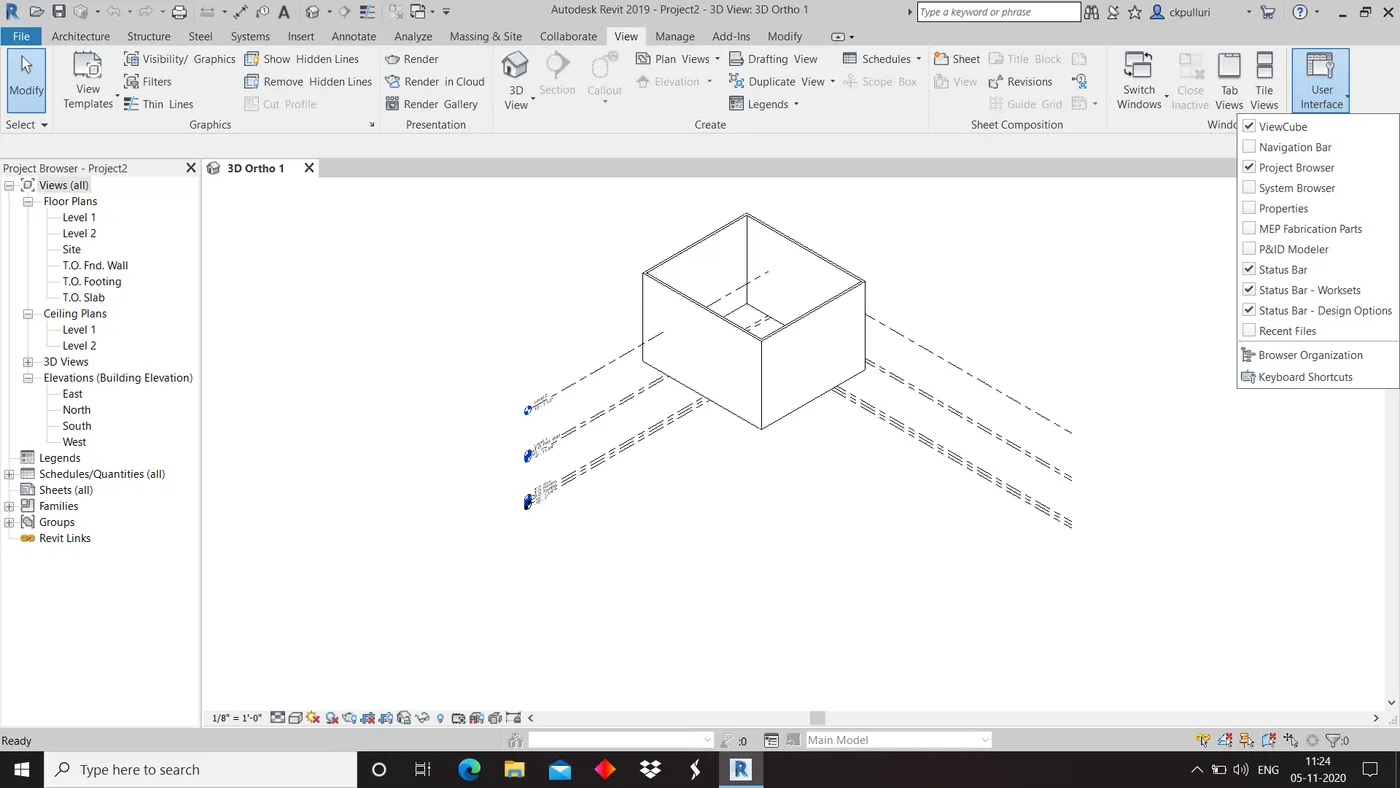
2)Click on navigation bar
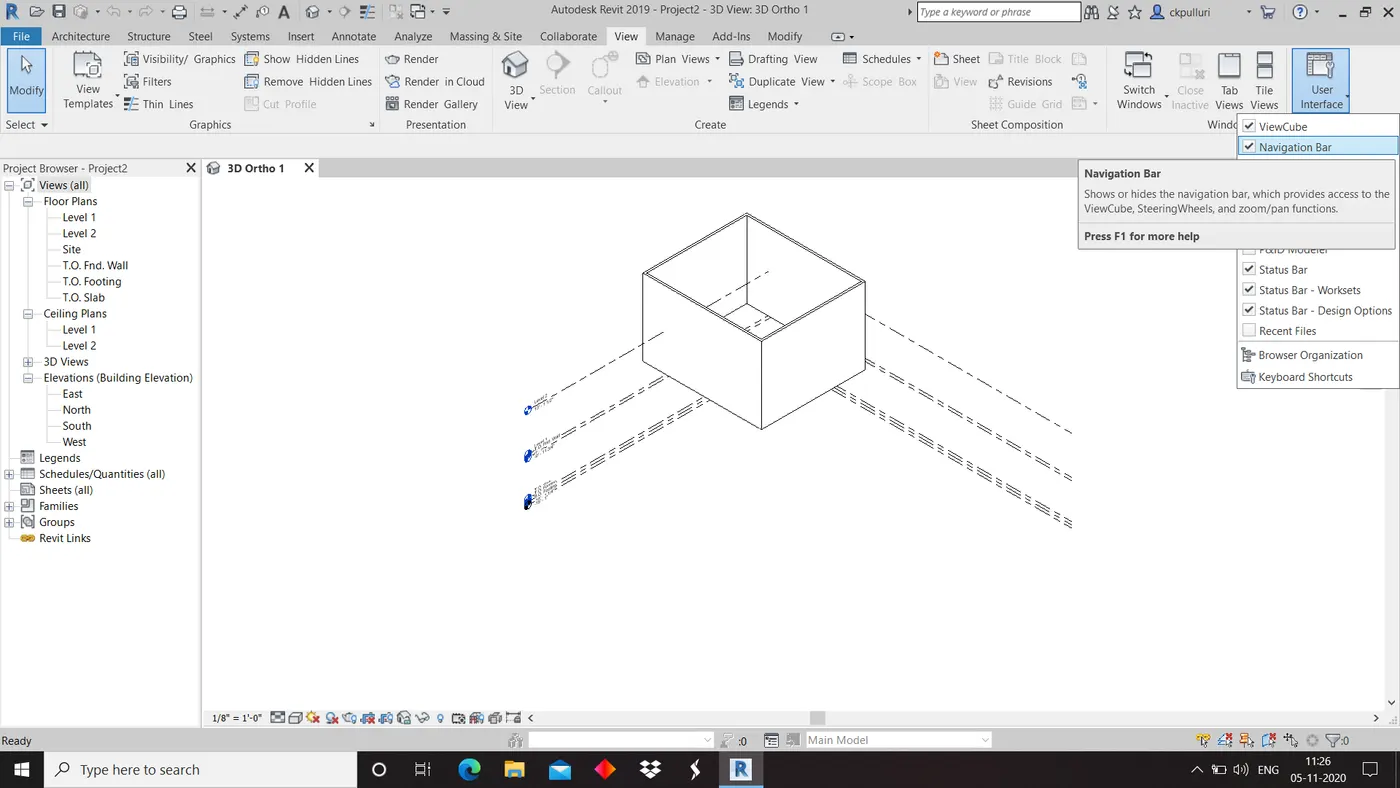
3)Open navigation bar
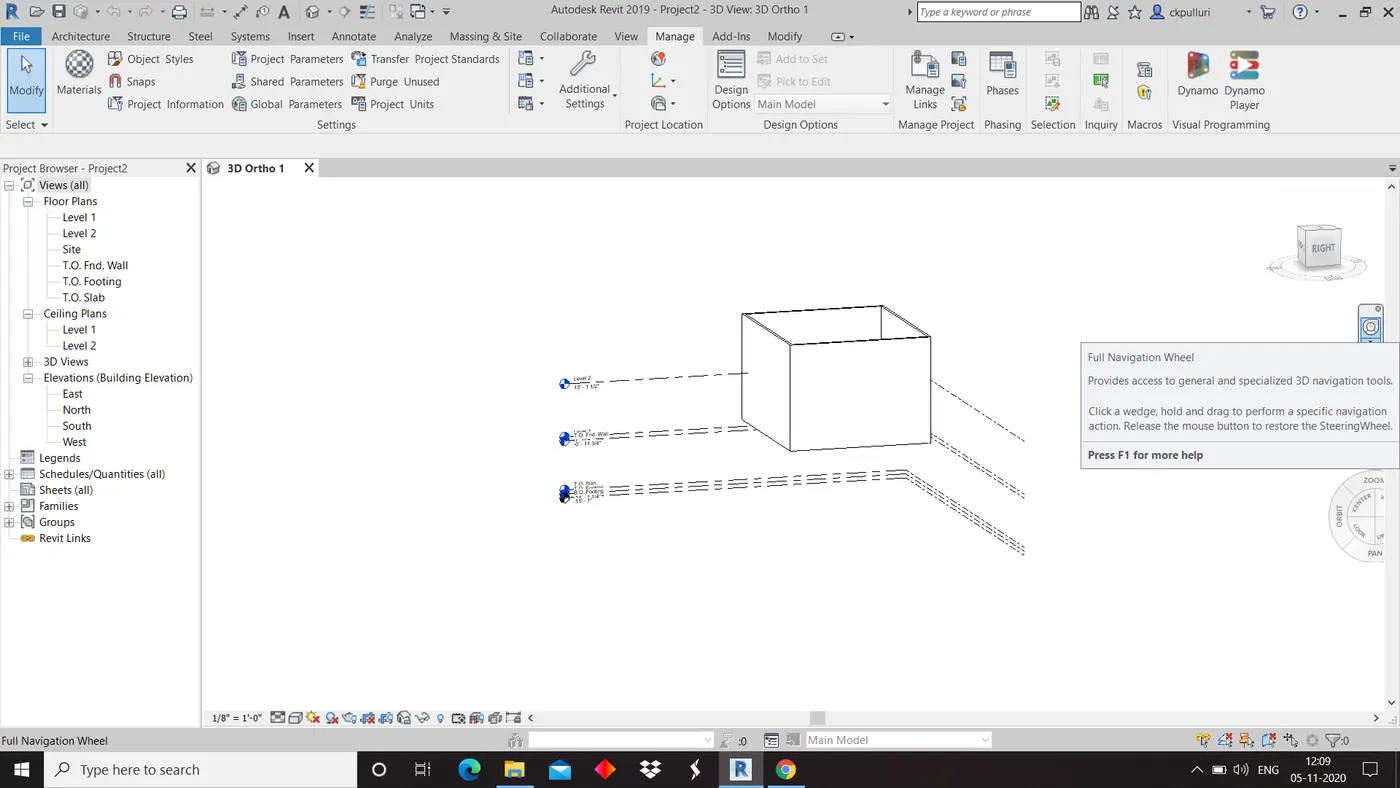
4)Click orbit and move the cursor
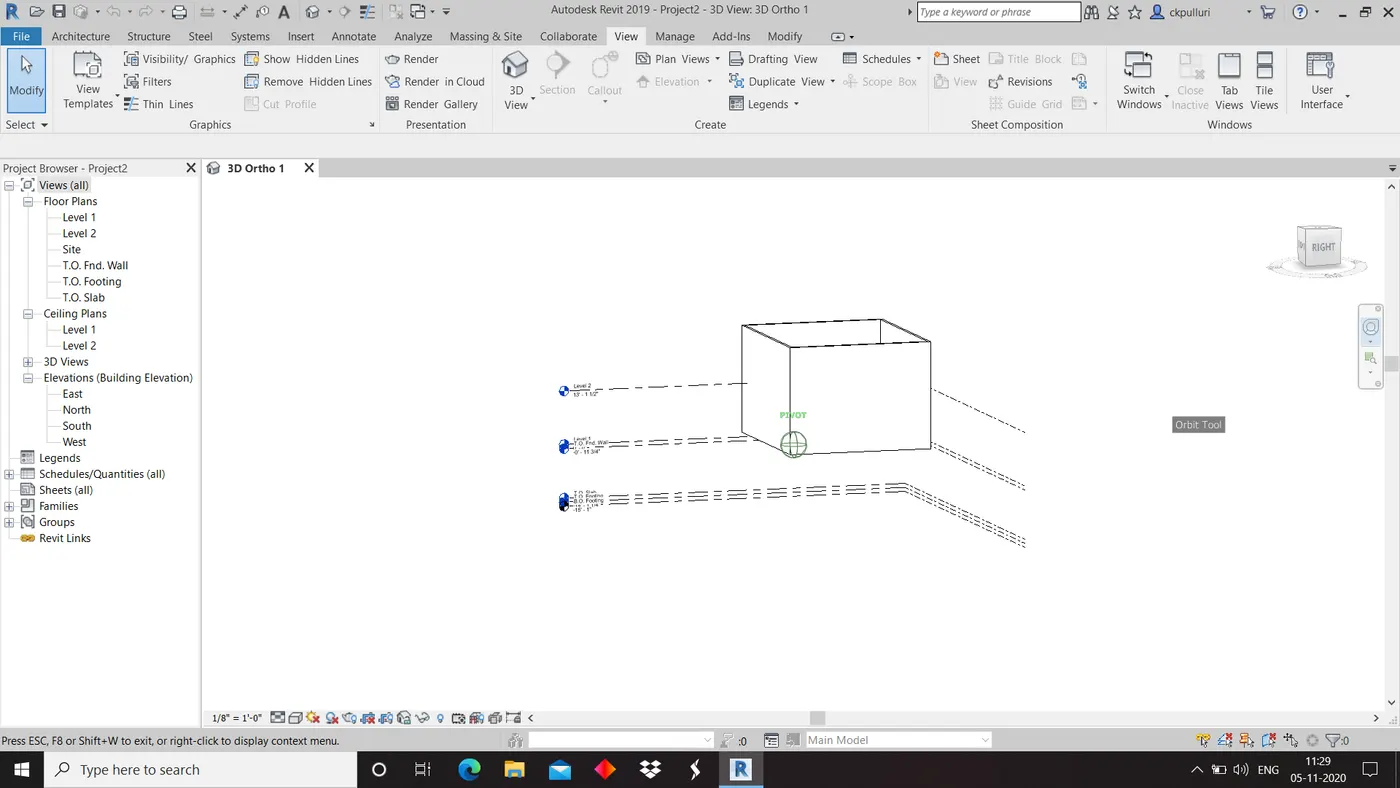
5)Save the file
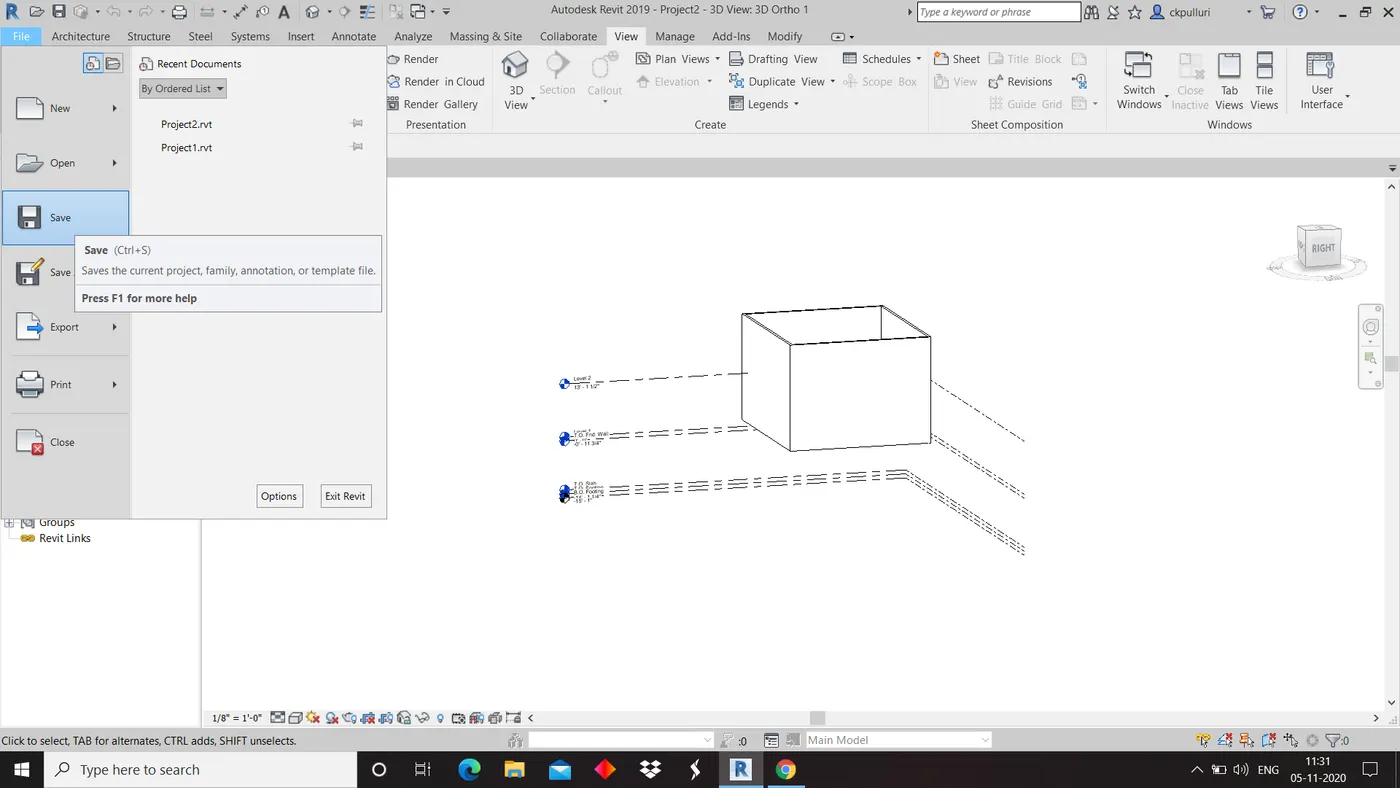
Result : Navigate through 3D model using view cube completed
Question 8
Aim: Use the visibility settings option below to switch model to shaded, realistic, hidden lines options
Tools: Visual style
Procedure:
1)Open visual style
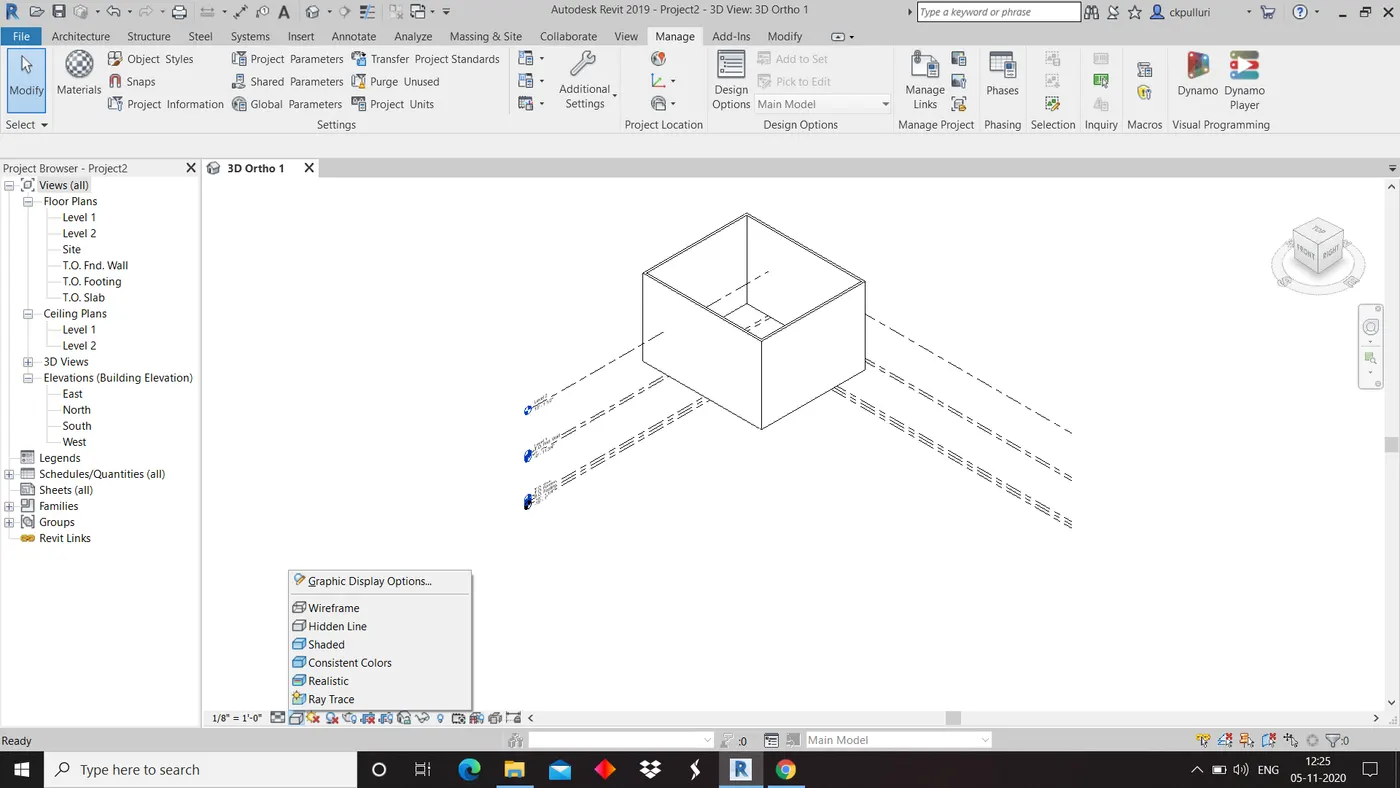
2)Click on shaded
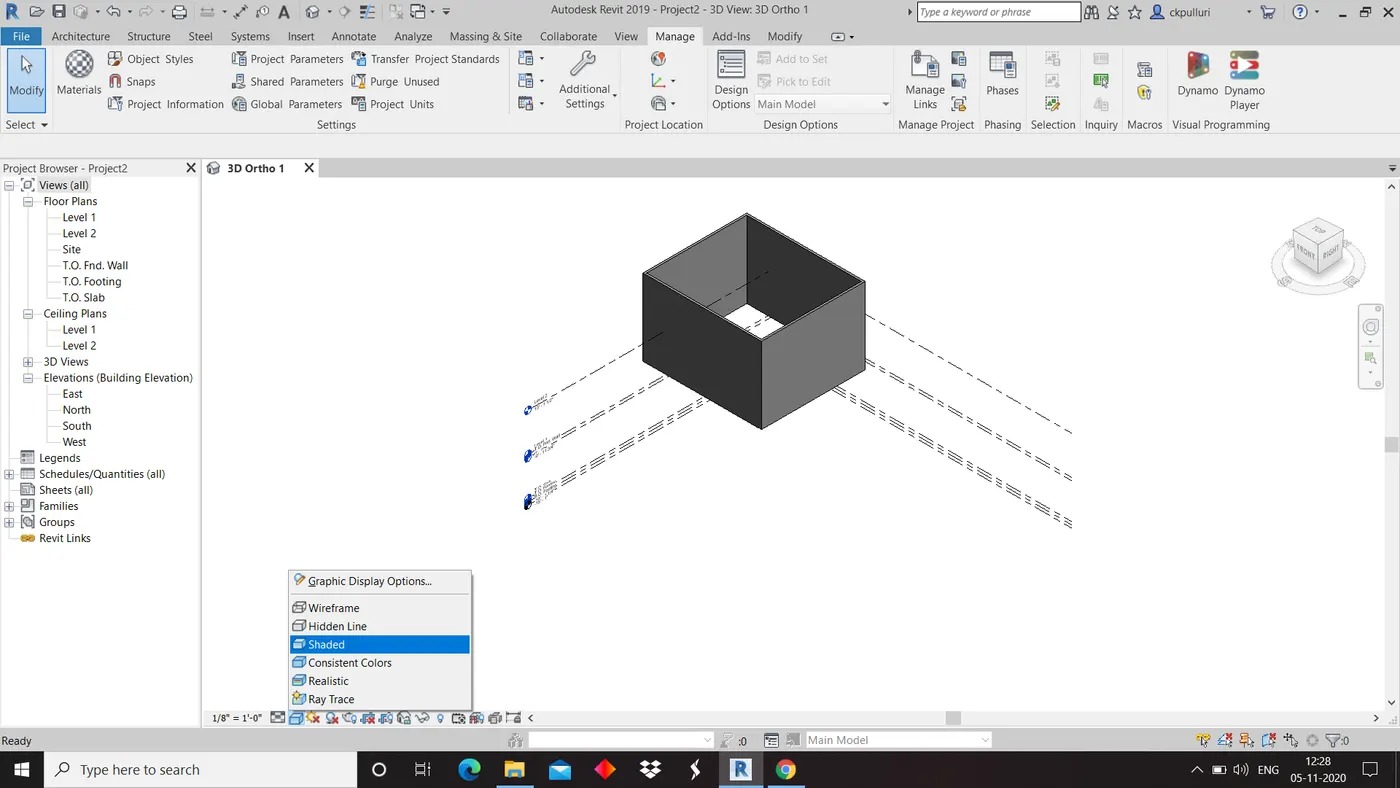
3)Switch to realistic and hidden line option
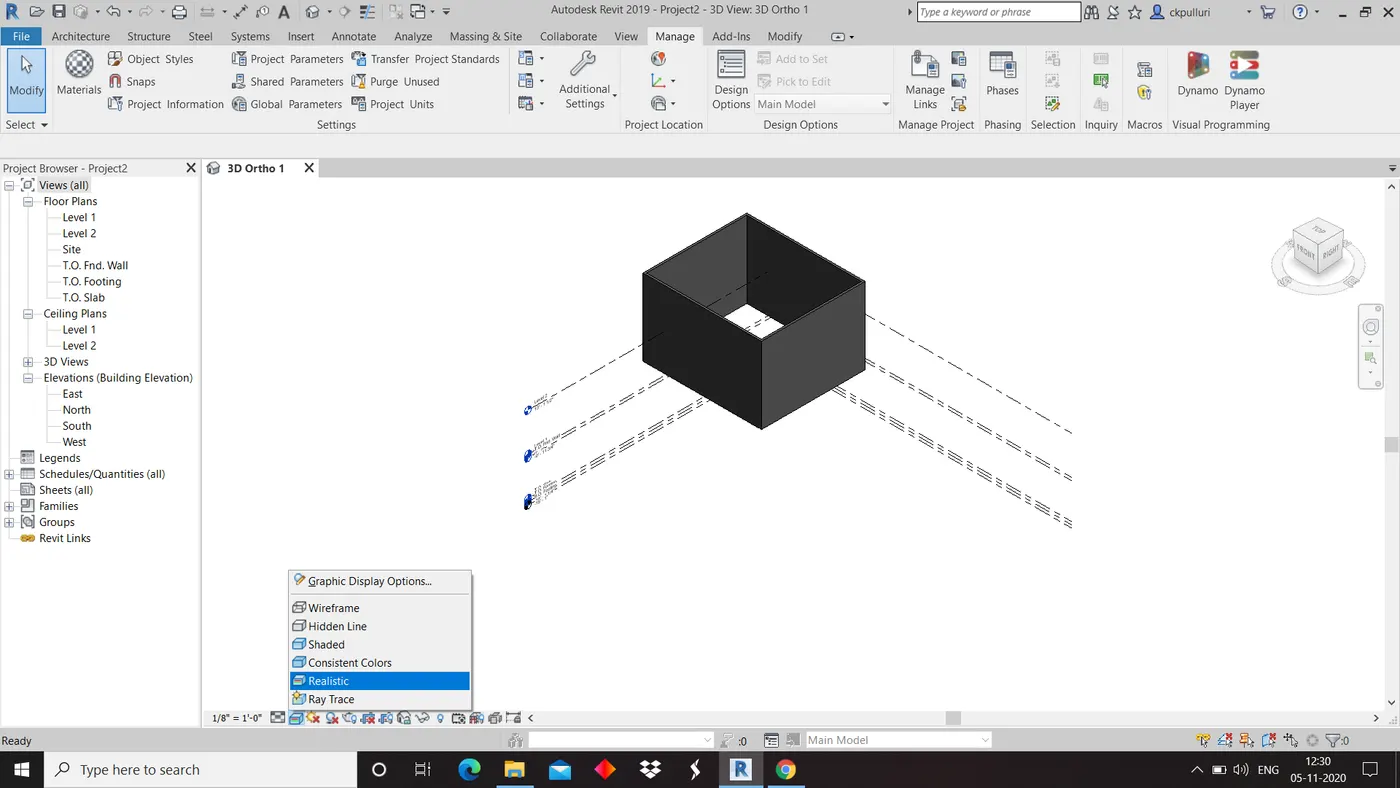
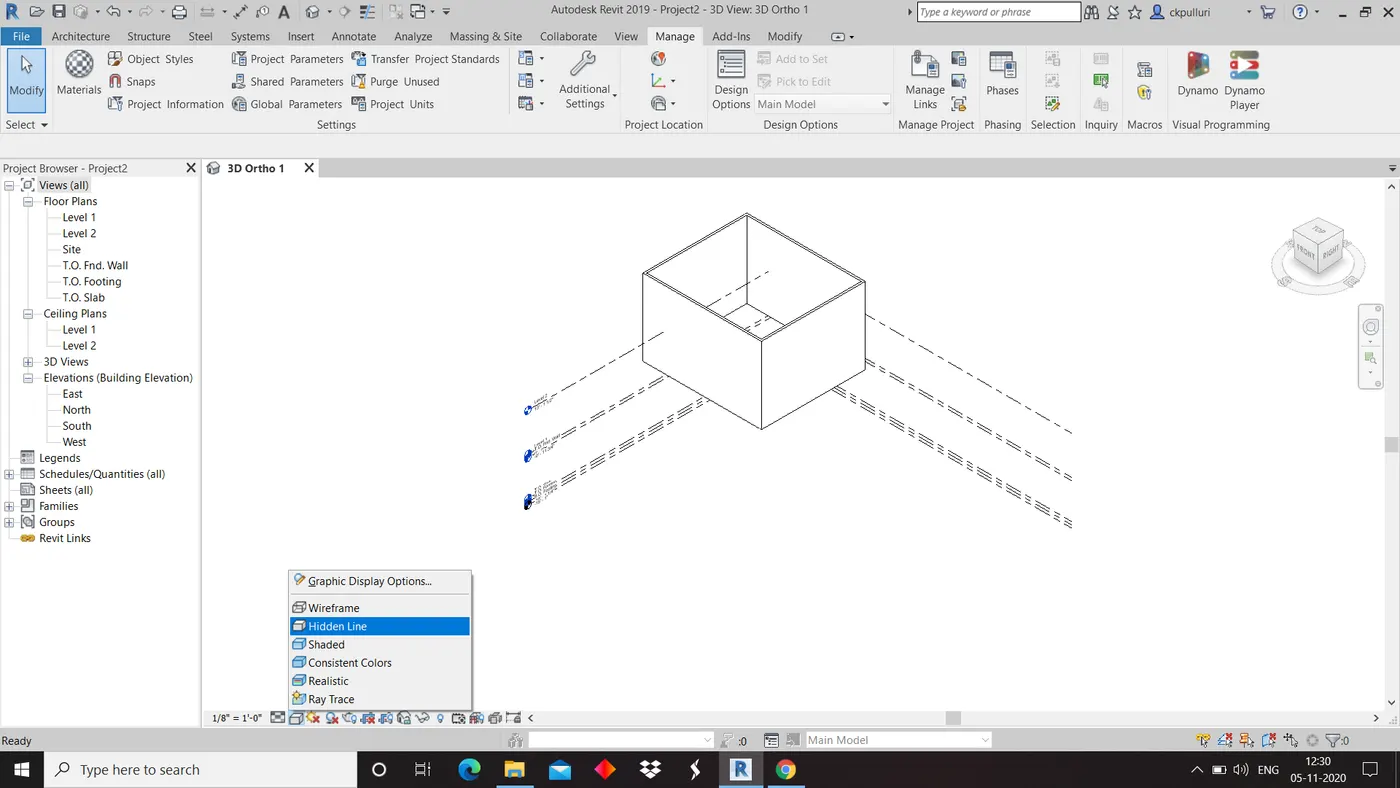
5)Save the file
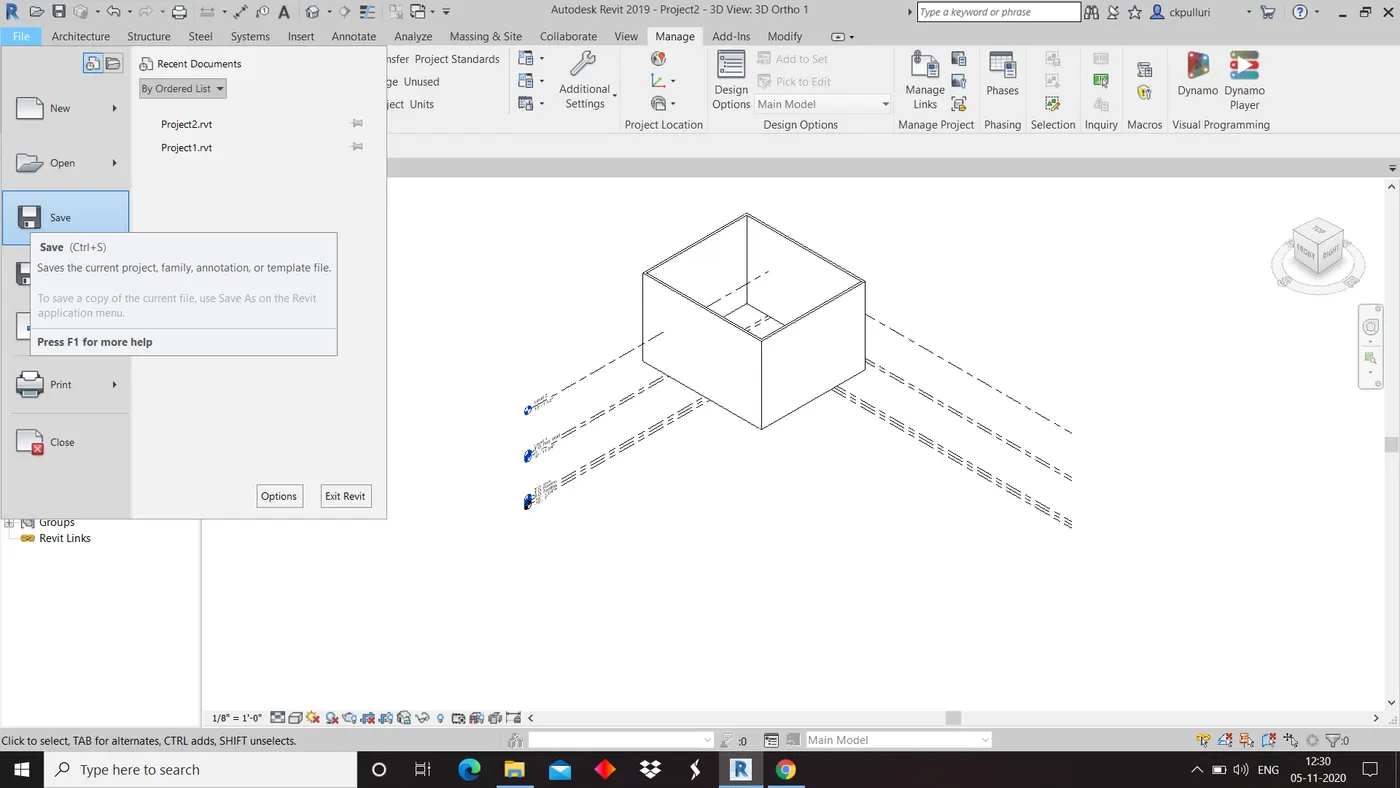
Result: Switch model to shaded , realistic and hidden line completed
Question 9
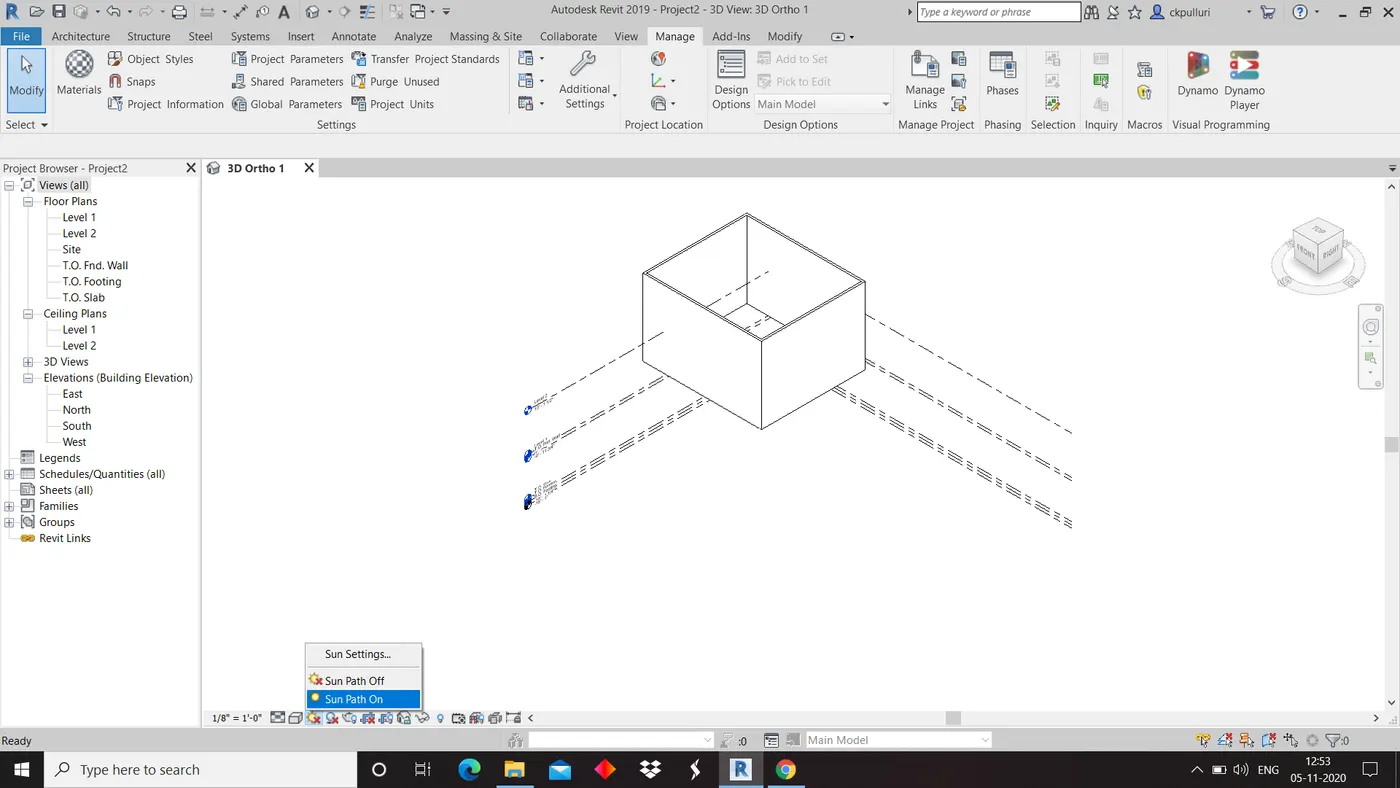
Aim : Turn the sunlight on and off to view shadings in the layout created
Tools: Sun path
Procedure:
1)Click on sun path and on it
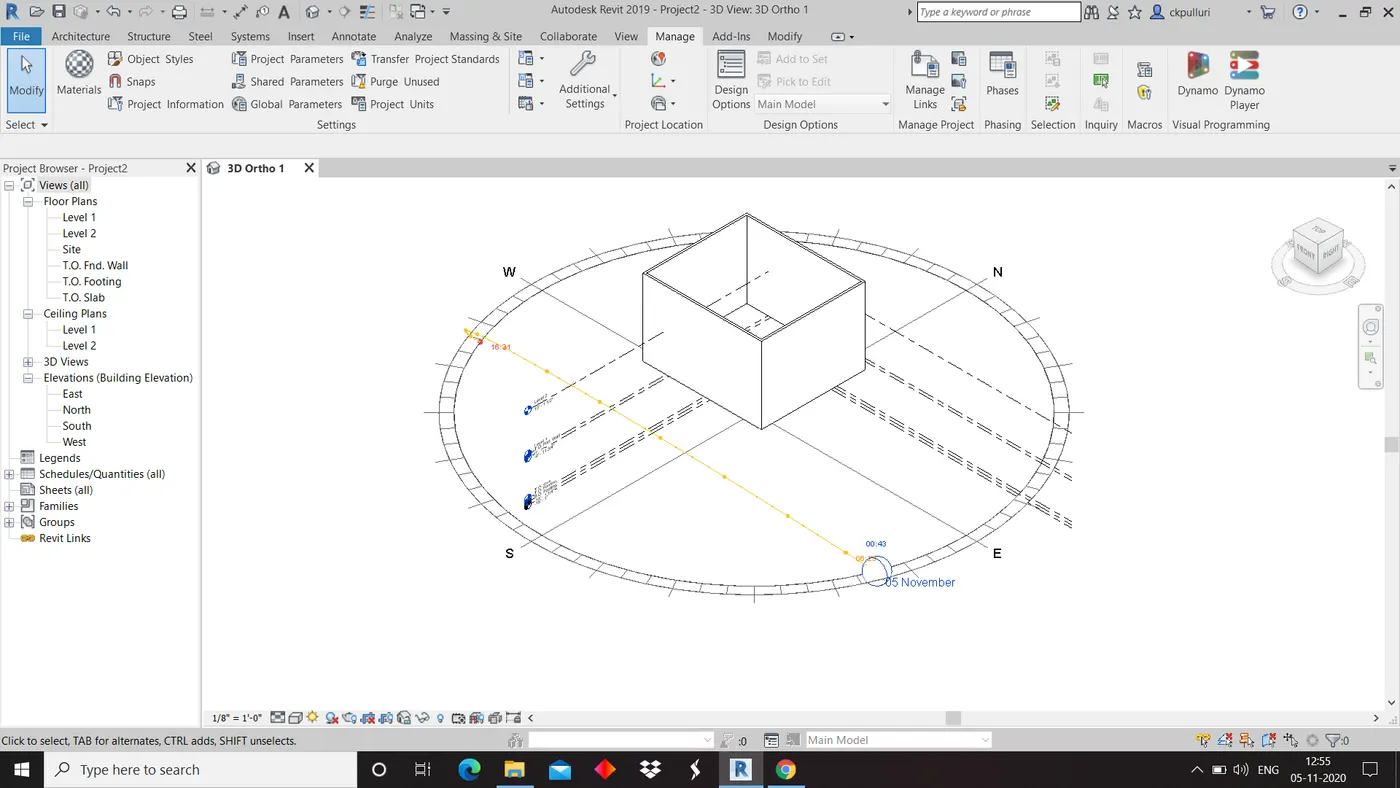
2)Off the sunpath
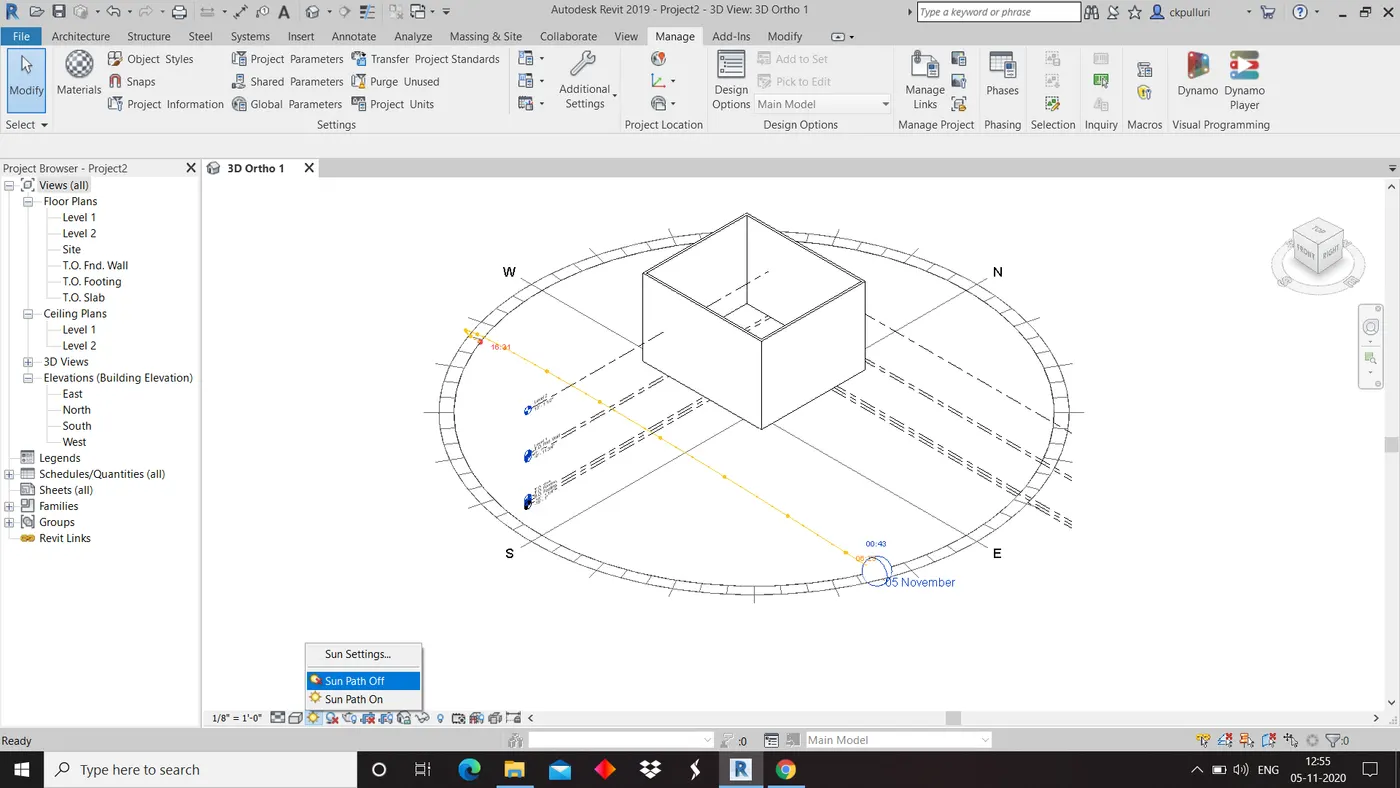
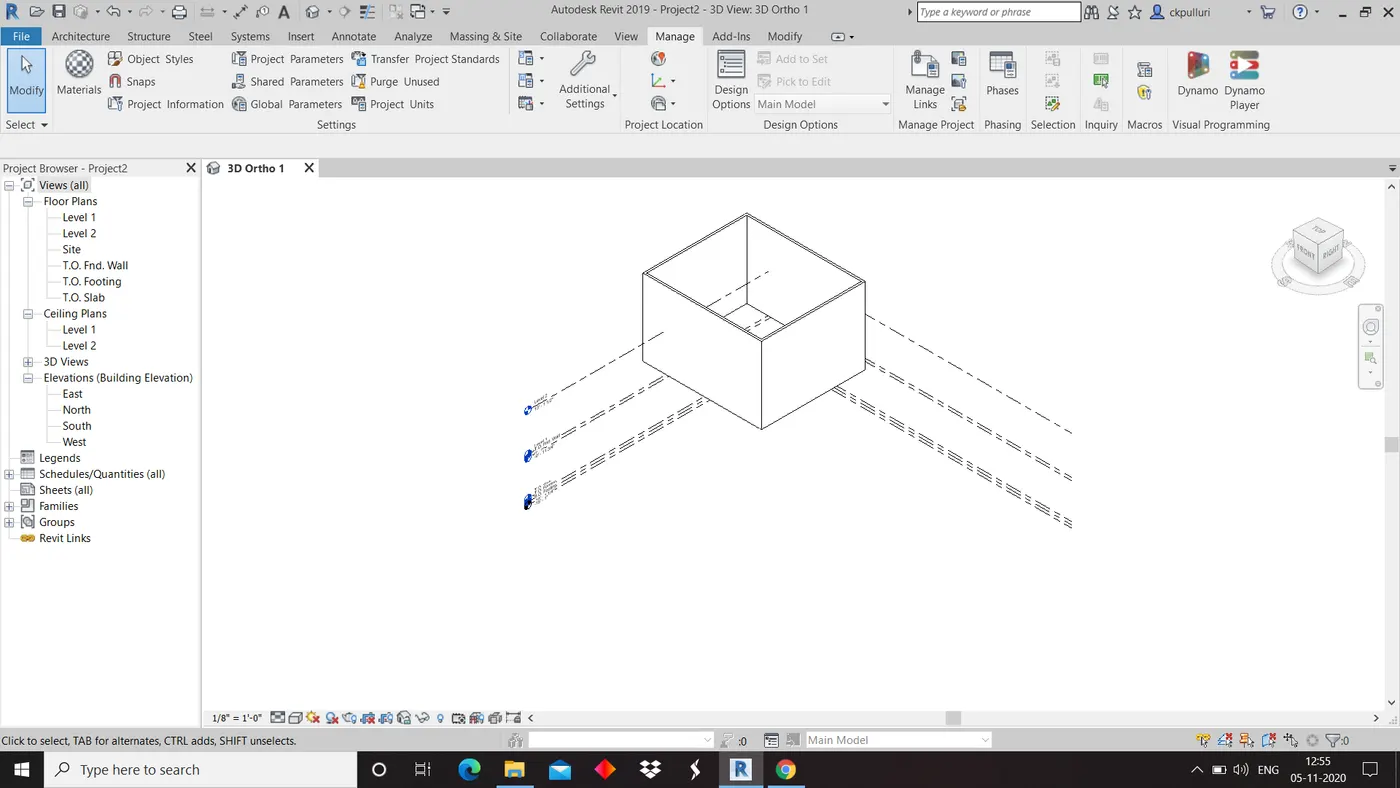
Result: Turn the sunlight on and off completed
Question 10
Aim: Use the Manage tool bar to enter project settings, project name and project issue date
Tools: Manage, project information , project issue date and project name
Procedure:
1)Click on manage and Select project information
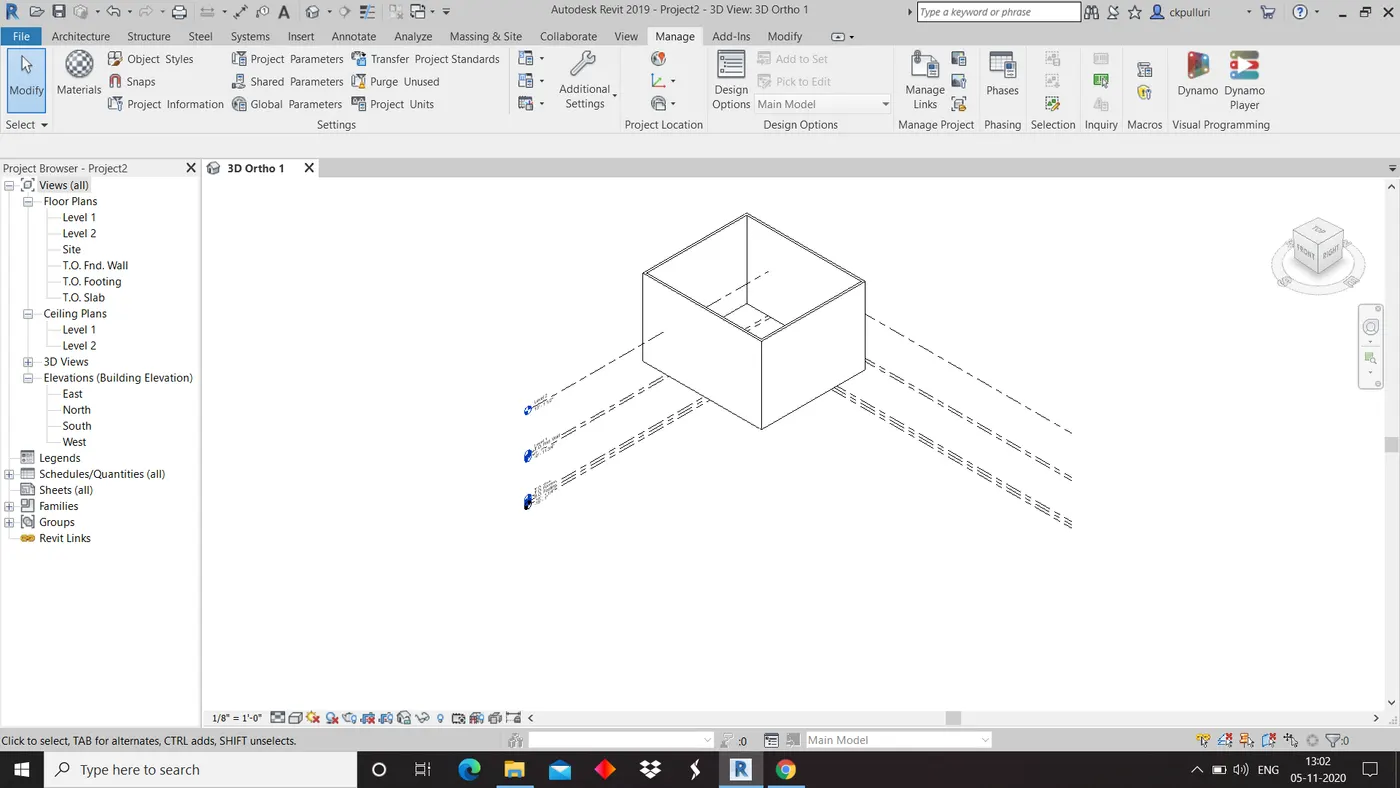
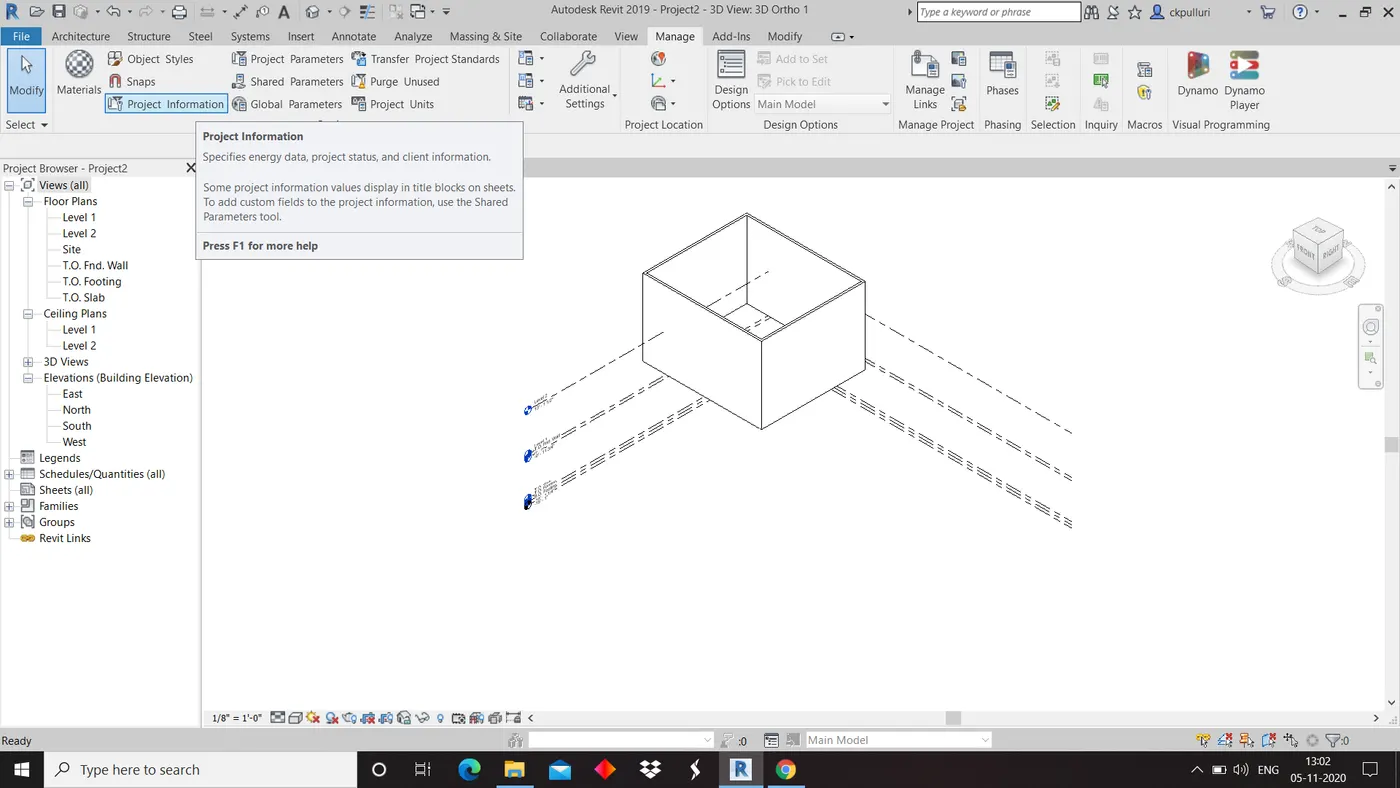
2)Change the project issue date and project name
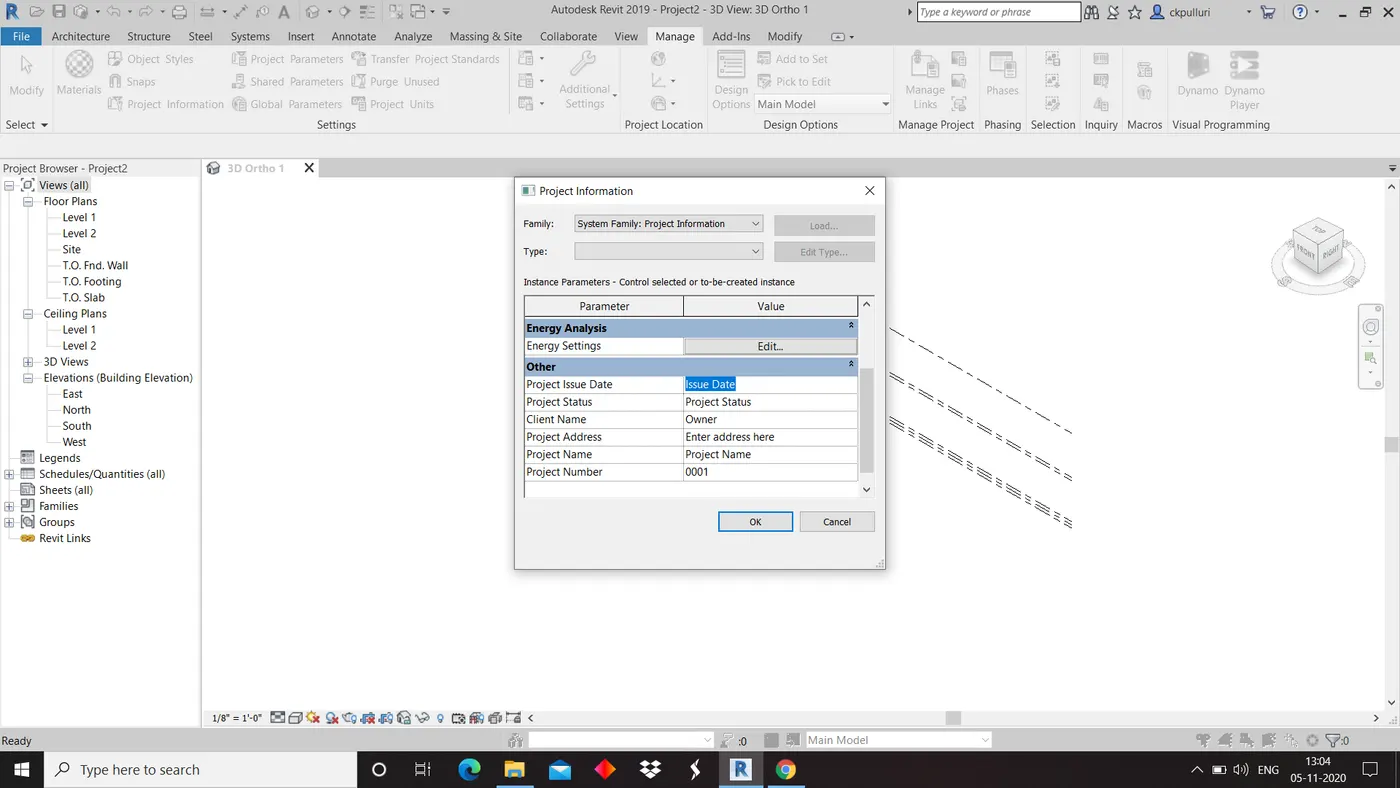
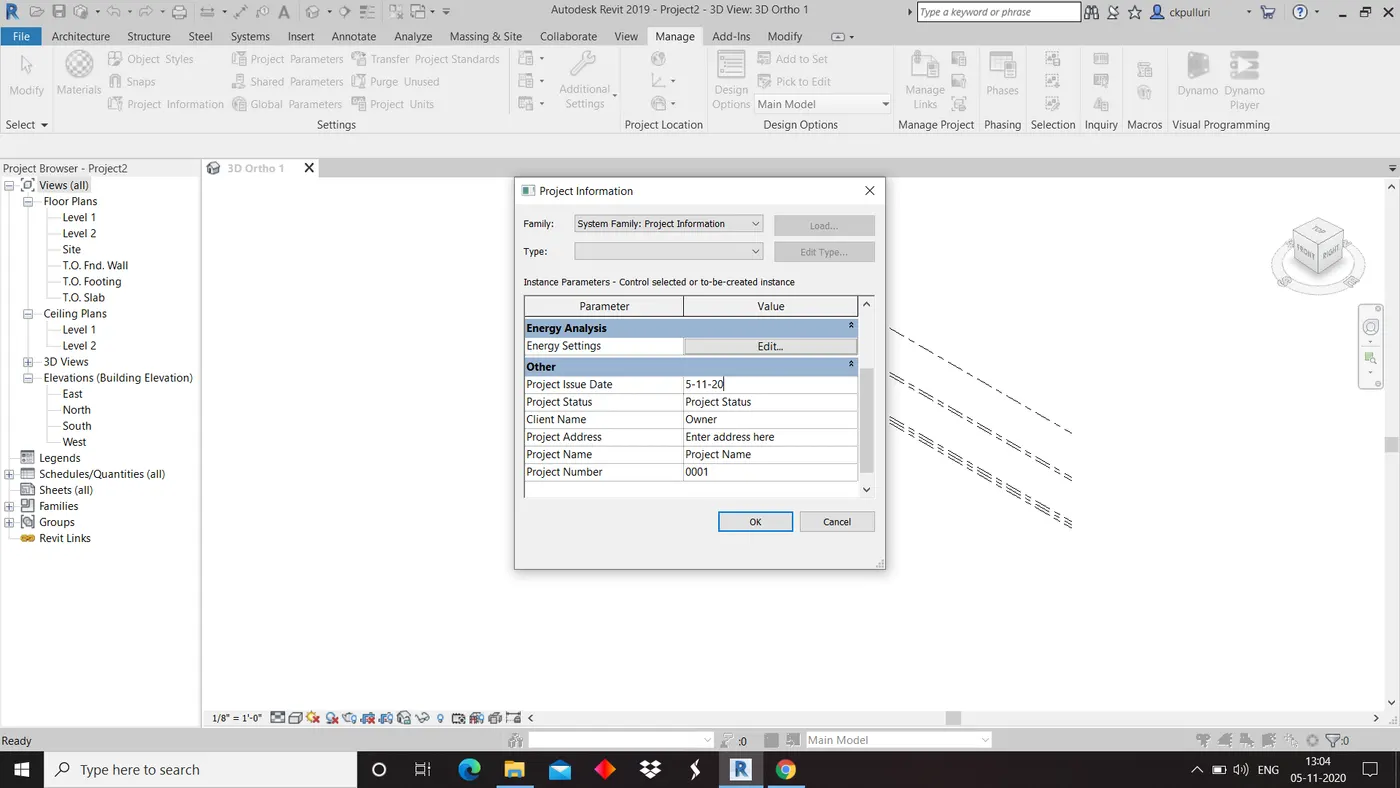
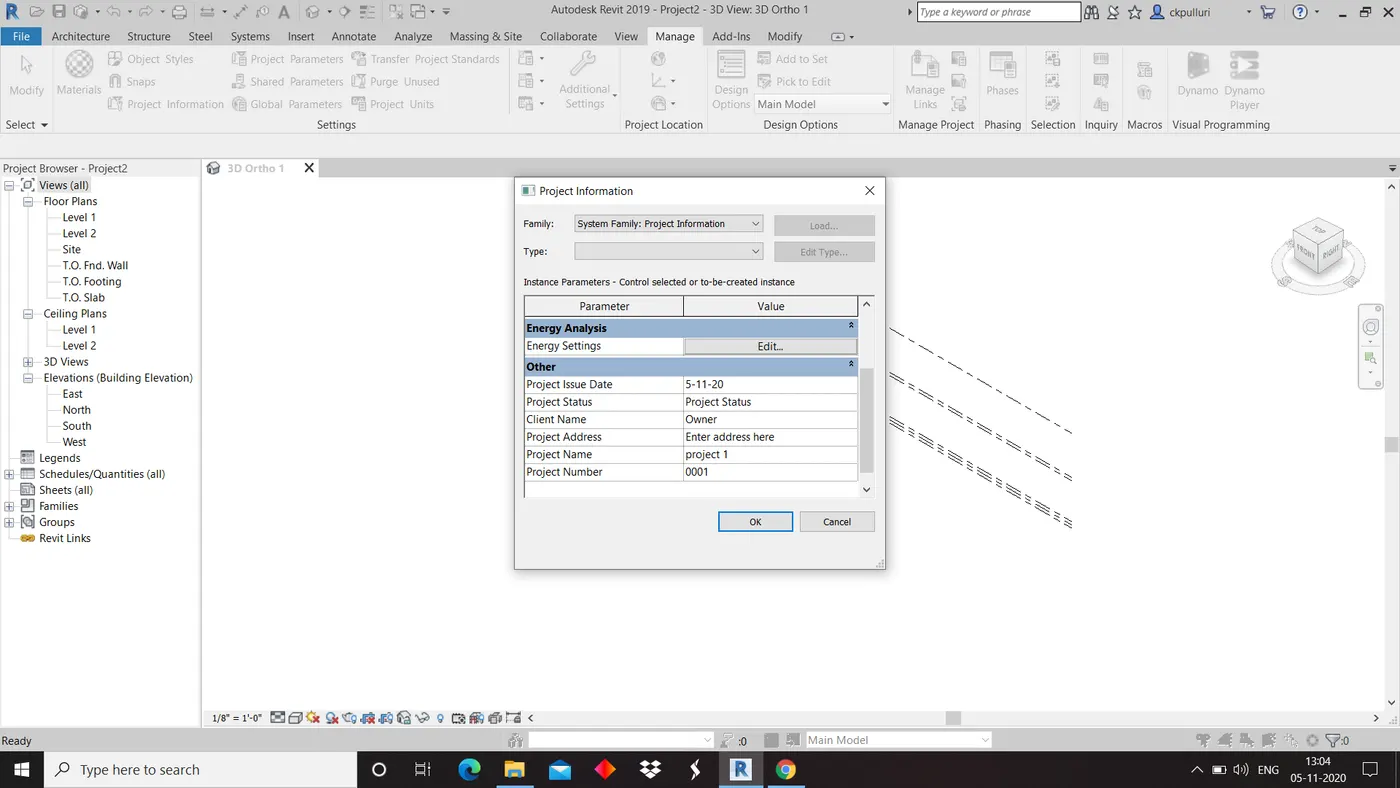
3)Click ok
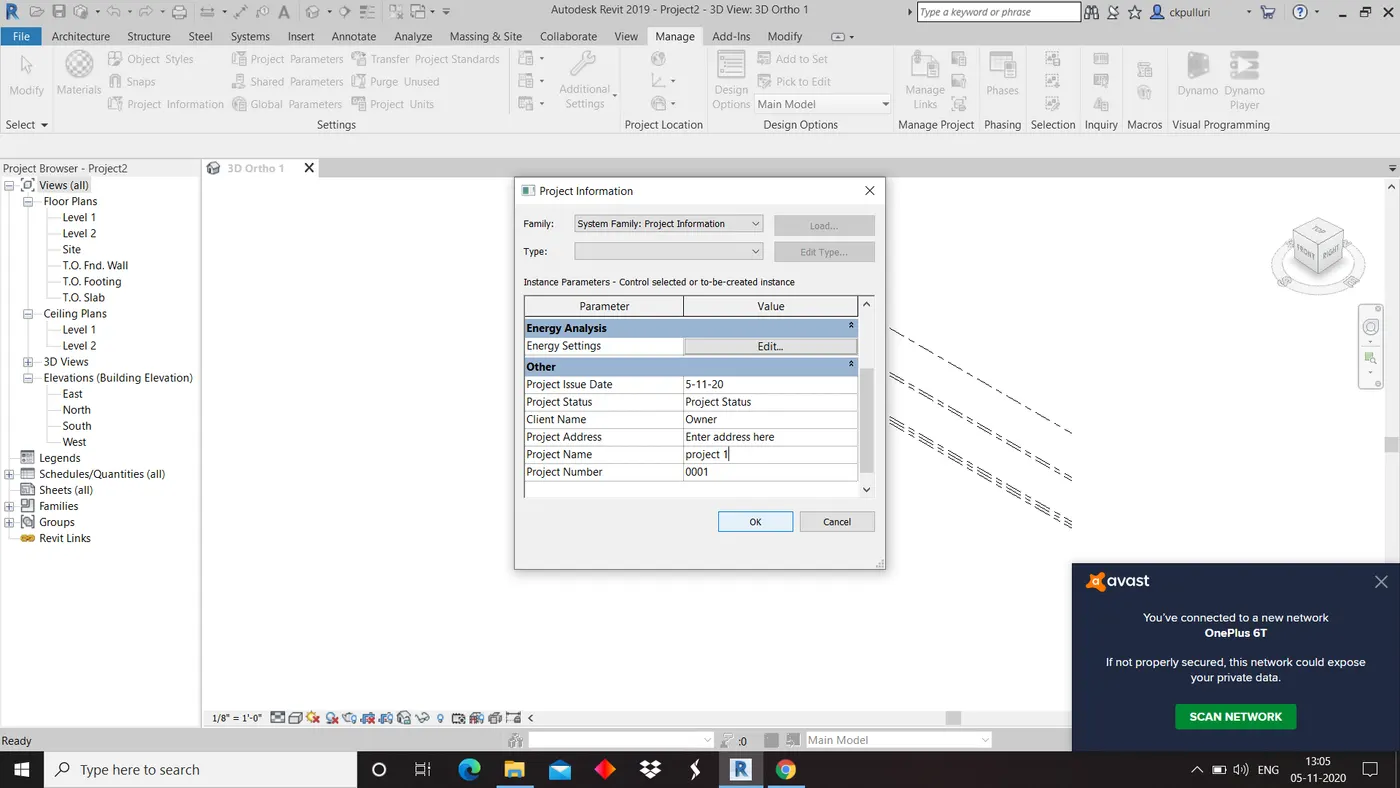
Result: Manage tool bar to enter project settings, project name and project issue date successfully completed
Question 11
Ans:Analyze tool bar consists many options,helps in boundary condition ,loads and loads combination.This tools bar helps in creating rivet model .It also consist of space operation , space naming and space tagging are the options which used to assign the names and numbers to the architectural rooms
Question 12
Ans: Links that Revit supports to be linked to the model
Link image ,point cloud , link CAD, coordination model and link IFC .
Question 13
Ans: It helps in linking multiple revit models , together and allows team members to work in context . It also helps in sharing works and users on same local area network (LAN) can work together in same revit model. Revit cloud worksharing is cloud based service i.e any revit collabrate on revit model.