Week 2 Challenge
Question 1
Ans:Building Information technology(BIM) is a 3Dmodel based process it gives
architecture,engineering,and construction professionals the insight and tools
to more efficiently plan ,design, manage building and infrastructure.
The purpose of using BIM tool is to create 3D model that user can understand
relationships between spaces,material and various system within physical structure.
Feature of BIM are planning,3D modeling,3D rendering and document storage.
Benefits of using BIM over 2D CAD tool are
-In 2D cad if there are changes in elevation, we need to make changes in all views.
whereas in BIM it automatically changes in all views
-BIM is cloud based software i.e users have power to access designs remotely and outside
of regular business hours.
Question 2
Aim: Go to Insert Tab, choose a category. Pick a family and element. Understand the instances and insert it to Revit model
Tools: Architectural template, wall, insert menu, load family and window.
Procedure:
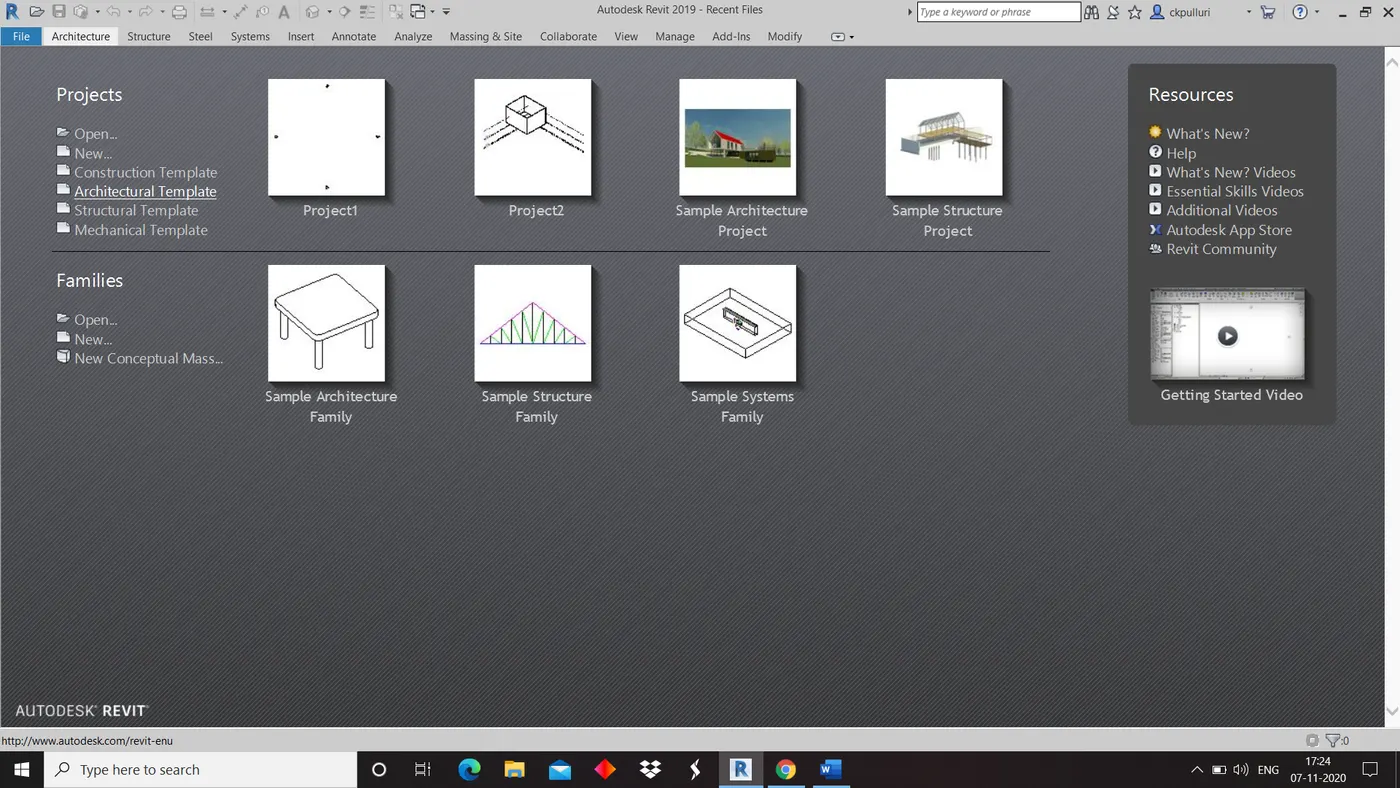
1)Open architectural template
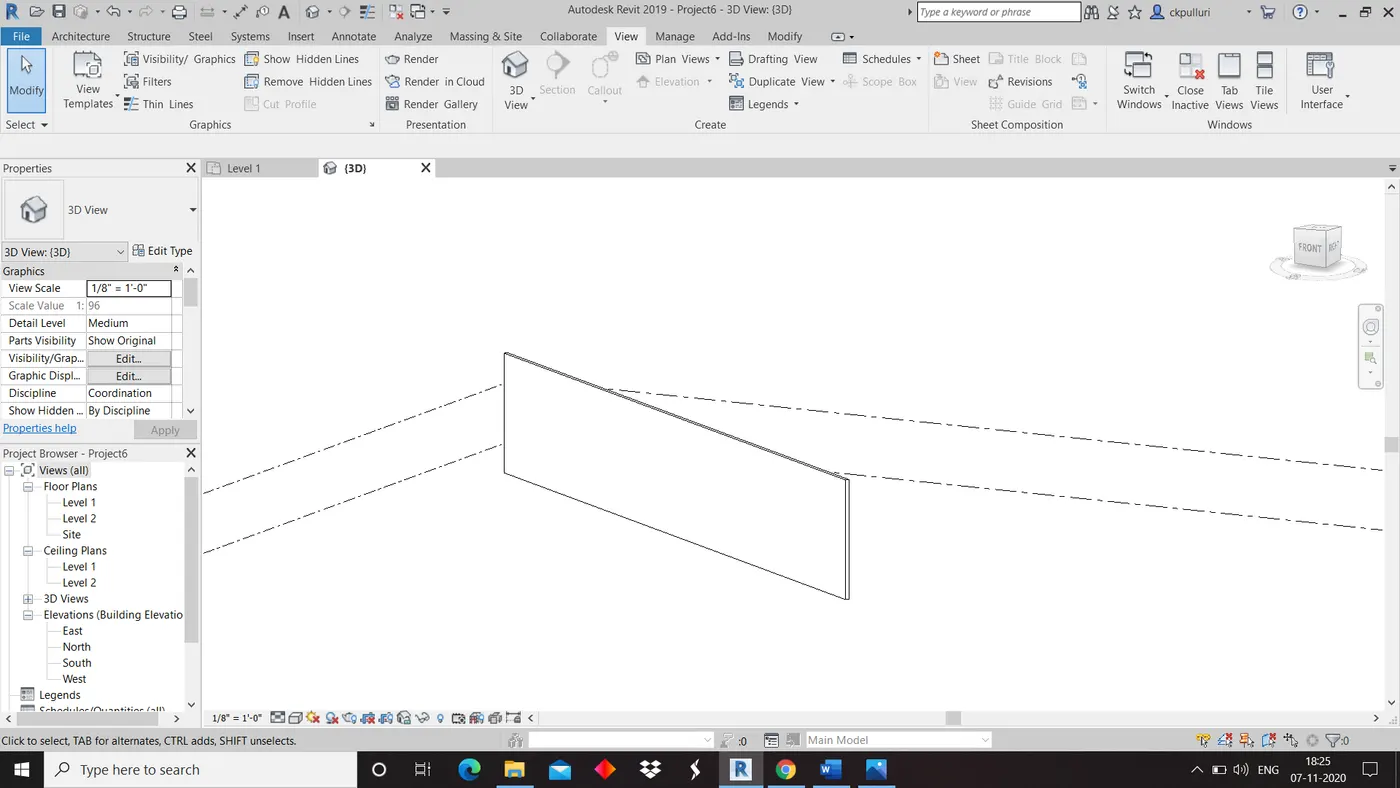
2)Draw a wall of any dimension.
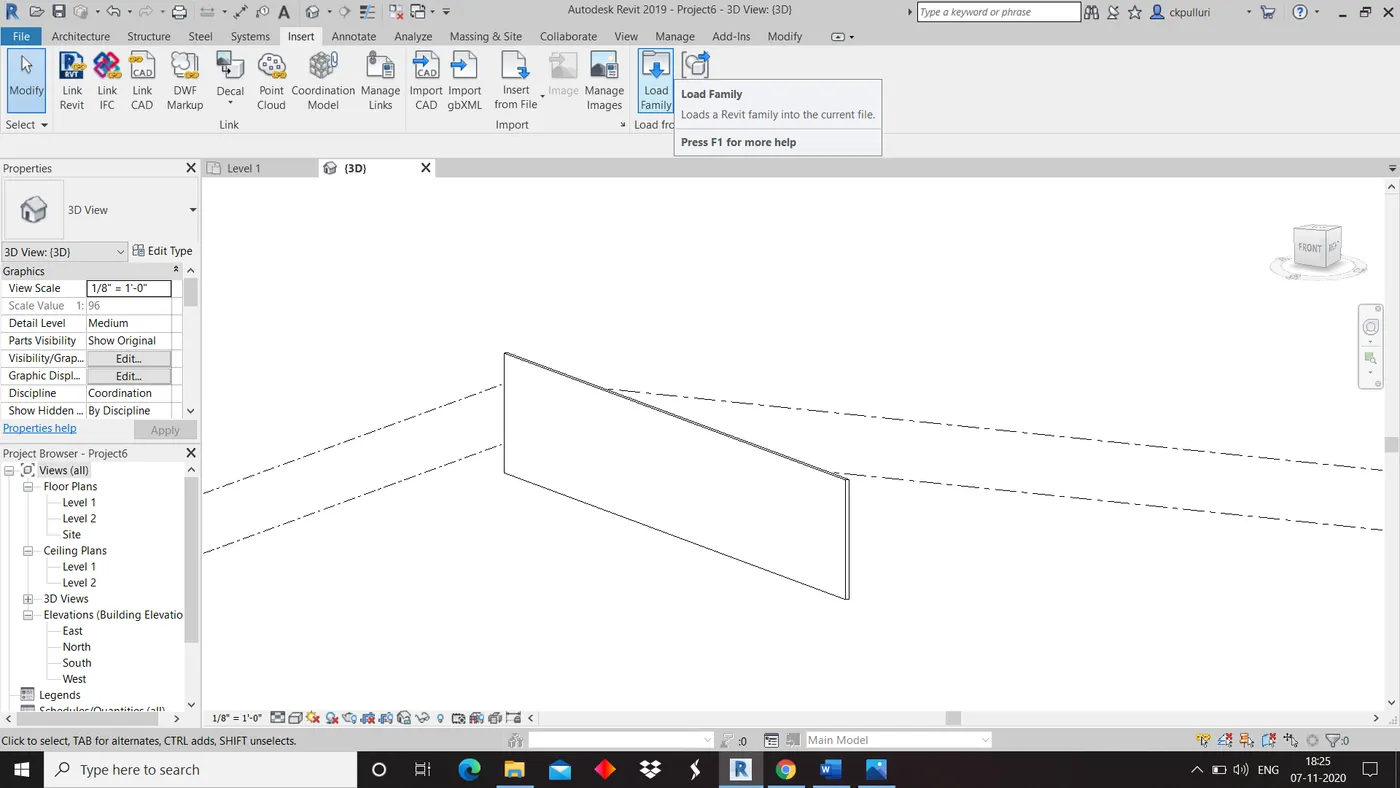
3)Open insert menu and click on load family.
4)Select a component from the family and click on open.
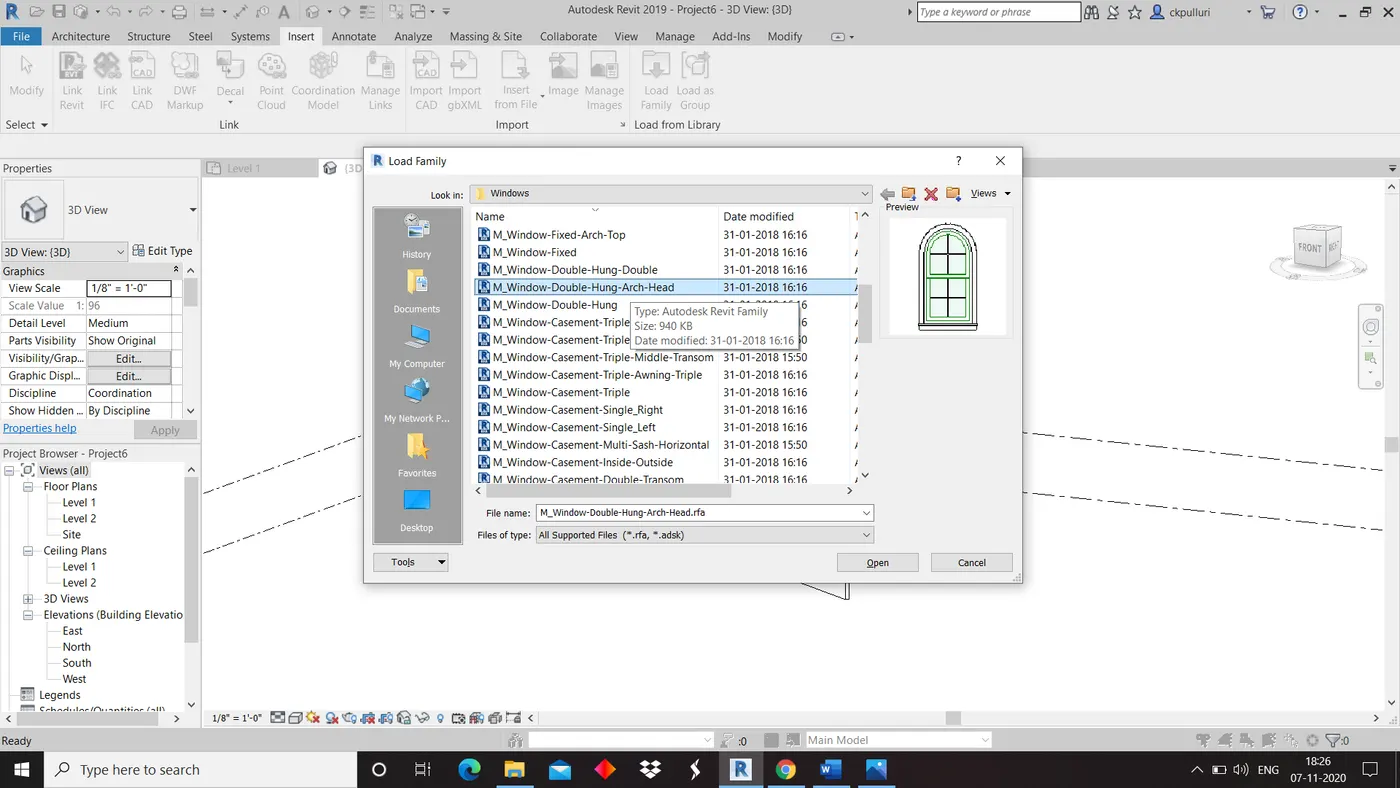
5)Open architectural tool bar,click on window and insert the component.
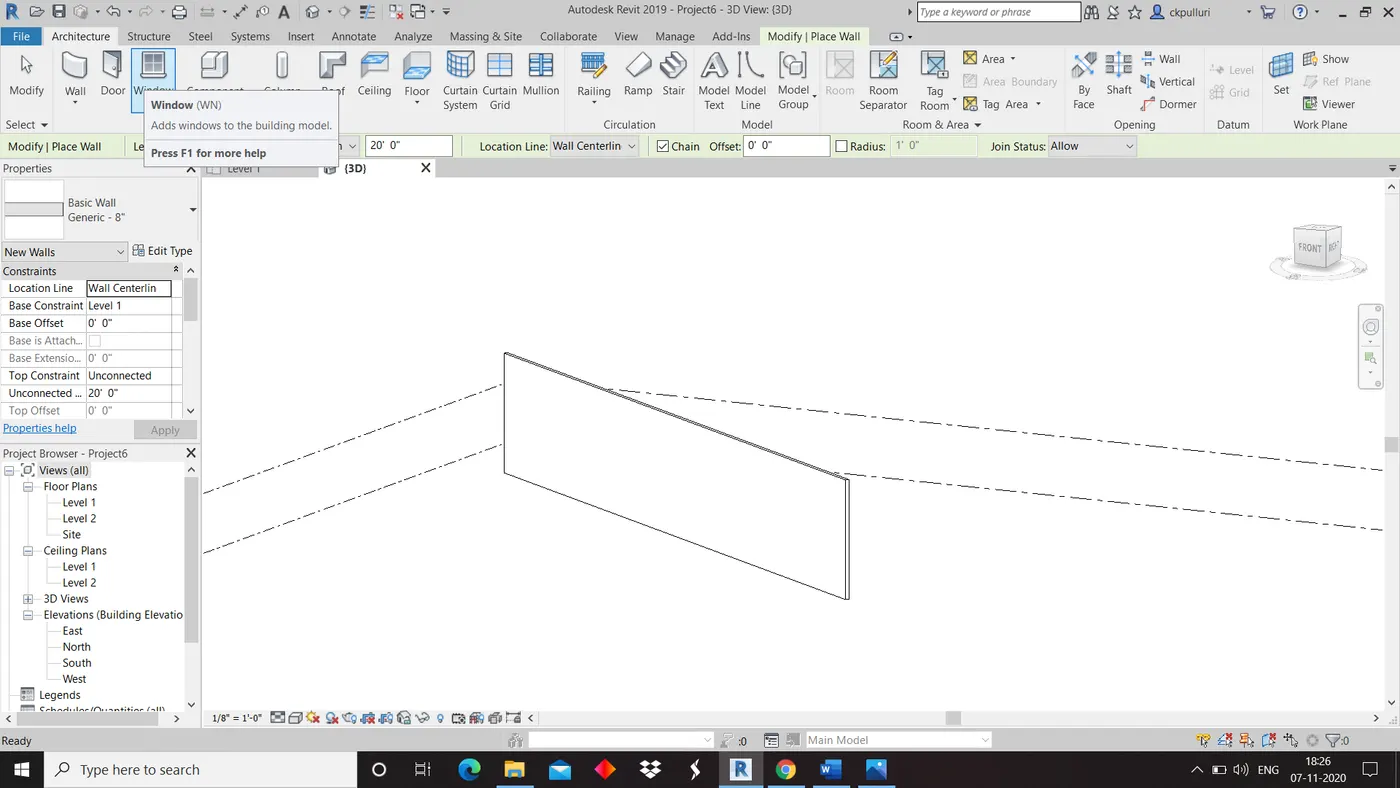
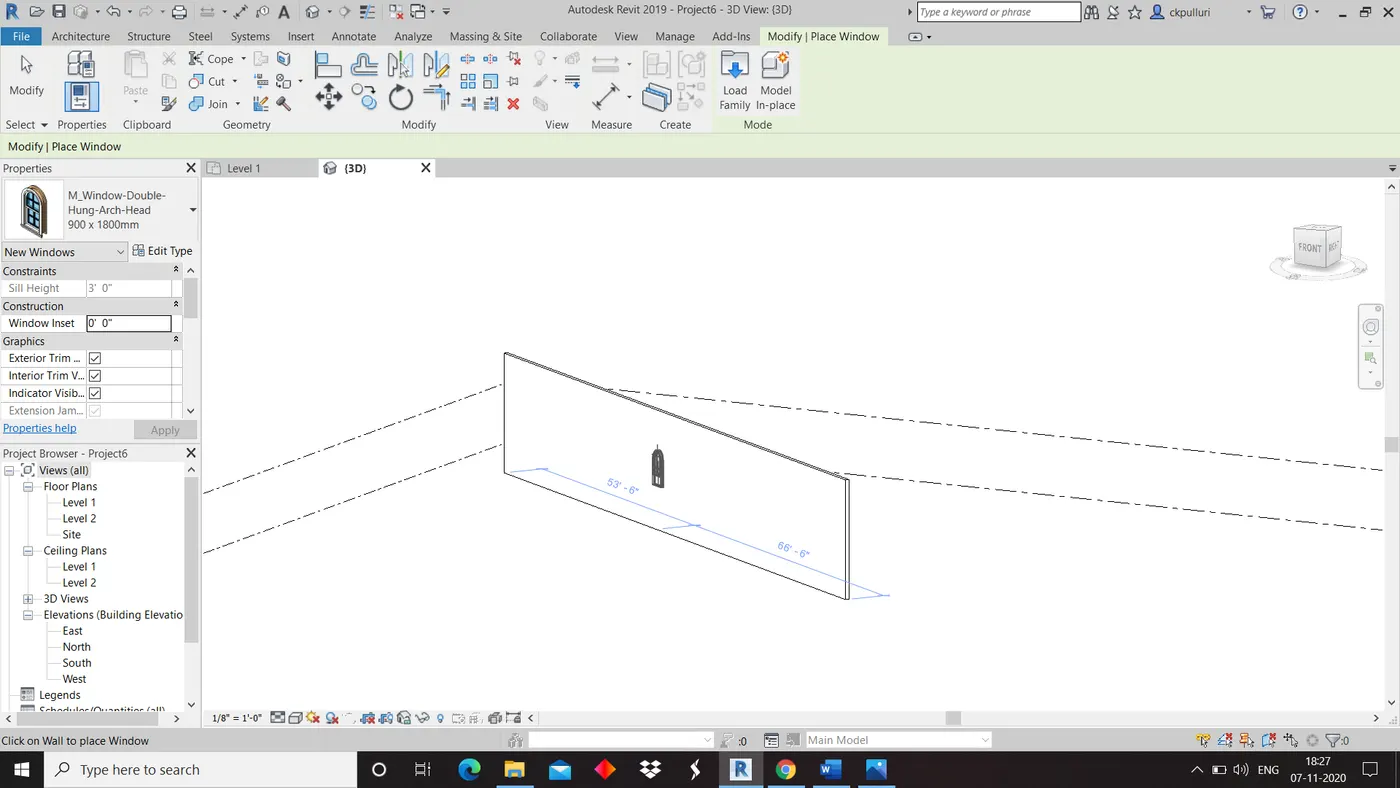
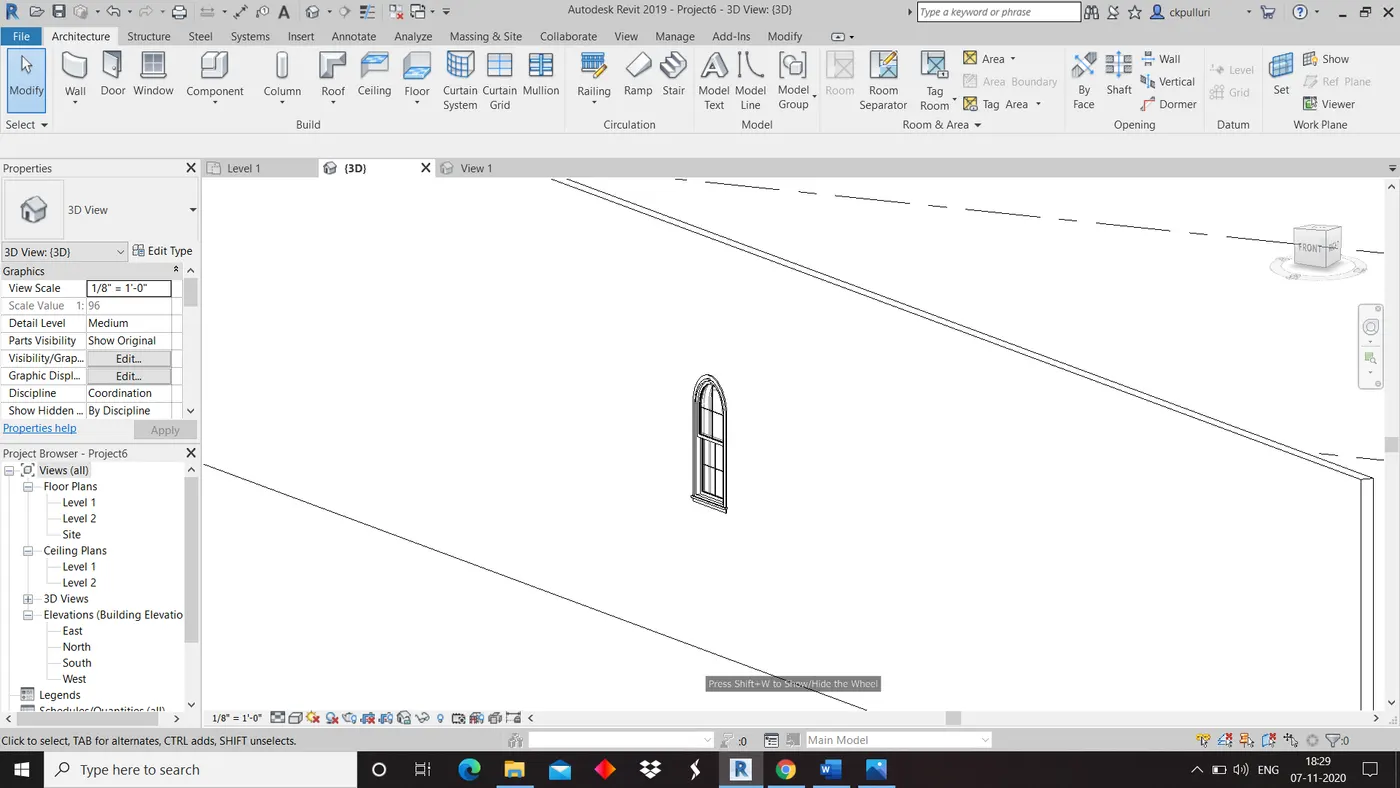
Result: Inserting a component from load family completed
Question 3
Aim: Open the project file with architectural template .Save the file with
appropriate name . Set up the project units to imperial or metric based
on your convenience of modelling .Complete the project information under
Manage tab.Set up the maximum backups for project file to 3.
Tools: New,project,architectural template,file,manage tool bar,project units and options
Procedure:
1)Open file ,Click on new and then project.
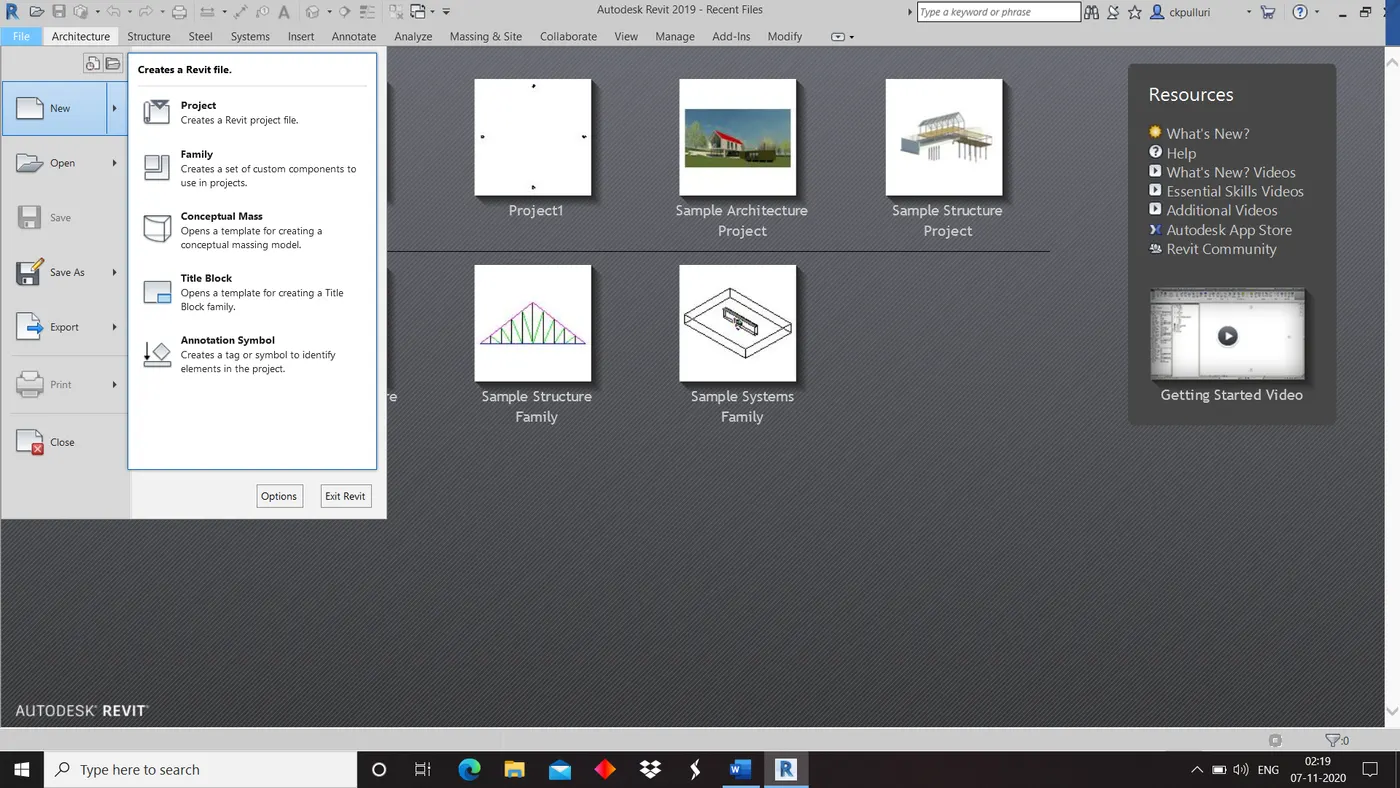
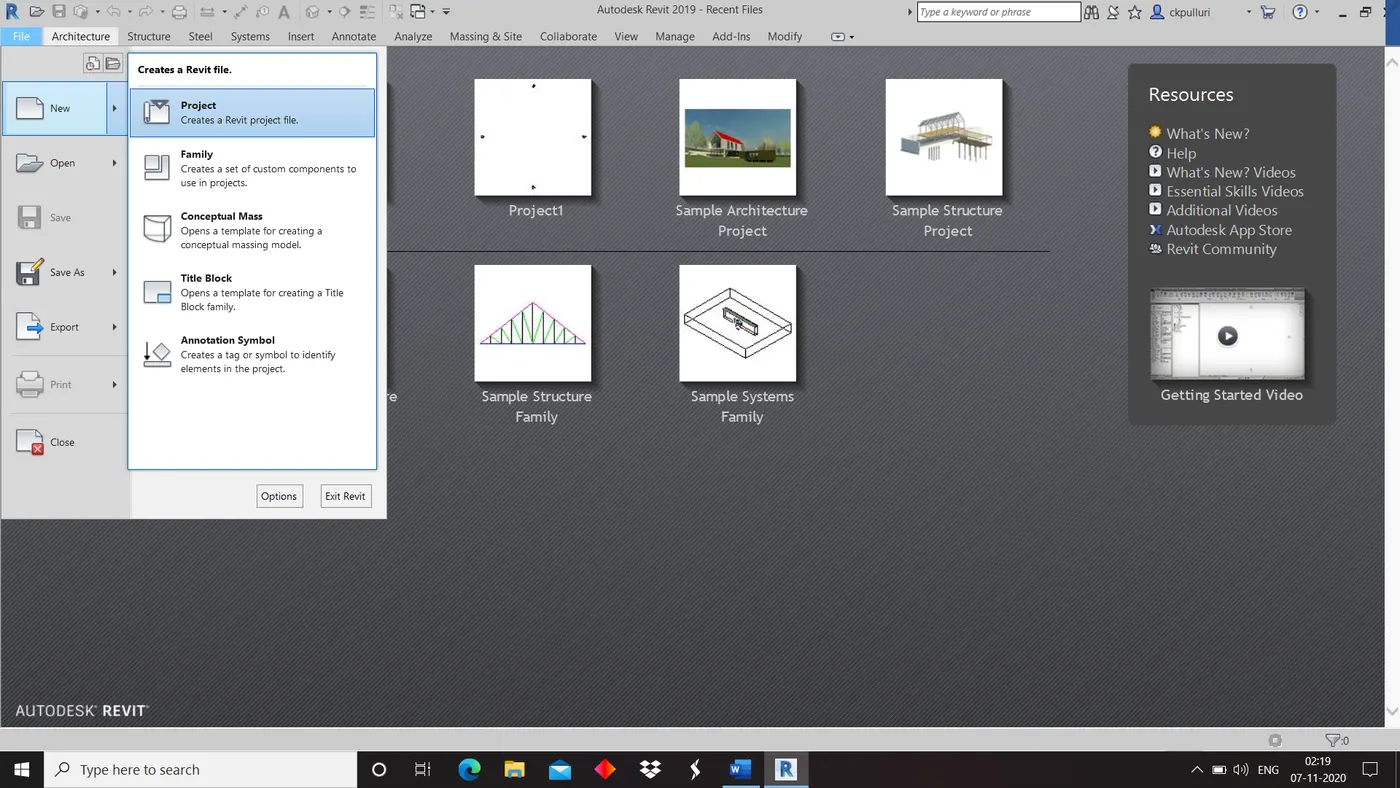
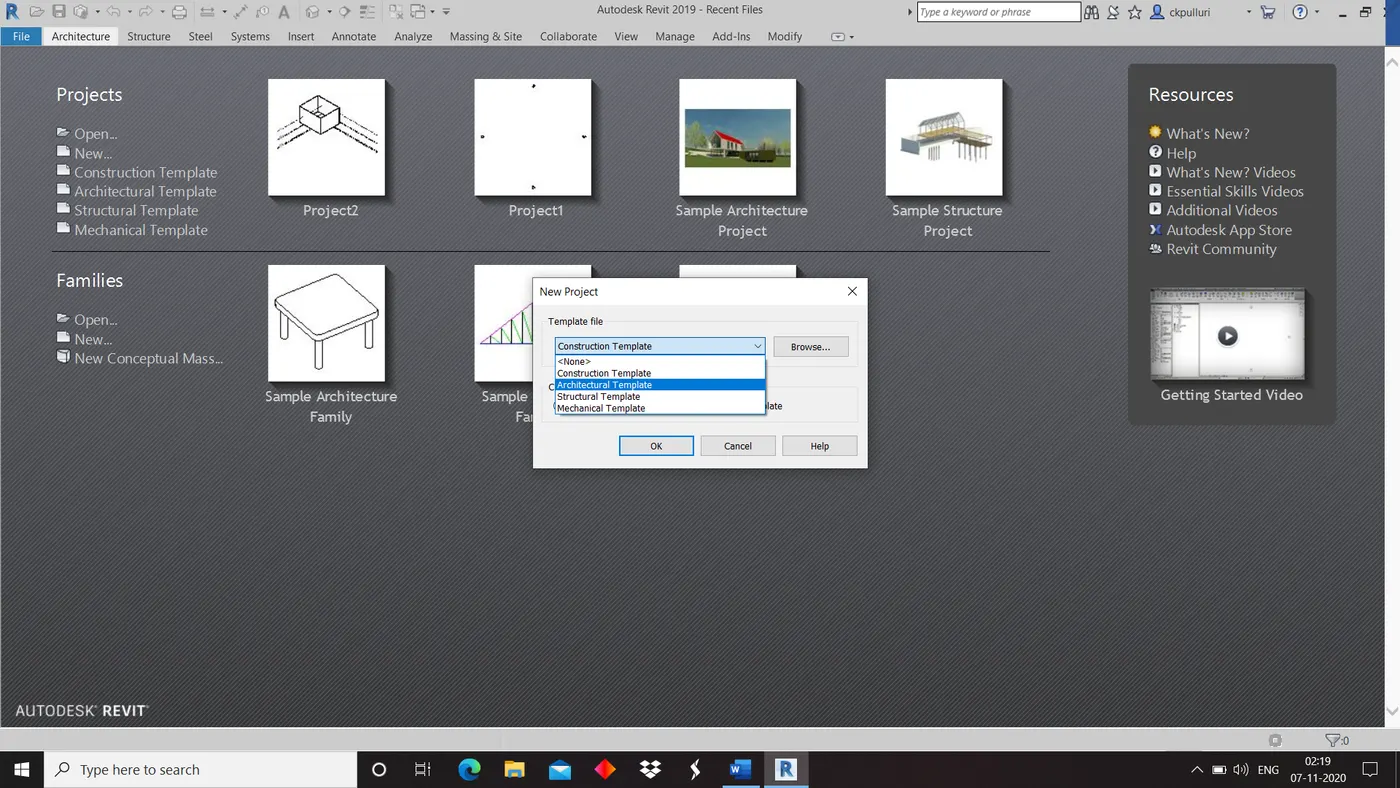
2) Select the architectural template and click ok.
3)Open file menu,Click on save as and select project.
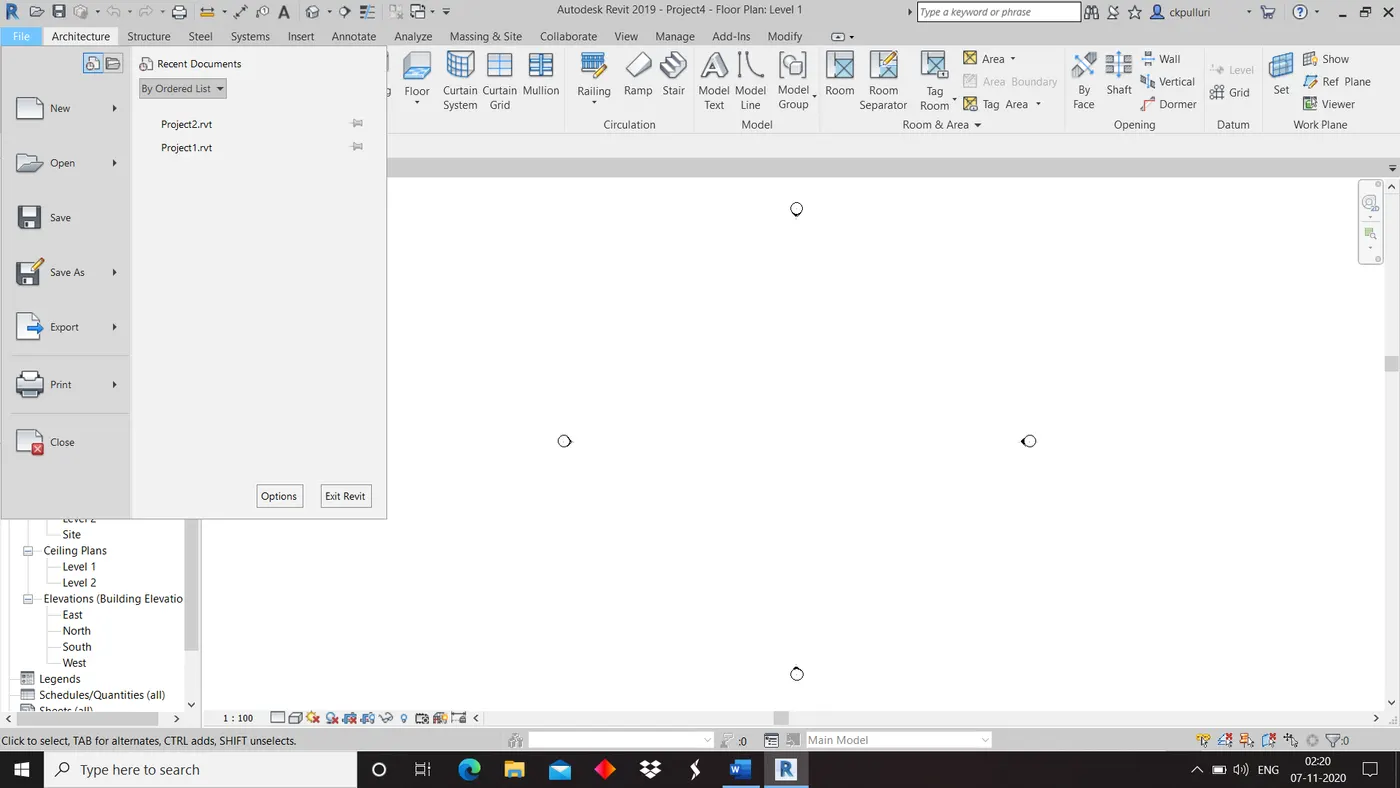
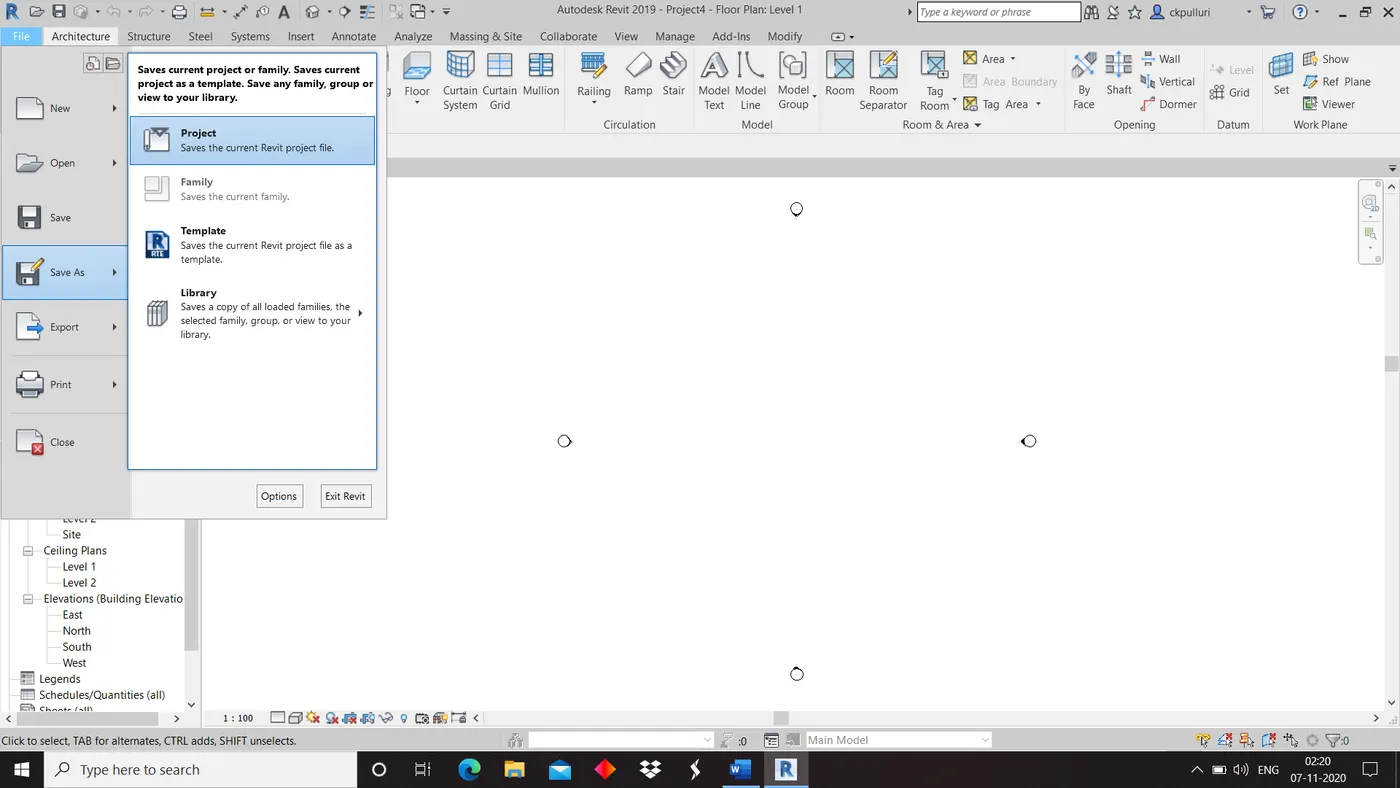
4)Name and save the project .
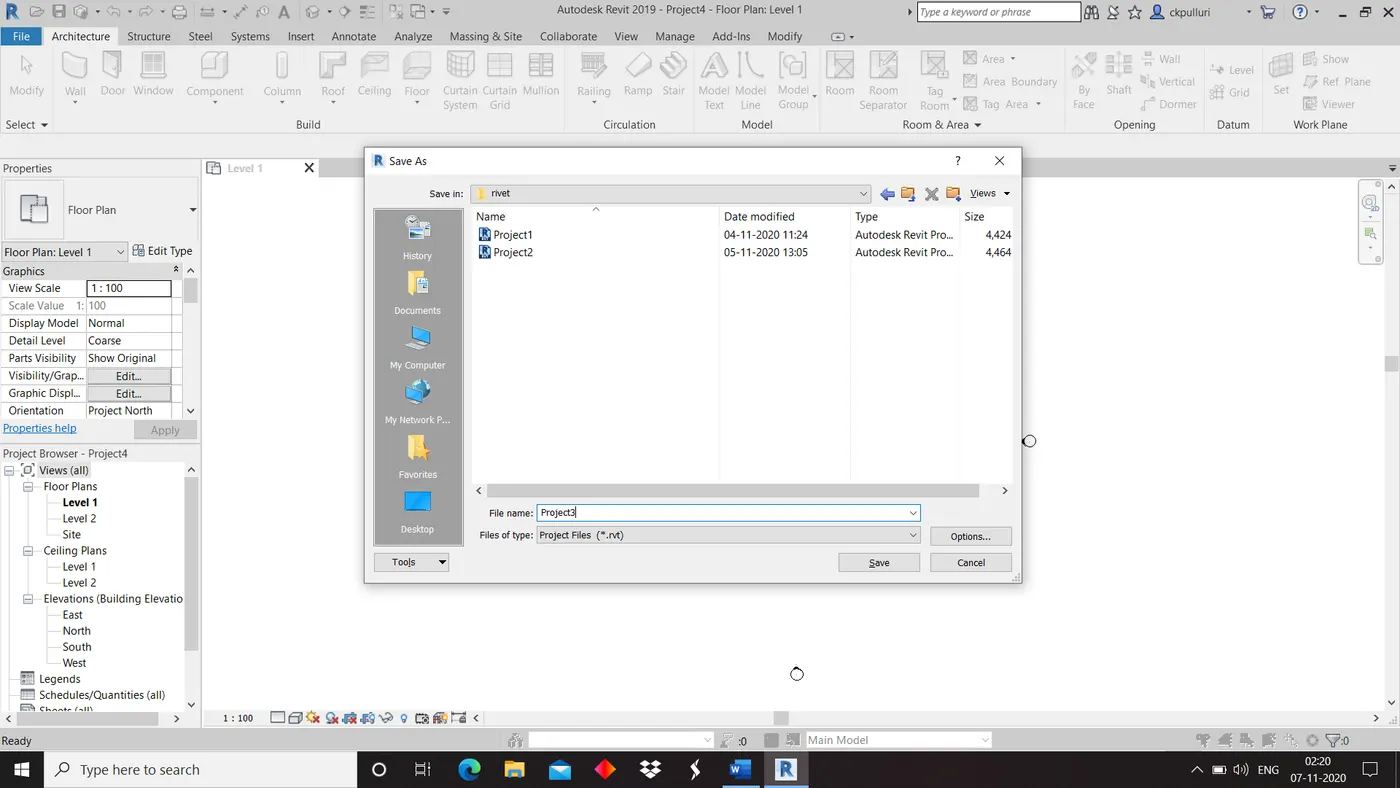
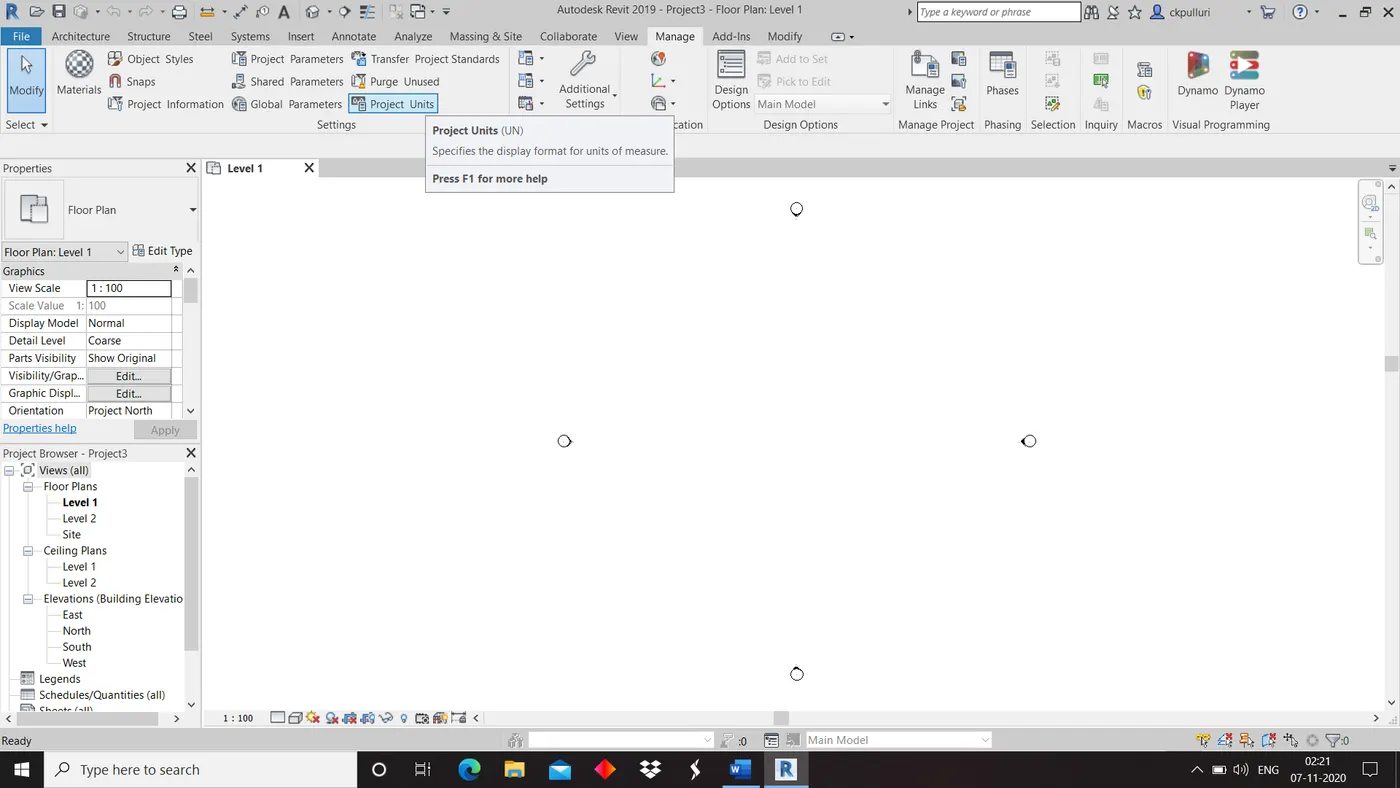
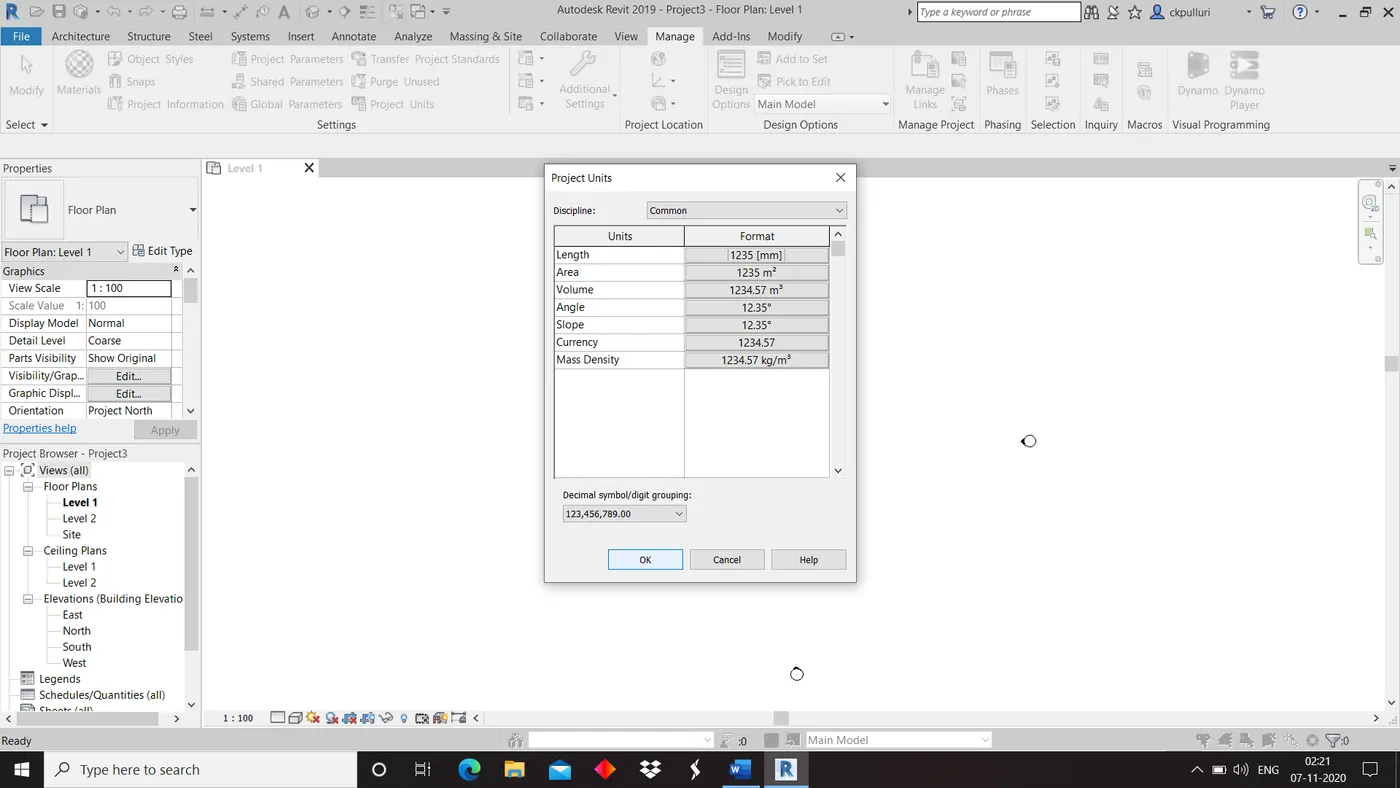
5)Open manage tool bar ,click on project units ,change the project units and click ok.
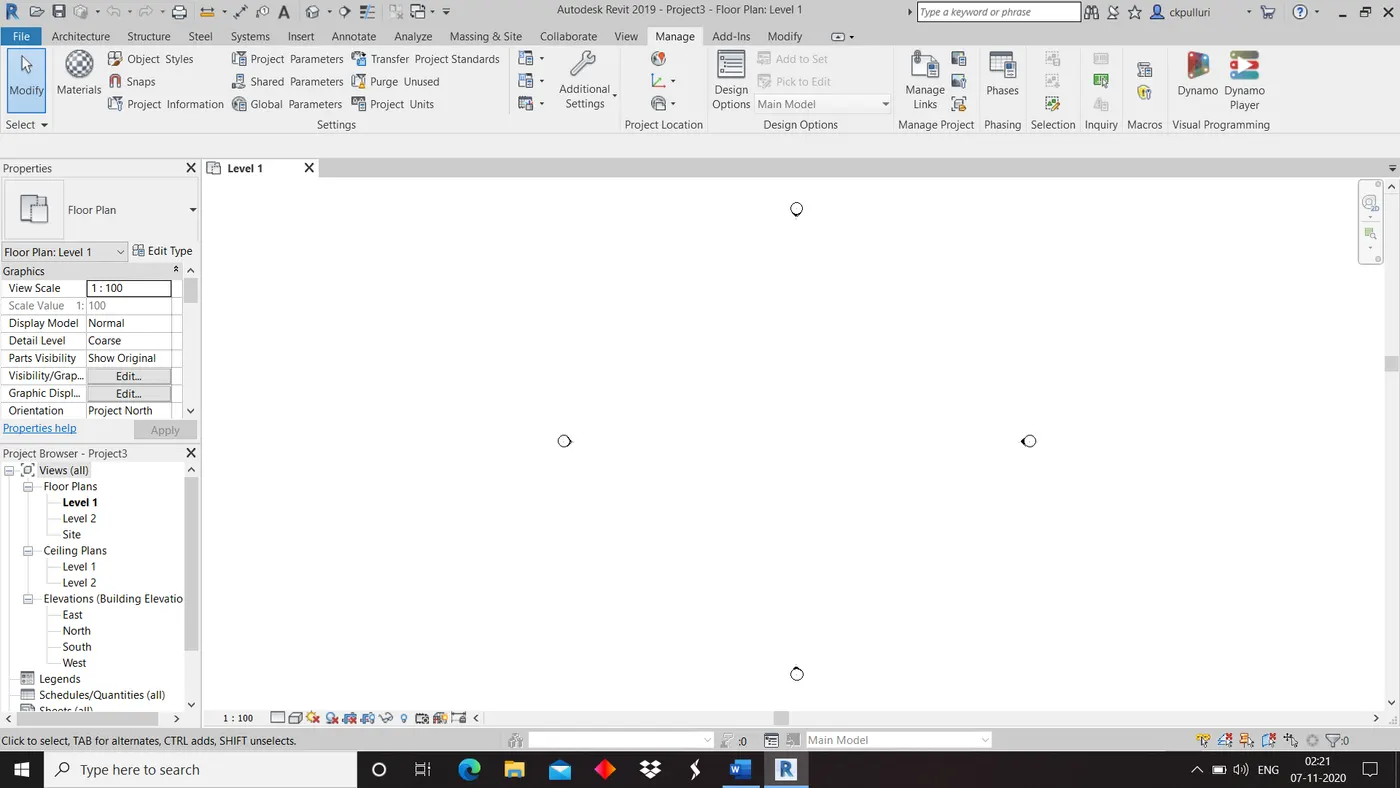
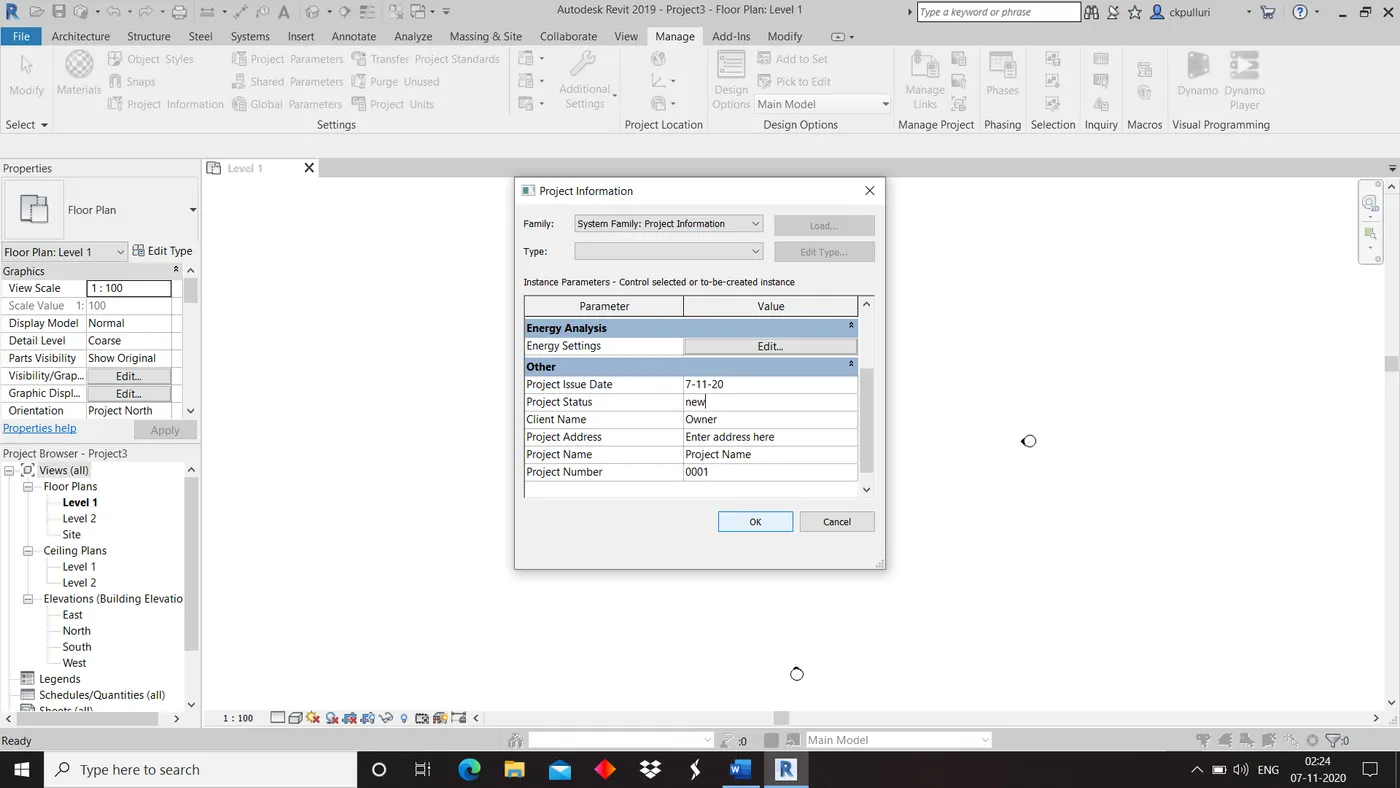
6)Click on project information and fill the details .
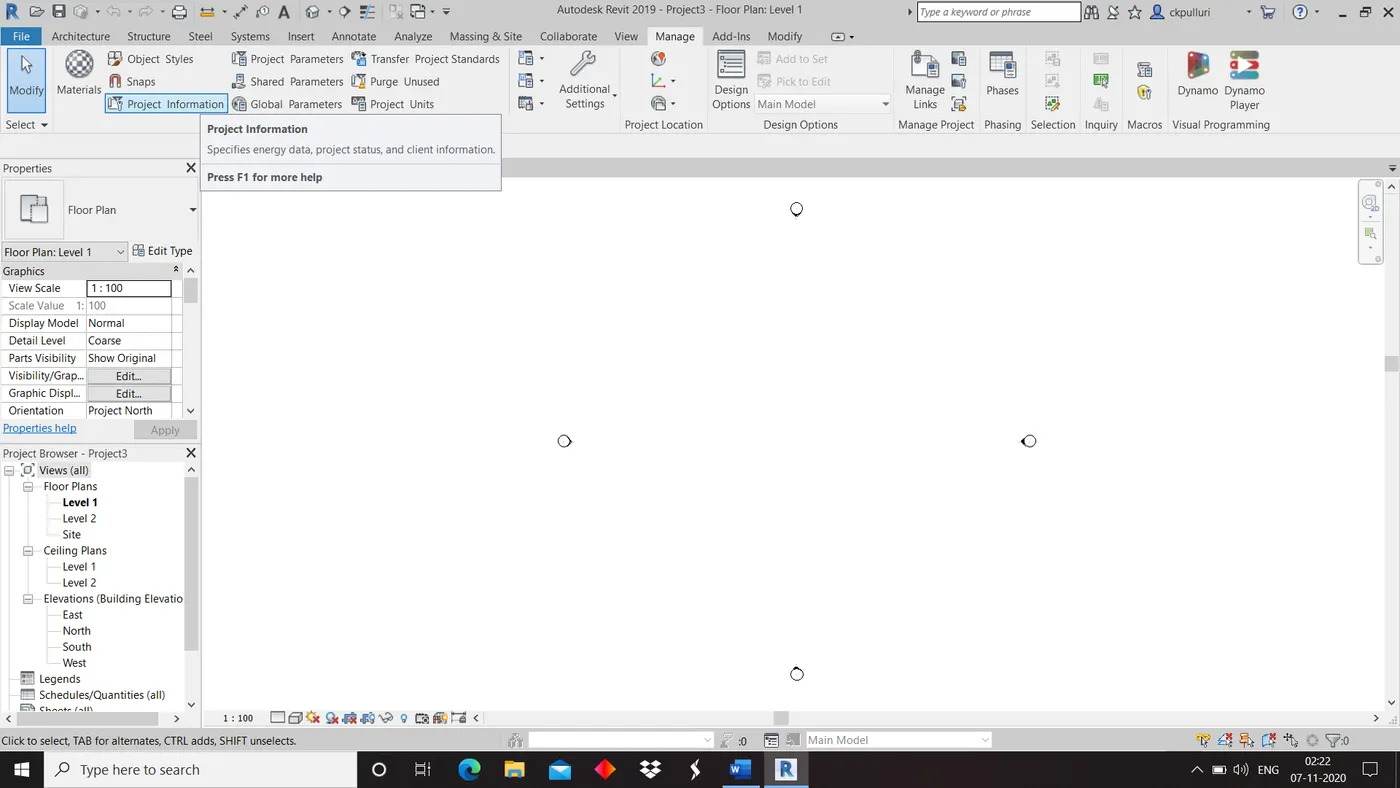
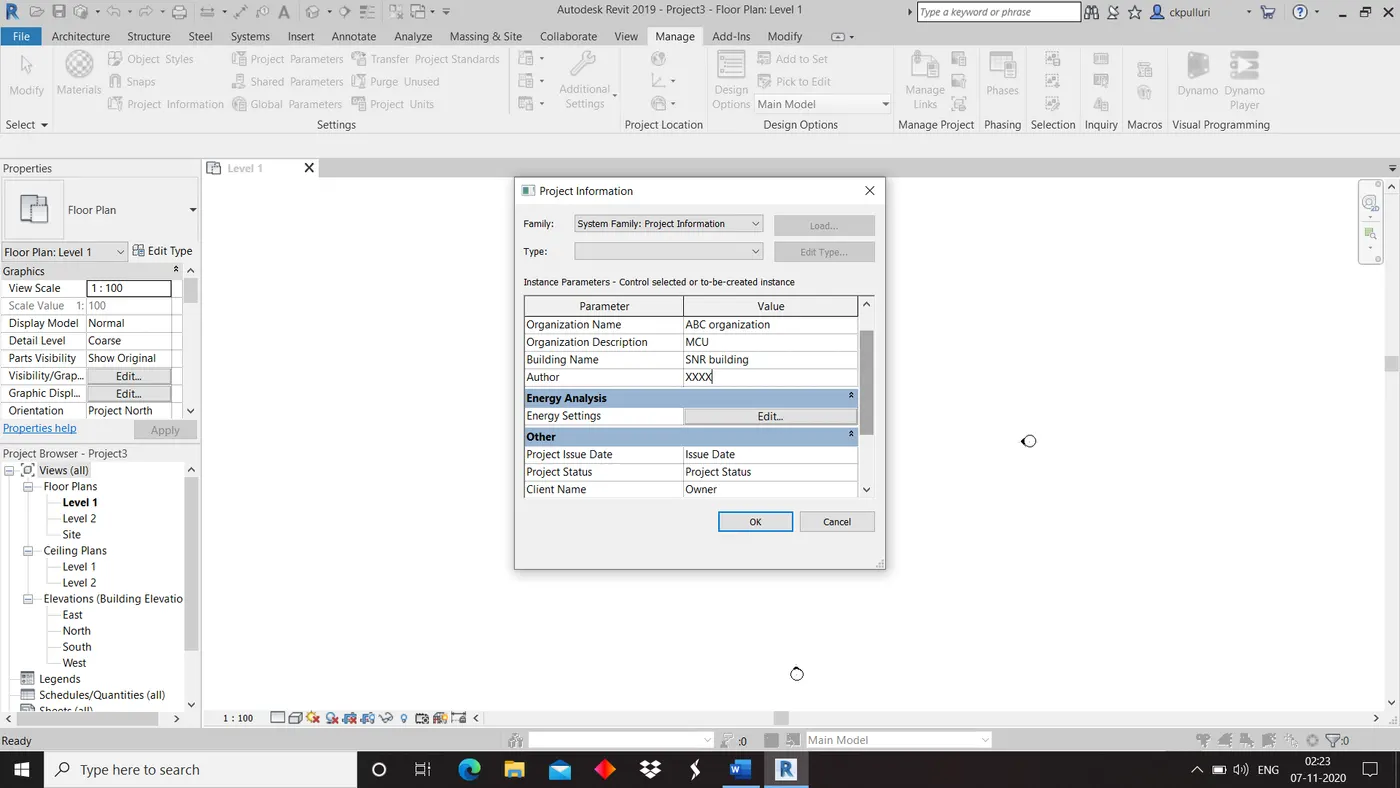
7)Click ok. Again open file menu ,click on save as and then project.
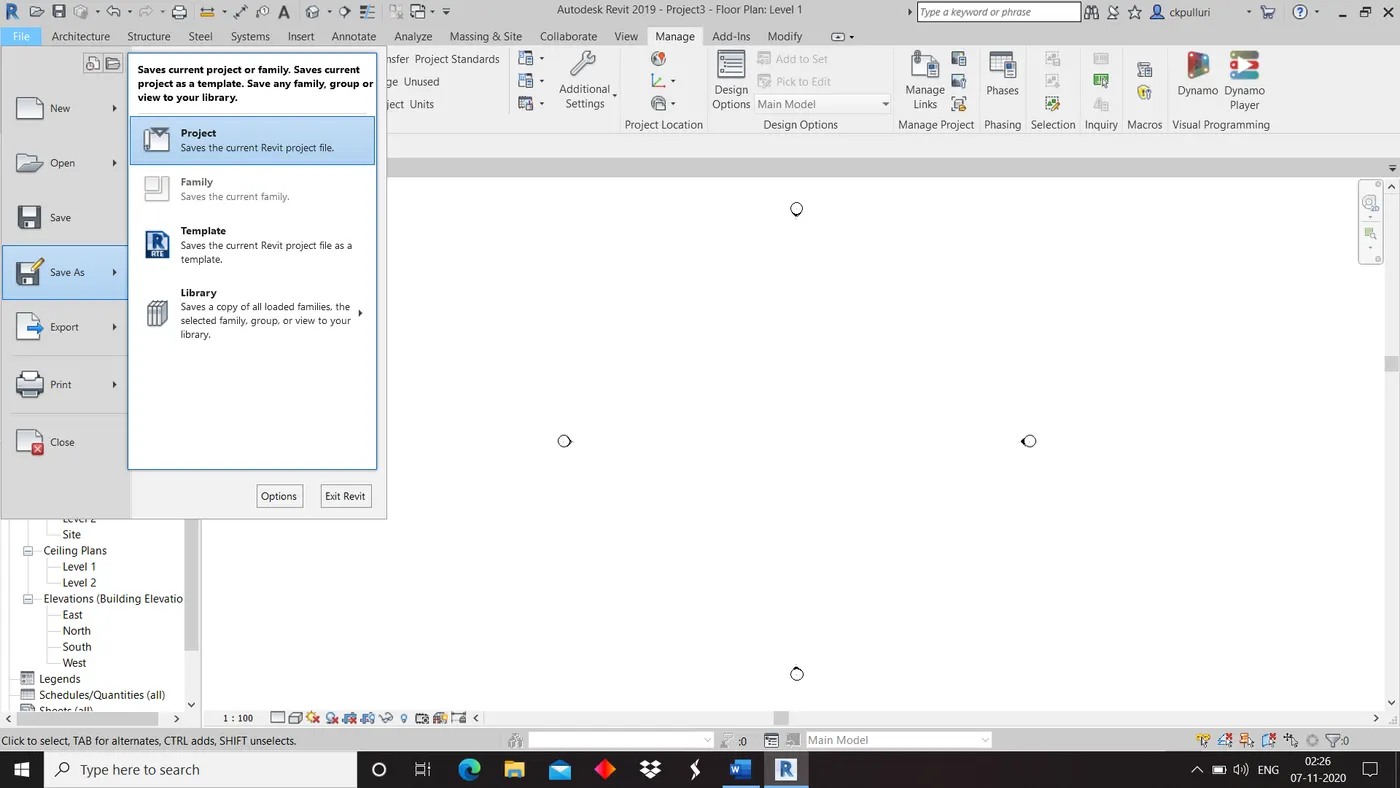
8)Select options, change the maximum backsups to 3 and click ok
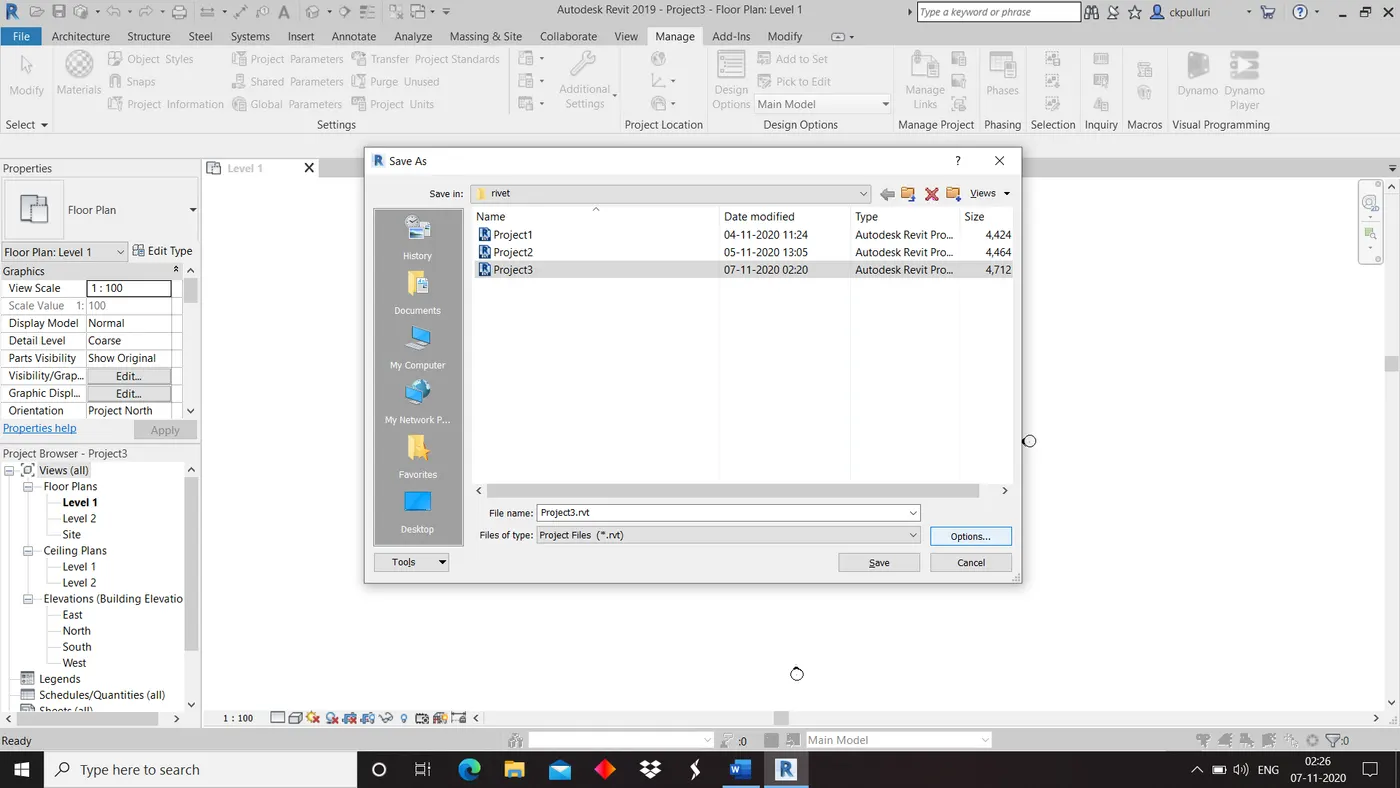
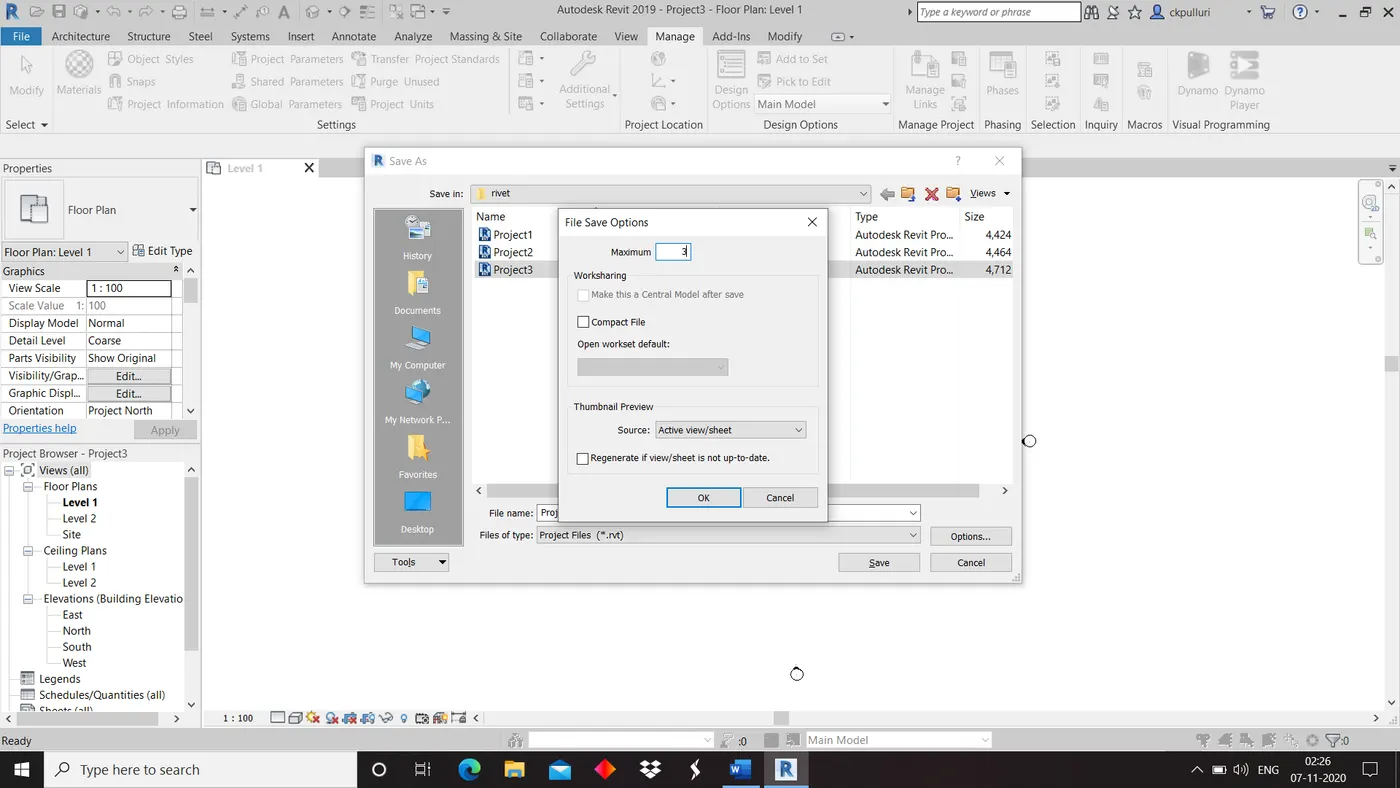
Result: Create architectural template ,set up project units and maximum backups to 3 completed.
Question 4
Aim:
Understand the concept of Levels and Grids. Follow the naming and conventions. Create the following Levels:
Ground Floor @ 0’
First Floor @ 10’
Second Floor @ 20’
Roof @ 30’
Grids Transverse Grids A, B,C,D, E @ 10’ spacing
Longitudinal Grids from 1 to 10 @ 20’ spacing
Tools: Architectural template,East,Levels and Grid
Procedure:
1)Select architectural template and click on east option under elevation.
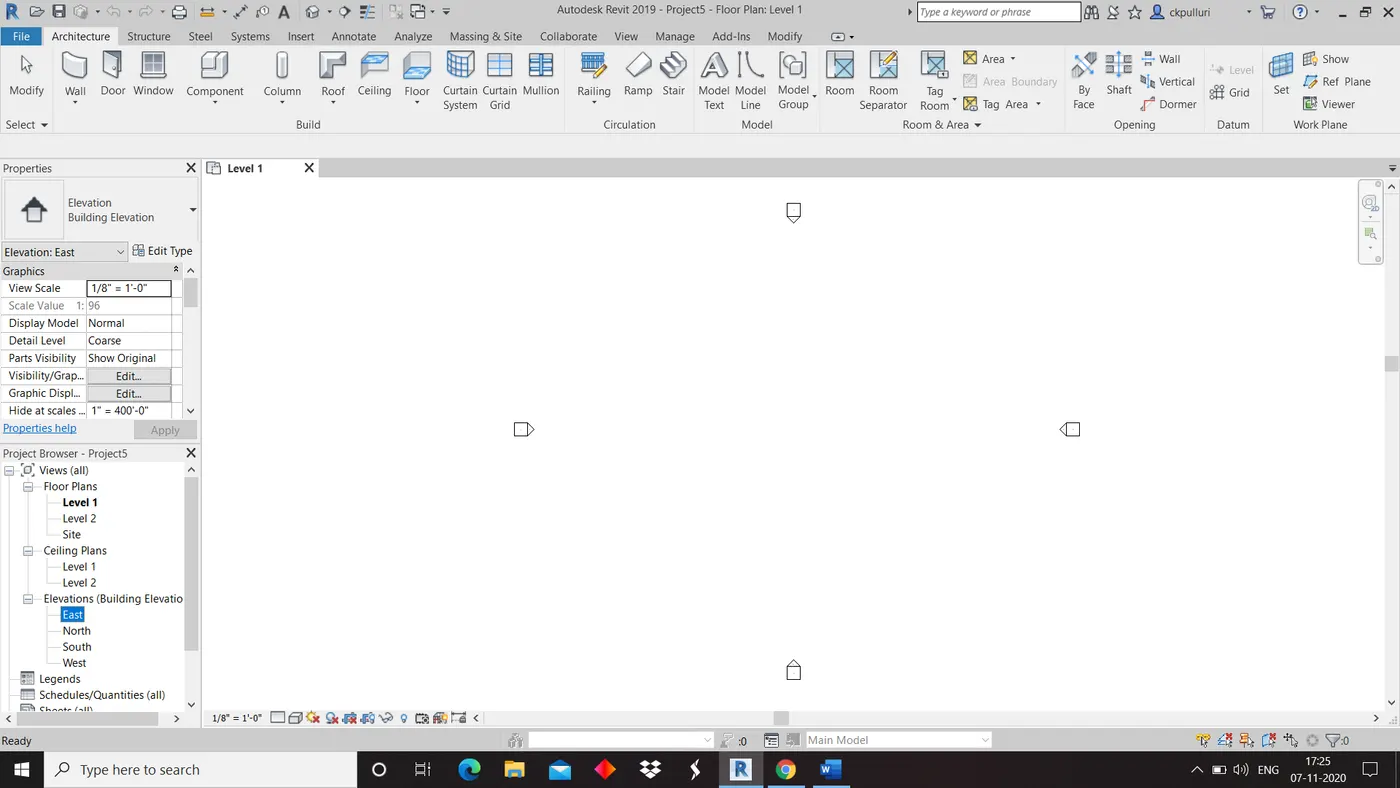
2)Rename the levels and place them at distance of 10'.
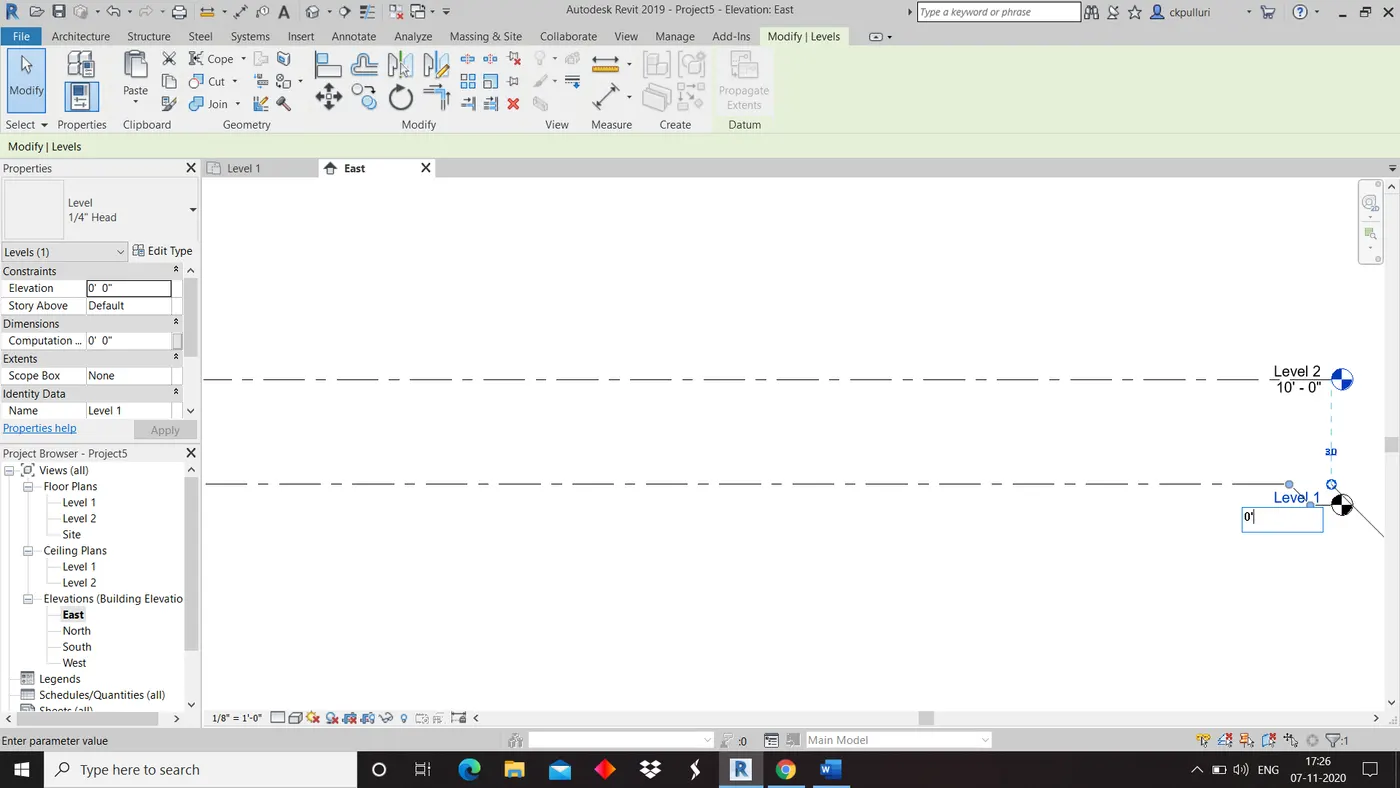
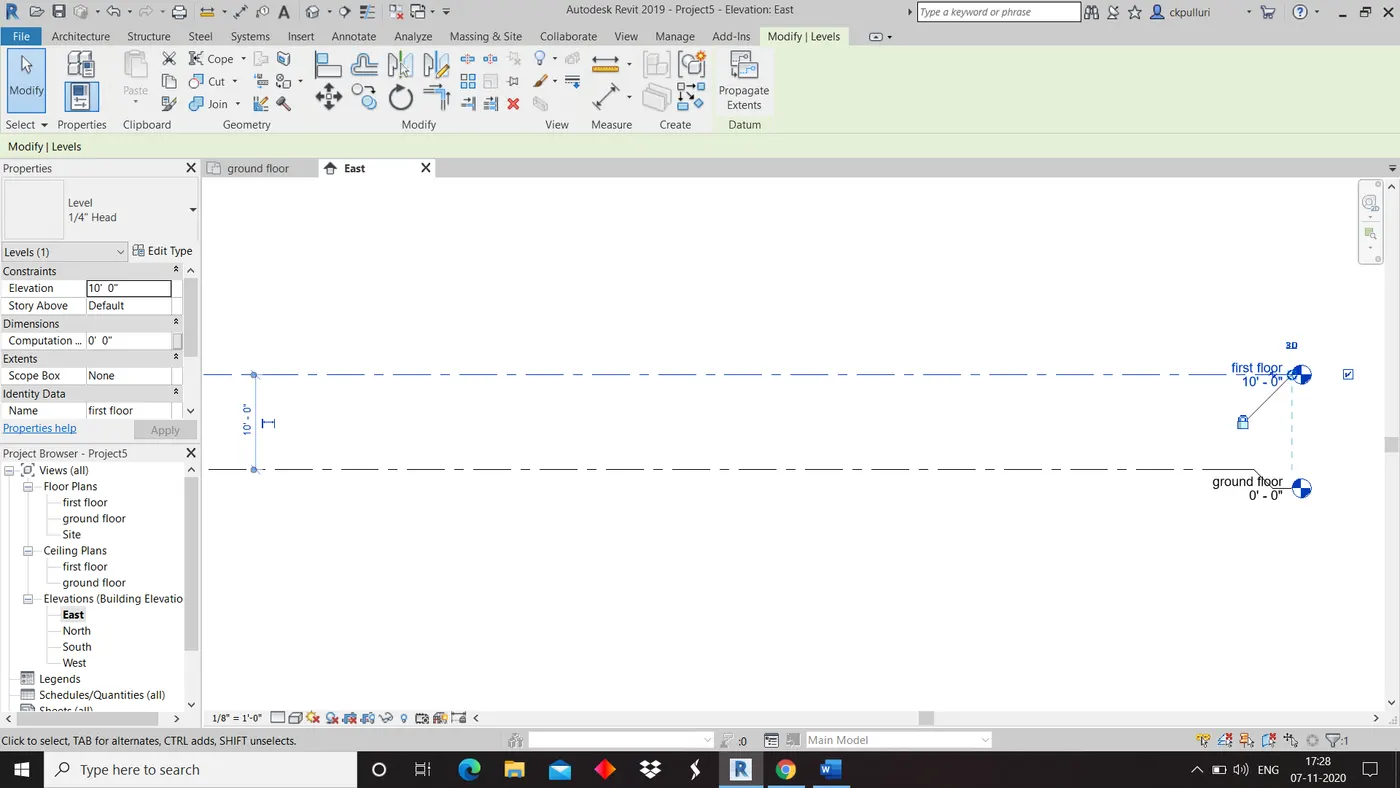
3)Add new levels by using level option in architecture menu.
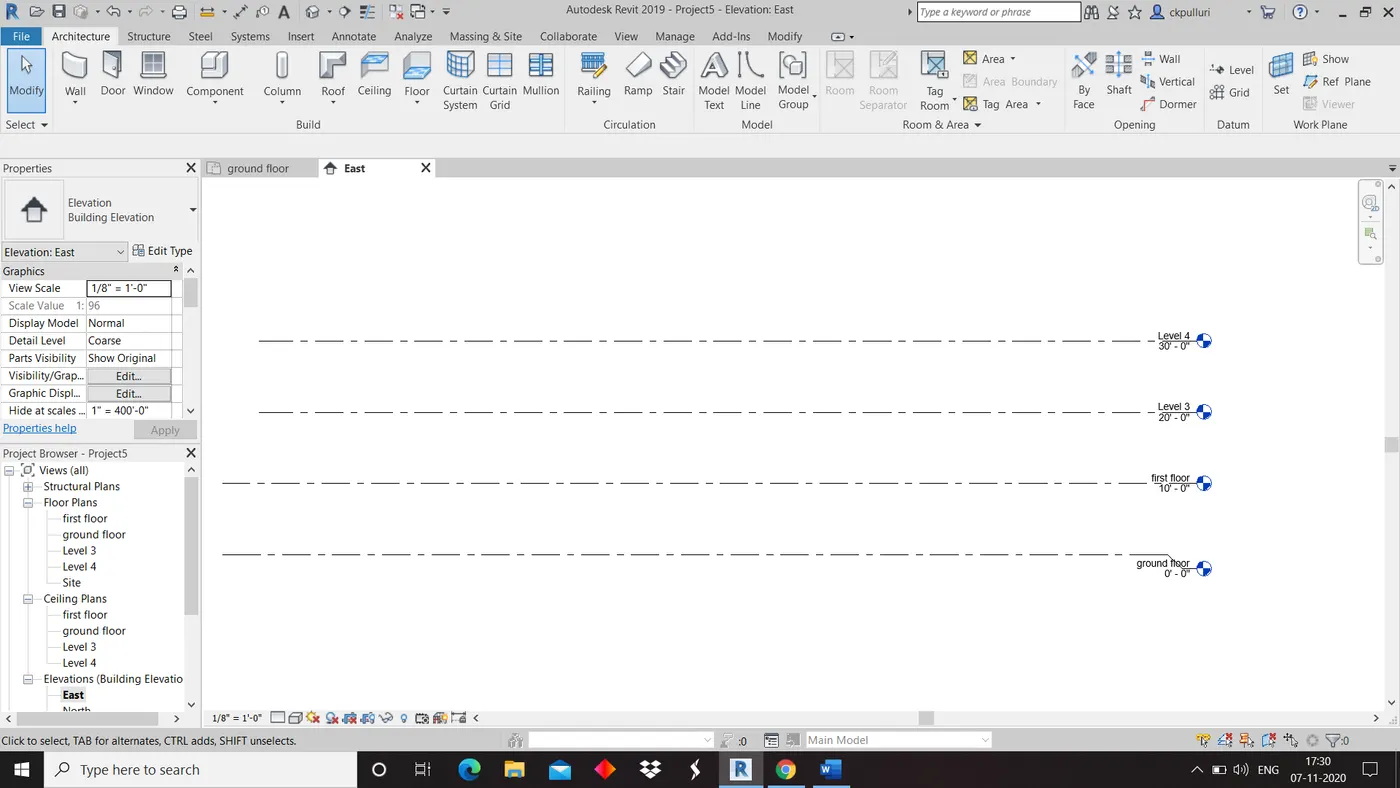
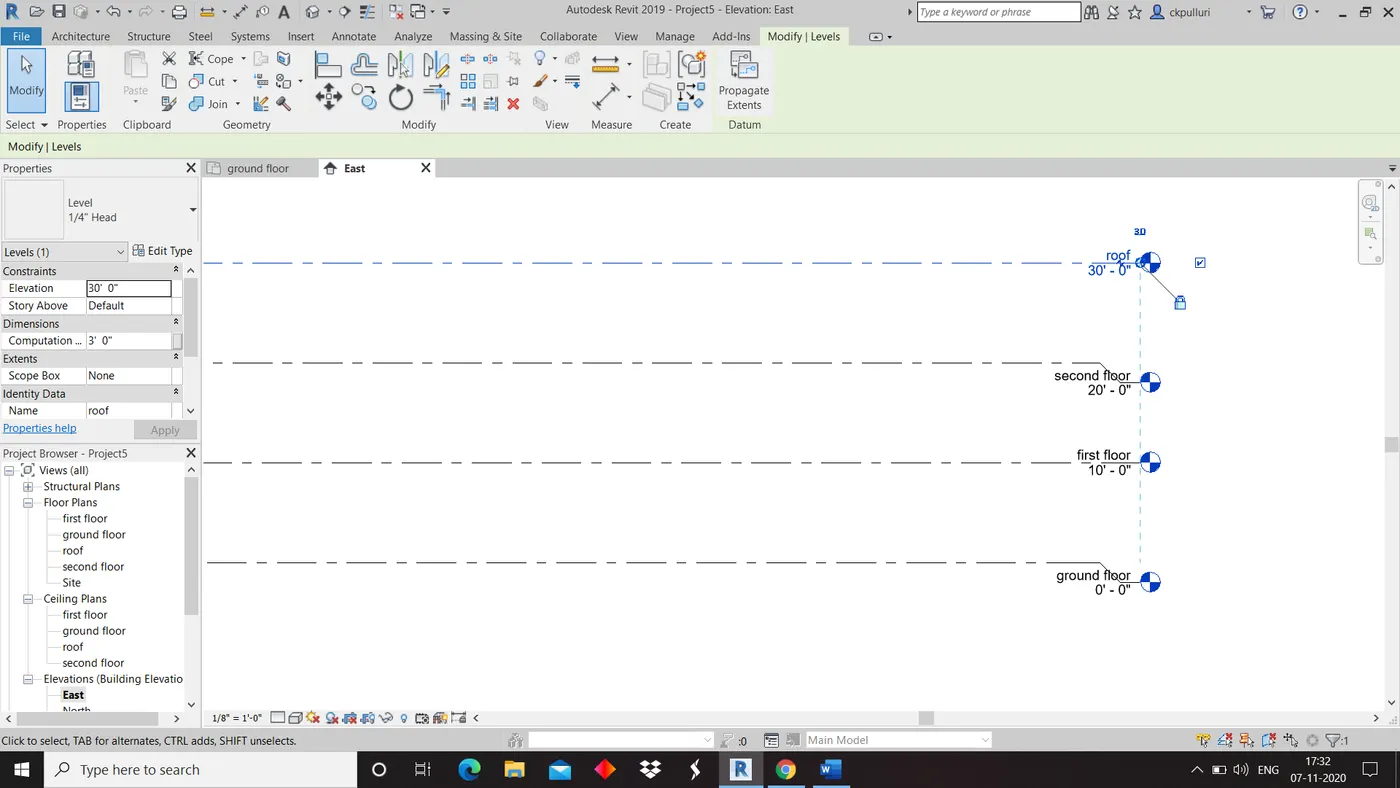
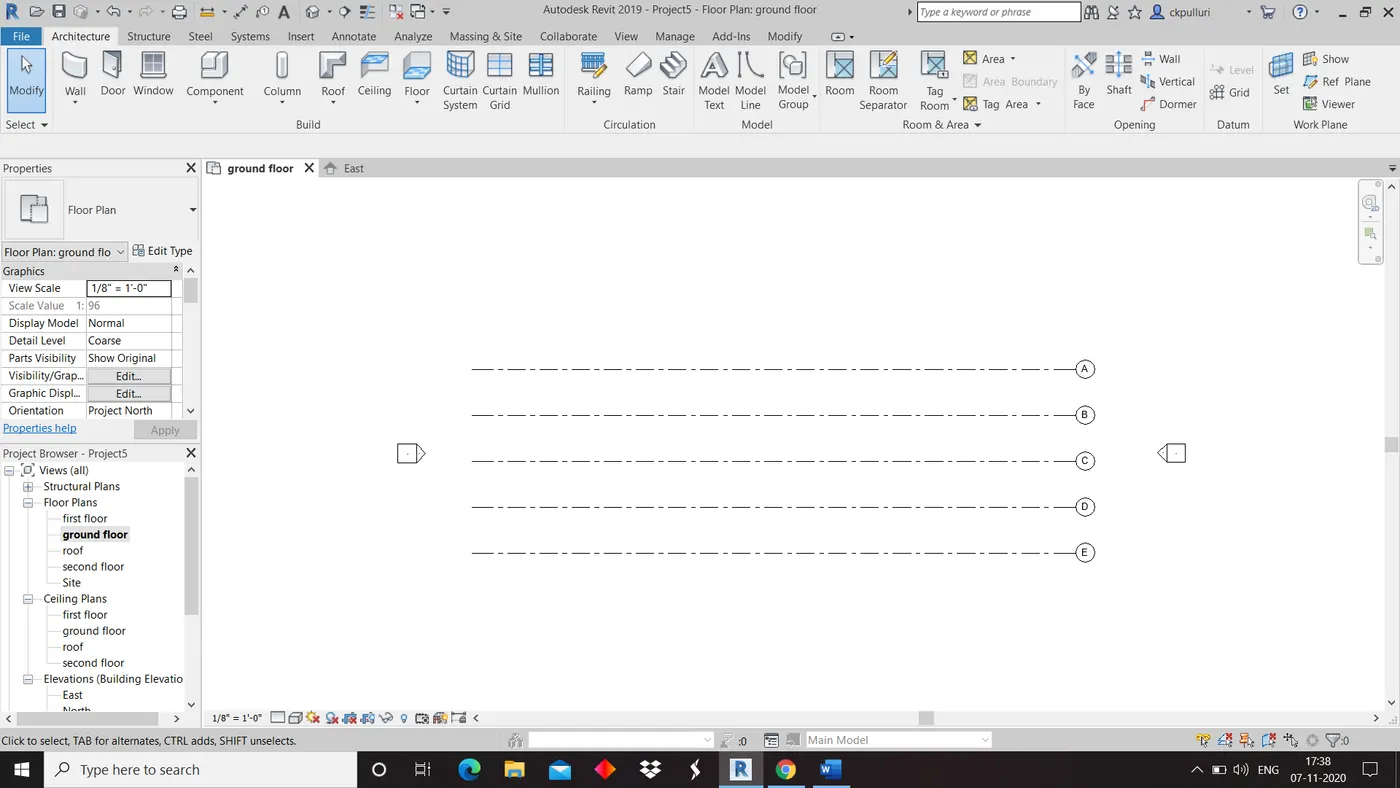
4)Select grid option and draw 5 horizantal grid lines and name them A,B,C,D and E, spacing between them must be 10'.
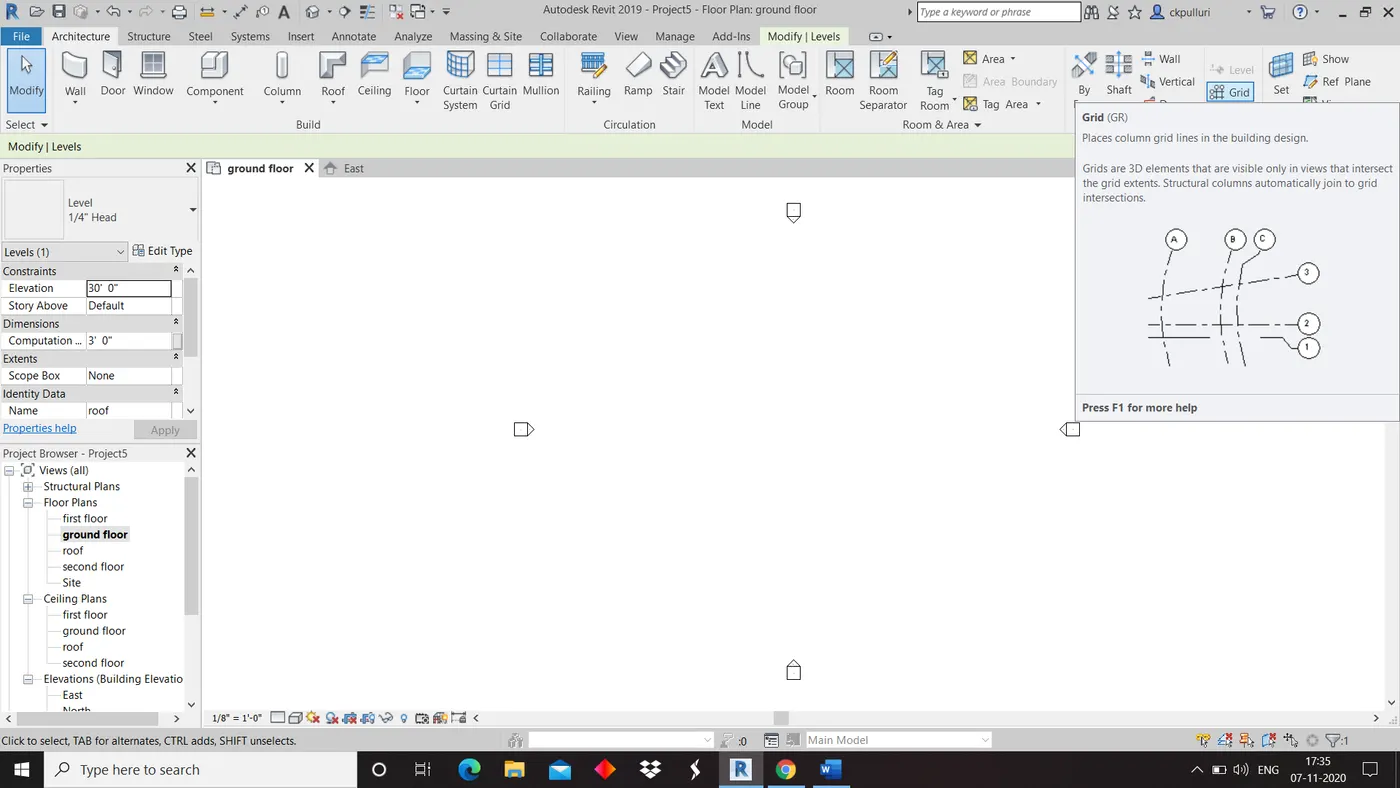
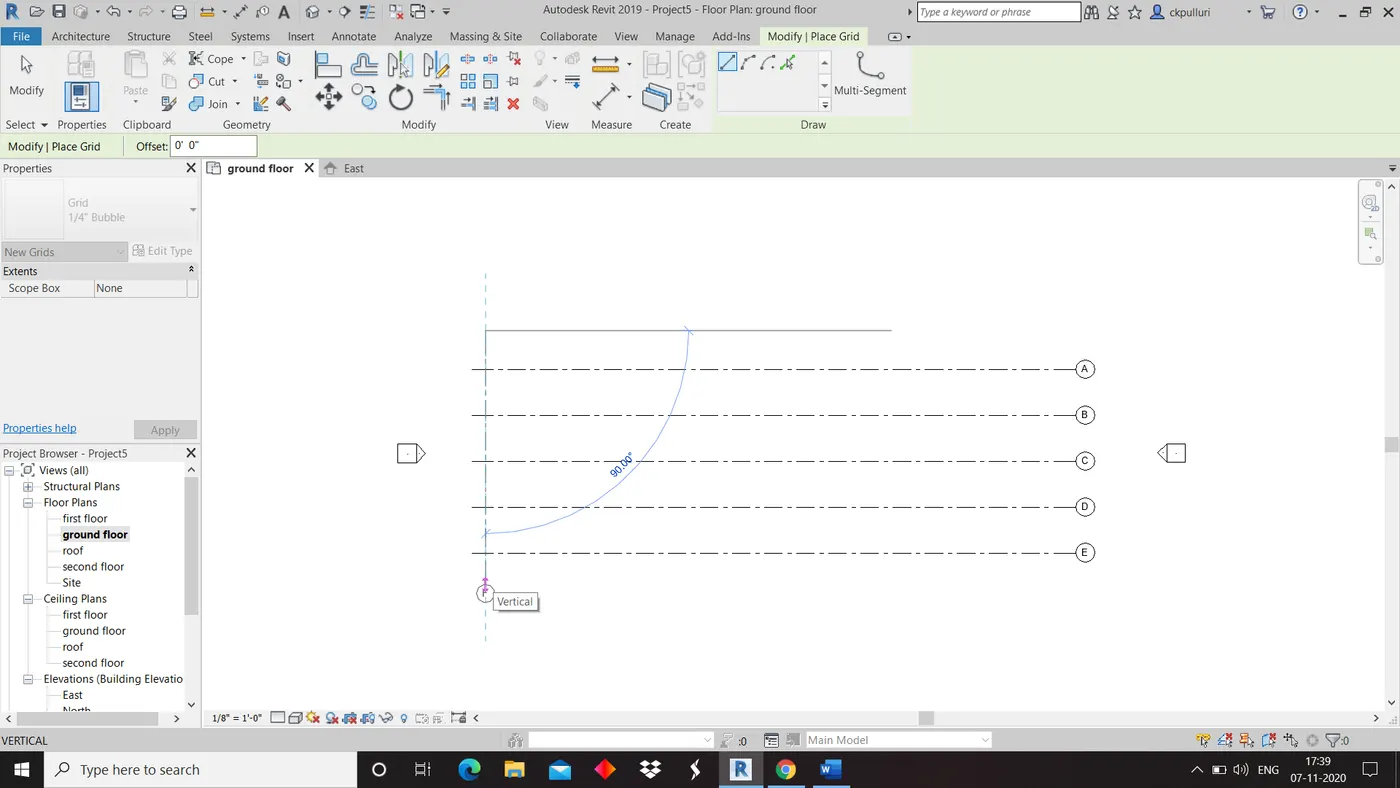
5)Draw vertical grid lines name them 1-10,spacing between them must be 20'.
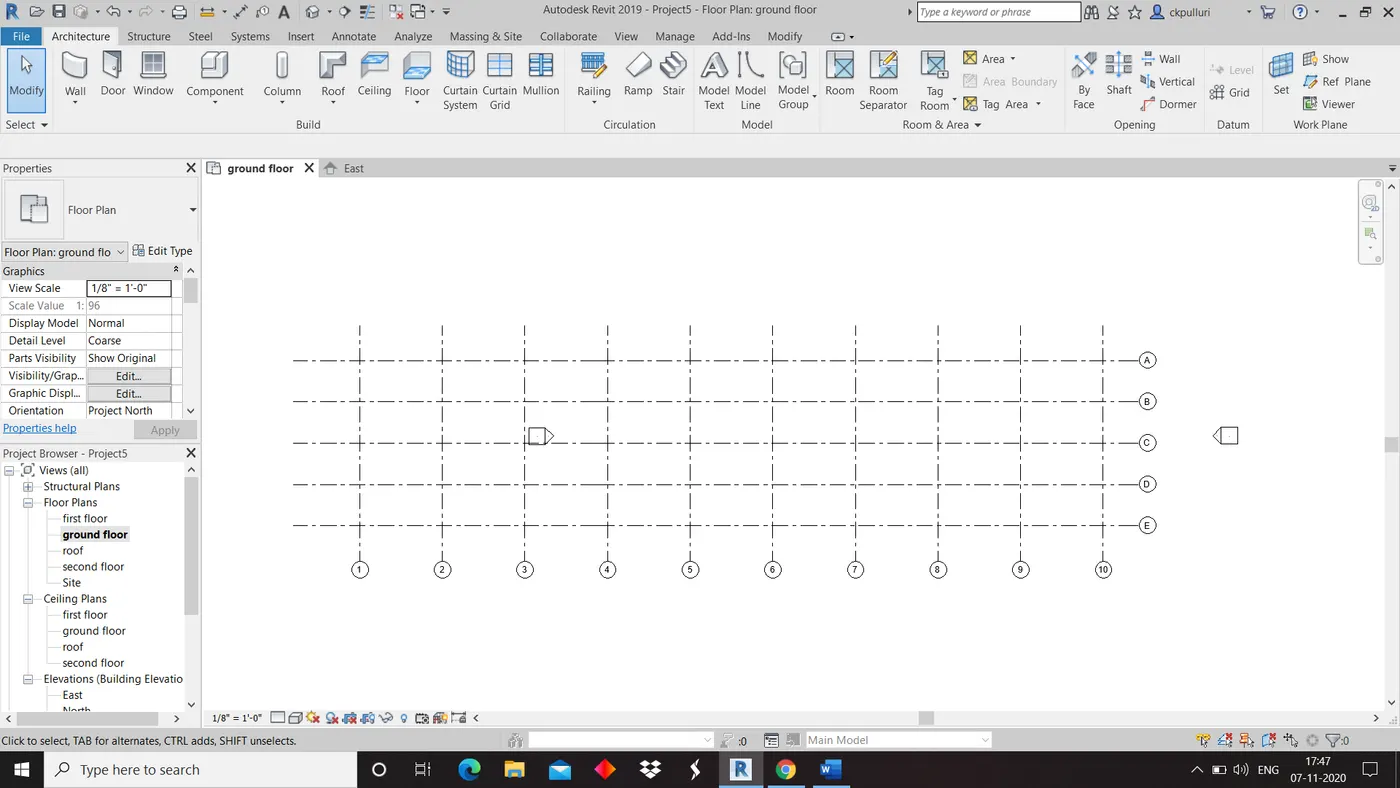
Result: Draw grids, levels and renaming them successfully completed.
Question 5
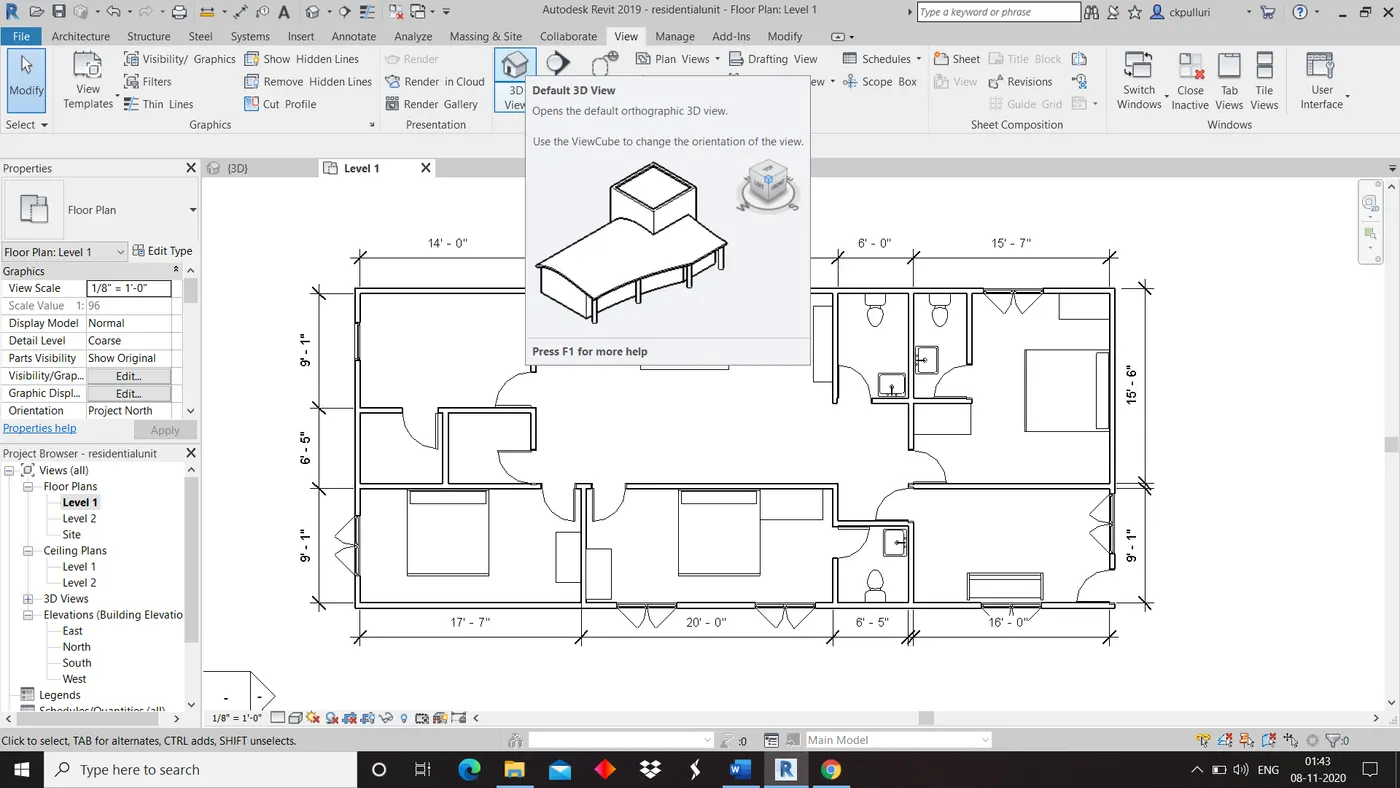
Aim: From looking at your house / or a place you aspire. Create a conceptual layout of the residential unit. You can measure using a tape .
Tools: Architectural template, architectural tool bar ,wall ,view tool bar and 3D view
Procedure:
1)Click on architectural template.
2)Open architectural tool bar and Click on wall.
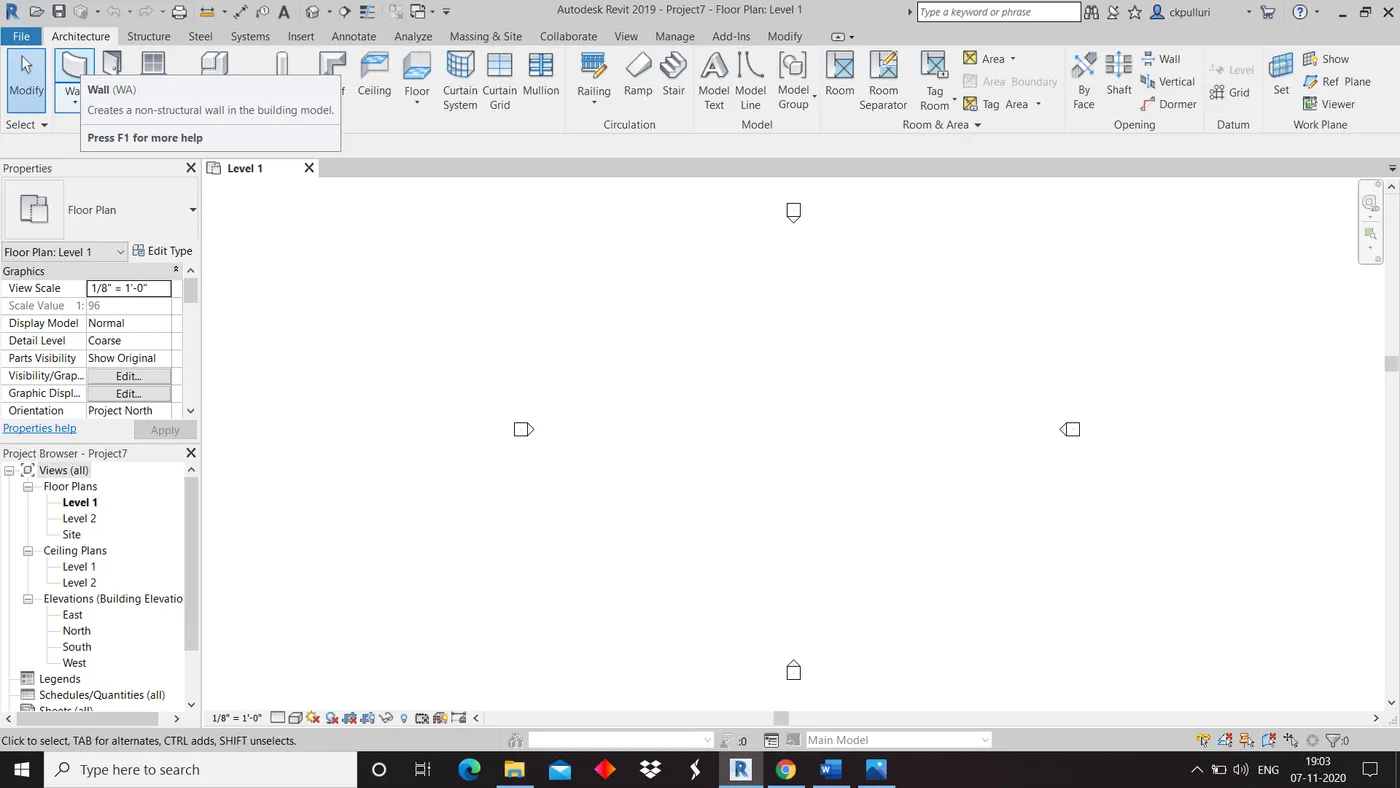
3)Draw the layout of residential unit.
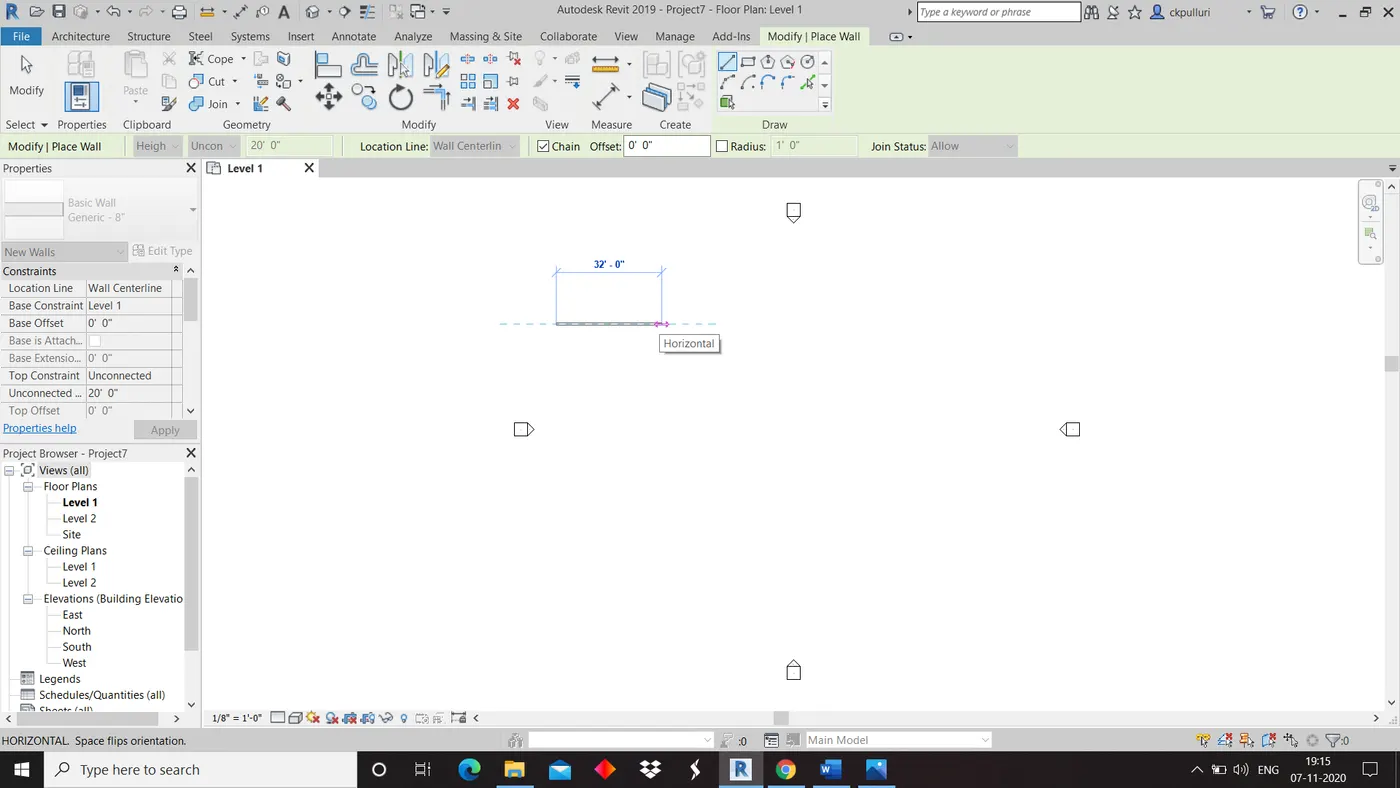
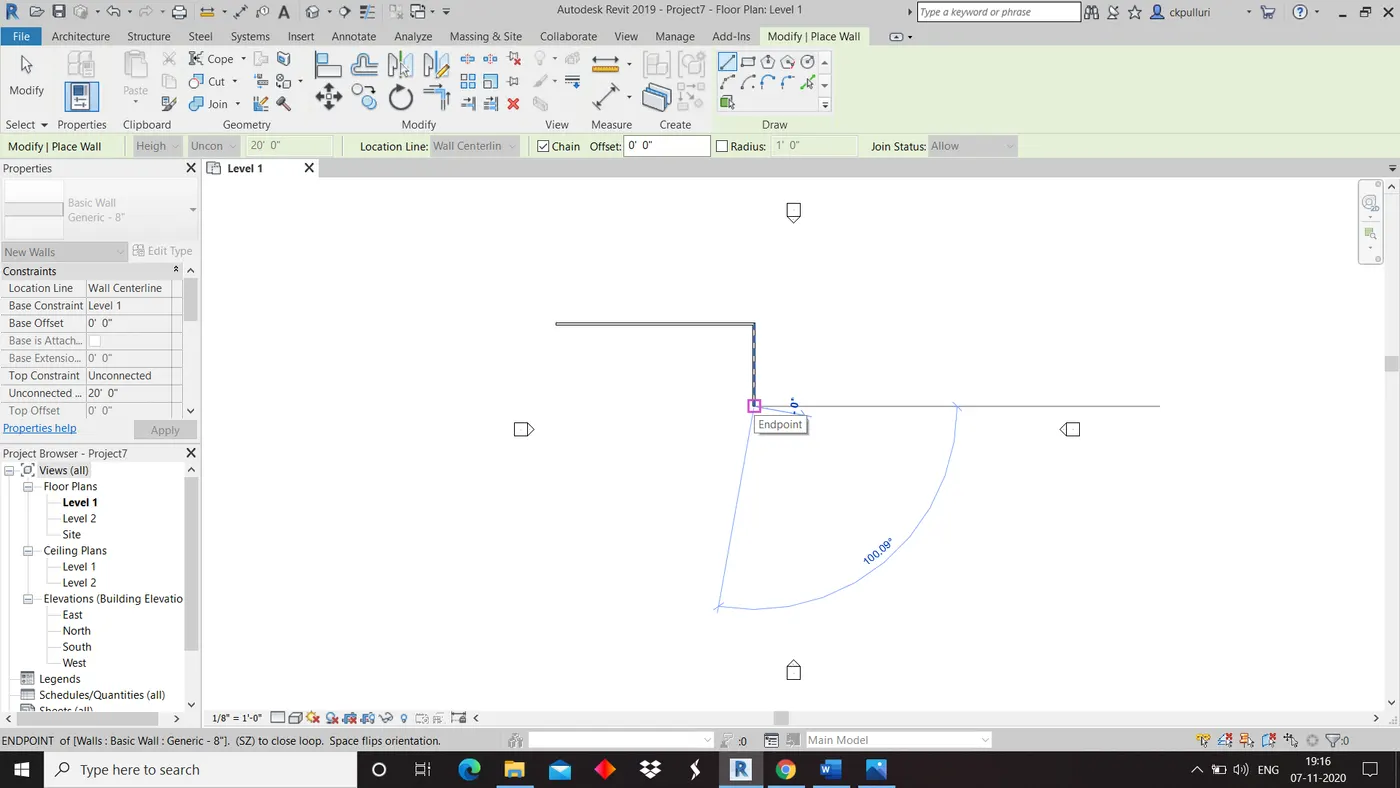
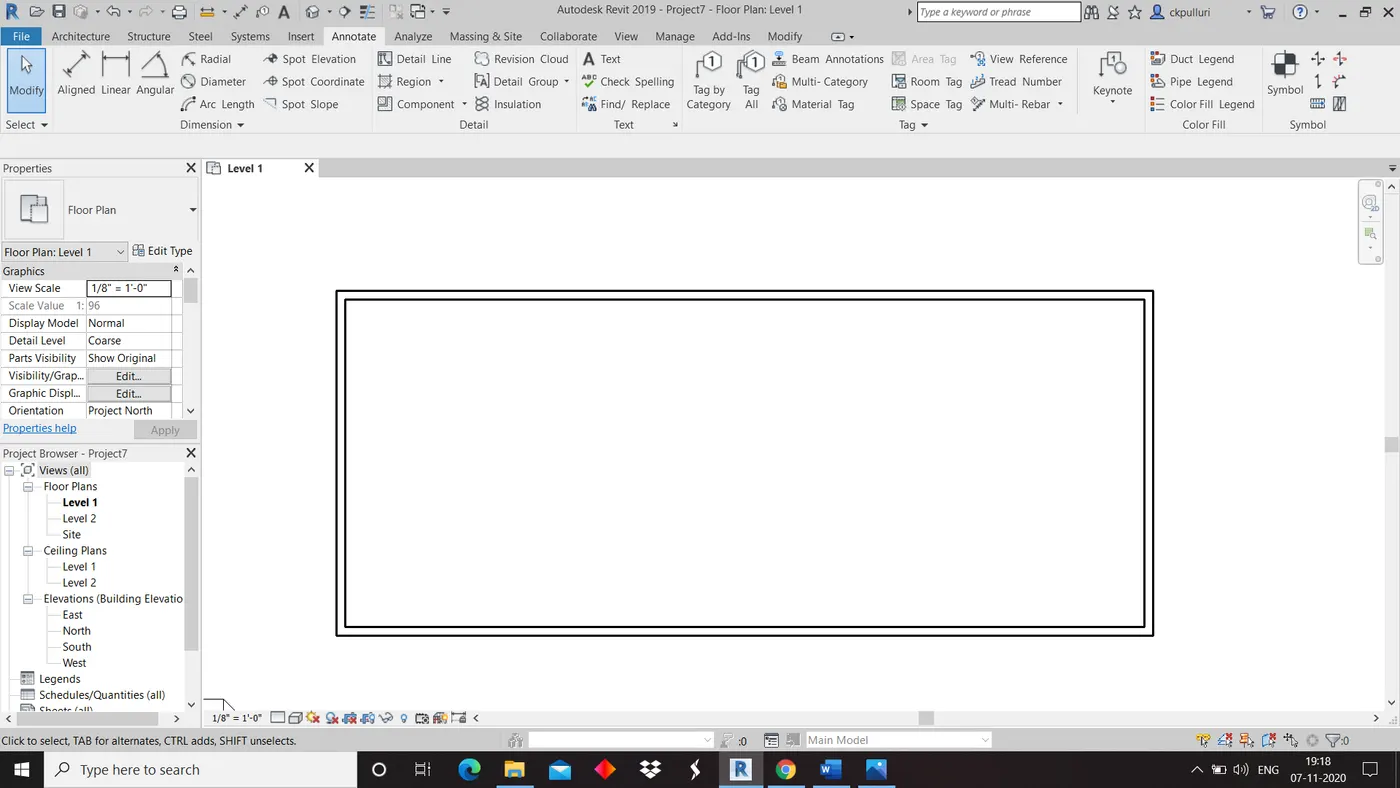
4)Open view tool bar and select 3D view.
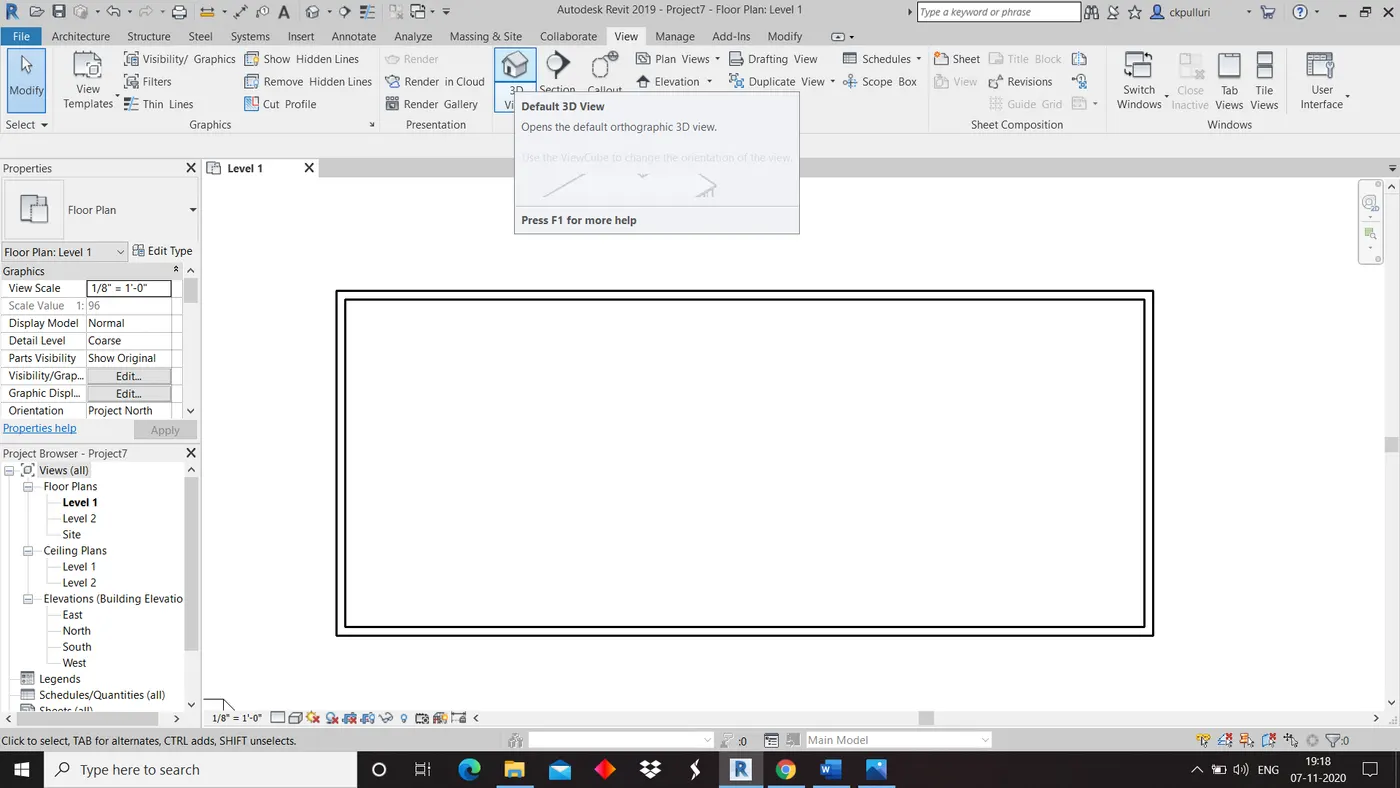
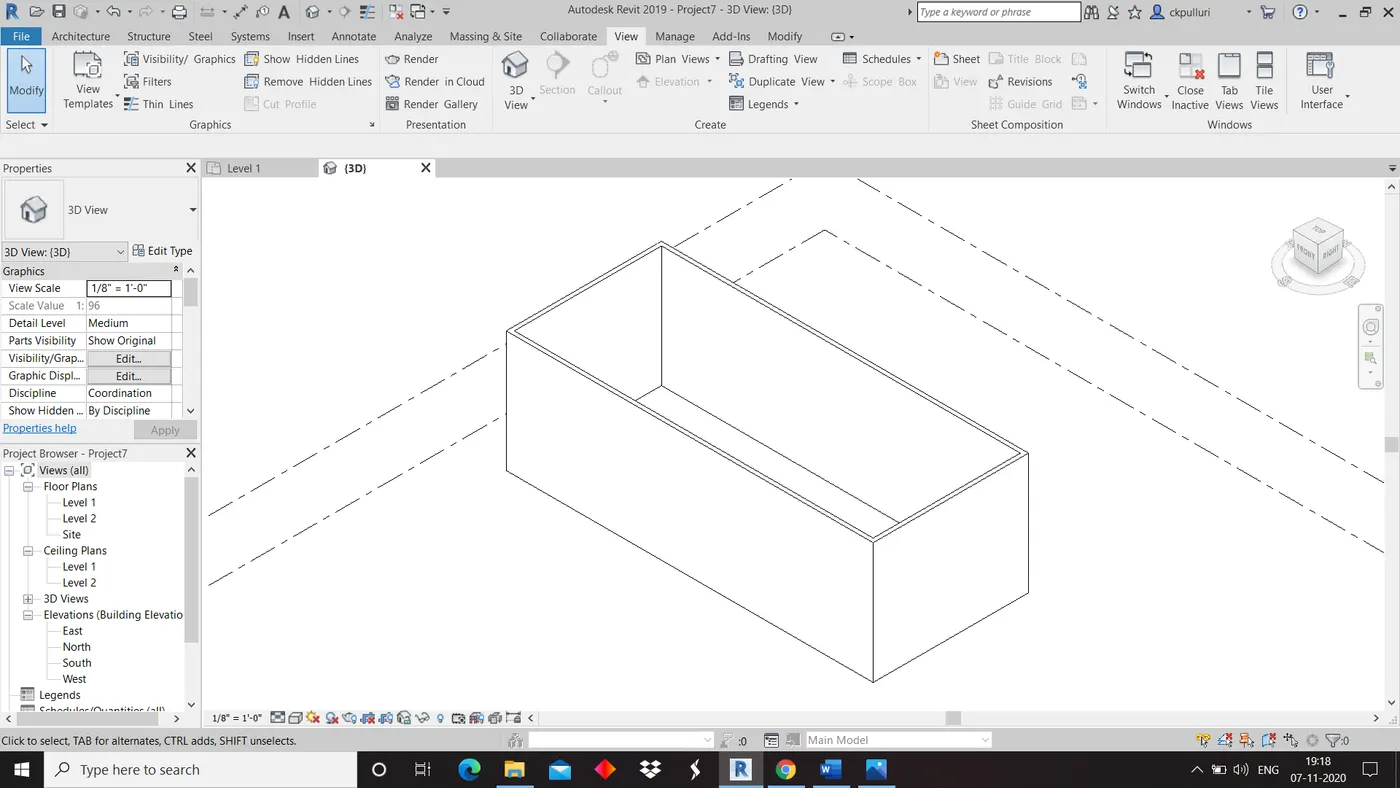
5)Save the file.
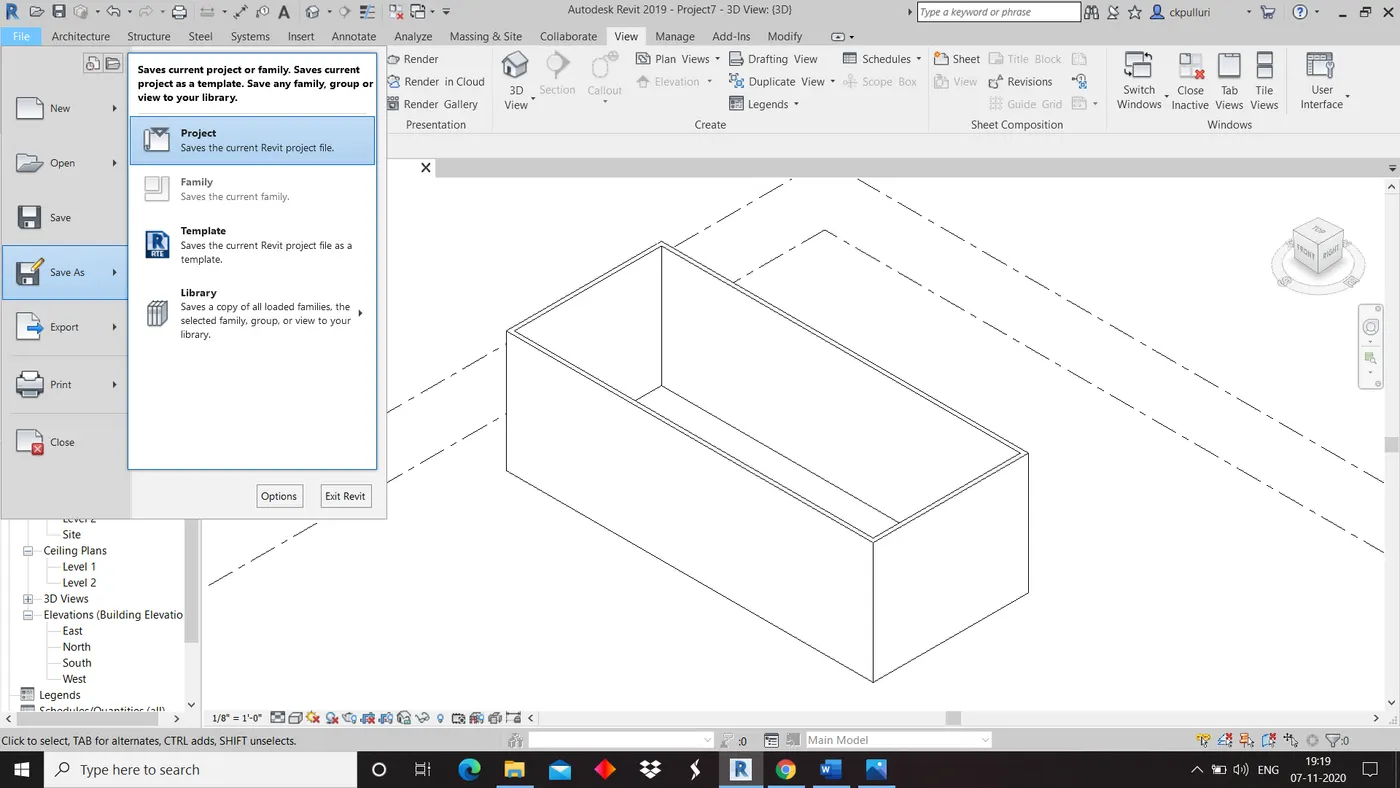
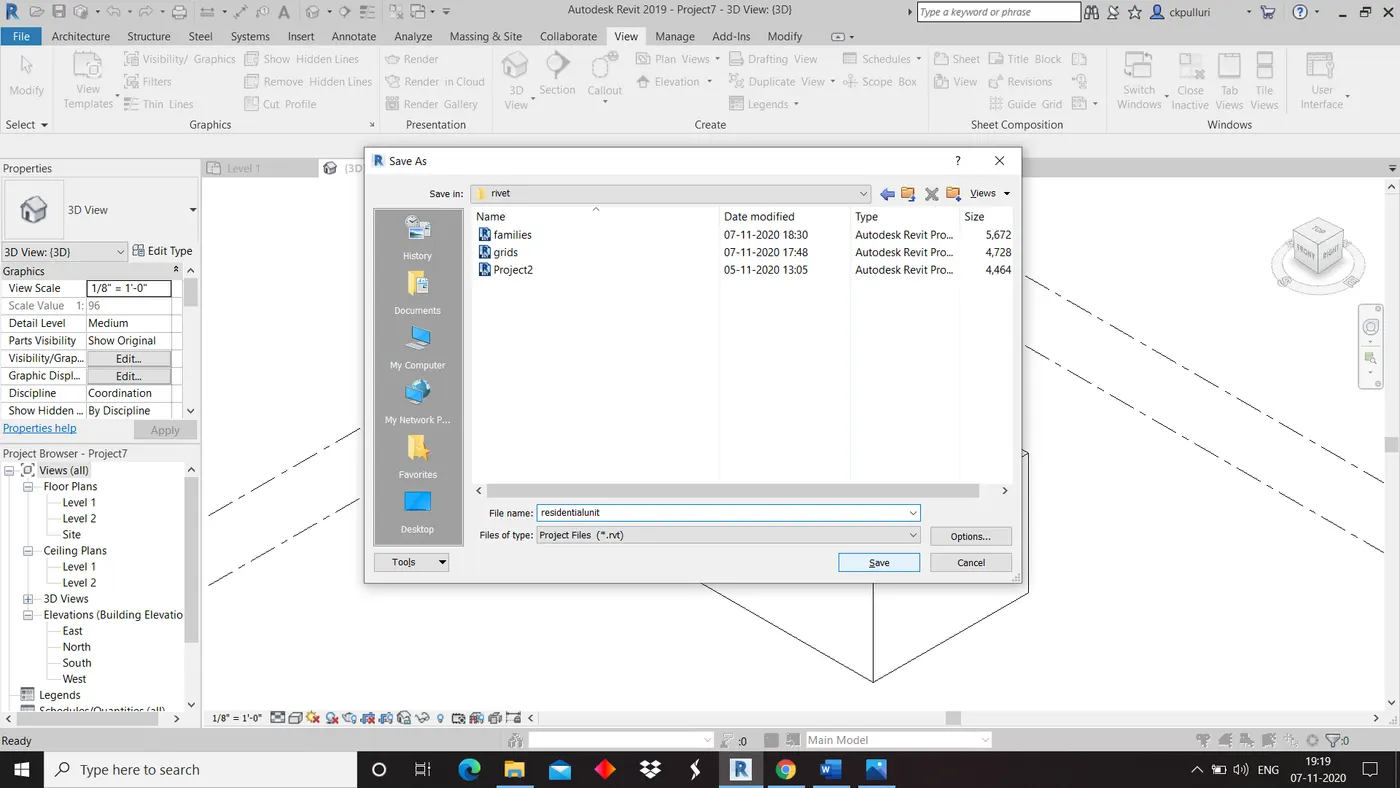
Result: Conceptual layout of residential unit created.
Question 6
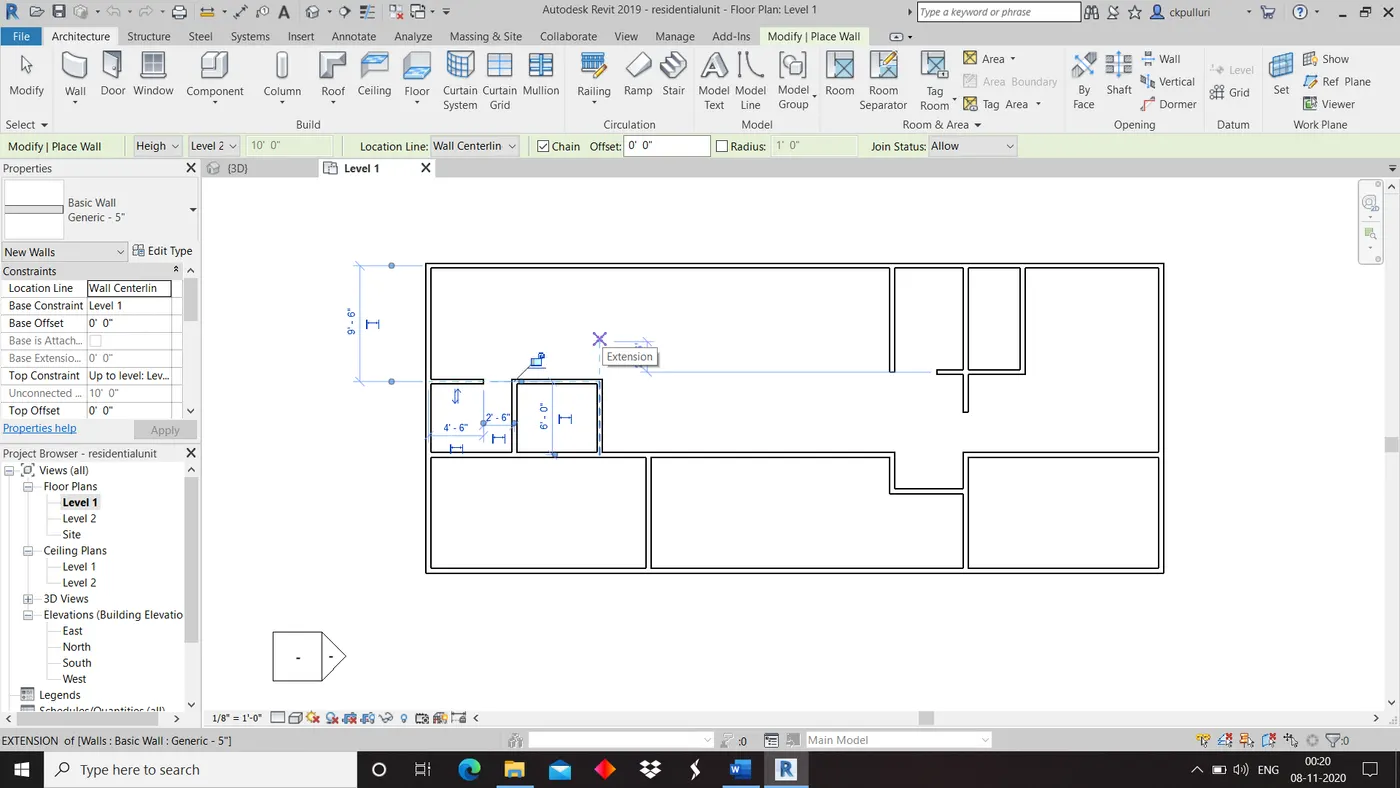
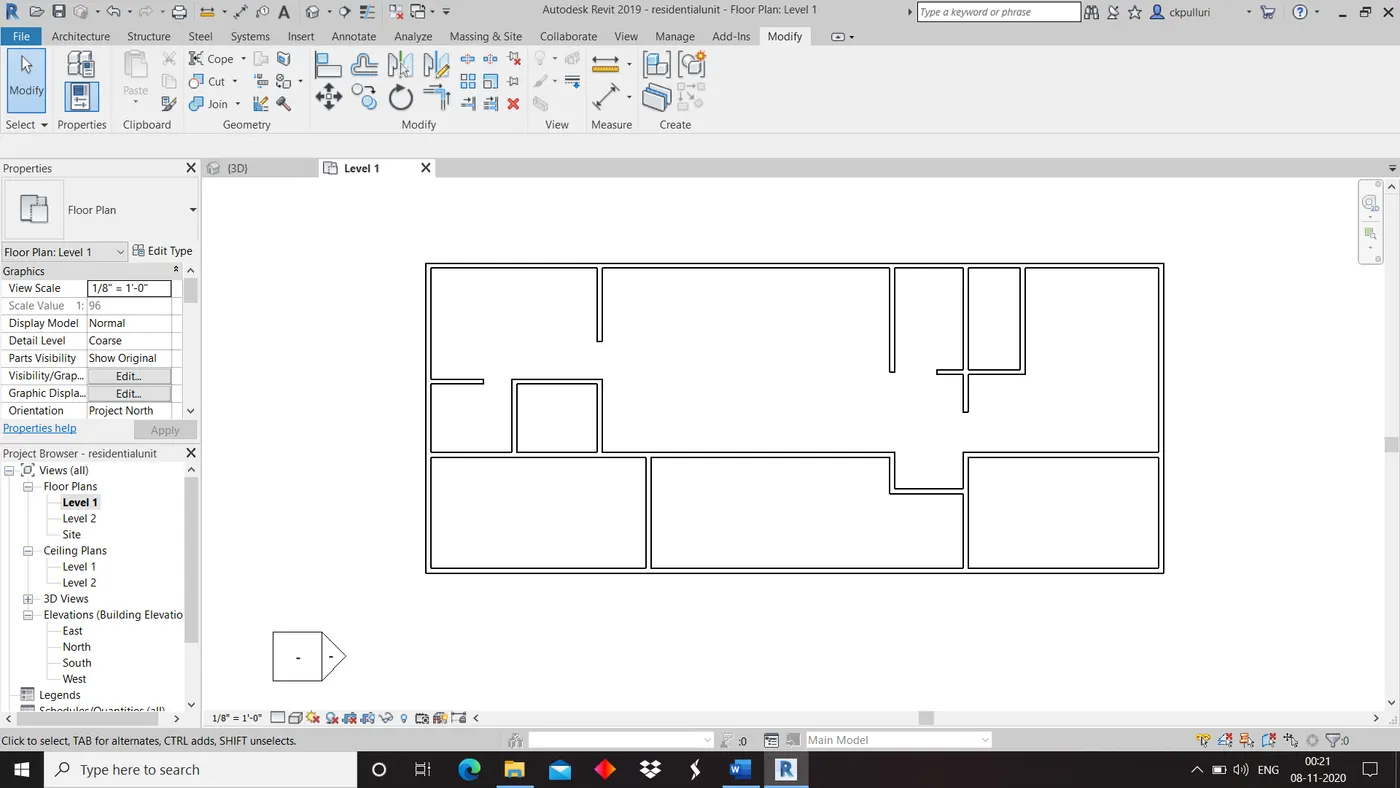
Aim: In the layout created draft the level of details you are planning to include ,Dimensions of room, components you plan to add in the residential unit.
Tools: Architectural tool bar, wall, insert tools bar, load family, aligne and view tool bar.
Procedure:
1)Open architectural tool bar, Click on wall and draw the walls inside the layout.
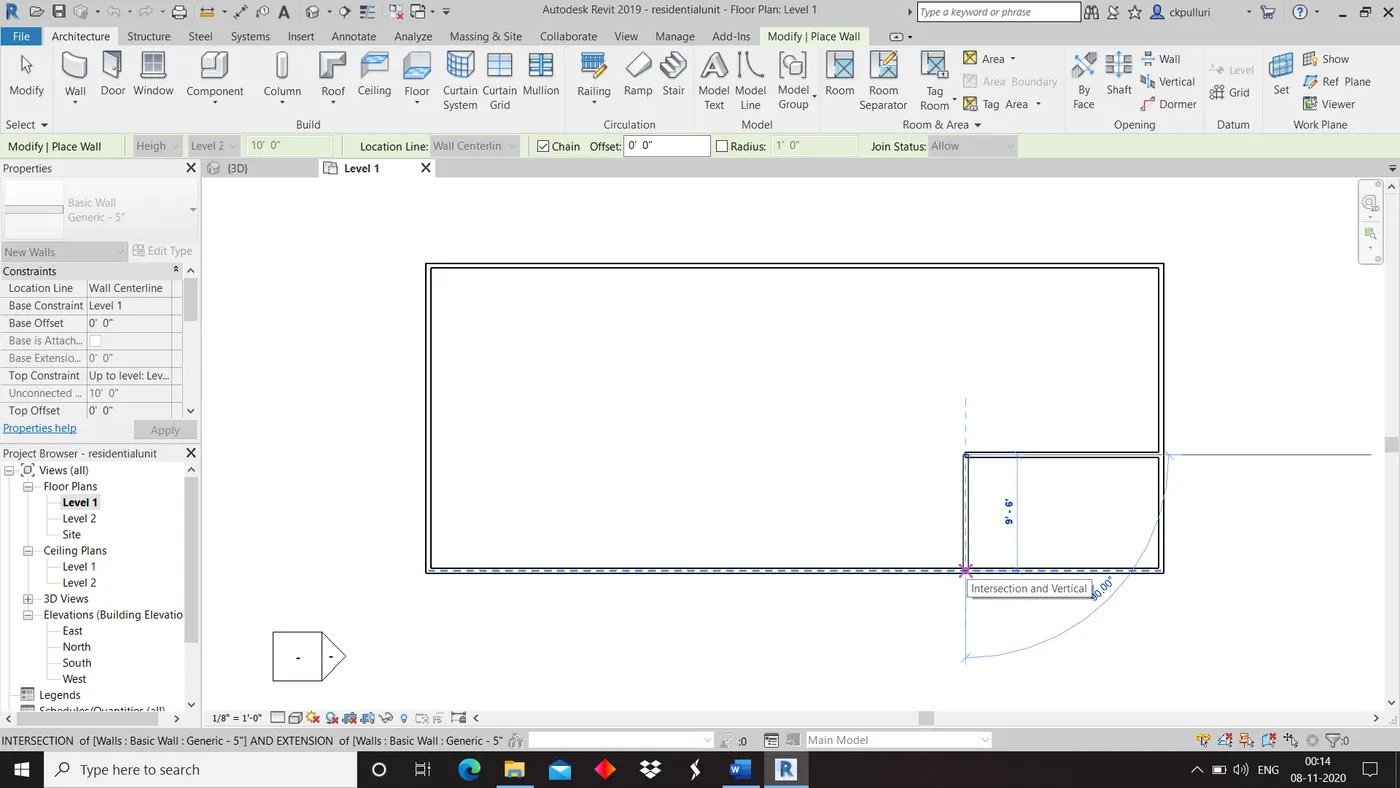
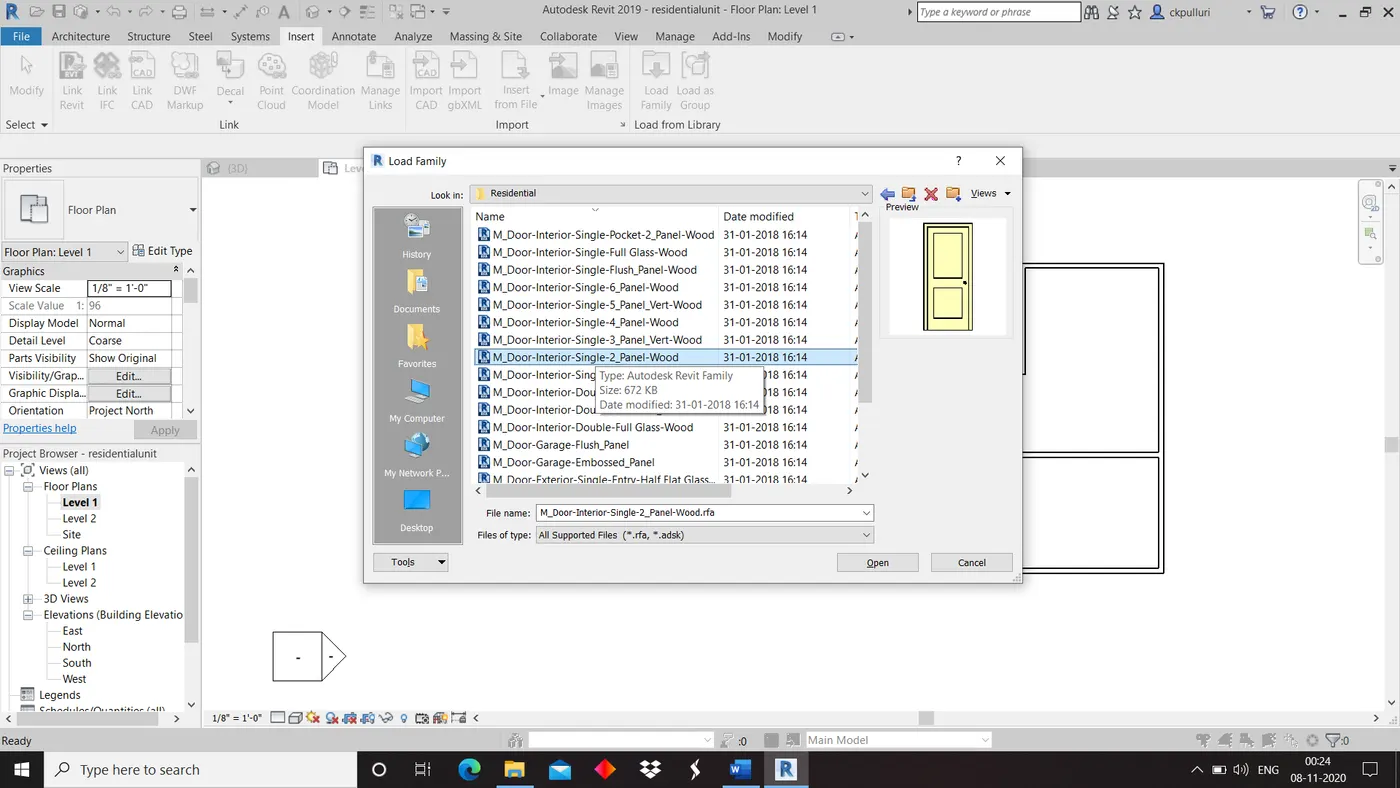
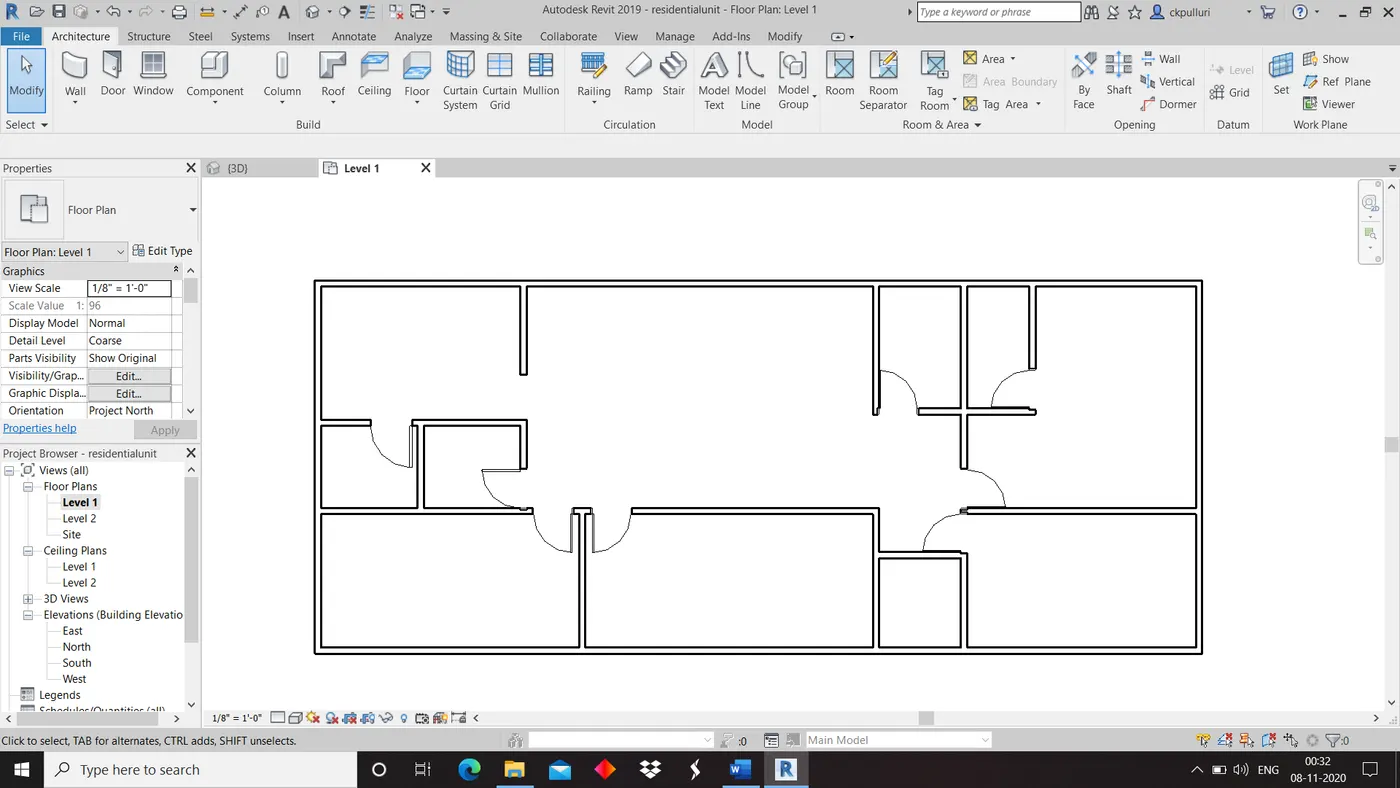
2)Click on insert tool bar, select load family and add components.
3)Open annotate tool bar, select aligne option and mark the dimensions.
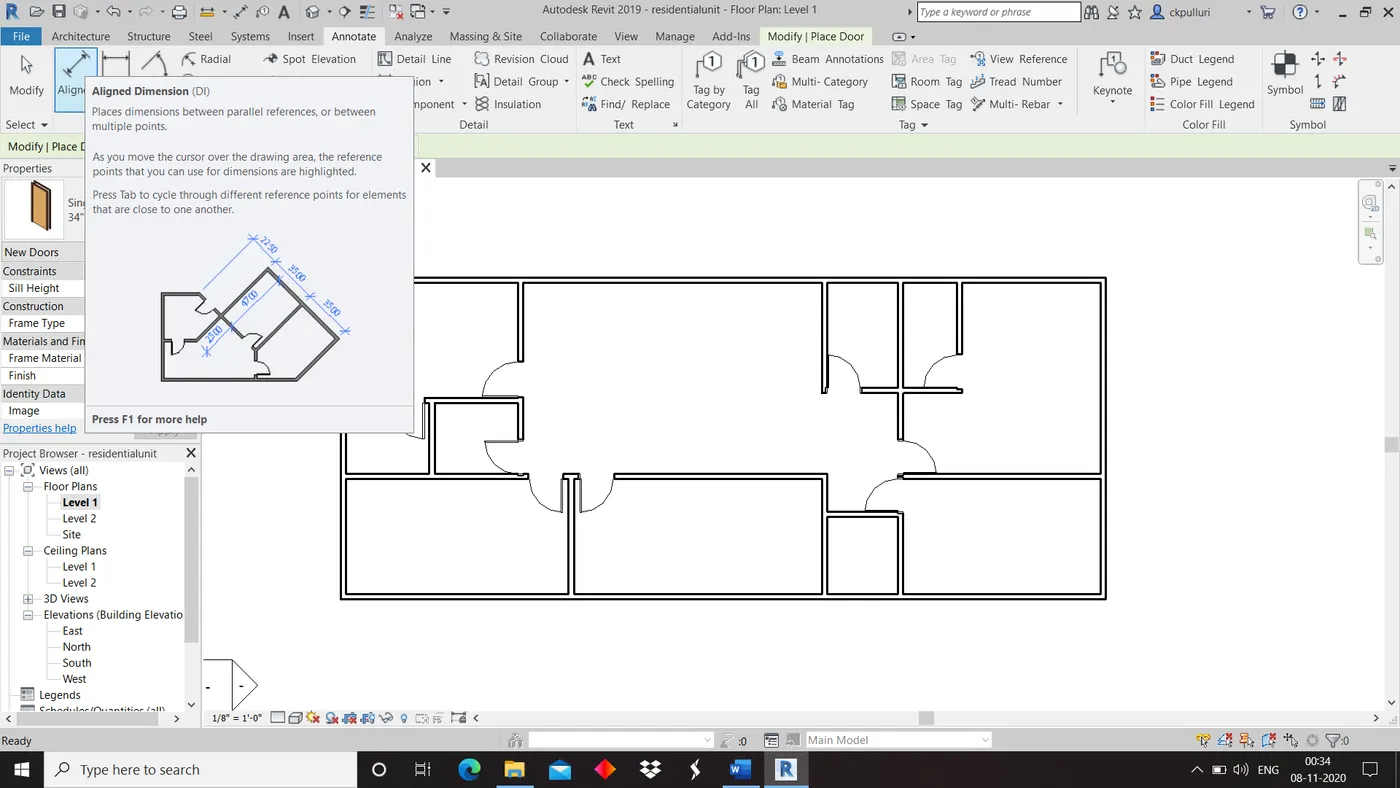
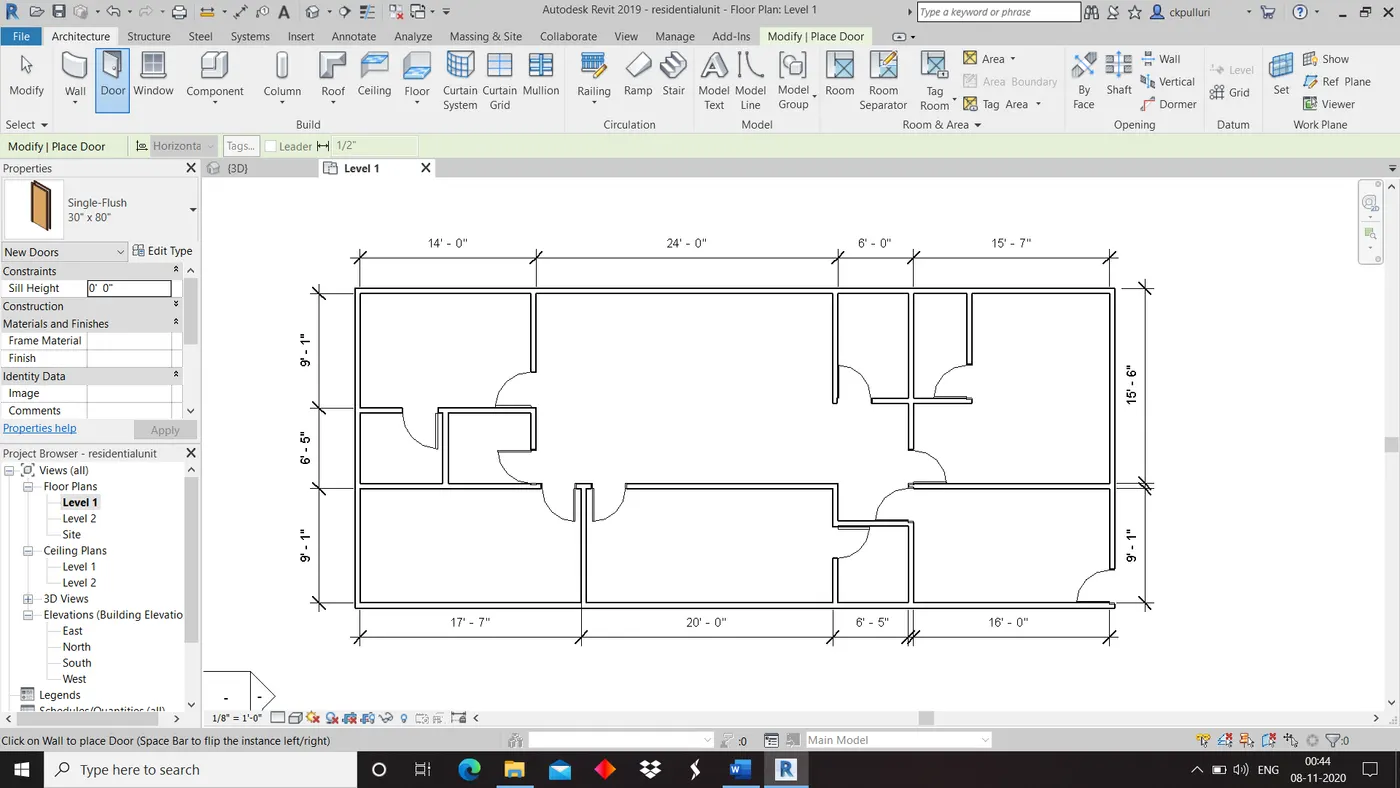
4)Then click on view tool bar and select 3D view.
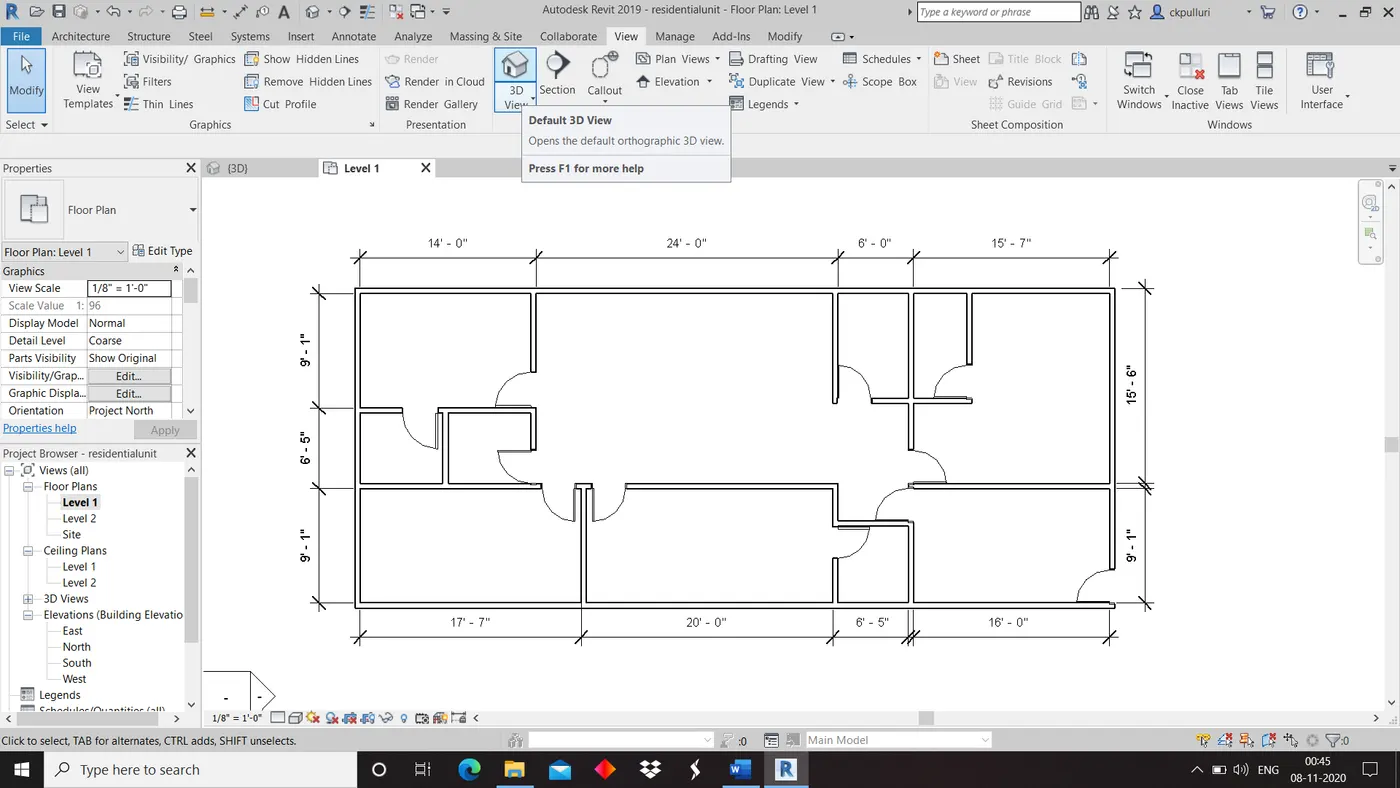
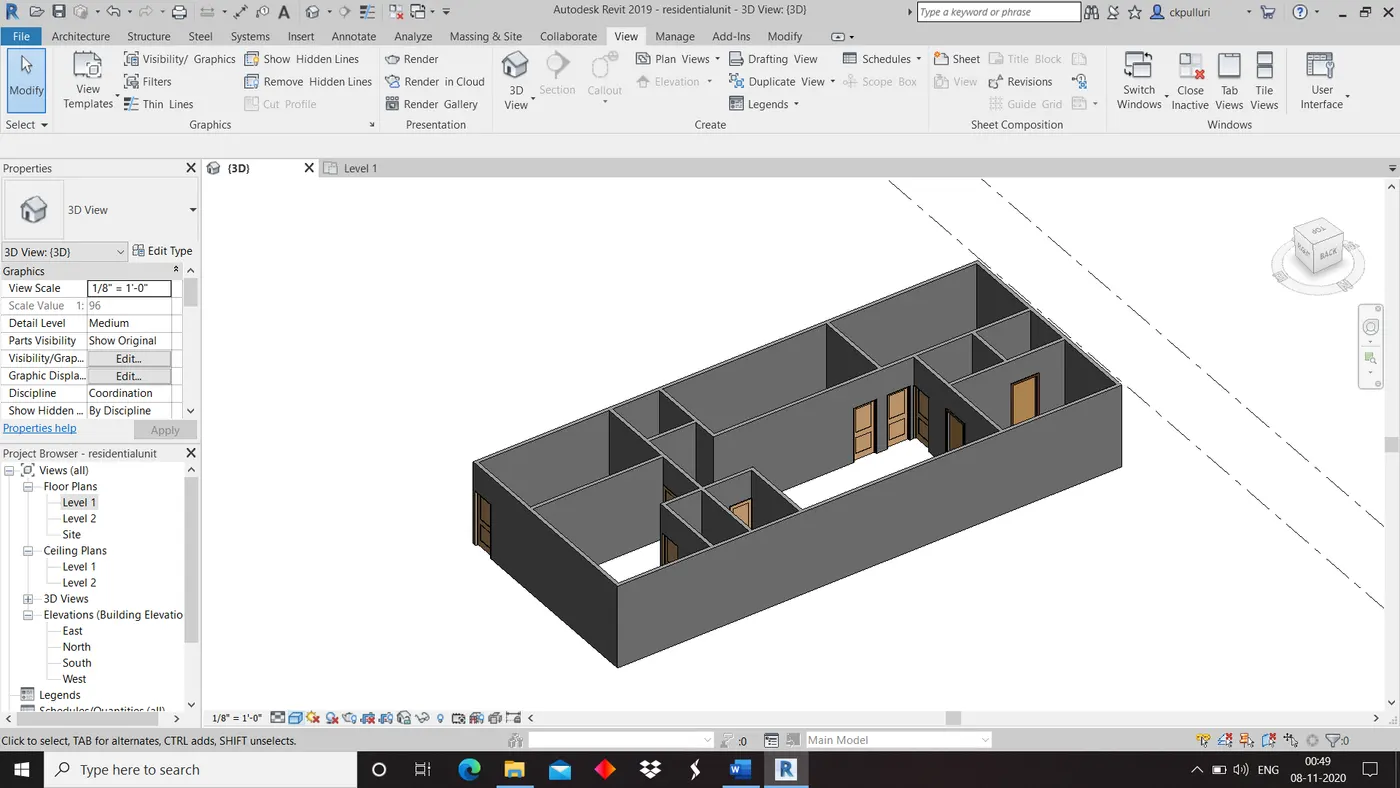
Result: Dimensions of room and components are added to the layout.
Question 7
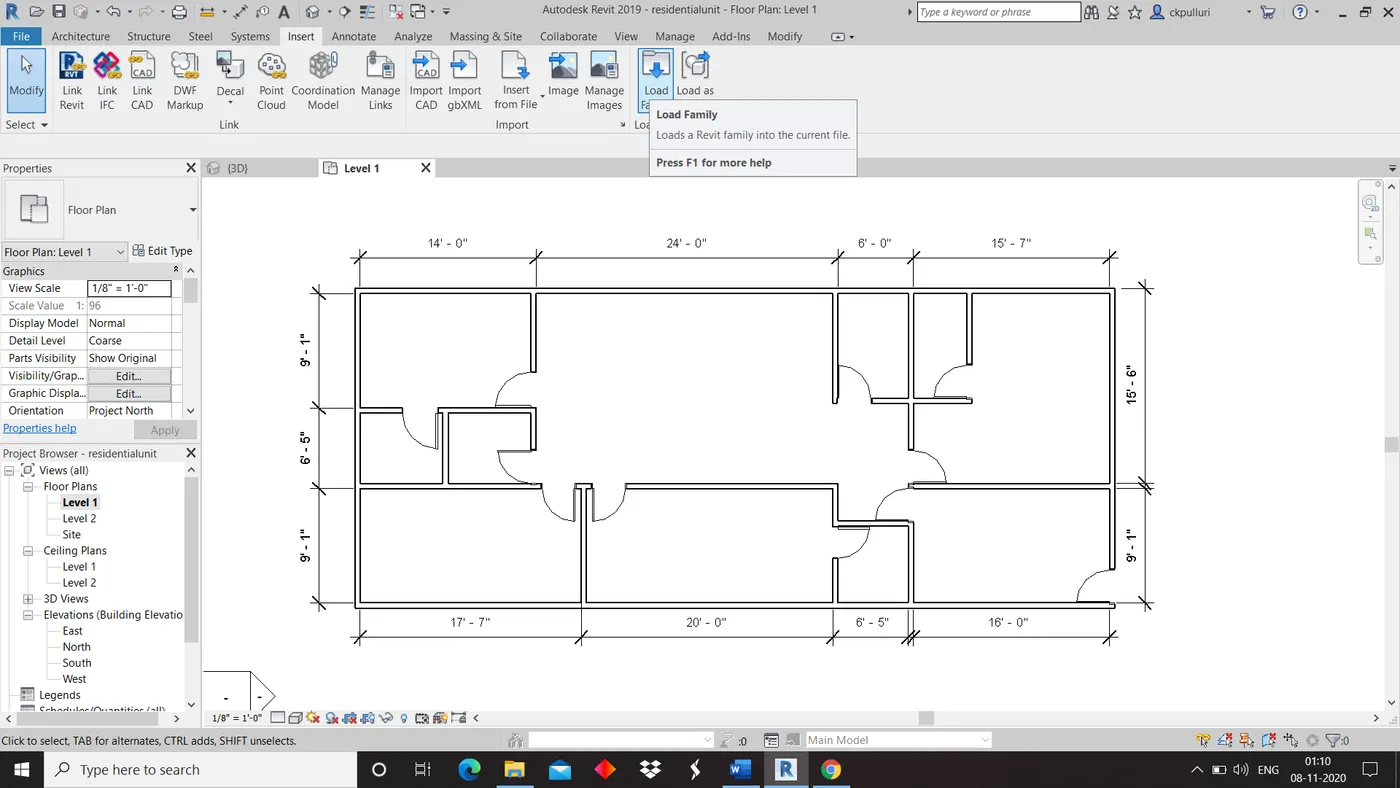
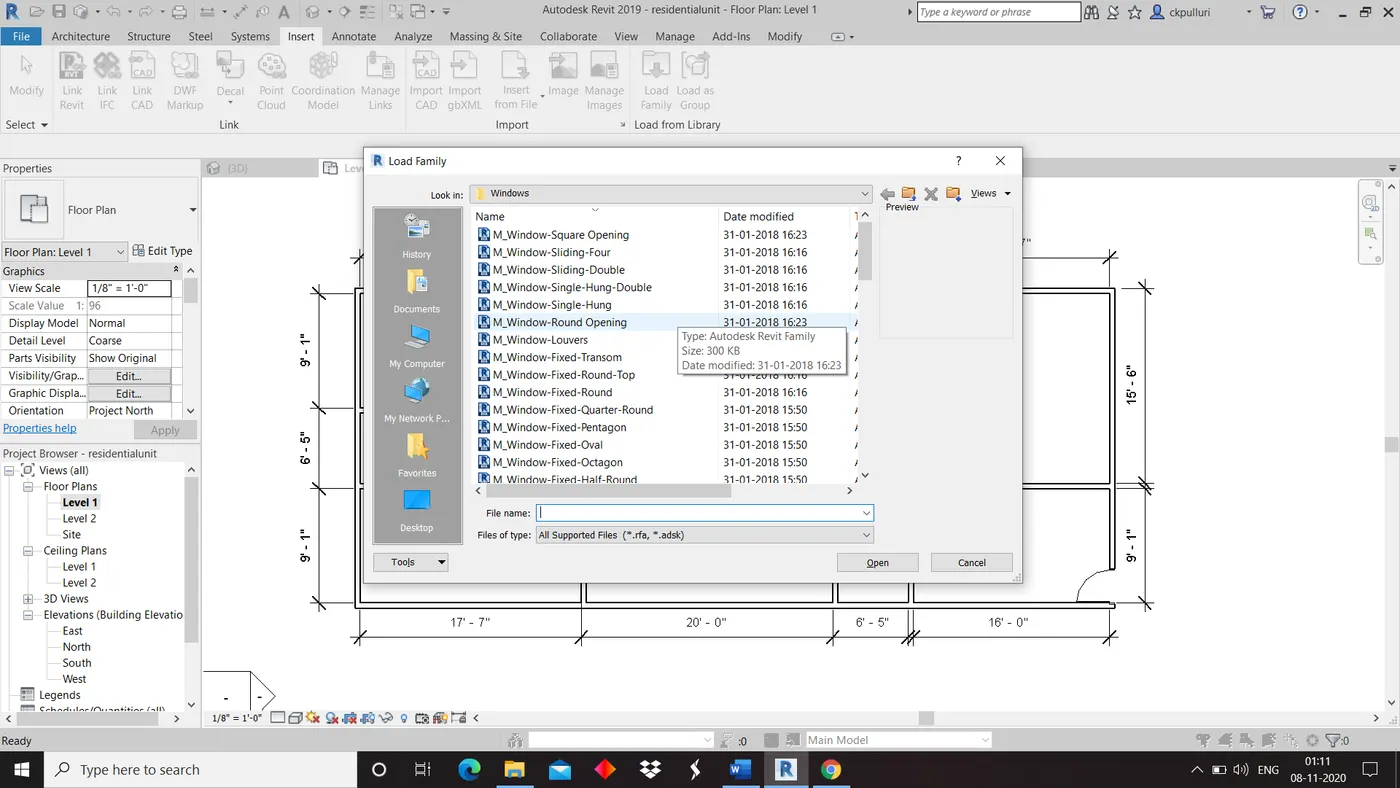
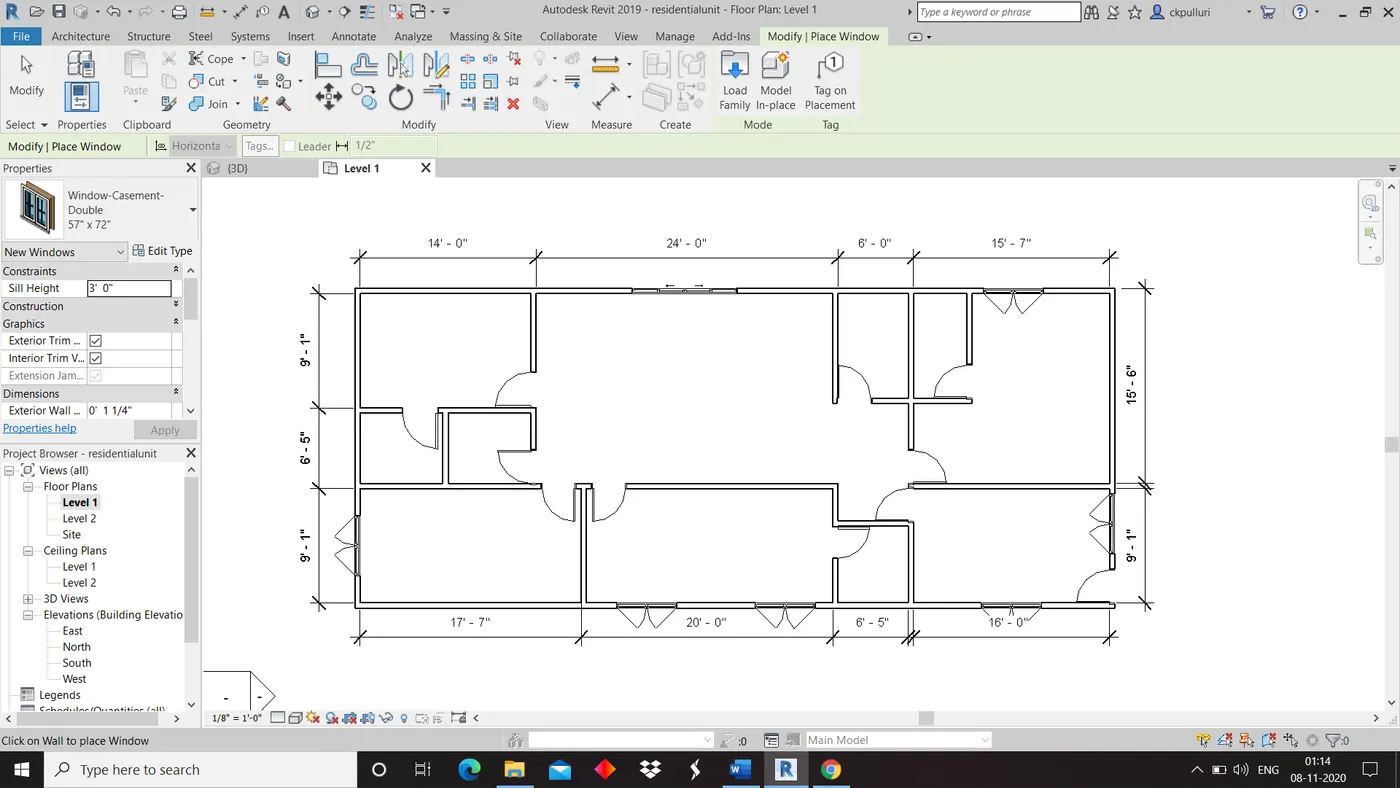
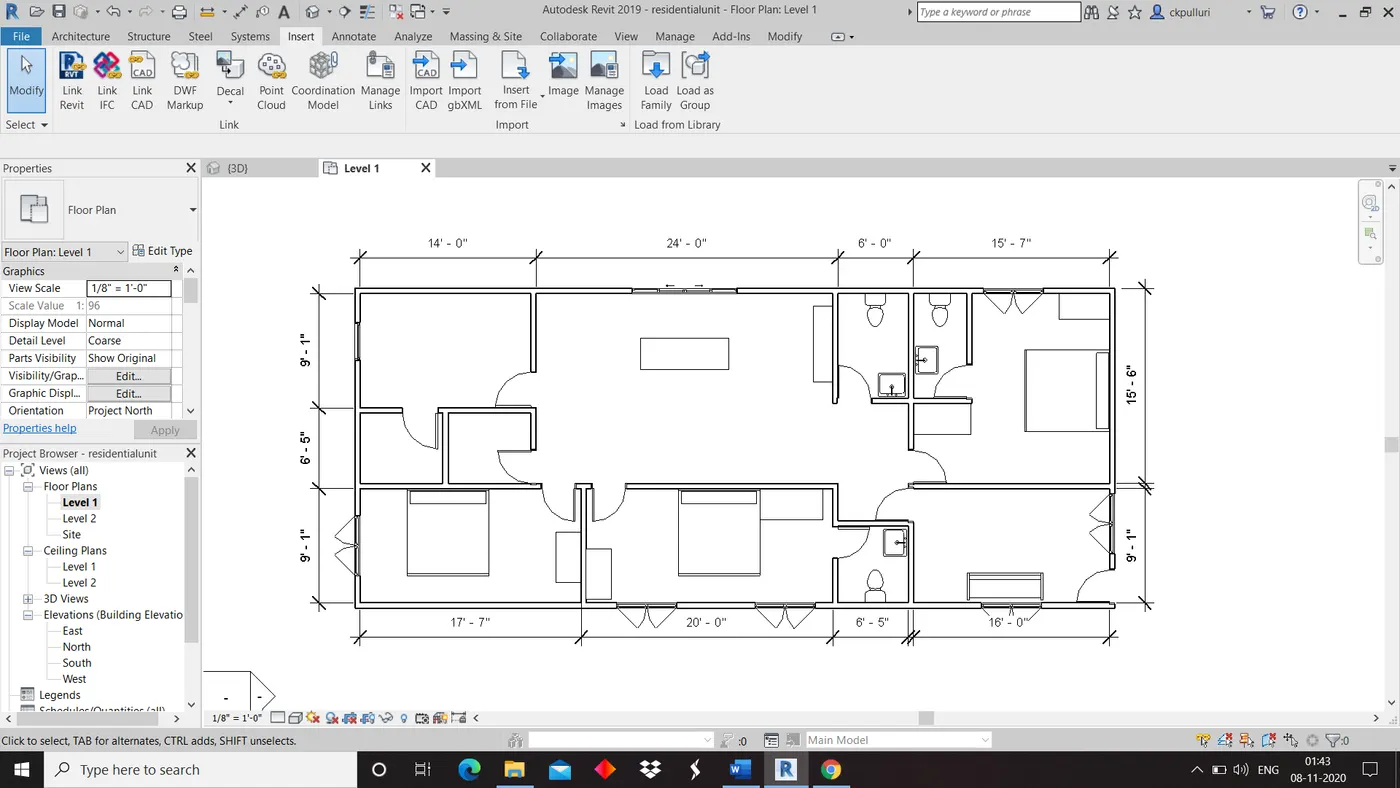
Aim: Model elements such as Door, Windows, Tables, Chair, Couch, Bed, Lamps from the library and insert them to the model .
Tools: Insert tool bar, load family, view tool bar and 3D view.
Procedure:
1)Open insert tool bar ,click on load family and load the components for residential unit.
2)Open view tool bar, click on 3D view.
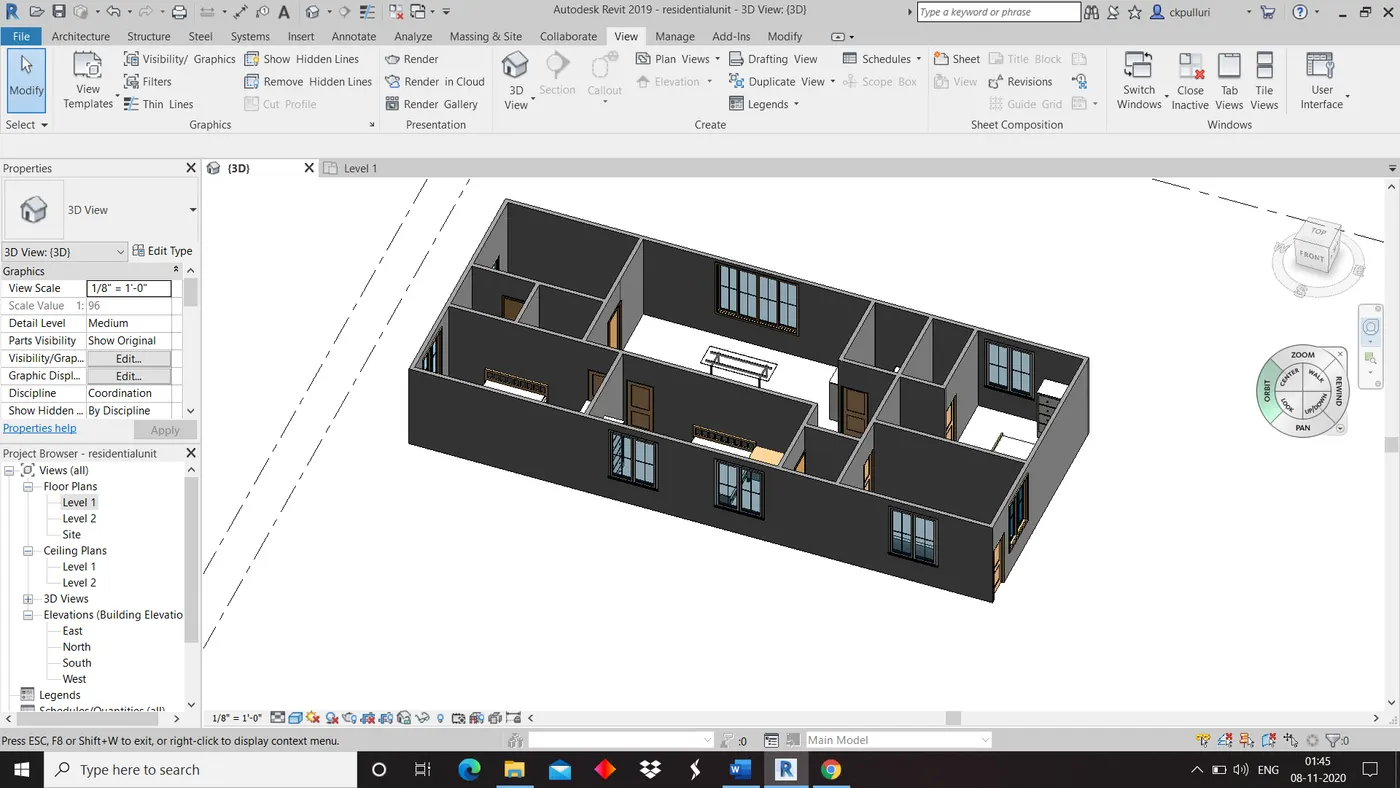
Result: Model elements such as Door, Windows, Tables, Chair, Couch, Bed, Lamps from the library and insert them to the model successfully completed.