Week 1 Challenge
Que.1
1. 1. Write the steps involved to upload a .std file through web mail?
Ans- Steps involved to upload a .std file through web mails are as follows;
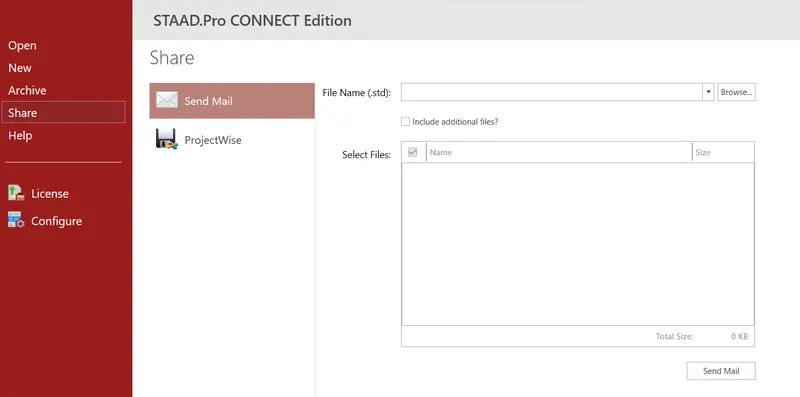
- Open the STAAD pro software and Choose share option.
- After clicking on the share button, select send mail option.
Que.
1.2. Name the different materials that can be designed using STAAD Pro.
Ans- Different materials that can be designed using STAAD Pro. are as below;
- Concrete.
- Steel.
- Aluminium.
- Timber.
- Composite sections.
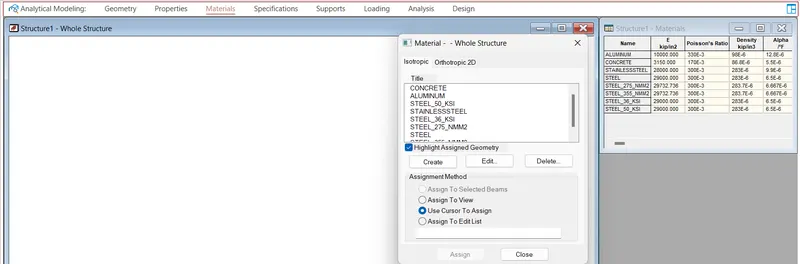
1.3. Is it possible to capture images in STAAD Pro? If yes how?
Ans-
- YES, it is possible to capture images in STAAD Pro.
- We can take pictures of models and structural results in Staad pro using the take picture command, the command is available in the utility panel with a camera logo.

1.4. Name the three ways by which you can create a model.
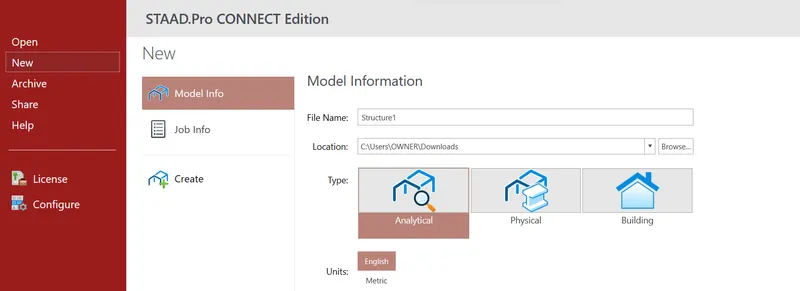
Ans- Three ways by which you can create a model in as STAAD pro are as below;
- Analytical model.
- Physical model.
- Building planner model.
1.5. Write the steps followed to assign properties in a model.
Ans-
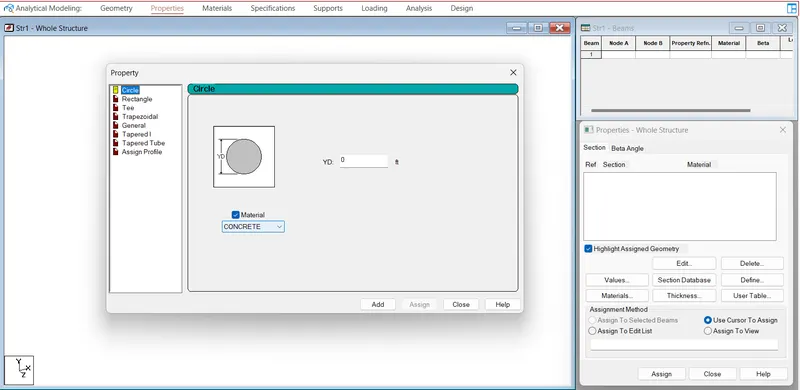
- Go to the properties panel.
- Click on materials.
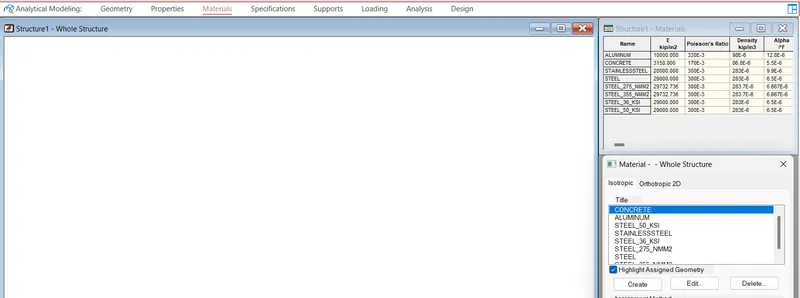
- Go to define and select the material type and define it.
- Click the assign option or use cursor to assign.
Que.2
2. 1. Name any six design parameter involved in RCC design.
Ans- The six Design parameter involved in RCC design are as below;
- Clear cover
- FC compressie strength of concrete
- FY Tensile Strength of steel
- Max main Dia of bar
- Code of practice
- End conrete design
2. 2. Name any six design parameter involved in RCC design.
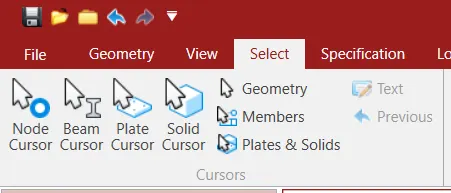
Ans- The different cursor types that are available in STAAD Pro are listed below:
- Nodes cursor.
- Plates cursor.
- Beams cursor.
- Plates and Solid cursor.
- Loads cursor.
- Solids cursor.
- Physical Member cursor.
- Geometry cursor.
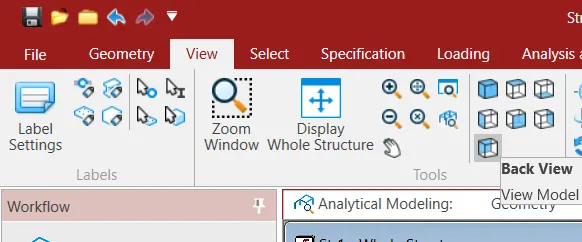
2.3. How will you generate different views for a model? State the steps involved.
Ans:- go to view option there we can get option like as below;
- Top view
- Isometric view
- Front view
- Left view
- Right View
- Botttom view
- Back view
2.4. Explain the procedure to define a “Simply Supported” condition in STAAD Pro
Ans:-
- Open STAAD.Pro connect file.
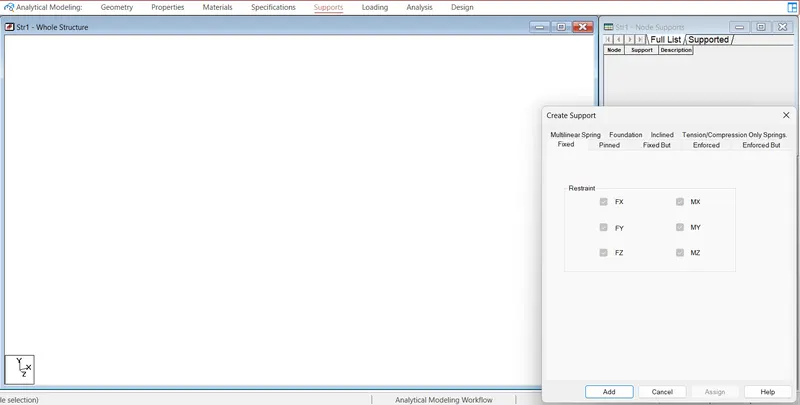
- Go to specification and Create support.
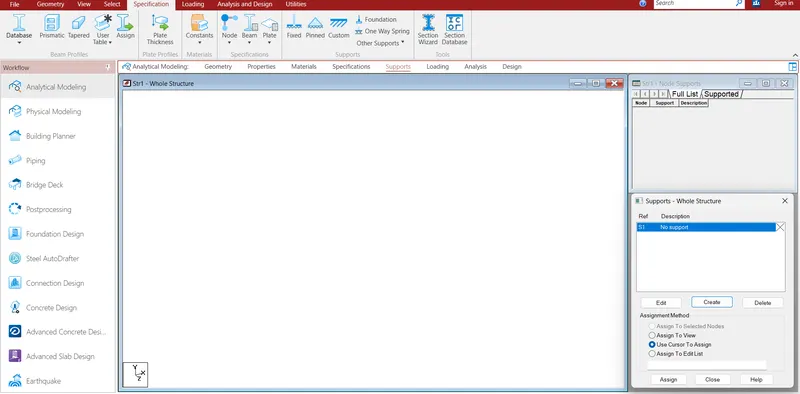
- for defining a simply supported condition in STAAD.Pro, we can get various options like pinned, fixed support, fixed but, enforced, and enforced.
2.5. Name any five topics that you will include while creating DBR.
Ans:-
- Introduction to the construction methodology.
- Method of analysis and codes referred.
- Name and location of the project
- Structural layout.
- Quality Assurance and Quality Control (QAQC)
2.6. Describe the term “Multi material design” of STAAD Pro.
Ans:-
- The term "Multi material design" of STAAD Pro defines the structure that is designed by implemention more than one structural material. For example,suppose i am designing a R.C.C building but at the same time few parts of that RCC buidling is composed of different materials like Steels in order to make the sheds,garage etc. So these types of building designing with different materials is known as the "Multi Material Design".
QUE.3
3.1. Name the structure systems in STAAD Pro? Explain each system?
Ans:- The structure systems in STAAD Pro software are:
- Space Frames.
- Plane Frames.
- Trusses.
- Space Frames: So basically the space frames are the three-dimensional truss like structures that is designed to carry loads for the longer spans without any intermediate supports. The space frame structures are rigid and ligh-weight in nature and it is structurally effective. It has low transportation cost.
- Plane Frames: Plane frames are RCC or steel frame structures. It is a two-dimensional structure which is constructed with straight elements which are conected by the rigid or the hinged connections.
- Trusses: Trusses are created by arranging the structural elements in the triangle forms which can take loads in both compression and tension.
3.2. Explain the coordinate system adopted in STAAD Pro software.
Ans:-
- Global axis and local axis coordinate system adopted in staad pro which is a three-dimensional analysis system
- In global axis X,Y & Z coordinate are fixed and not variable
- In local axis X,Y & Z coordinate is variable and depends on member orientation
3.3. Elaborate DBR and its uses.
Ans:-
- DBR generally refers to Design Basis Report. The purpose of this DBR is to compile data required for analysis, design and detailing of all structural elements and RCC elements i.e. RCC, shear walls, beams, columns, slabs and footings.
- It is used for design calculations and other detailed drawings.
3.4. Explain the different types of analysis options in STAAD pro.
Ans:-
- Perform analysis
- Linear elastic analysis
- P-Delta analysis
- Pushover analysis
- Buckling analysis
3.5. Explain the difference between Fixed and Fixed But condition.
Ans:-
- Fixed condition:- Fixed condition is the condition where all the three degree of freedom that is horizontal or vertical or fixed are been completely restrained
- Fixed but conditions:- The Fixed But support condition is used to allow the user to define which degrees of freedom of a node are free and which are fixed.
Practical
1. Create a STAAD Model with the following Specification
a. A beam of span 16m
b. Support : Fixed on one end and Roller support(Horizontal) on the other end
c. A point load of 50 kN at the mid-point
d. Draw SFD and BMD using software
Ans:-
AIM: To create a beam of 16 m long span with the help of the STAAD Pro software. And to provide a fixed support at the one end and thed roller support at the other end. To draw the SFD and BMD diagram using the STAAD Pro software.
GIVEN DATA:
Length of Beam : 16m.
Support : Fixed on one end and roller on the other end.
Point load : 50KN at mid-point.
Procedure:
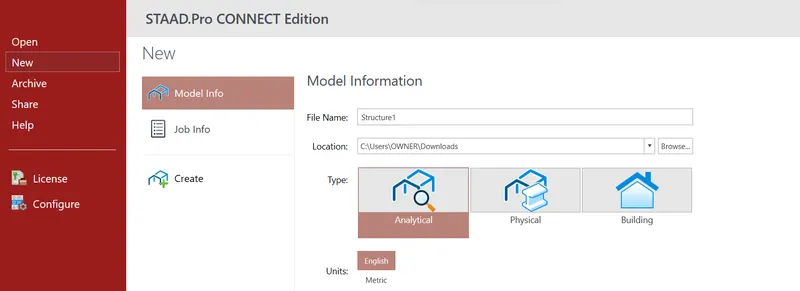
- Open STAAD.Pro CONNECT Edition Software
- Go to New option left side on the home interface
- Specify the file name, location, unit and modal type
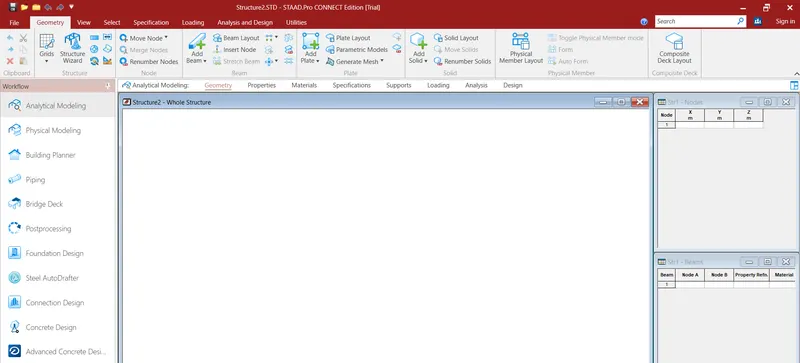
- Click on Create, modal user interface will open
- Now, I can create beam in geometry
- Creating Beam
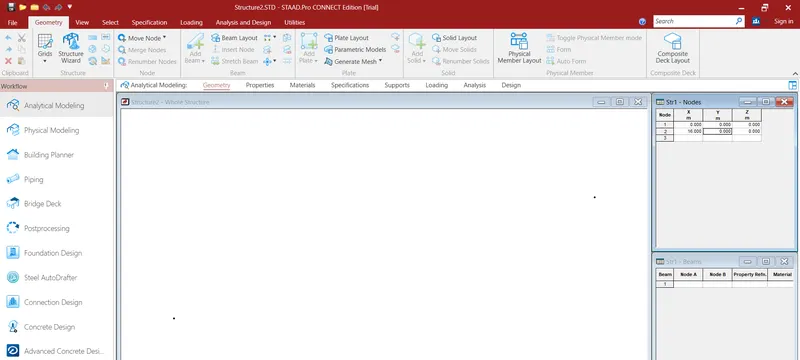
- In the geometry, I have created 2 Node, node 1 in X,Y&Z=0 and node 2 in X=16 , Y&Z= 0
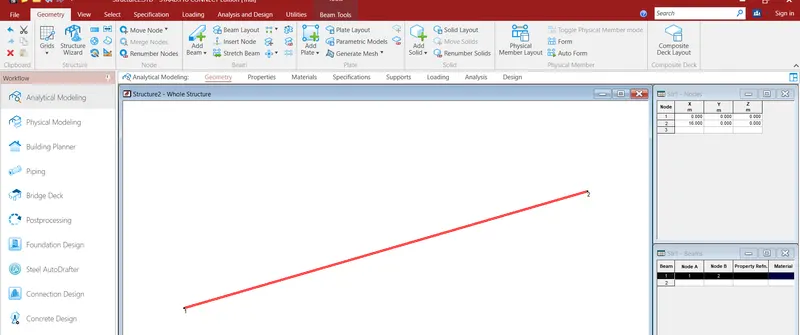
- Select Add Beam from the ribbon Beam
- Click on 1st node and 2nd node for beam creation
- Click on beam property dialog box for highlighting the beam
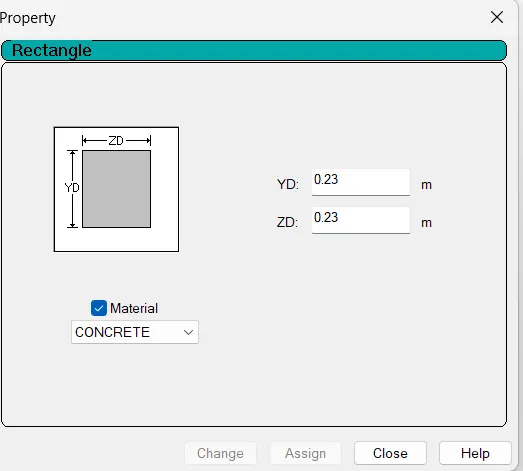
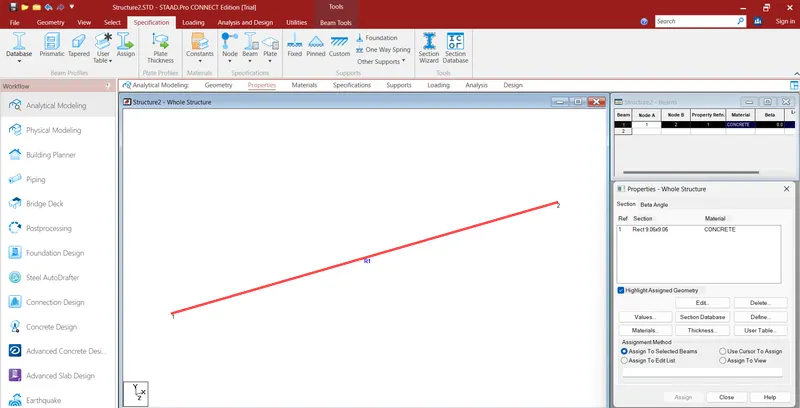
- Define Property of Structure
- Goto Properties tab, click on Define
- Select shape of structure, provide dimension
- Select material of structure as a Concrete and add
- Click on Assign to View and press Yes it will visible
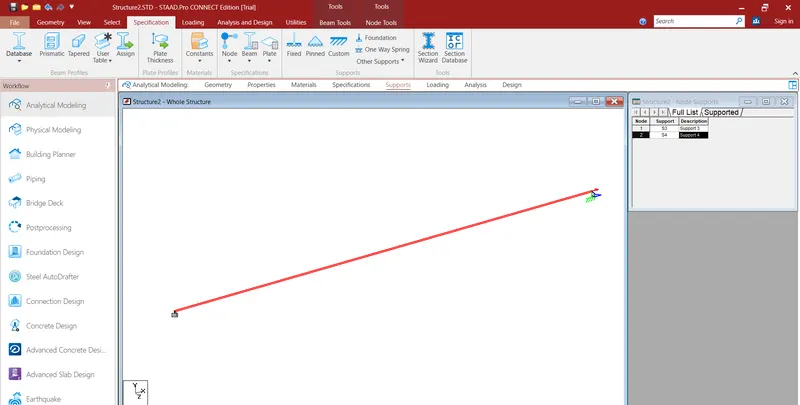
- Assigning Support
- Goto Support tab, click on Create
- Add Fixed support and horizontal roller support i.e., Fixed But
- By the help of Use Cursor to Assign, place one by one supports in structure
- Support is visible in the structure
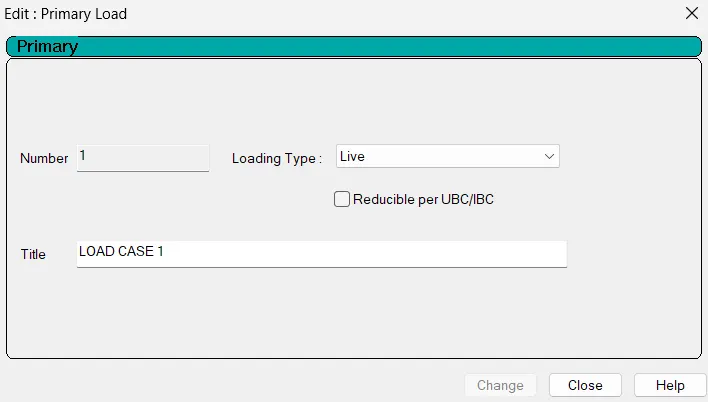
- Loading Assignment
- Goto Loading tab, Loading and Definition dialog box will open in right side
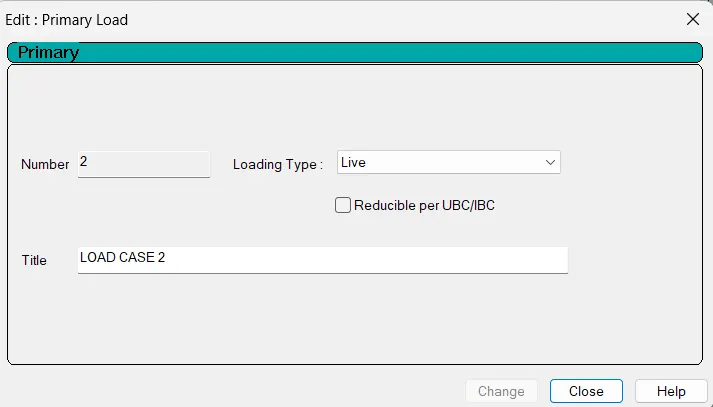
- Select Load Case Detail and Add them as a Load Case 1 and loading type None
- Then select Load Case 1 and again press on Add a new dialog box will open
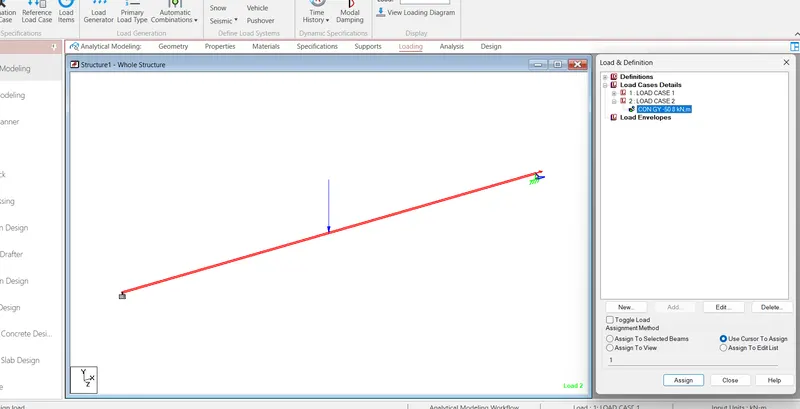
- Click on Member Load and choose Concentrated Force, put value and add them
- Now select the added load and assign into the beam
- Run Analysis
- Goto Analysis tab, click on Analysis Command which is left side in the ribbon
- Analysis print command dialog box will open with perform analysis tab
- By default, it is on No Print option, so that simply click on add
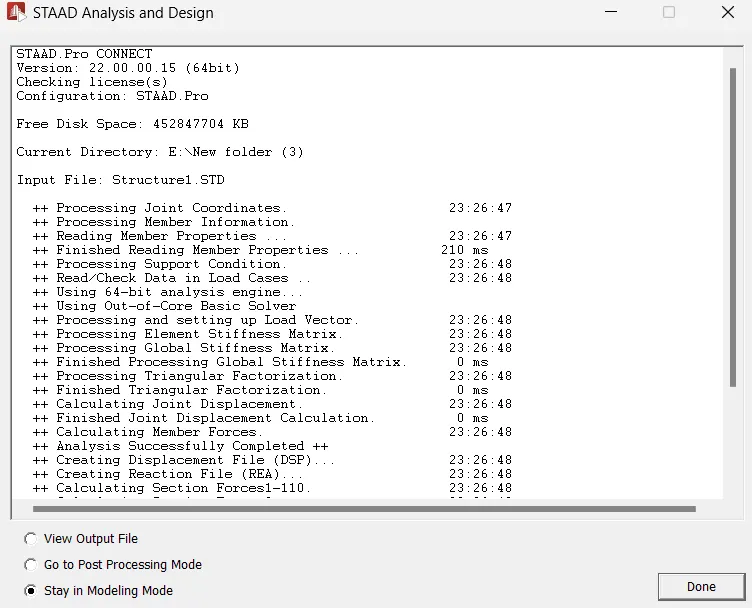
- Press the Run Analysis button from the ribbon and check the result
- In the result there is no warning, no error hence output is OK
- Click on Post Processing which is left side in the workflow
- Click on Load Case 1 and apply from the opened dialog box
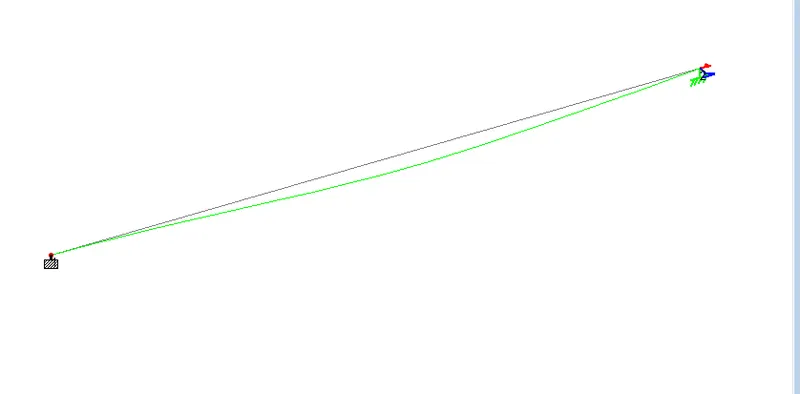
- Displacement results is visible
- Click on Beam Result tab
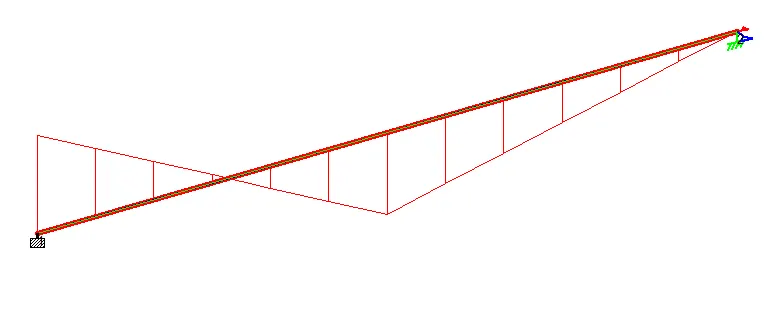
- For SFD click on FX and FY from the ribbon
- Similarly for BMD click on MZ