REVIT_Introduction to REVIT_Week 1
1.AIM: From the file menu, create a new project (Structural / Architectural / Construction template ) and name the project appropriately
PROCEDURE:
A.Open file and click on new and select project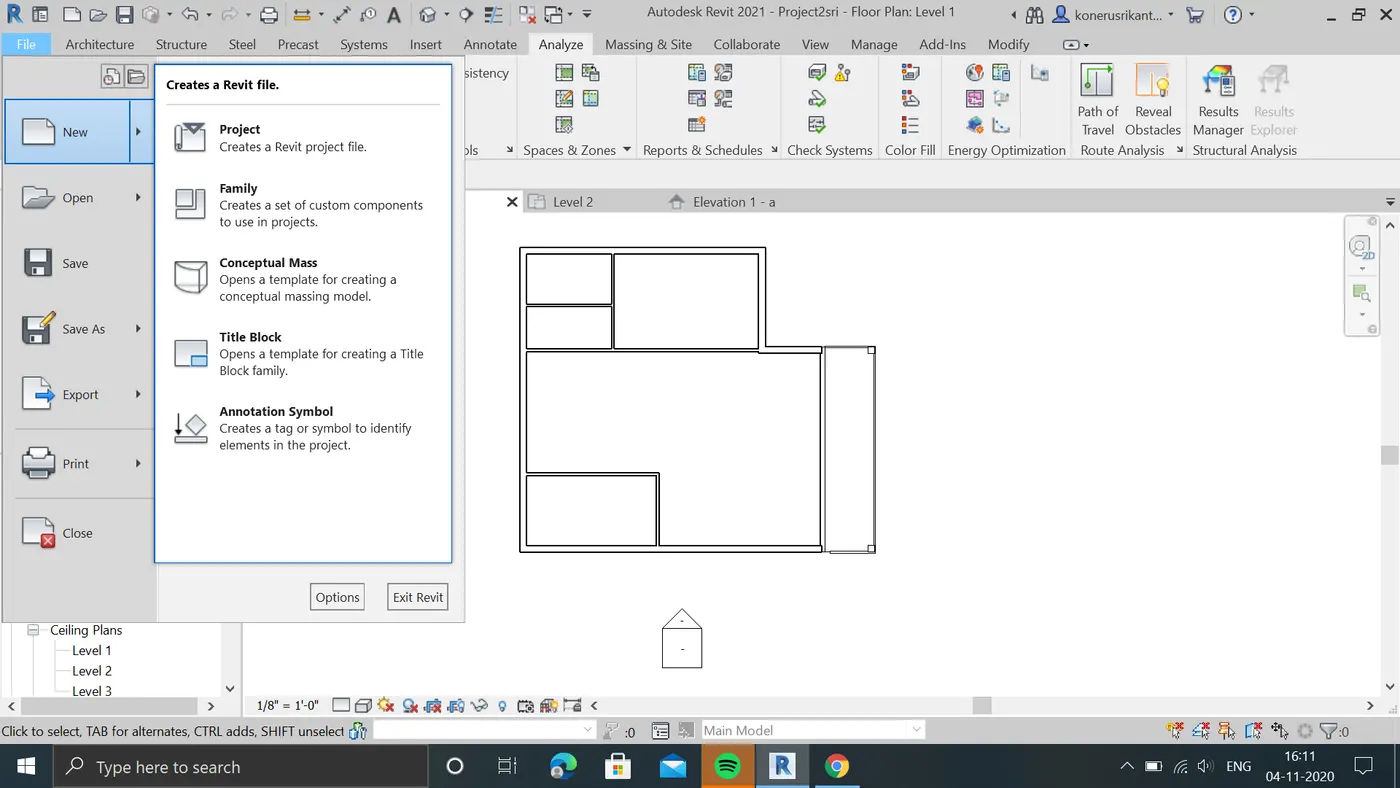
B.select the required template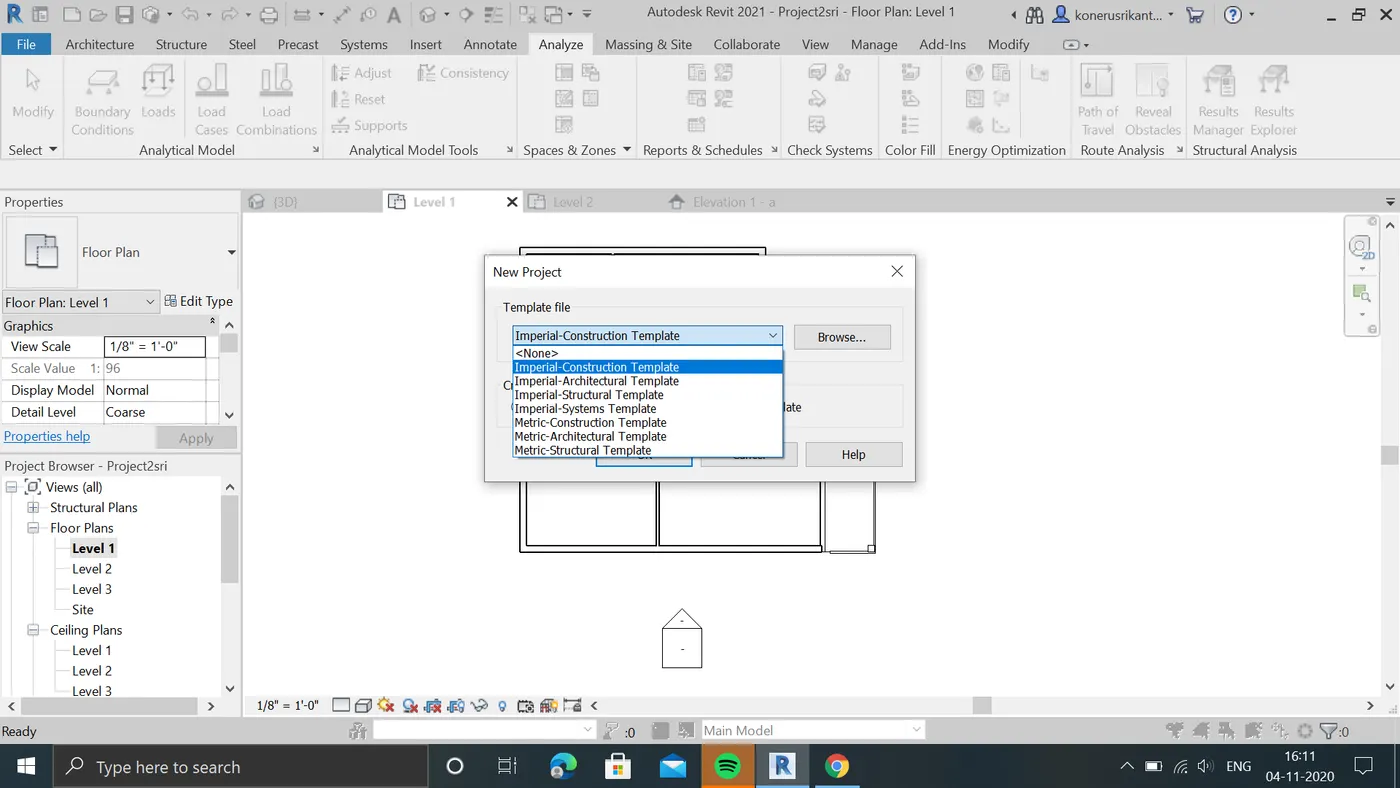
c. we can name the project in project information tab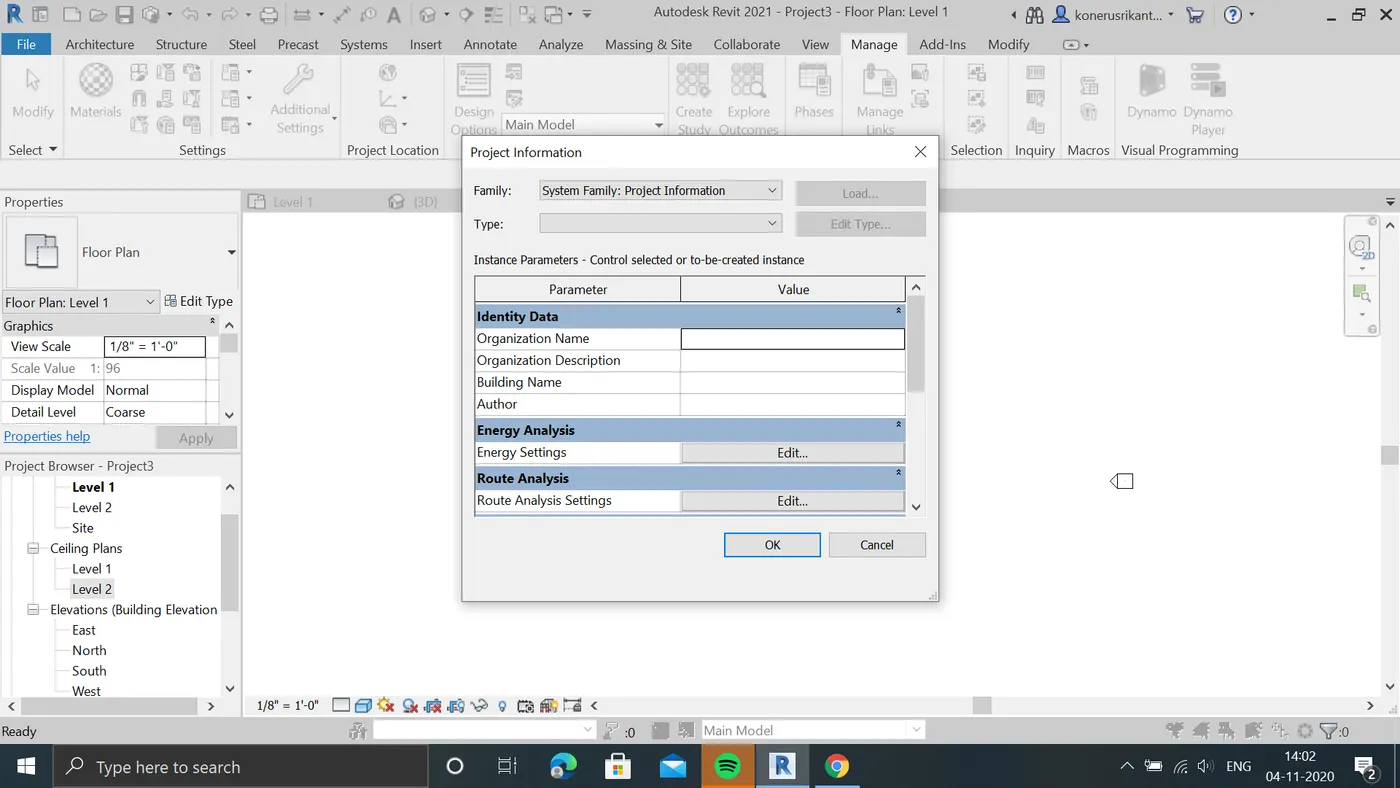
REPORT:
CREATED a new file with required template named the project
2.AIM:TO Save the new project file. Close and open using icons from file toolbar.
PROCEDURE:
A: click on file we can see the save option by that we can save the file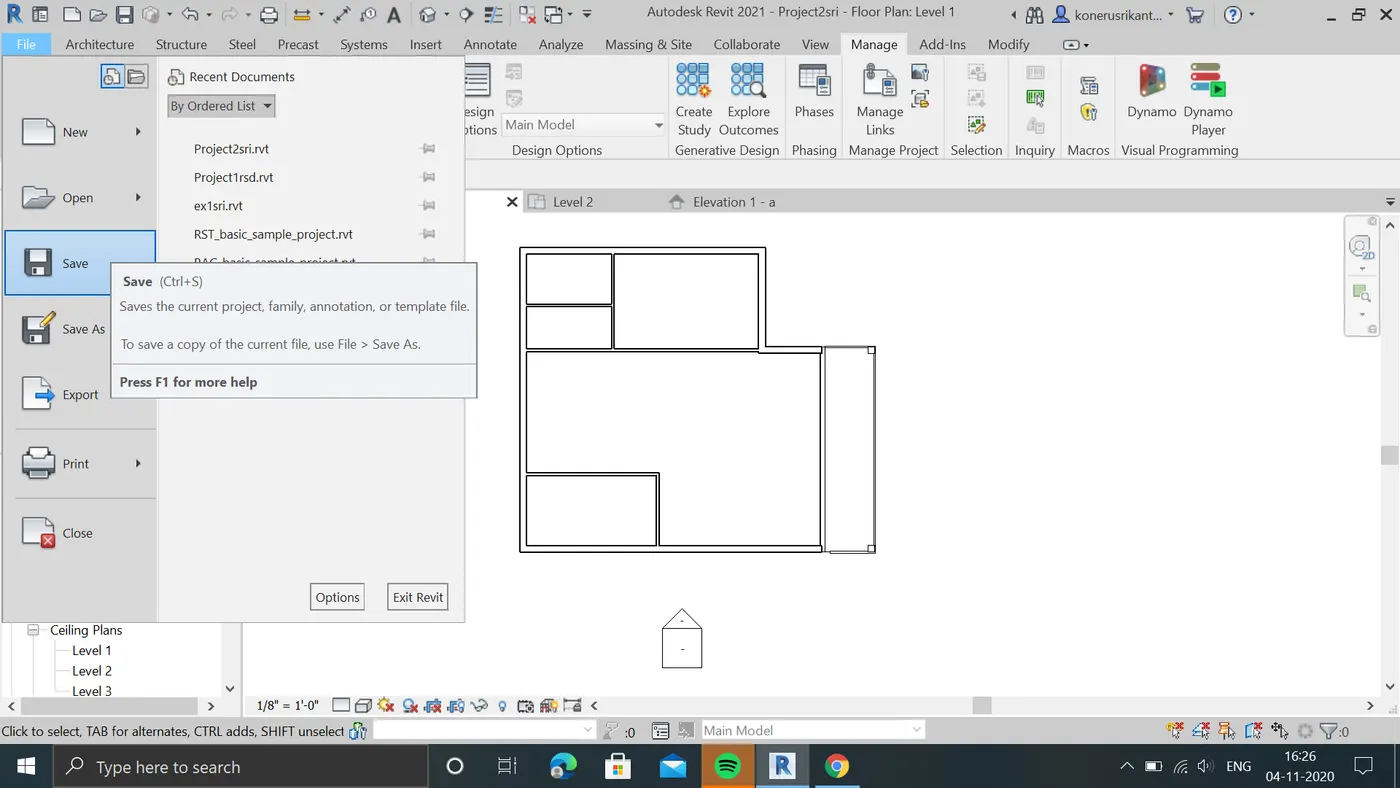
B:by opening open tab in file we can open the saved file priviously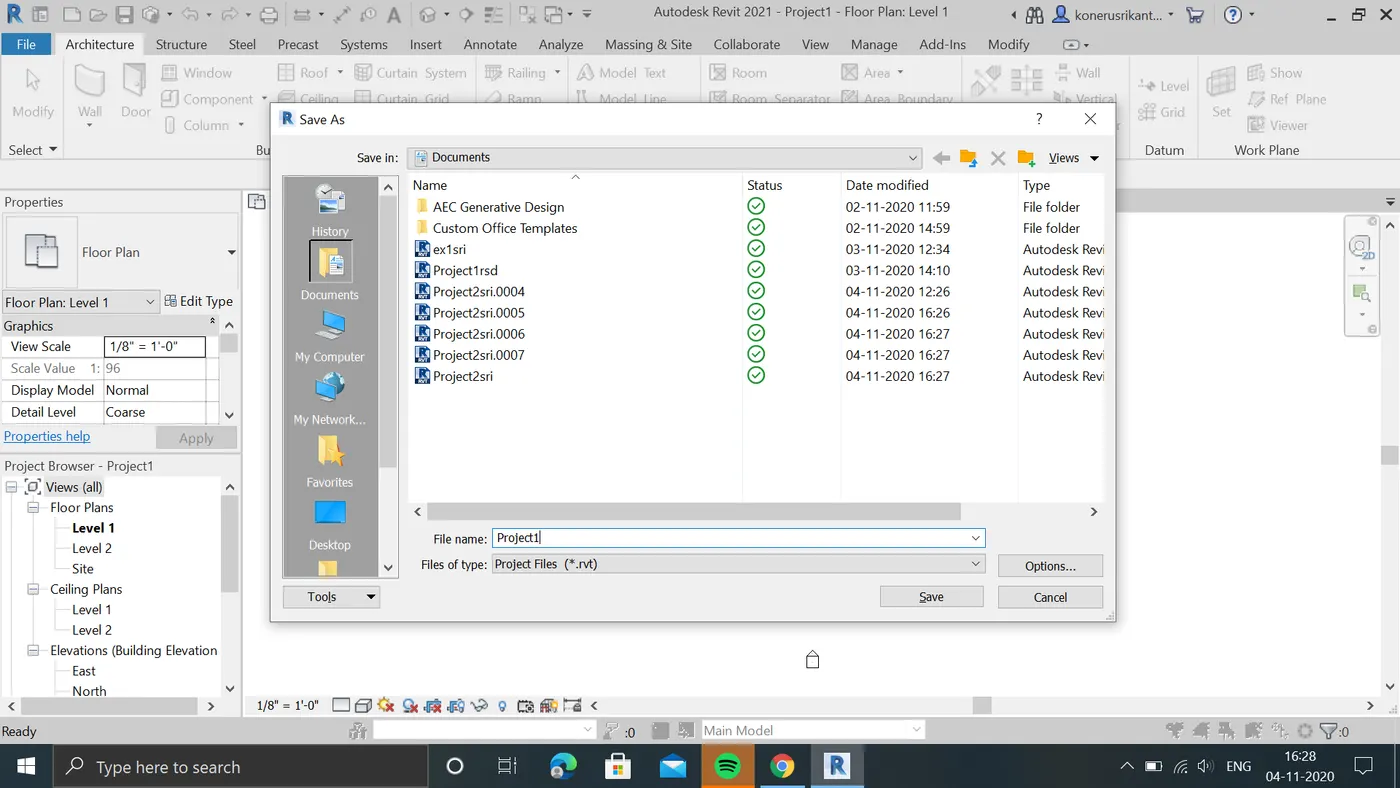
REPORT: we can save and open the file using file from toolbar
3. AIM: From the architecture/ structure tool bar familiarize with options to draw a wall. Create a rectangular layout of walls of about 40’-0” X 35’-0”
PROCEDURE:
A.click on new and select the required template and select the required wall template from wall toolbar and select the rectangle from modify and draw a sample rectangle and make required changes in dimensons(40x30)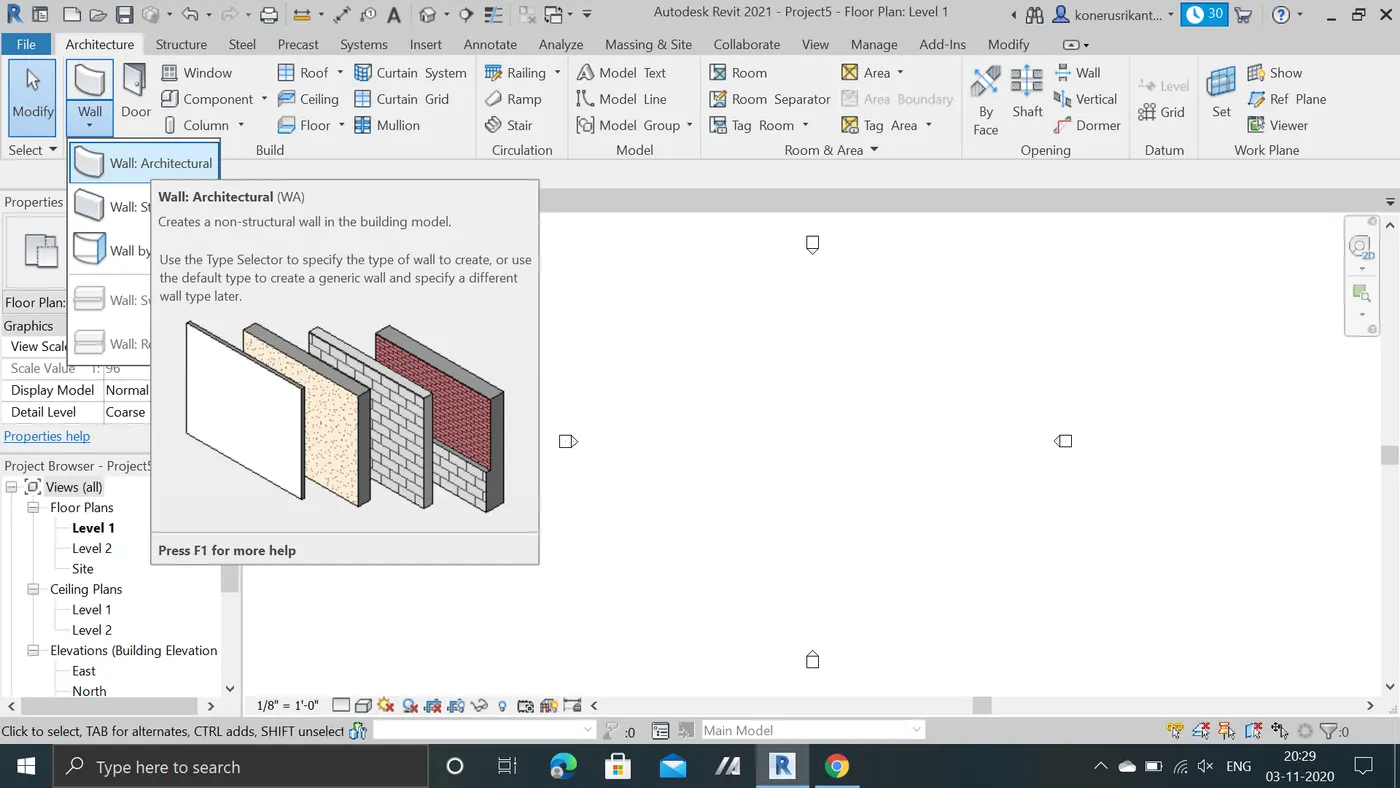
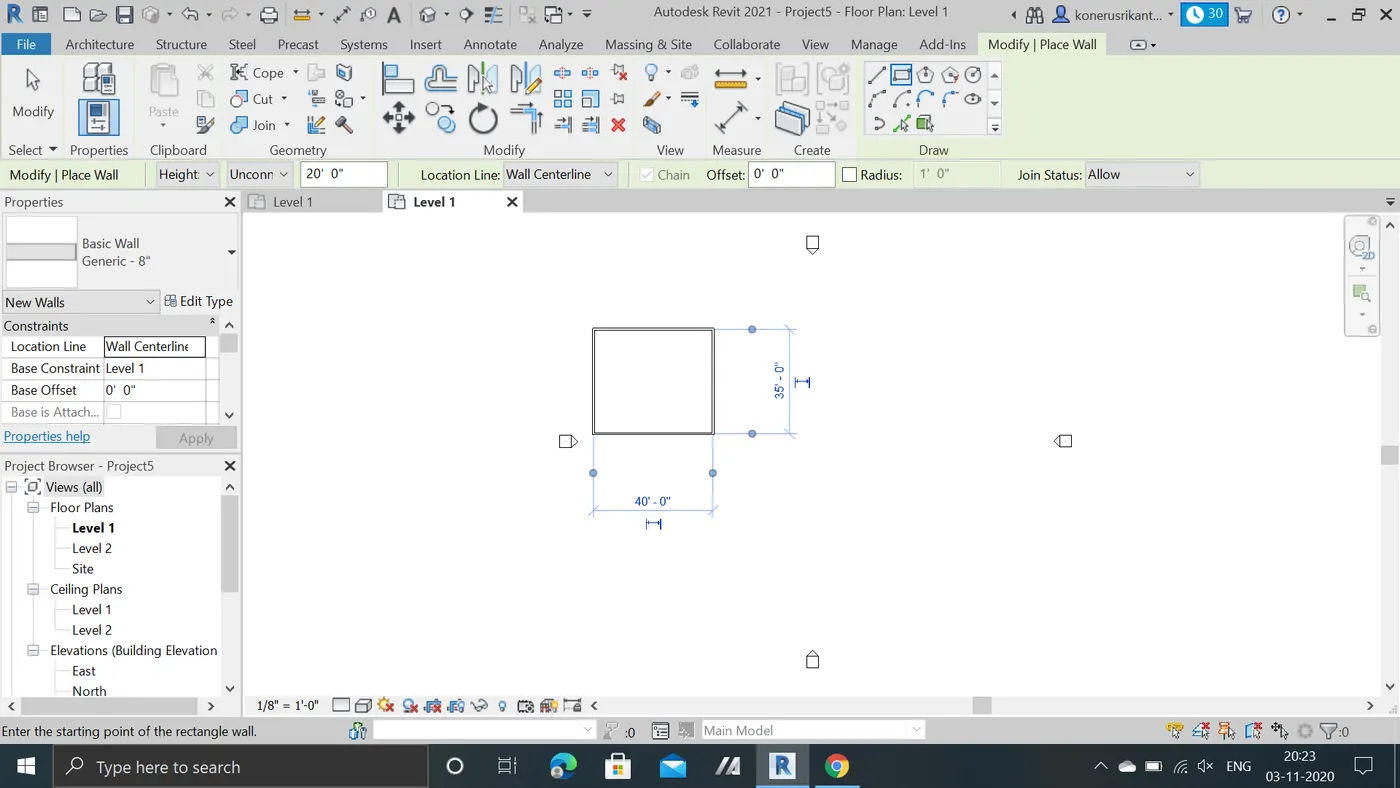
REPORT:Created a rectangular wall size of 40x30
4.AIM: From Annotate tool bar use aligned option to add dimensions to the layout
PROCEDURE:
B.draw a wall and select annote toolbar and select the aligned dimenson.select the wall start point to end so you will get dimensions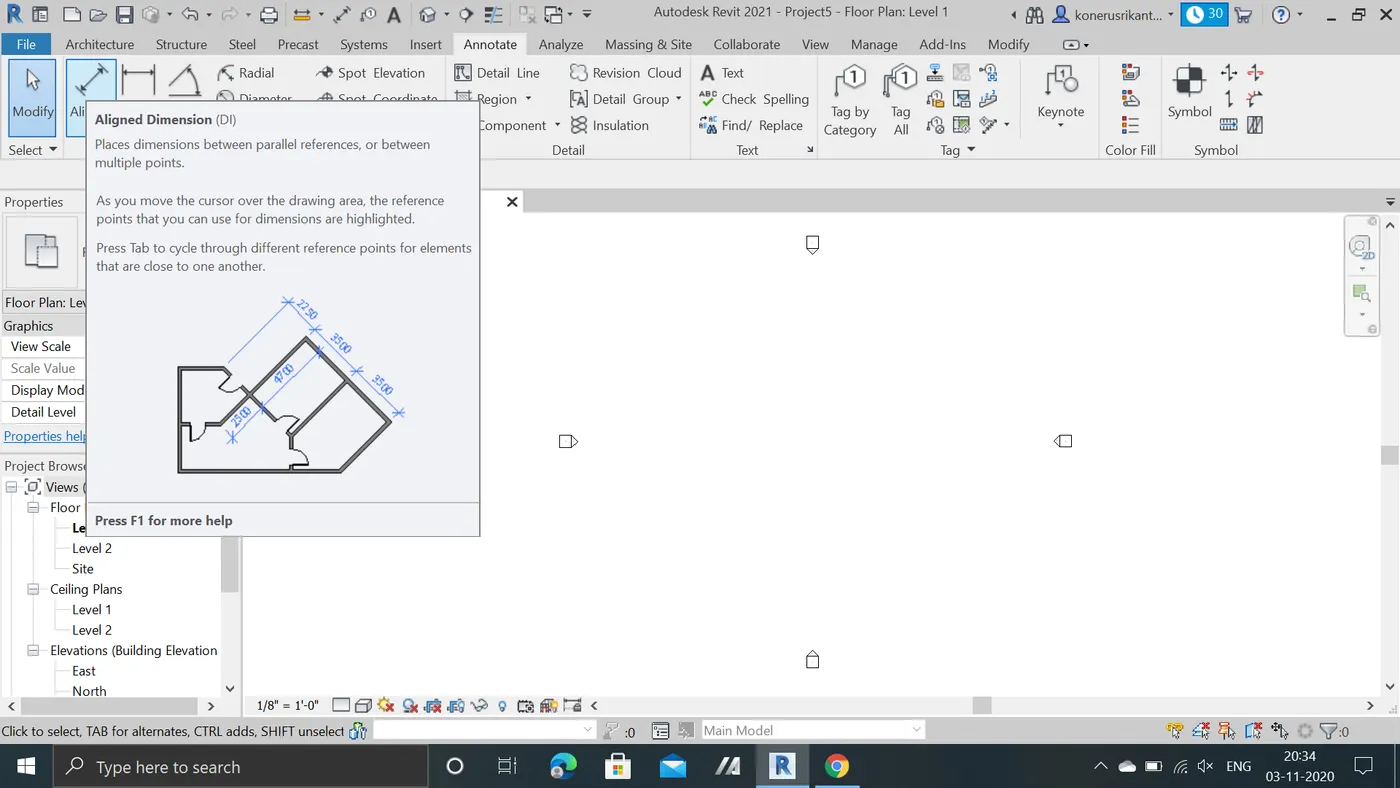
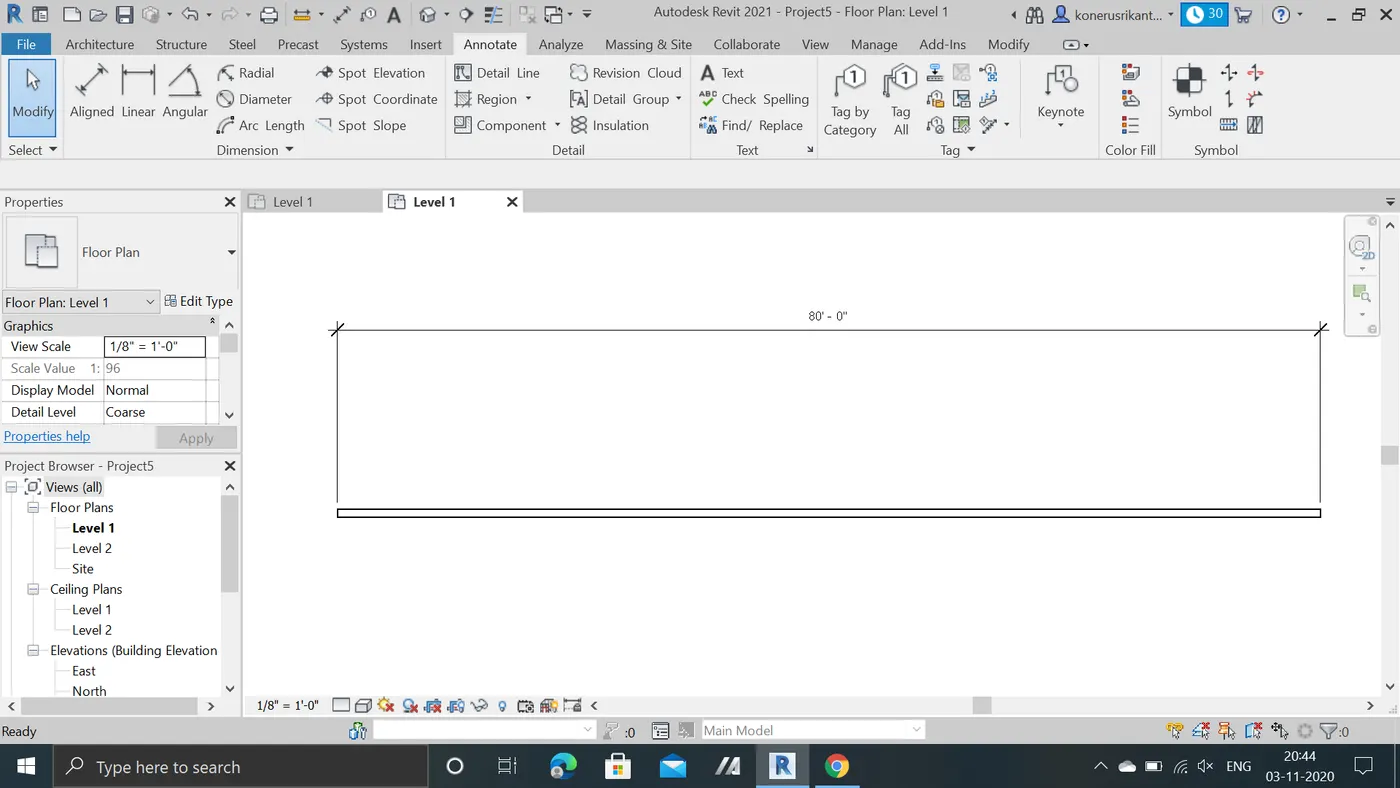
REPORT: from alingned toolbar dimensions are added to the layout
5.AIM: To Use the properties browser to switch to different wall types
PROCEDURE:
A:select the required wall template you will find a window in properties about walls.if you dropdown the menu in properties from wall window we will find diff types of windows 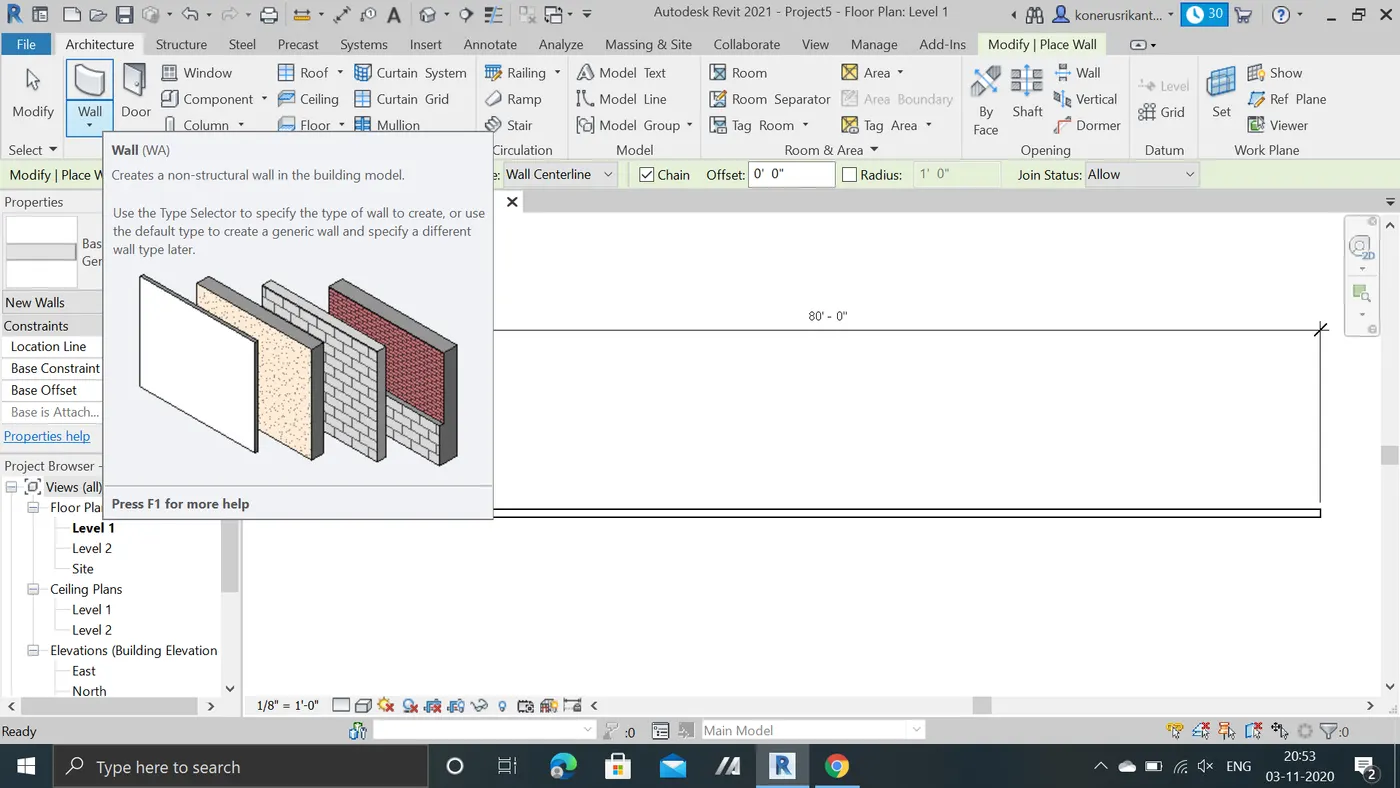
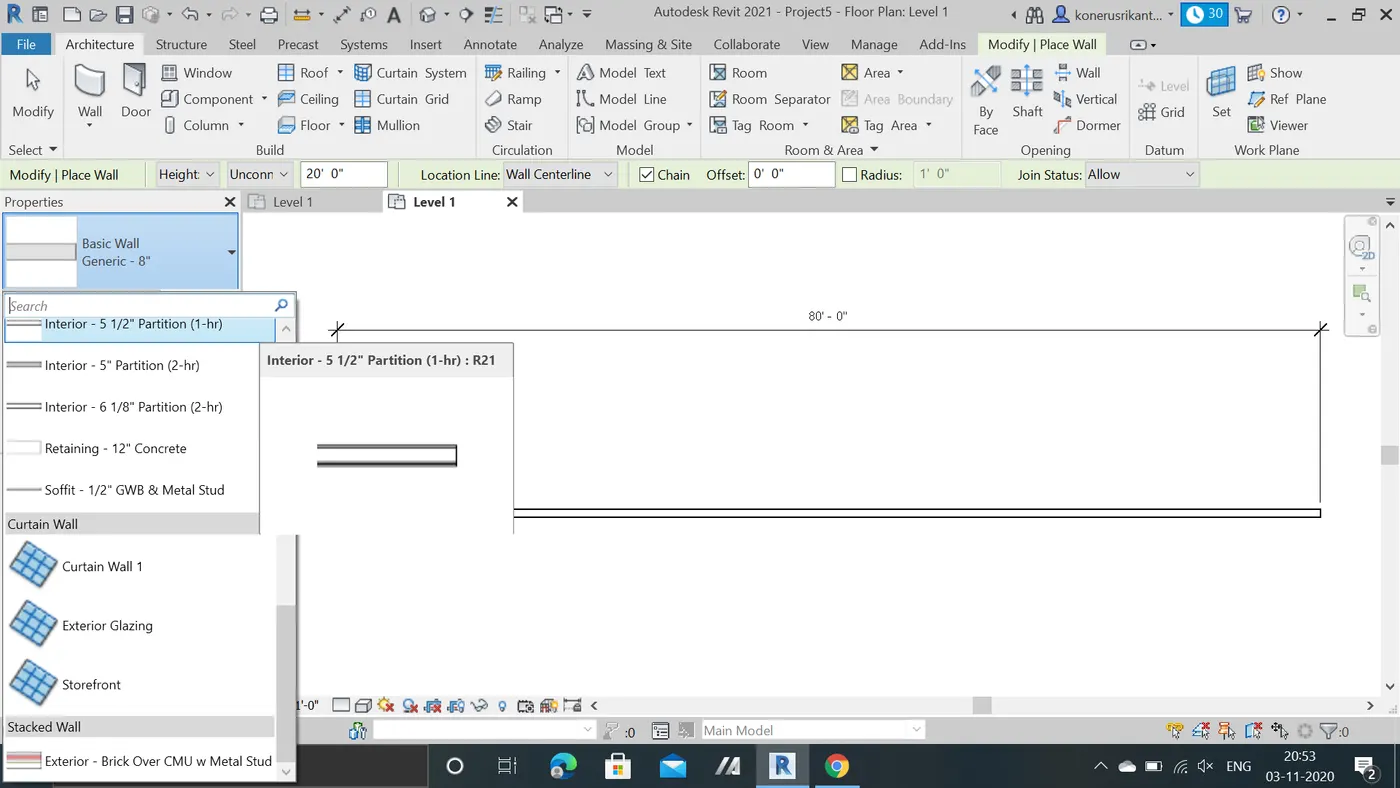
REPORT:using the properties browser switched into diff types of walls
6.Aim:To Create a 3D view from the view tool bar and save the view with appropriate name
procedure:A.draw a wall from tab architecture .
B.click on view where you find 3dview tab in toolbar by selecting 3dview we can see the
in 3d view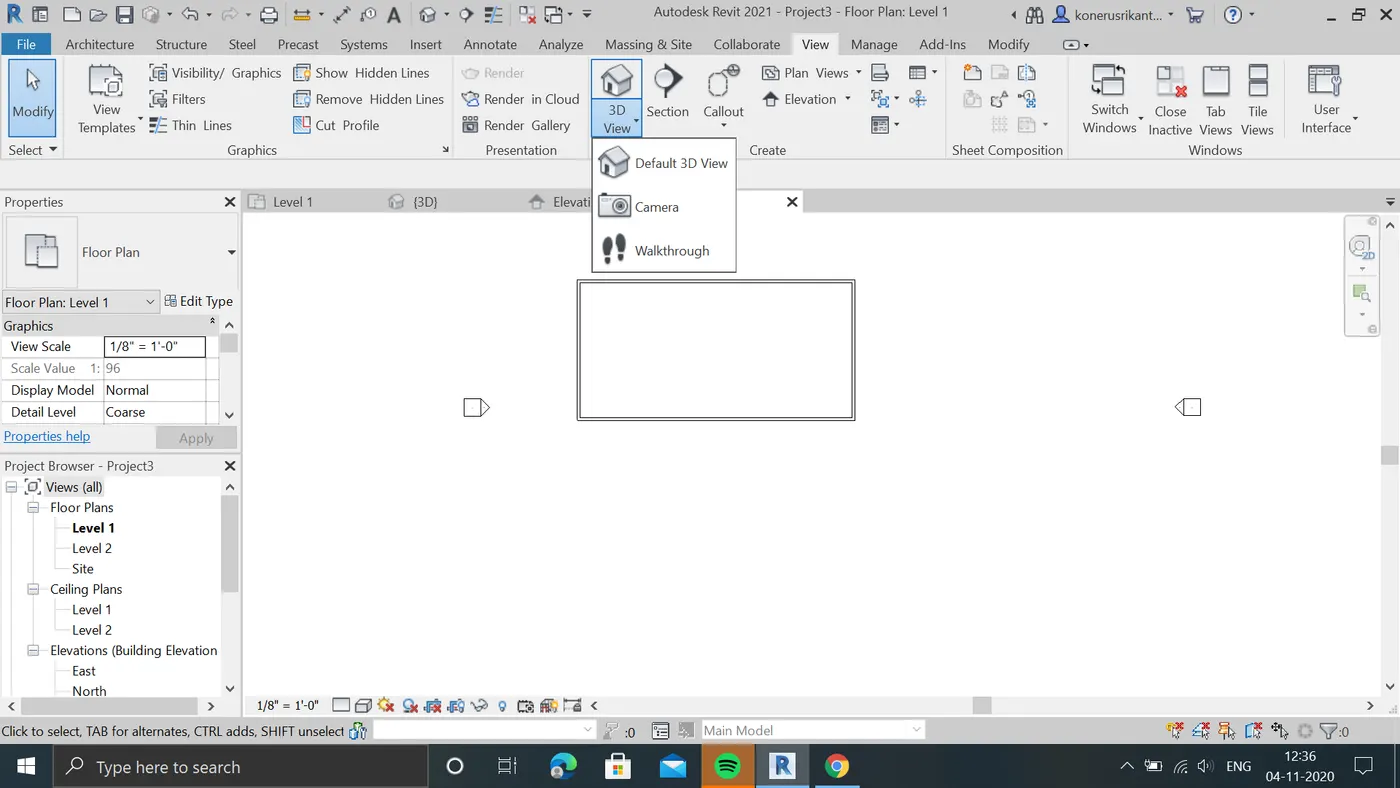
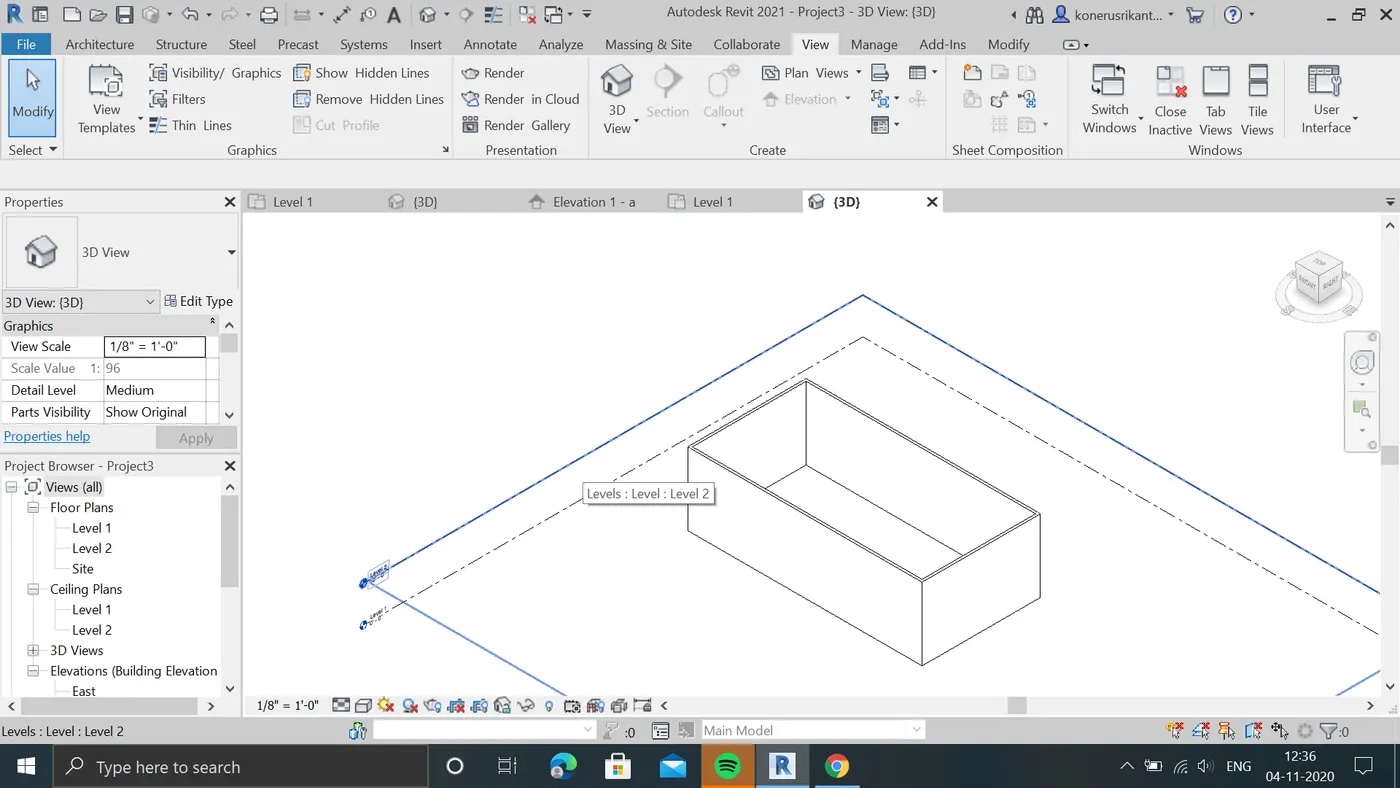
C.we can give the name in project browser by clicking on 3dview tab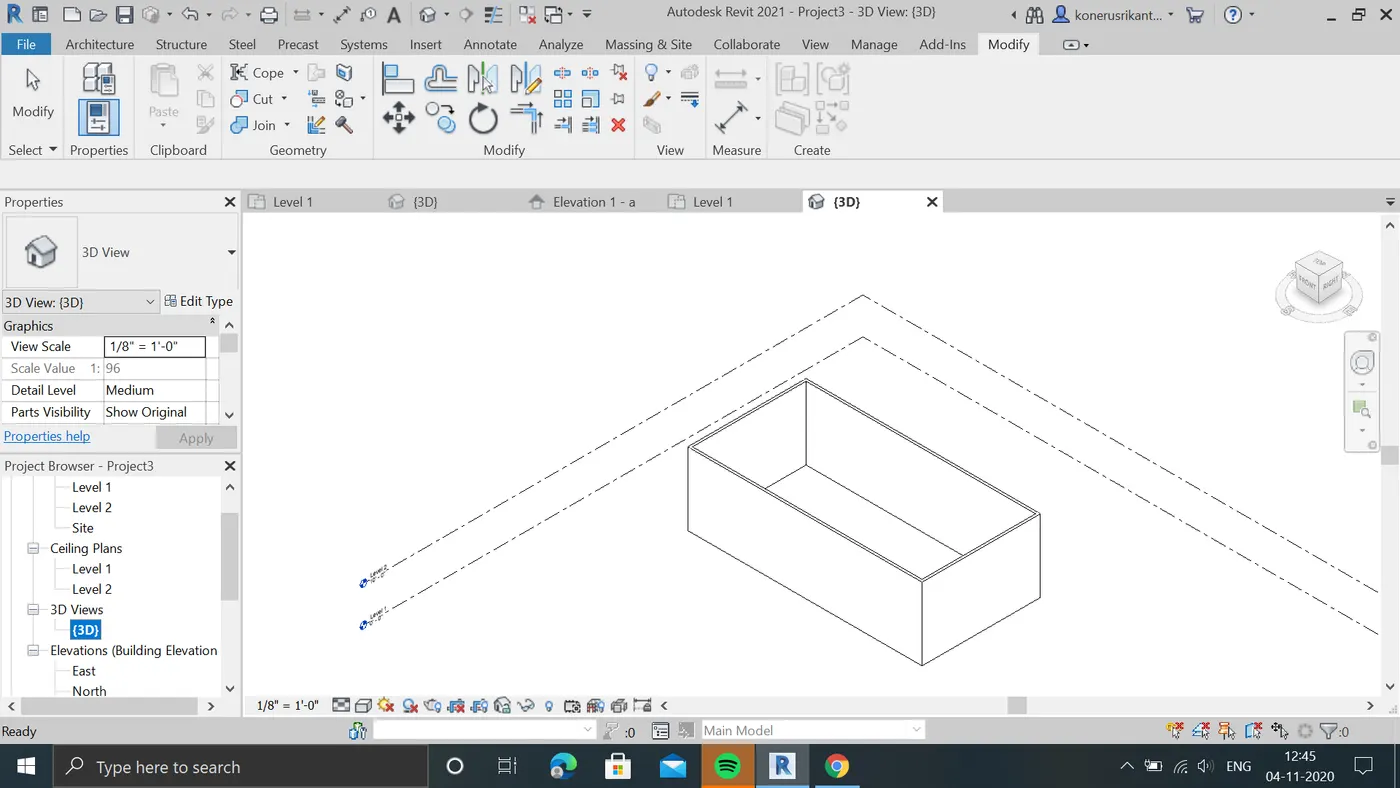
report: created a 3d view and saved and named appropriately
7.AIM :To Navigate through the 3D model using view cube. Orbit/pan through the model layout.
PROCEDURE:
A.create a 3dview .
B.top right corner we will find view cube .by roatating cube we can navigate in any direction.
C.by clicking navigationwheel we can use pan/orbit .using pan we can move the diagram.,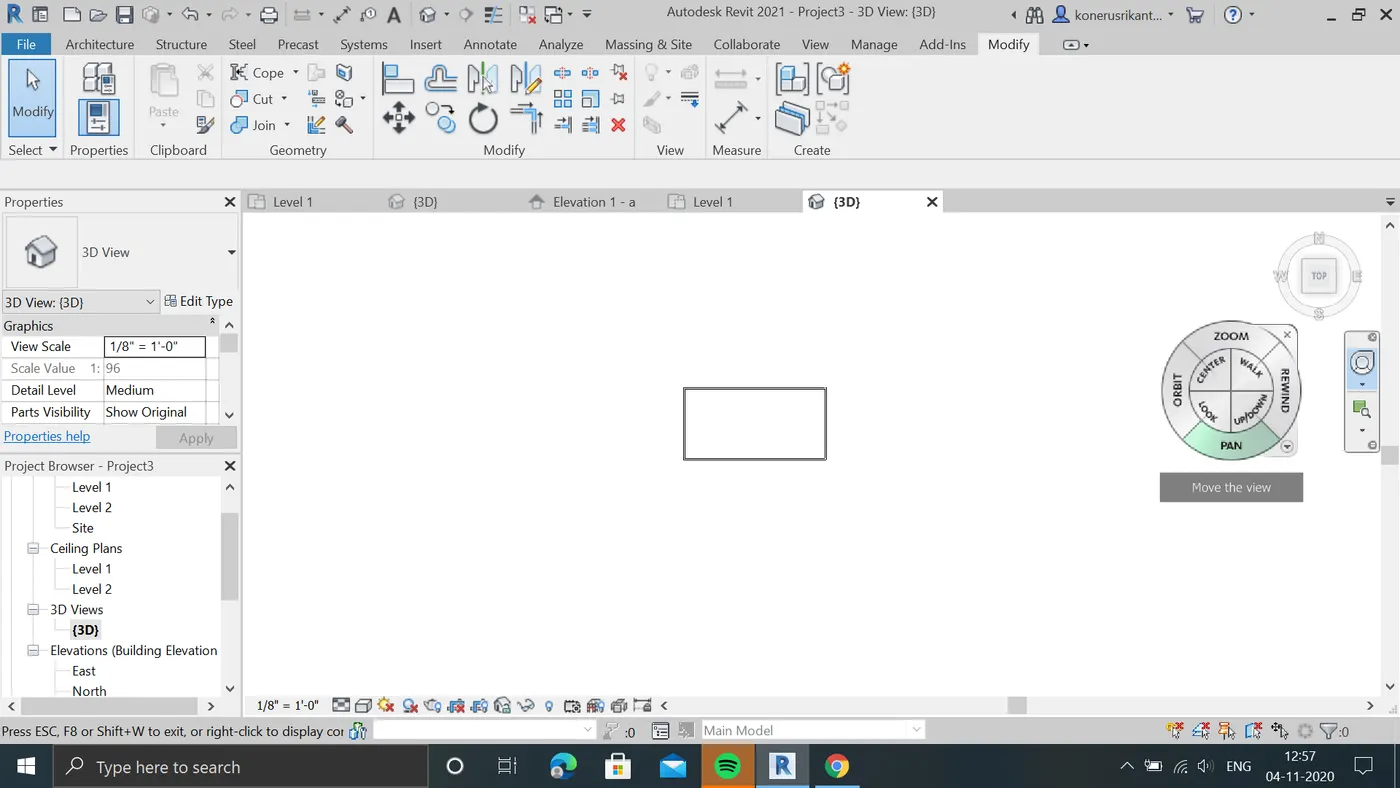
REPORT: navigated through 3d model using view cube.pan/orbit through the model layout
8.AIM : Using the visibility settings option below to switch model to shaded, realistic, hidden lines options.
PROCEDURE : A.create the model
B. In below toolbar we will find visuvalstyle window.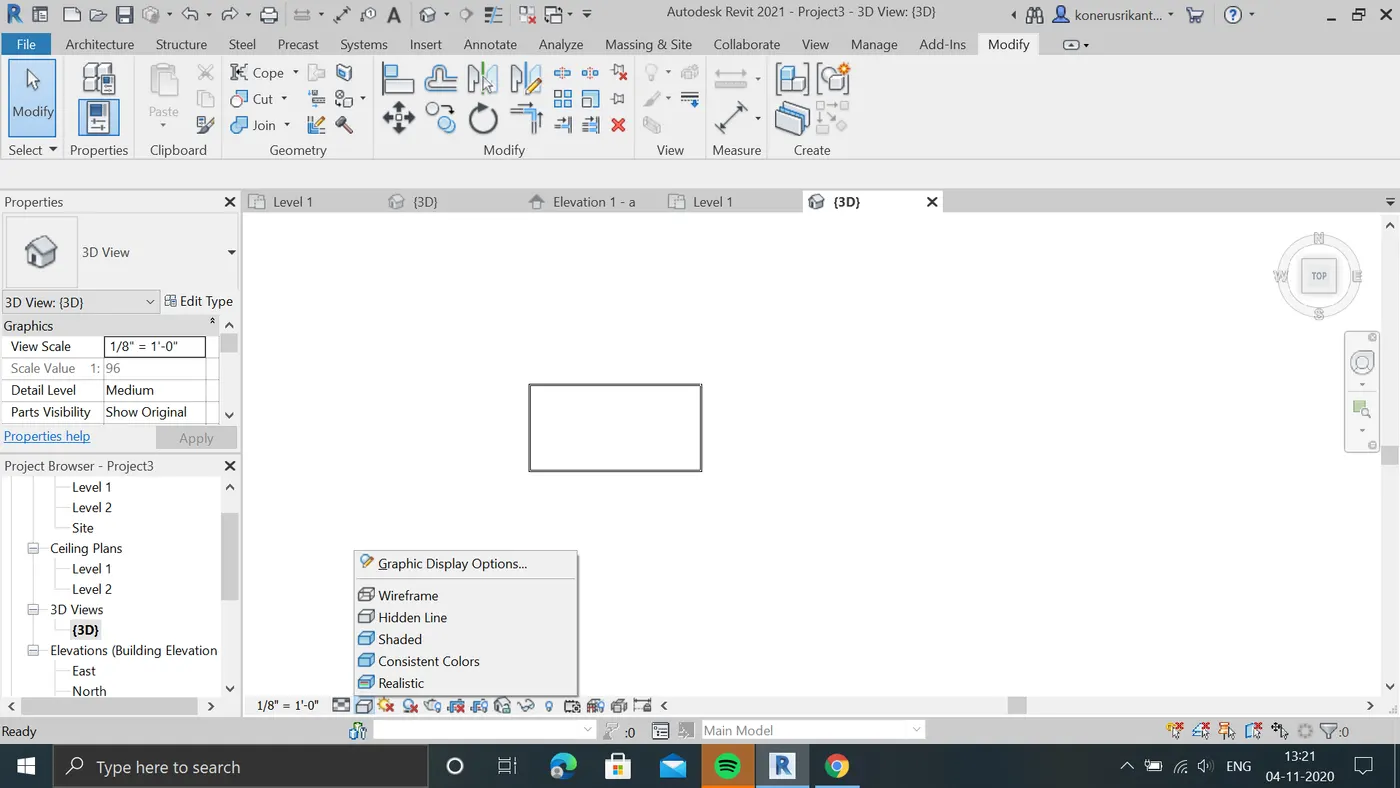
C.so by selecting it we can switch model in to shaded,realistic,hidden options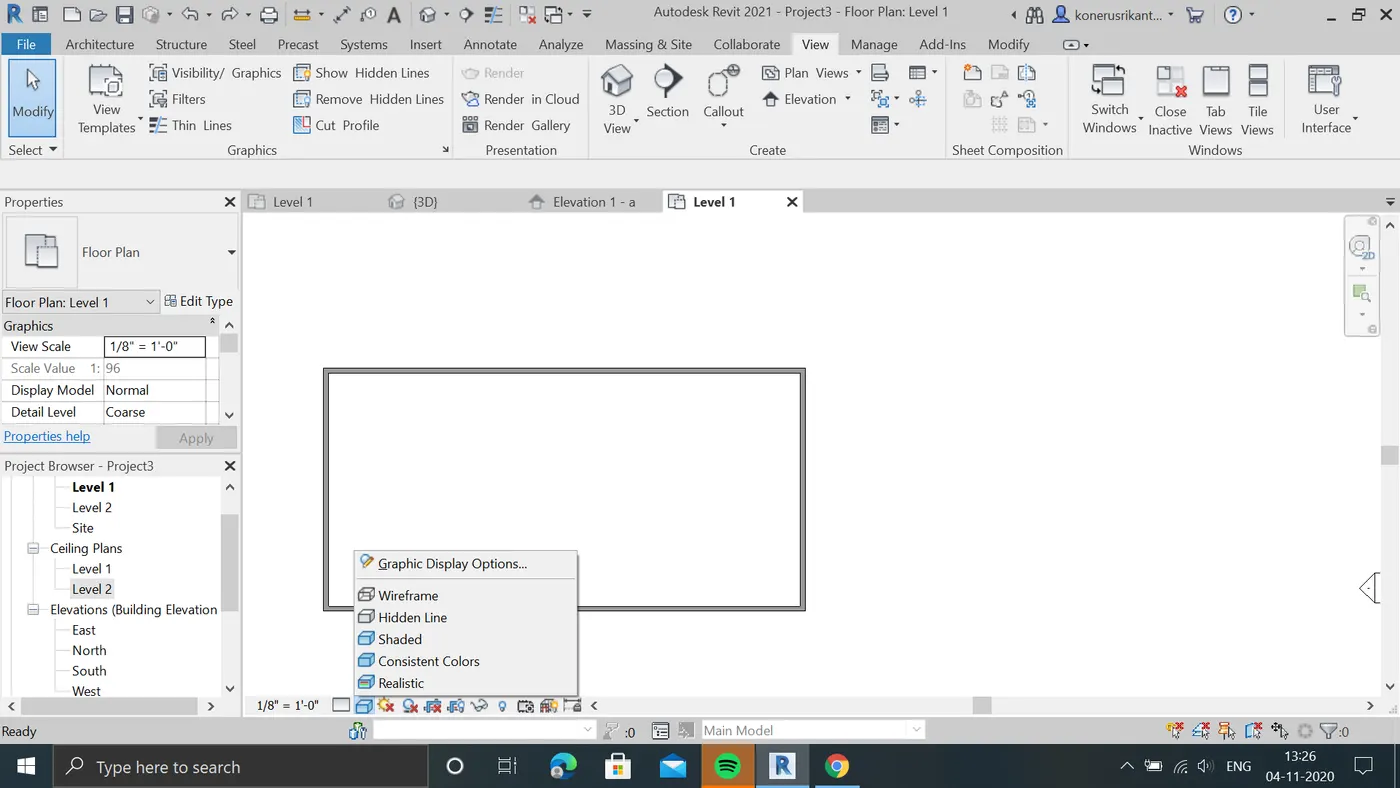
REPORT: by using graphic display option we can switch into diff models
9.AIM: TO Turn the sunlight on and off to view shadings in the layout created
PROCEDURE:A.draw a layout
B.Below we will find sunsettings in toolbar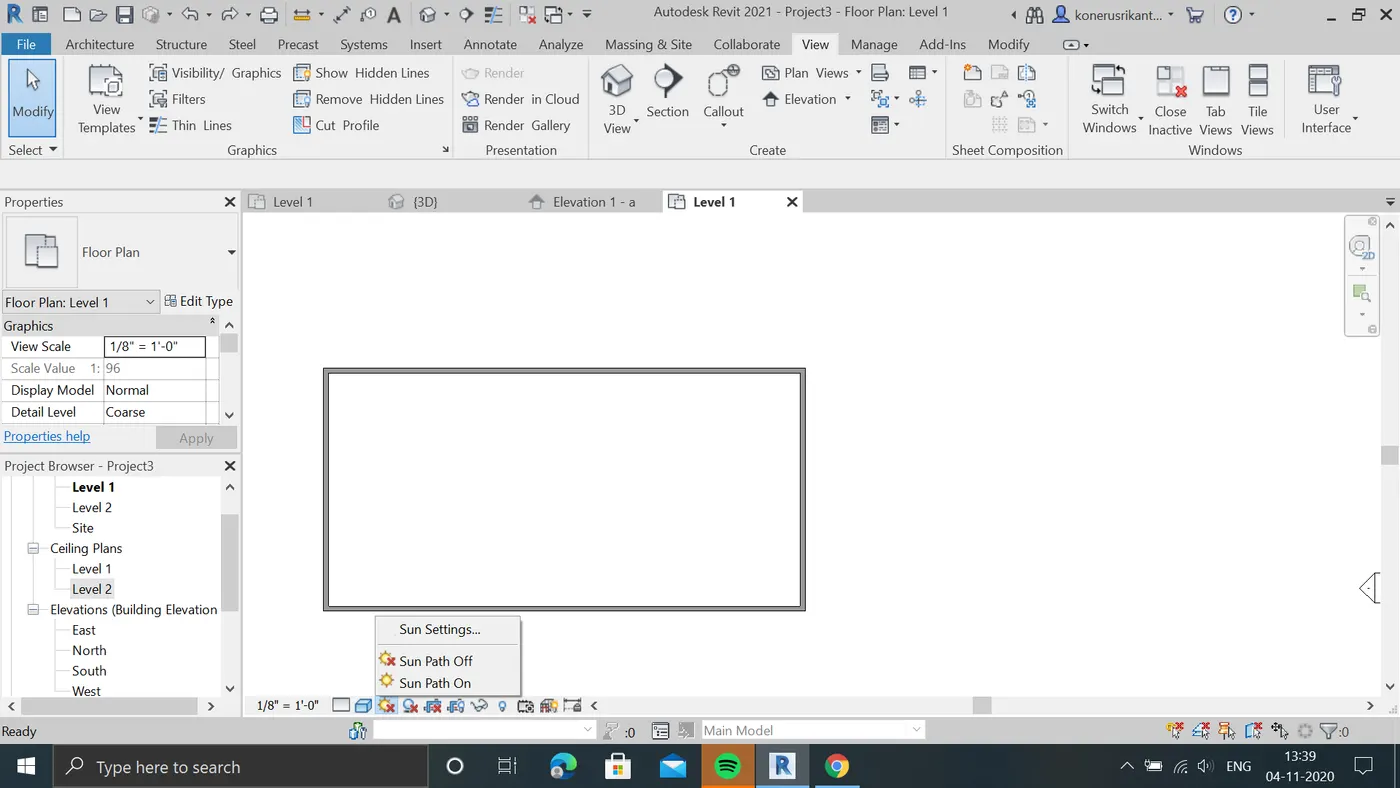
C.by opening it we can switch in to sunpath on and of 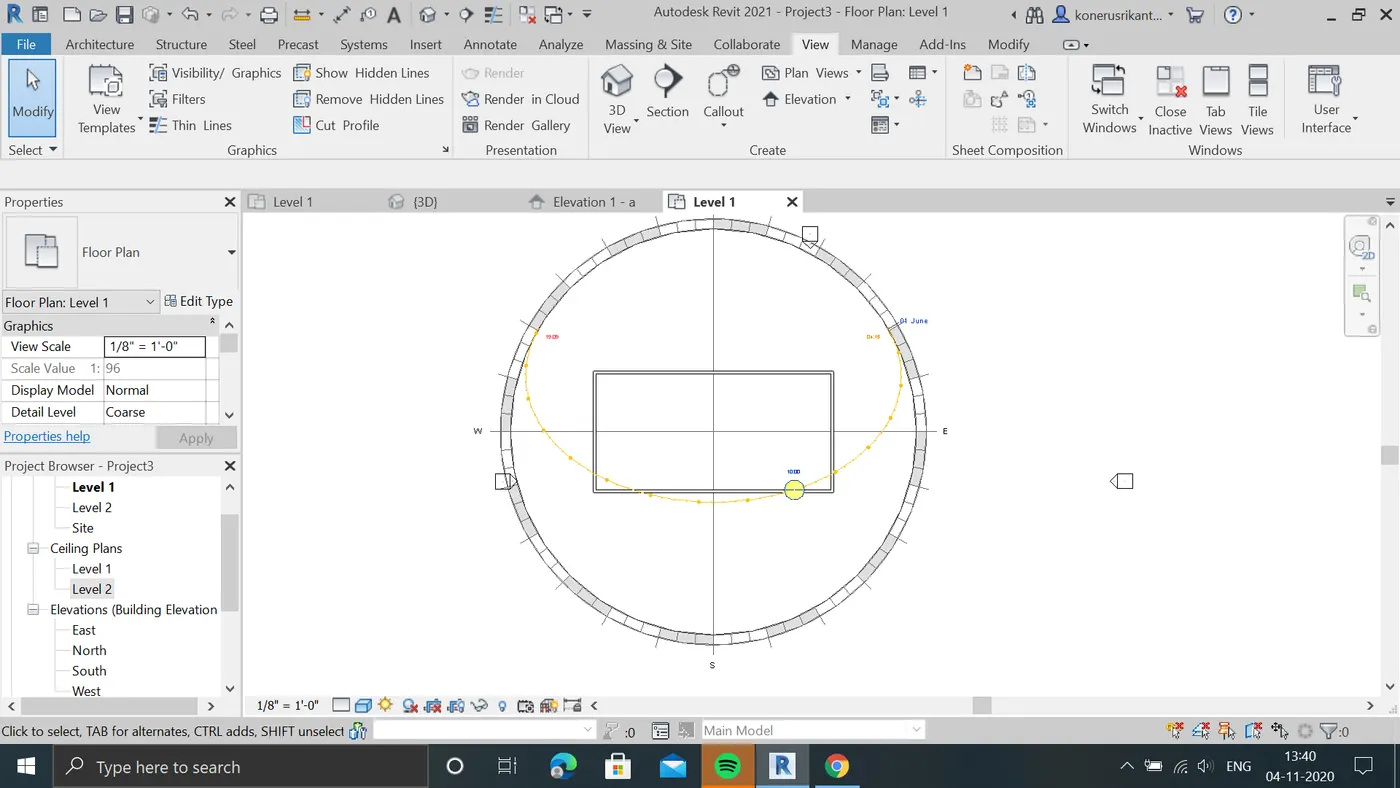
REPORT: we can switch in to sunpaths in layouts to know the sundirections
10:AIM: TO Use the Manage tool bar to enter project settings, project name and project issue date (choose according to your convenience).
PROCEDURE:
A.create a project
B.go to manage tool in tool bar.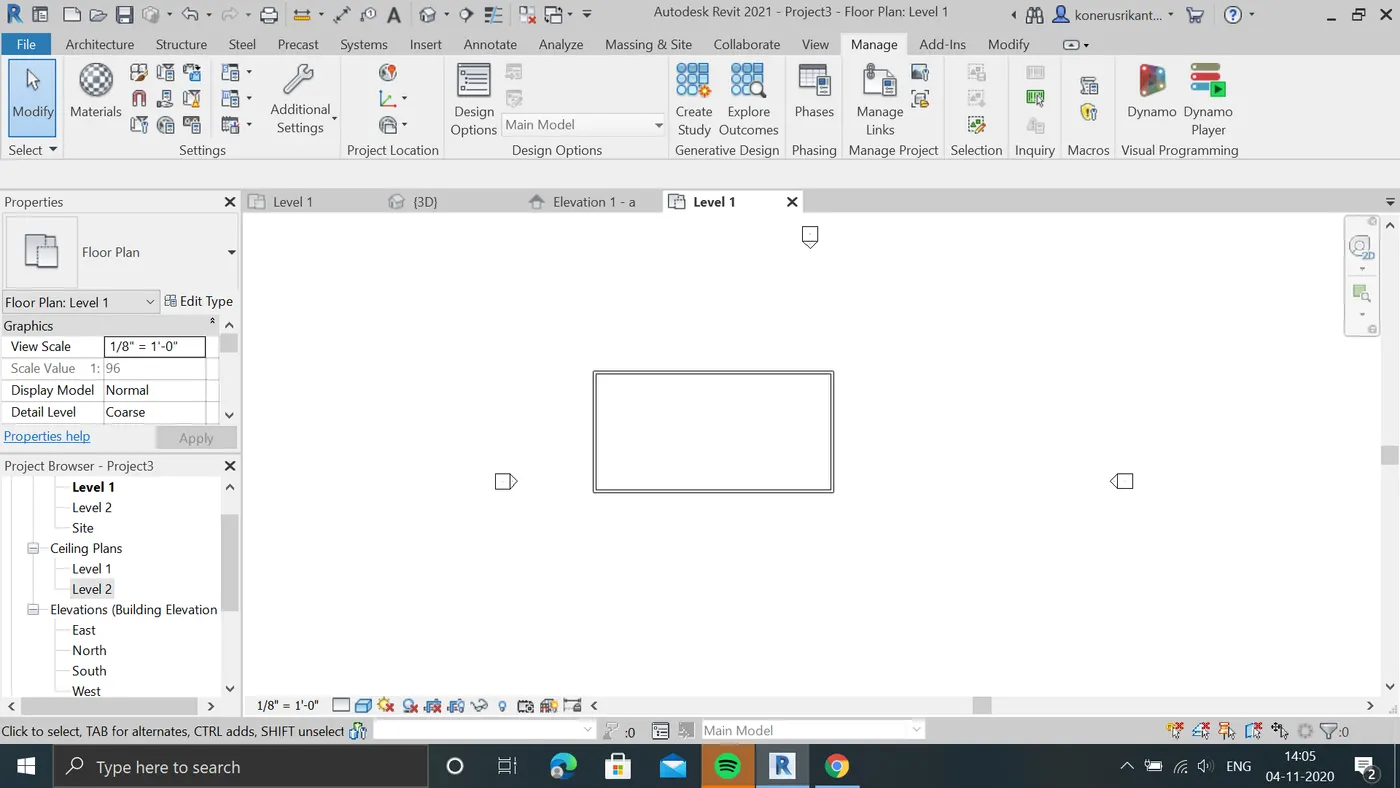
C.we can find project information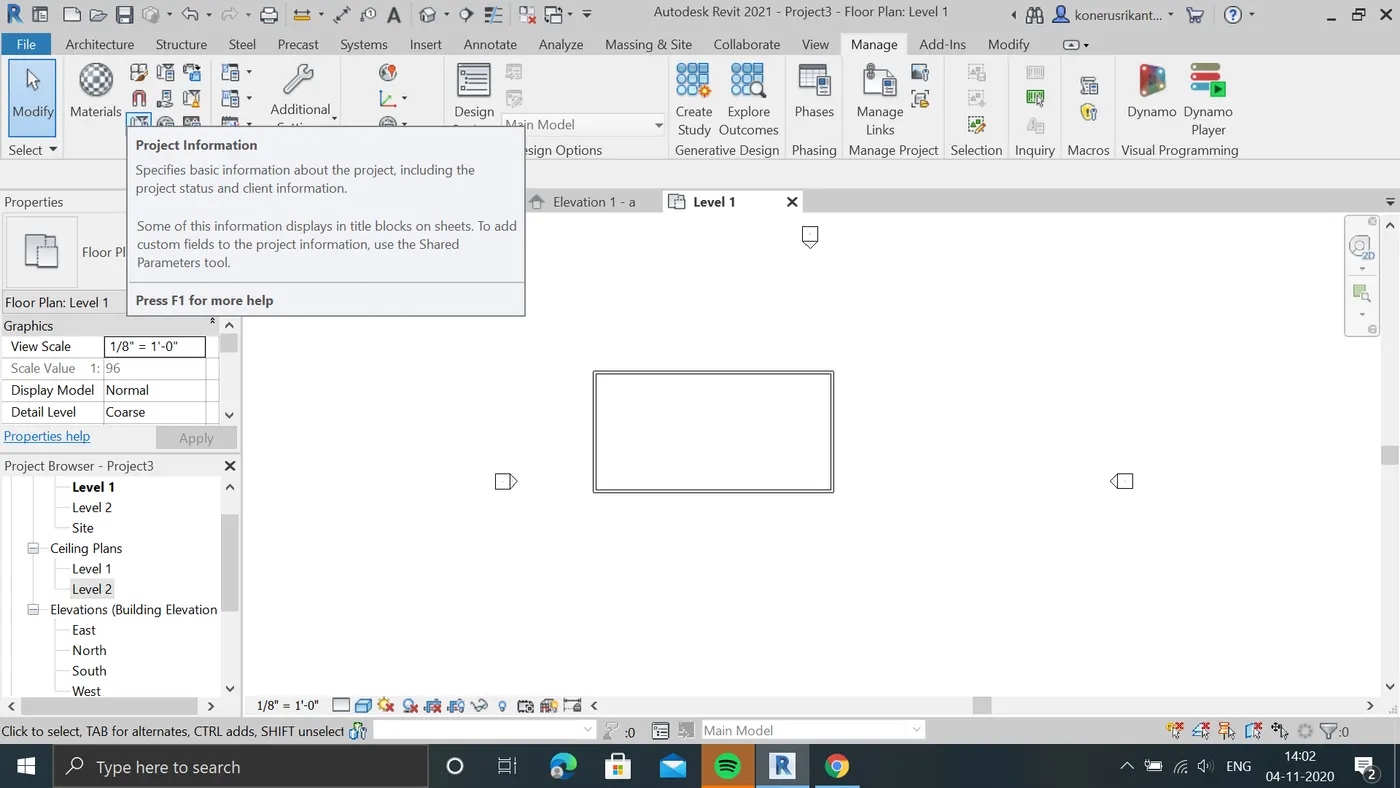
D.we can add name,issue date in.
REPORT:created a project and given project name to it and added issue date.
11. the toolbar which helps to combine the diff loads in structure ,loads combinations.it find the failures in the structure and analyze the stucture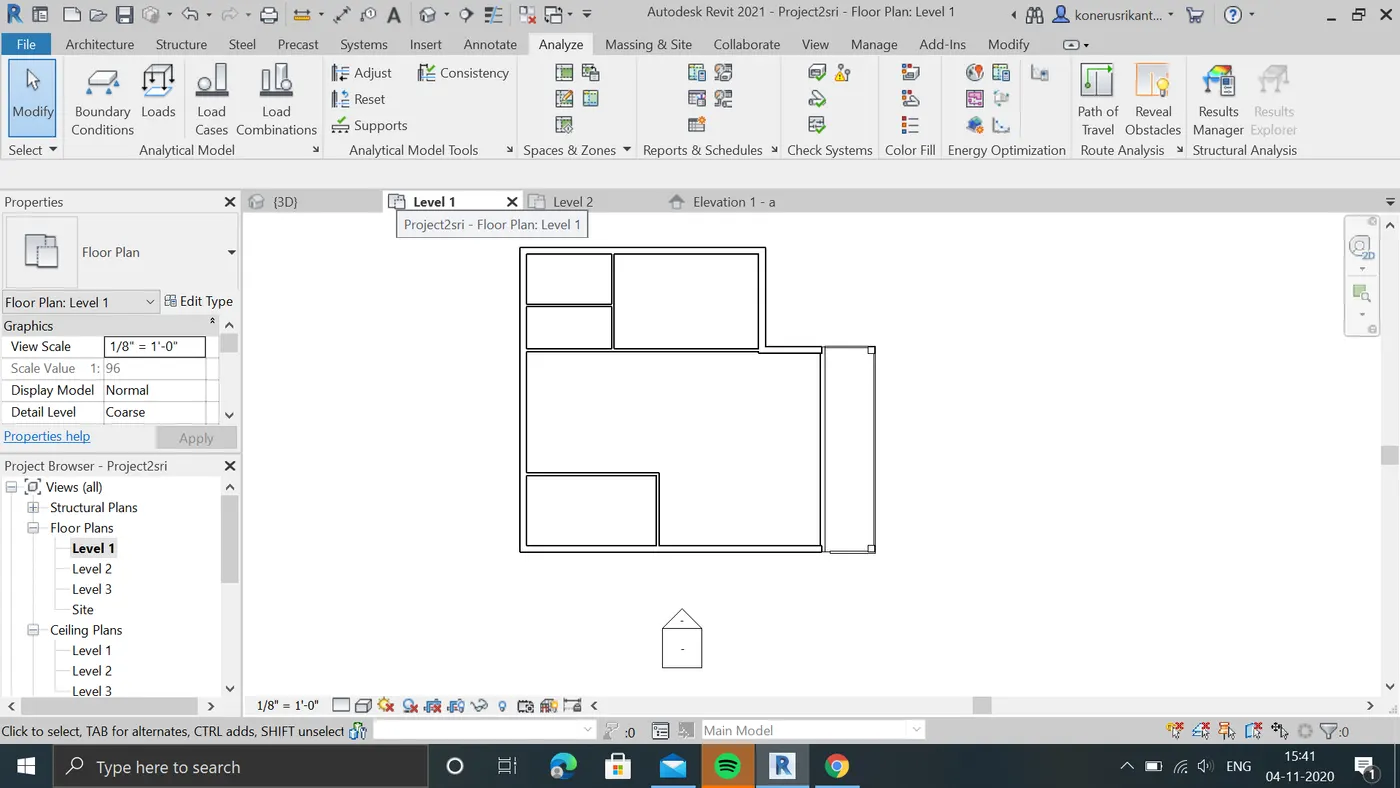
12.supported links in revit are cad,topography,etc
13.it is used collabrate any users to collabrate on revit model it makes more efficient in work and it reduces the project time