Usage of Navigation tool , Timeliner and Clash Detection test using Naviswork
Q No.1
Ans:-
AIM:-
To use the architectural/structure project file developed from week 6-8, Export the Revit file to Navisworks cache file.
Procedure:-
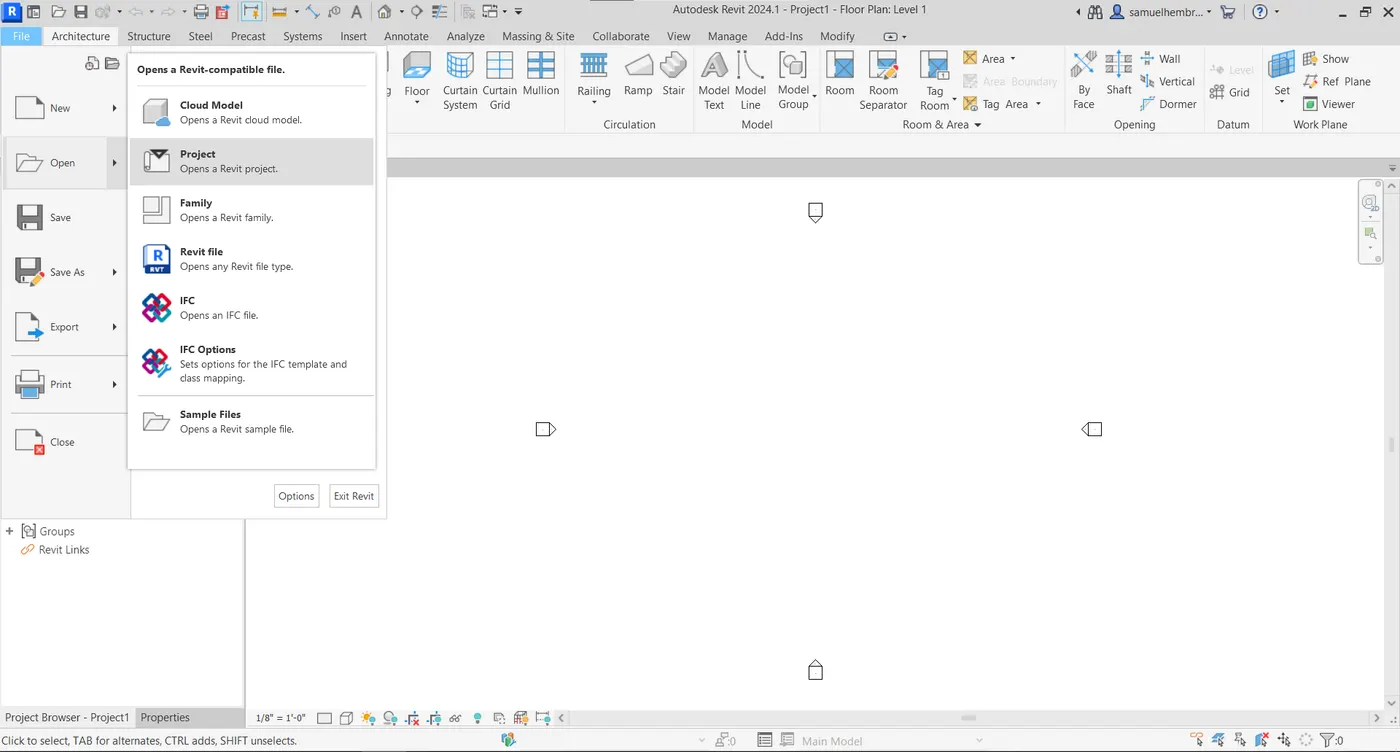
- Open the Revit software.
- Go to File -> Open -> Project.
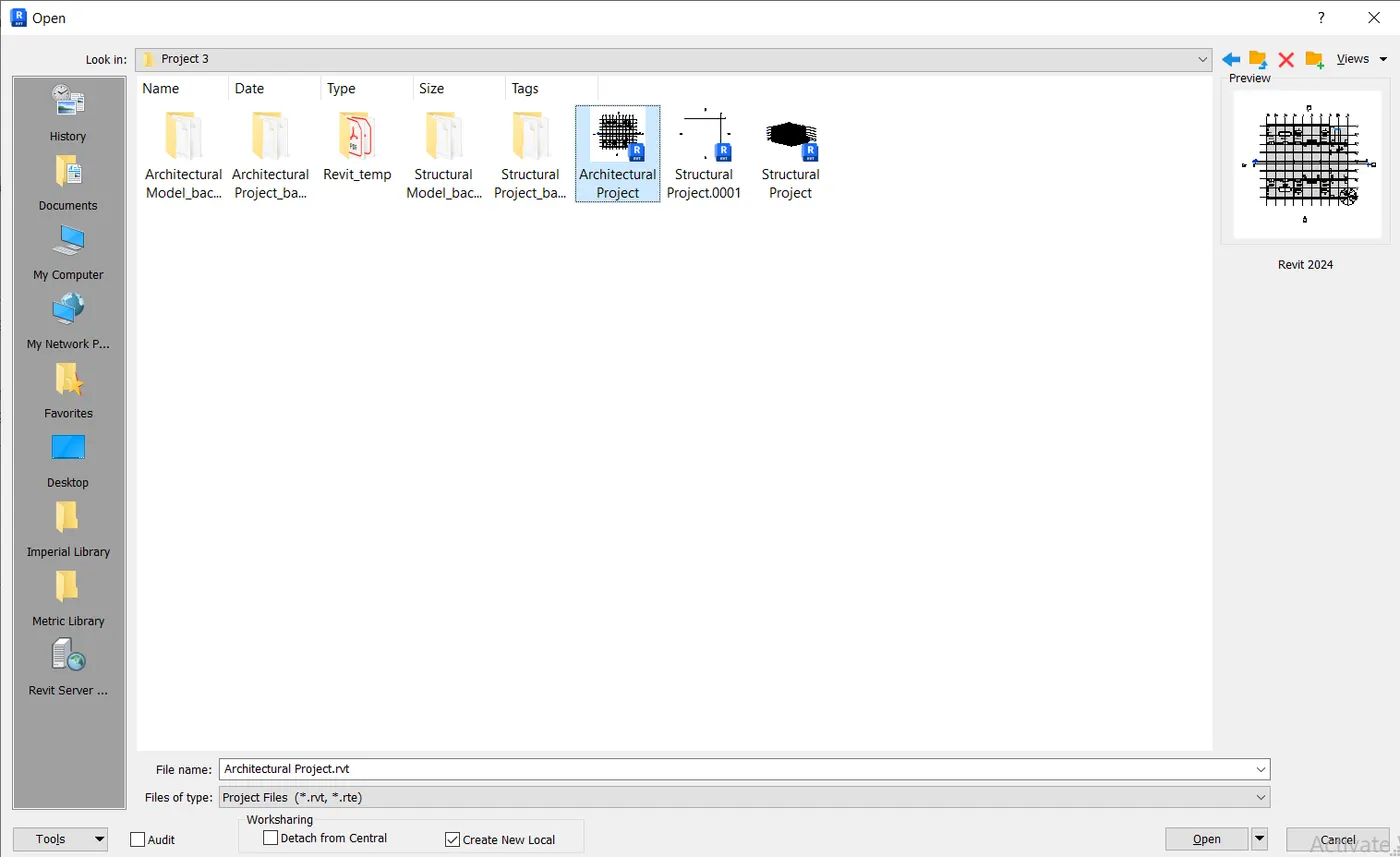
- Select the "Architectural" file from the "Open" tab.
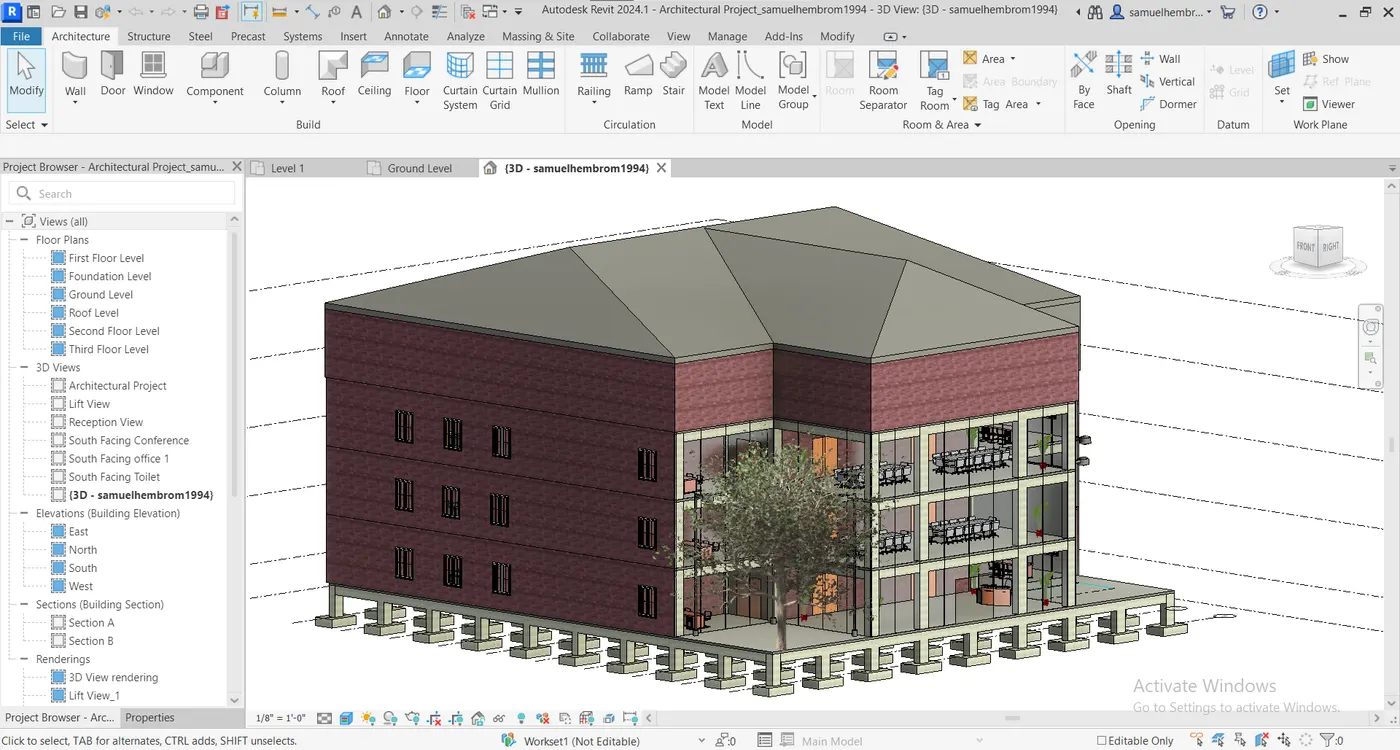
- Repeat the above process for adding Structural file.
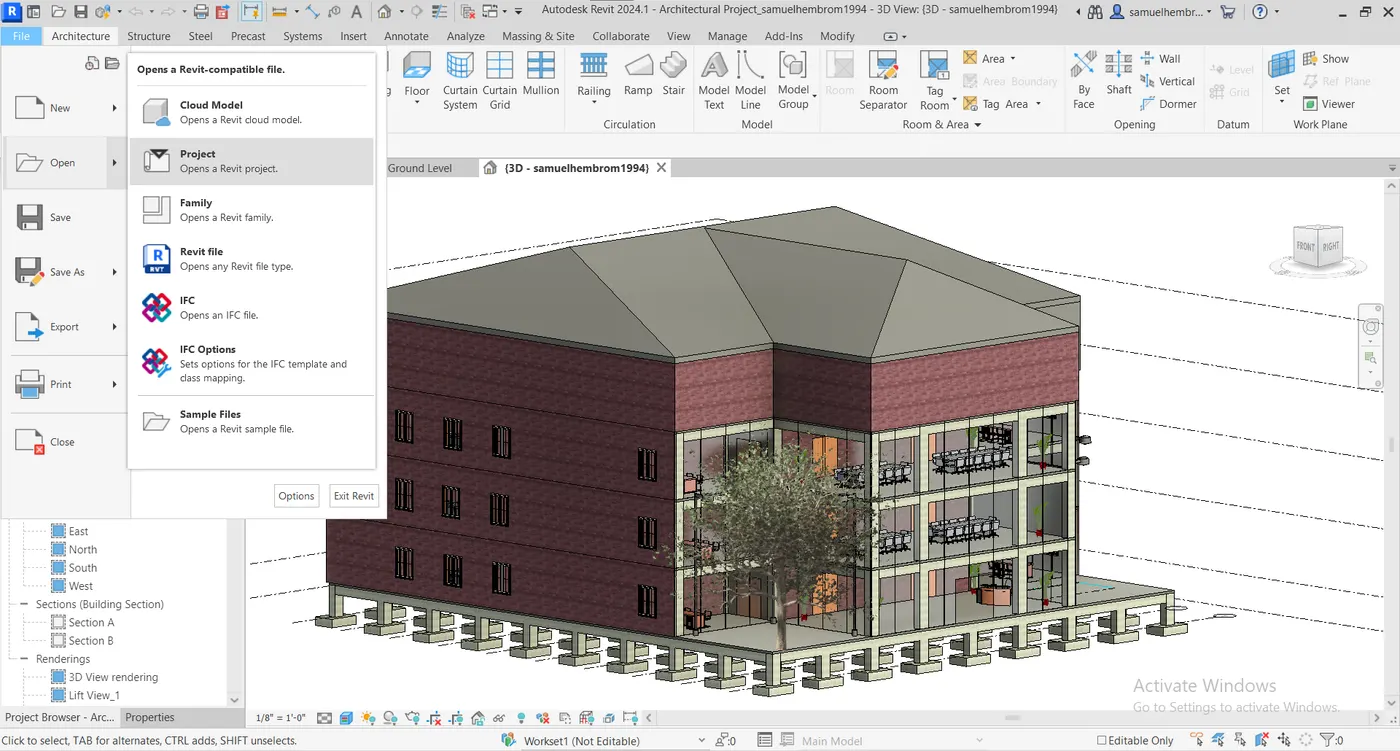
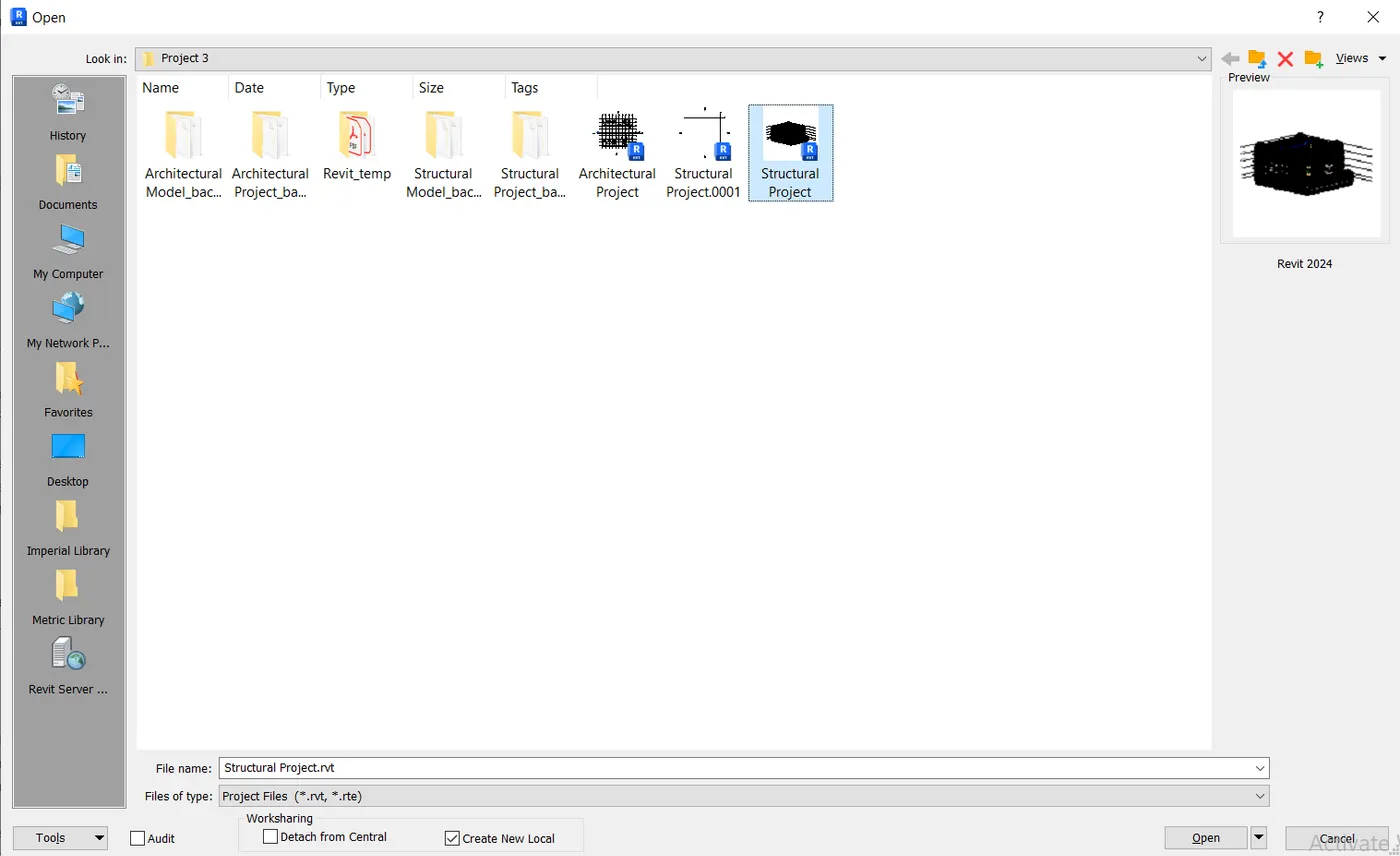
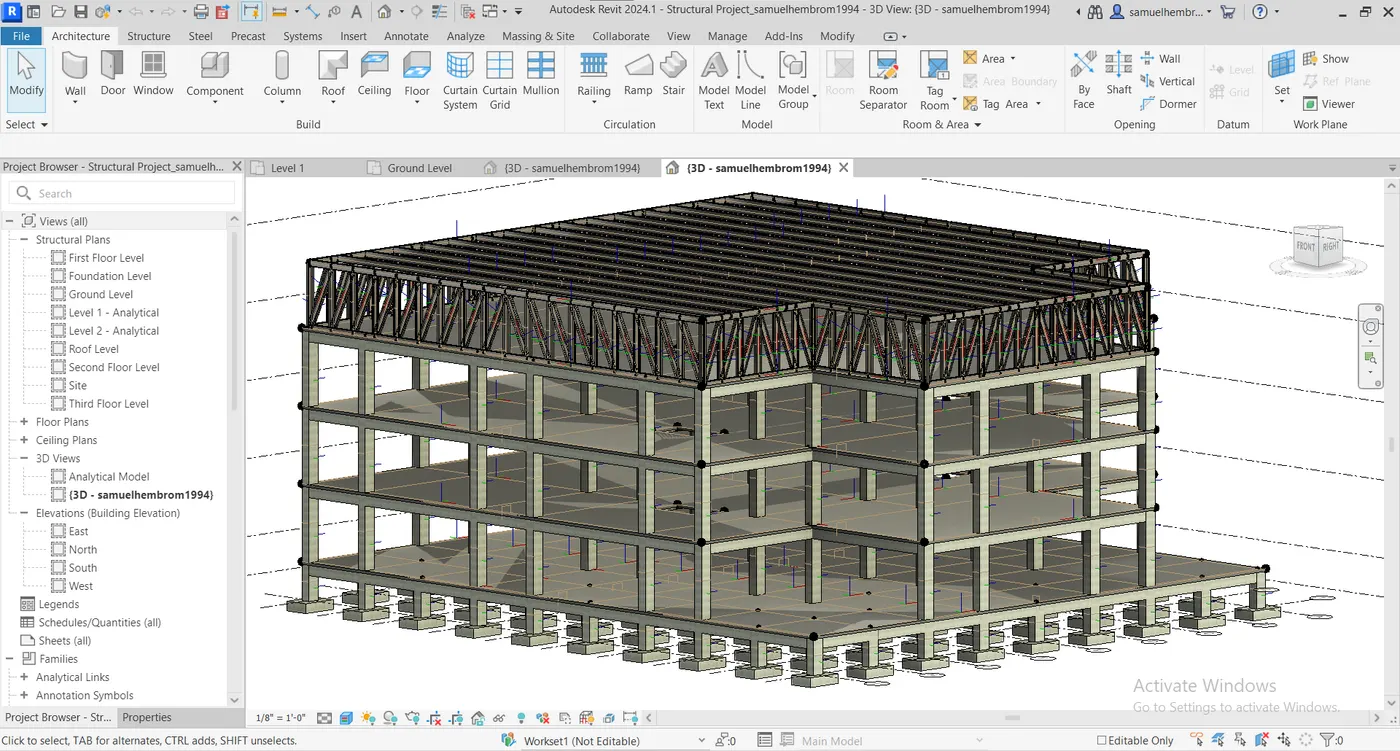
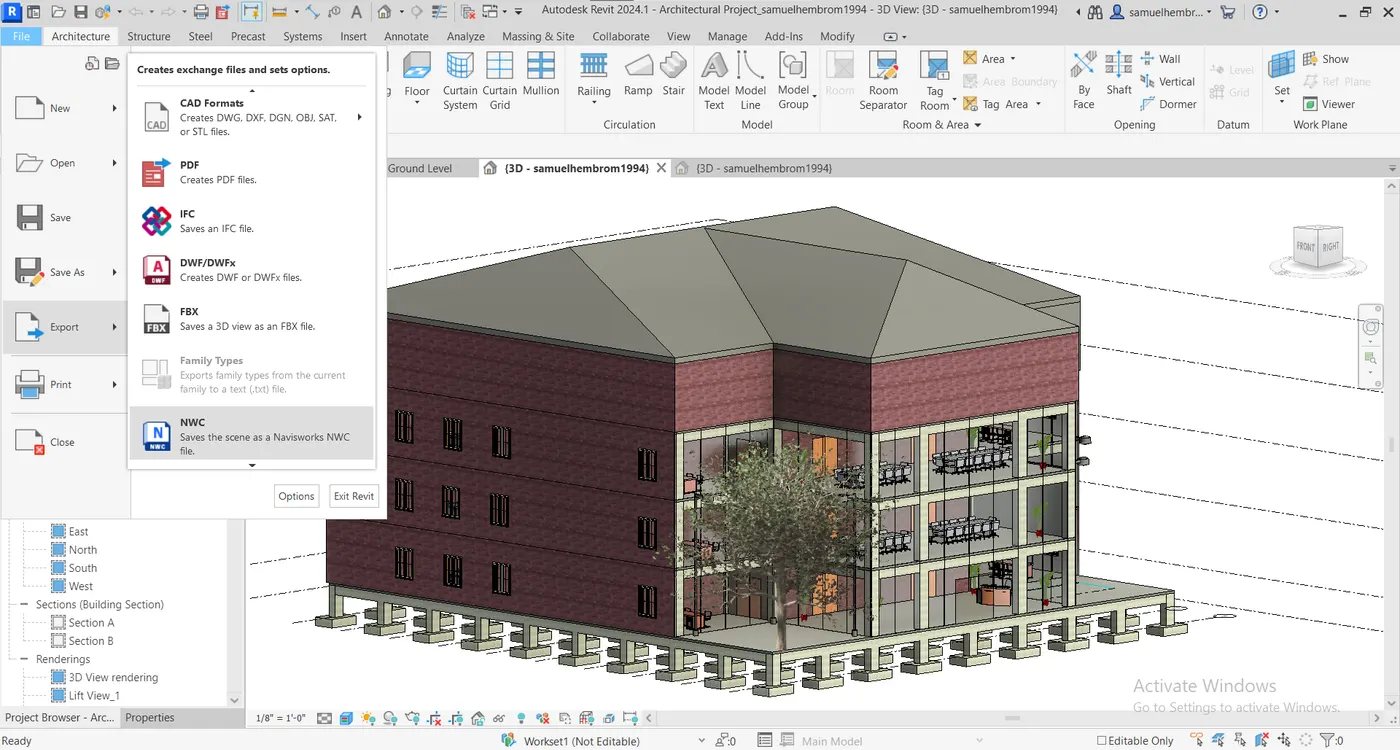
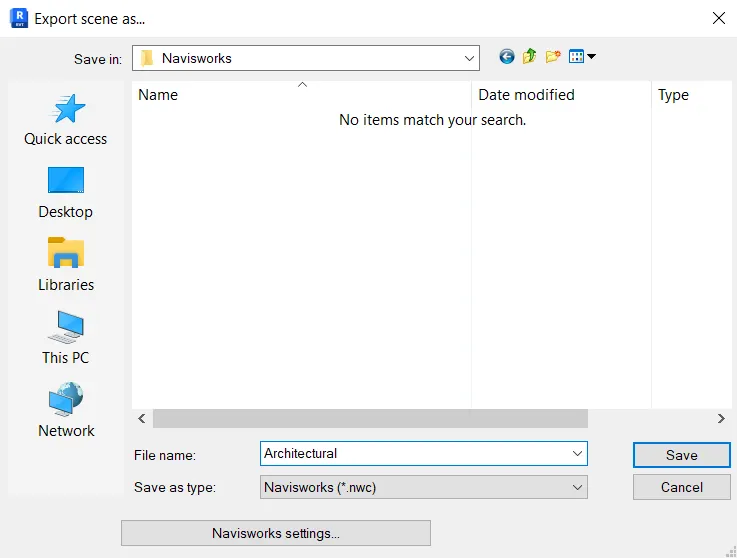
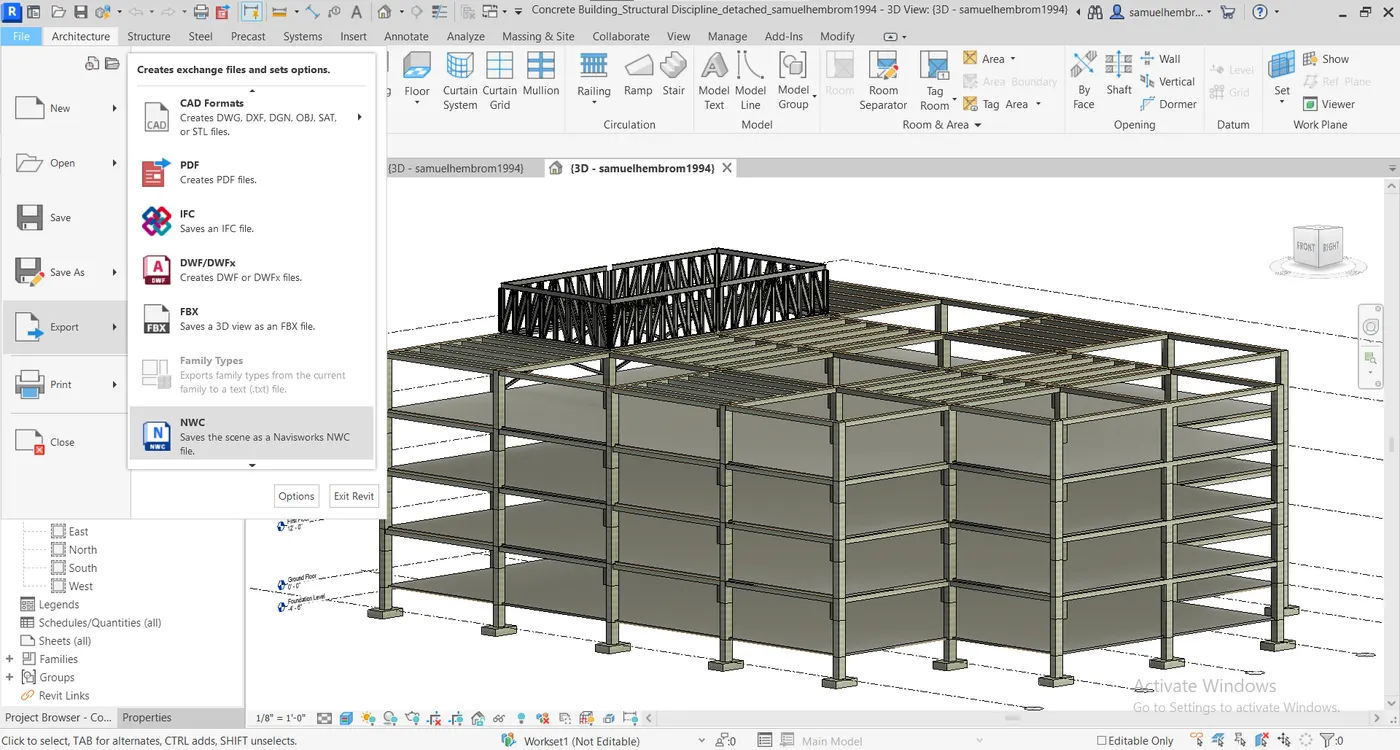
- Now go to File -> Export -> NWC.
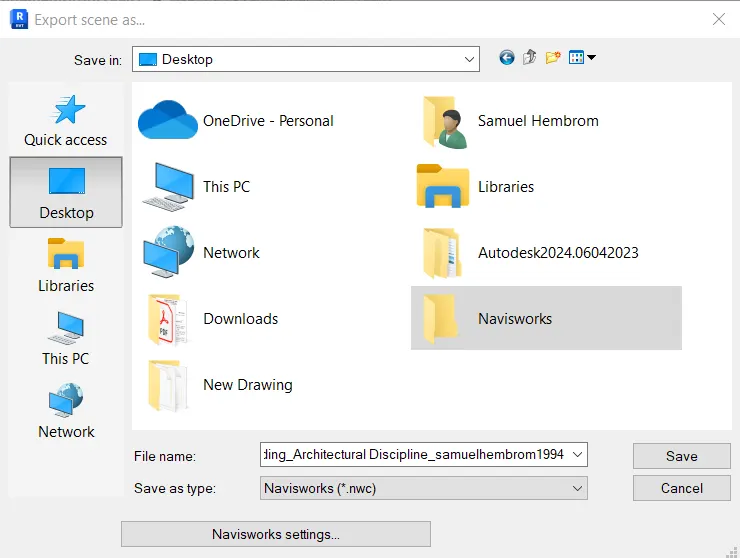
- Create a New folder for Navisworks.
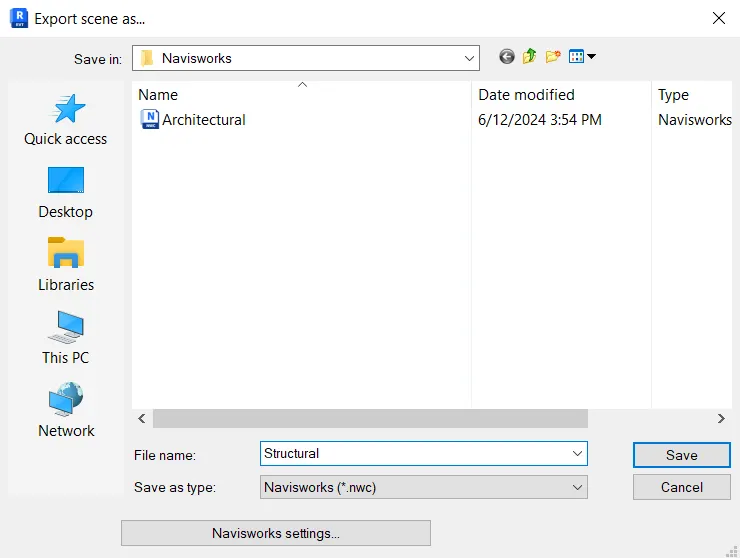
- Save the file as Architecture, make sure that save as type is selected as "Navisworks(*.nwc)".
- Repeat the same for Structural File.
Q No.2
Ans:-
AIM:-
To use navigate tool to walk around the model and walk through the rooms created and record the moving as animation in the Navisworks file.
Procedure:-
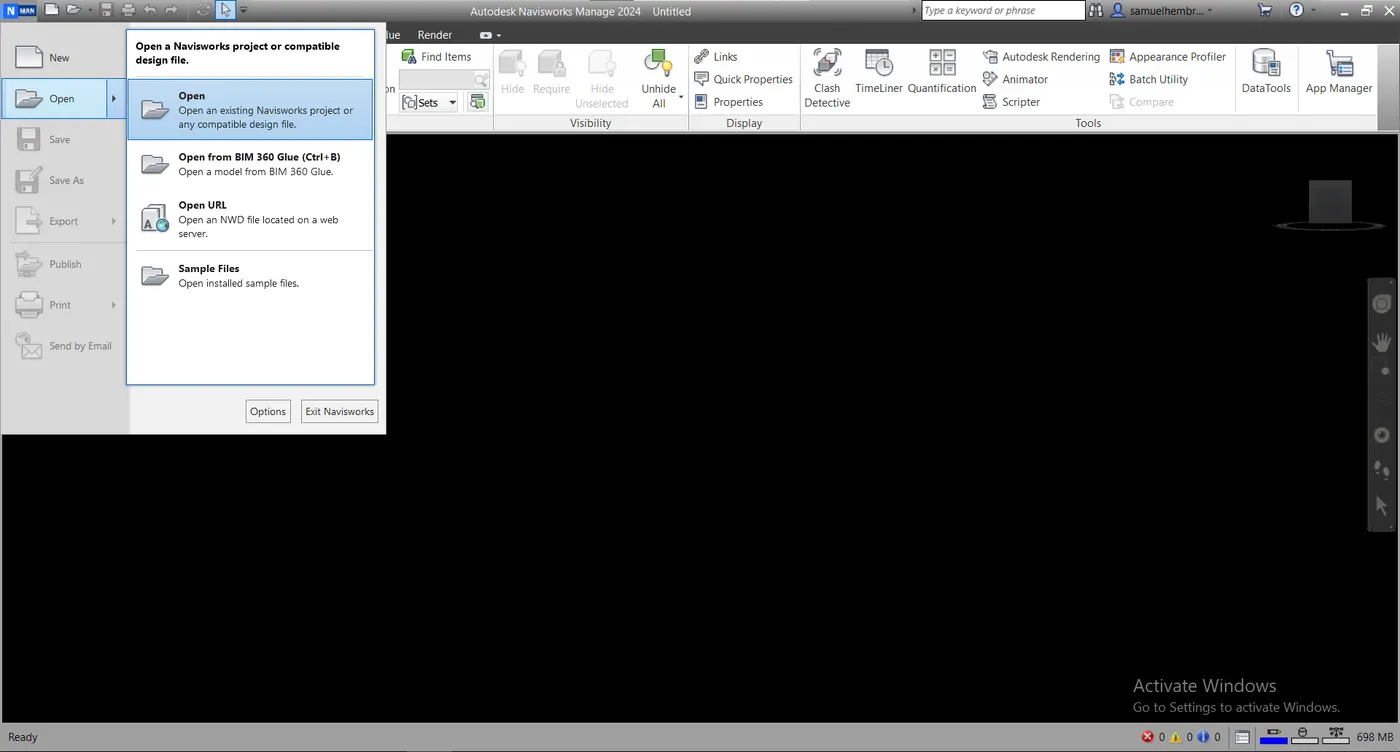
- Open the Navisworks Manage software.
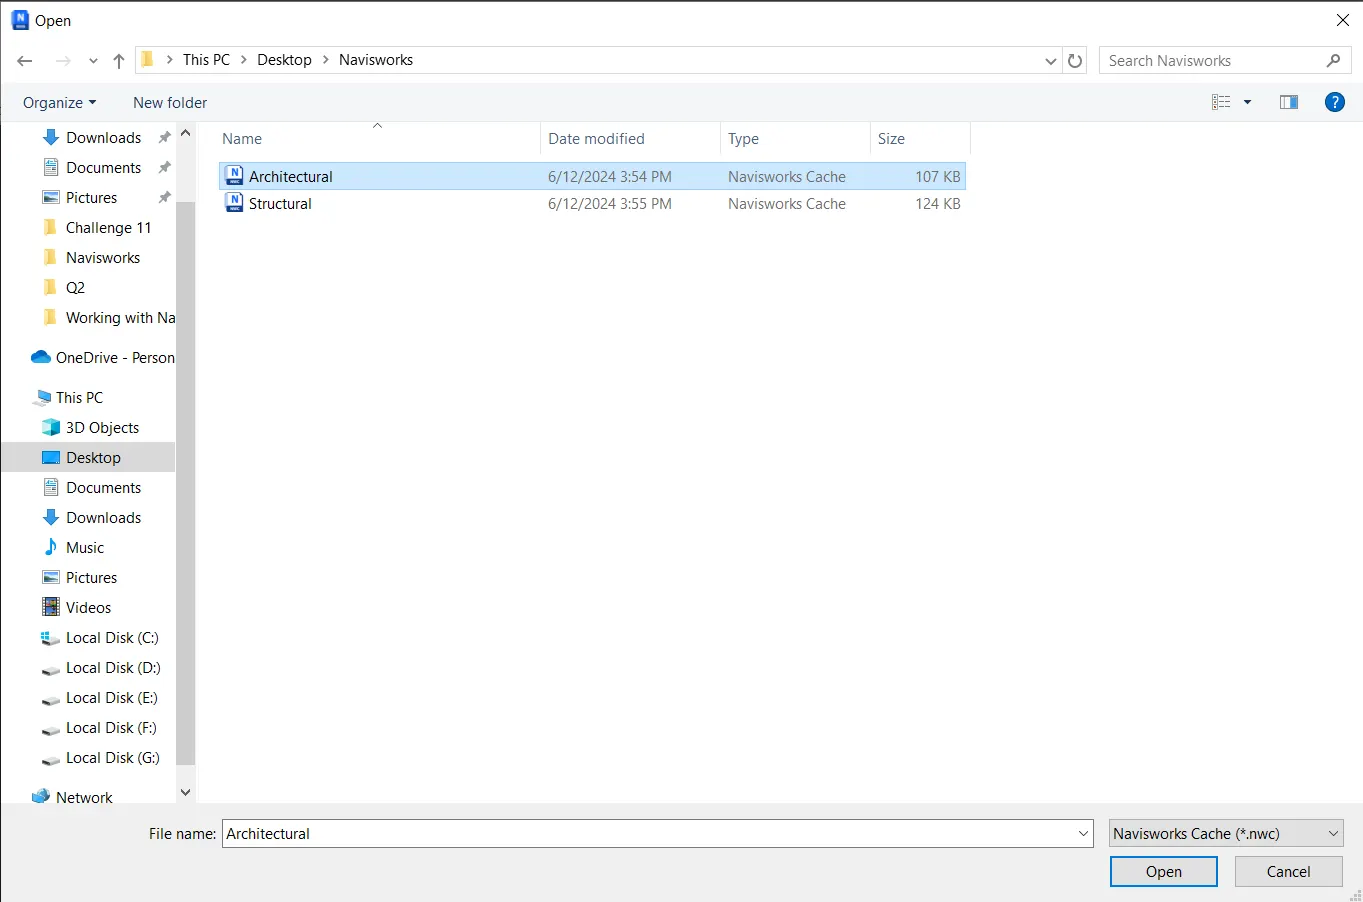
- Click on the Top-Left icon on the Navisworks, Click on Open button in the menu .
- Open the "Architectural" .nwc file saved in previous question.
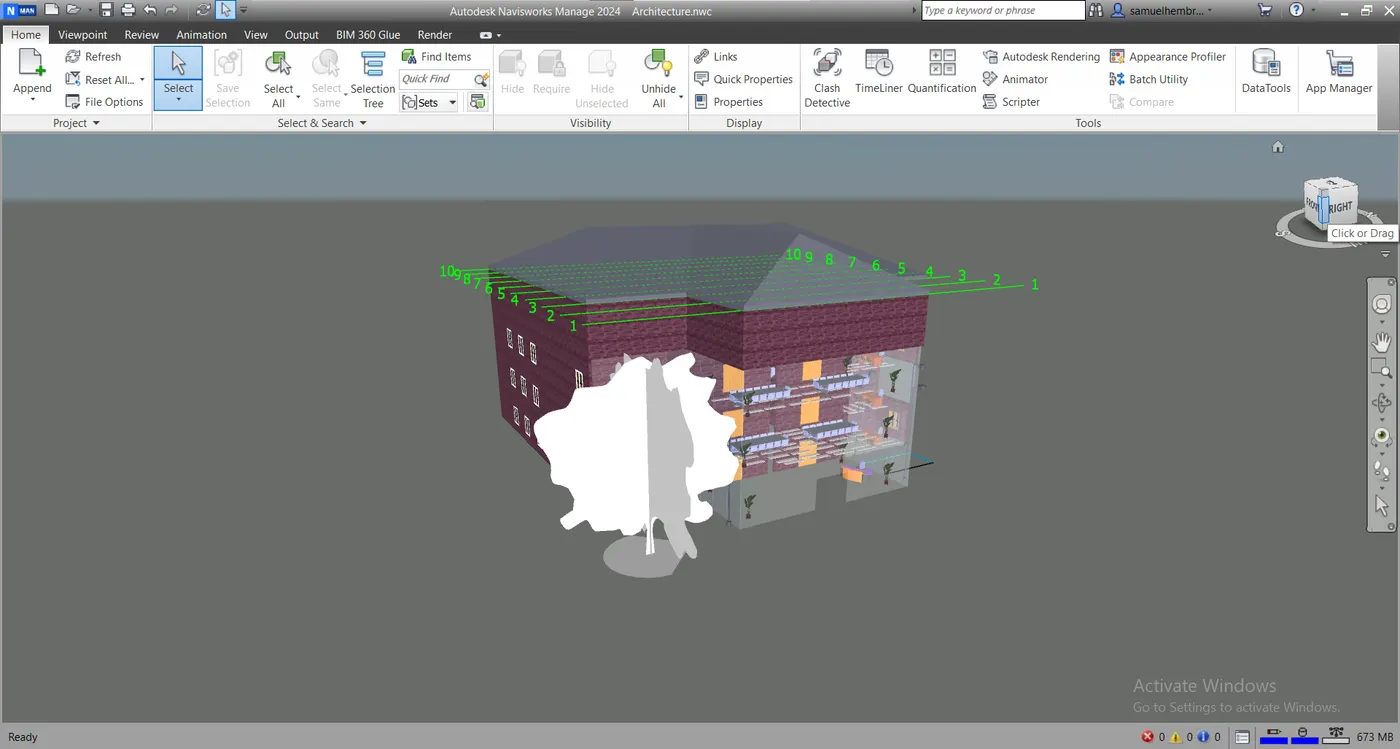
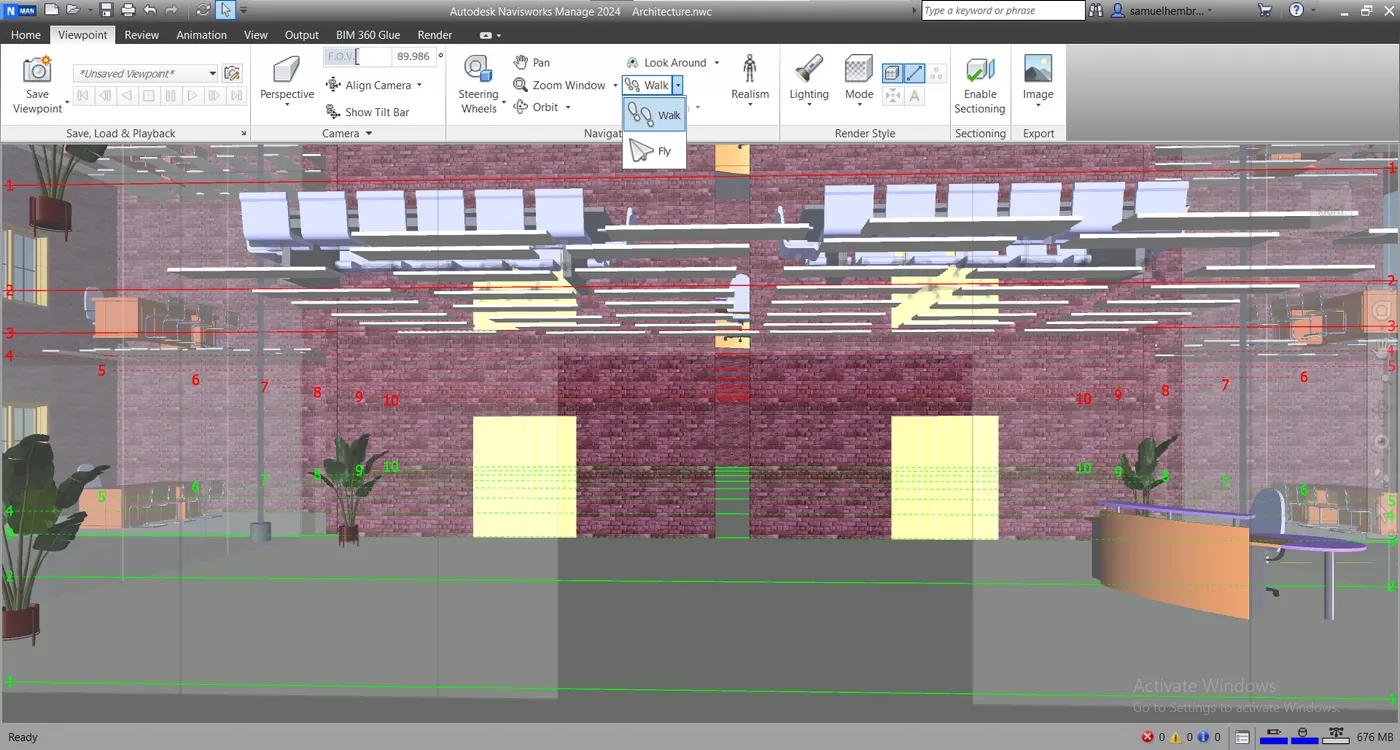
- Next go to Viewport -> Navigate -> Walk -> Walk.
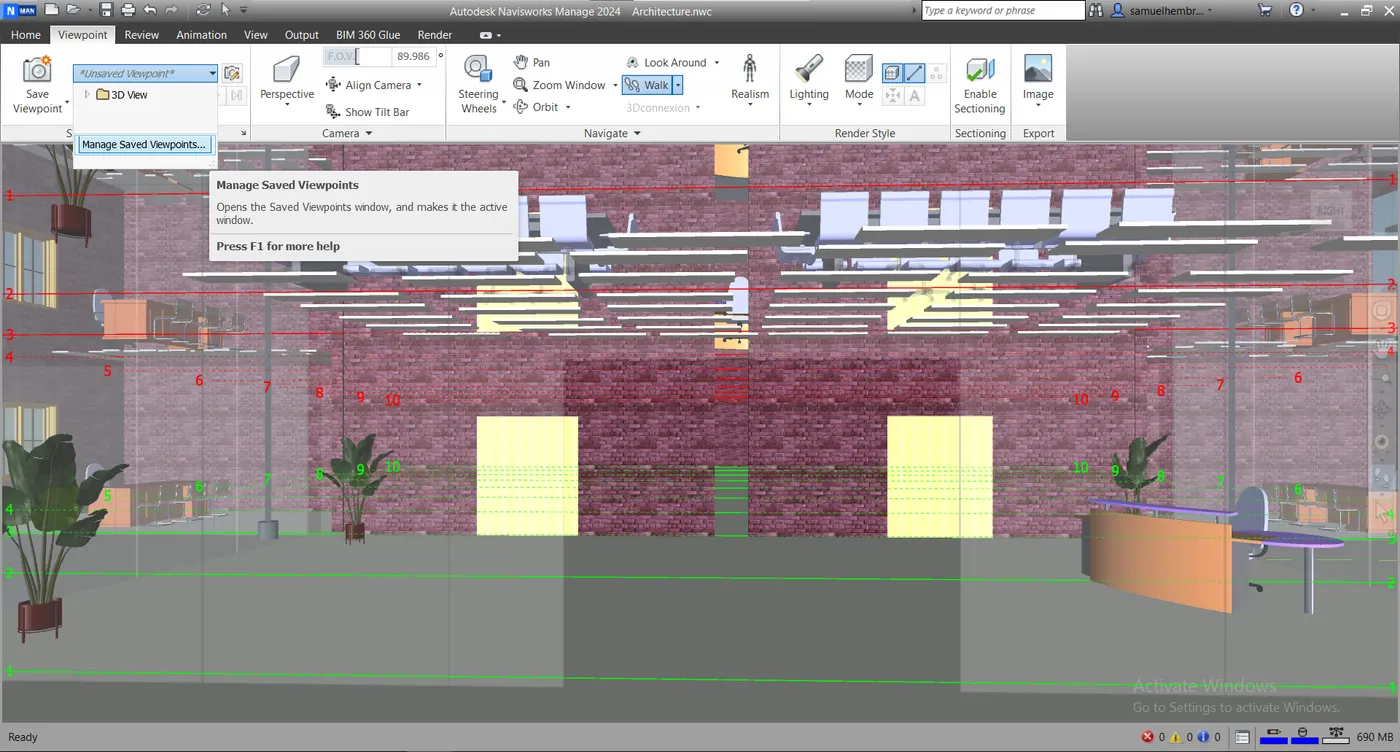
- Next go to Save, Load & Playback and from the dropdown menu click on "Manage Saved Viewpoints".
- Again go to Save, Load & Playback -> Save Viewpoint -> Save Viewpoint.
- In the Saved Viewpoints rename the view to "Reception".
- Again go to Save, Load & Playback -> Save Viewpoint -> Record.
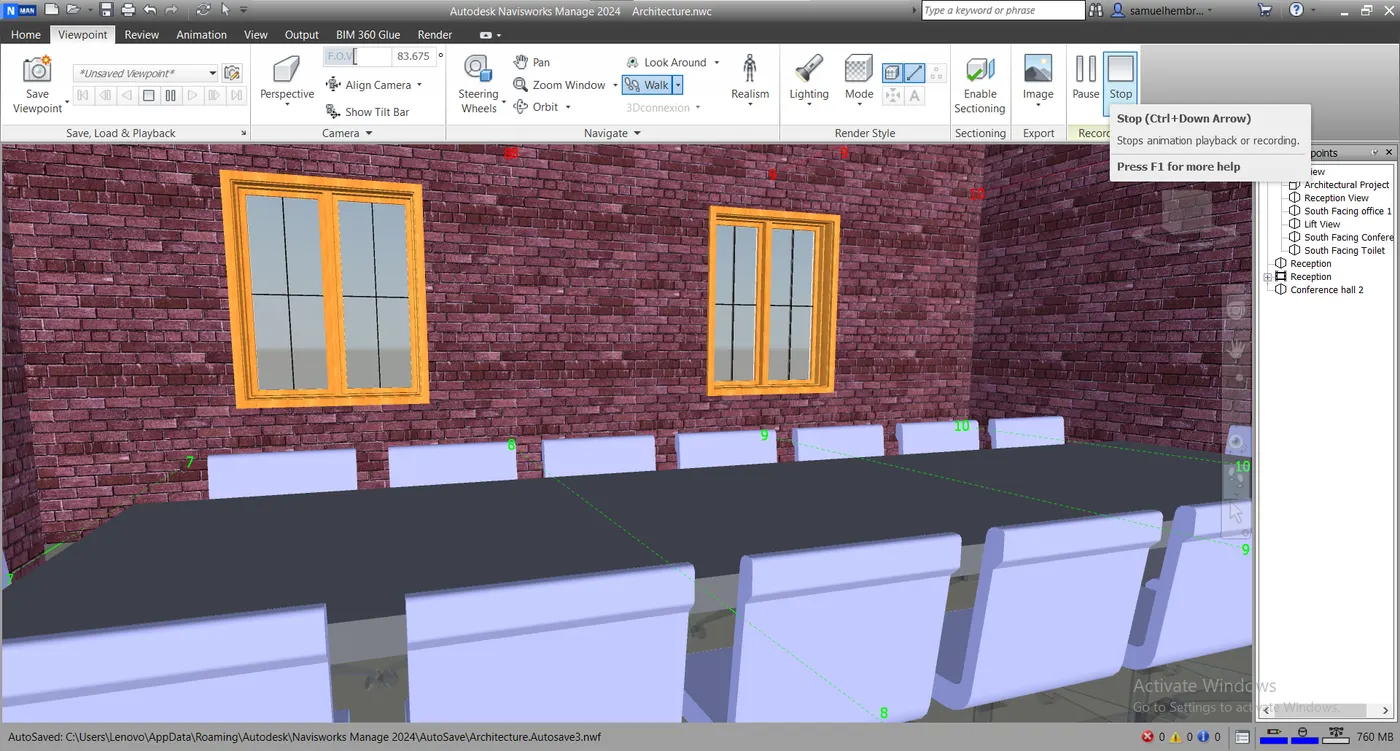
- In the Save, Load & Playback hit the "Stop" button as shown in image below after recording.
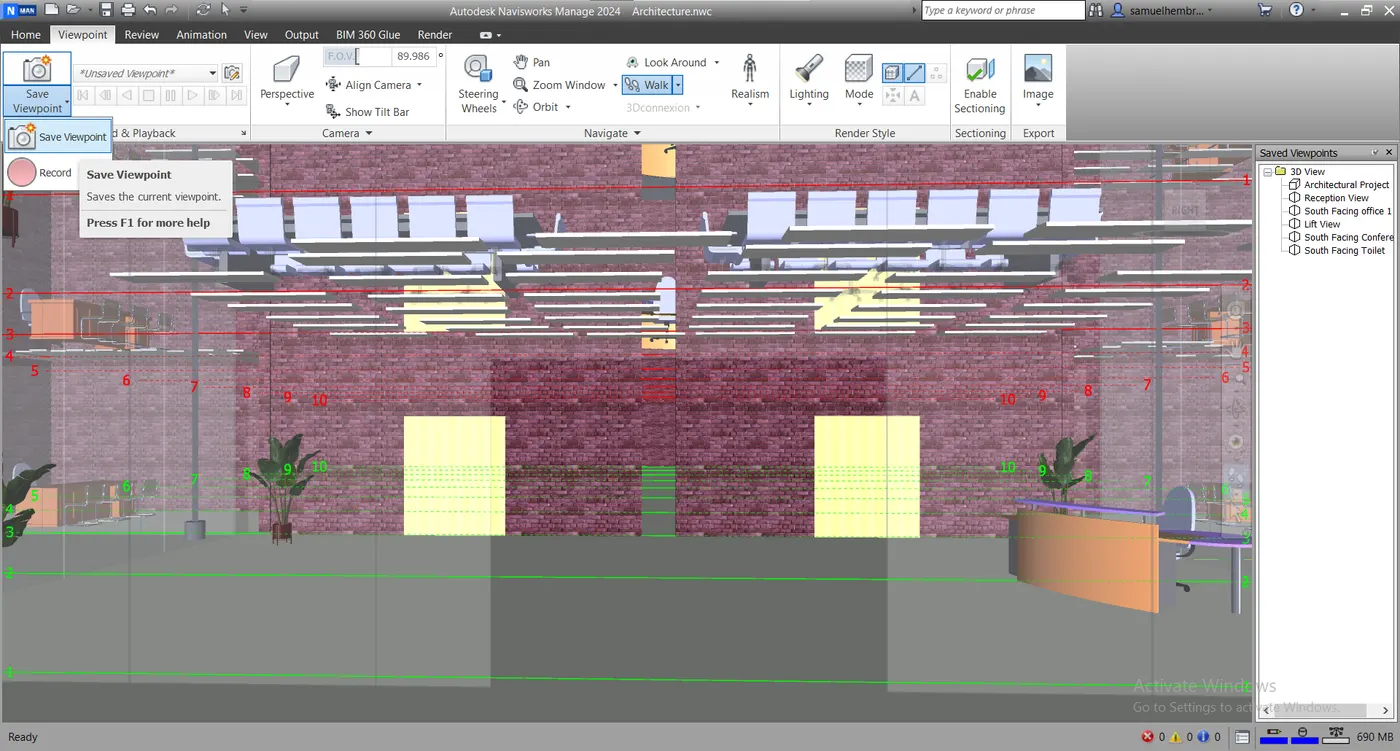
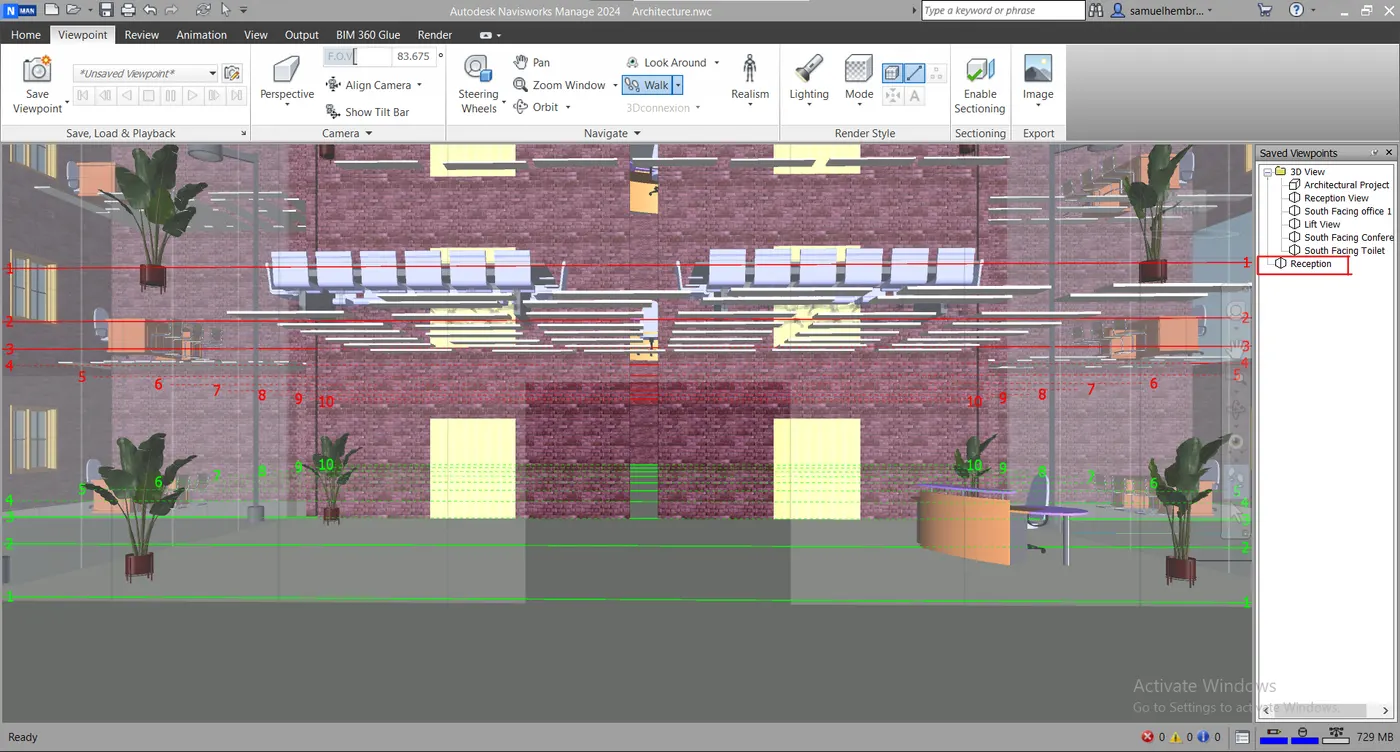
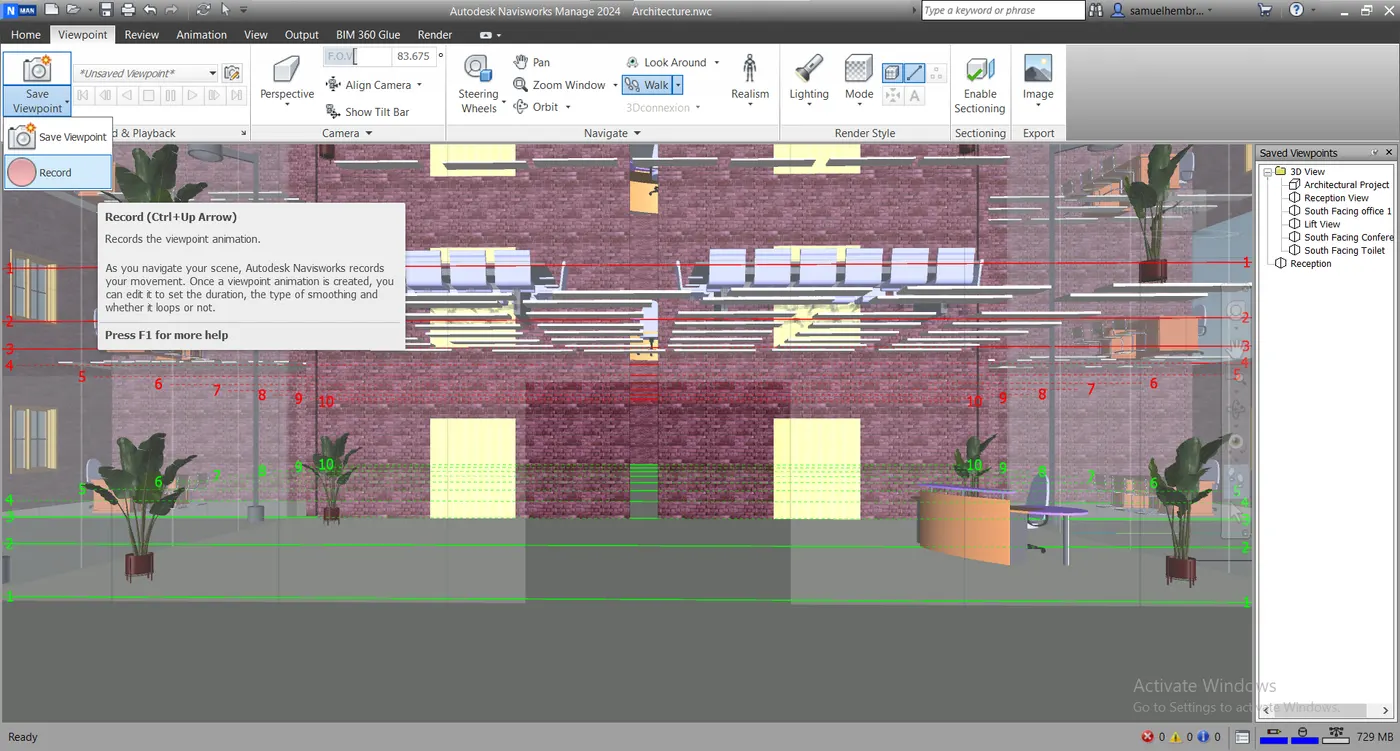
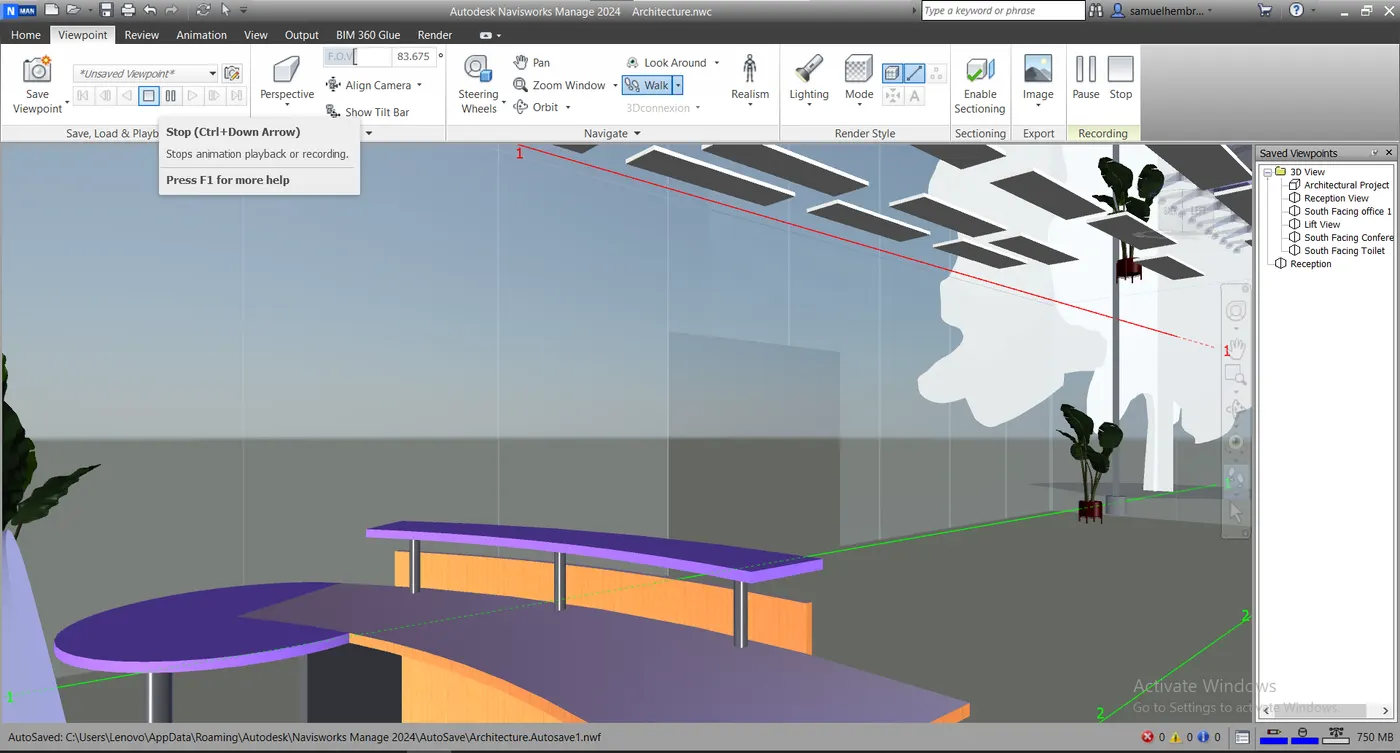
- Rename the animation as "Reception" as shown in image below.
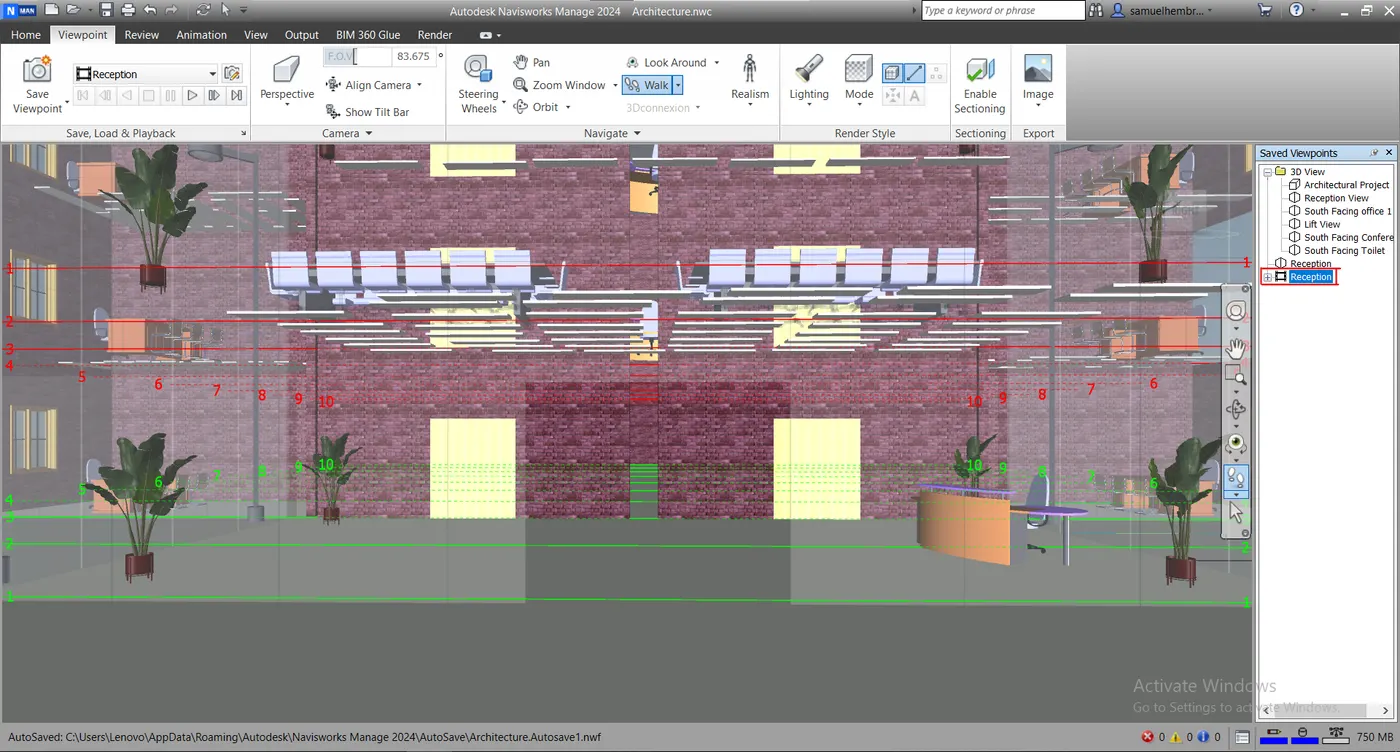
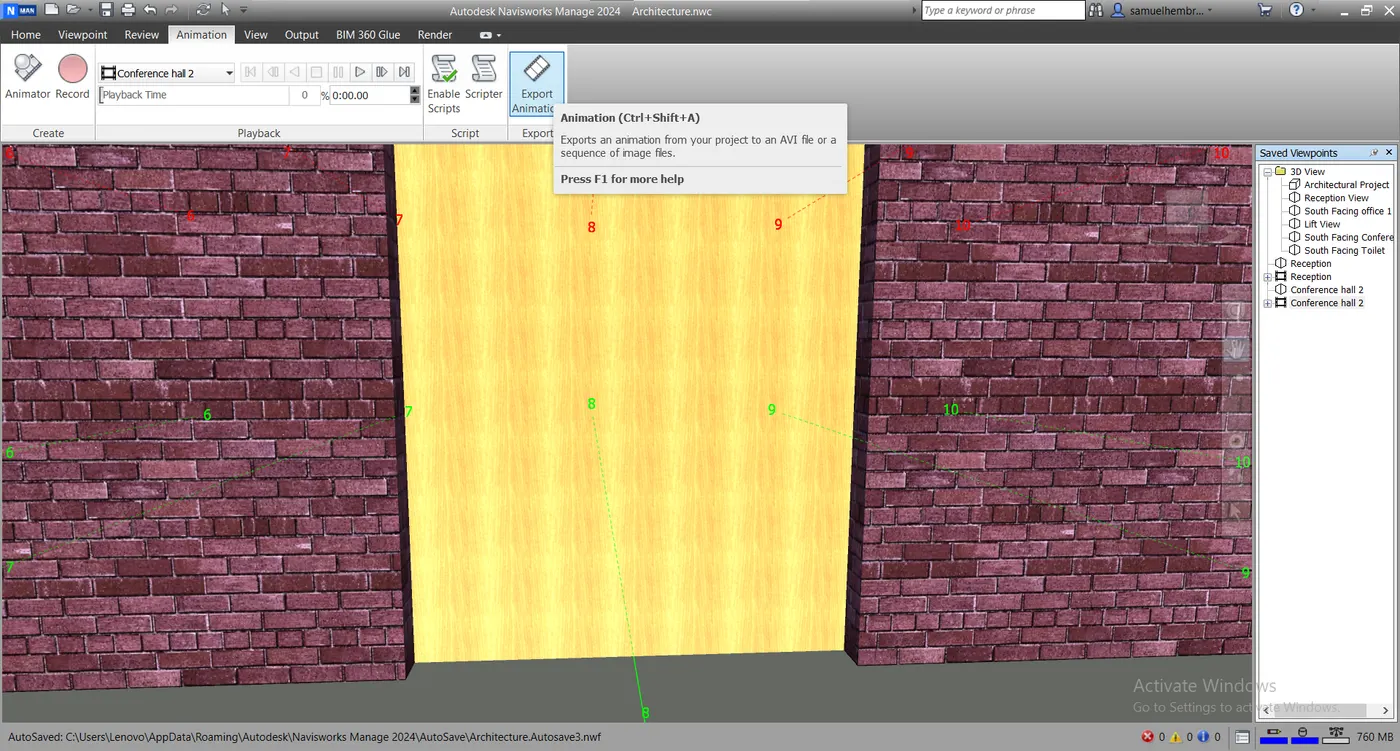
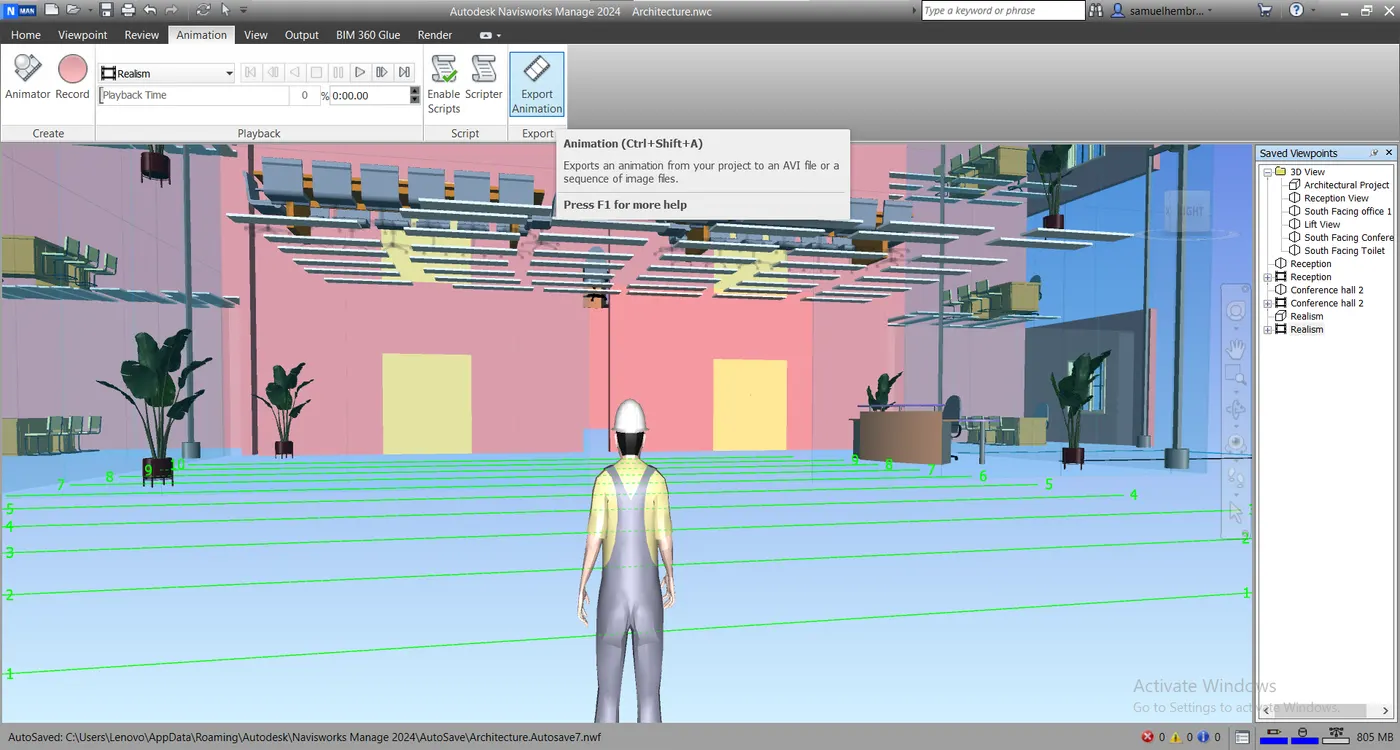
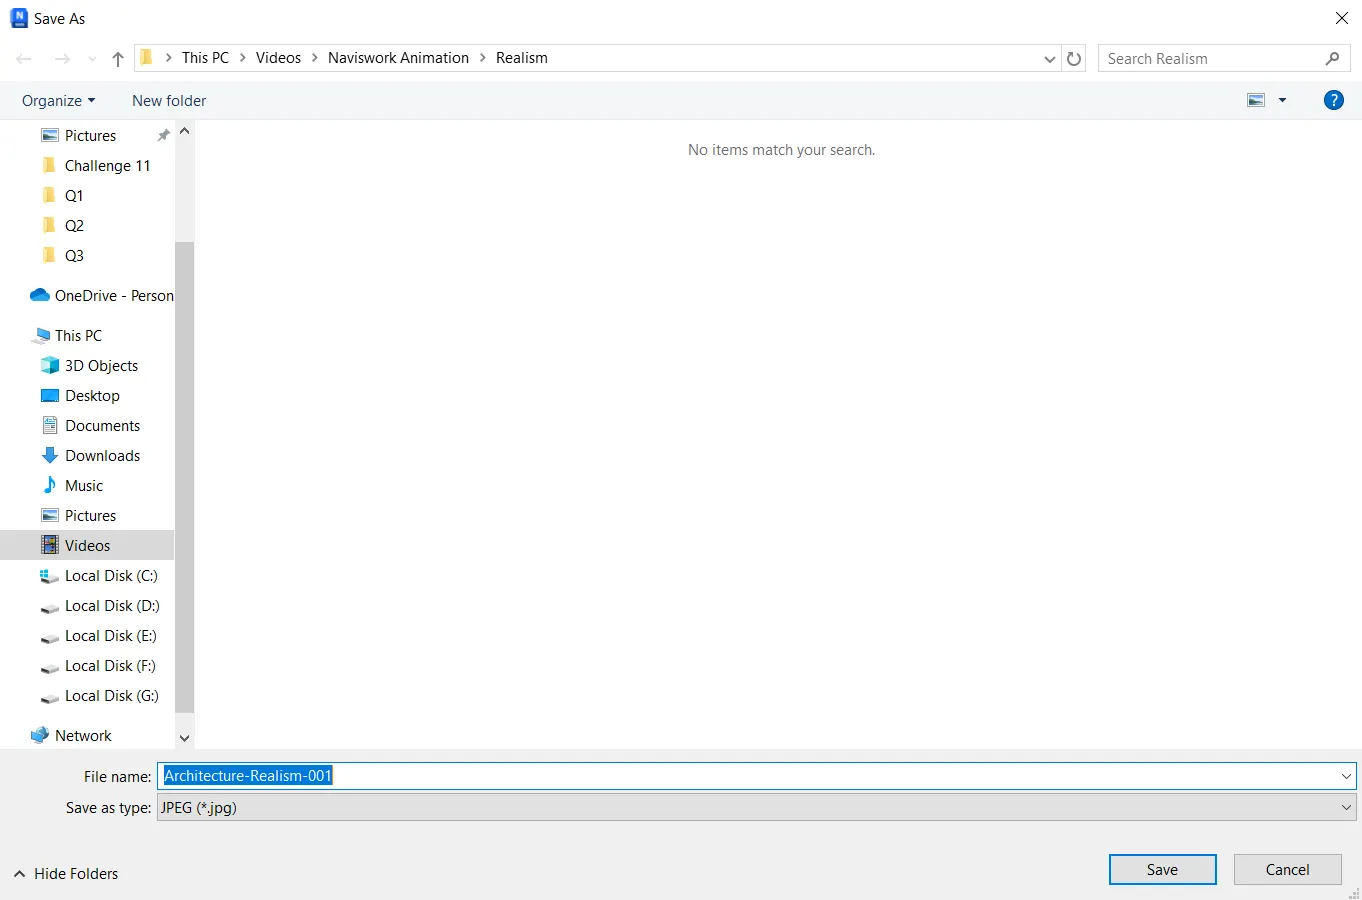
- For saving the animation so that we can see the animation even out of the Navisworks go to Animation -> Export -> Export Animation.
- In the "Animation Export" tab change the format from "JPEG" to "Windows AVI" and click on "OK" button.
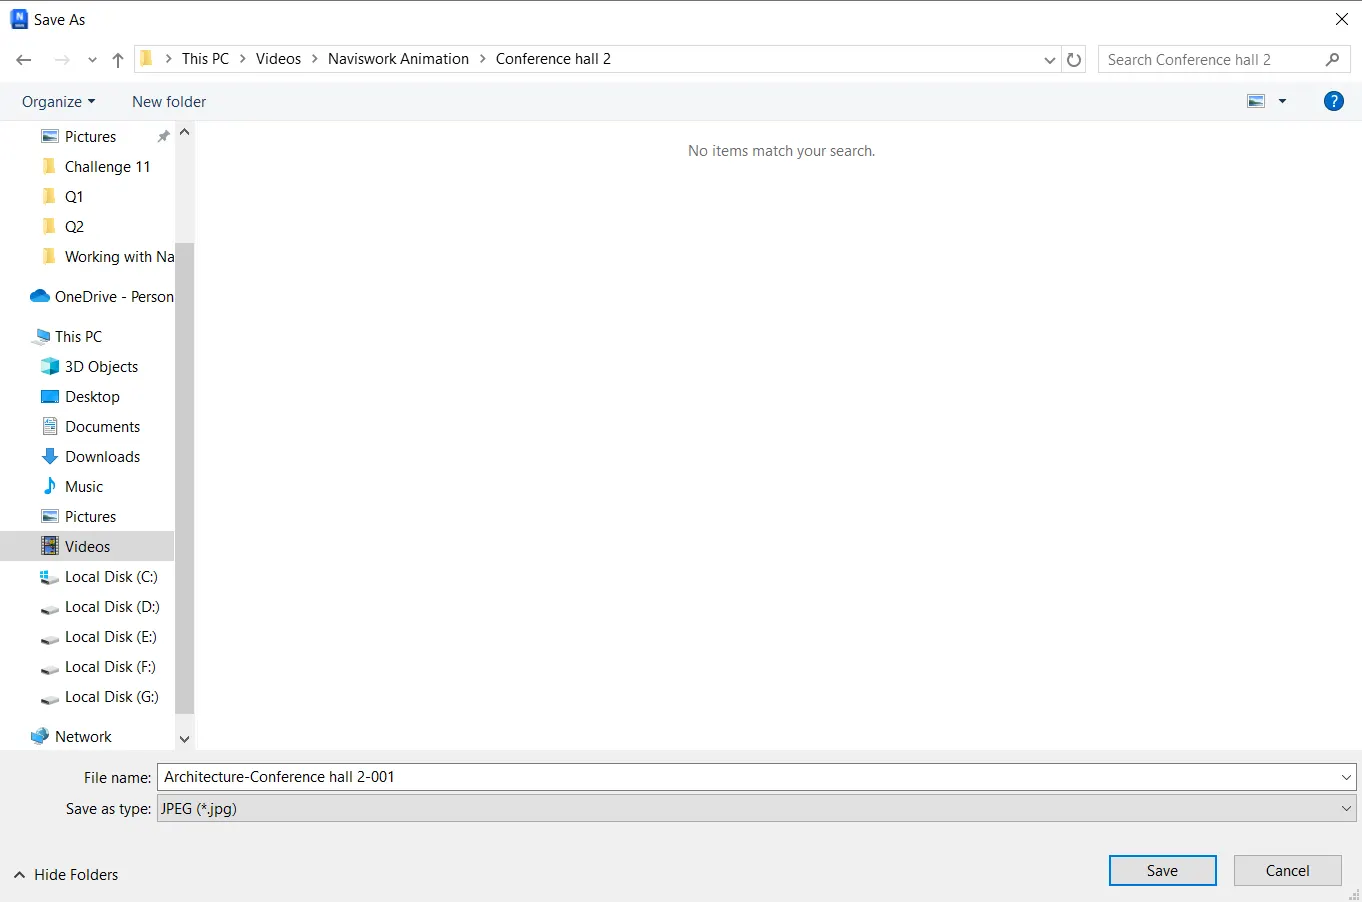
- In the "Save As" tab save the animation.
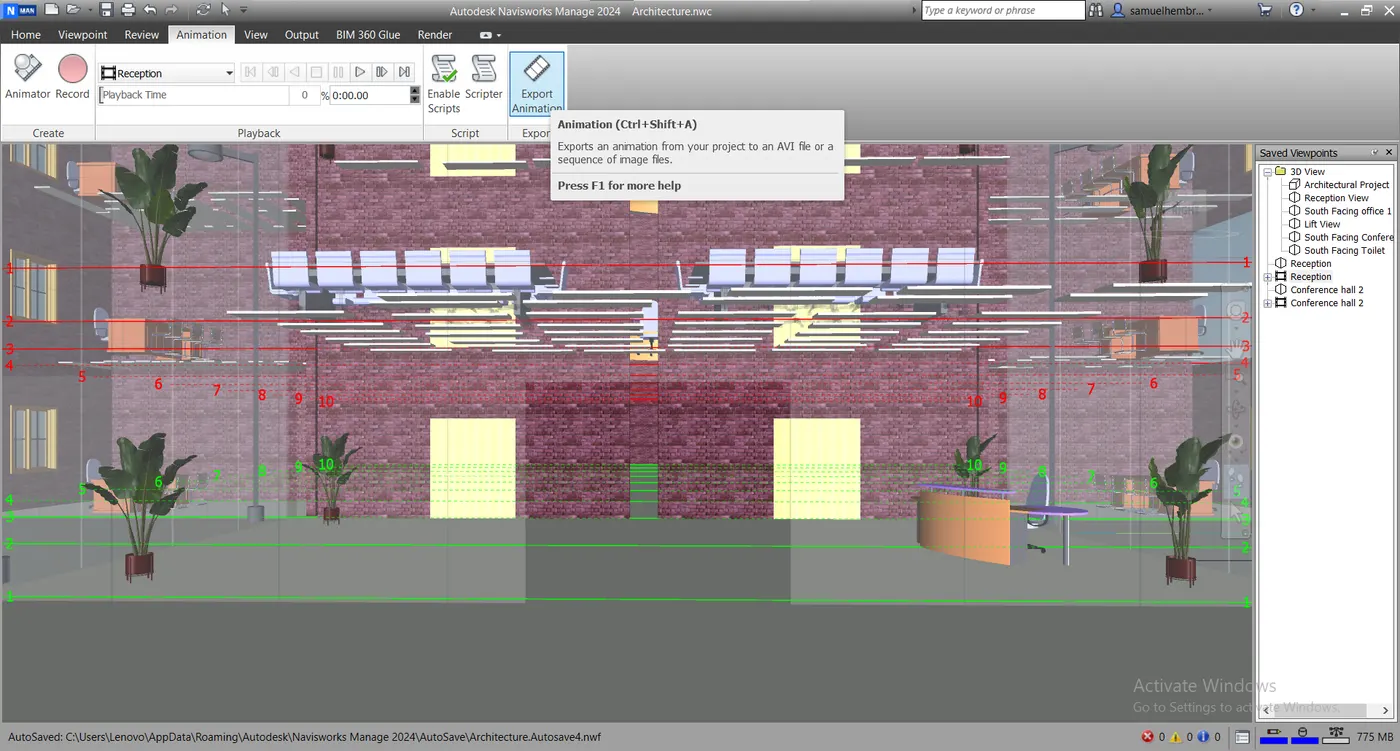
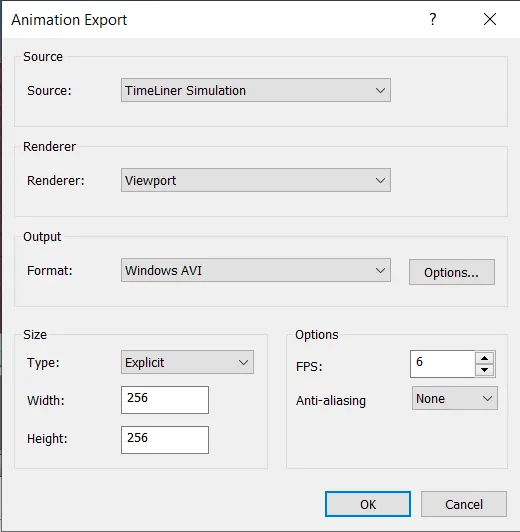
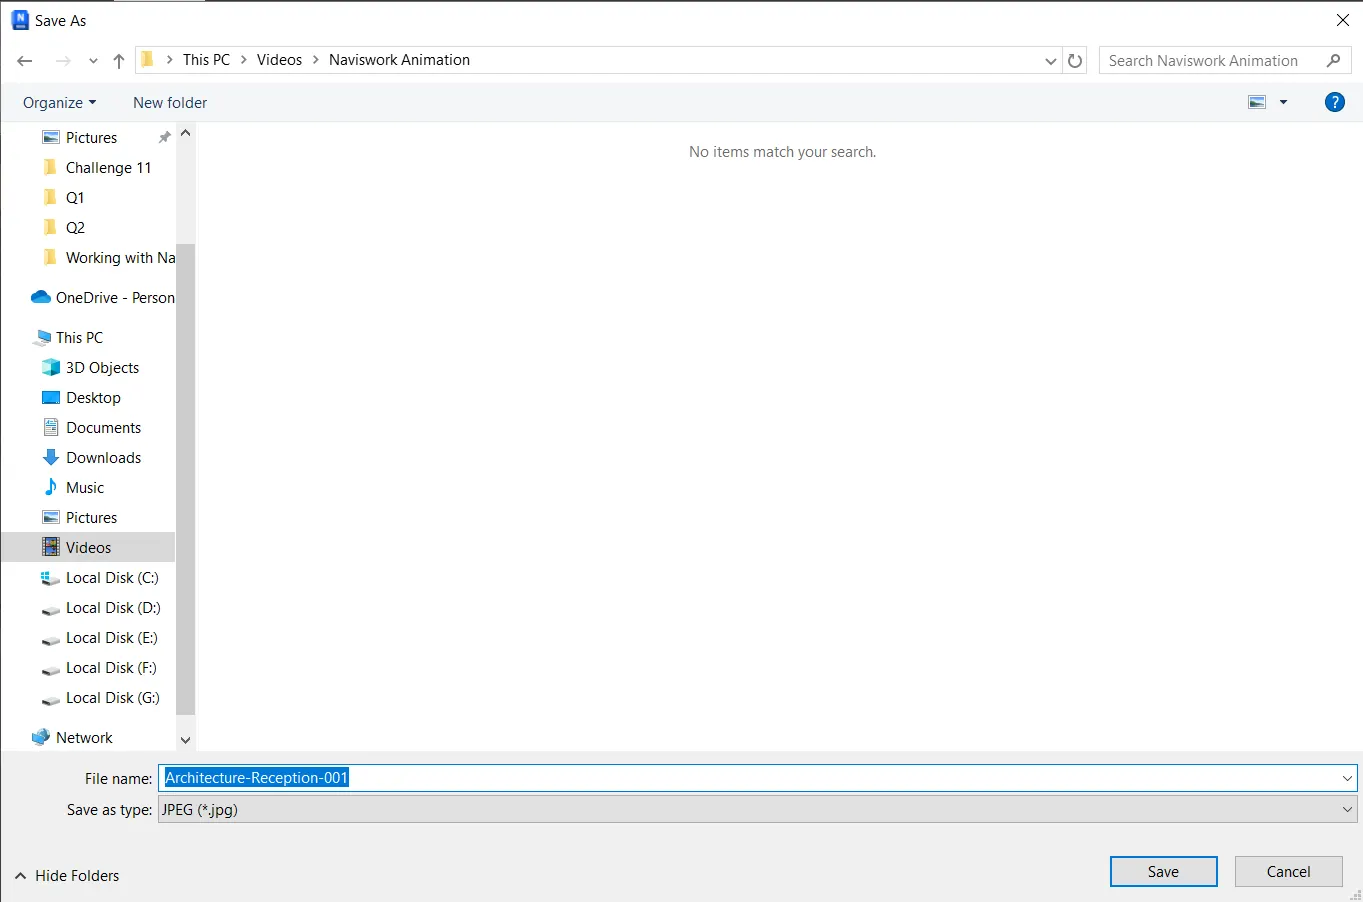
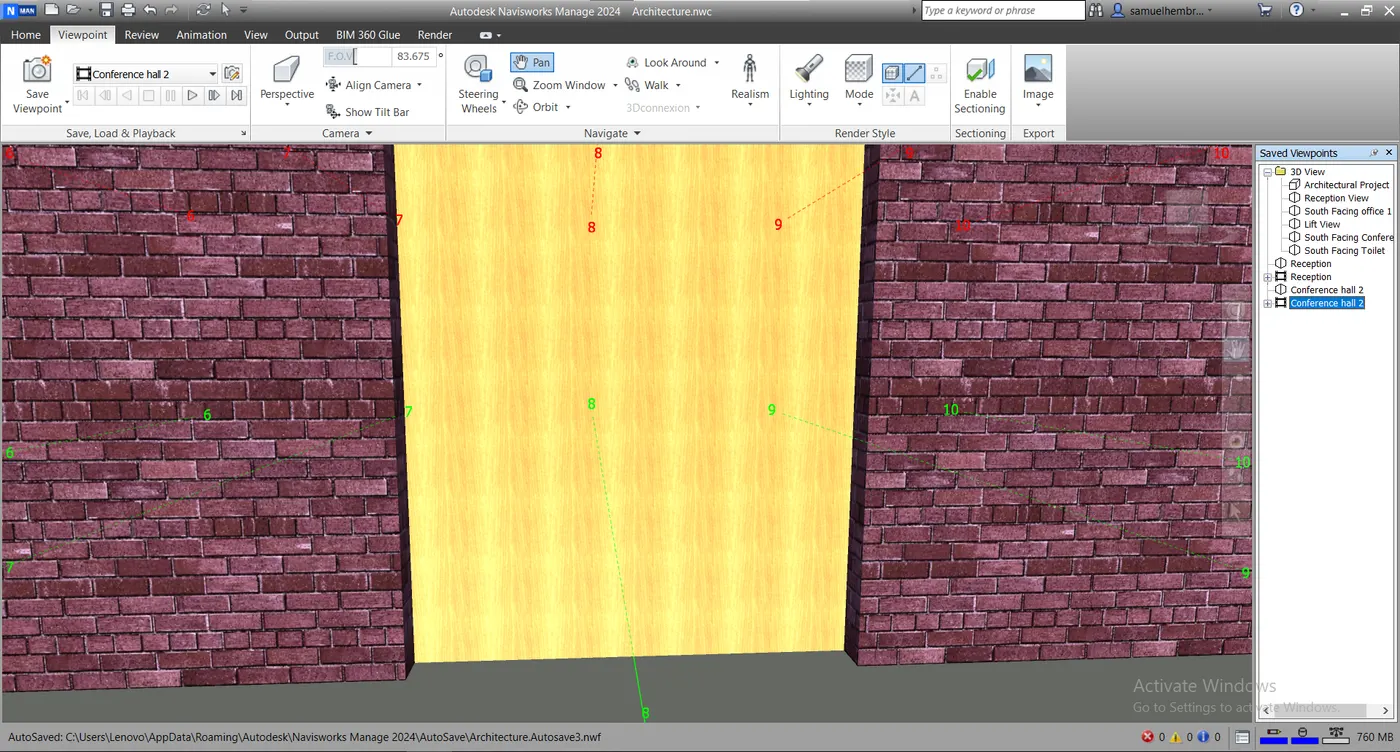
- Repeat the above procedure for "Reception" animation for next animation too which is for conference hall 2, as shown in image below.
- Go to Save, Load & Playback -> Save Viewpoint -> Save Viewpoint.
- Rename the View point to "Conference Hall 2" as shown in image below.
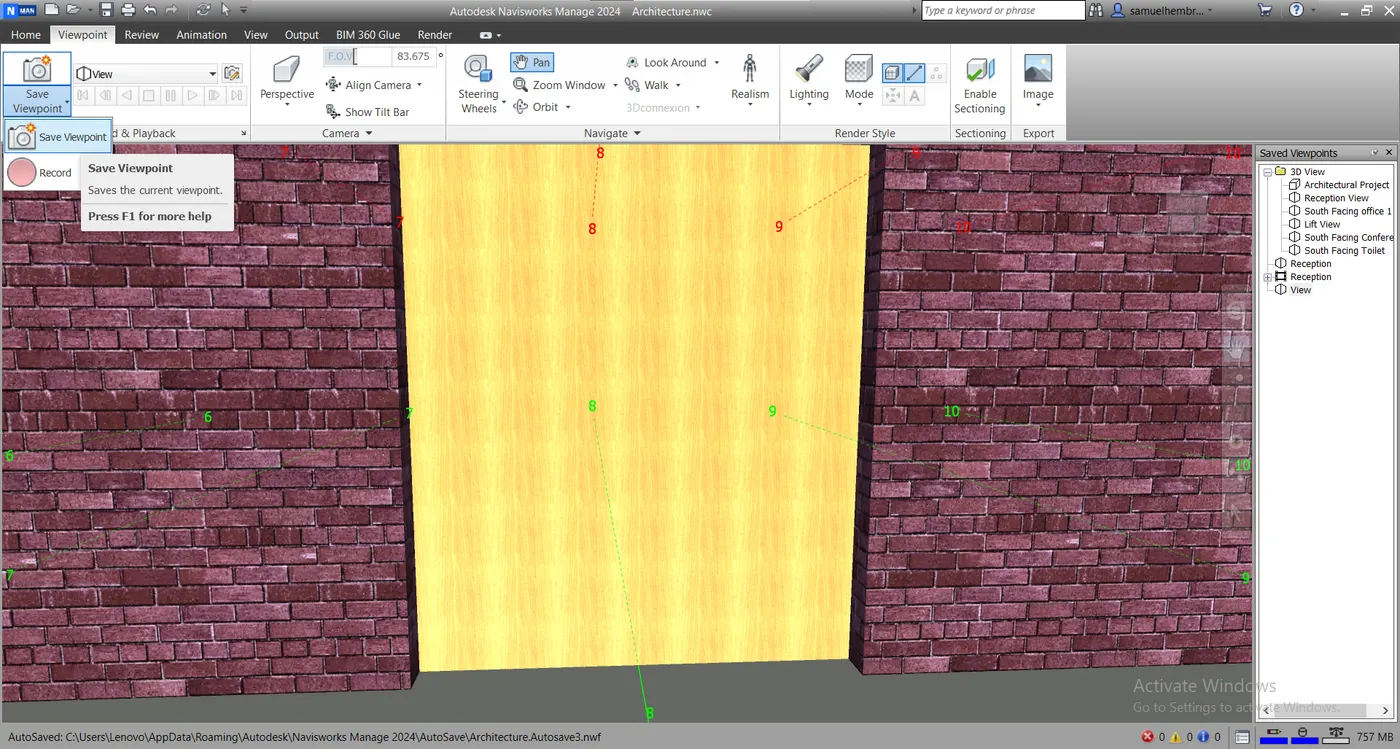
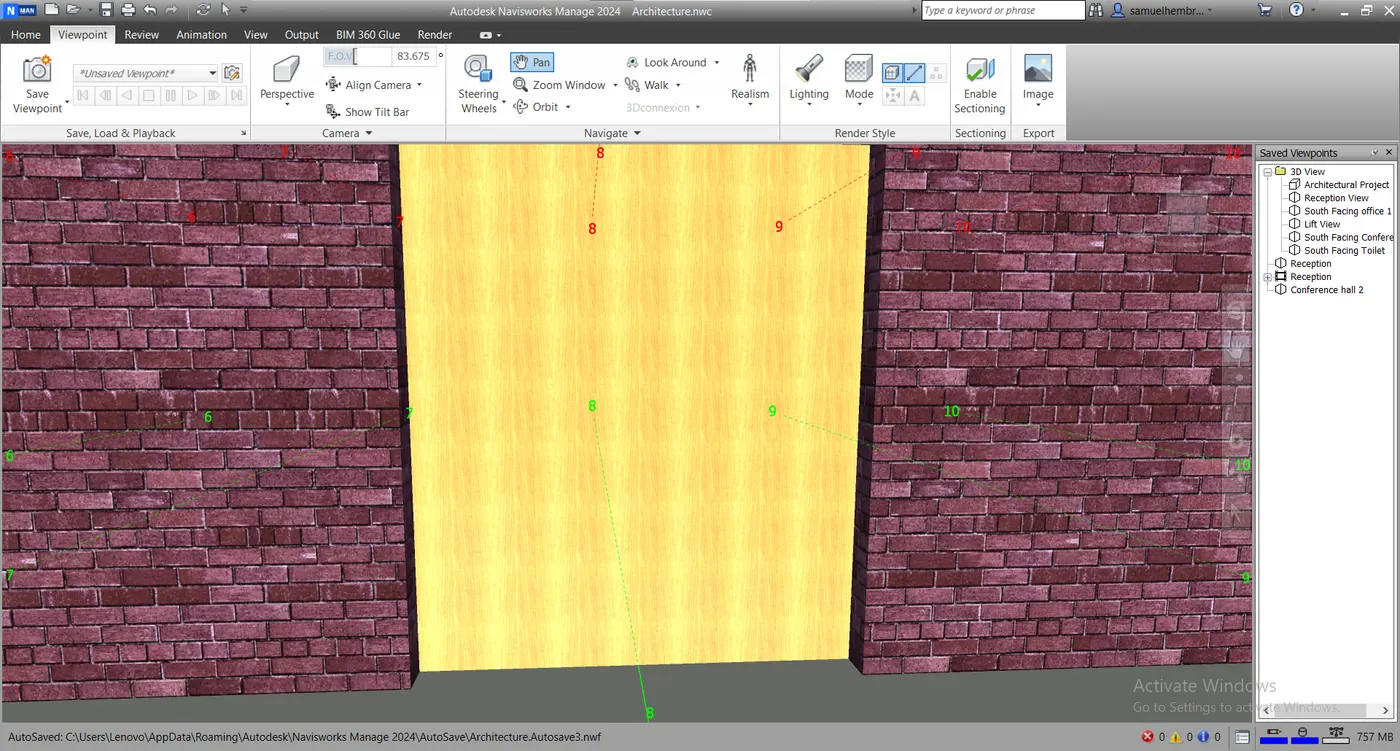
- Next go to Save, Load & Playback -> Save Viewpoint -> Record.
- Next go to Viewpoint -> Navigate -> Walk.
- After recording the viewpoint go to Viewpoint -> Recording -> Stop.
- Rename the Viewpoint to "Conference hall 2".
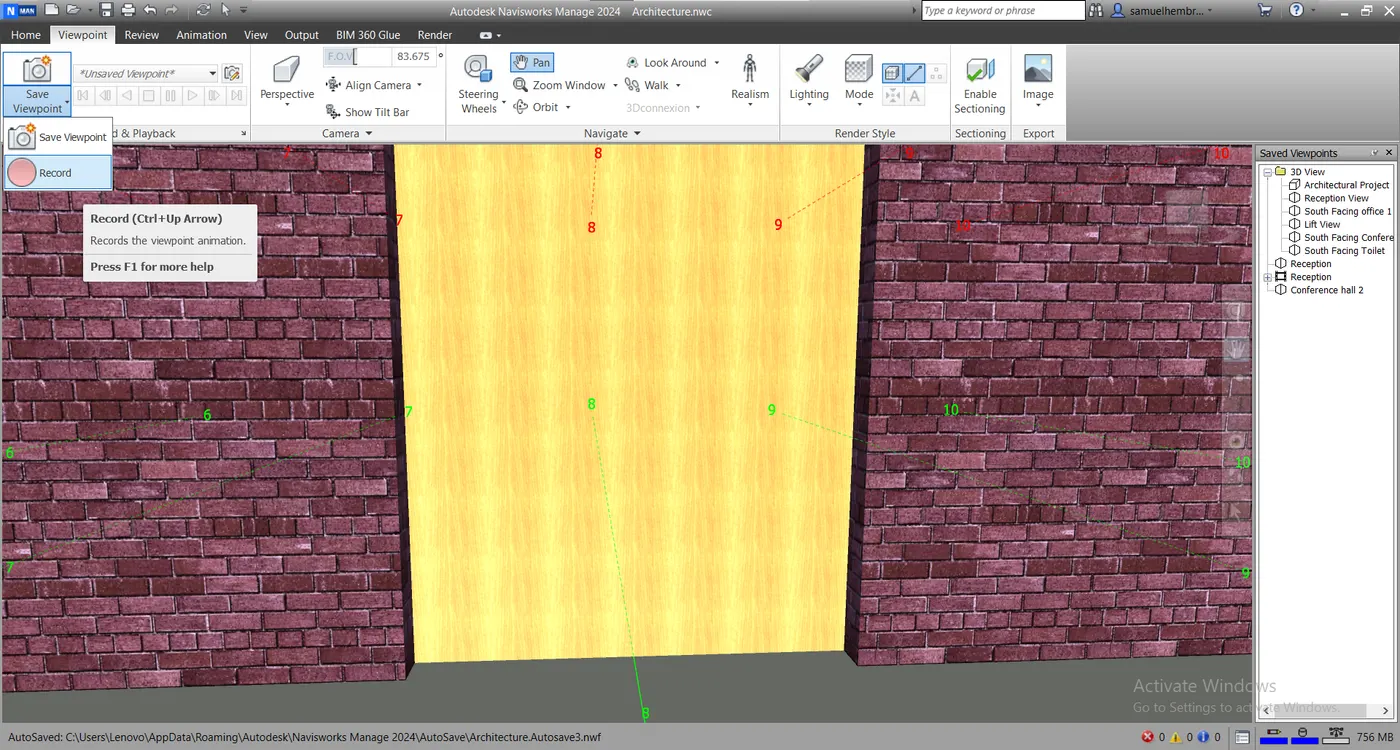
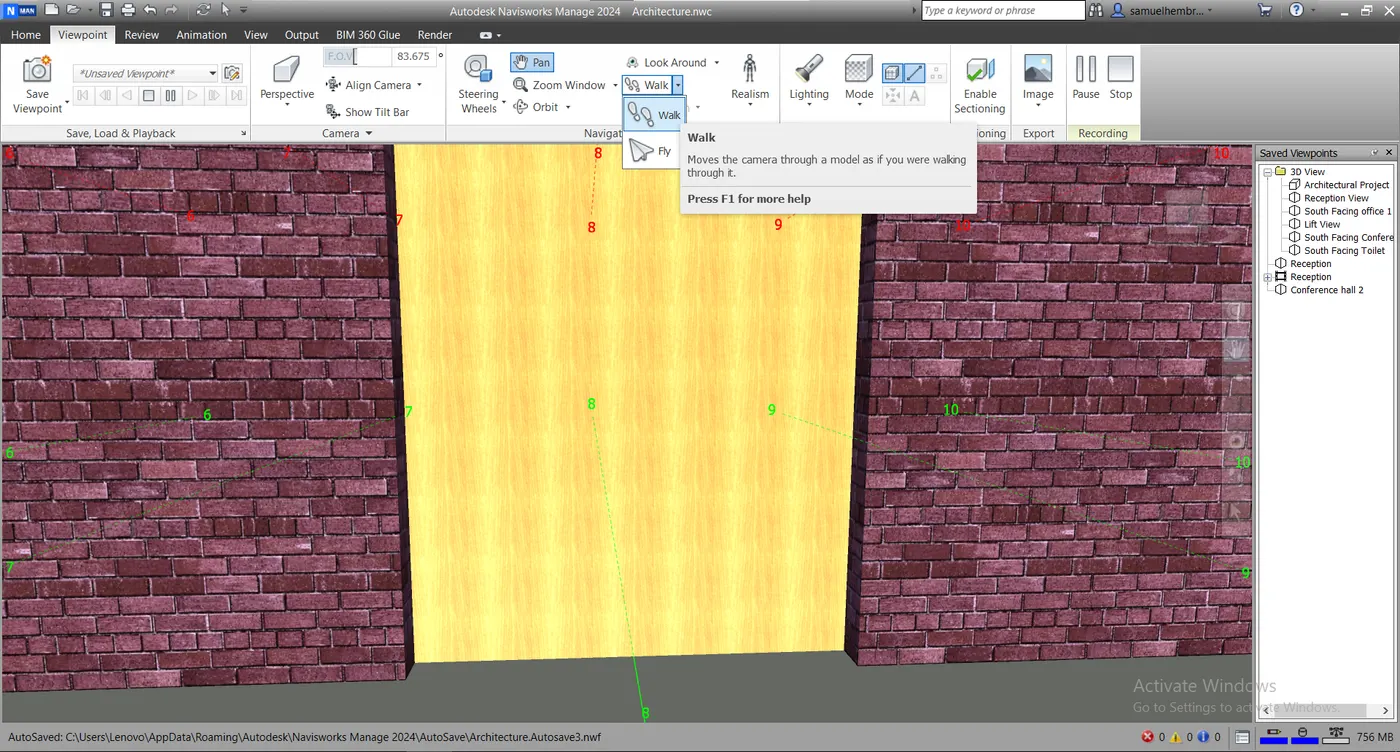
Q No.3
Ans:-
AIM:-
To use navigate tool to use the realistic feature to walk through the model and record our moving as animation in Navisworks file.
Procedure:-
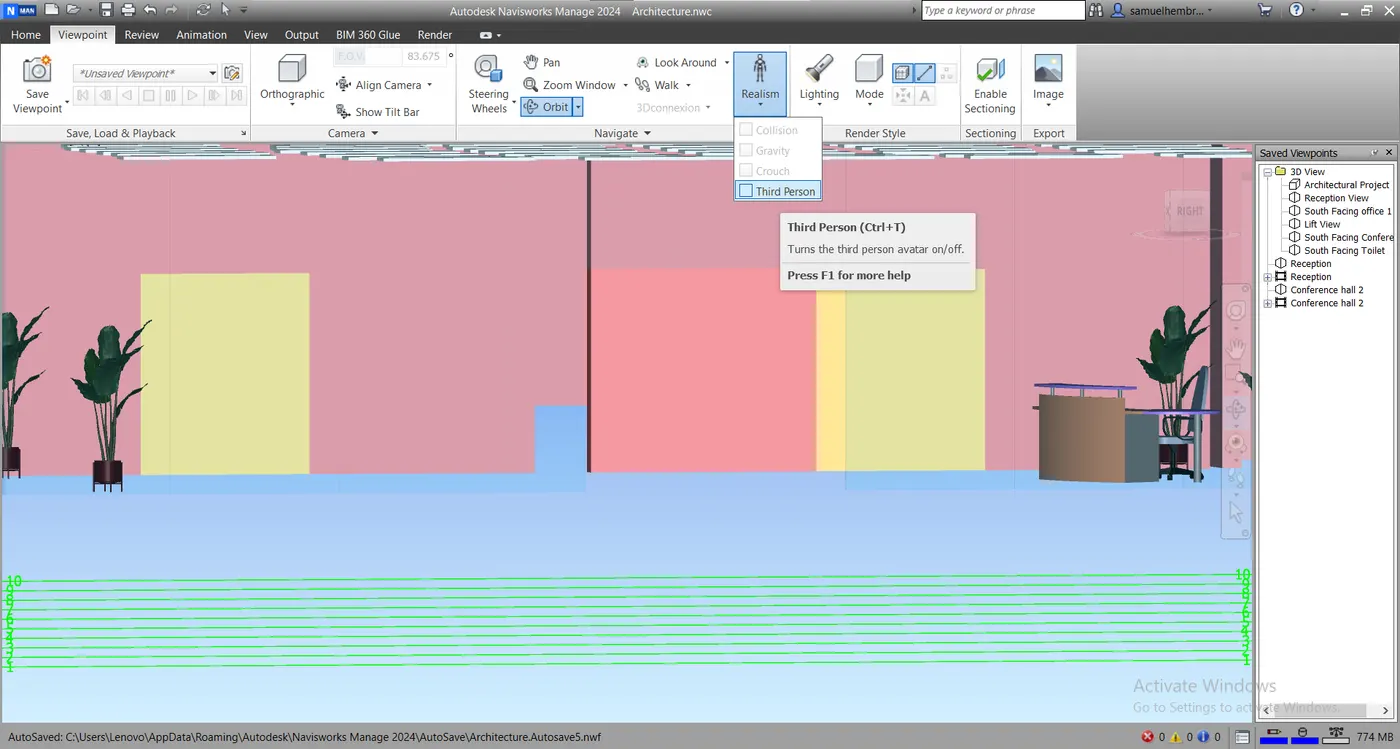
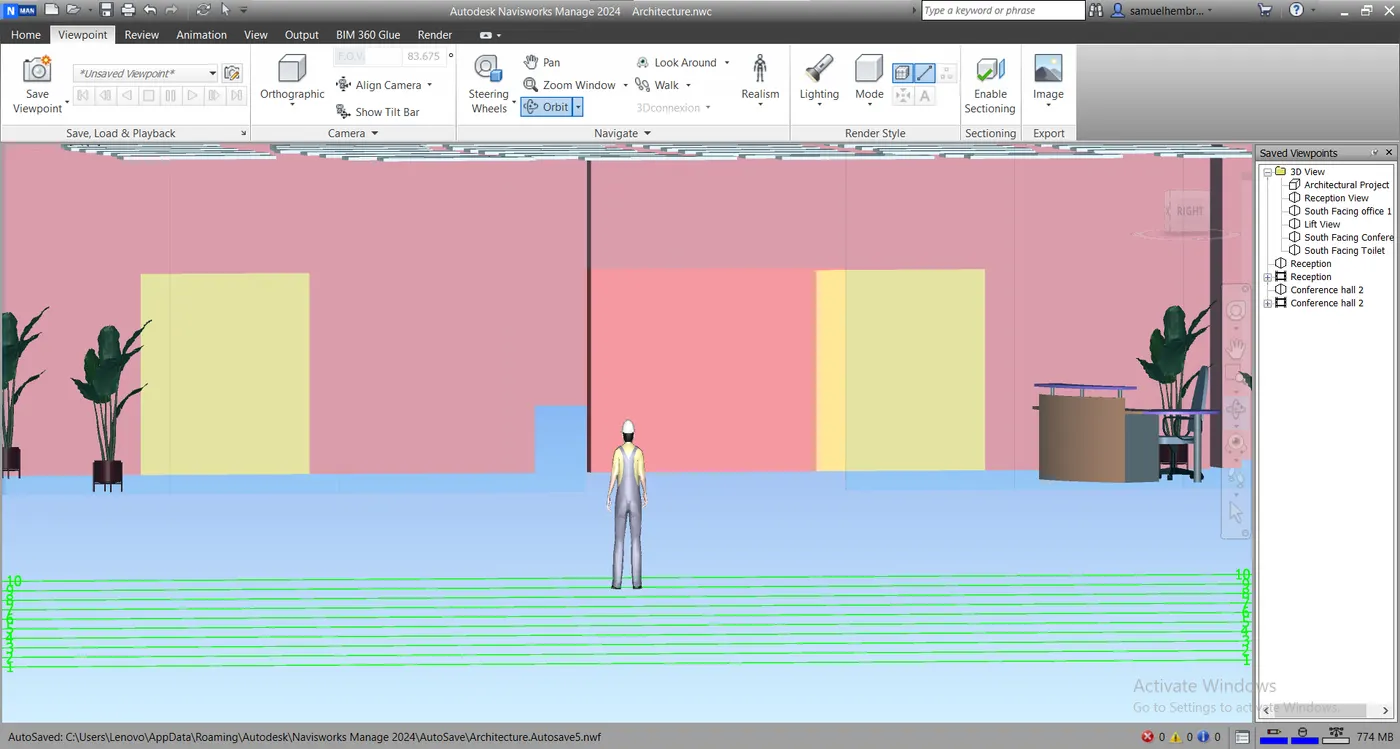
- Go to Viewpoint -> Navigate -> Realism -> Third Person.
- The result will be as shown in image below.
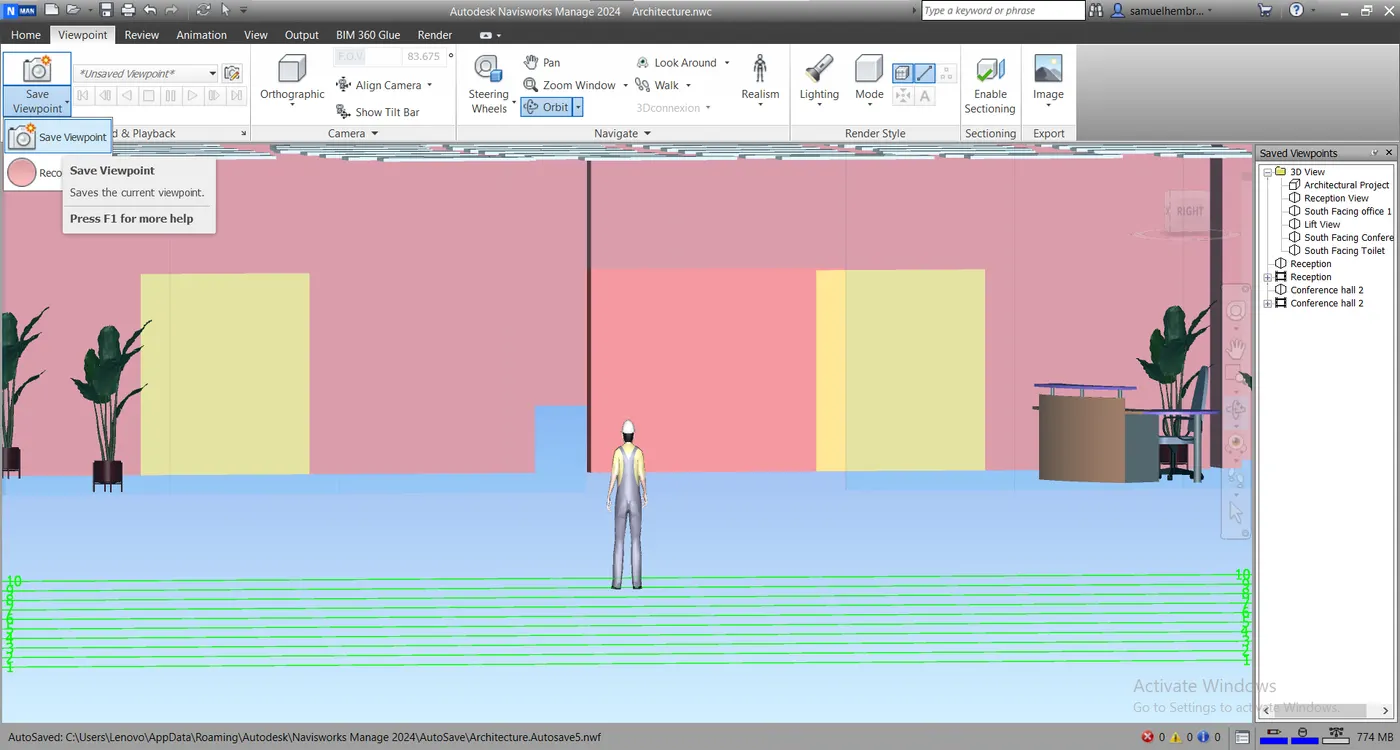
- Go to Viewpoint -> Save, Load & Playback -> Save Viewpoint -> Save Viewpoint.
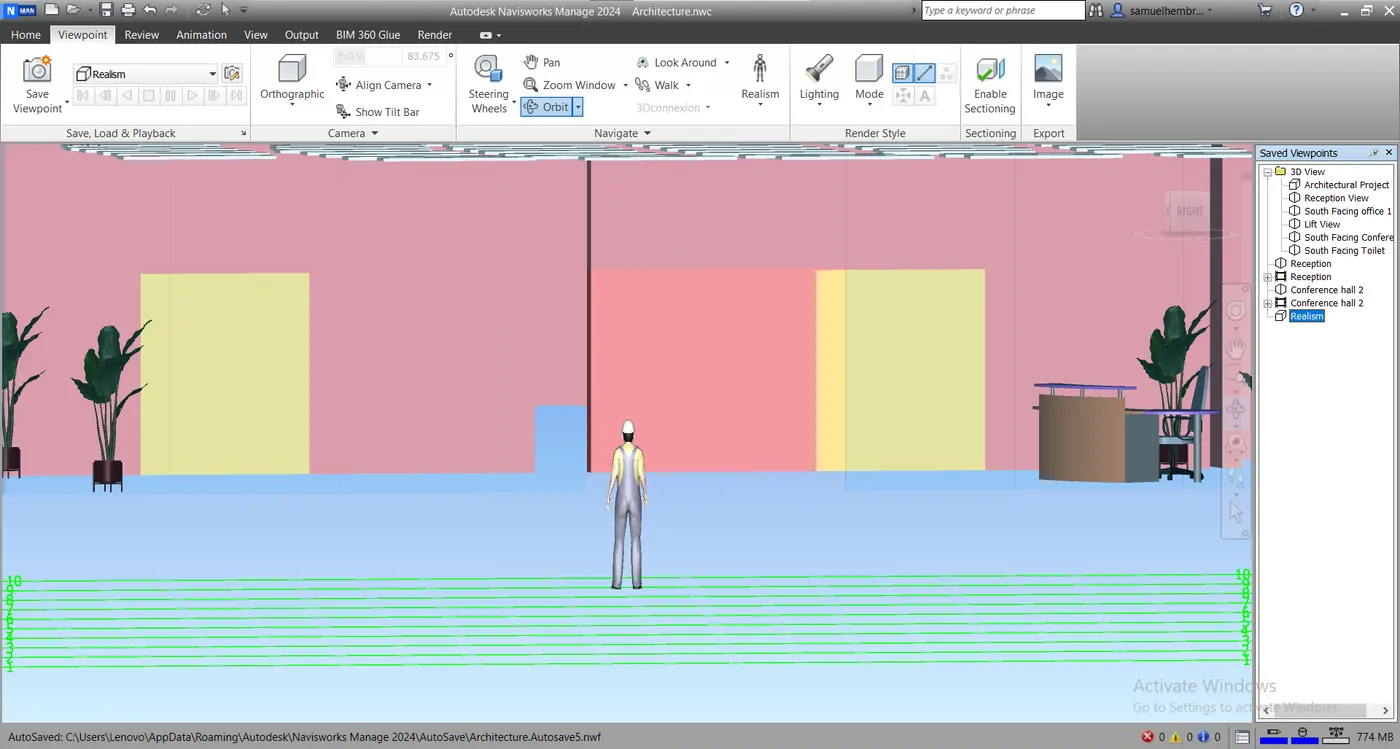
- Rename the Viewpoint as "Realism".
- Next go to Viewpoint -> Navigate -> Walk -> Walk.
- And the for recording the walk go to Save, Load & Playback -> Save Viewpoint -> Record.
- After recording the animation we can stop recording following the path Viewpoint -> Recording -> Stop.
- Rename the animation as "Realism".
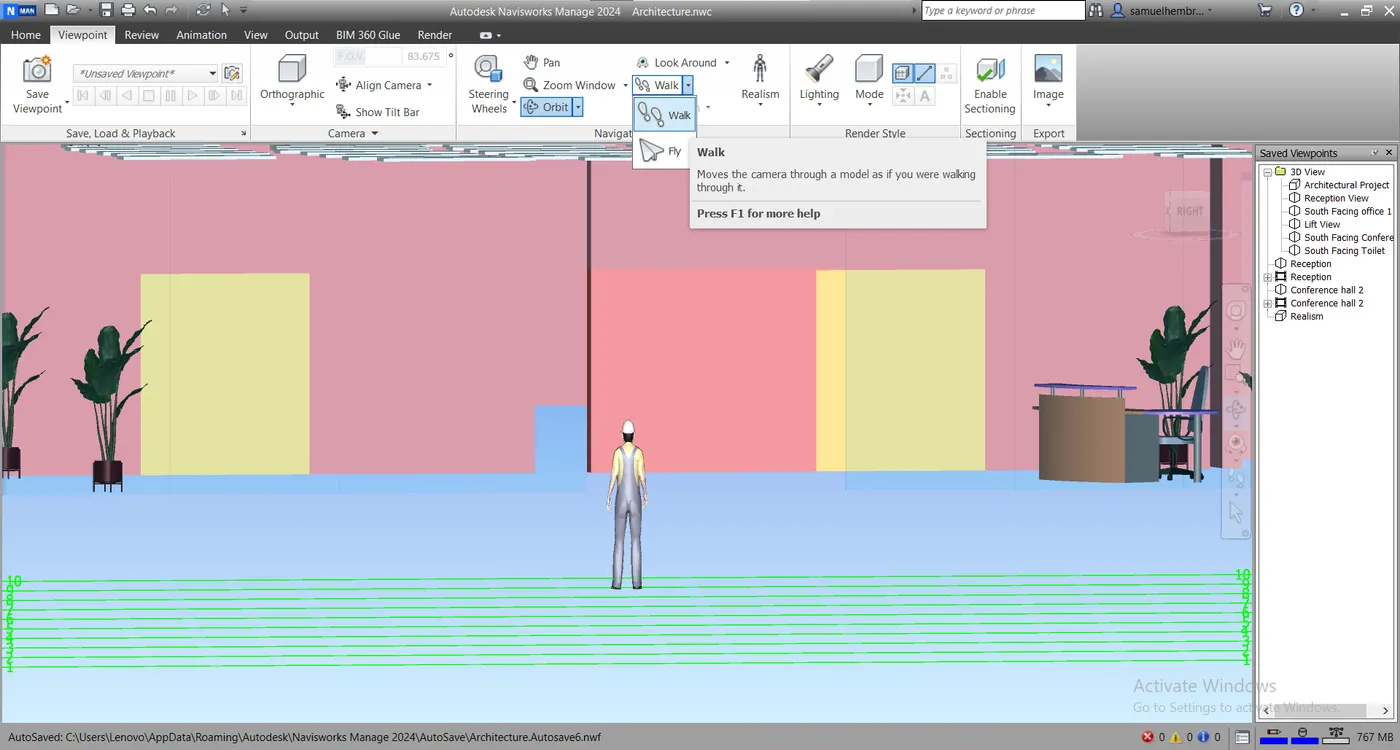
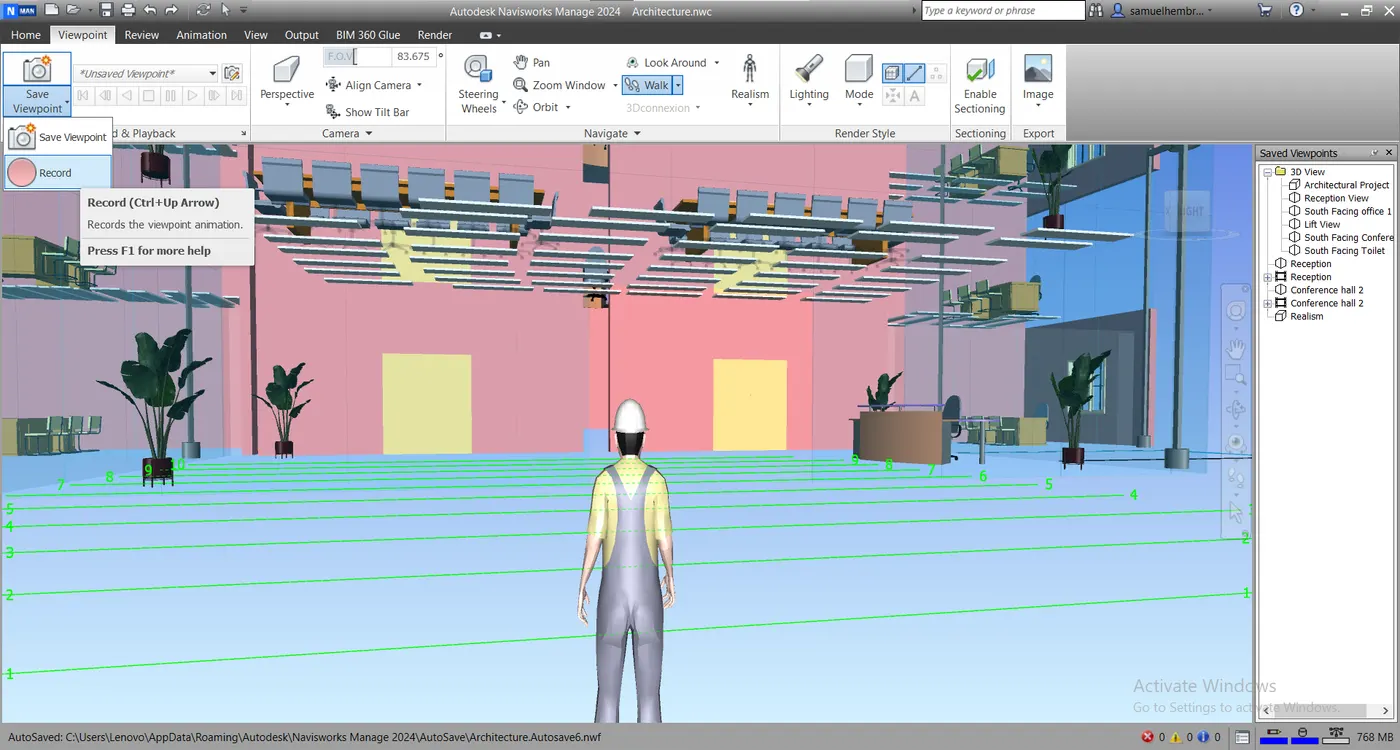
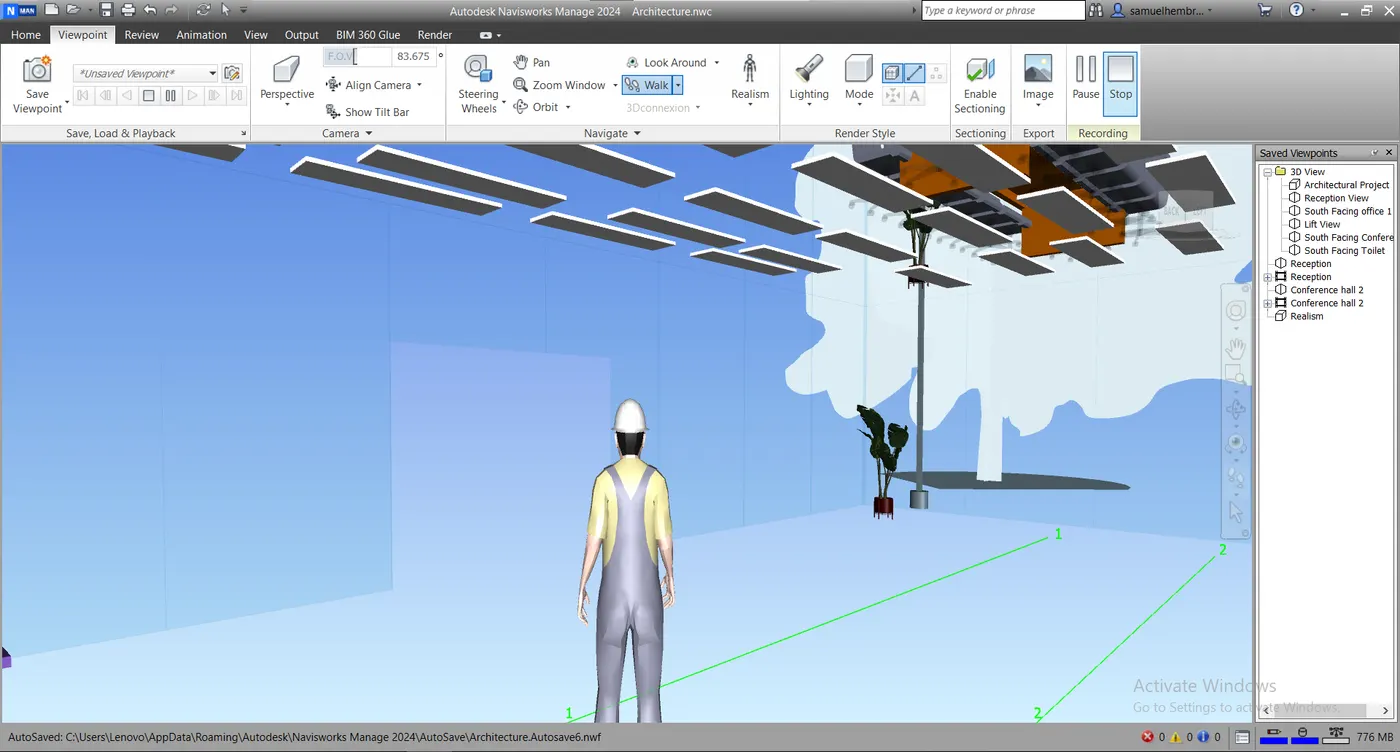
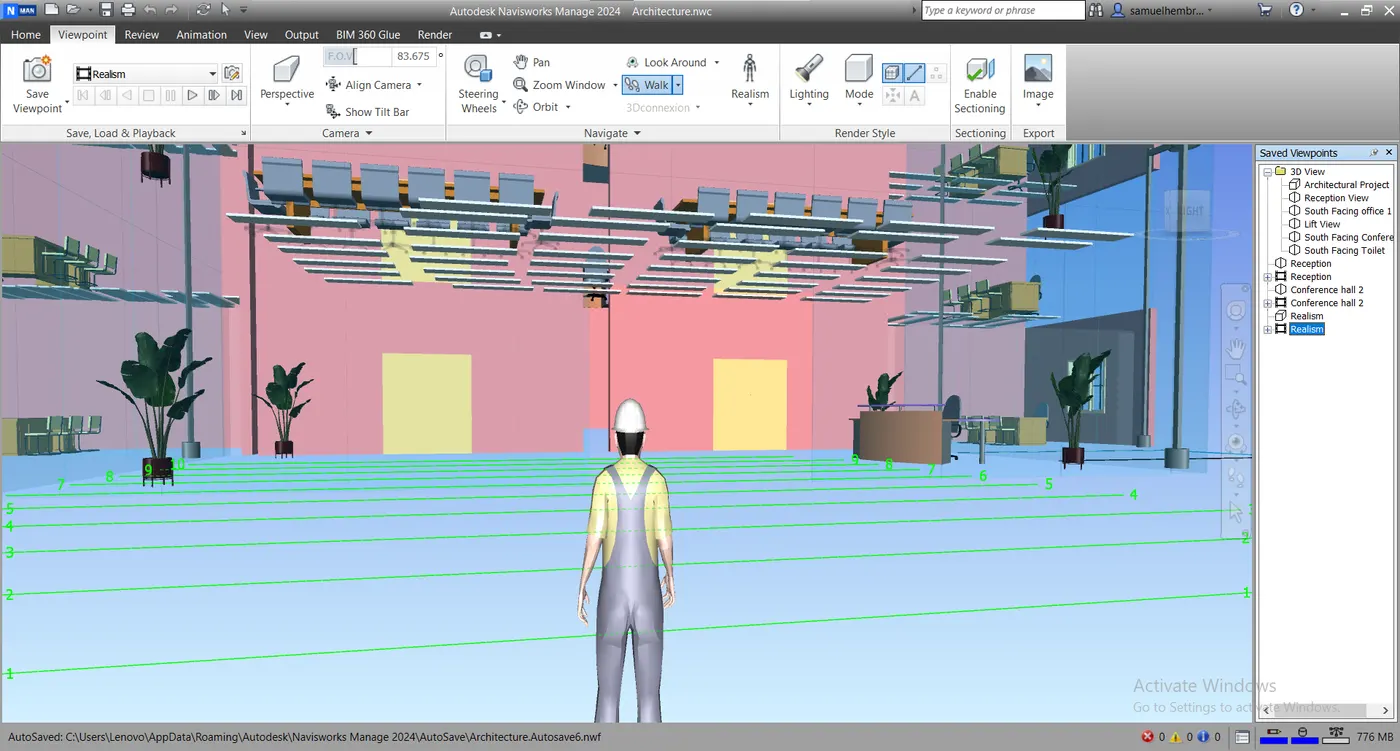
Q No.4
Ans:-
AIM:-
To use navigate tool to use the realistic feature to walk through the model and record our moving as animation in Navisworks file.
Procedure:-
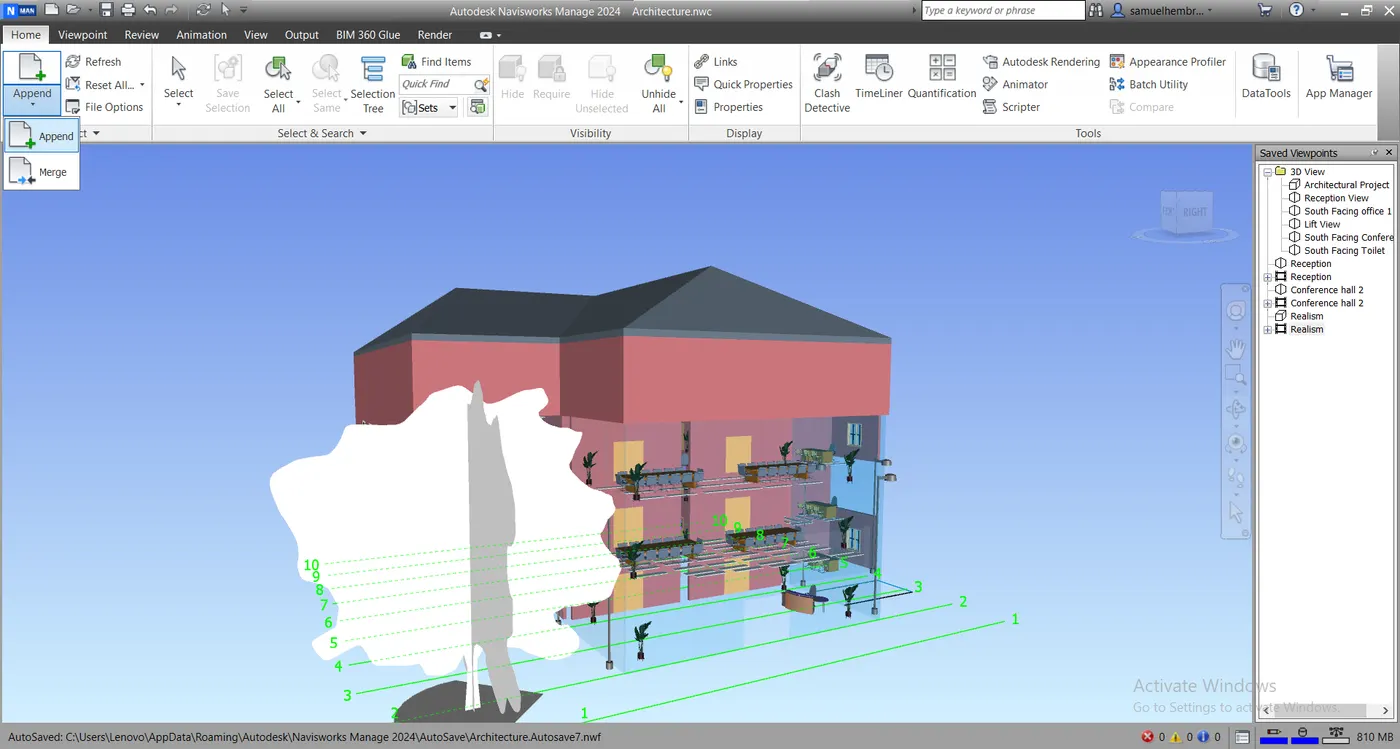
- Go to Home -> Project -> Append -> Append.
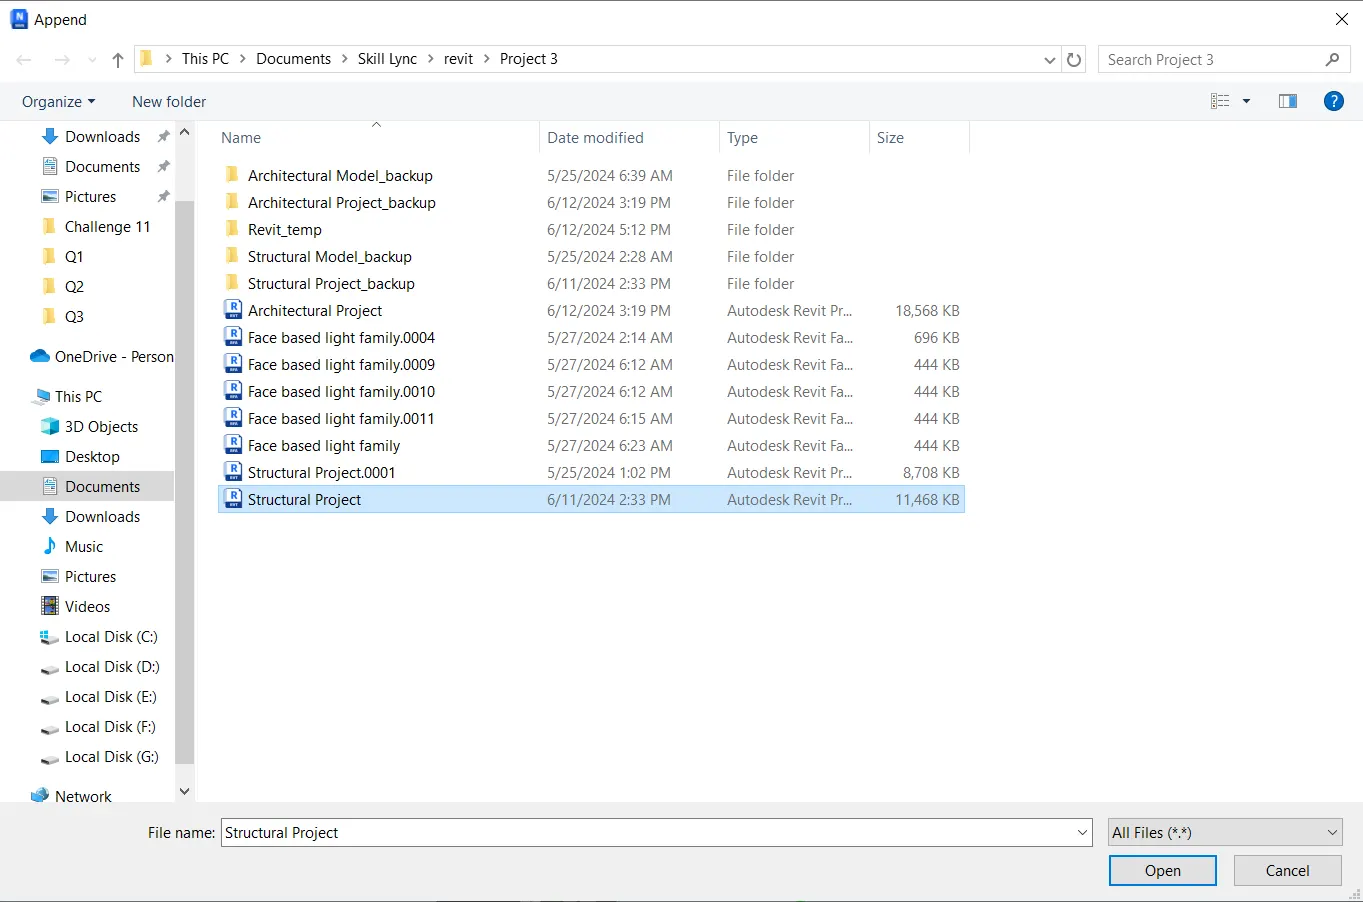
- From the Append tab select the "Structural Project".
- Now go to Home -> Tools -> Clash Detective.
- A clash detective tools tab will appear.
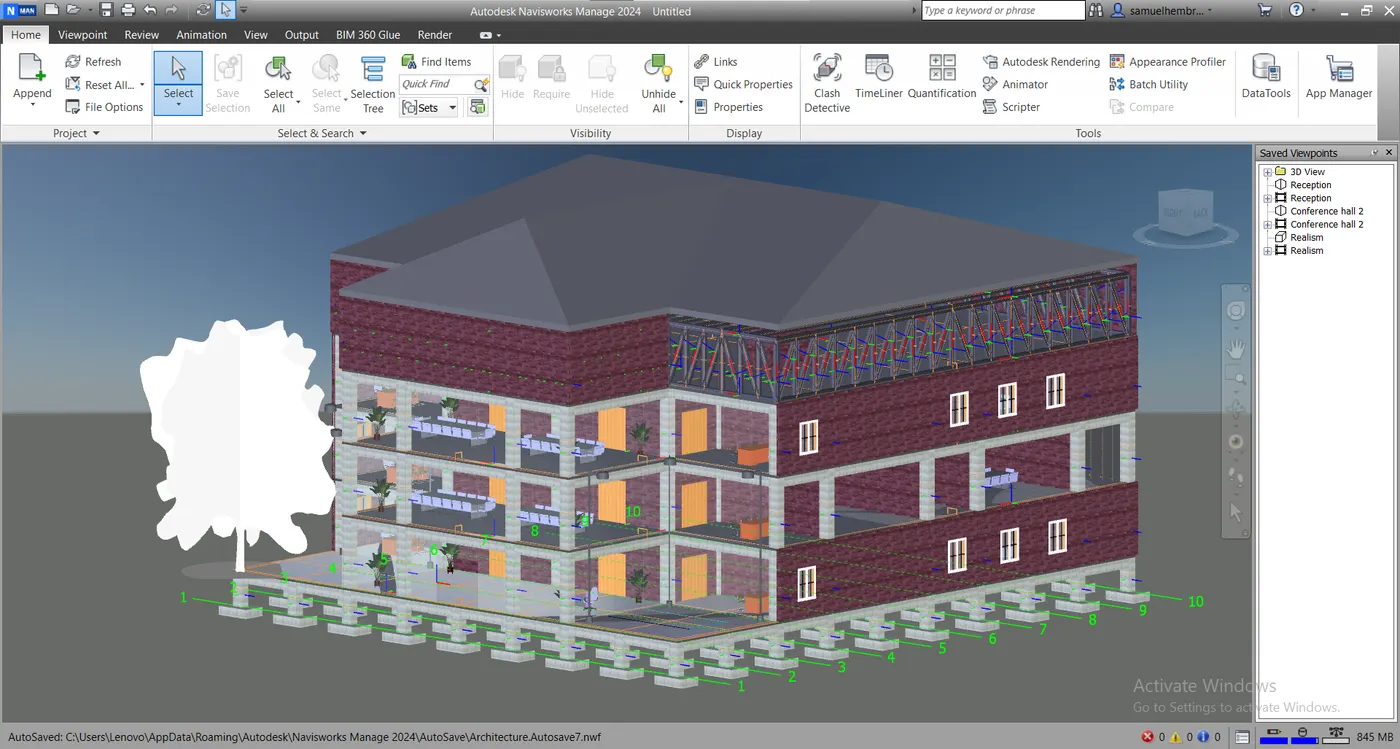
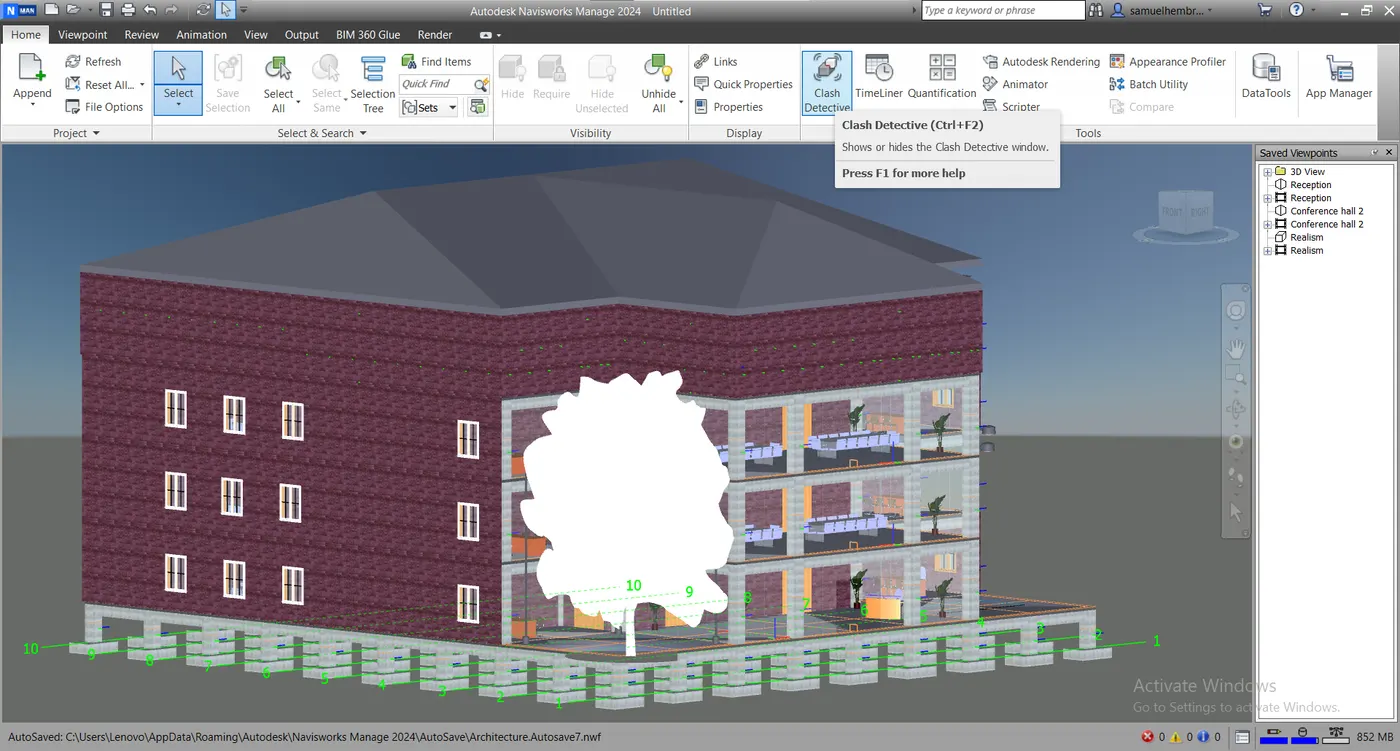
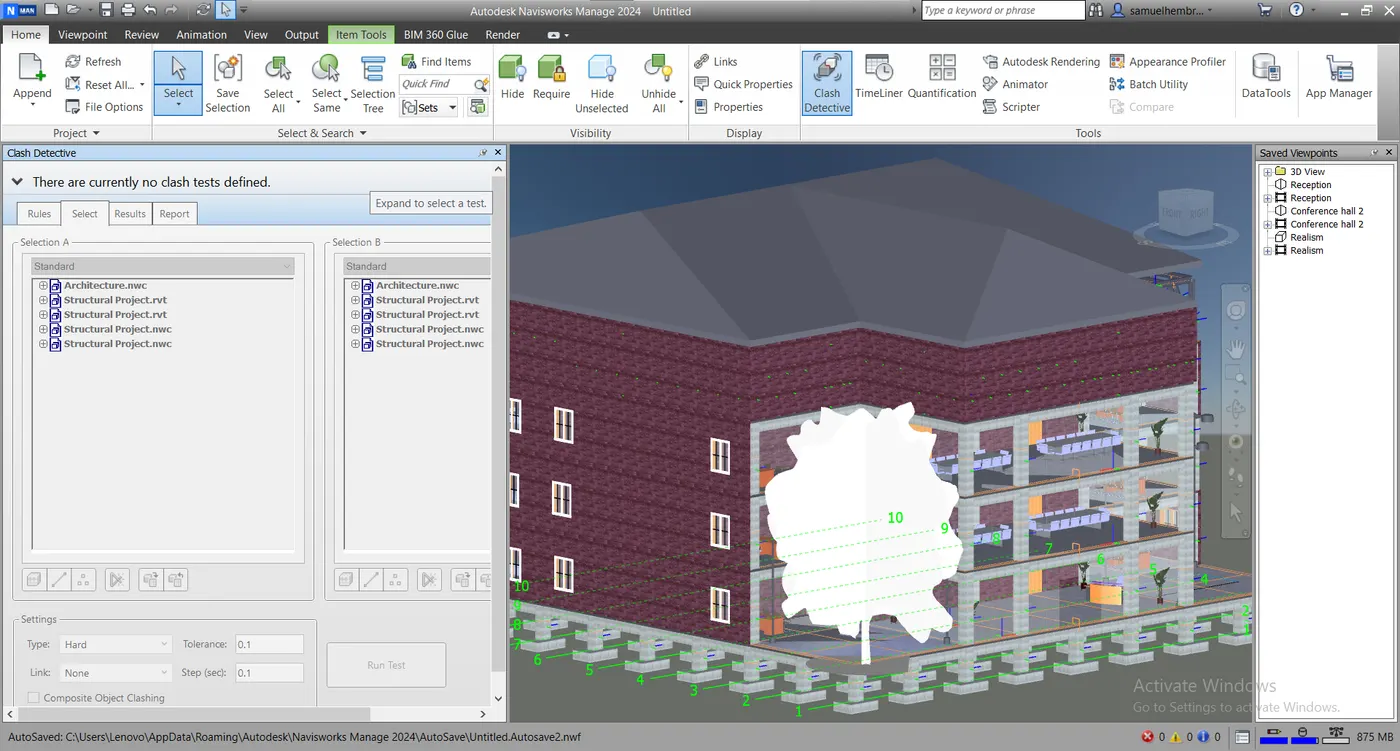
- As we can see from the above image my structure does not have any clashes.
- So in conclusion there is no need for attempting b, c, d, e, f, and g sections of the question.
Ans:-
AIM:-
Using the timeline feature in Navisworks we can prepare a schedule for the project by adding reasonable assumptions like task start and end date and simulate the task.
Procedure:-
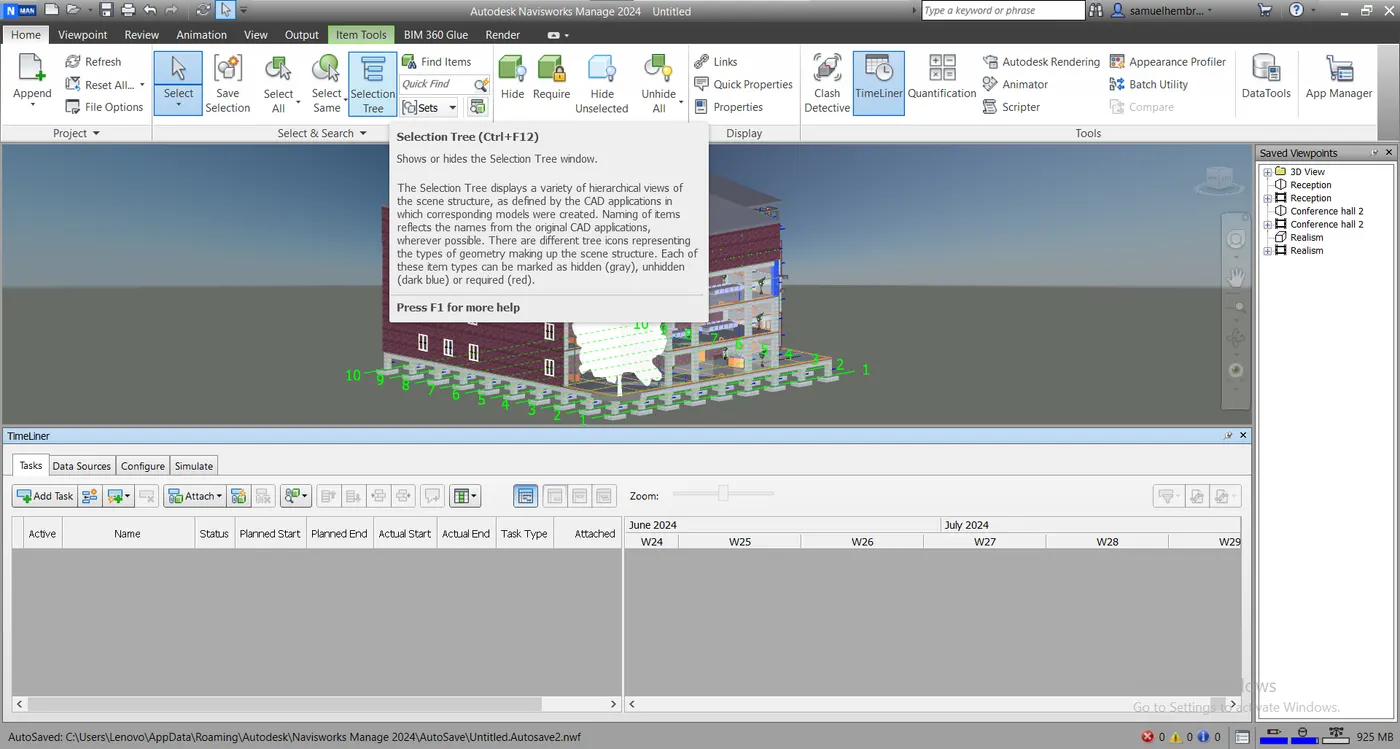
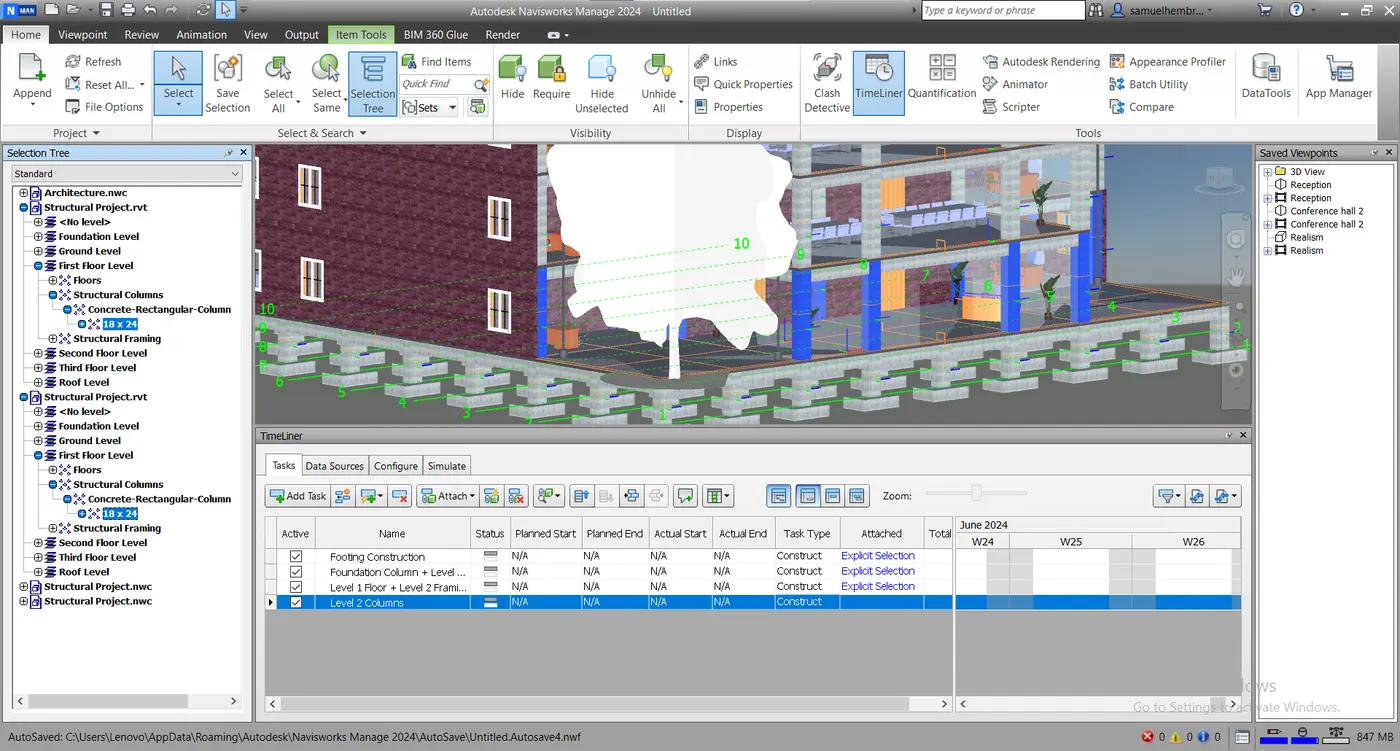
- Go to Home -> Tools -> TimeLiner.
- A time liner tab will open in bottom of the screen.
- For working in the TimeLiner screen we need to add selection tree.
- For that go to Home -> Select & Search -> Selection Tree.
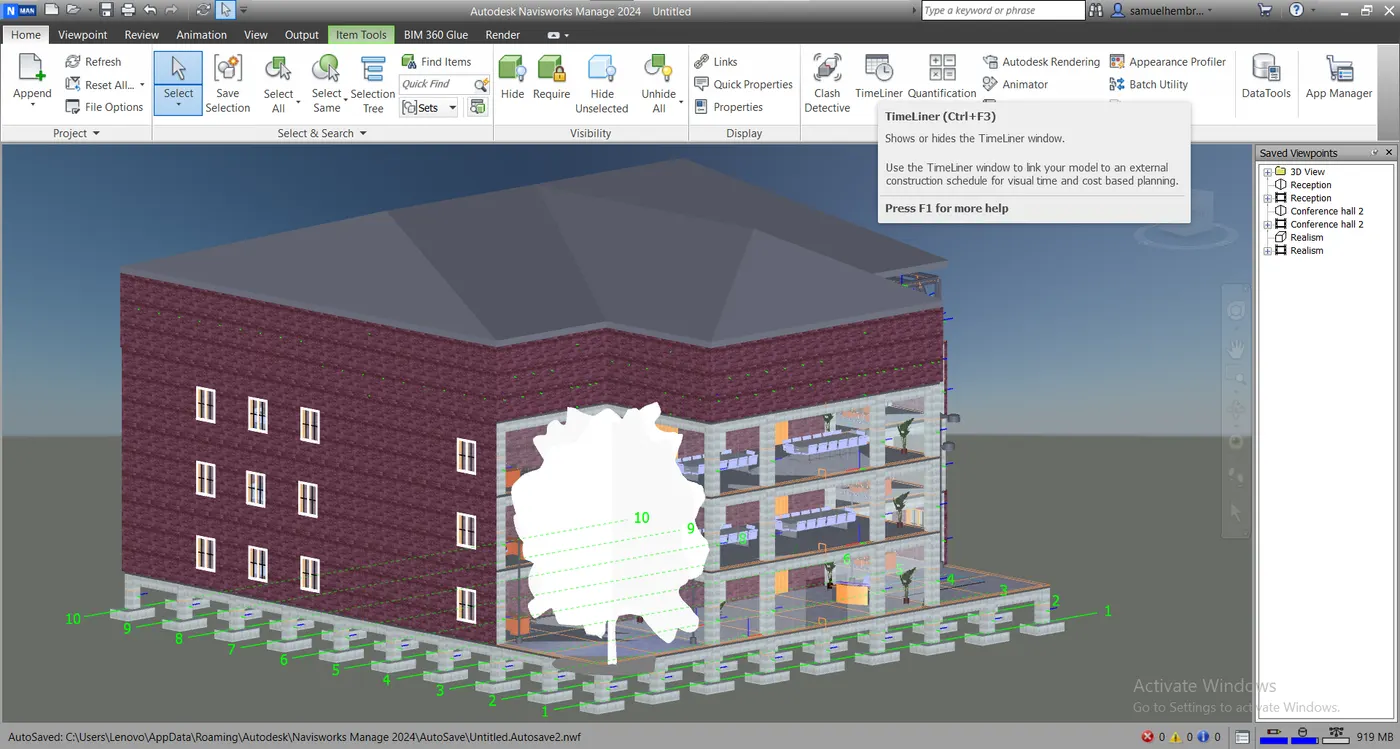
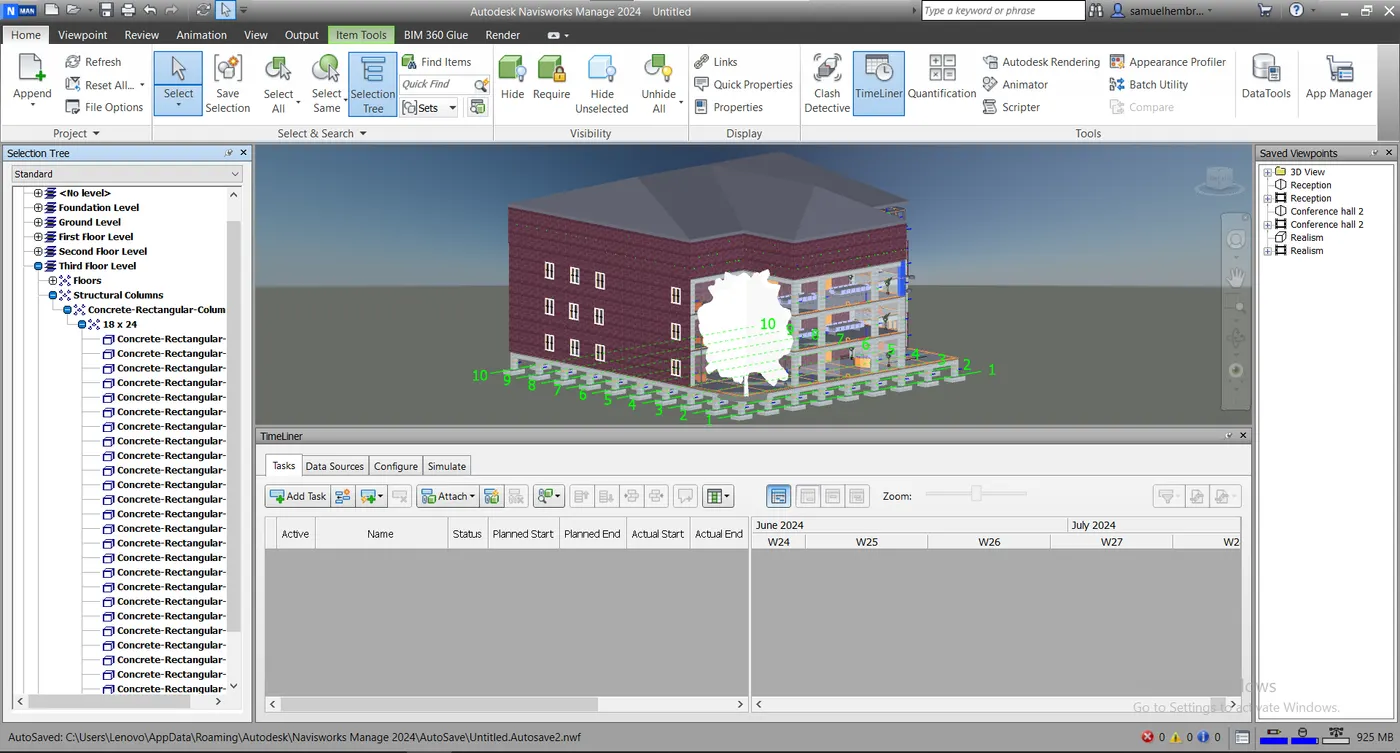
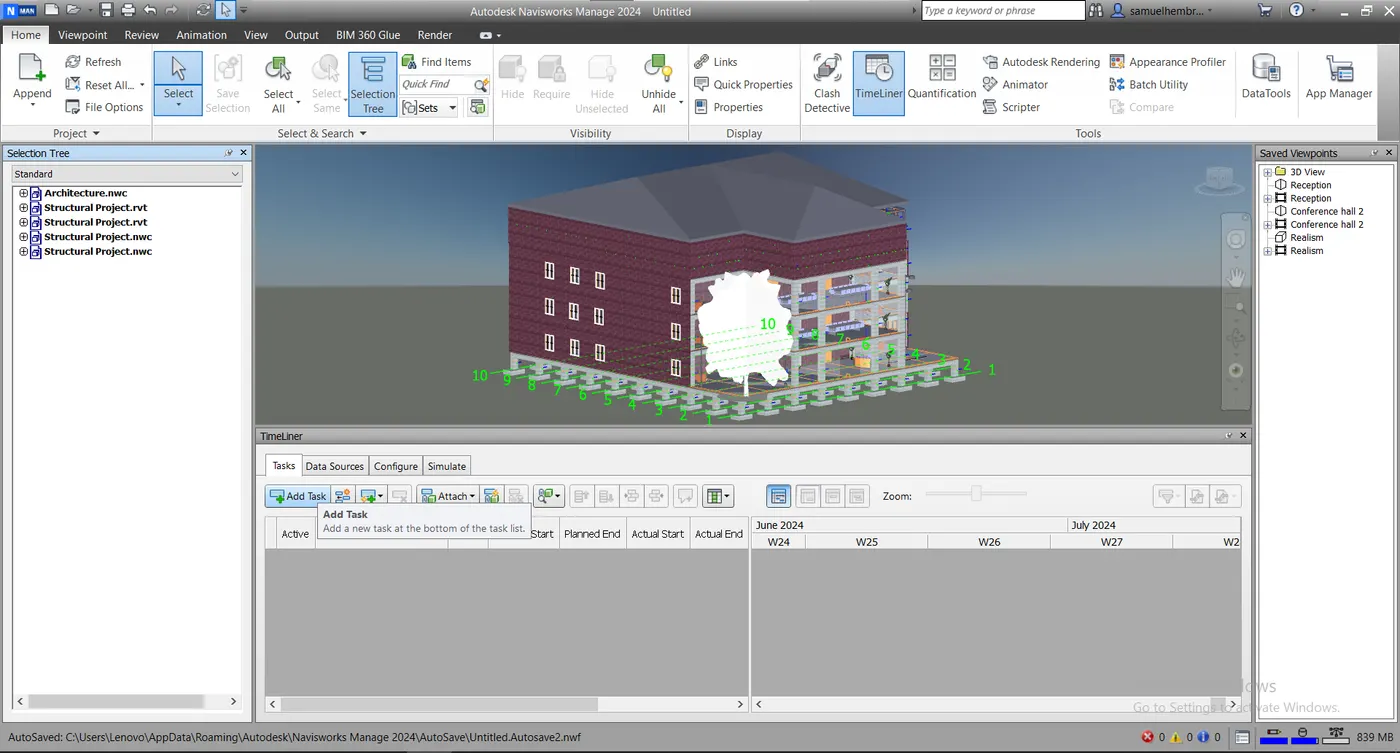
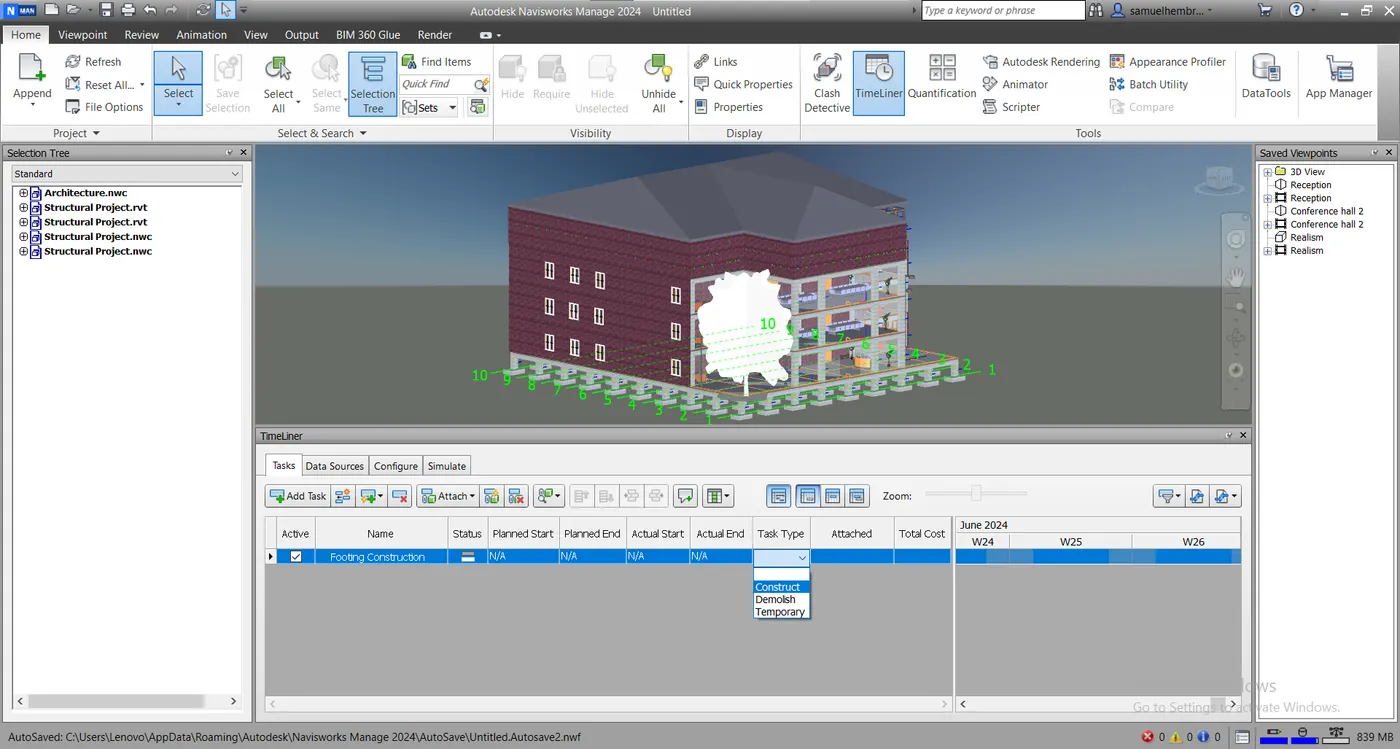
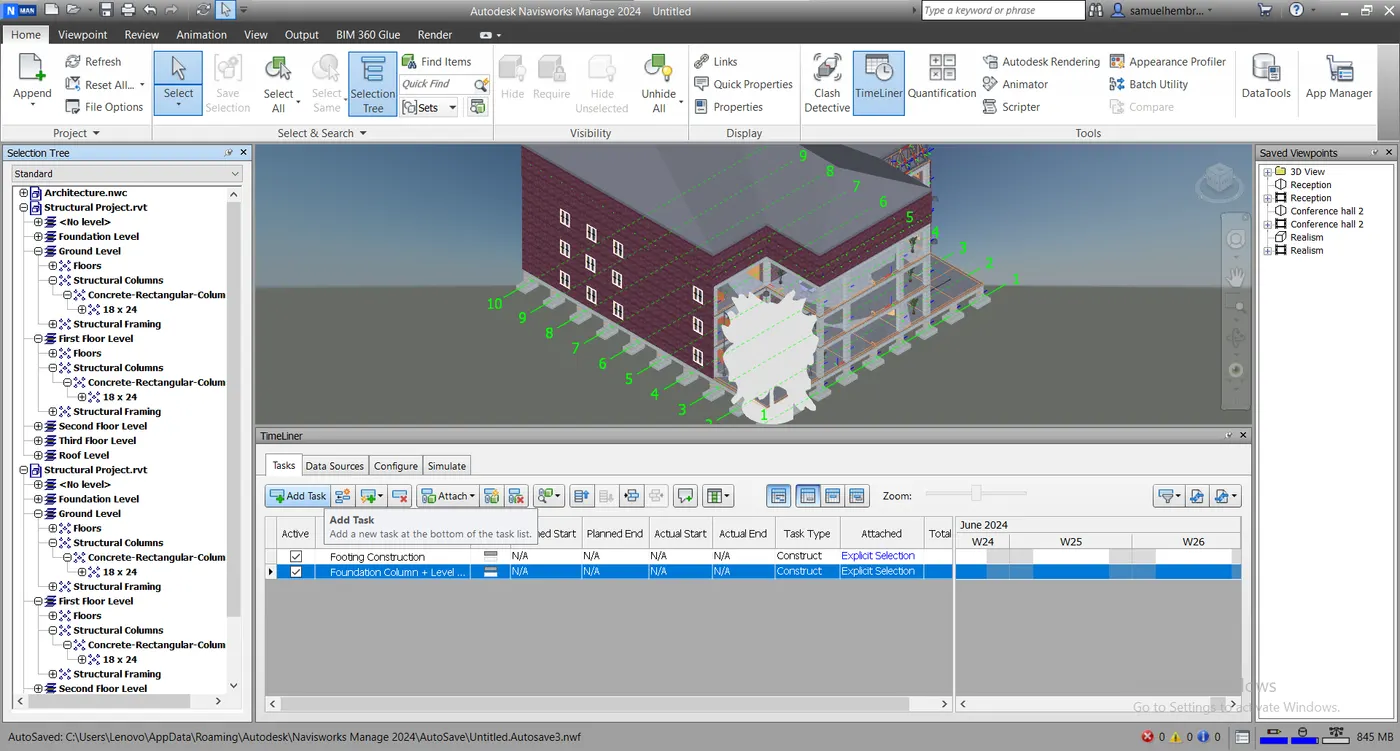
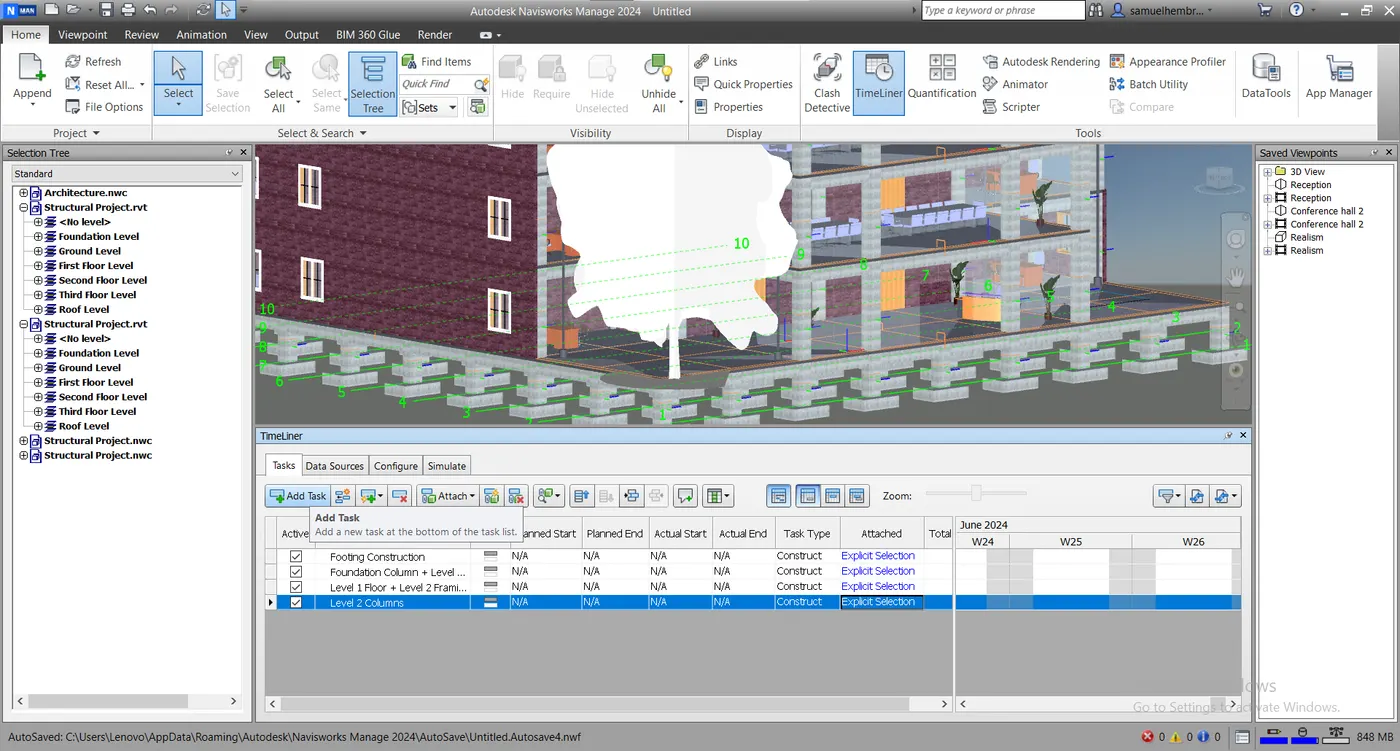
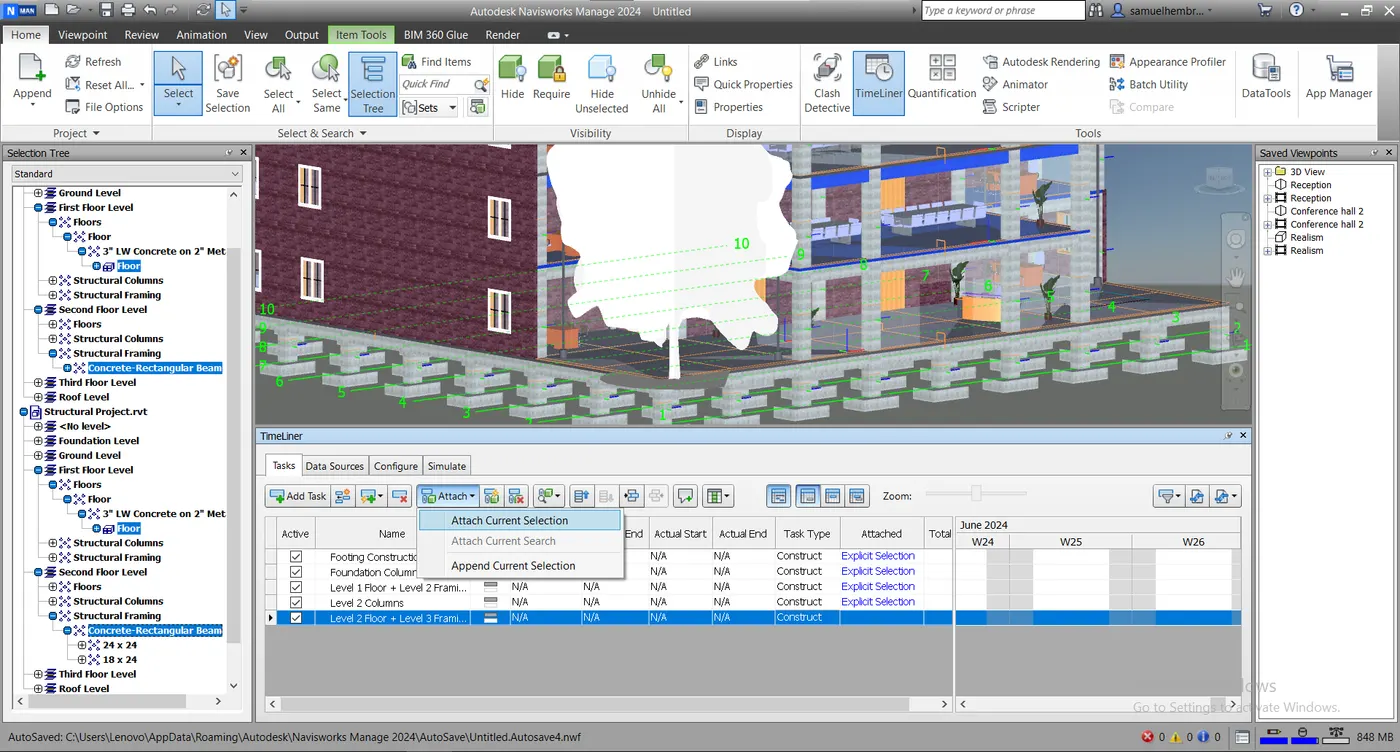
- In next step in the TimeLiner tab click on the "Add Task" button.
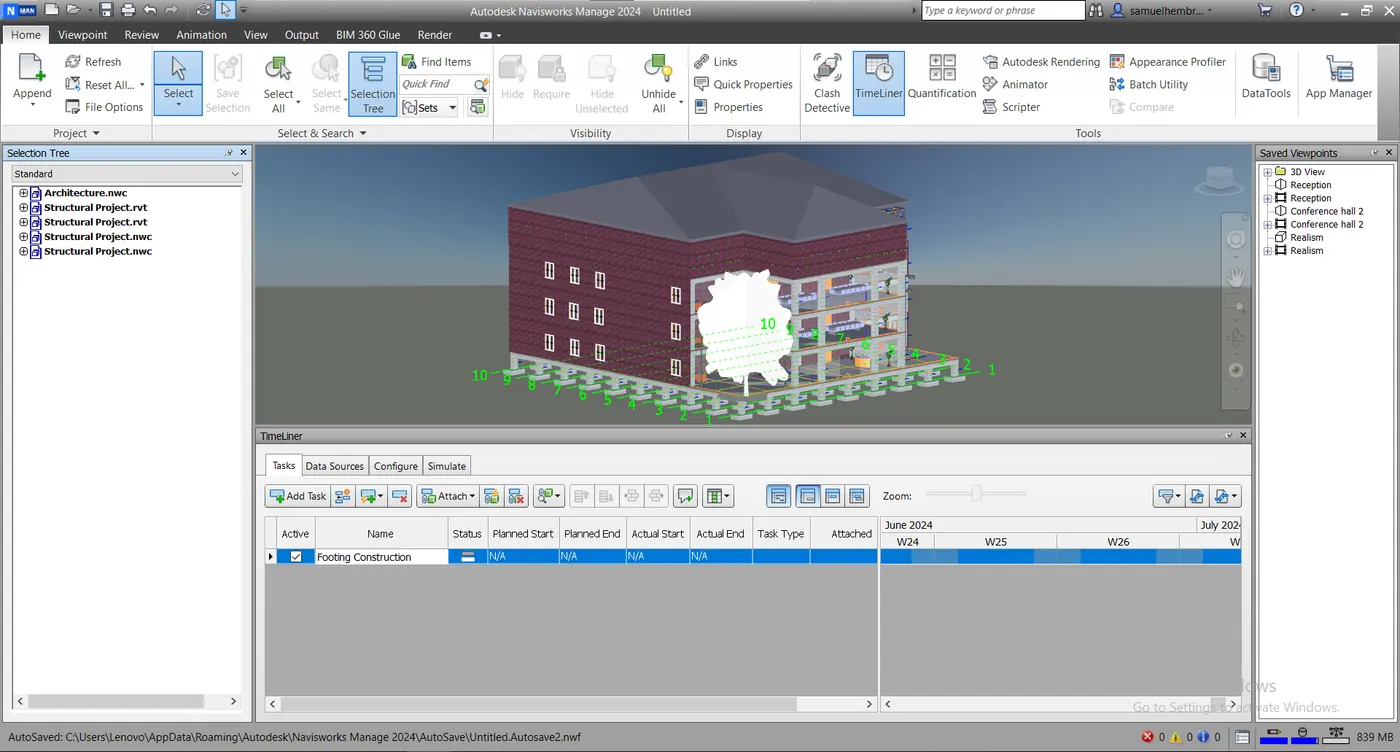
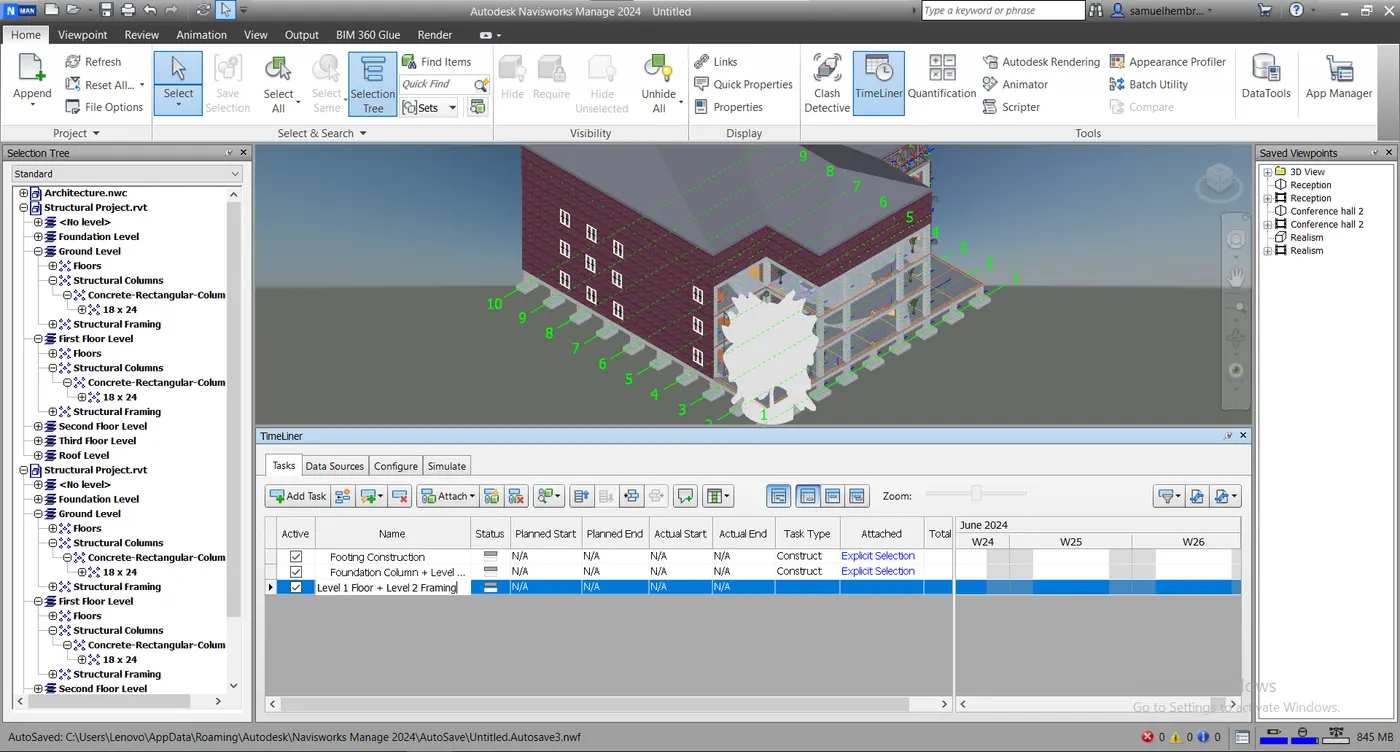
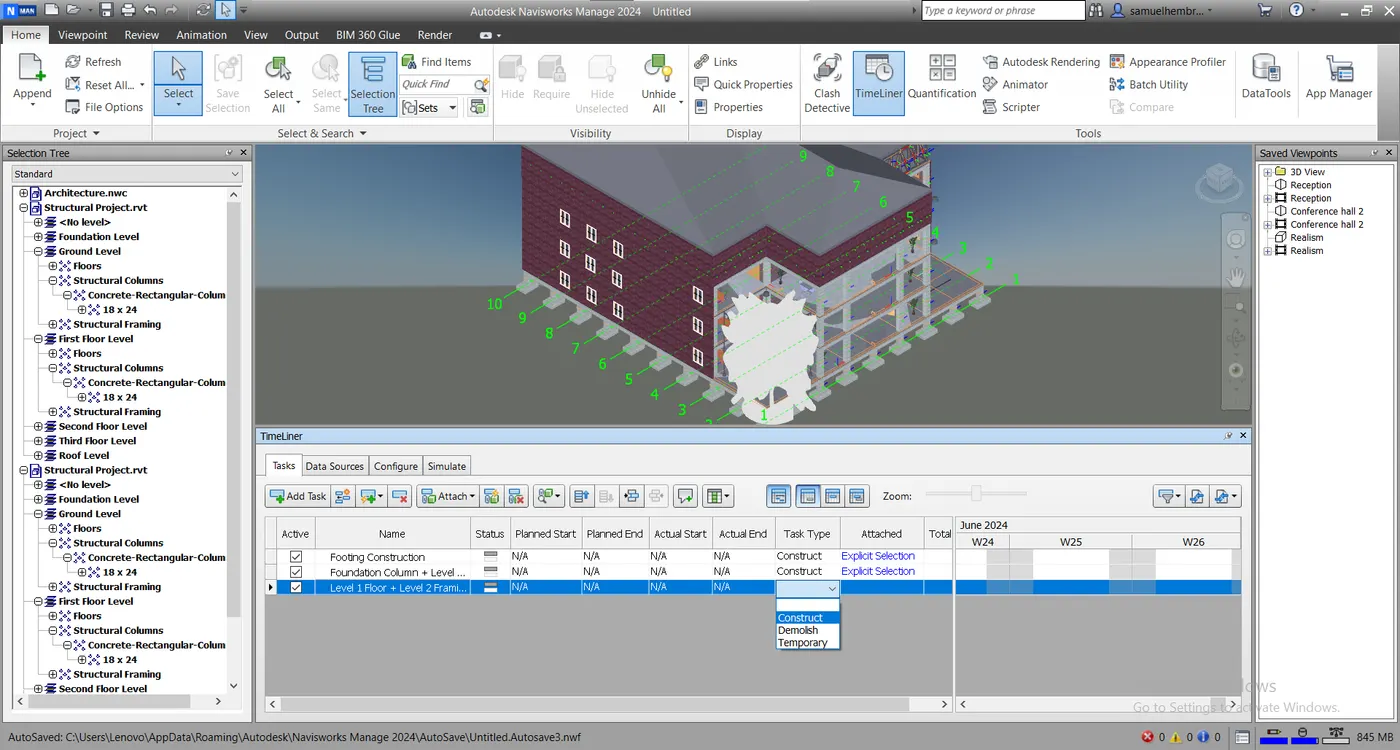
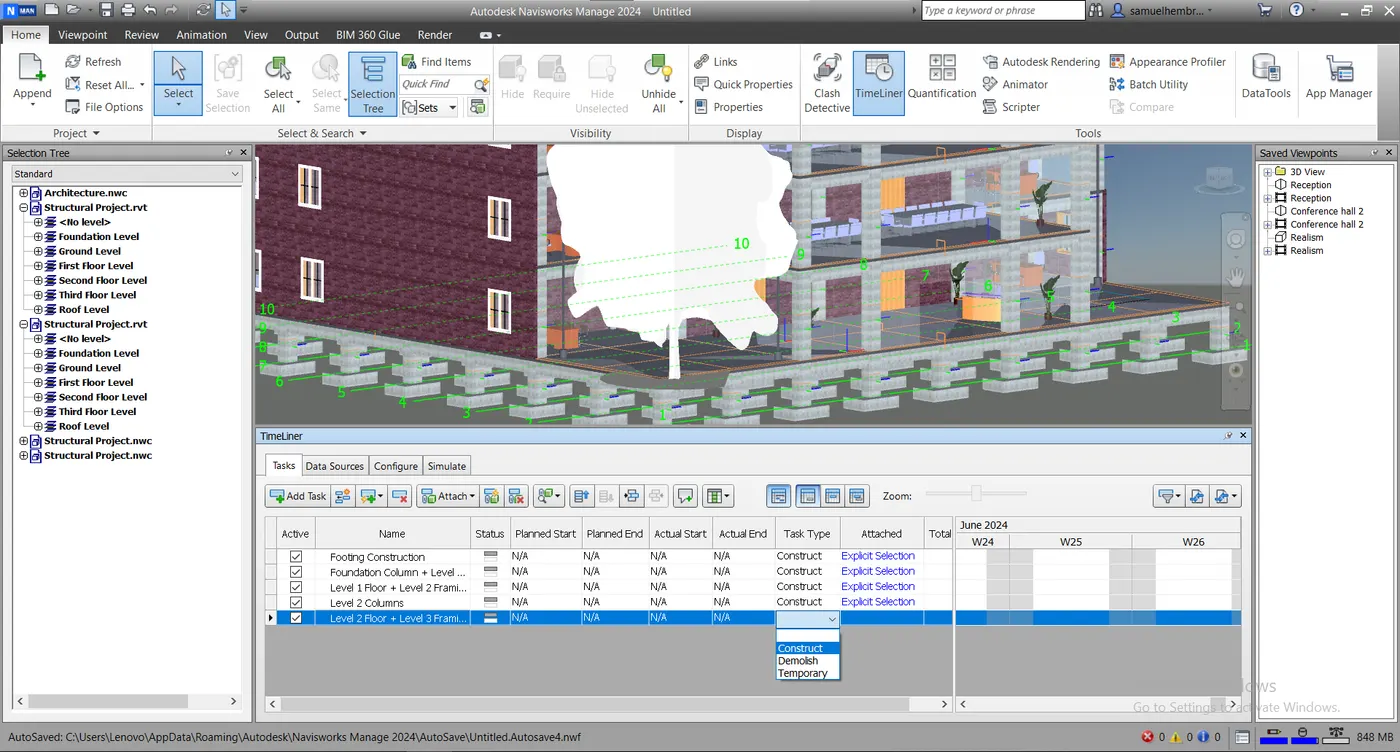
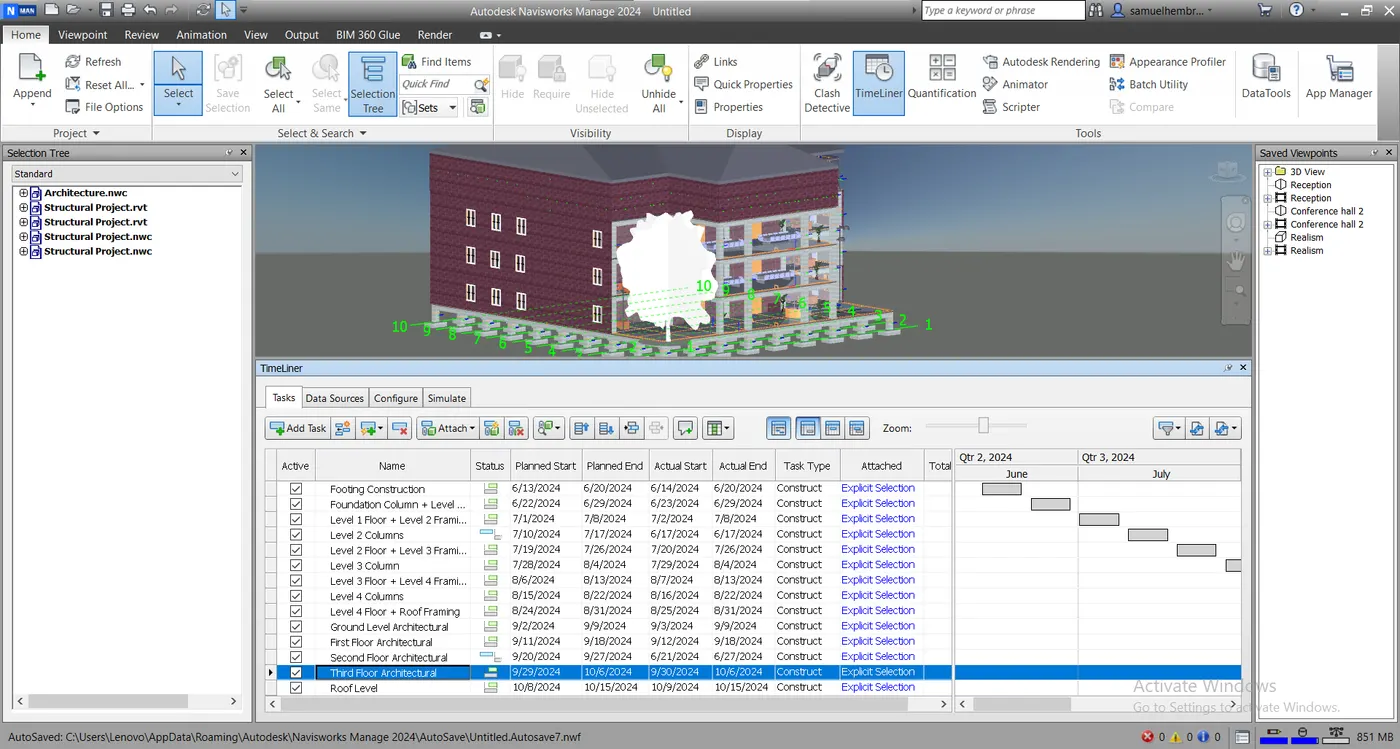
- Rename the Name of type of the work and change "Task Type" to "Construct".
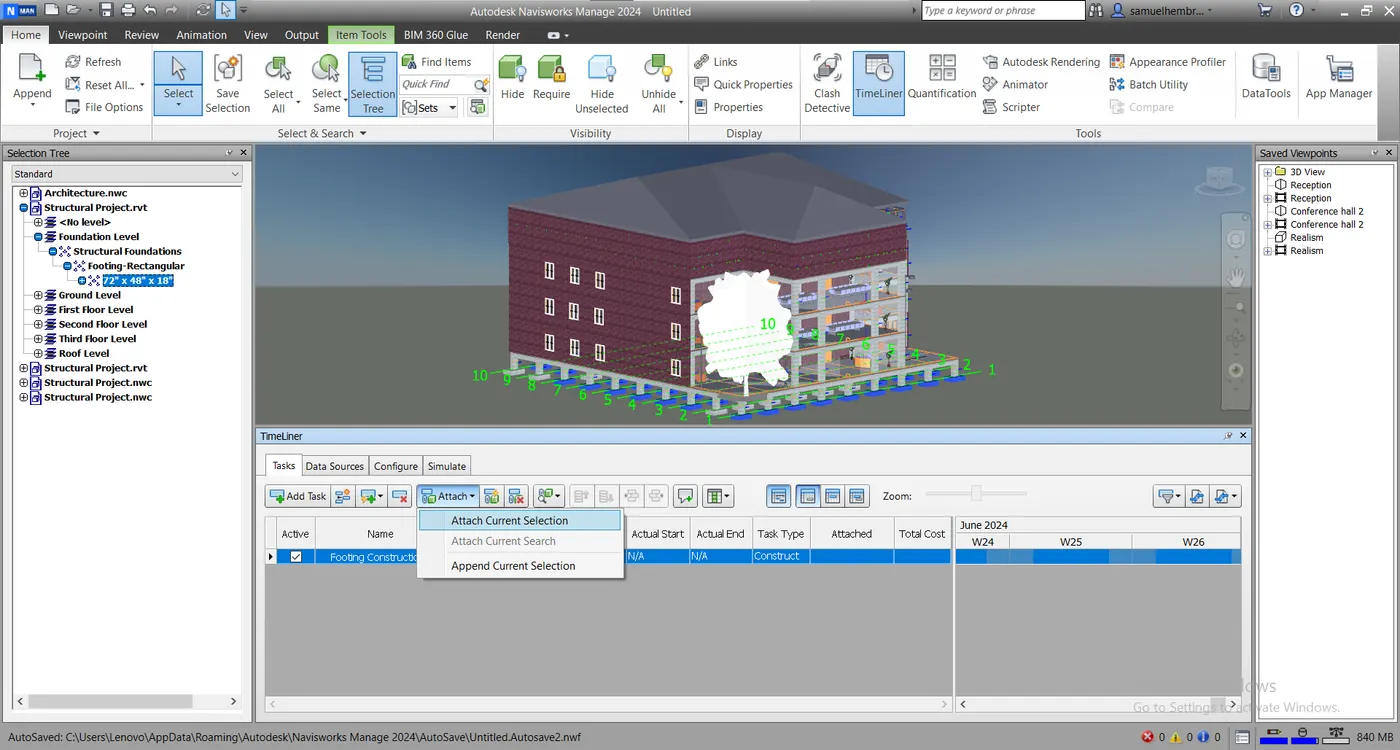
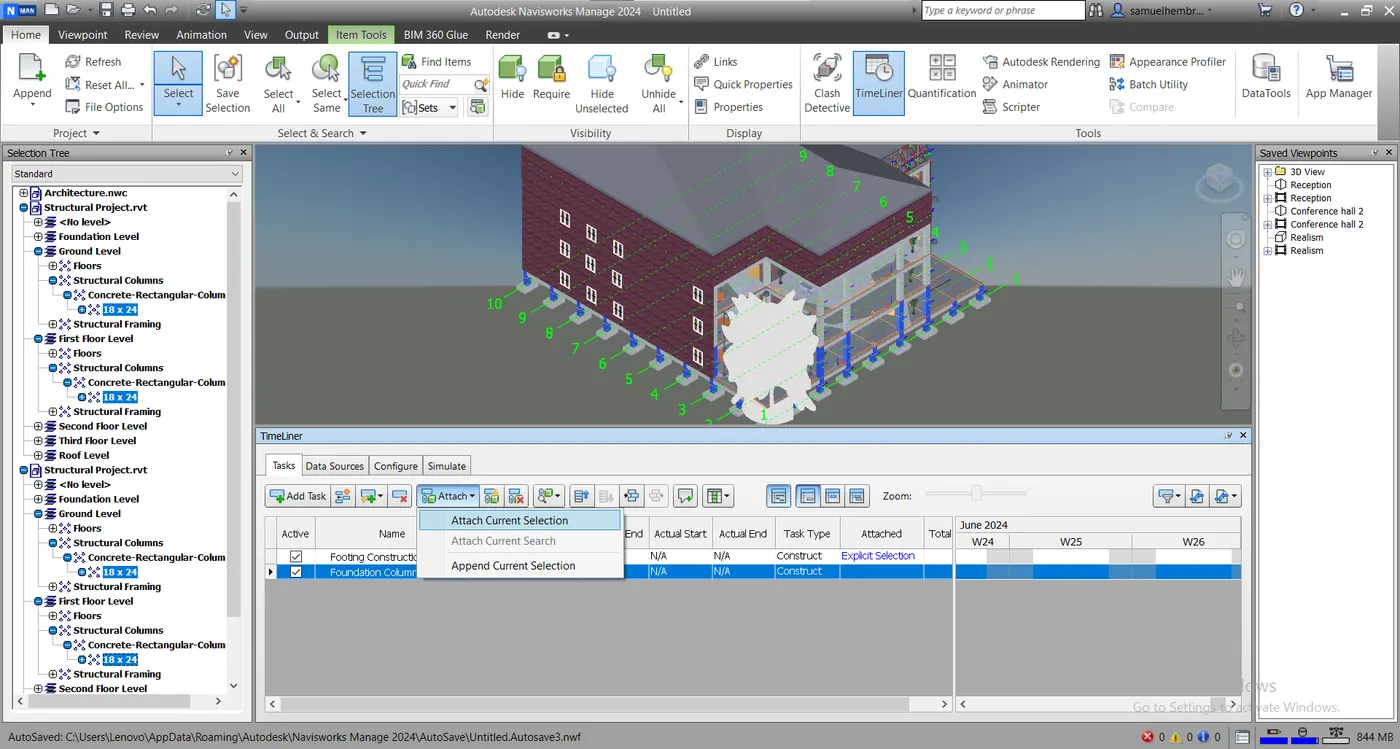
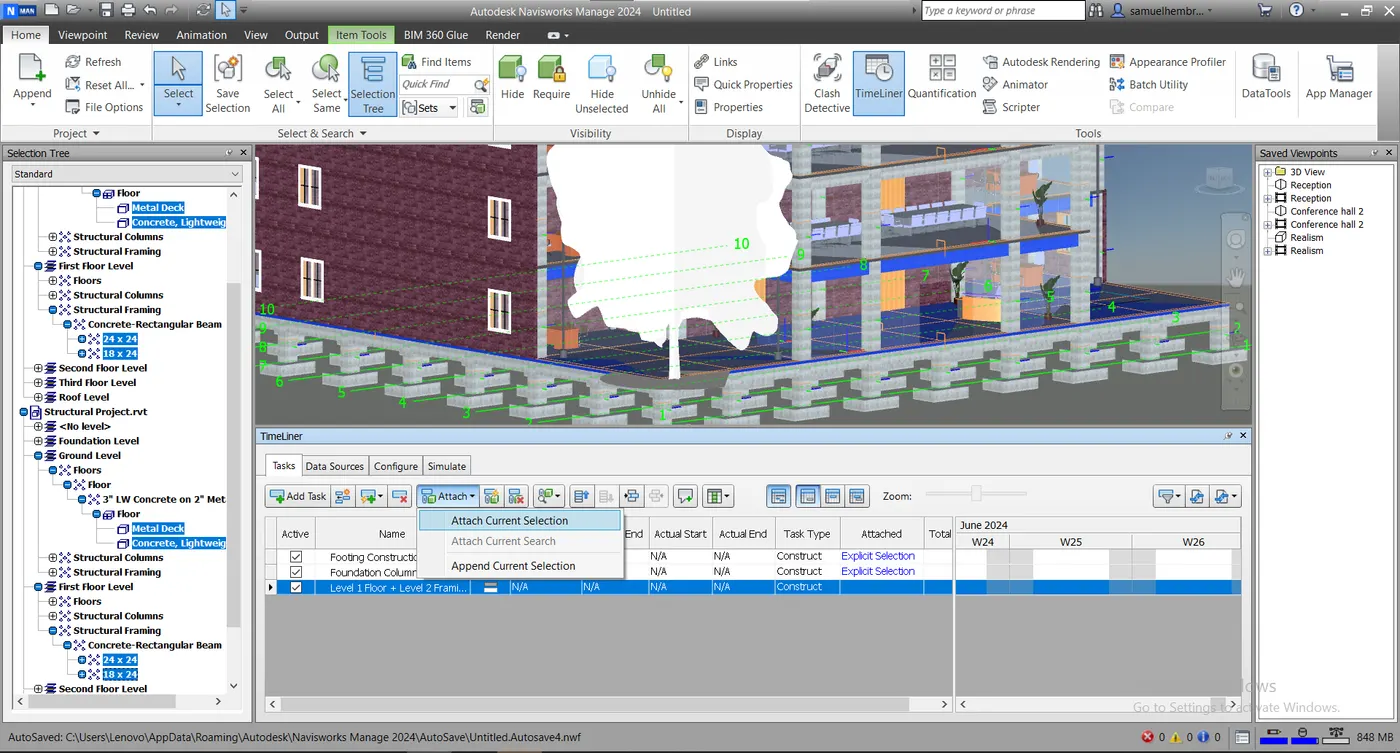
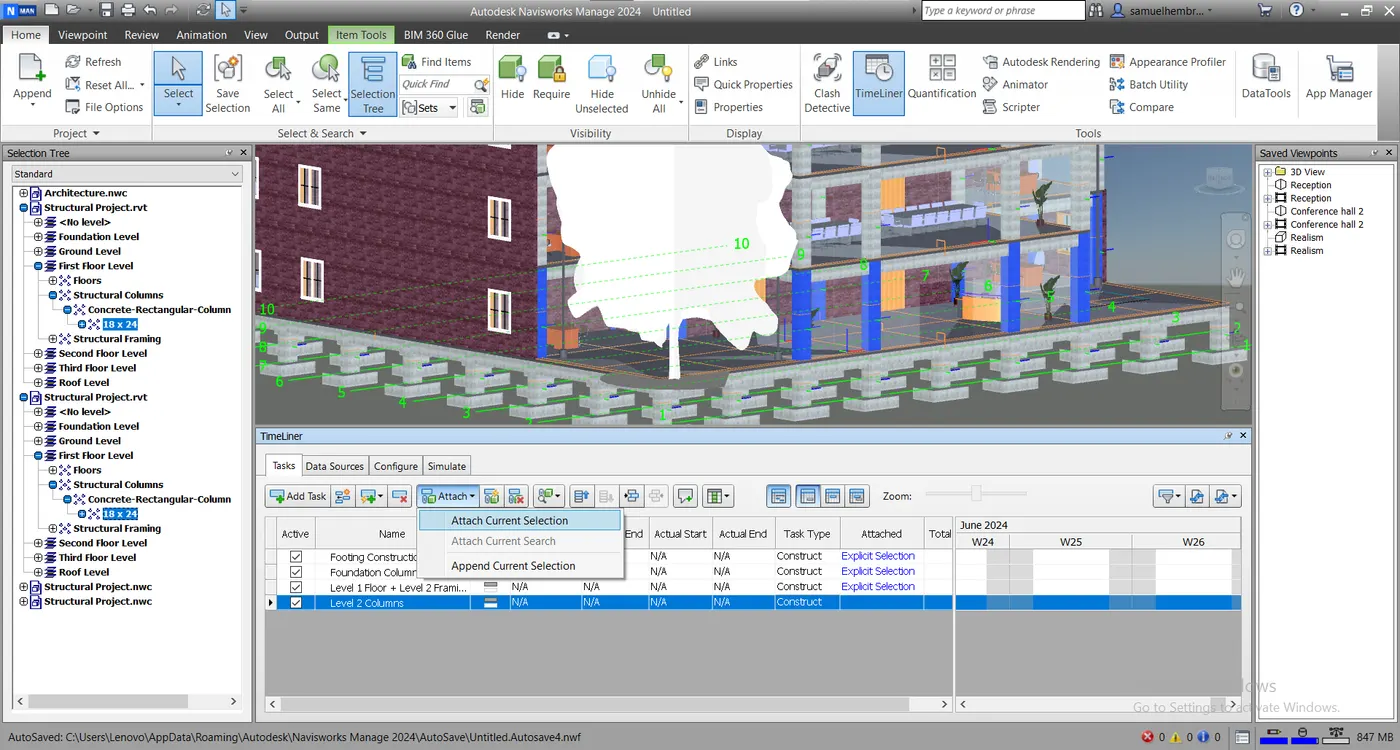
- Select the required type of works from the selection tree and use "Attach" button in the TimeLiner tab to attach it to its respective task.
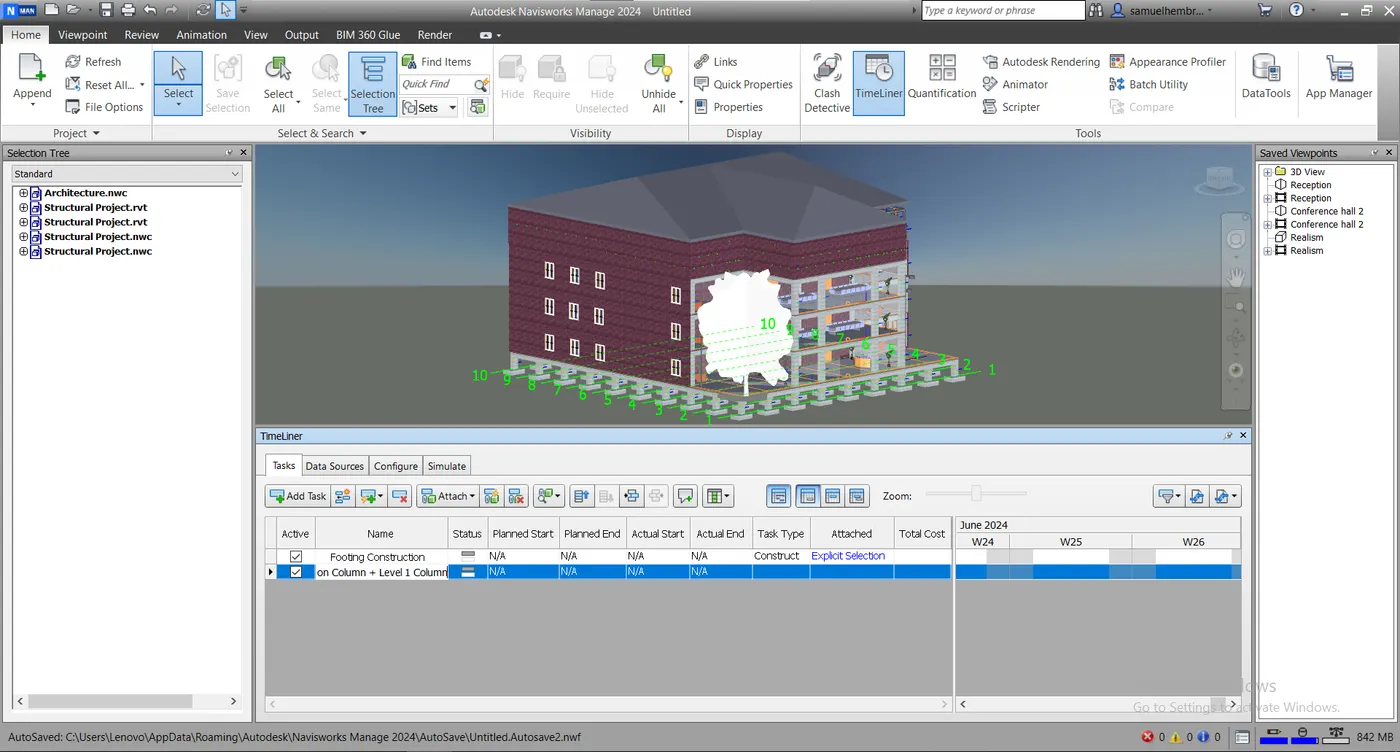
- Repeat the above same process for all kinds of tasks.
- Also provide the required "Planned Start", "Planned End", "Actual Start" & "Actual End" for the tasks.
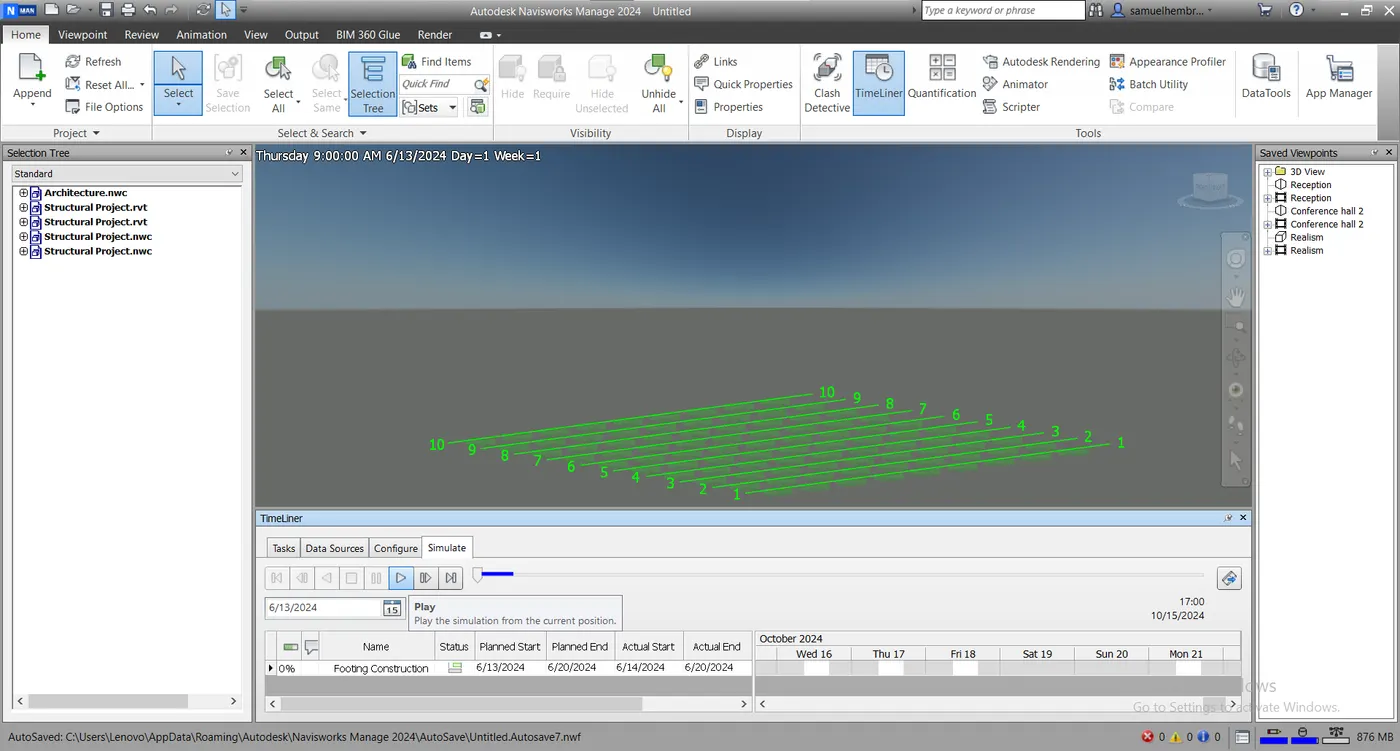
- In the "TimeLiner" tab select "Simulate" option and use play button for playing the work progress animation.
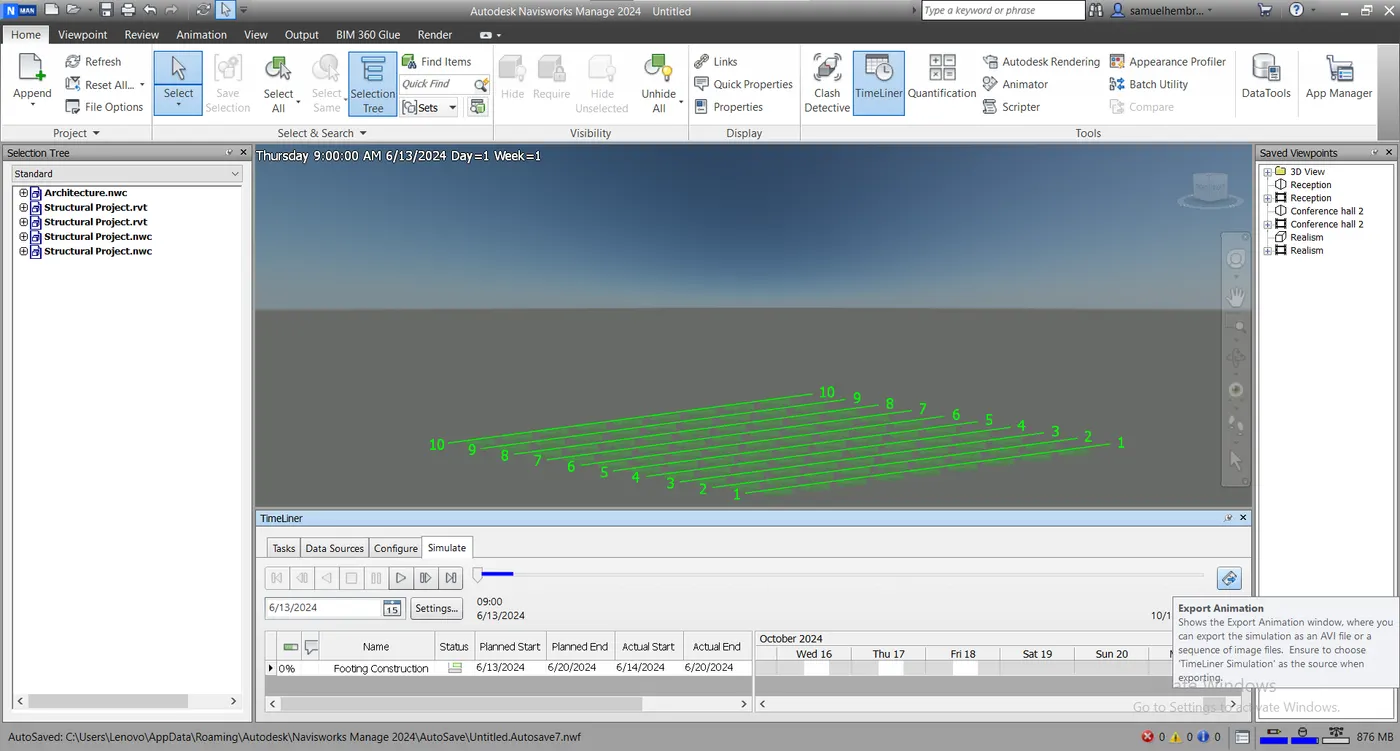
- Just next to the seeking bar "Export Animation" button is there.
- By clicking on that button we can use "Animation Export" tab for saving the animation in "Windows AVI" format, so that we can see the animation outside of the Navisworks.
Result:-
We have used timeliner feature in navisworks to prepare a schedule for the project developed in previous weeks and added some reasonable assumptions for the task like start date and end date and simulated the task complition as a visual simulation and saved the timeliner simulation to Navisworks file.