Usage of Navigation tool , Timeliner and Clash Detection test using Naviswork
1. Answer:
Aim: To export the Revit architecture and structure model developed in Week 6 to 8 to Navisworks Cache file by using the export setting.
Procedure:
Open Architectural file developed in Revit.
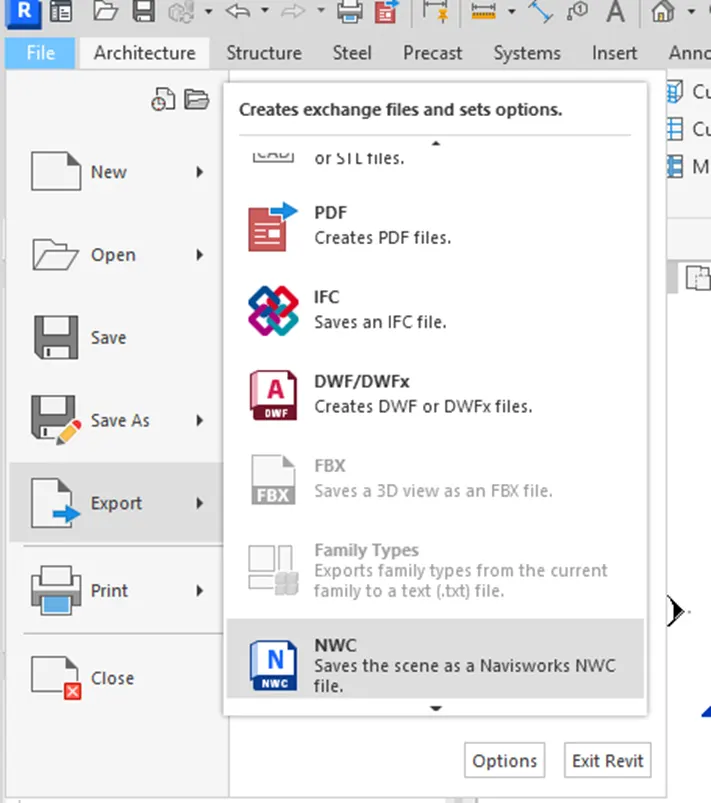
Click on file option and select Export option.
Now, choose NWC option.
Select destination folder, give file name and then click on save.
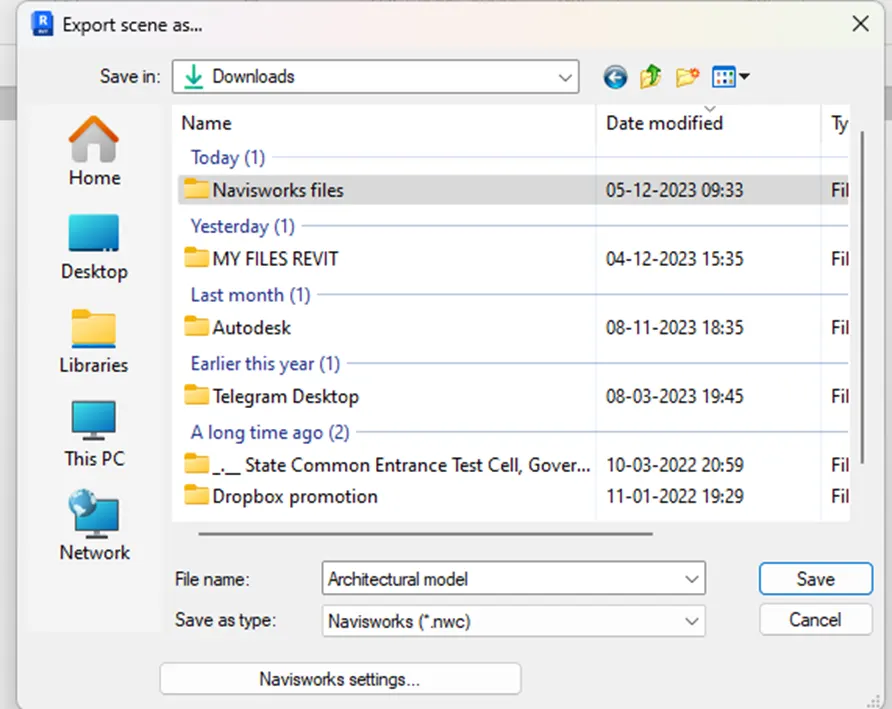
The Architectural file is exported into Navisworks.
Similarly open structural file and export it into Navisworks.
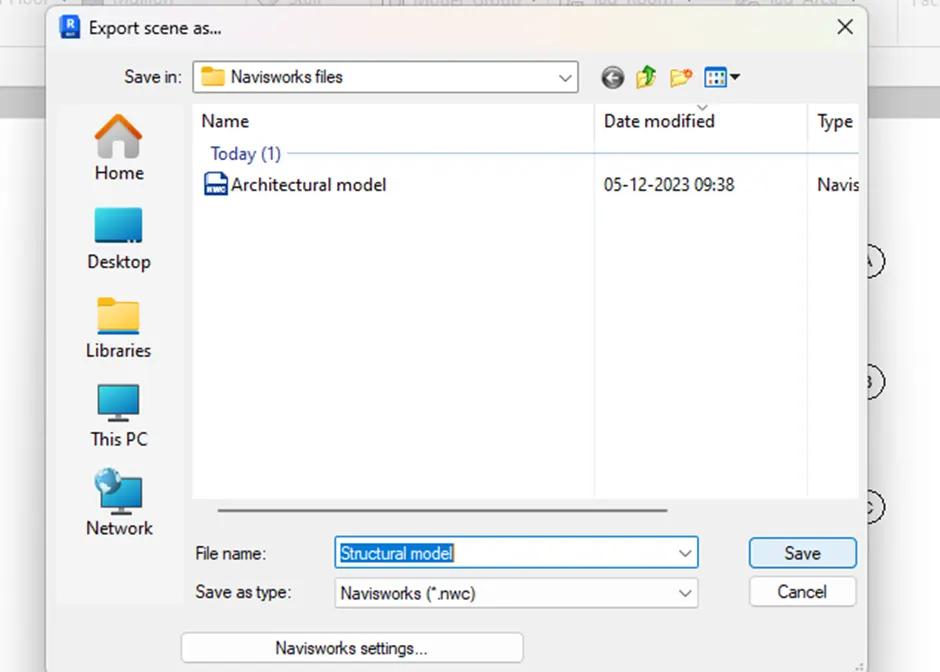
Now, the structural file is exported.
Result: The architectural and structural models are developed in week 6 to 8 are exported to Navisworks.
2. Answer:
Aim: Using Navigate tool to walk around the model and walk through the rooms created and recording the movement as animation in Navisworks file.
Procedure:
Open Navisworks software.
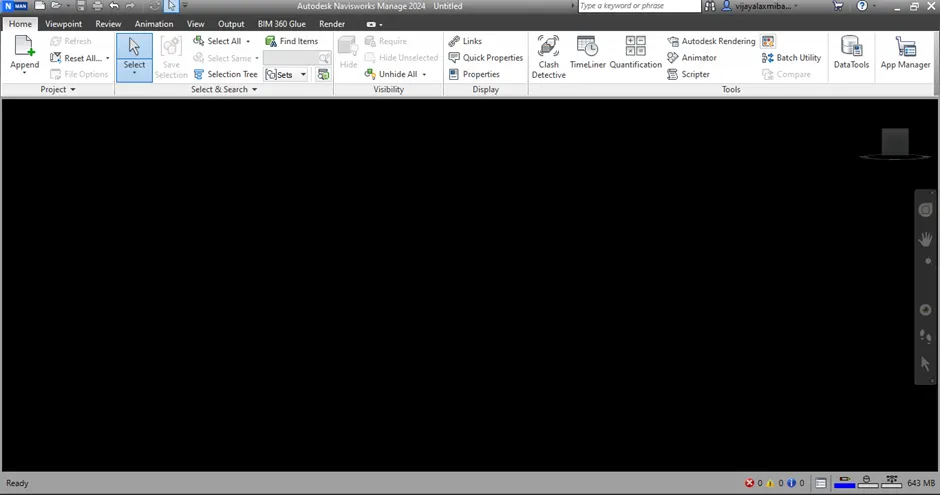
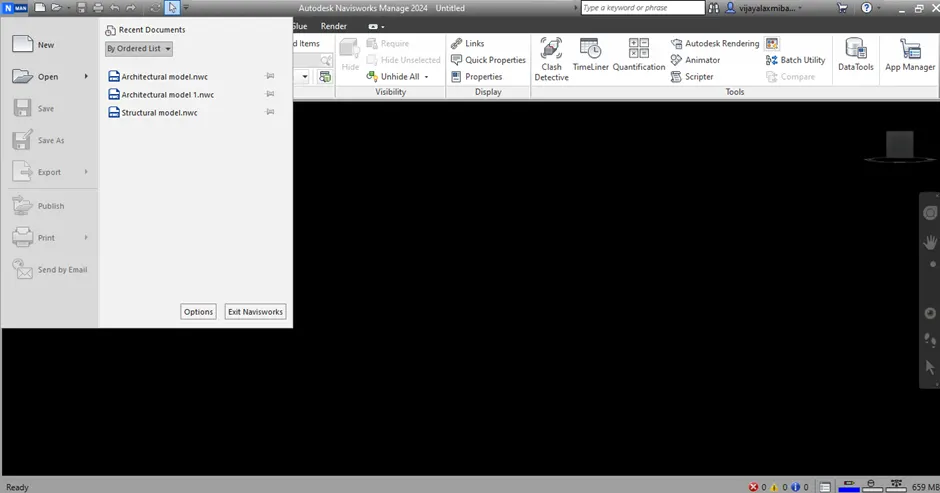
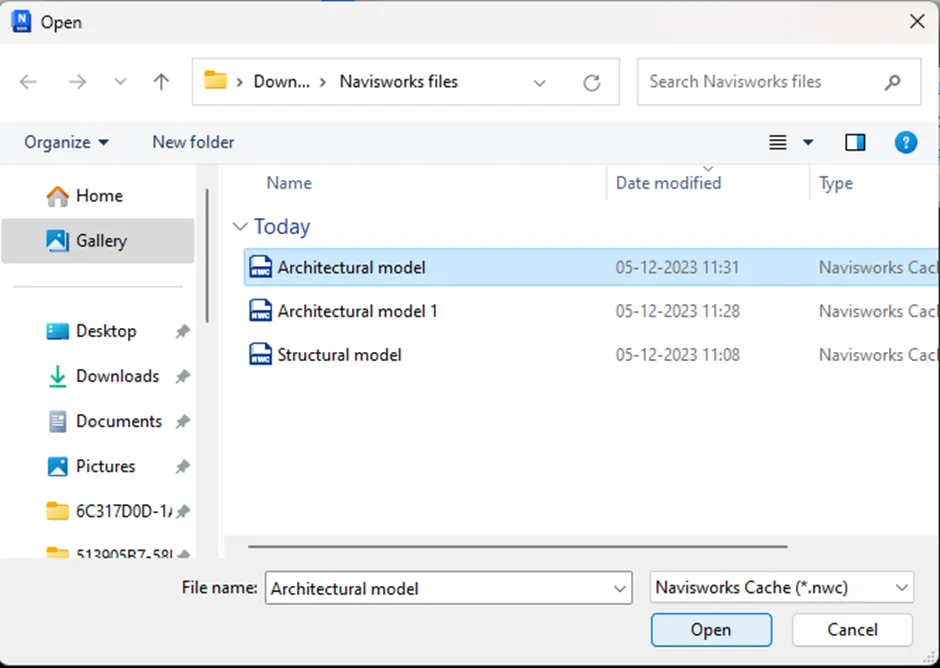
Click on Application button. Select Open option and then choose Architectural file.
Click on open.
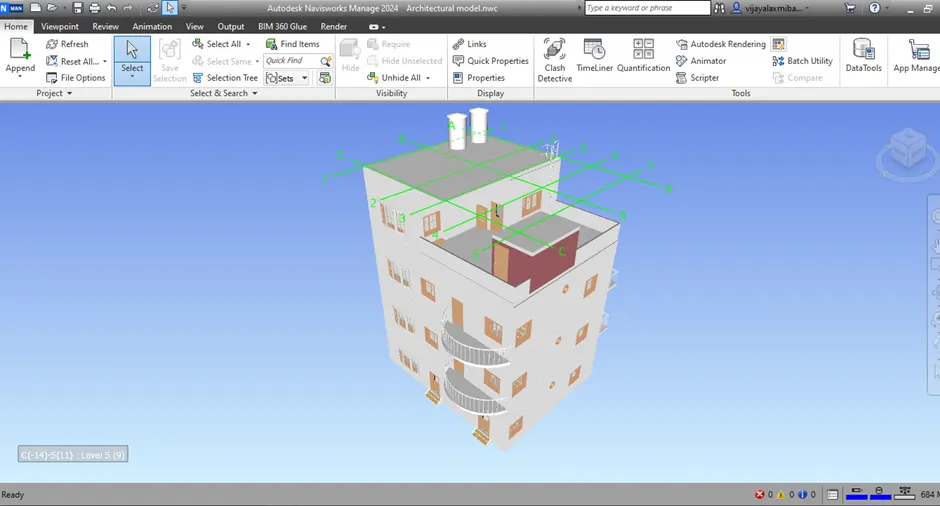
Walk around and walk through the model
Use the mouse and by scrolling it enter into the building.
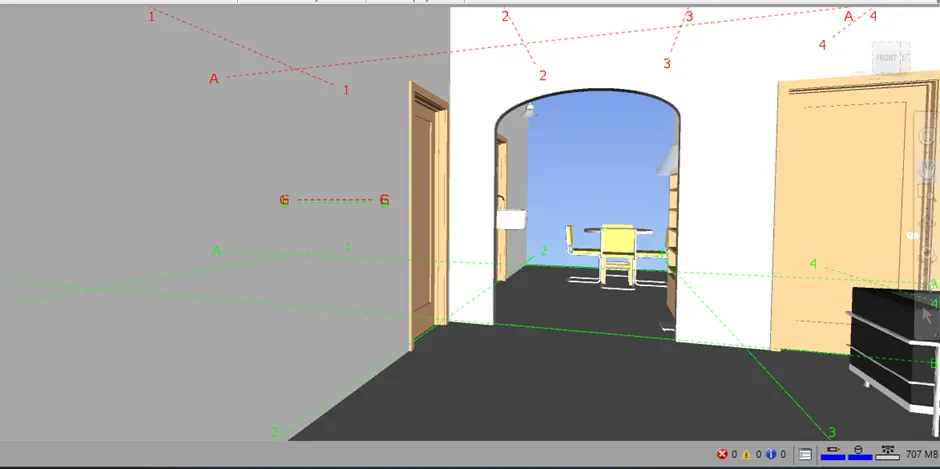
Go to viewpoint tab and select walk tool in Navigate Panel.
To record the walk click on save viewpoint option in the Save, Load and Playback panel. Now, rename the viewpoint.
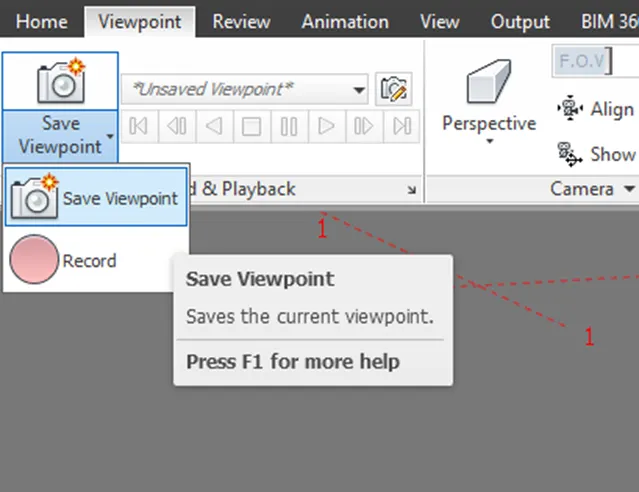
Now, dropdown the save viewpoint option, click on Record option.
By using mouse and arrow keys in keyboard move the cursor along walkway inside the model.
After finishing walkthrough, stop the recording and save the recording using tools in ribbon.

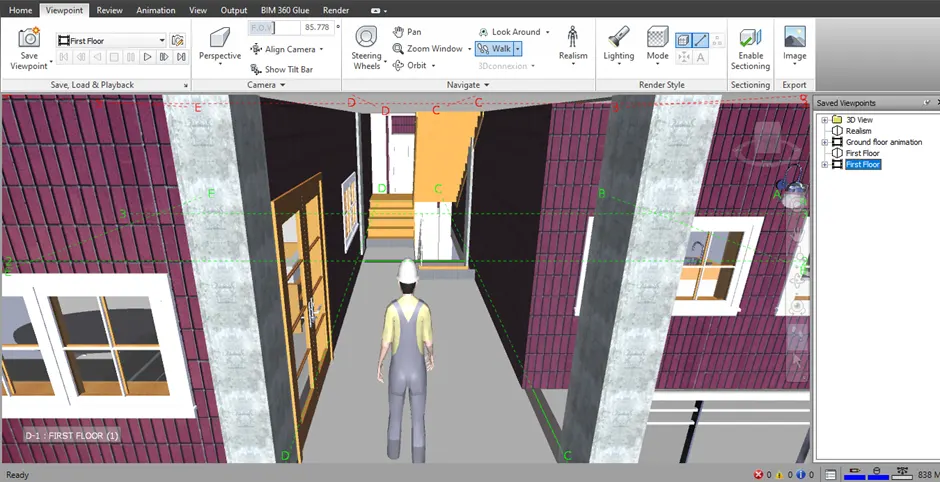
Similarly, create viewpoints at different places in the model and record the movement.
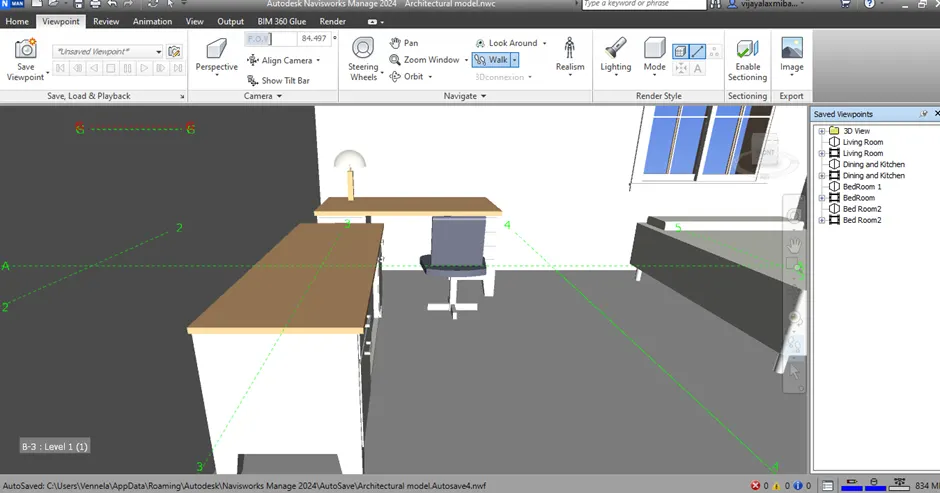
To watch the recording, go to animation tab and choose the saved recording and then click on play button in playback panel.
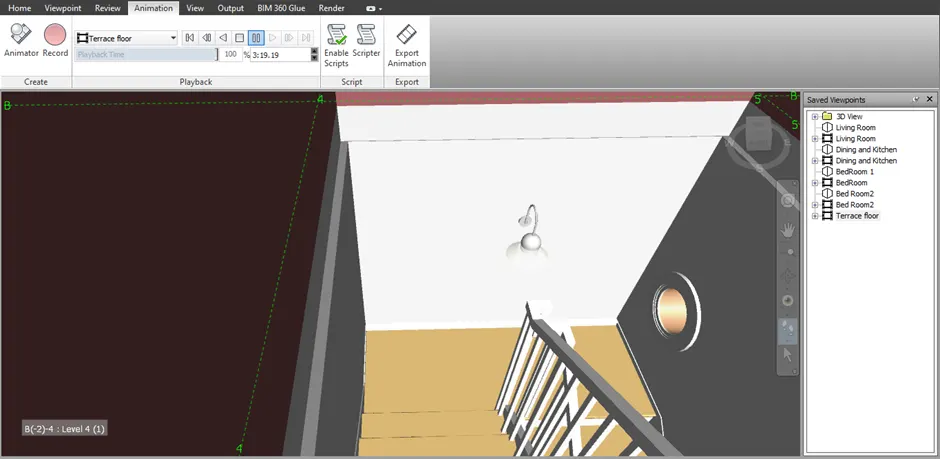
To export the video into the system, choose export option in animation tab.
Animation export dialog box appears.
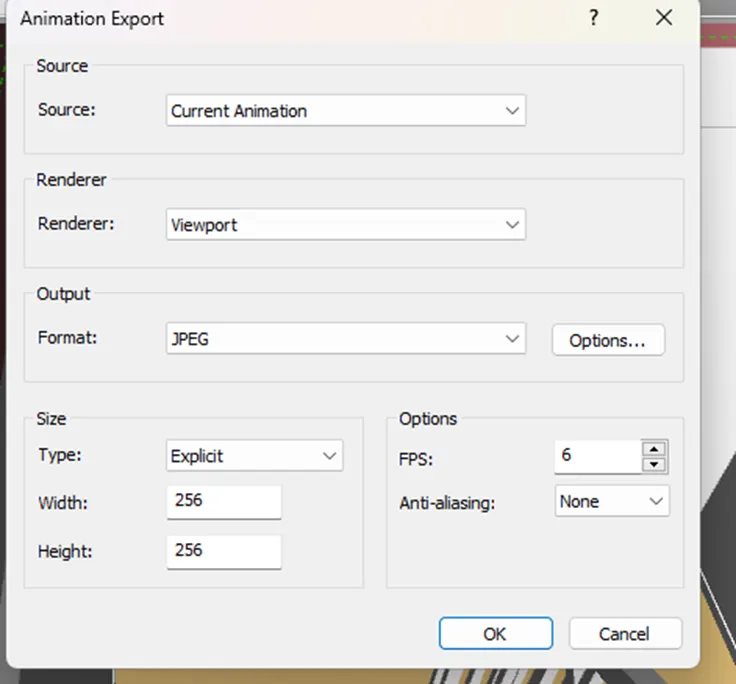
Choose source as current animation, format as window AVI, if needed change the size and width then click on OK. Save as dialog box appears, choose the destination folder and rename the file, then click on save option.
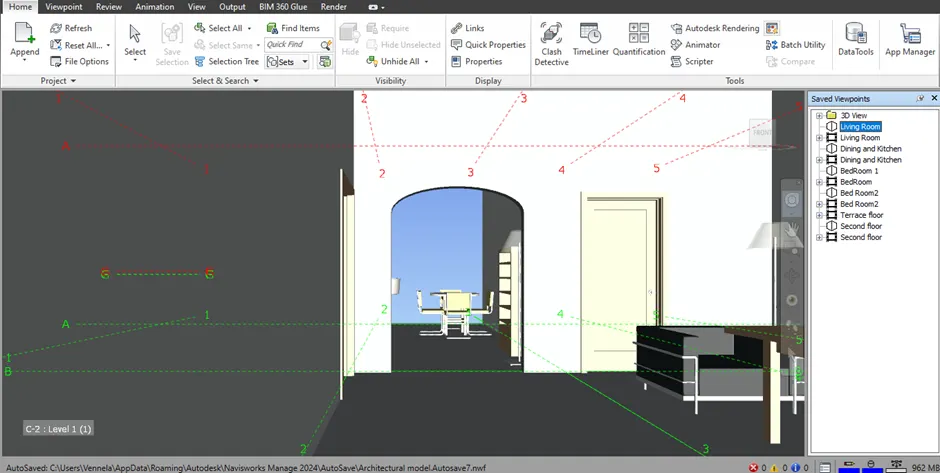
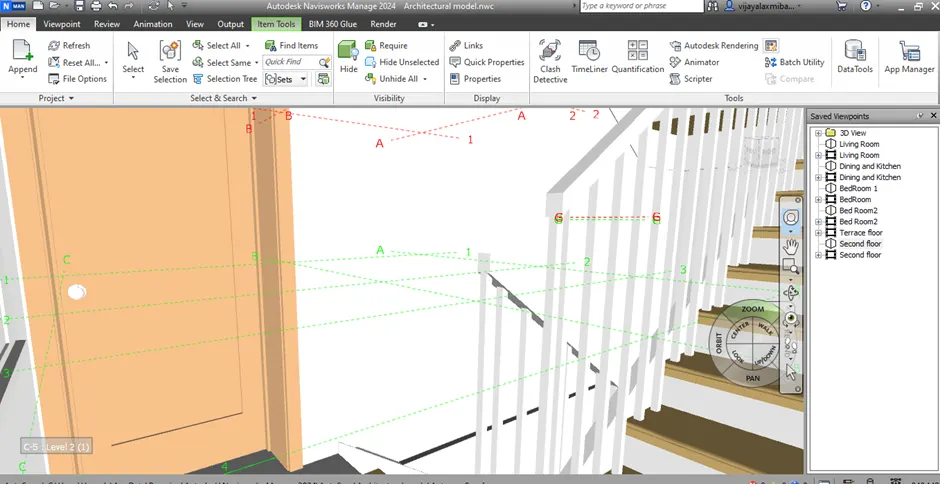
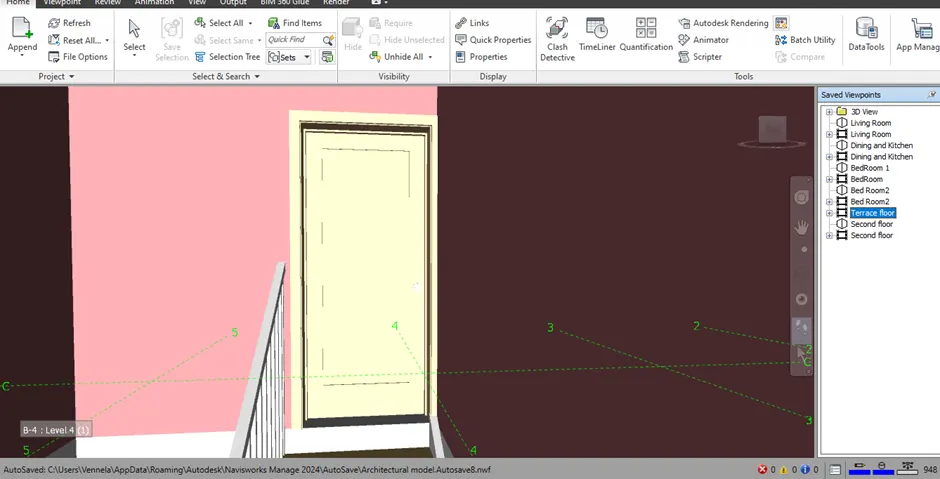
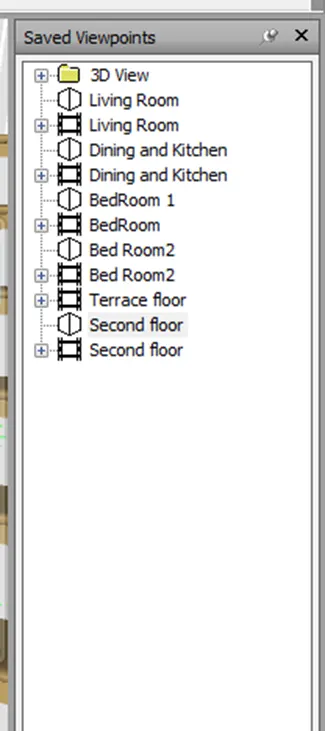
Result: Using Navigate tool viewpoints are saved and animation videos are recorded in the rooms of the model created.
3. Answer:
Aim: Using Navigate tool to use Realism feature to walk through the model and record moving as animation in Navisworks file.
Procedure:
Open Navisworks software.
Import an NWC file and open it in the file tab.
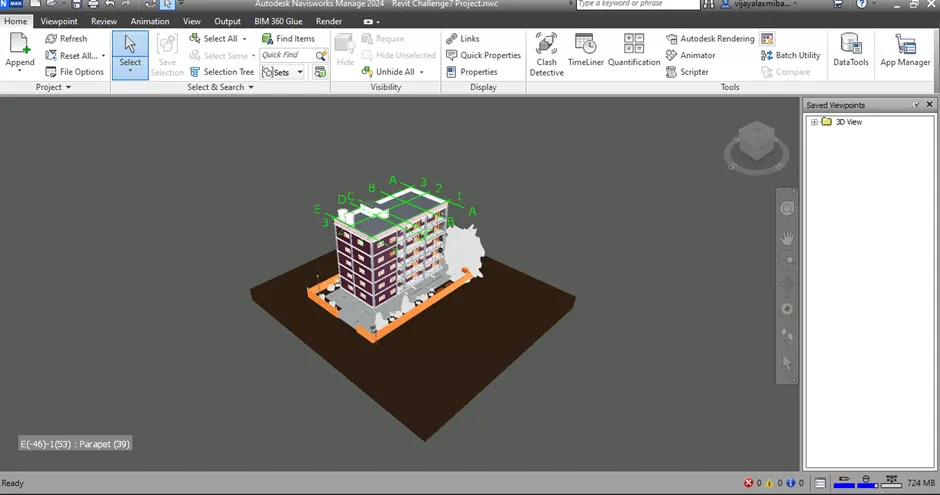
By scrolling the mouse enter into the building.
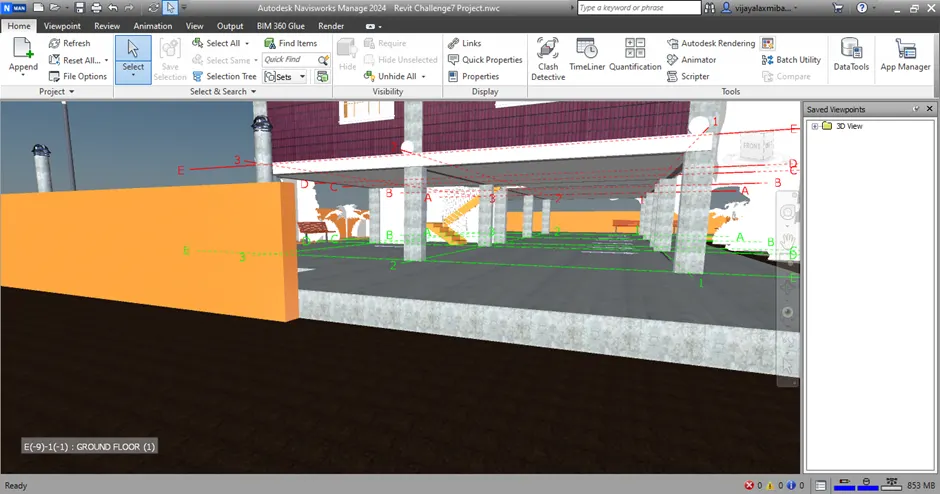
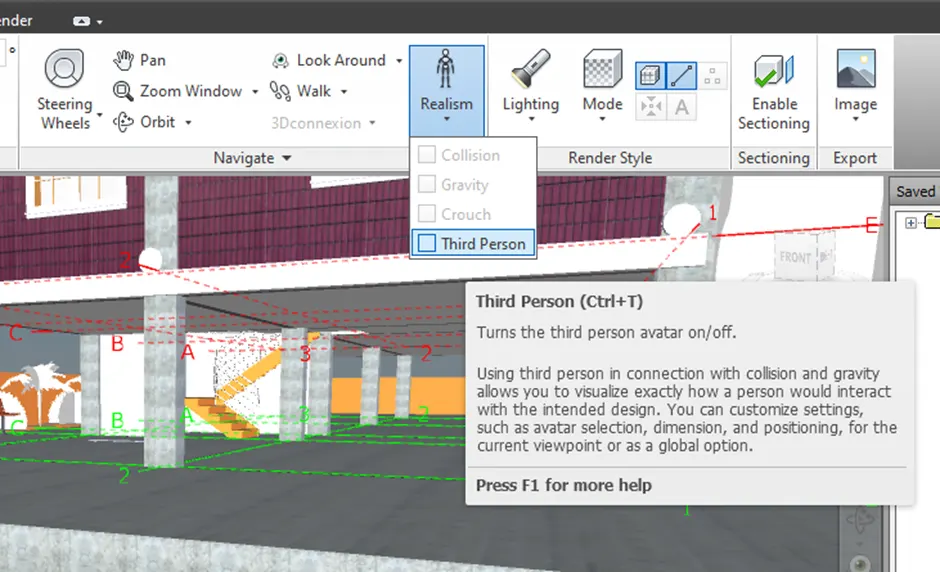
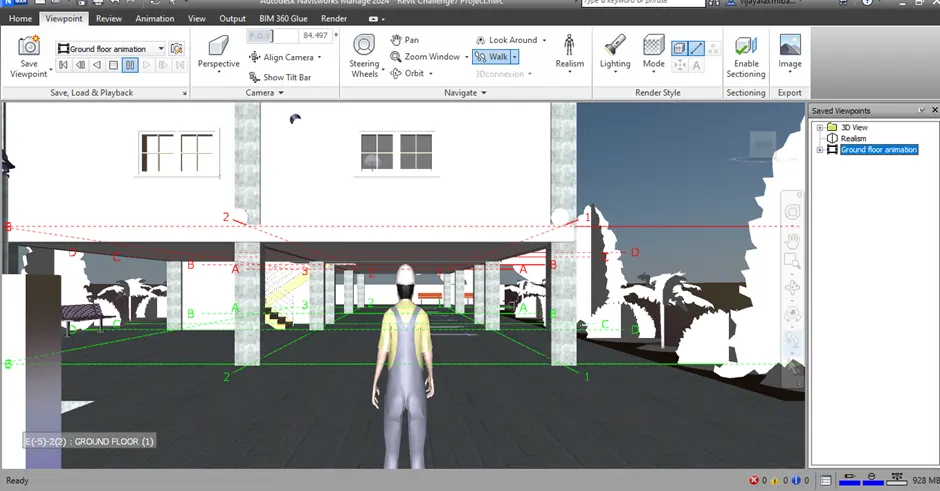
Go to viewpoint tab and choose Realism option from the Navigate Panel.

Dropdown the Realism option, choose third person option.
Now, a person will appear on the screen.
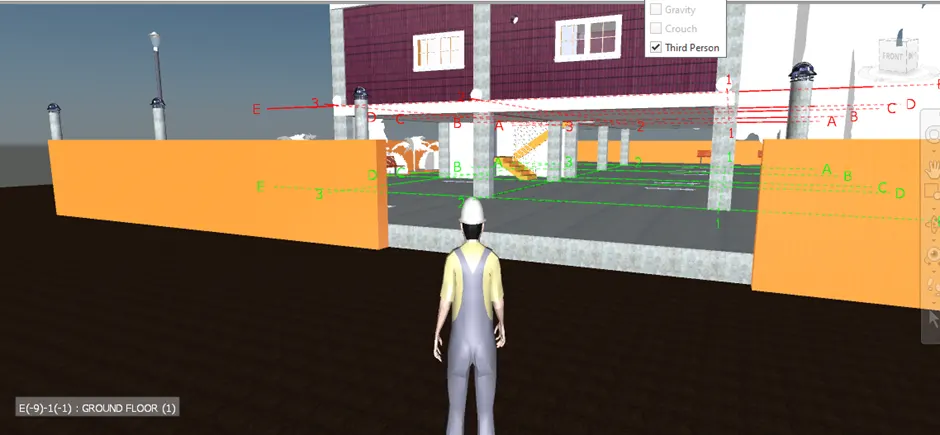
Use pan option in navigate panel to adjust the view.
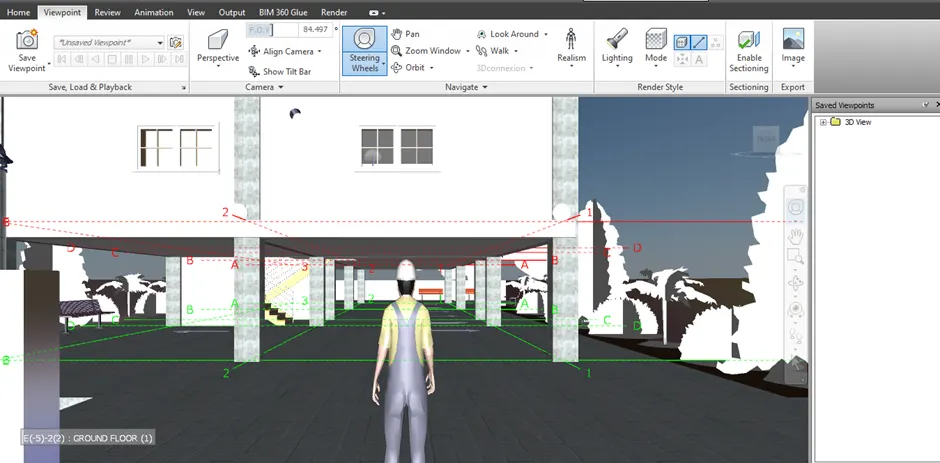
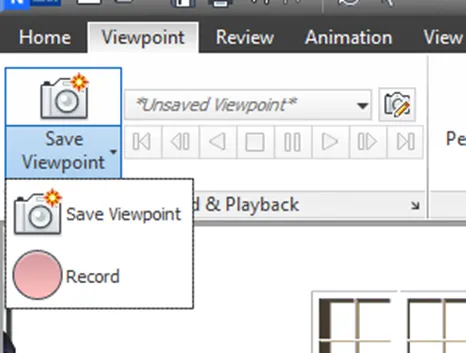
Now click on save viewpoint option in Save, Load and Playback panel.
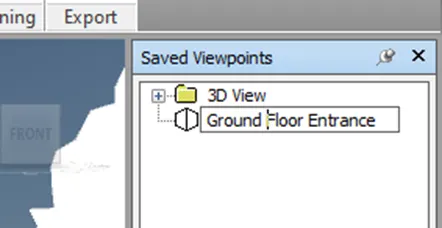
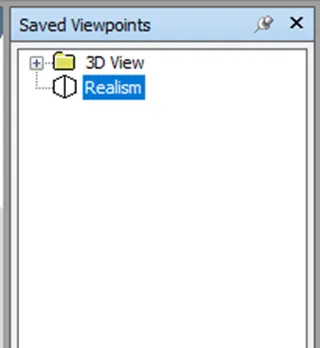
Rename the viewpoint as Realism.
Now click on walk option.
Dropdown the save viewpoint option, click on Record option.
Walk inside the rooms along a path by using arrow keys in the keyboard and by scrolling the mouse.
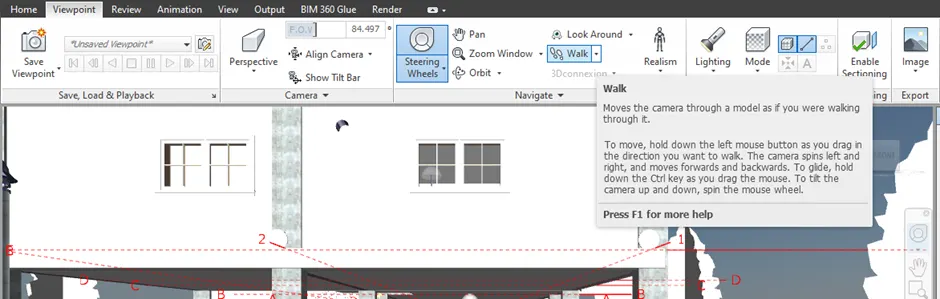
Stop the recording after covering the model and then save it.
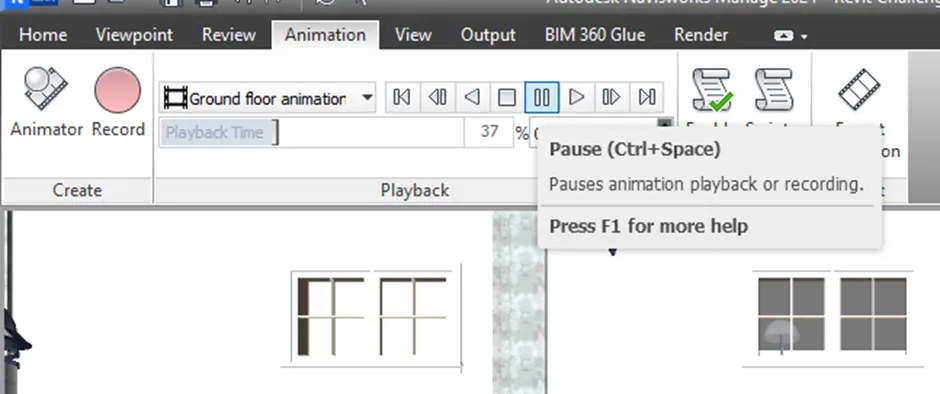
To view the recording go to animation tab and click on play button in the playback panel.
To export the animation video, go to export option in animation tab.
Animation export dialog box appears. Change the necessary options and click on ok.
Result: By using Navigate tool, Realism feature is used to walk through the model and record moving as animation in Navisworks file.
4. Answer:
Aim: To embed both architecture and structure.nwc file to Navisworks file and conduct clash detection test between the two models.
To do list:
Run the Clash Detection Test
Study the clashes between the two models
List which of the clashes could be approved
List which of the clashes could be neglected (will be taken care later)
List which of the clashes can be resolved
Save the results after color coding the clashes to the Navisworks file.
In case of resolution annotate the clash and save the view to defined views in Navisworks
Introduction:
Clash Detection: Interferences detection and management. It allows us to anticipate , prevent and resolve problems in the virtual model before construction begins, to reduce costs and minimize changes and delays.
Procedure:
Open Navisworks software.
Import the Architectural file into Navisworks.
Go to Home tab and select Append tool in Project panel.
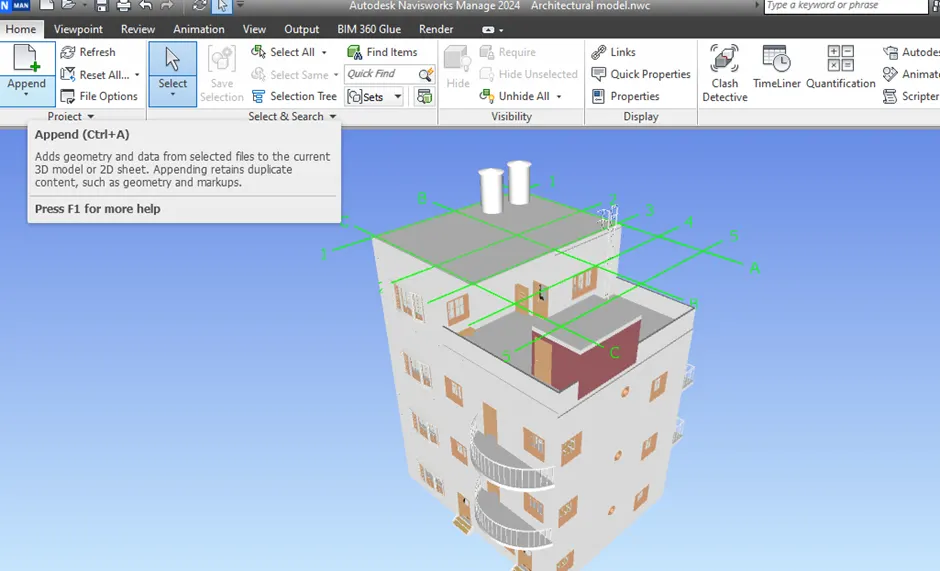
Now, choose structural model and click on open.
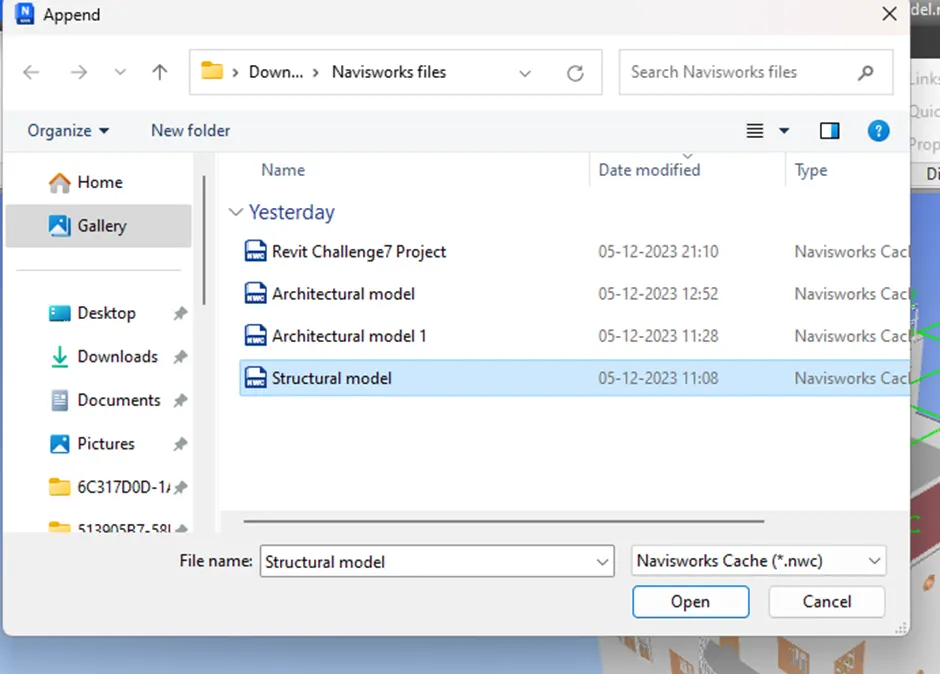
Both structural and architectural model are embedded in Navisworks file.
To conduct clash detective test, go to home tab and select clash detective option in Tools panel.
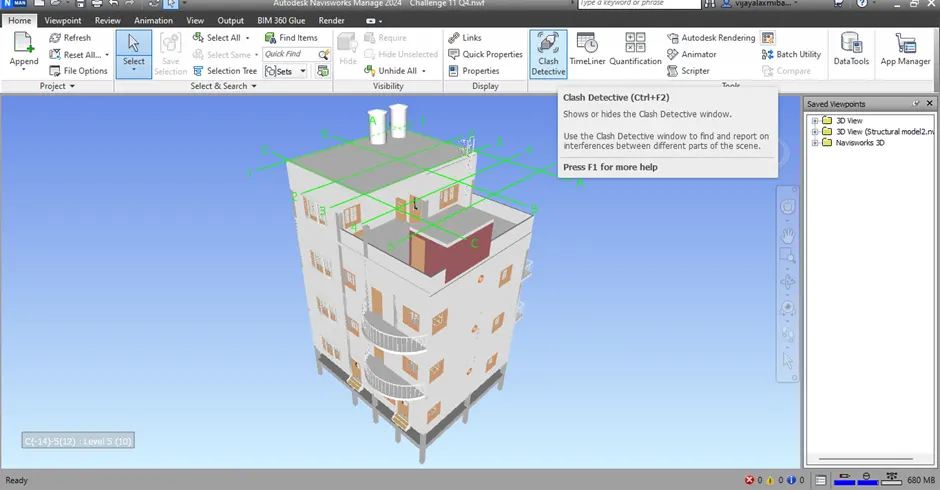
Clash detective window appears.
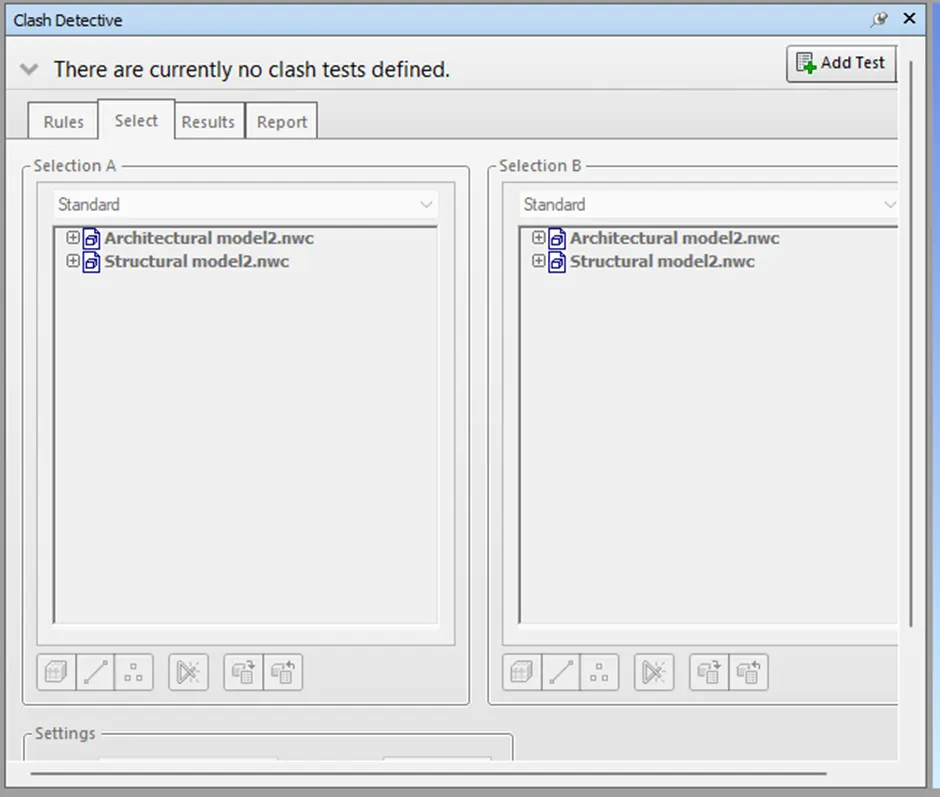
Click on Add Test option.
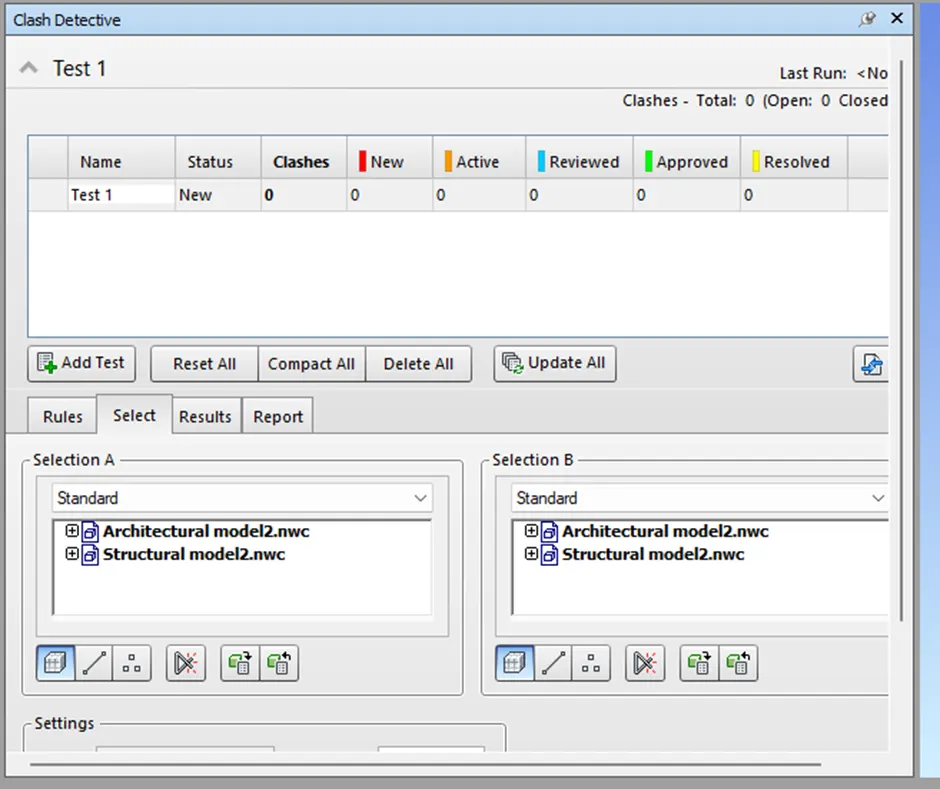
Add name to the test and then select the architectural model in Section A and structural model in Section B.
Click on Run Test option.
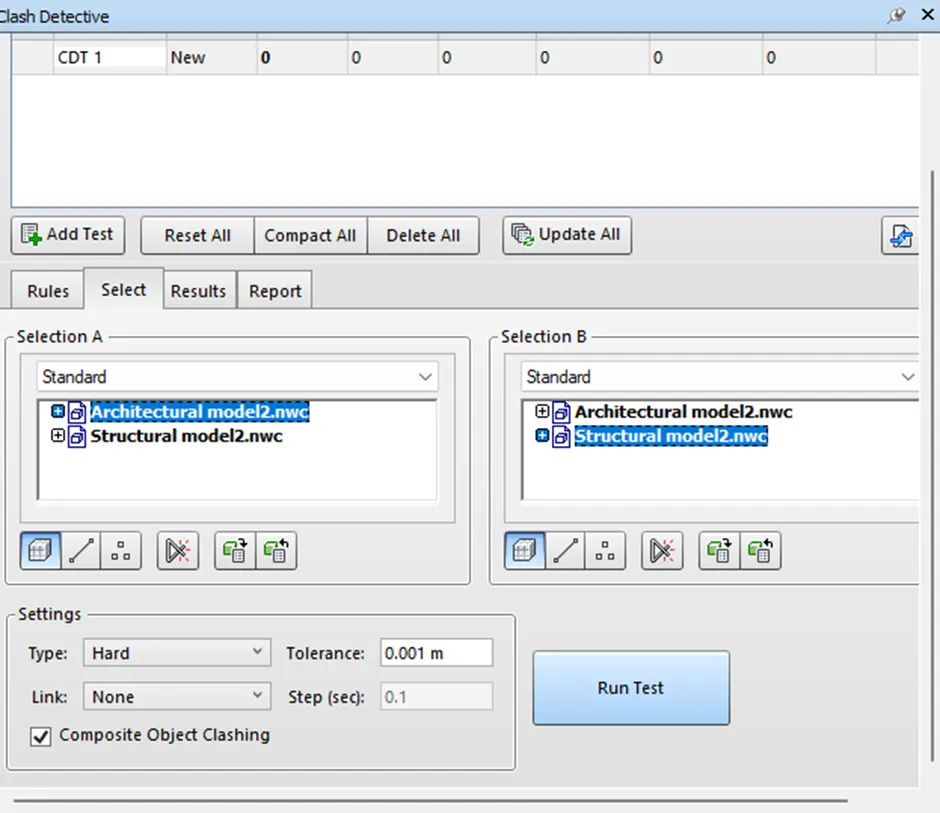
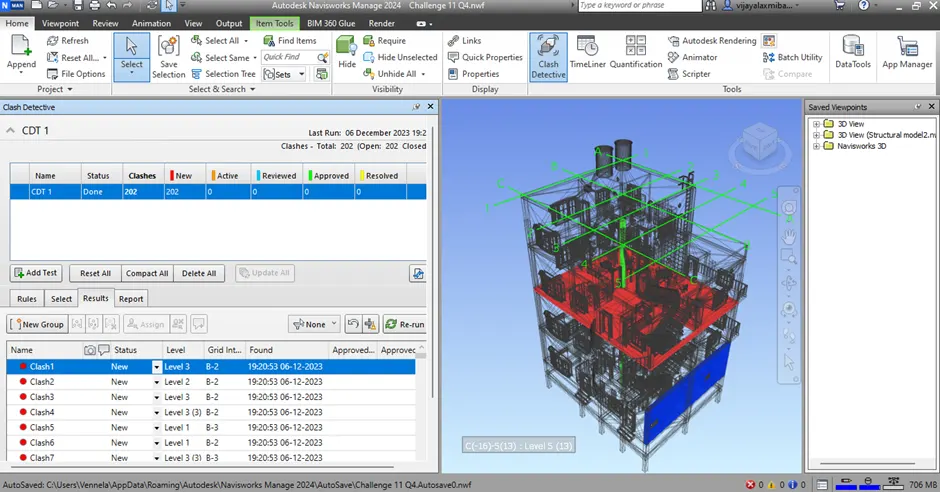
Clashes are detected.
Now review each clash and update the status of the clash.
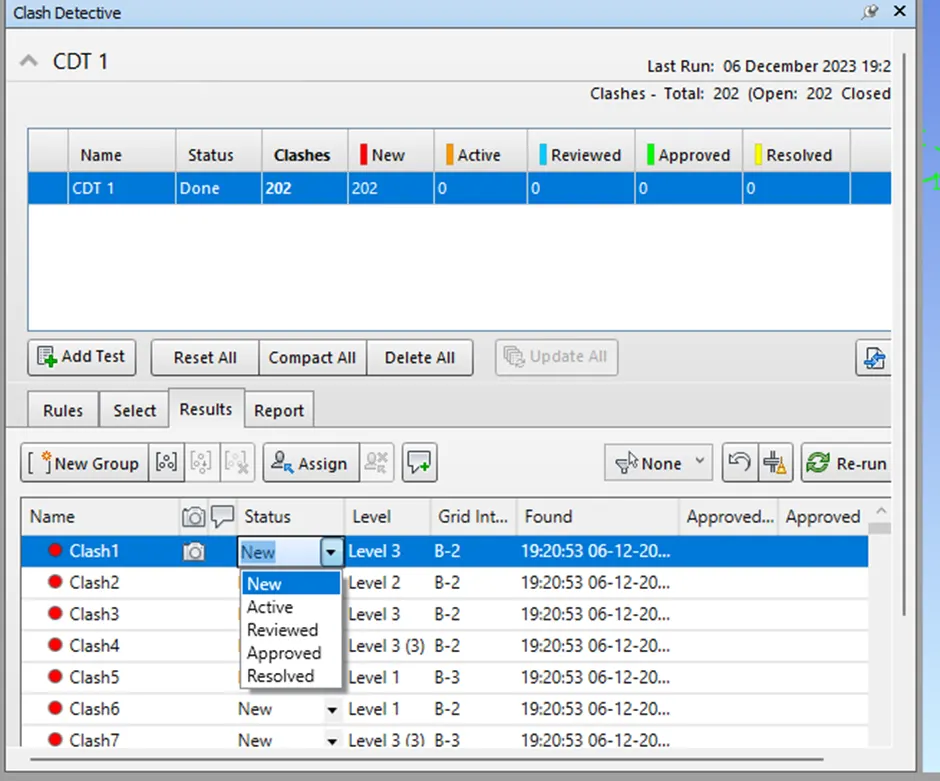
Solve the clashes at given level and at given grid intersection in Revit file.
Previously 202 clashes had found after clash detection test.
The clashes are now reduced to 17 by resolving each clash separately in Revit.
The status of clashes after resolving is:
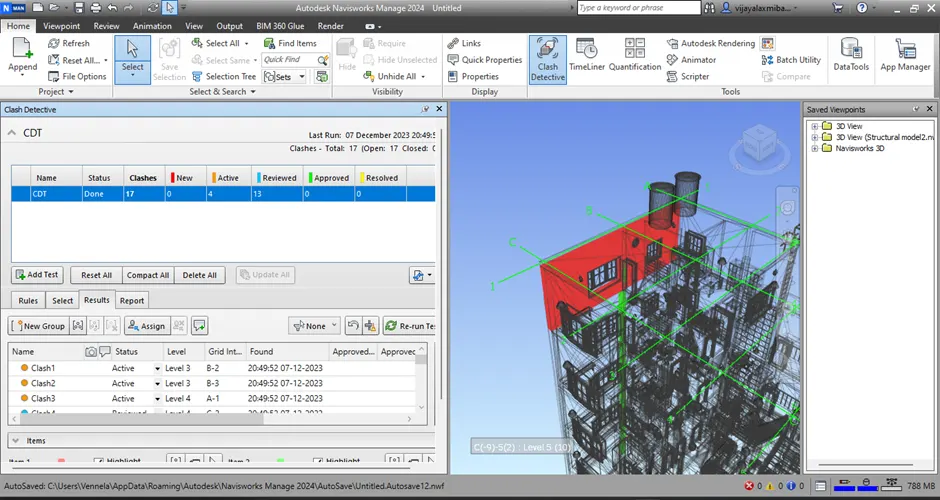
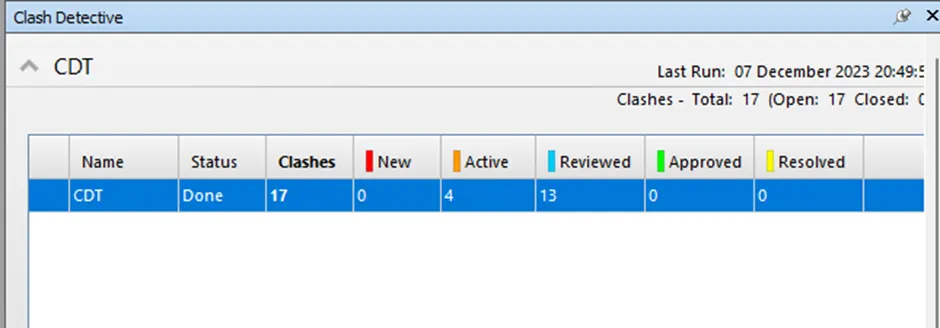
Result: Both architecture and structure.nwc files are imported and embedded in Navisworks file and clash detection test is conducted between the two models, results are obtained and verified.
5. Answer:
Aim: Using the Timeliner feature in Navisworks prepare a schedule for the project developed in week 6 to 8 by adding reasonable assumptions for task start date and end date and simulate the task completion as a visual simulation. Record it save the timeline simulation to Navisworks file.
Introduction:
The Timeliner tool enables us to link our model to an external construction schedule for visual time and cost based planning.
Timeliner imports schedules from a variety of sources. We can then connect tasks in the schedule with objects in the model to create a simulation. This allows us to see the effects of the schedule on the model, and compare planned dates against actual dates. Costs can also be assigned o tasks to track the cost of a project throughout its schedule. Timeliner also allows the export of images and animations based on the results of the simulation. Timeliner will automatically update the simulation if the model or schedule changes.
Procedure:
Open Navisworks software.
Import the project file of week 6 to 8 in Navisworks.
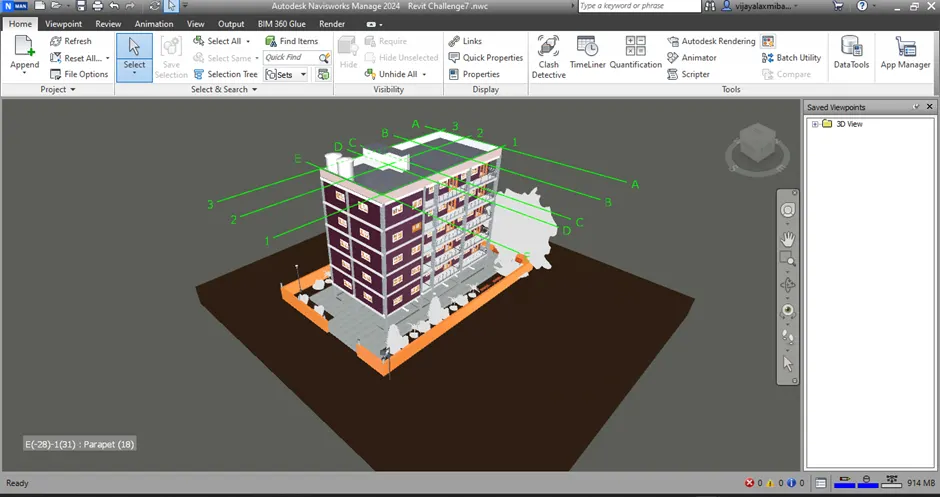
Go to home tab and select Timeliner tool.
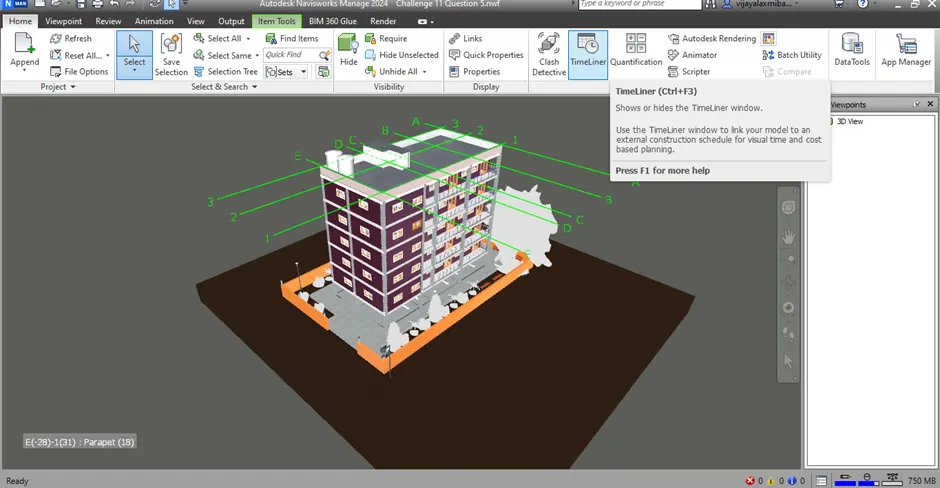
Timeliner dialog box appears.
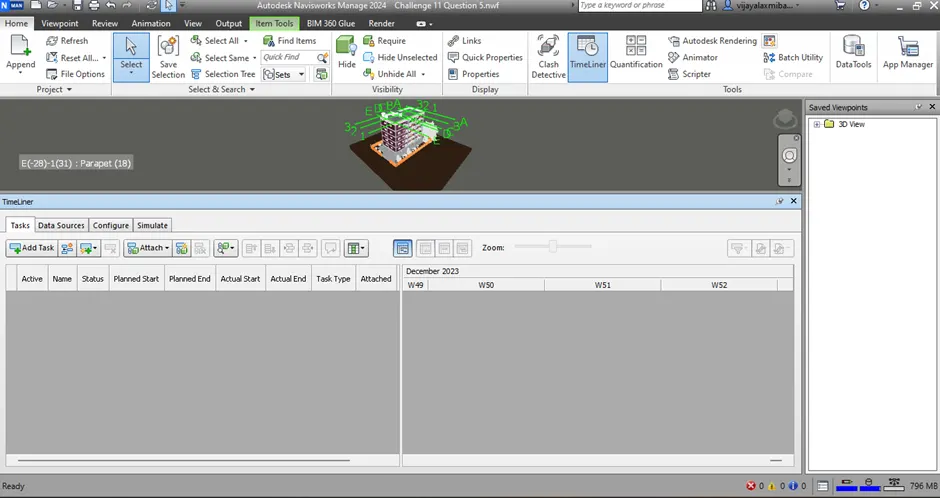
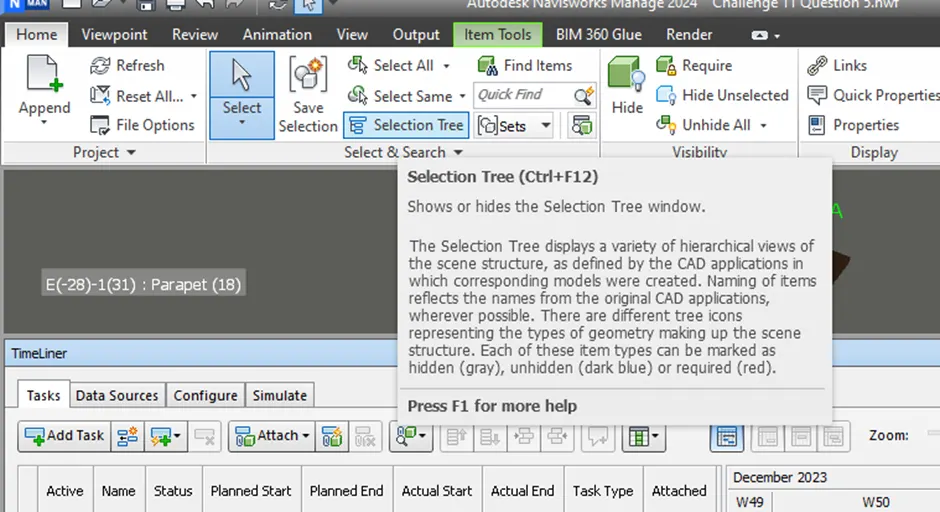
Choose selection tree in Home tab.
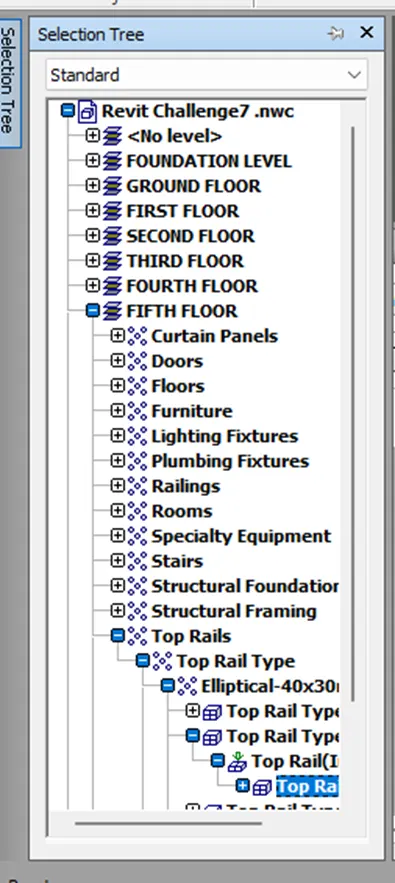
Selection tree: Level – Category – Family – Type – Instance - Solid
To add tasks in timeliner, click on add task in the tasks list.
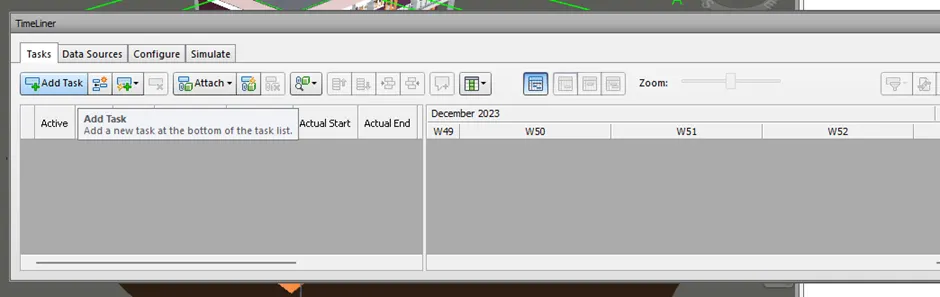
Add name to the task. Assign planned start and end date, give actual start and end date, and task type. Attach model geometry to the selected tasks from selection tree.
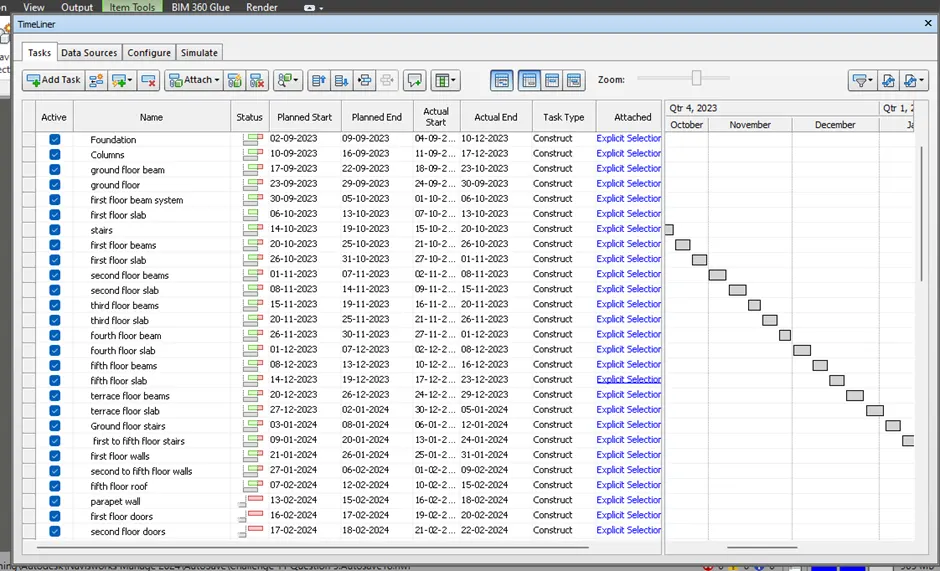
Set the simulation to show the actual dates with planned dates.
Go to simulate tab in timeliner dialog box.
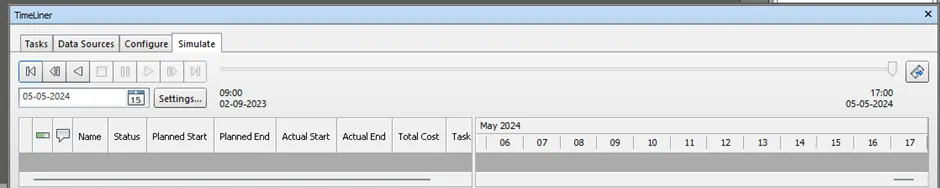
Click on play button to view the animation video.
To export the video use export animation tool.
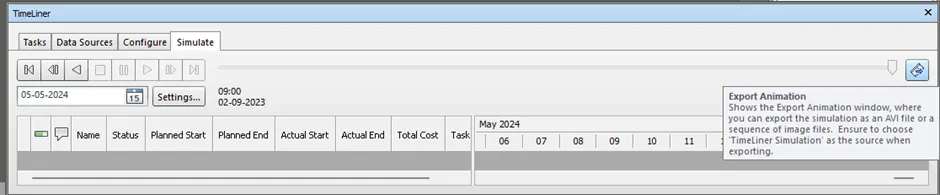
Result: Using the Timeliner feature in Navisworks a schedule for the project developed in week 6 to 8 is prepared by adding reasonable assumptions for task start date and end date and simulate the task completion as a visual simulation. The timeline simulation is recorded and saved to Navisworks file.
With the Timeliner tool we can review and coordinate the construction process, associating with planning data from other softwares or creating our own inside Navisworks. We can preview an animation to check the construction progress.