Usage of Navigation tool , Timeliner and Clash Detection test using Naviswork
1) Use the Architecture/ Structure Project file developed by you in Week 6 to 8. Export the Revit architecture and structure model to Navisworks Cache file following the export settings discussed in class
aim:
Use the Architecture/ Structure Project file developed by you in Week 6 to 8. Export the Revit architecture and structure model to Navisworks Cache file following the export settings discussed in class
procedure:
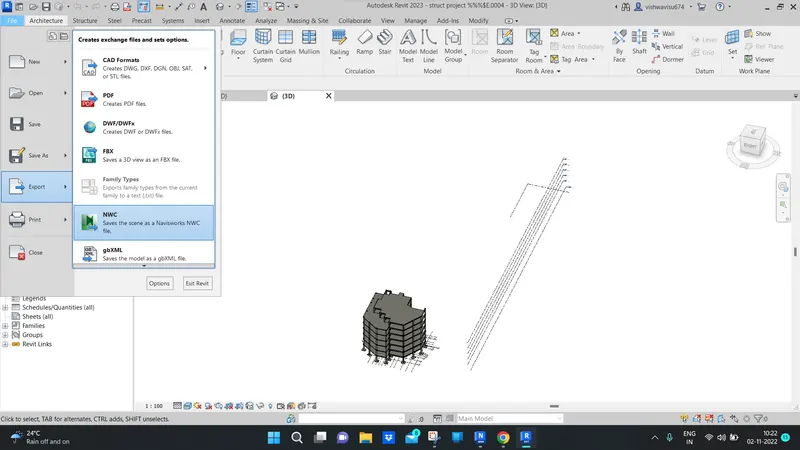
first i open the revit file which i had finish it in before week 6 to 8 so next i would export that through nwc export
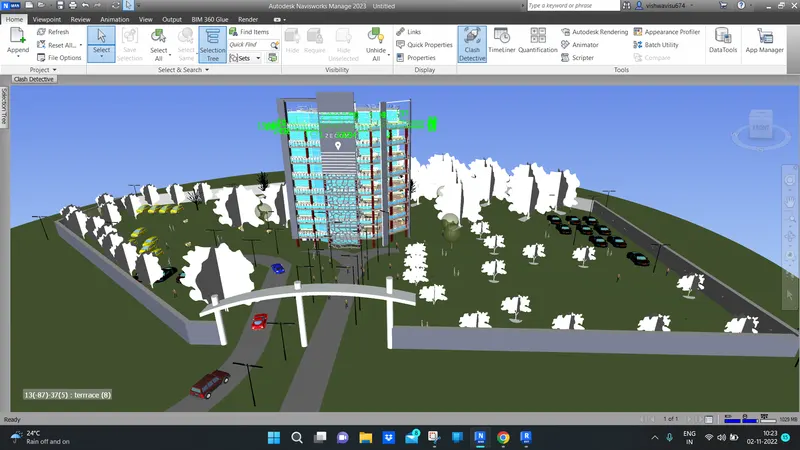
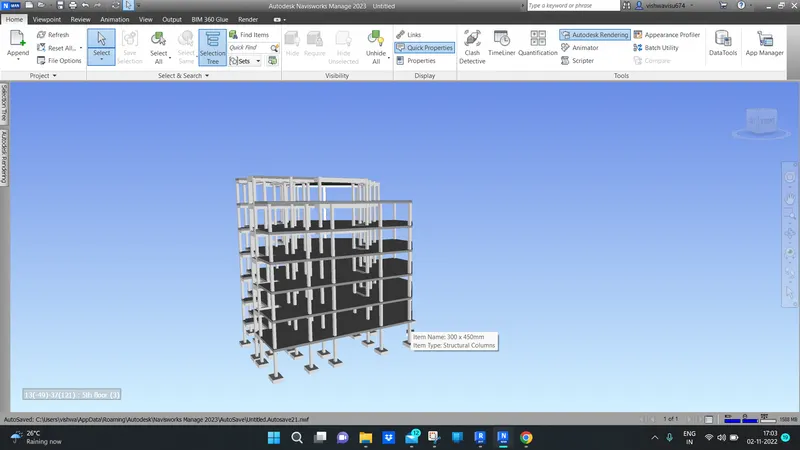
to export then we have to go naviswork and click append to insert the nwc file what we want it will get replicant in the naviswork interface ..
result:
nwc export:
archi model naviswork
structure model naviswork
2) Use Navigate Tool to walk around the model and walk through the rooms created and record your moving as animation in your Navisworks file
aim:
Use Navigate Tool to walk around the model and walk through the rooms created and record your moving as animation in your Navisworks file
procedure:
open the view tab it will have the navigation tool under it has walk , fly realism opt is there her as per question we need to do the walk option before do the walk we need to record the footage ..
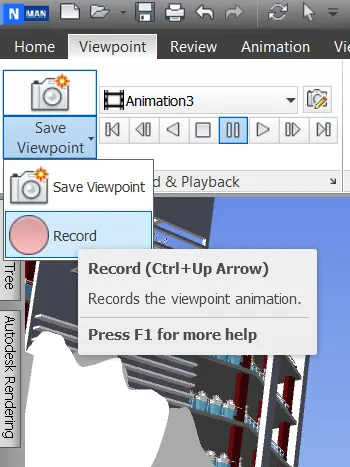
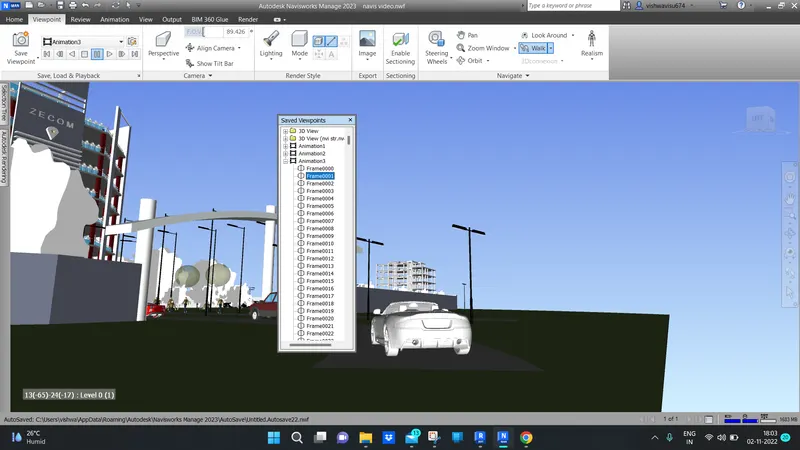
we need to move the mouse cursor to our desired angle to get the animation moving video...
the
result:
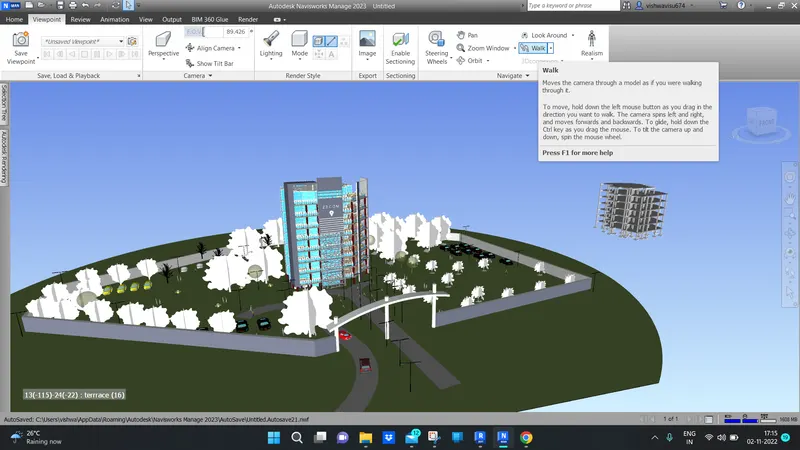
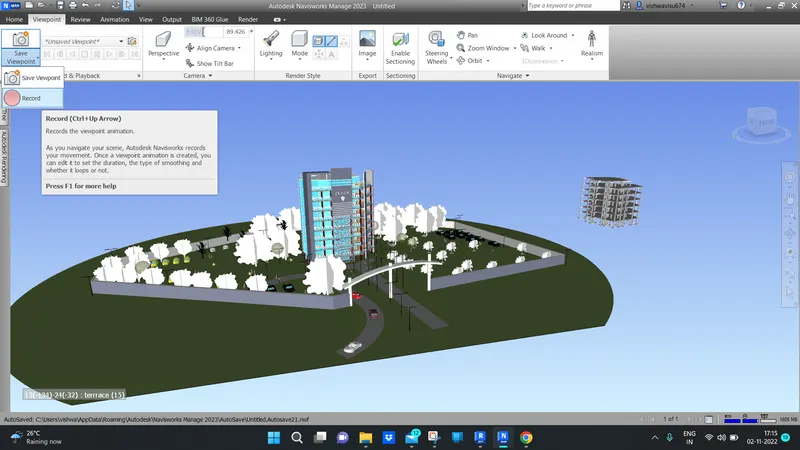
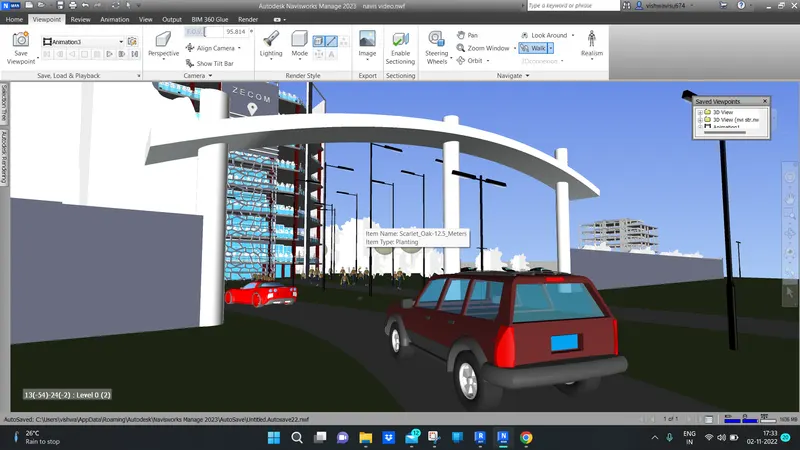
interface for the office :
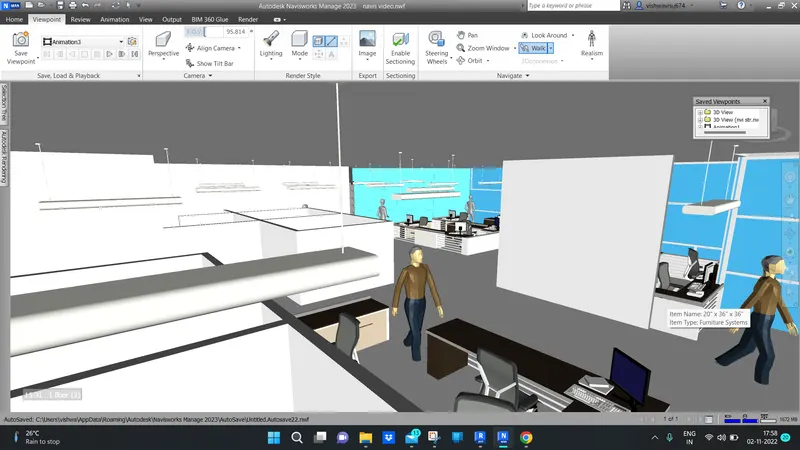
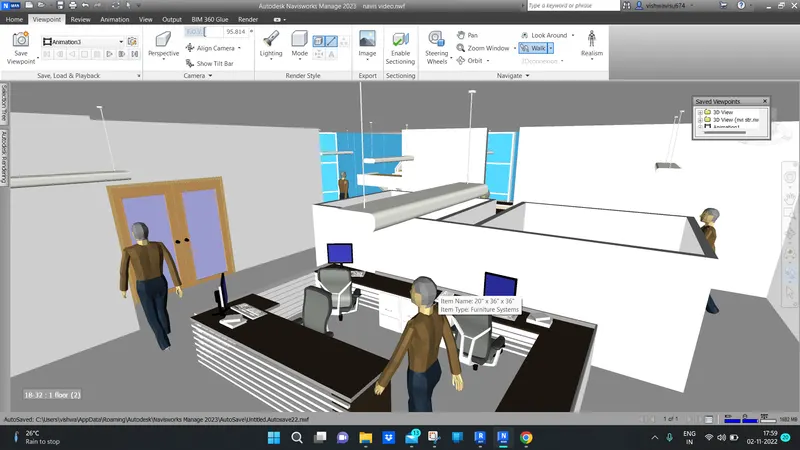
cabin
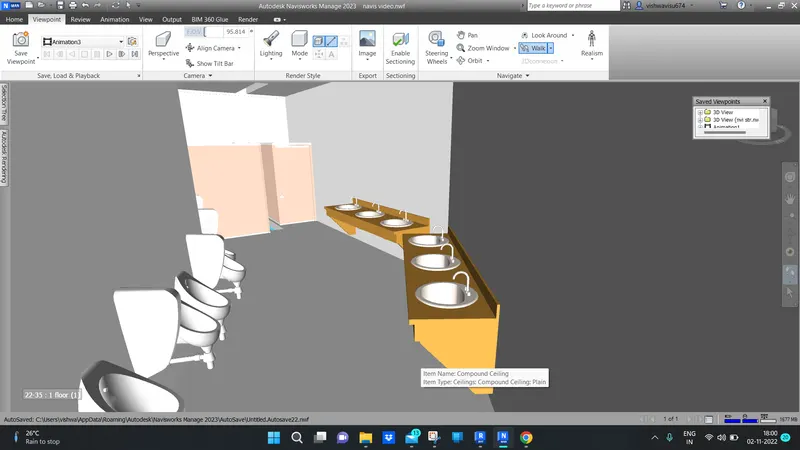
bathroom for office building
3) Use Navigate tool to use Realism feature to walk through the model and record your moving as animation in Navisworks file
aim:
Use Navigate tool to use Realism feature to walk through the model and record your moving as animation in Navisworks file
procedure:
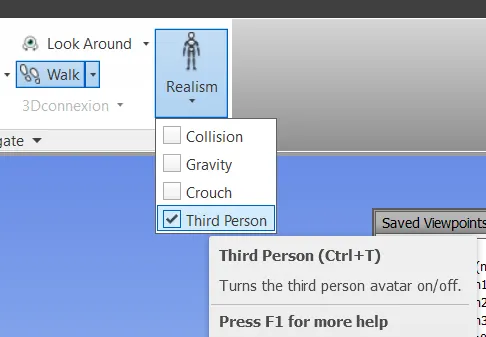
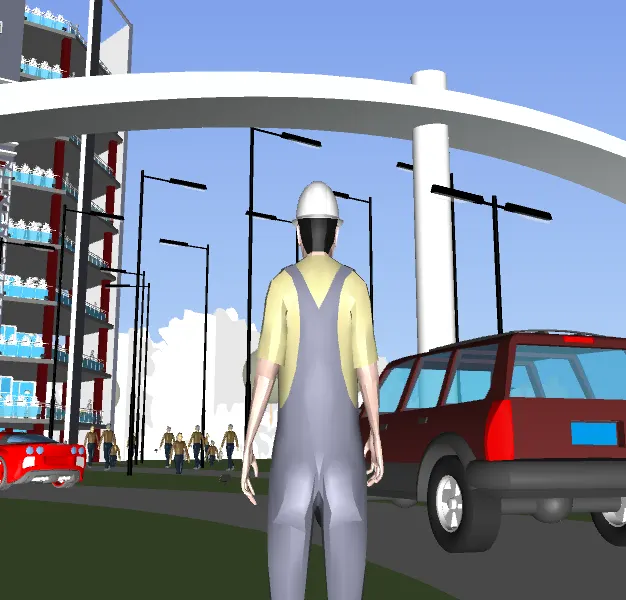
first the same what we did in the before question the same will be do in this quest which is navigation tool here we just click the realism if we did this realism the animated man model will get replicant in the naviswiork interface
next in order to walk through the model so we would move the cursor to walk throught the building as our desire..
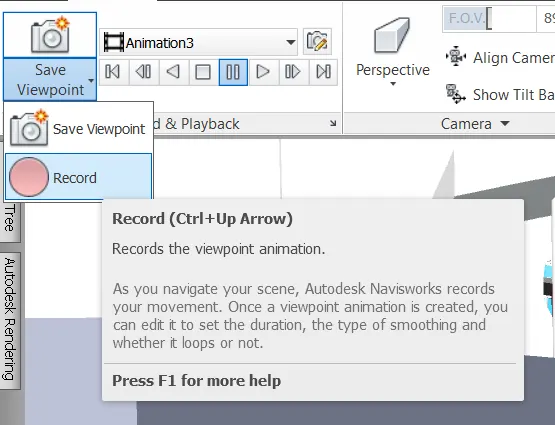
and mainly once we go to walk around the building before we need to press the record opt to record that ..
result:
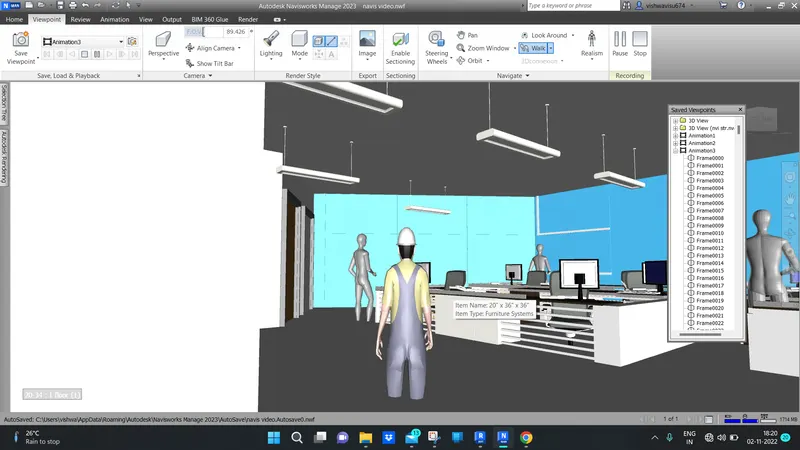
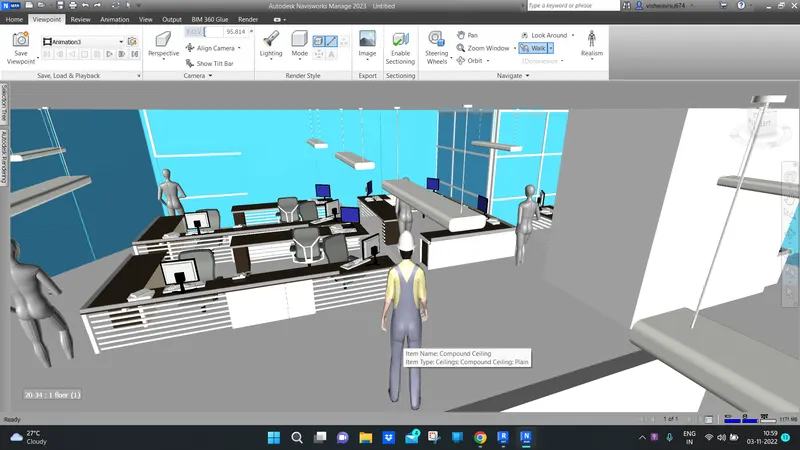
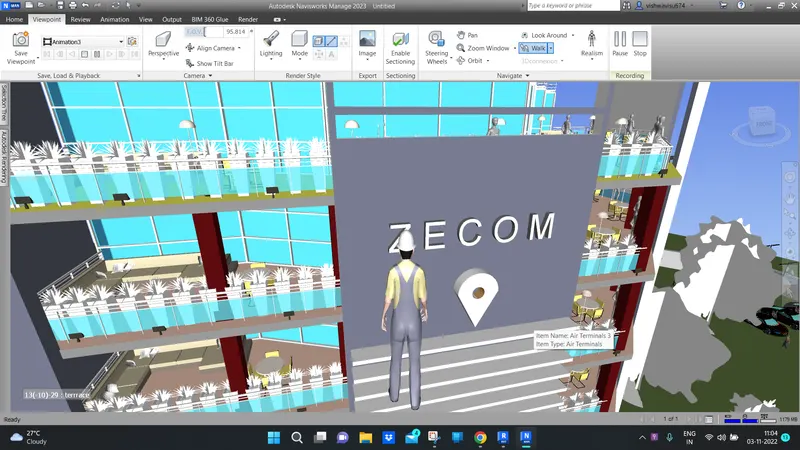
animation vid for the realism
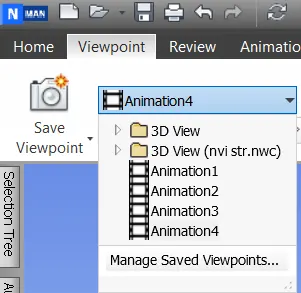
4) Embed both architecture and structure *.nwc file to your Navisworks file. Create a clash detection test between the two models
a. Run the Clash Detection Test
b. Study the clashes between the two models
c. List which of the clashes could be approved
d. List which of the clashes could be neglected ( will be taken care later)
e. List which of the clashes can be resolved
f. Save the results after color coding the clashes to the Navisworks file
g. In case of resolution annotate the clash and save the view to defined views in Navisworks
aim:
Embed both architecture and structure *.nwc file to your Navisworks file. Create a clash detection test between the two models
a. Run the Clash Detection Test
b. Study the clashes between the two models
c. List which of the clashes could be approved
d. List which of the clashes could be neglected ( will be taken care later)
e. List which of the clashes can be resolved
f. Save the results after color coding the clashes to the Navisworks file
g. In case of resolution annotate the clash and save the view to defined views in Navisworks
procedure:
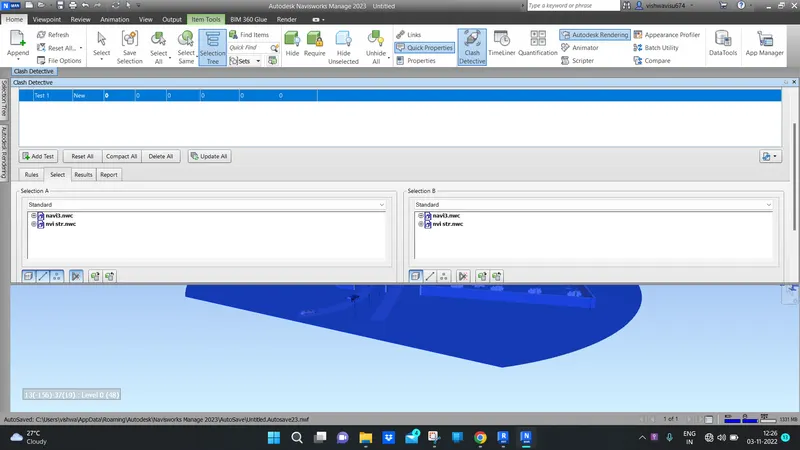
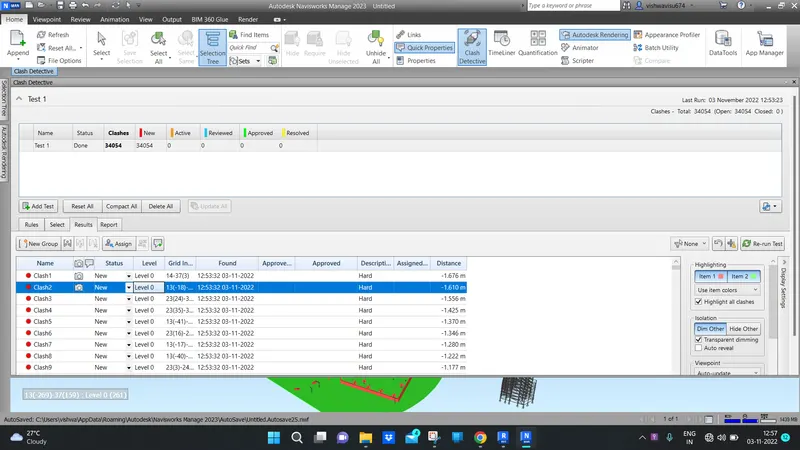
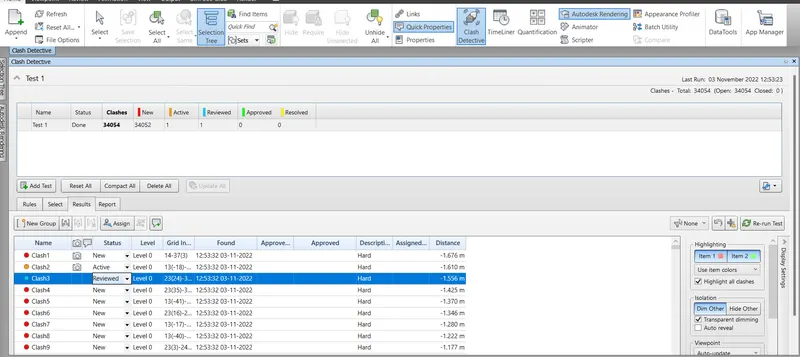
inorder to the identify clash we would use clash detection to obtain the various clashes among the arch and str model ....
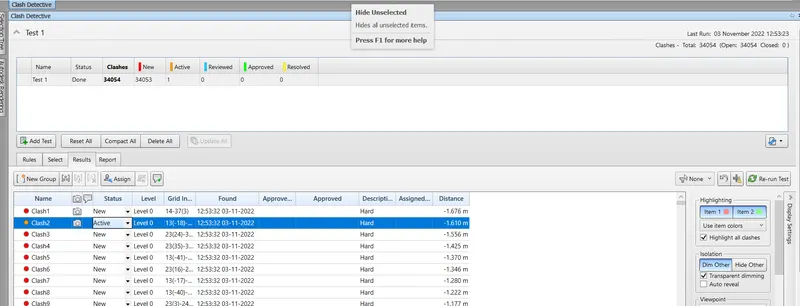
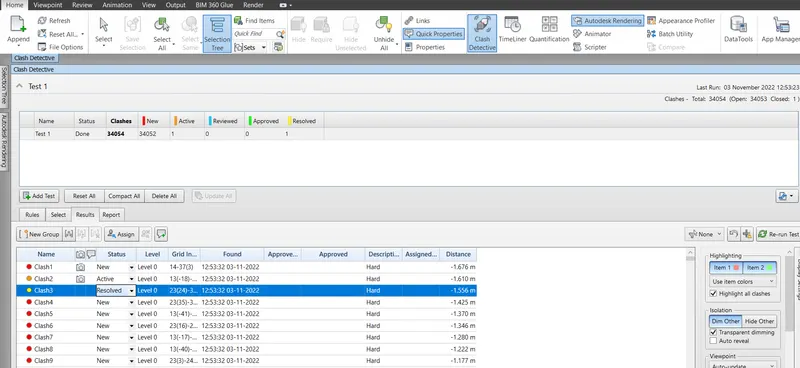
in clash detection we can find the clashes and found the clashes between the elemnents
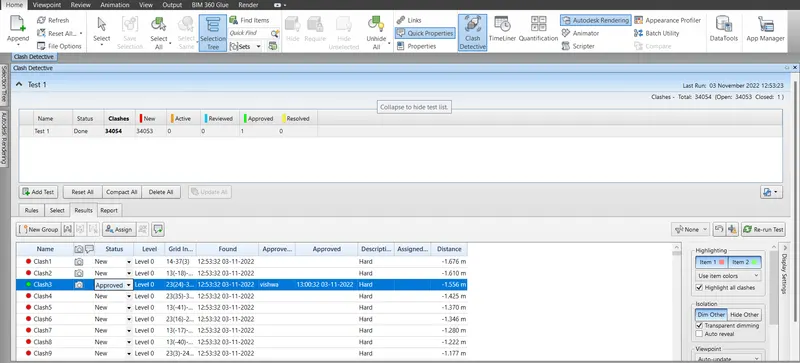
if we once get resolved we want to put reviews it will get heplpful for us
result:
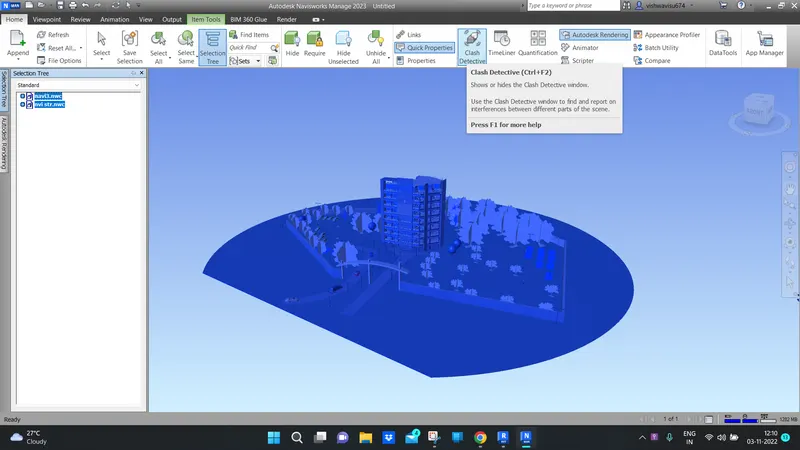
b. Study the clashes between the two models
5) Using the Timeliner feature in Navisworks prepare a schedule for the project developed in week 6 to 8 by adding reasonable assumptions for task start date and end date and simulate the task completion as a visual simulation. Record it and save the timeline simulation to Navisworks file
aim:
Using the Timeliner feature in Navisworks prepare a schedule for the project developed in week 6 to 8 by adding reasonable assumptions for the task start date and end date and simulate the task completion as a visual simulation. Record it and save the timeline simulation to the Navisworks file
procedure:
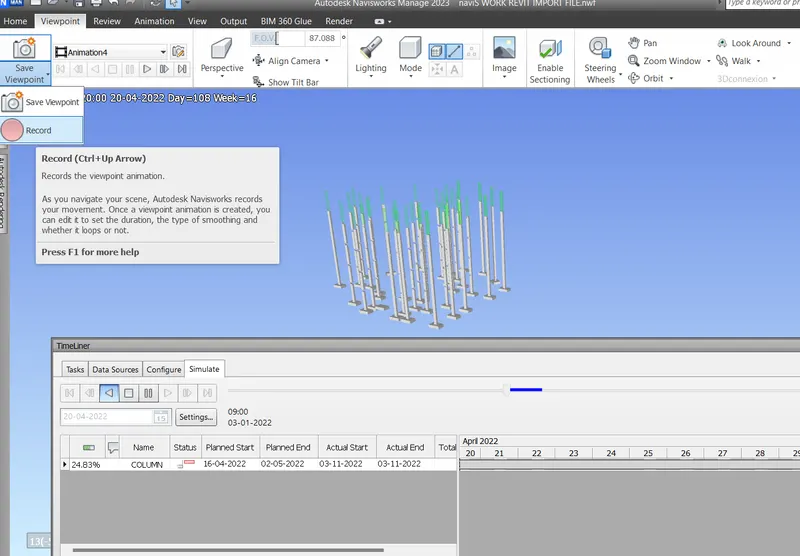
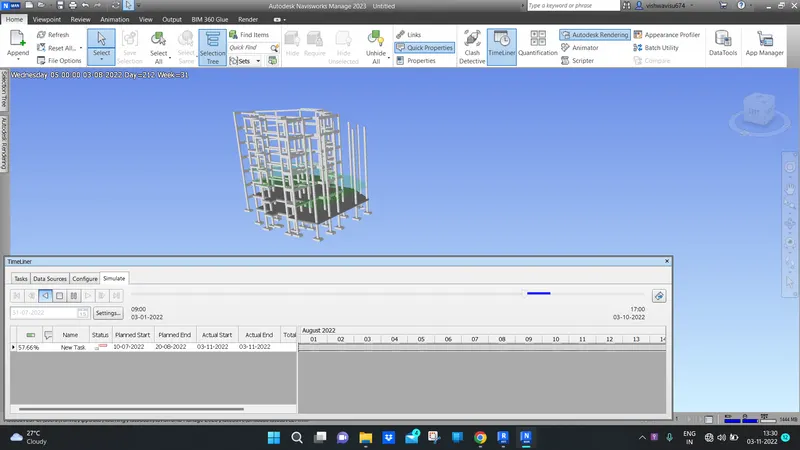
TIME LINER is one of the schedule simulation tools for the projects which means a large scale project and when we do the timelinear so in timeliner we just make the building simulation first wee need to slect the model and click the timeliner and it ask some information regard start end date schedule for simulation , there all i have be give and make the simulation
mainly we need to click one by one element with appropriate date for is making to made a simulation once we finish this next we want to play it and it will get show us like simulte animation it will be helpful for showing this simulate to the corresponding client.
need to make the datas for simulation
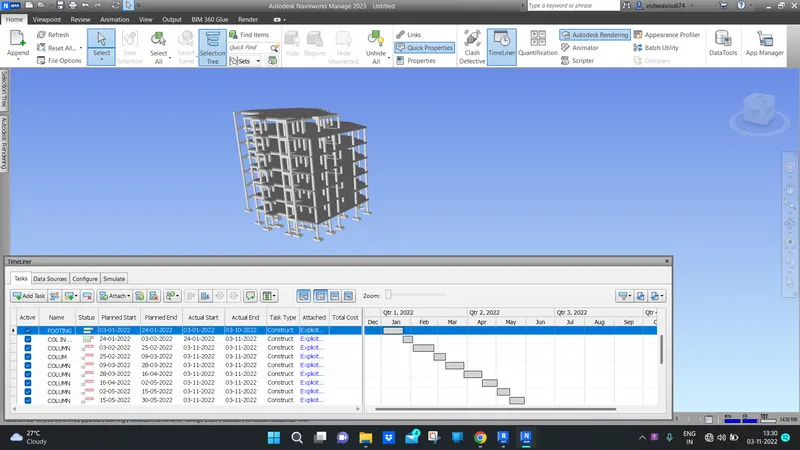
THIS PIC IS TOOK WHILE SIMULATION HAS RUNNING
RECODING FOR THE SIMULATION