Usage of Navigation tool , Timeliner and Clash Detection test using Naviswork
1. Aim: To Exporting the Revit architecture and structure model to Navisworks Cache file as discussed in the video.
Introduction: To Create the Architecture /Structure project file developed in week6 to 8 and export the Revit architecture and structure mdel to Navisworks cache file.
Tools Used:
- File
- NWC
- Navisworks
Procedure:
Step 1:
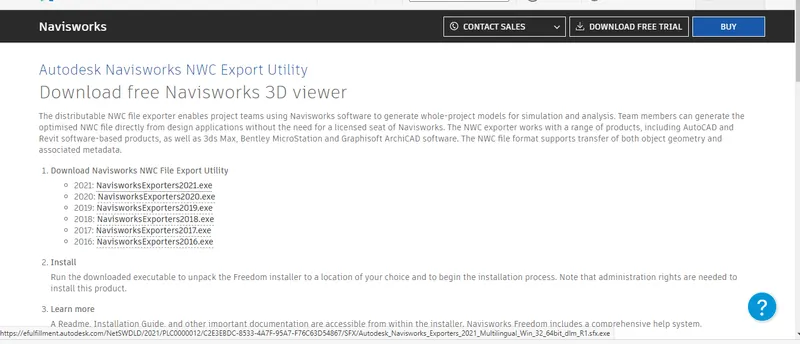
- Go to Autodesk website
- Search Naviswork export utility and download 2023 version
- Click run and extract it.
Step 2:
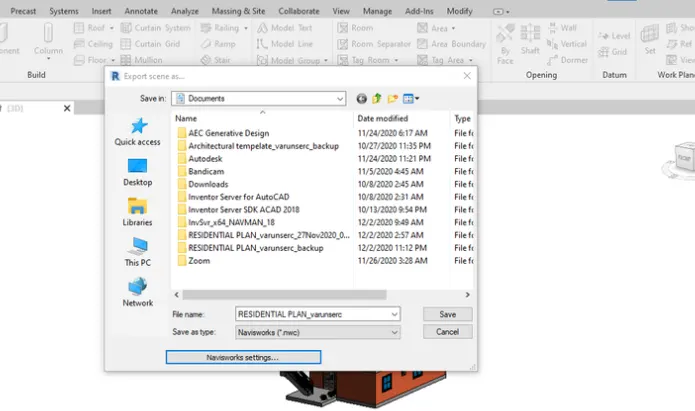
- Open a saved file in Revit application
- Click file and export it into NWC
- Save the file in appropriate location
Step 3:
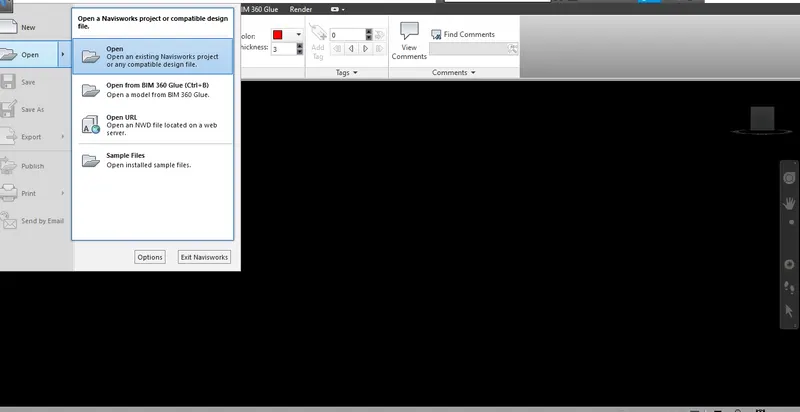
- Open Navisworks Manage 2021
- Click file menu and choose Open
- Open a file which we saved from revit application
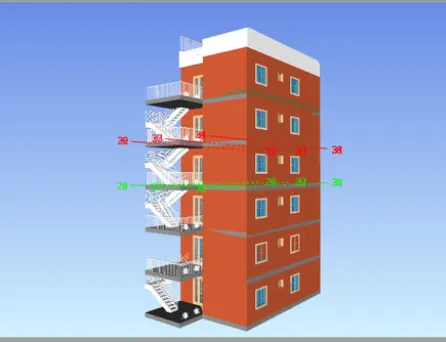
Result: The Revit file has been exported to Navisworks sucessfully.
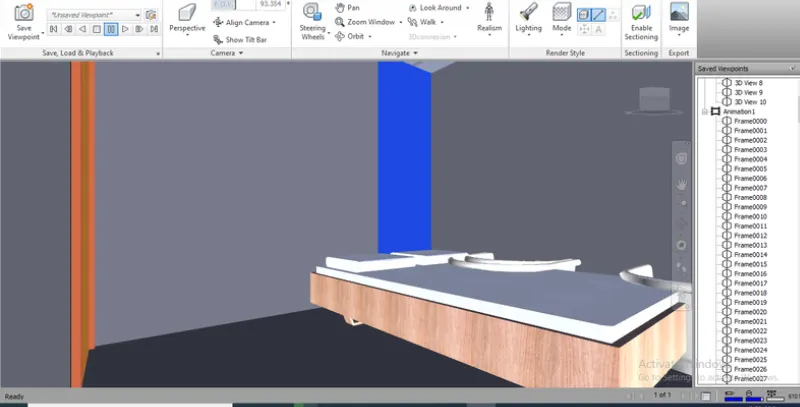
2. Aim: To creating the walk through model and recording the movements using Navisworks.
Introduction: To create by using the navigation tool to walk around the model and walk through the rooms created and record your moving as animation in your navisworks file.
Tools Used:
- Walk
- Record
Procedure:
Step 1:
- Open a Naviswork and import a file
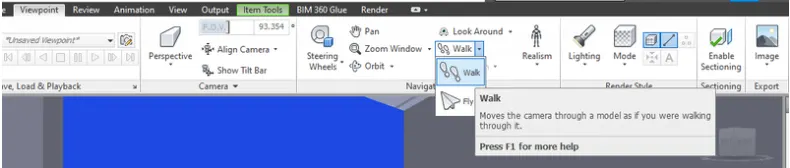
- Click Walk tool in Viewport tab
Step 2:
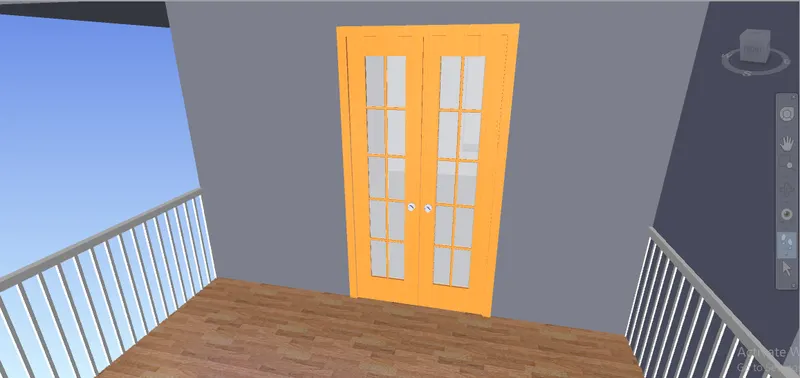
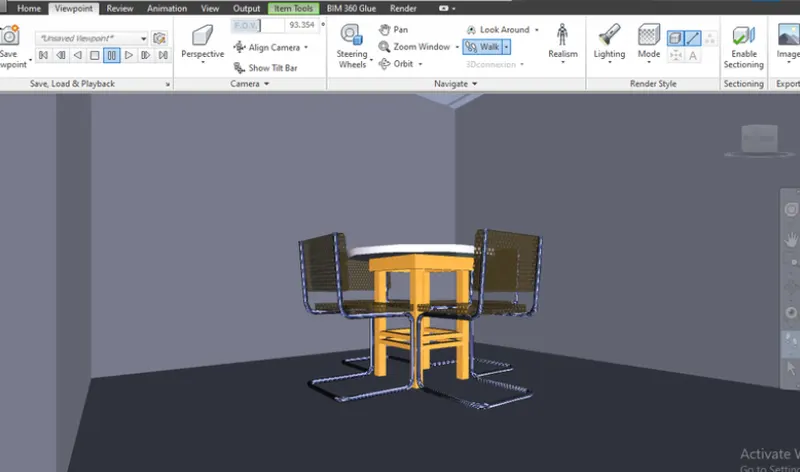
- In the selection tree select the 3d view which you want to walk through
- By using the mouse move as your wish
- Depends upon the mouse moving the screen will moving inside the room as a human walking.
Step 3:
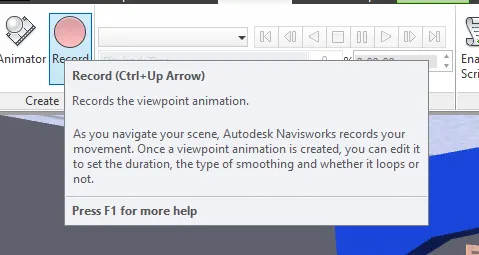
- Click the record option in the viewport
- Once the recording starts move your walk through
- Stop the recording and the saved files will automatically appears in selection tree
Result: The Walk through our model using navigation tool has been done successfully.
3. Aim: To creating the Realism feature to walk through the model using Navigation tool in Navisworks
Introduction: To create a realism feature to walk through the model and record your moving as animation in navisworks file.
Tools used:
- Walk
- Realism
- Record
- Framings
Procedure:
Step 1:
- Open a Naviswork and import a architectural file
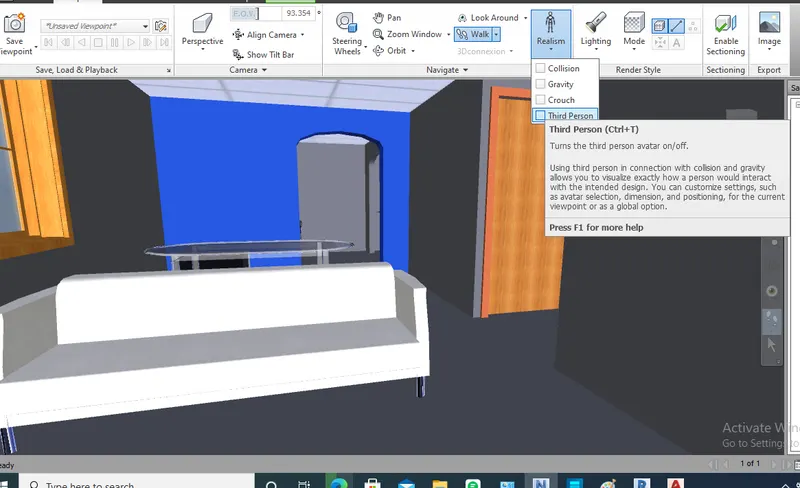
- Click Realism tool in Viewport tab
- Choose Third person option.
Step 2:
- After clicking the Realsim option
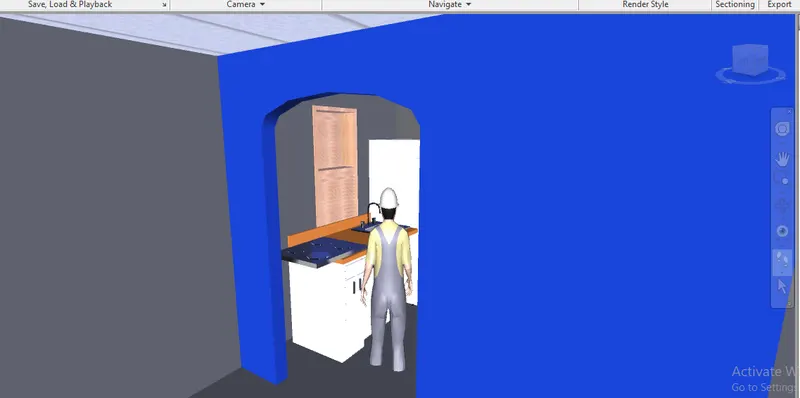
- A human model will appear in the screen
- From this human model we can easily walk through and seeing the plan more realistically.
Result: Similarly we can record this walk framings as we did in normal walk through tool
4. Aim: To run the clash detection test between two files and listing the clashes using Navisworks
Introduction: To create embed both architecture and structure.nwc file in naviswork file and to create a clash detection test between the two models.
Tools used:
- Clash detective
- Run
- Status
Procedure:
Step 1:
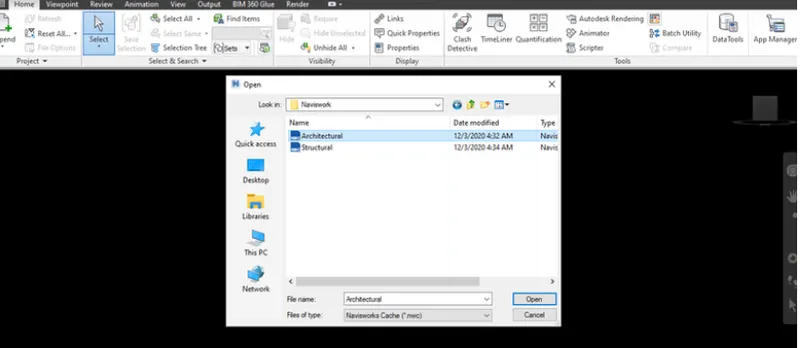
- Open a Architectural file
- Export it to the Naviswork
Step 2:
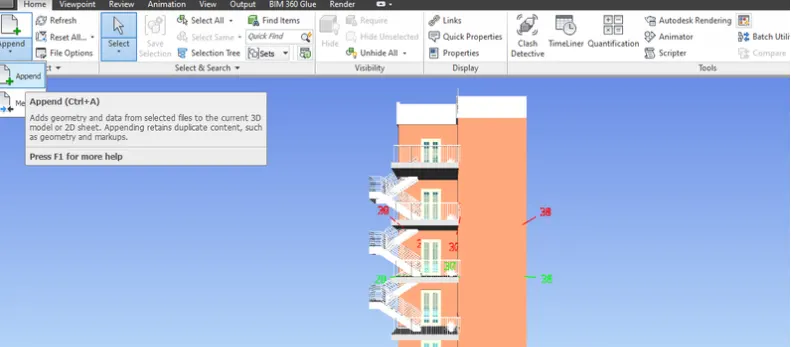
- After exporting the architectural file click Append
- Choose Append and import Structural file into this file
Step 3:
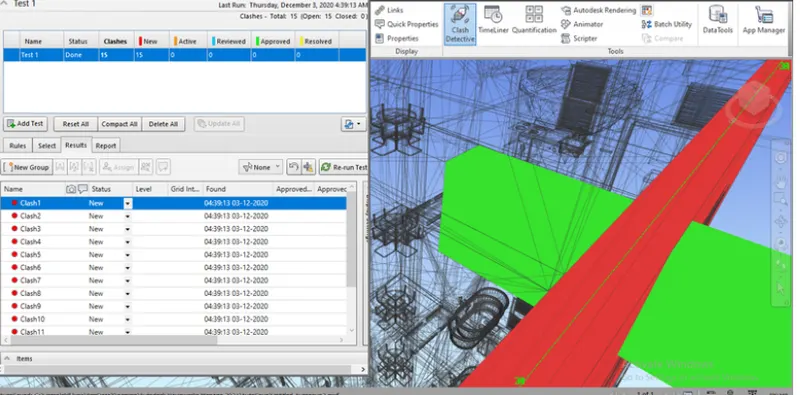
- Once the architectural and structural file has been merged click Clash detective tool in Viewport
- Click Start Test
- Choose Architectural vs Structural
- Click Run test
- After running the test the result screen will appears.
Step 4:
- In the result tab totally 15 clashes has been found
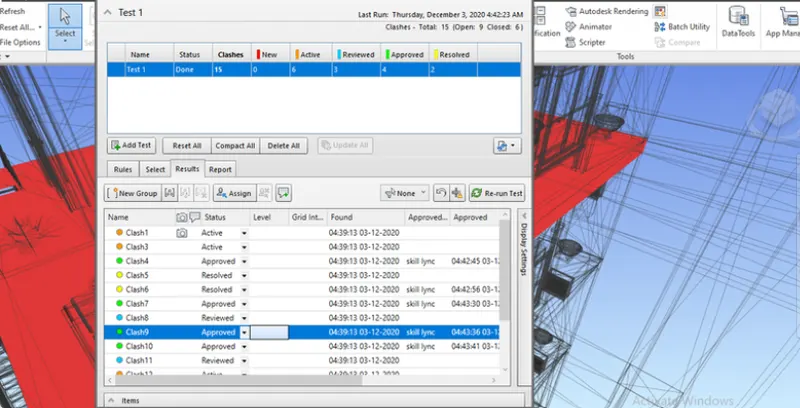
- Here i allocate the status as Approved, Reviewed, Active. Resolved based on the preference.
- When you click the clash and switch it into Approved it turns as Green round similarly Yellow for Reviewd, Orange for Active
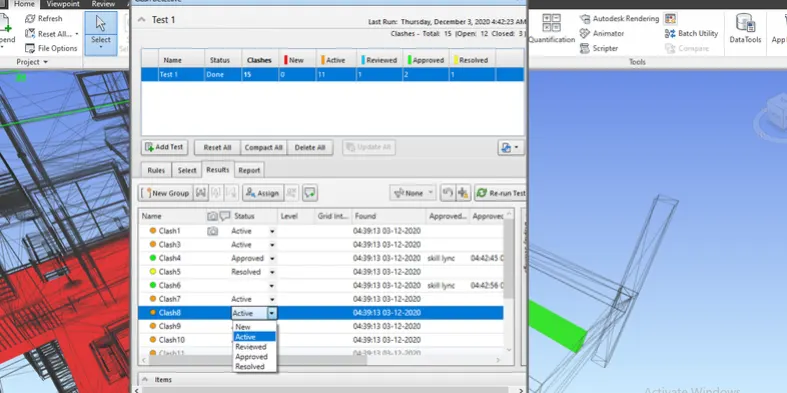
Result: Out of 15 clashes i assigned 5 clash as active, 4 clash as approved, 2 clash as resolved and 4 clashes as renewed. Thus the clash detective test has been done successfully.
5. Aim: To creating the schedule of the project using Navisworks.
Introduction: To use the timeliner feature in Navisworks prepare a schedule for the project developed previously by adding reasonable assumptiions for start date and end date and simulate the task completion as a visual simulation.
Tools used:
- Item tools
- Timeliner
- Simulate
Procedure:
Step 1:
- Open Naviswork and import the file you want to schedule
- Click Timeliner tool in home tab
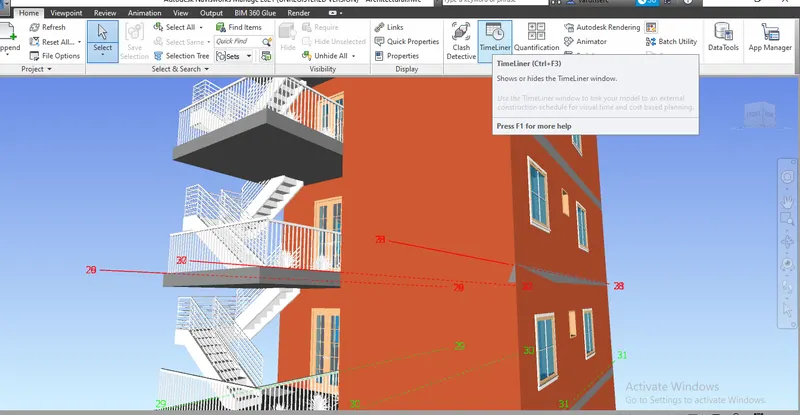
Step 2:
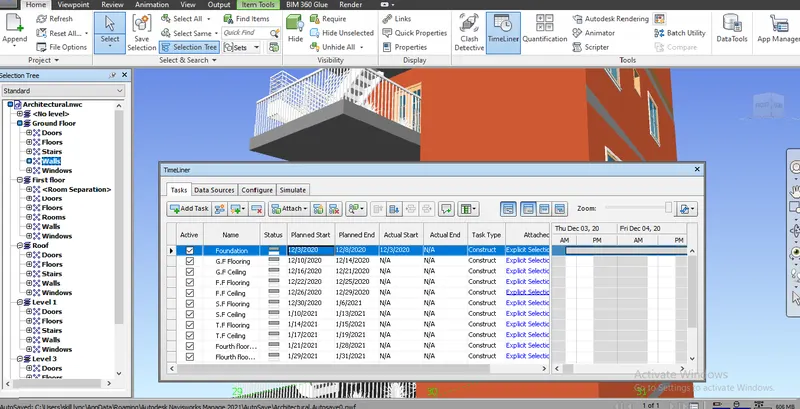
- After clicking the timeliner tool enable the selection treen on the left side of the screen
- Click Add task option
- Name the task and assign the start date and end date of the activity
- Click Attach and choose current selection simultaneously.
Step 3:
- After entering all the necessary data in the field
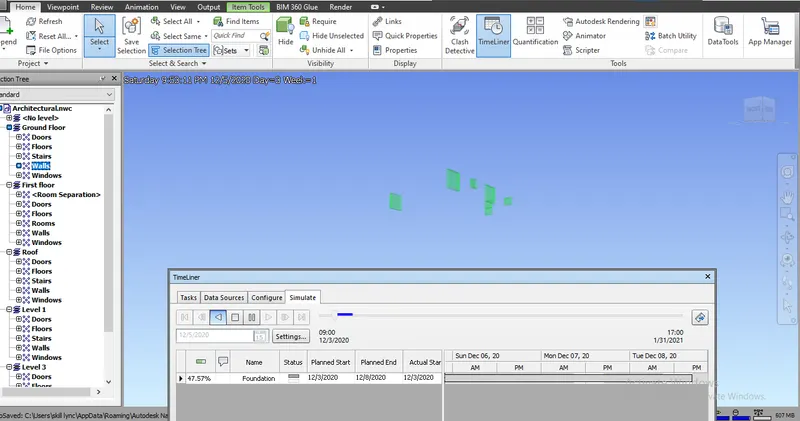
- Click Simulate tool
- Click play option
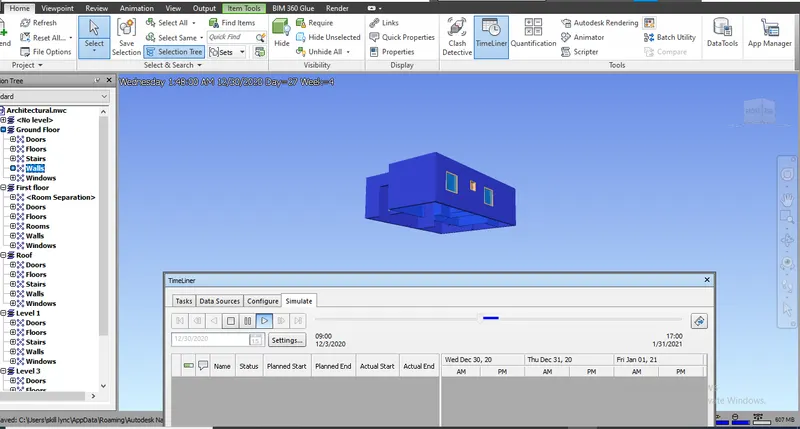
- Now the schedule will play as per the selection and date
- Video will play from foundation to roof as per the date we scheduled
Result: The schedule has been done using timeline features in Navisworks successfully.
Note: It is copied from Live session Challenge